
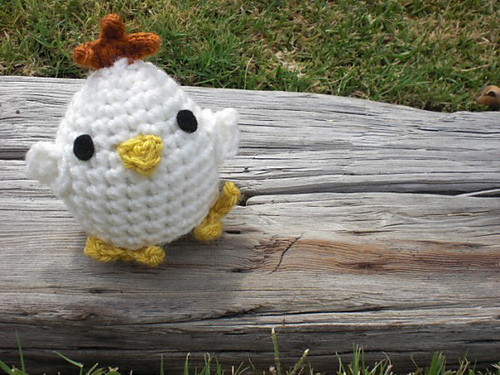
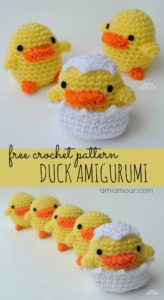
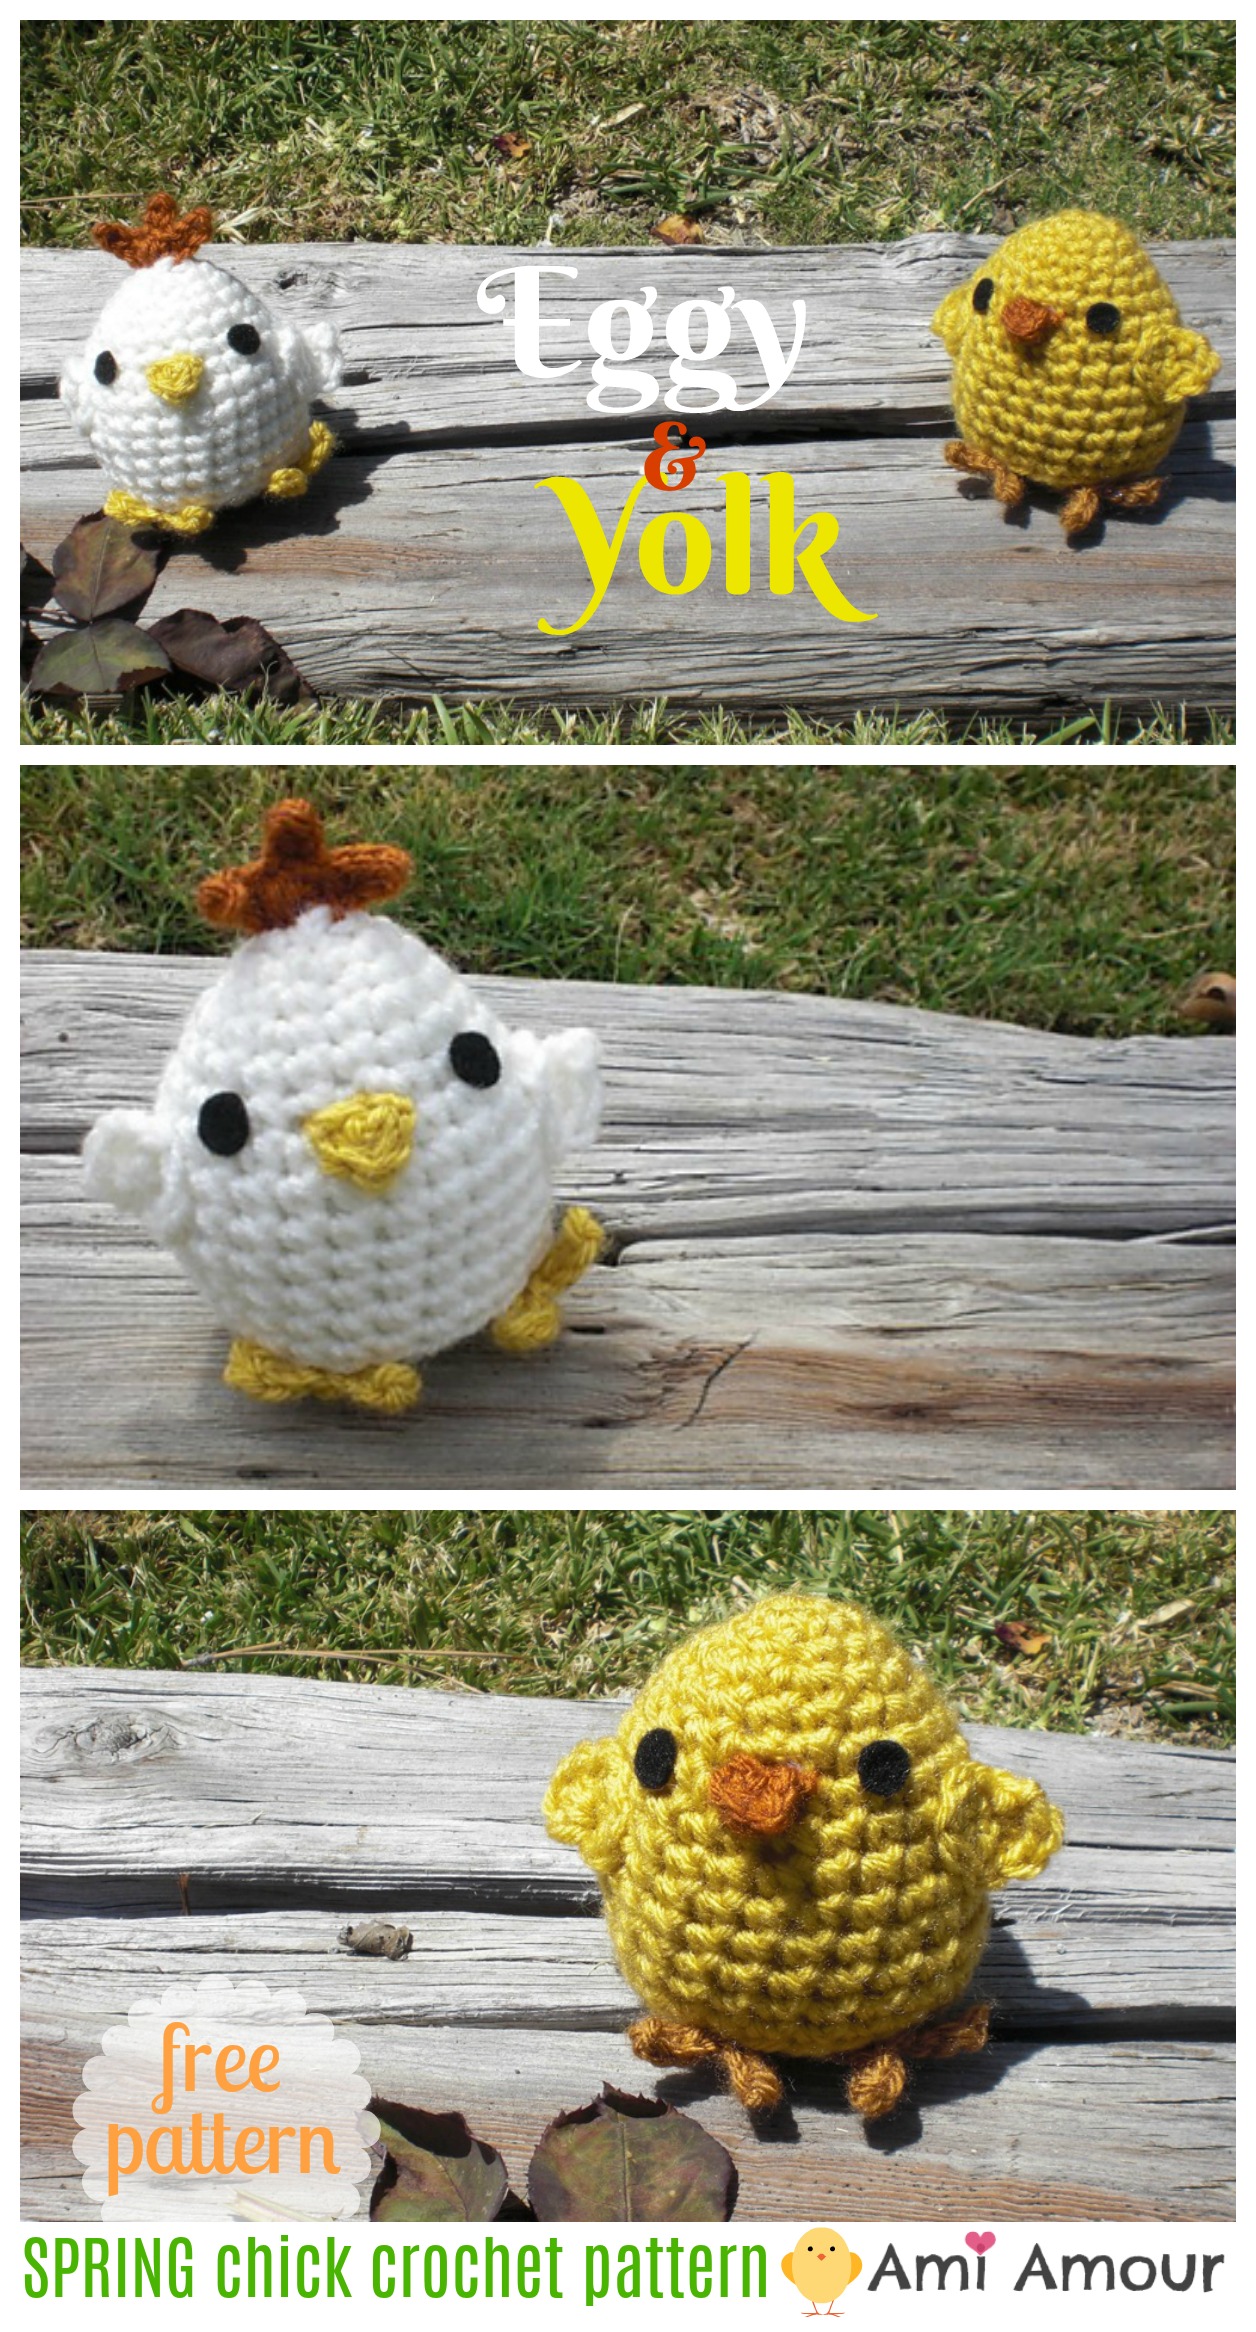
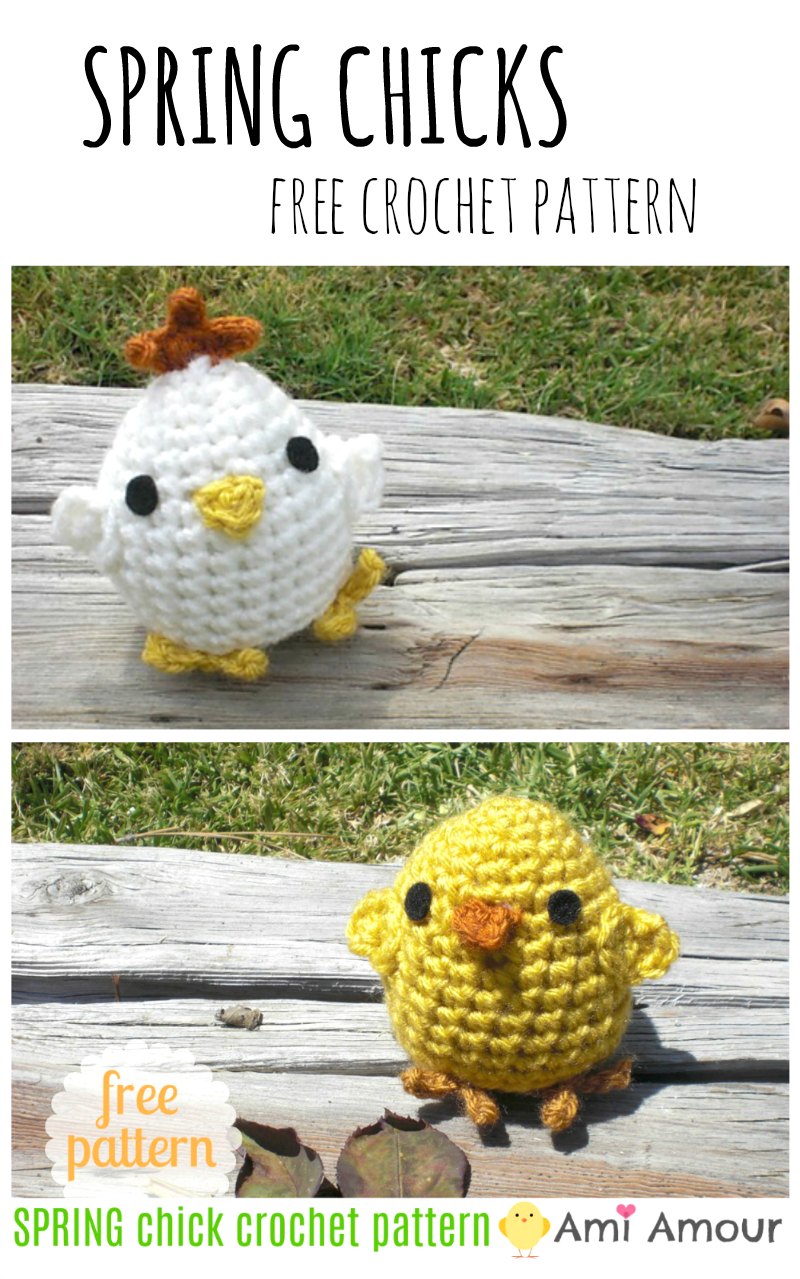
I really enjoy making Eggy the chick amigurumi, along with his friend Yolk! And finally, now that I’ve written up this free chick crochet pattern, I hope that you will enjoy creating countless chicks as well!
Eggy the chick amigurumi is very sociable and gets along great with his companion Yolk. Together they have a eggsellent time! And you will too with this easy to follow crochet pattern that works up quickly for that fun and fast spring project. Go ahead, take a crack at it!
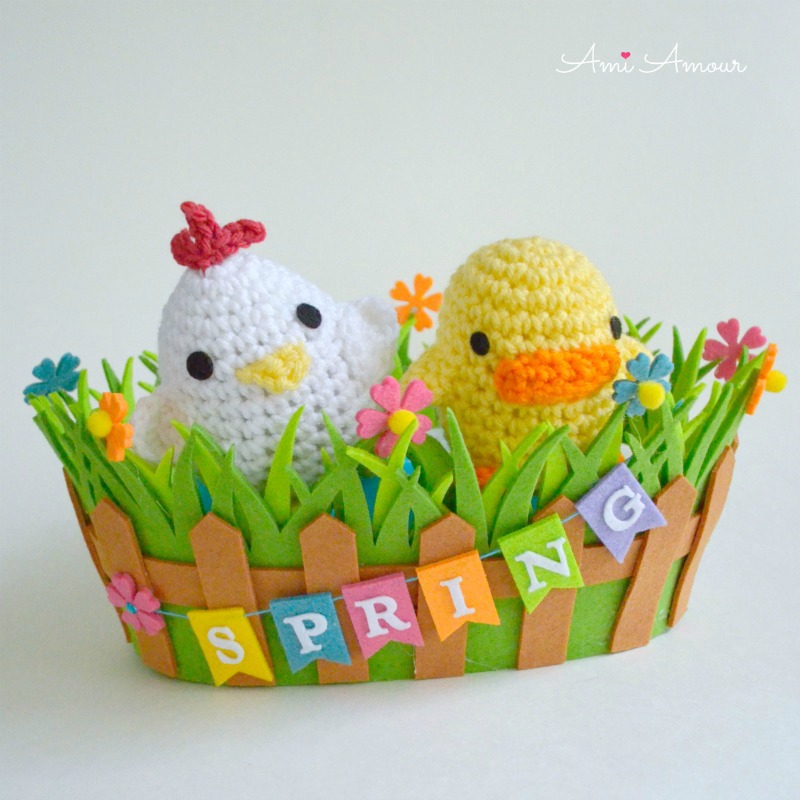
He’s a perfect Spring and Easter crochet project to make along with my Duck amigurumi!
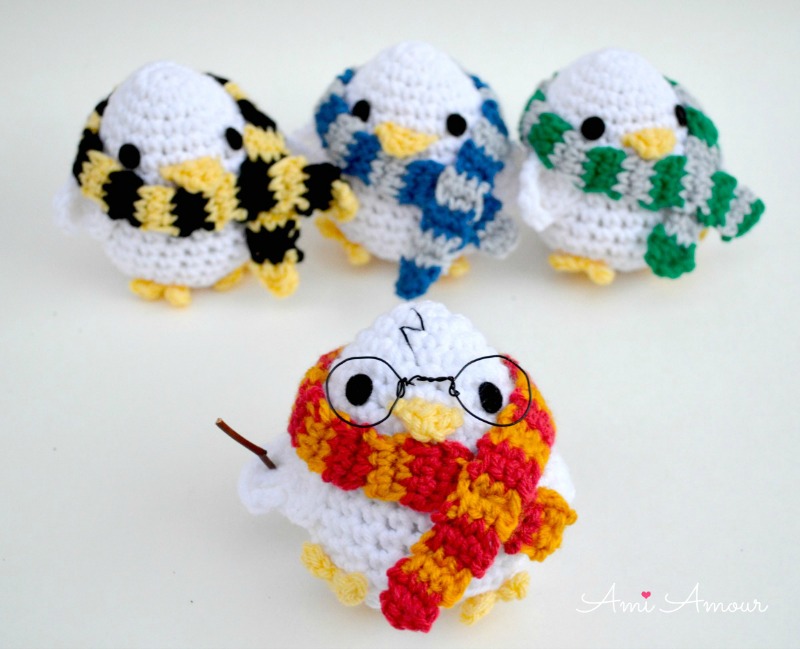
He can also be transformed into a great wizarding chick!
Just add some house scarves and wands!
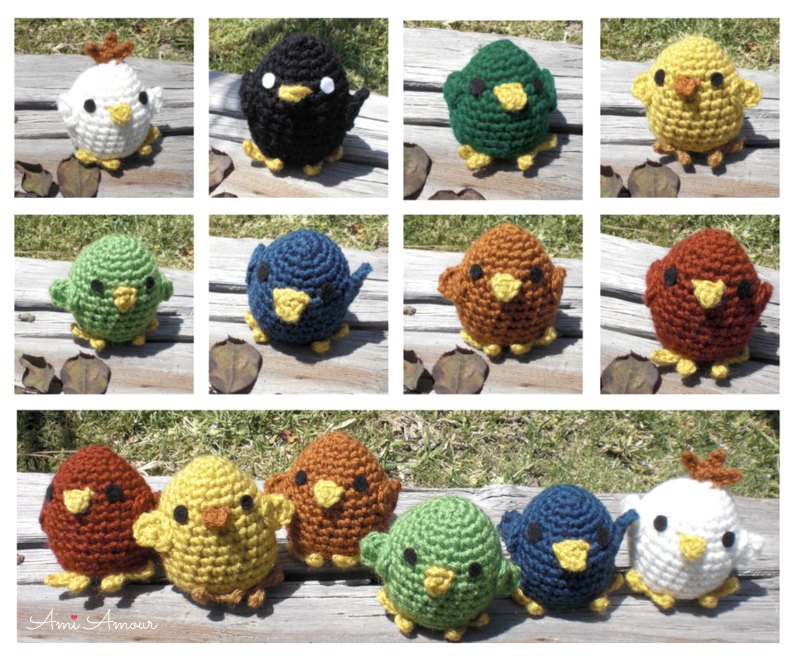
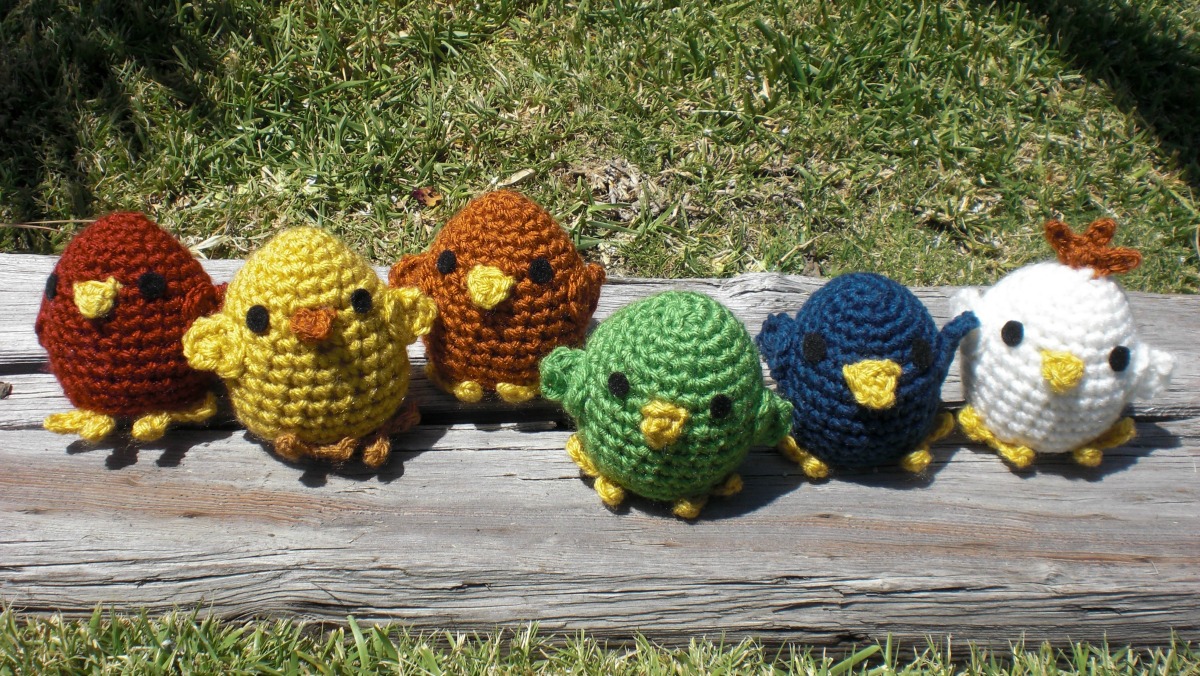
Make them in all sort of different colors!
I’d love to see how your project turns out, so be sure to tag me on Instagram or Facebook!
Be sure to subscribe to my blog to get the latest pattern updates!
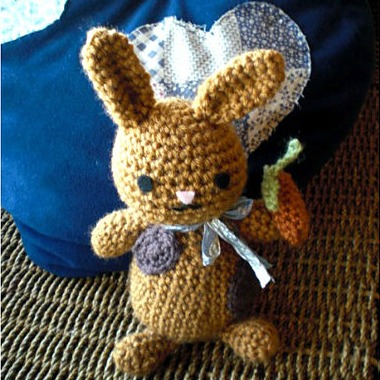
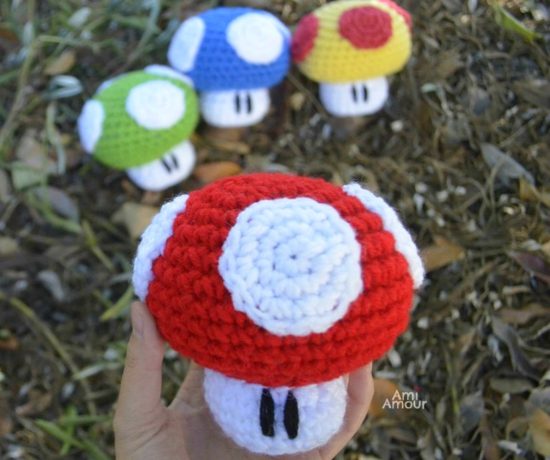
Here are some other free crochet patterns you may enjoy!


*Disclosure: This post contains affiliate links. This means I may receive a small commission if you decide to purchase anything by clicking on one of these links. Thanks for your support!
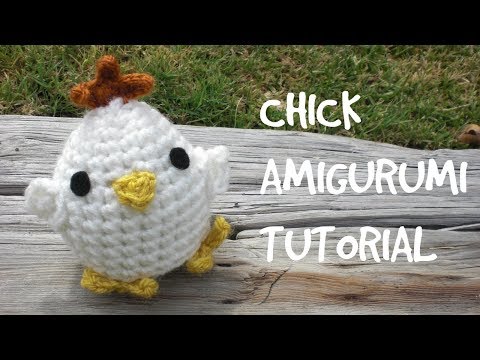
CHICK CROCHET VIDEO TUTORIAL
See Eggy the chick in action and crochet along with me!
EGGY – the Cute Spring Chick Amigurumi Pattern
SKILL LEVEL: Easy
MATERIALS:
Crochet Hook – 5.0 mm Size
Red Heart Super Saver: SOFT WHITE
Lion Brand Vanna’s Choice Yarn: MUSTARD (yellow worsted weight yarn)
Lion Brand Vanna’s Choice Yarn: BRICK (red worsted weight yarn)
Polyester Fiber-fill (for stuffing)
Black Felt
STITCHES:
ch – ch
dc – double crochet
sc- single crochet
Sc2tog (sc dec) – Insert hook into st and draw up a loop. Insert hook into next st and draw up a loop. Yarn
over, draw through all 3 loops on hook.
sl st – slip st
st(s) – stitch(es)
NOTES:
This work is worked continuously in the round. Please do not join rounds. TIP: Use a bobby pin as a stitch marker so you can keep track of where the round ends.
SIZE: Approximately 3.5in/9cm
BODY
In SOFT WHITE
Round 1: 6 sc into adjustable ring.
Round 2: 2 sc in each st around – 12 sts.
Round 3: Sc in each st around.
Round 4: [2 sc in next st, sc in next st] around – 18 sts.
Round 5: Sc in each st around.
Round 6: [2 sc in next sc, sc in next 2 st] around – 24 sts.
Round 7-14: Sc in each st around.
Round 15: (in back loop) [Sc2tog, sc in next 2 st] around – 18 sts.
Round 16: [Sc2tog, sc in next st] around – 12 sts.
Stuff with Polyester Fiberfill.
Round 17: Sc2tog in each st around – 6 sts.
Fasten off and leave a 4 inch tail of yarn. Using the yarn needle, sew the opening closed.
WING (make 2)
In SOFT WHITE
Round 1: 6 sc into adjustable ring.
Round 2: 2 sc in each st around – 12 sts.
Round 3: 2 dc in next st, 1 dc in next st.
Fasten off and leave a tail long enough to sew wings onto body.
BEAK In MUSTARD (Yellow)
Row 1: Ch 3.
Row 2: Sc into 2nd chain from hook, sc in next st – 2 sts.
Ch 1, turn over.
Row 3: Skip 1st sc stitch, sc into next st. Sl st to finish off.
Cut tail long enough to sew beak onto body.
FEET and COXCOMB
Make 2 in MUSTARD (yellow) and 1 in BRICK (red)
Row 1: Ch 4, sl st into 2nd ch from hook, sl st in next 2 sts.
Row 2: Ch 3, sl st back the row for the next 3 sts.
Row 3: Ch 3, sl st back the row for the next 3 sts.
Fasten off, leaving a tail long enough to sew on the feet or coxcomb to the body.
ASSEMBLY
1. Sew BEAK 6 rows down from the top of the BODY.
2. Cut small circles from black felt for EYES. Sew or glue on with Fabri-tac. EYES should be placed slightly above the BEAK in between the rows 6 and 7 from the top of the BODY. See chick picture for reference.
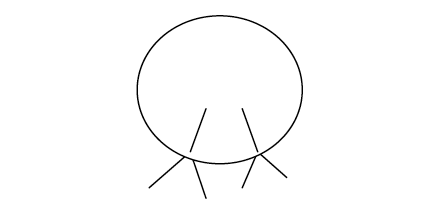
3. Sew FEET on the bottom side of the chick. The FEET should be sewed down along one row, while the other 2 rows stick out from underneath the chick. See diagram below.
4. Sew WINGS on the sides of the chick. The level should be slightly lower than that of the eyes.
Sew COXCOMB on top of the chick.
26 Comments
LILI
March 11, 2011 at 10:58 ami verry like crochet,can you show me how to do EGGY?
Ami Amour
March 14, 2011 at 12:48 amI’m not sure I have the time to do a video tutorial currently, but if you type in amigurumi tutorial on youtube, that should help you. You just need to know how to do single crochet stitches and do increases and decreases and you’ll be set to go.
Shyla Taylor
March 22, 2011 at 1:55 amOmg!! Your little white chick is sooo sweet! My grand babies Easter baskets will look so cute thanks to you sharing your talents! Thank you so very much!
Ami Amour
March 29, 2011 at 6:45 pmOh I’d love to see how it turns out!
Annette
April 12, 2011 at 6:09 pmI what a beautifull pattern.. I love it!!!
I just started making one..
But my wings are getting to big…
There is writing at round 3: 2dc in next st, 1 dcin next st. Do I need to go furter to get 18 st, or only those 3 stitches??
Thank you so much!!!
Hugs Annette
Ami Amour
April 12, 2011 at 7:10 pmIt’s only those 3 stitches and then you stop. It should look like a wing shape. I’d love to see how it turns out!
Annette
April 13, 2011 at 5:15 pmthank you so much..
At the moment i’m making body nr 4… tonight make all the wings/feet, beaks… needed to buy the colors today..
Kelsey
June 5, 2011 at 5:31 pmHey there! I love this pattern so much! Really easy to follow, and it turns out so cute! So, I was wondering if I could get permission to sell a few that I make at my church’s up-coming fundraiser festival. We need to fix up our 275 year old meeting house, and need money! (This is the website: http://hopecentre.quaker.org/)
I am selling quite a few of my crochet creations, and would love to sell this! Most of my proceeds go to the church, and I could always use more!
Please let me know!
~Thanks 🙂
Kelsey
June 5, 2011 at 5:48 pmhttp://hopecentre.quaker.org/
That’s the website, actually. Sorry!
judy
February 26, 2012 at 1:20 pmi just found your website searching for an easy bunny pattern, since i am an absolute beginner crocheter. i saw the patches pattern and had to try it. well, so far i have the head and body done. the ear is giving me trouble. i think this is easier than the granny square (which is a thorn in my side) lol the patterns and pictures are great!!!!!!!!!!!!
Ami Amour
February 26, 2012 at 5:04 pmHi Judy, I’m glad you were able to find me! I’d love to see how your bunny turns out. Let me know if you have questions on the ear. Hehe yes once you get the hang of it, amigurumis are pretty easy to follow!
Emily
March 1, 2012 at 8:57 pmthis pattern is so cute! thanks for sharing it 🙂 i’ve made one but having trouble sewing the wings on because they will be different ways up how did you do it?
Ami Amour
March 2, 2012 at 8:00 amEmily, I usually just sew it on sort of upside down on the other side. But if you’re really good with your hands, you can crochet it with your opposite hand and it’ll come out the same. Another option may be to sew 4 wings, sew 2 together to create 2 wings. Then you should be able to sew them both on the same way. Hope that helps!
VickyW
March 21, 2012 at 11:18 pmThank you so much for sharing this adorable pattern for Eggy and Yolk!
Hønemor « Kathrine si verd
March 26, 2012 at 8:26 pm[…] hekla eg, som nevnt, i fjor. Oppskrifta finn du her om du skulle få lyst å lage dei sjølv. Oppskrifta er på engelsk, men det er ikkje mange […]
NerdWars T4 R2 Projects and Bad Anime | YarnyDoom.com
March 30, 2012 at 7:23 pm[…] starting with Hunters Easter Chicken. Also known as Eggy which is a pattern by AmiAmour who I love her work. I am totally in awe with some of the Sackboy based commissions that she does […]
Jill
October 27, 2012 at 3:36 amAdorable! Thanks for sharing.
DIY & Crochet· Patrones GRATIS y MOLONES #11 | todomini, miniaturas y manualidades
November 7, 2012 at 7:01 am[…] Eggy – The Cute Chick Pattern […]
[Ami] Cute Chicken Pattern | amberstyre
January 25, 2013 at 3:55 pm[…] Get the pattern here. […]
cindy
March 22, 2013 at 11:41 pmI love your pattern and I’m almost finished but I’m having trouble with the coxcomb. I’m not sure what ” slip stitch back the row” means. Am I supposed to turn at the end of each row or does it maybe mean to stitch in the back loop only? Yours looks like 3 sections connected …mine looks totally different. Any help would be greatly appreciated…thanks so much for the pattern!!
Ami Amour
March 23, 2013 at 4:34 amHi Cindy. Slip stitch back the row means that yes, you need to turn and work slip stitches into the foundation row you just created. If you have an email address, I can send you a picture of what I mean. But basically you chain 4, turn, work 3 slip stitches into chain foundation, then you’ll chain 3, turn, slip stitches on the chain foundation, and then once more do the chain 3, turn, work slip stitches through the foundation chain. In the end, you should have 3 lines that are connected together, looking like the letter Y. The coxcomb and the legs of the chick are stitched using the same method, but just with different colors. Hope that helped!
Brooke
April 3, 2013 at 4:18 pmAwe it’s so cute I am going to start making this today but I’m just a begginer crocheter is this a begginer pattern if so email me more please well I guess you don’t have my email but ill give it to you if so thank you
Mõnica Duarte
June 15, 2014 at 9:05 pmAdorei o padrão!! Obrigada por compartilhar.
barb hagerty
July 4, 2014 at 9:29 pmI am a teacher-librarian in WA state and every year we have 20 children’s picture books that we read to students in grades k-3. This next year one of our stories is “That is NOT a Good Idea” by Mo Willems. I like to create props that go with the books to share with other librarians at our state librarians conference in Oct. I am asking your permission to use the pattern specs for Eggy’ s body to crochet 100+ chicks. (I changed the facial features, wings, etc to better match the chicks in the story. I usually charge a minimal price ($5) to compensate for my time and the supplies I purchase. I would also be willing to post a sign telling others where I found the pattern for this project while at the conference. I look forward to hearing your reply. Thank you.
Duck Amigurumi Pattern: Fair is Fowl - Ami Amour
March 23, 2018 at 10:06 pm[…] if you like this project, be sure to also check out my Spring Chick – Eggy pattern. It makes a great companion piece to the Duck […]
Wizarding Chick Amigurumi - Ami Amour
October 4, 2018 at 6:49 pm[…] Who Lived,” cheekily inspired by J.K. Rowling’s Harry Potter series. I transformed my Eggy chick amigurumi into a Wizarding Chick, complete with a lightning scar, round spectacles, a house scarf, and a twig […]