
Here is Tepig amigurumi in a playful and free Pokemon crochet pattern!
With the release of Pokemon Legends:Z-A and Tepig being one of the new starters, I thought it was a good time to get back into my “Gotta Crochet ‘Em All” Pokemon series again. These are the chibi Pokemon that are able to fit into the Pokeball Pods.
This Tepig design has an interesting history. I first made crochet Tepig many years ago for a couple that wanted to use the Tepig in the Pokeball as a ring holder for their wedding. And the ring carrier was going to be their dog! It was the most adorable thing!
Fast forward to present time, and now Tepig amigurumi gets his chance to shine once more! I’ve made a few changes from the previous designs, although you’re free to be creative with your Tepig and choose which design features you like.

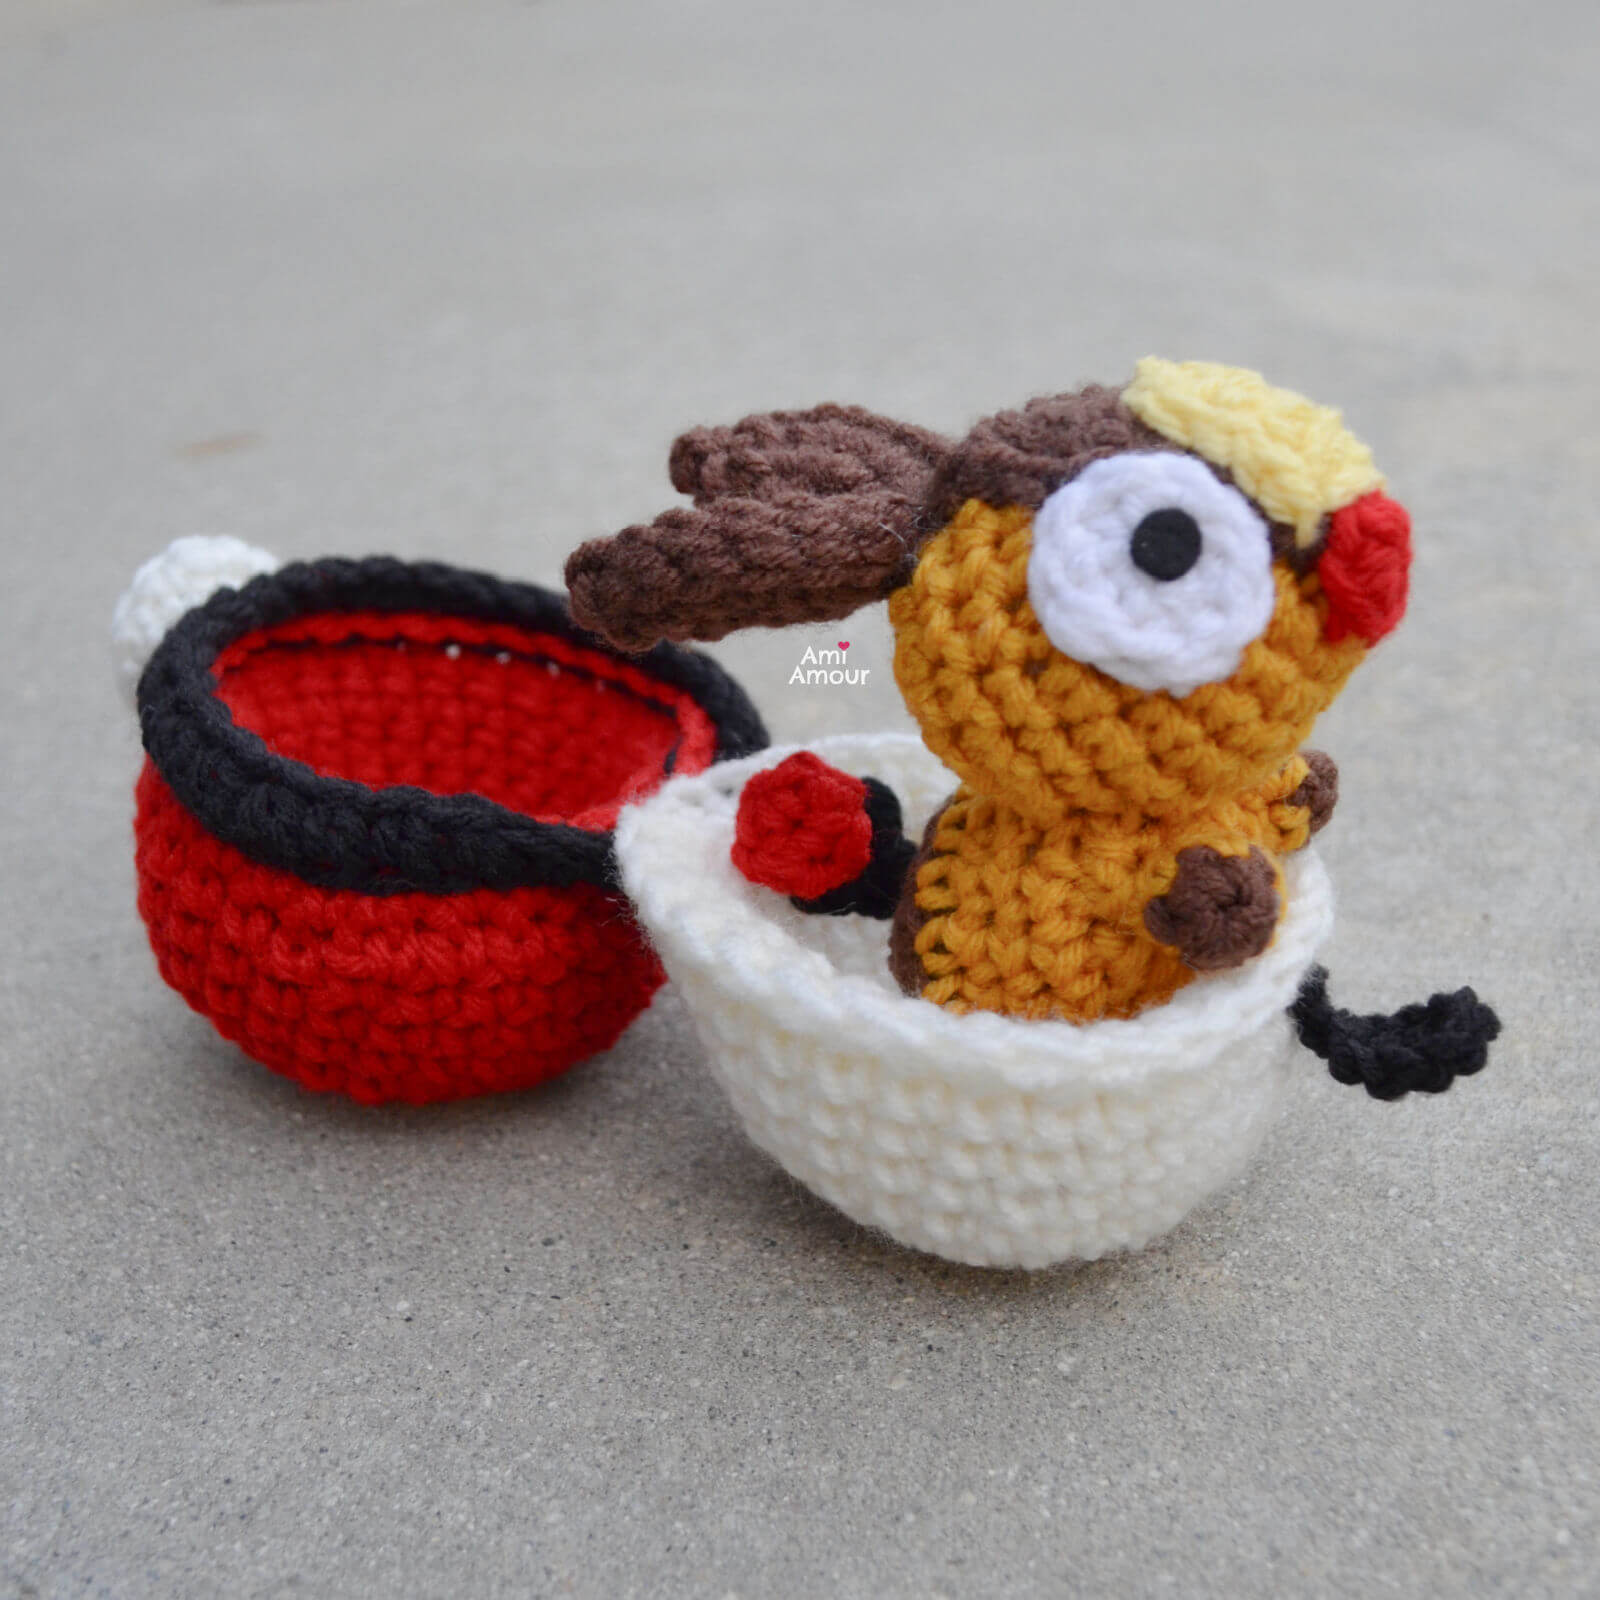
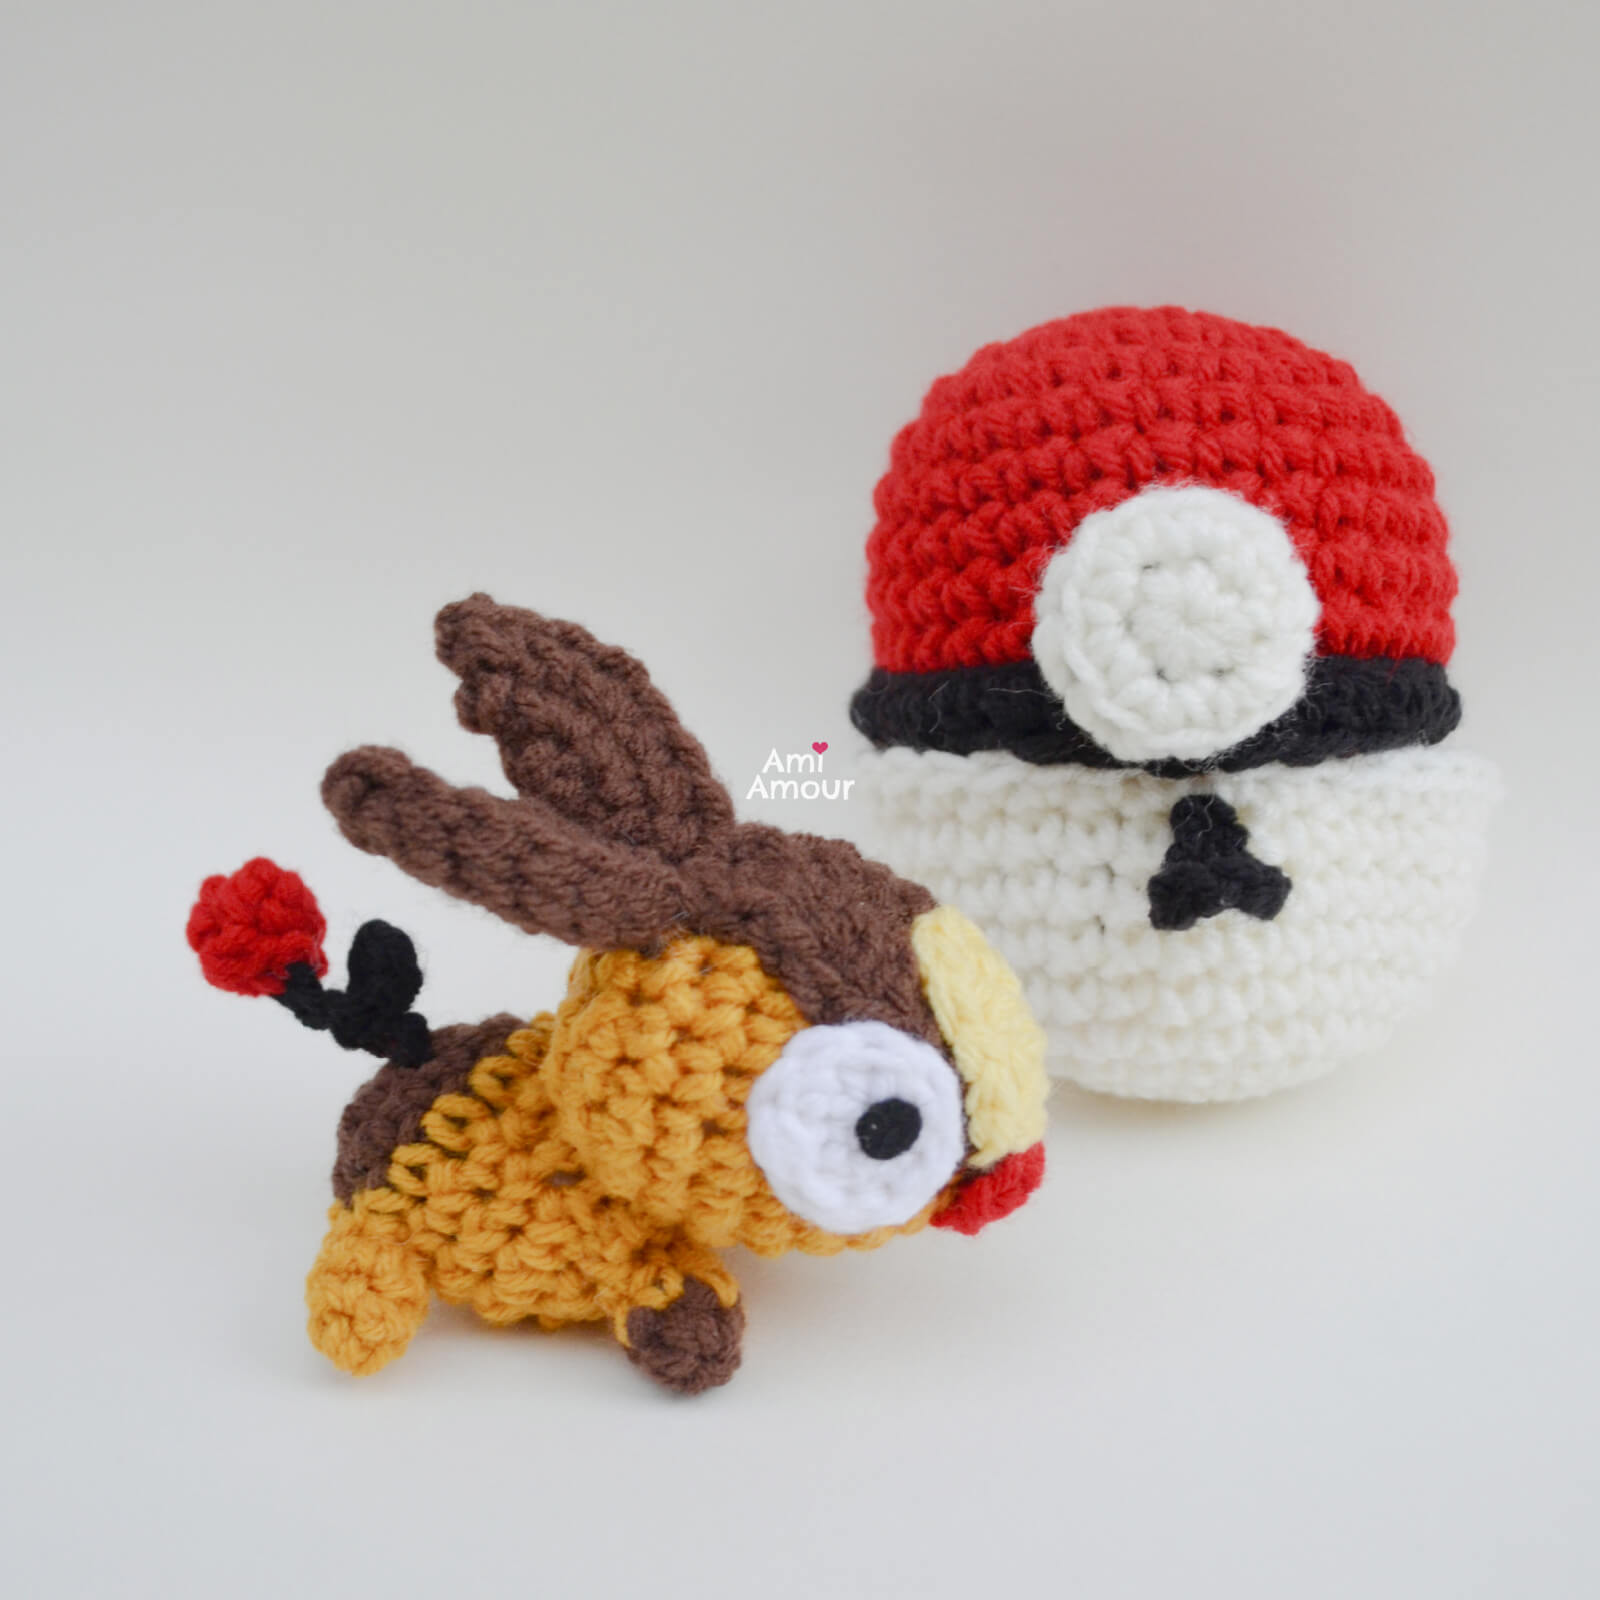
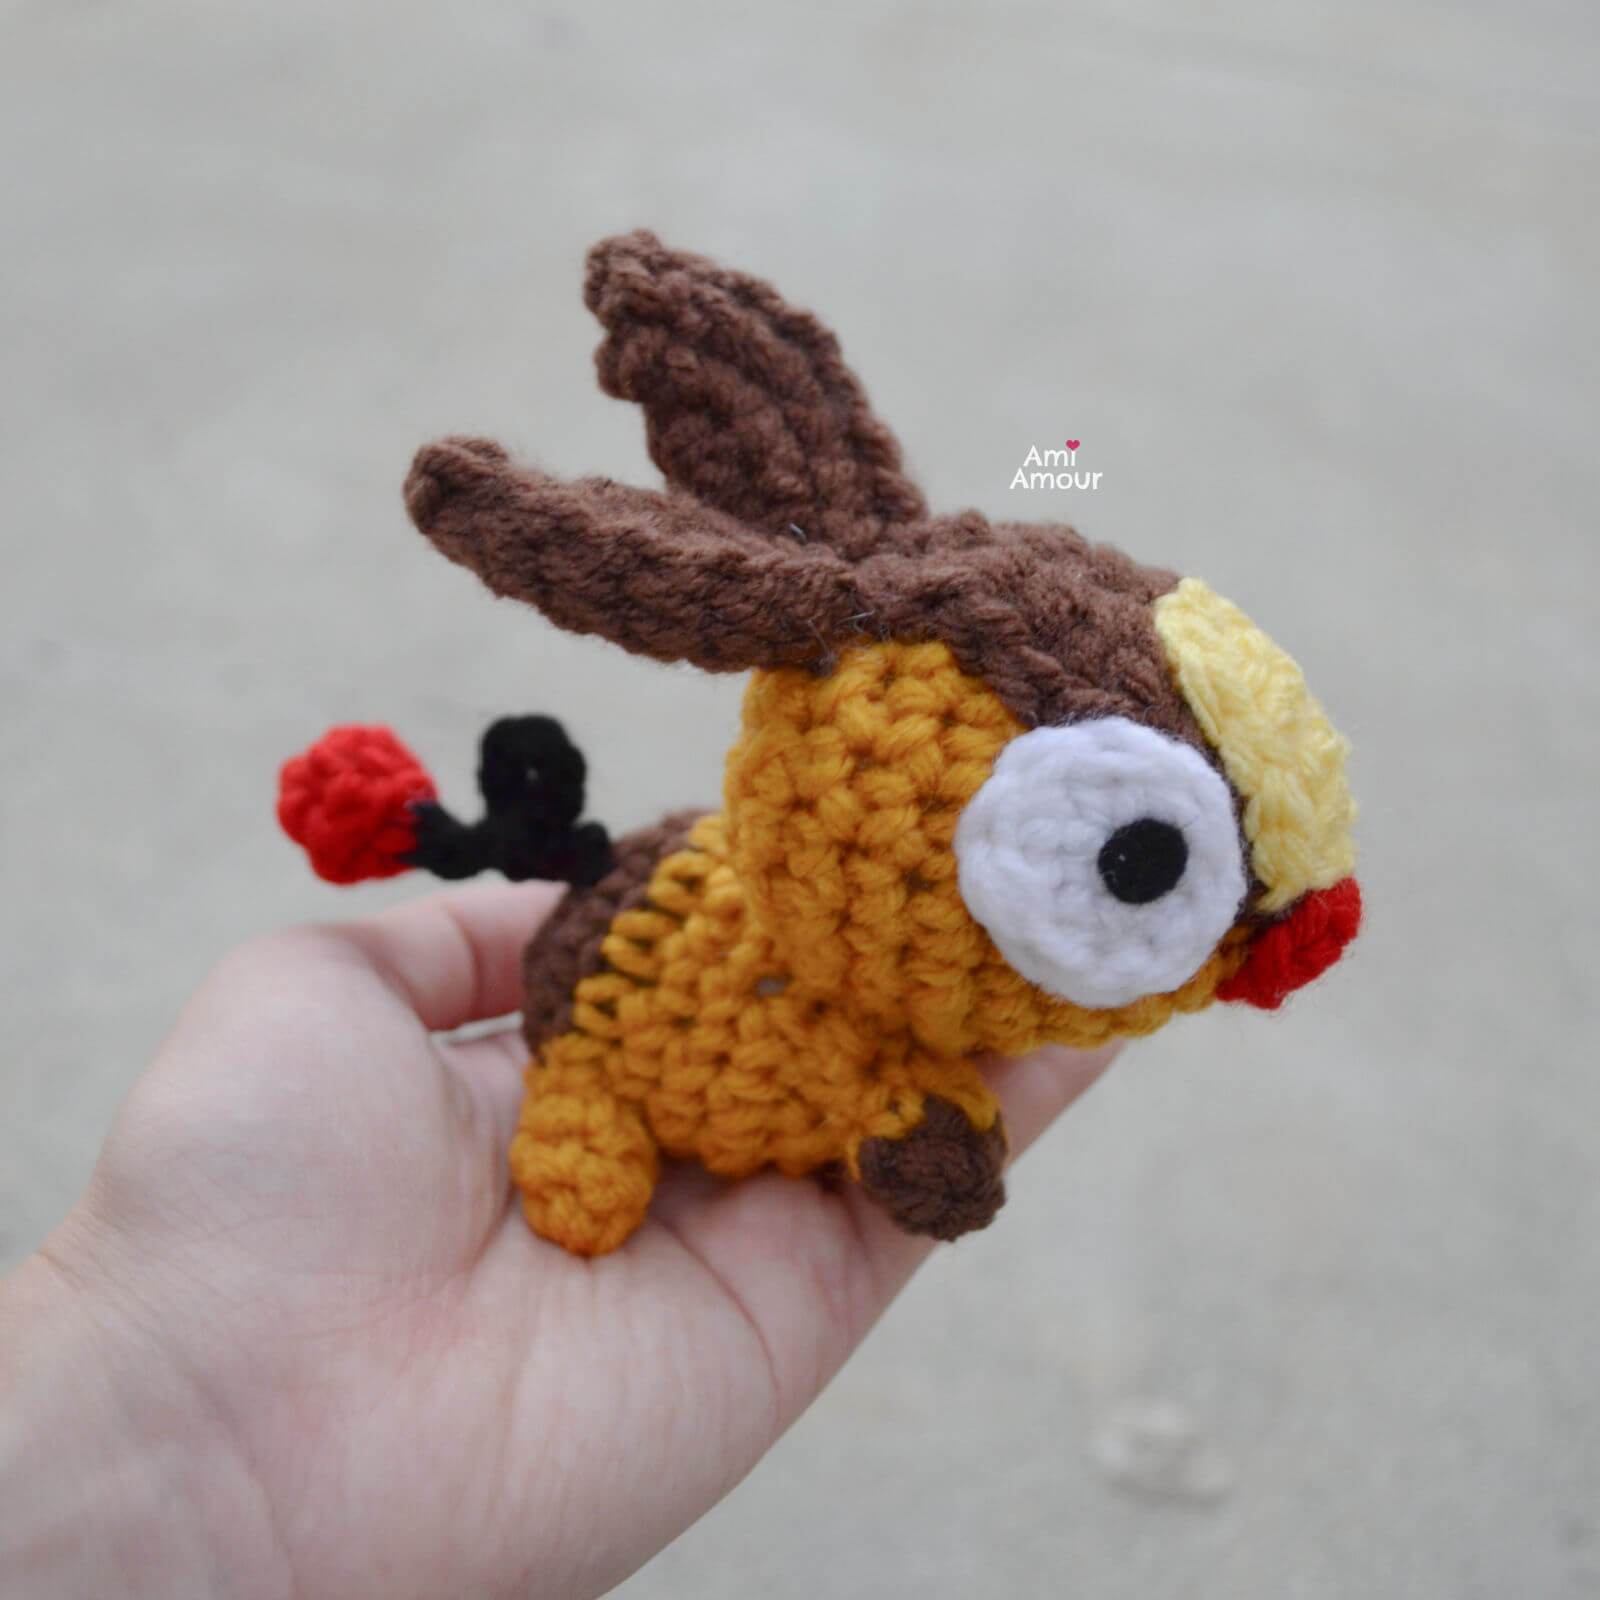
Crochet Tepig’s main colors include gold and brown with bits of red and yellow. He looks like a little pig with a cute curly tail attached to a red ball. He also has a red snout and brown and yellow markings on his face.
Here are some different eyes you can do with Tepig amigurumi.
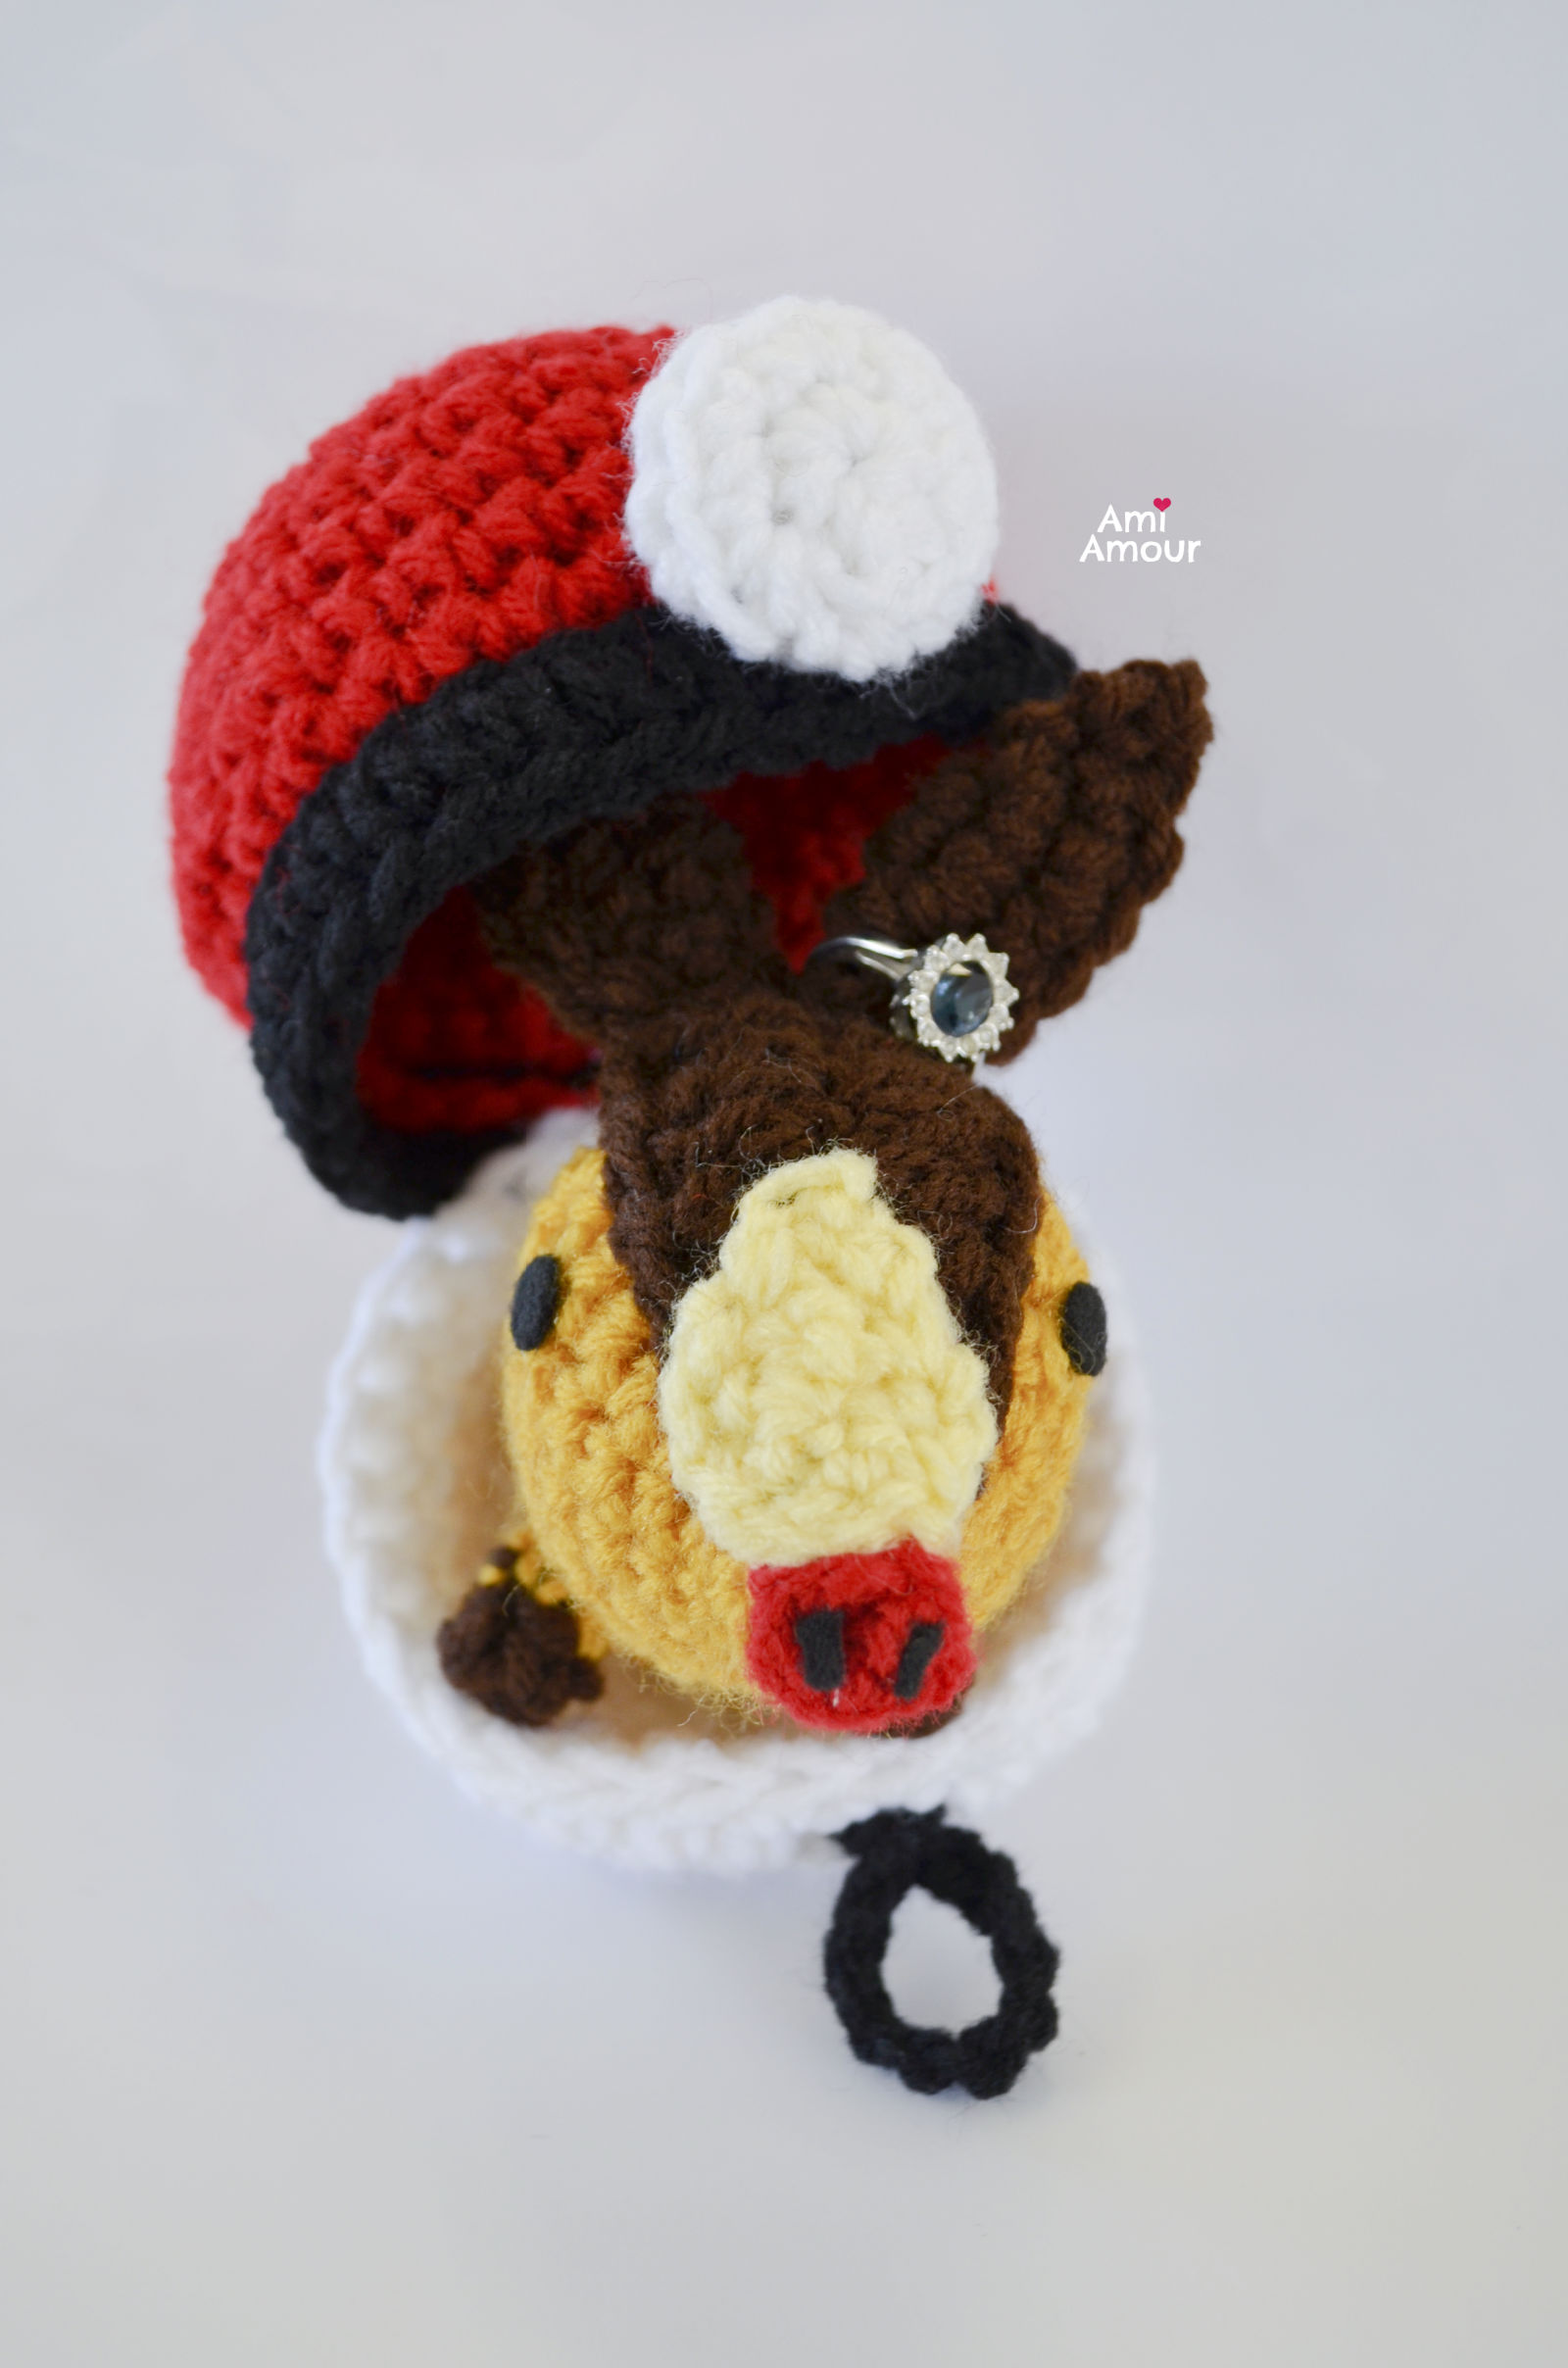
First is dot eyes. Here you can see how Tepig was used as a ring holder. The ears can work to hold rings!
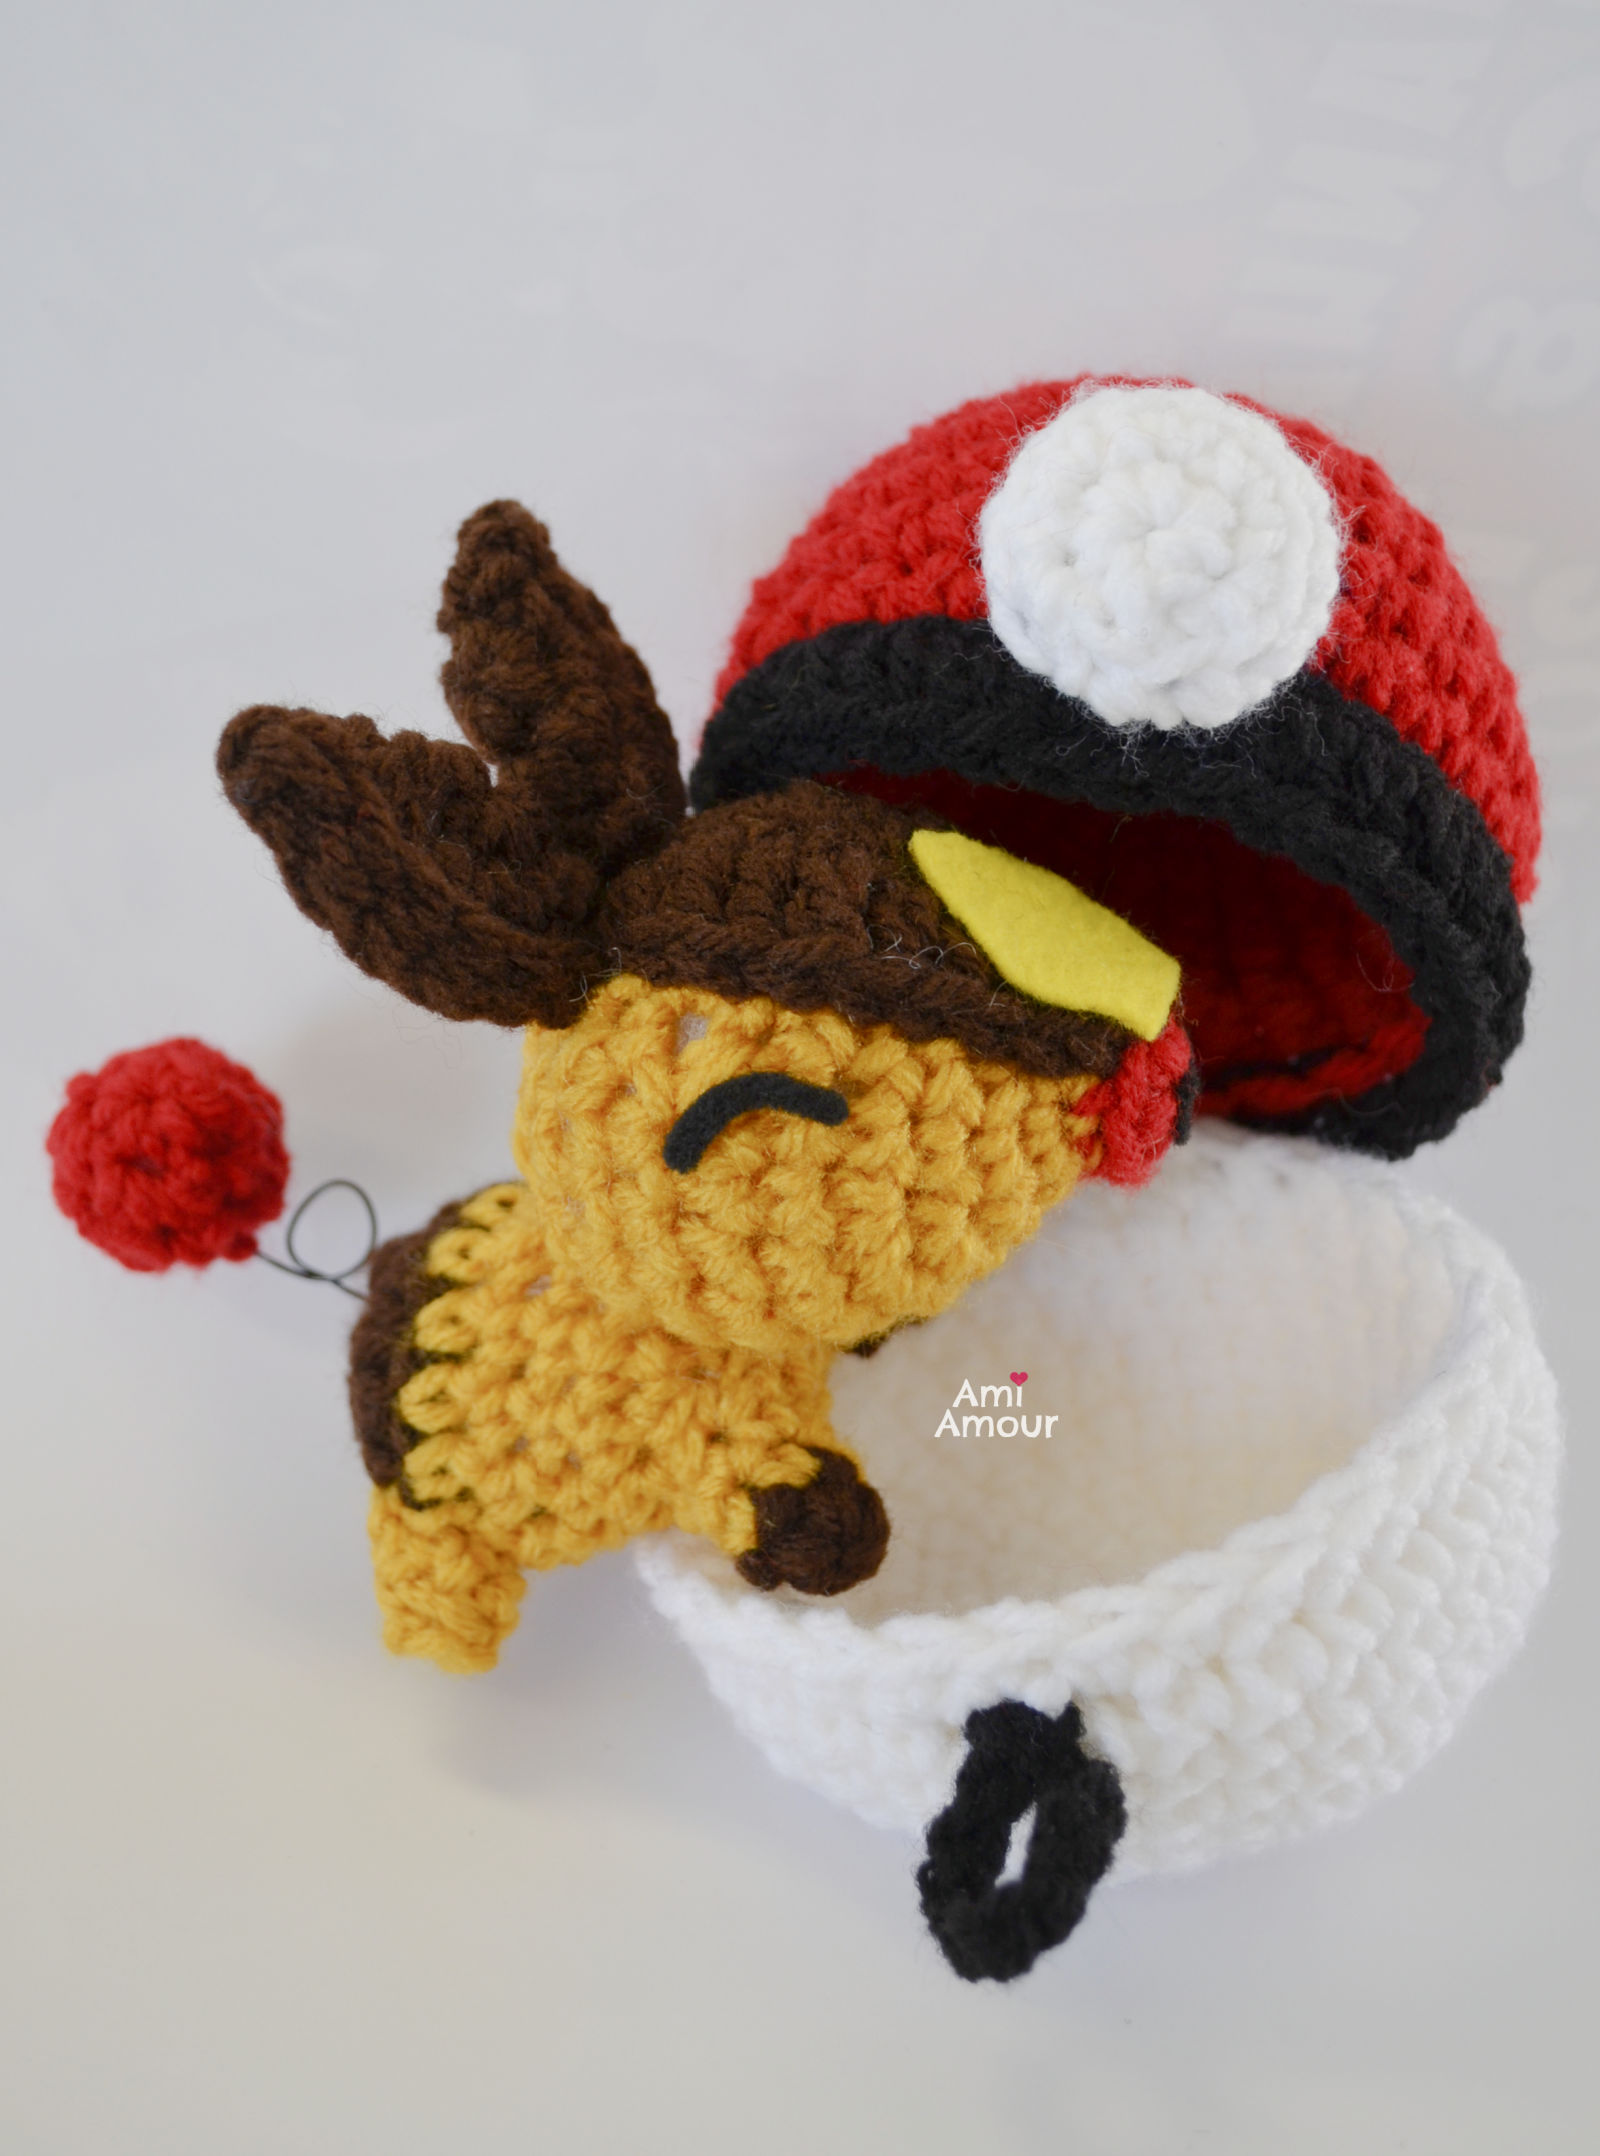
You can also give him smiling eyes.
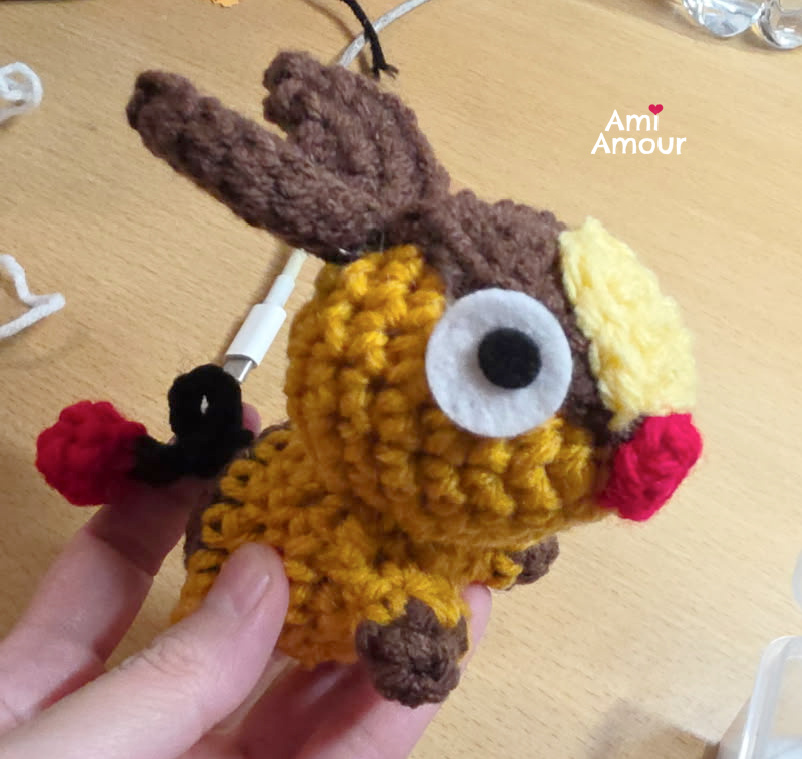
Here he is with felt eyes which includes both the whites and the black pupils.
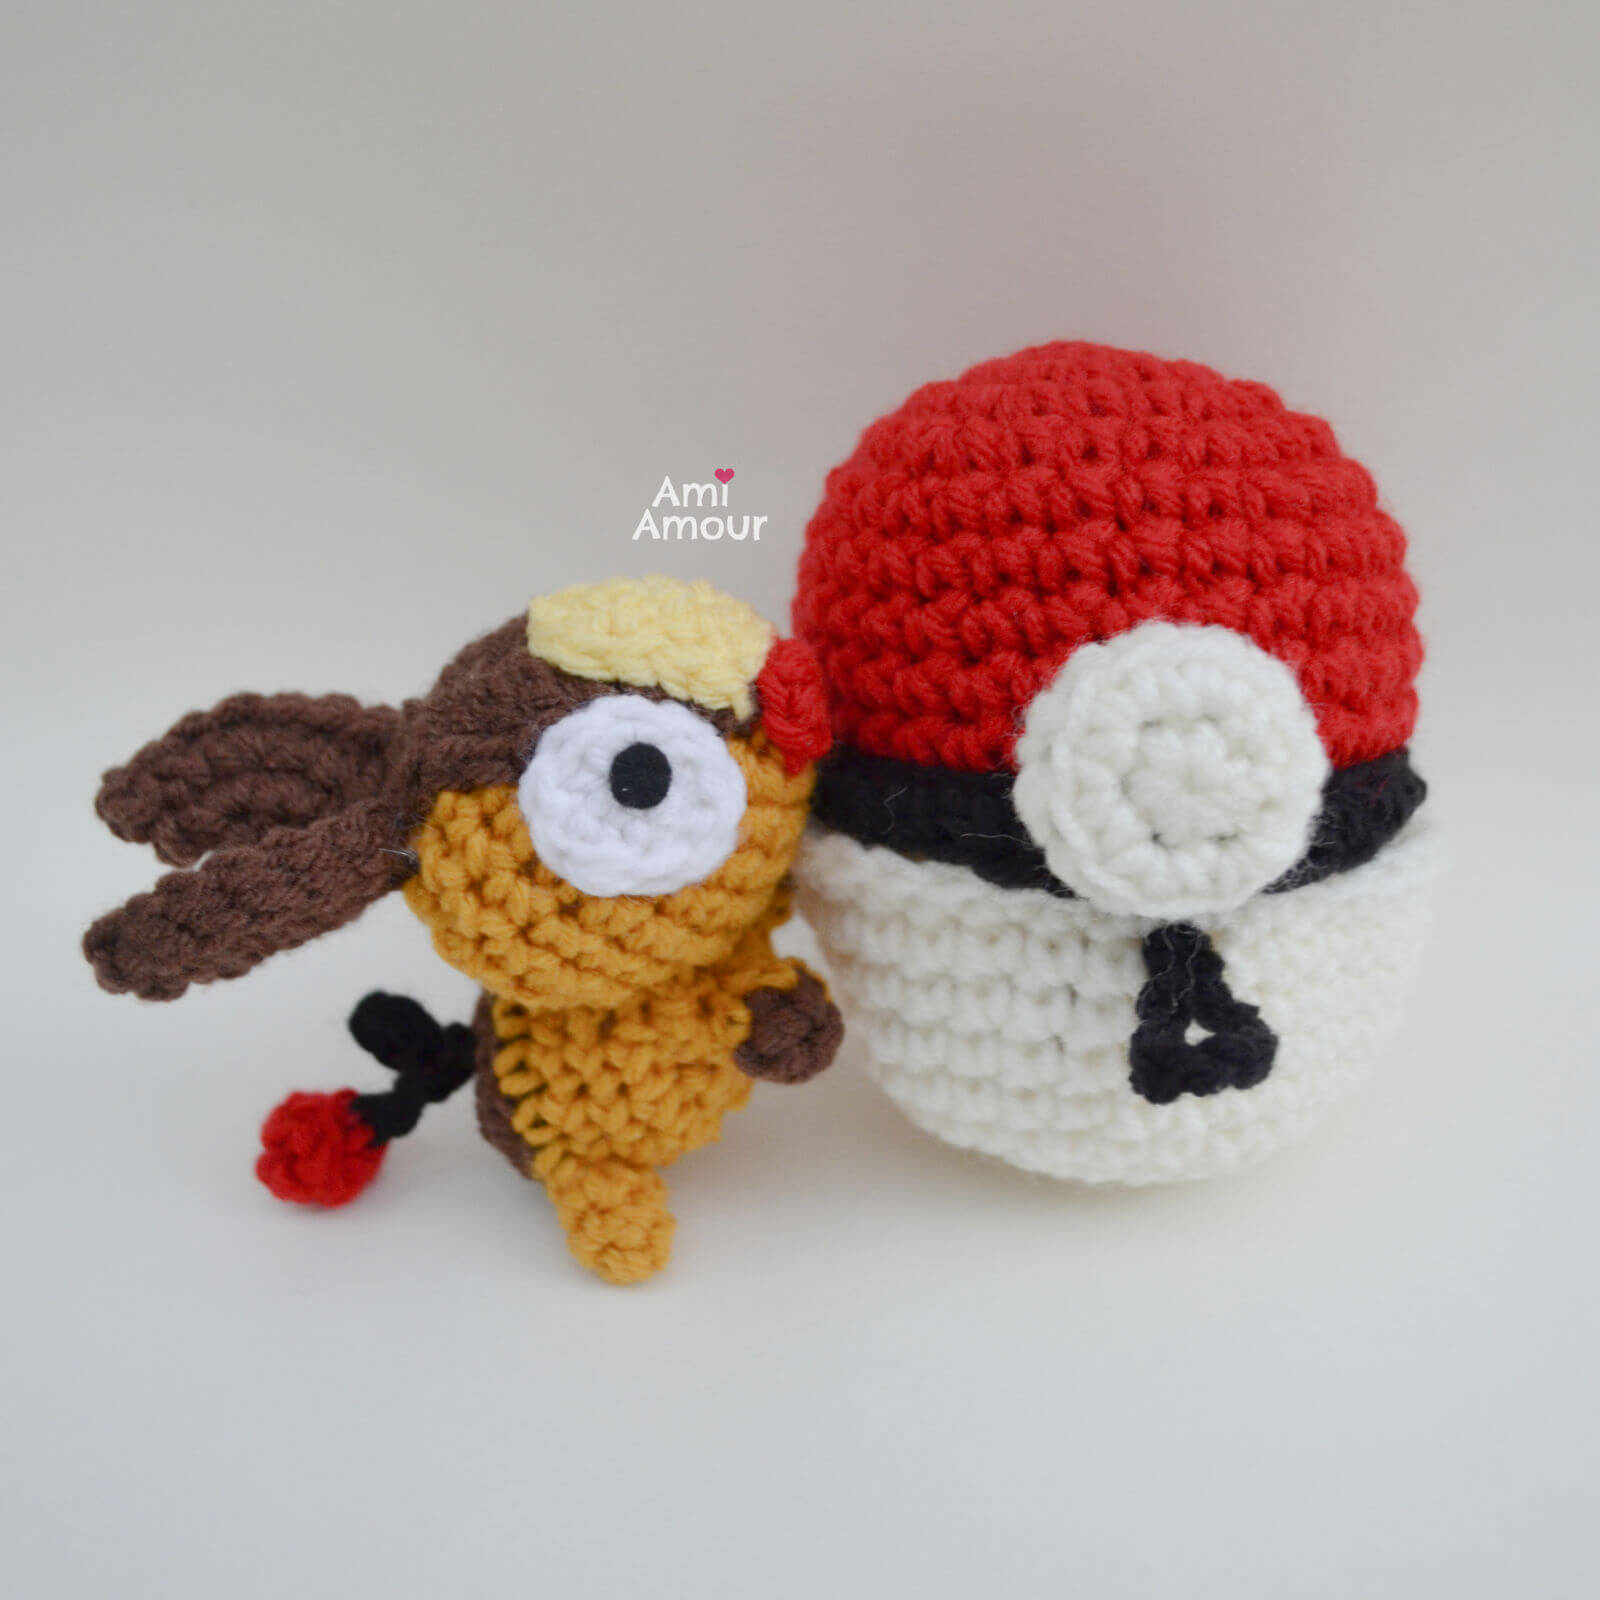
And my final iteration, crocheting the whites of the eyes. And to make things easier, I’ve also crocheted the curly part of the tail. Which variation of Tepig do you prefer?
Anyways I hope you enjoy this continuation of my chibi Pokemon: Gotta Crochet ‘Em All series. How many have you made so far? Which other Pokemon should I do next? Send me your suggestions!
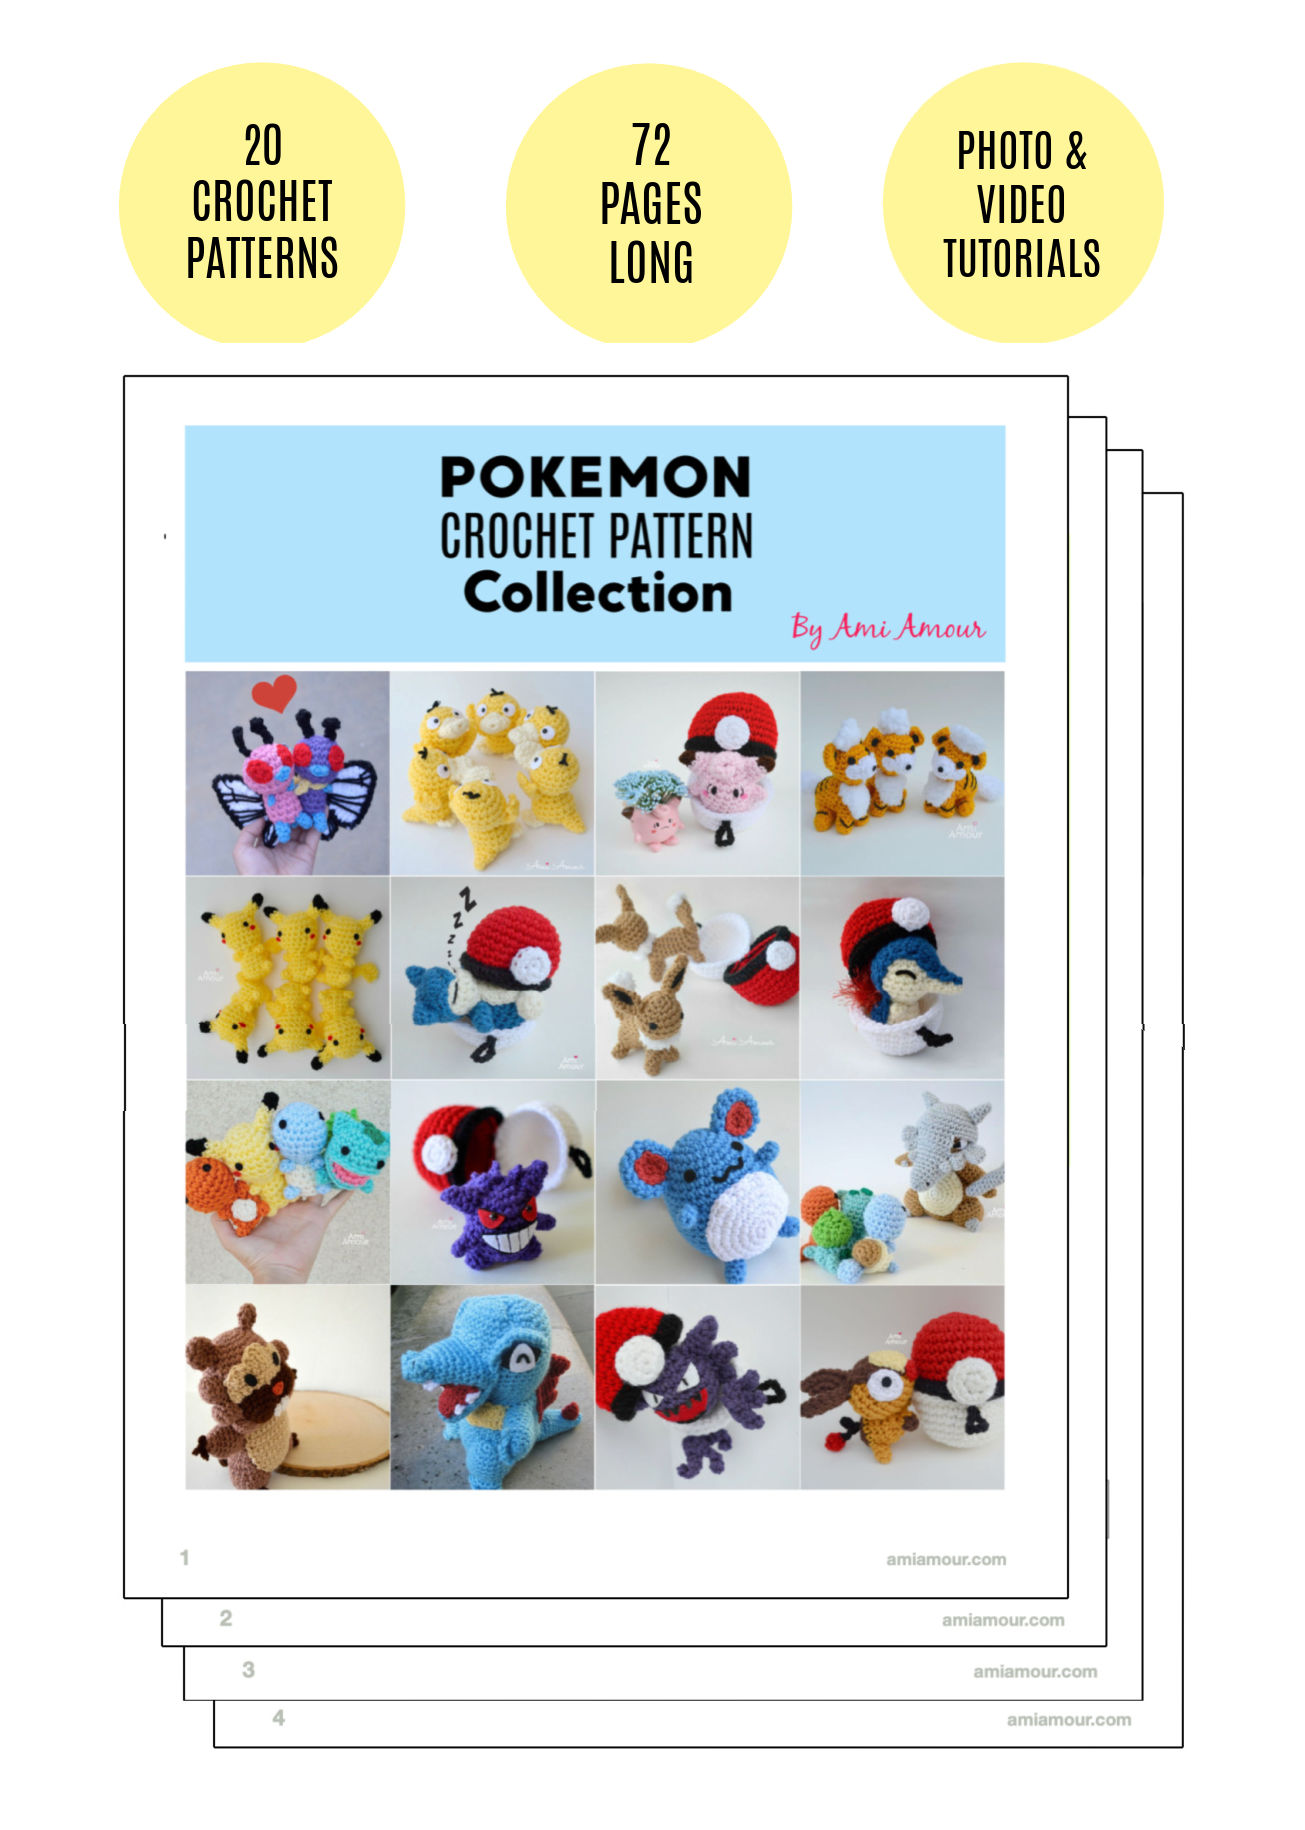
This Tepig pattern is free and the pattern is available below, but I’ve also finally compiled ALL my Pokemon Crochet patterns into a beautifully formatted e-book PDF collection.
It includes 20 different patterns and is 72 pages long! You can check it out here in my Etsy shop. Thank you for supporting my work!
Tepig Crochet Tutorial
See Tepig in action and crochet along with me!

Disclosure: This post contains affiliate links. This means I may receive a small commission if you decide to purchase anything by using one of these links.
Tepig Amigurumi Pattern
LEVEL: Easy Intermediate
CROCHET HOOK:
4.0mm size
YARN:
Red Heart Super saver (worsted weight, acrylic yarn)
– Gold
– Coffee
– White (very small amount)
– Cherry Red (very small amount)
– Black (very small amount)
NOTIONS:
Yarn Needle
Scissors
Stitch Marker
Black Felt
ABBREVIATIONS (American English crochet)
ch – chain
dc – double crochet
hdc – half double crochet
sc – single crochet
sl st – slip stitch
sc2tog – single crochet 2 together (sc dec)
st – stitch
SIZE: Approximately 4in wide and 3.5in tall (10cm wide and 9cm tall)
HEAD
Round 1: With red yarn, 6 sc into magic ring.
Sc into next st (change to gold yarn).
Round 2: With gold yarn, in Backloop only, sc in each st arounnd – 6 sc.
Round 3: 2 sc in next 3 st, sc in next 3 st – 9 sc.
Round 4: [2 sc in next st, sc in next st] 3 times, sc in next 3 st – 12 sc.
Round 5: [2 sc in next st, sc in next 2 st] 3 times, sc in next 3 st – 15 sc.
Round 6: [2 sc in next st, sc in next 3 st] 3 times, sc in next 3 st – 18 sc.
Round 7: [2 sc in next st, sc in next 8 st] around – 20 sc.
Round 8: [Sc2tog, sc in next 8 st] around – 18 sc.
Round 9: Sc in each st around – 18 sc.
Begin Stuffing and stuff as you go.
Round 10: [Sc2tog, sc in next st] around – 12 sc.
Round 11: Sc2tog around – 6 sc.
Fasten off, leaving a long tail.
HEAD MARK #1
With brown yarn
Ch 10, sc in 2nd ch from hook, dc in next 4 st, hdc in next 3 st, sc in next st.
On other side of chain, sc in next st, hdc in next 3 st, dc in next 4 st, sc in next st, sl st in next st.
Fasten off, leaving a long tail
HEAD MARK #2
With yellow yarn
Row 1: Ch 4, sc in 2nd ch from hook, sc in next 2 st – 3 sc.
Row 2: Ch 1, turn, sc in each st across – 3 sc.
Row 3: Ch 1, turn, skip first st, sc in next 2 st – 2 sc.
Row 4: Ch 1, turn, skip first st, sc in next st – 1 sc.
Sl st down one side only. See video tutorial here.
Fasten off, leaving a long tail.
EAR (make 2)
With brown yarn
Round 1: 6 sc into magic ring.
Round 2: 2 sc in each st around – 12 sc.
Round 3: [2 sc in next st, sc in next 3 st] around – 15 sc.
Fold in half, sew shut through both layers with sl st around.
See photos.
BODY
Round 1: With brown yarn, 6 sc into magic ring.
Round 2: 2 sc in each st around – 12 sc.
Round 3: [2 sc in next st, sc in next 5 st] around – 14 sc.
Round 4: With gold yarn, sc in each st around – 14 sc.
Round 5: [Sc2tog, sc in next 5 st] around – 12 sc.
Round 6-7: Sc in each st around – 12 sc.
Round 8: Sc2tog around – 6 sc.
Fasten off, leaving a long tail.
Stuff and sew closed.
FRONT LEG (make 2)
Round 1: With brown yarn, 4 sc into magic ring.
Round 2: With gold yarn, 2 sc in next st, sc in next 3 st – 5 sc.
Round 3: Sc in each st around – 5 sc.
Fasten off, leaving a long tail.
HIND LEG (make 2)
With gold yarn
Round 1: 4 sc into magic ring.
Round 2: 2 sc in next st, sc in next 3 st – 5 sc.
Round 3: Sc in each st around – 5 sc.
Fasten off, leaving a long tail.
TAIL BALL
With red yarn
Round 1: 4 sc into magic ring.
Round 2: [2 sc in next st, sc in next st] around – 6 sc.
Round 3: [Sc2tog, sc in next st] around – 4 sc.
Fasten off, leaving a long tail.
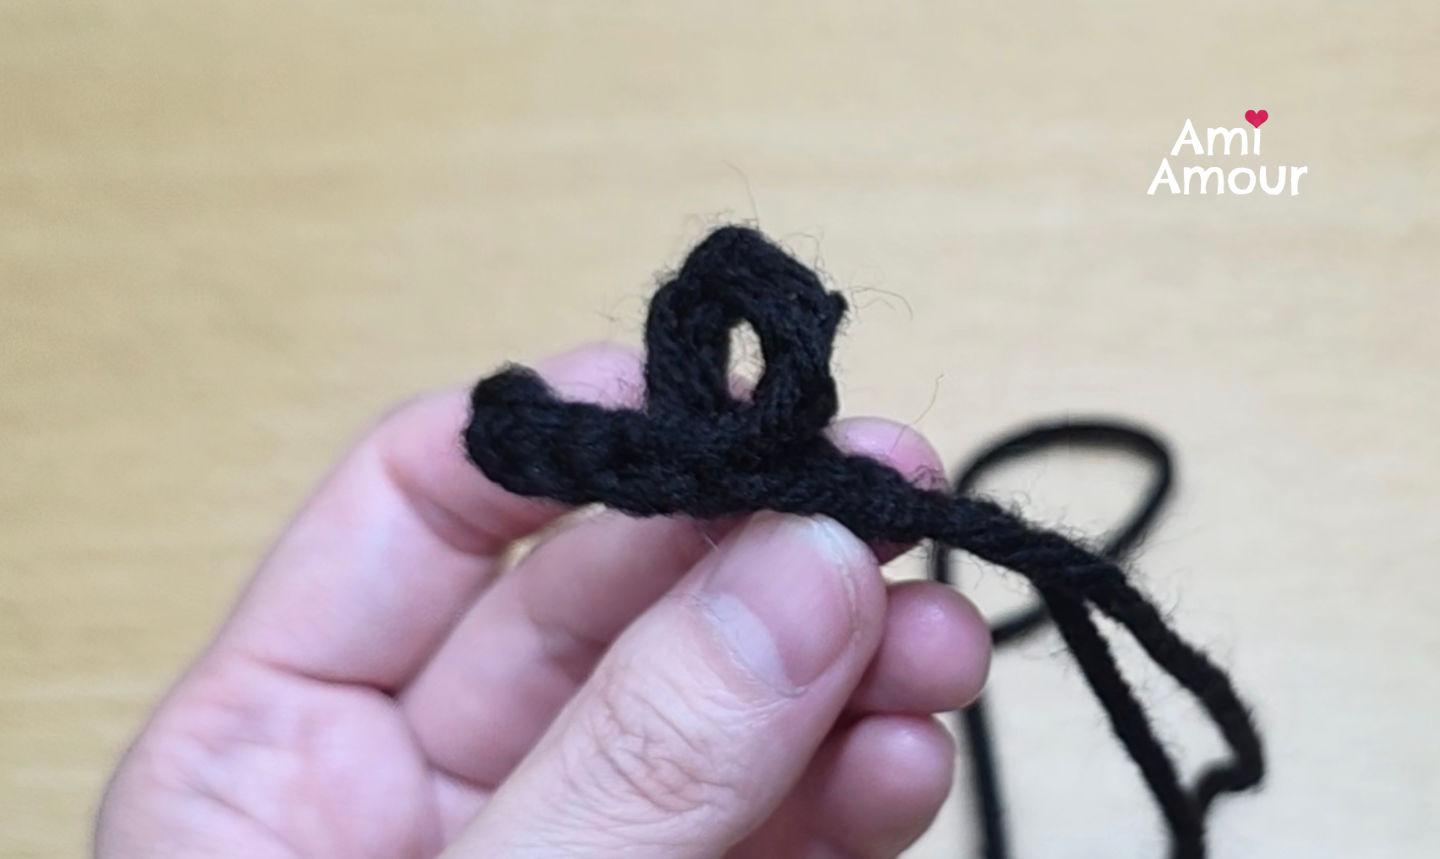
CHAIN TAIL
With black yarn, ch 12. Fasten off leaving a long tail.
Fold a loop in the middle section and sew into place.
EYE (make 2)
With white yarn
Round 1: 4 sc into magic ring.
Round 2: 2 sc in each st around.
Sl st into next st.
Fasten off, leaving a long tail.

TEPIG AMIGURUMI ASSEMBLY
Follow along with the assembly in the video tutorial here.
1. Sew Head Mark #1 to Head above the red nose.
2. Sew Head Mark #2 on top of Head Mark #1 and also above the red nose (See photos for reference).
3. Sew Ears on top of Head right above the Head Mark #1.
4. Sew Head to Body.
5. Sew Front Legs to Body.
6. Sew Hind Legs to Body.
7. Sew Chain Tail to back of Body.
8. Sew Red Ball to Tail.
9. Sew Eyes to Face.
10. Cut 2 small circles from black felt for the pupils.
11. Glue on the black felt circles to the eyes with Fabri-tac glue.
12. Make a crochet Pokeball Pod for Tepig.
13. Tag me with your projects on Instagram @ami_amour. I’d love to see!

No Comments