
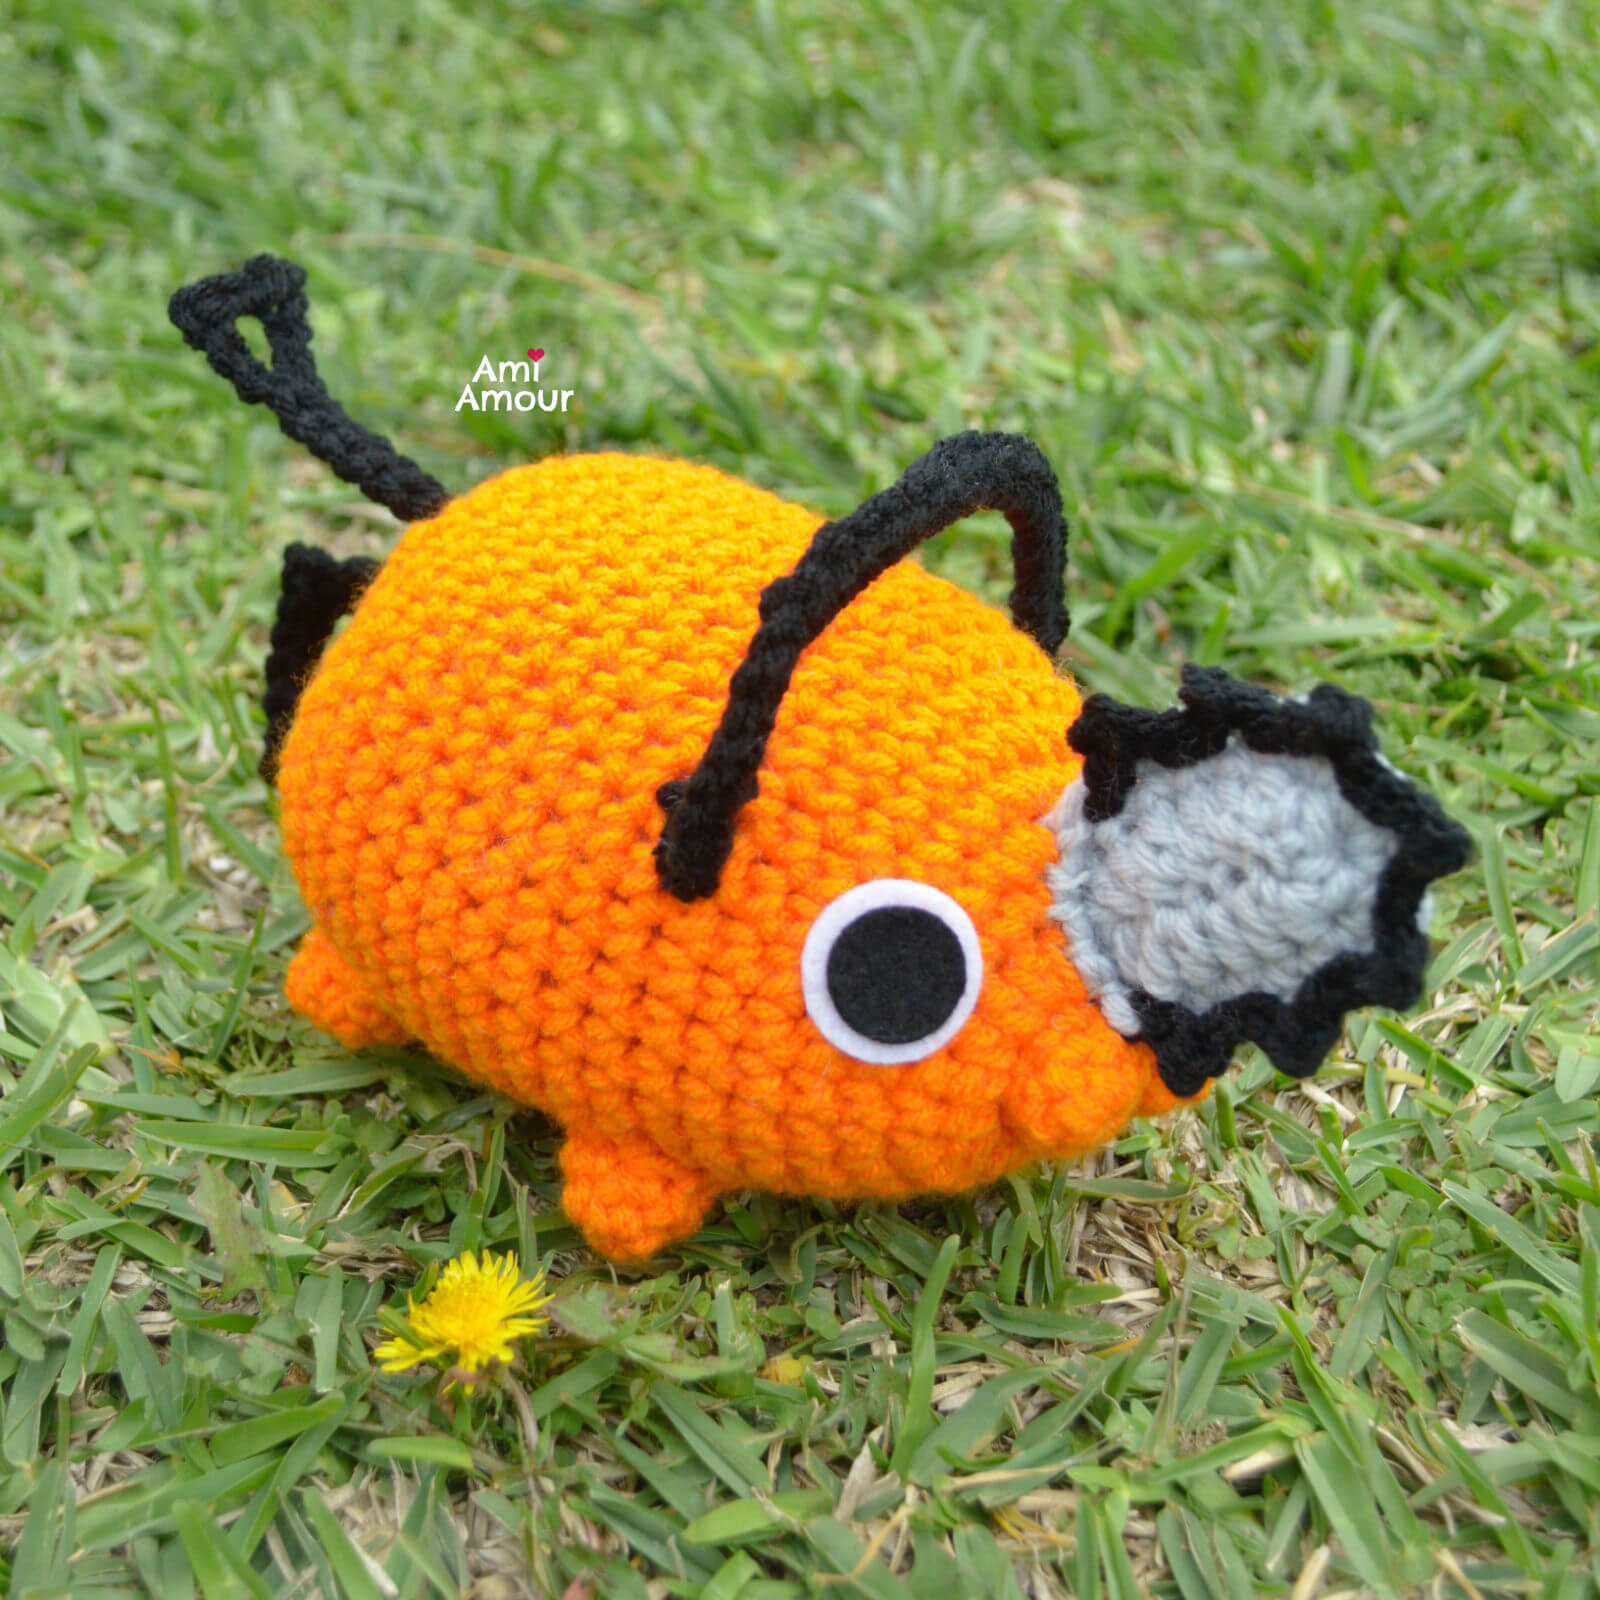
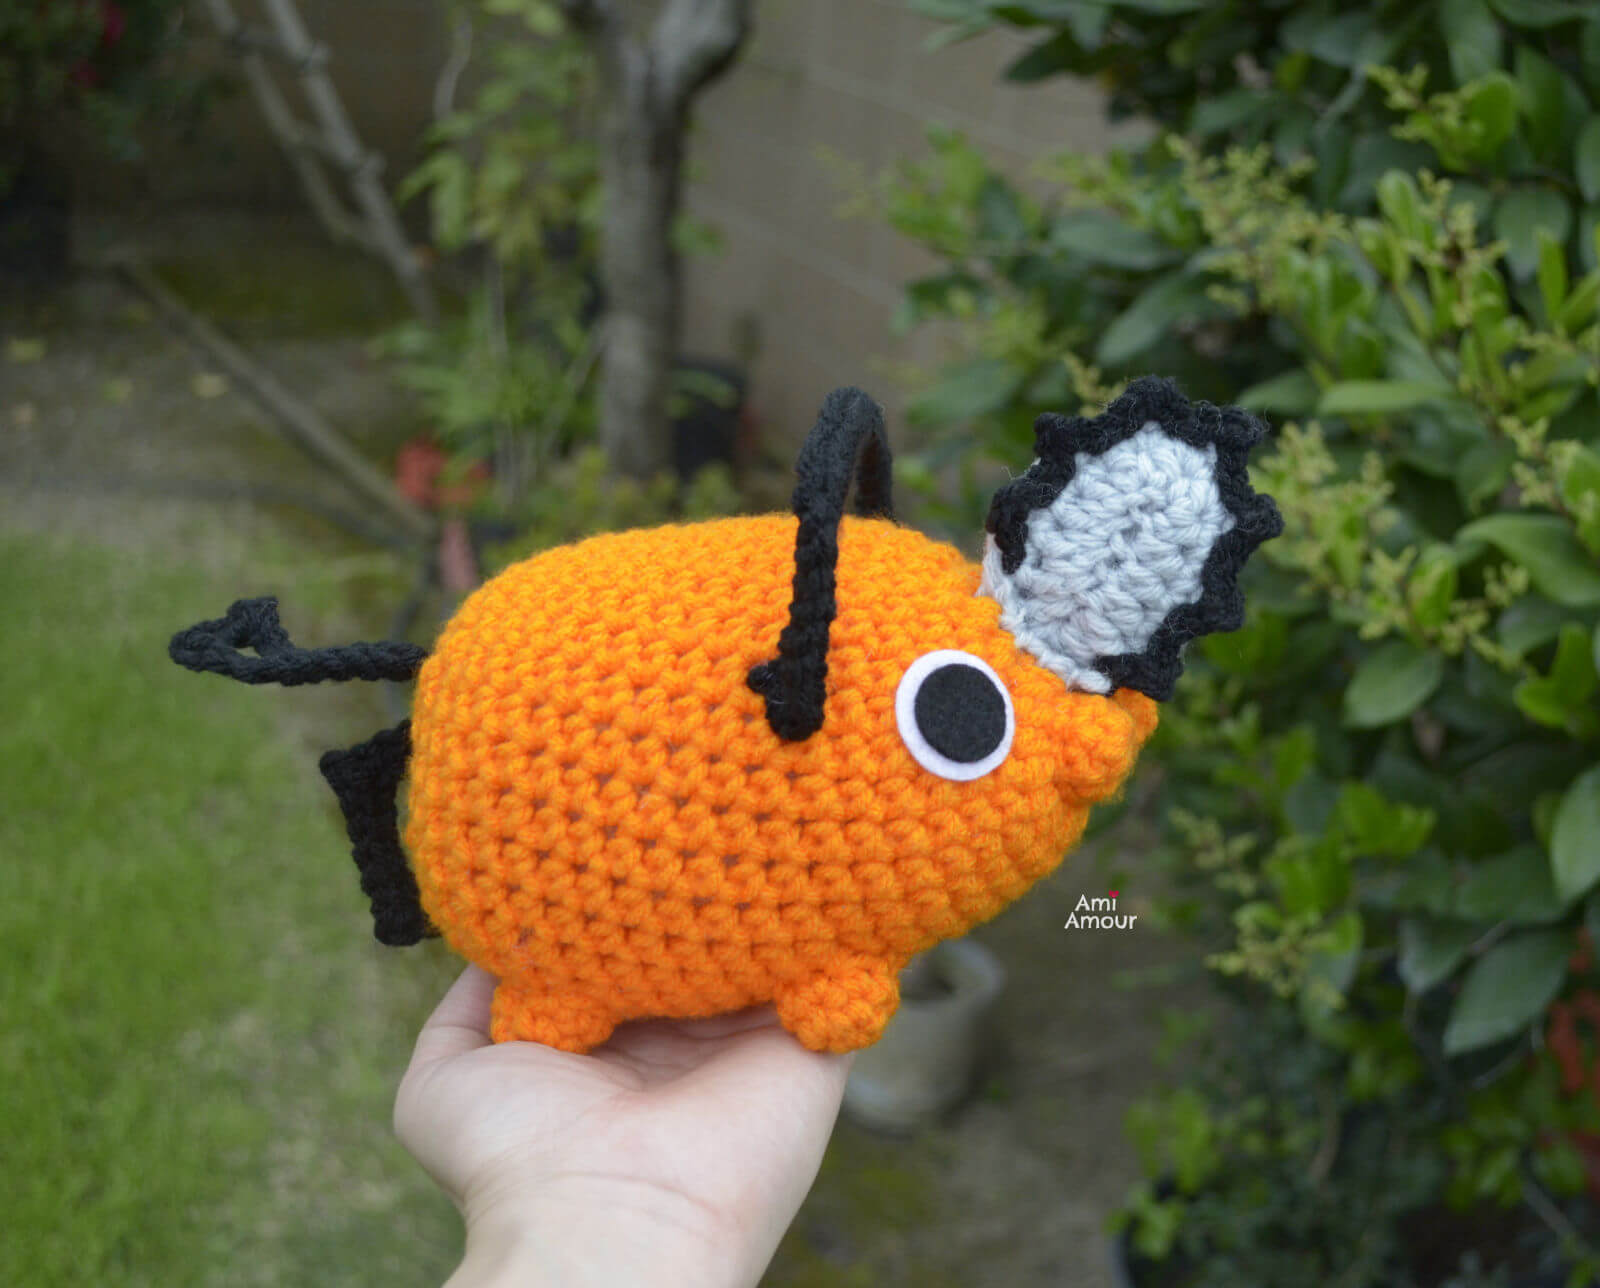
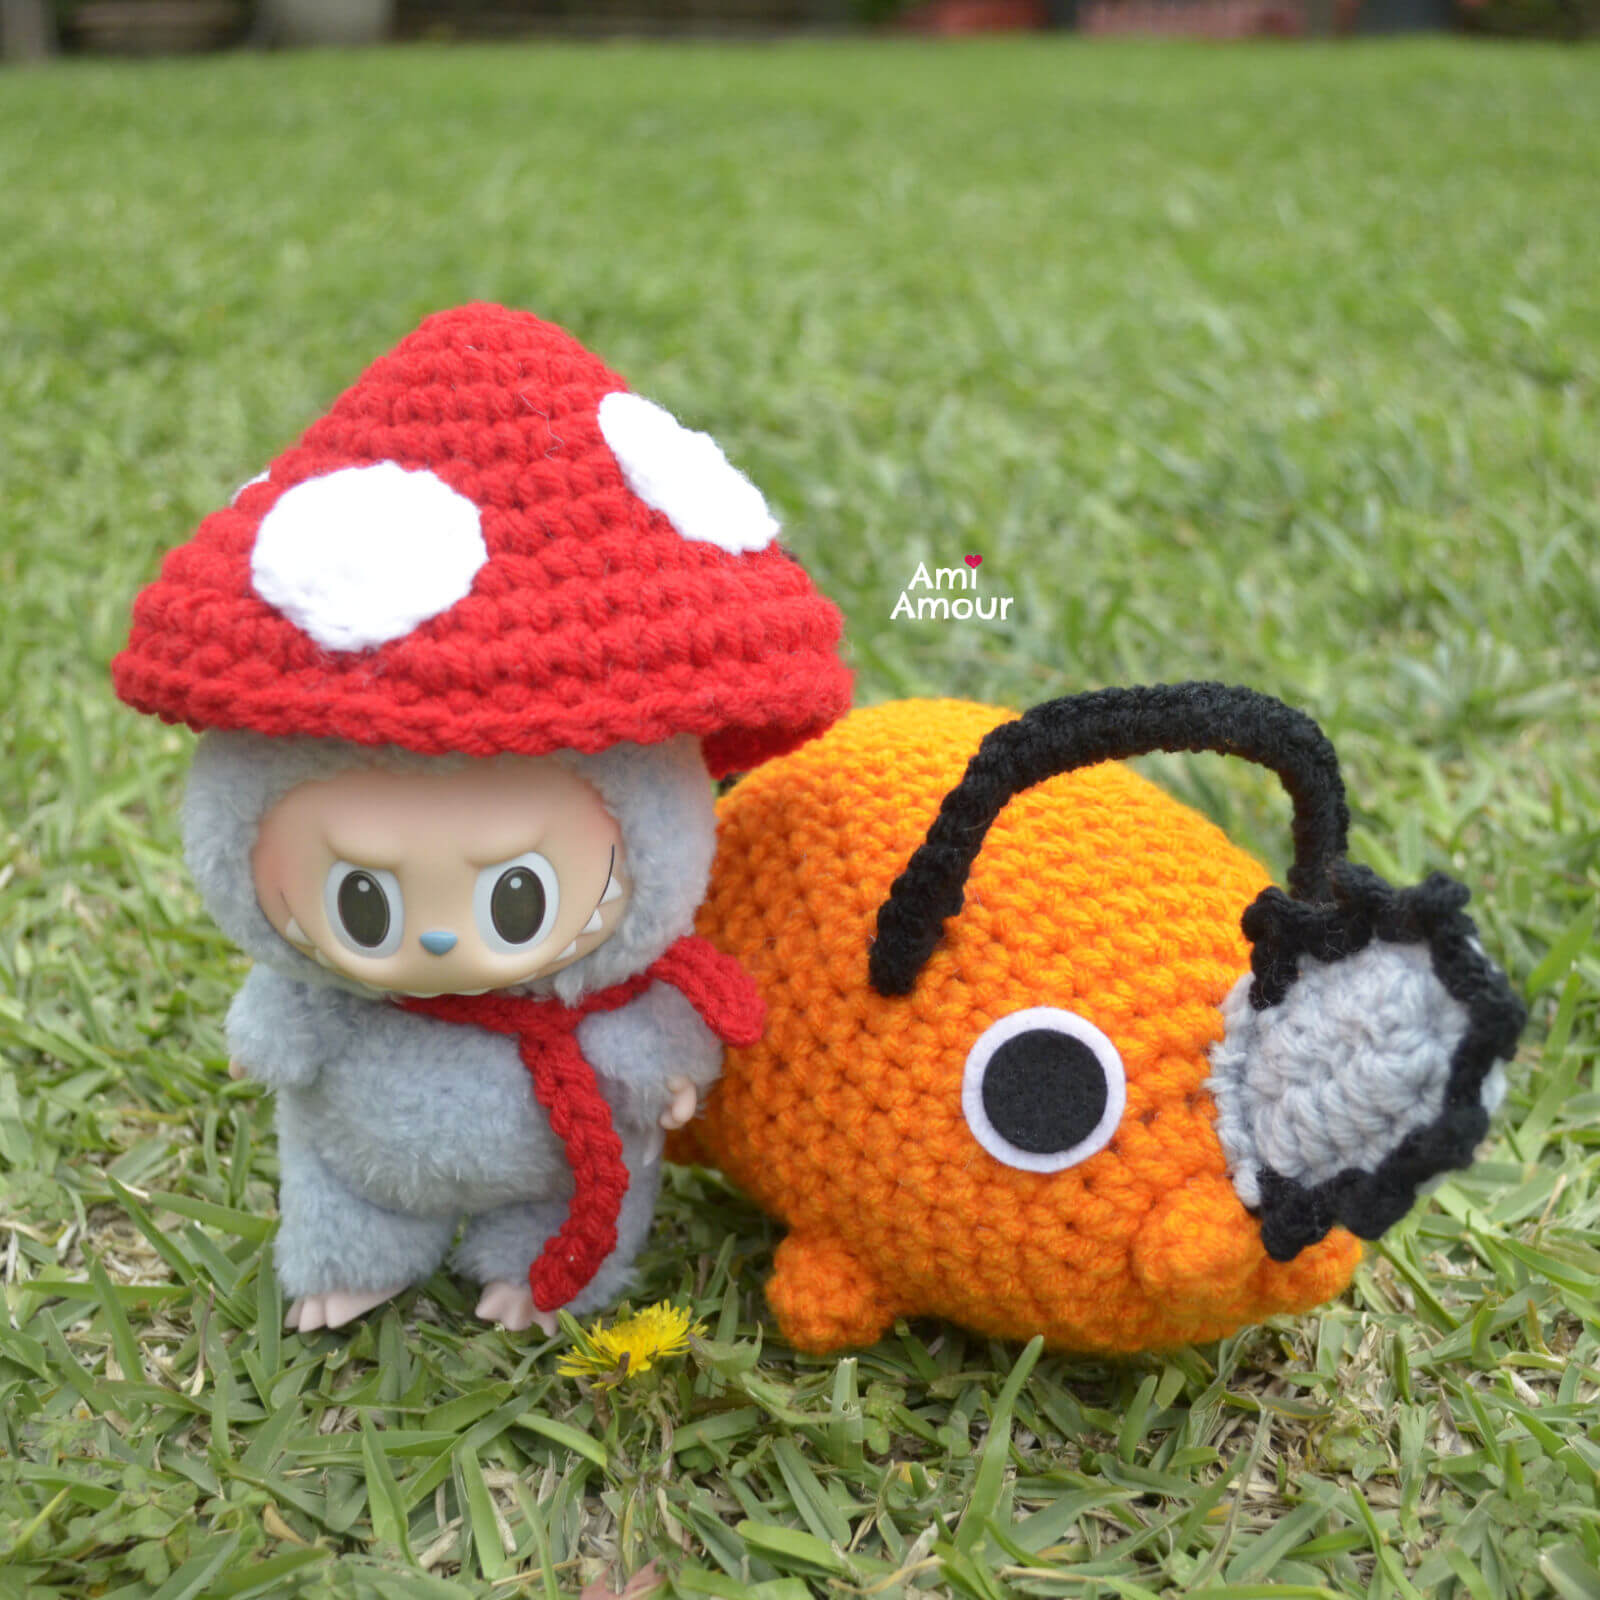
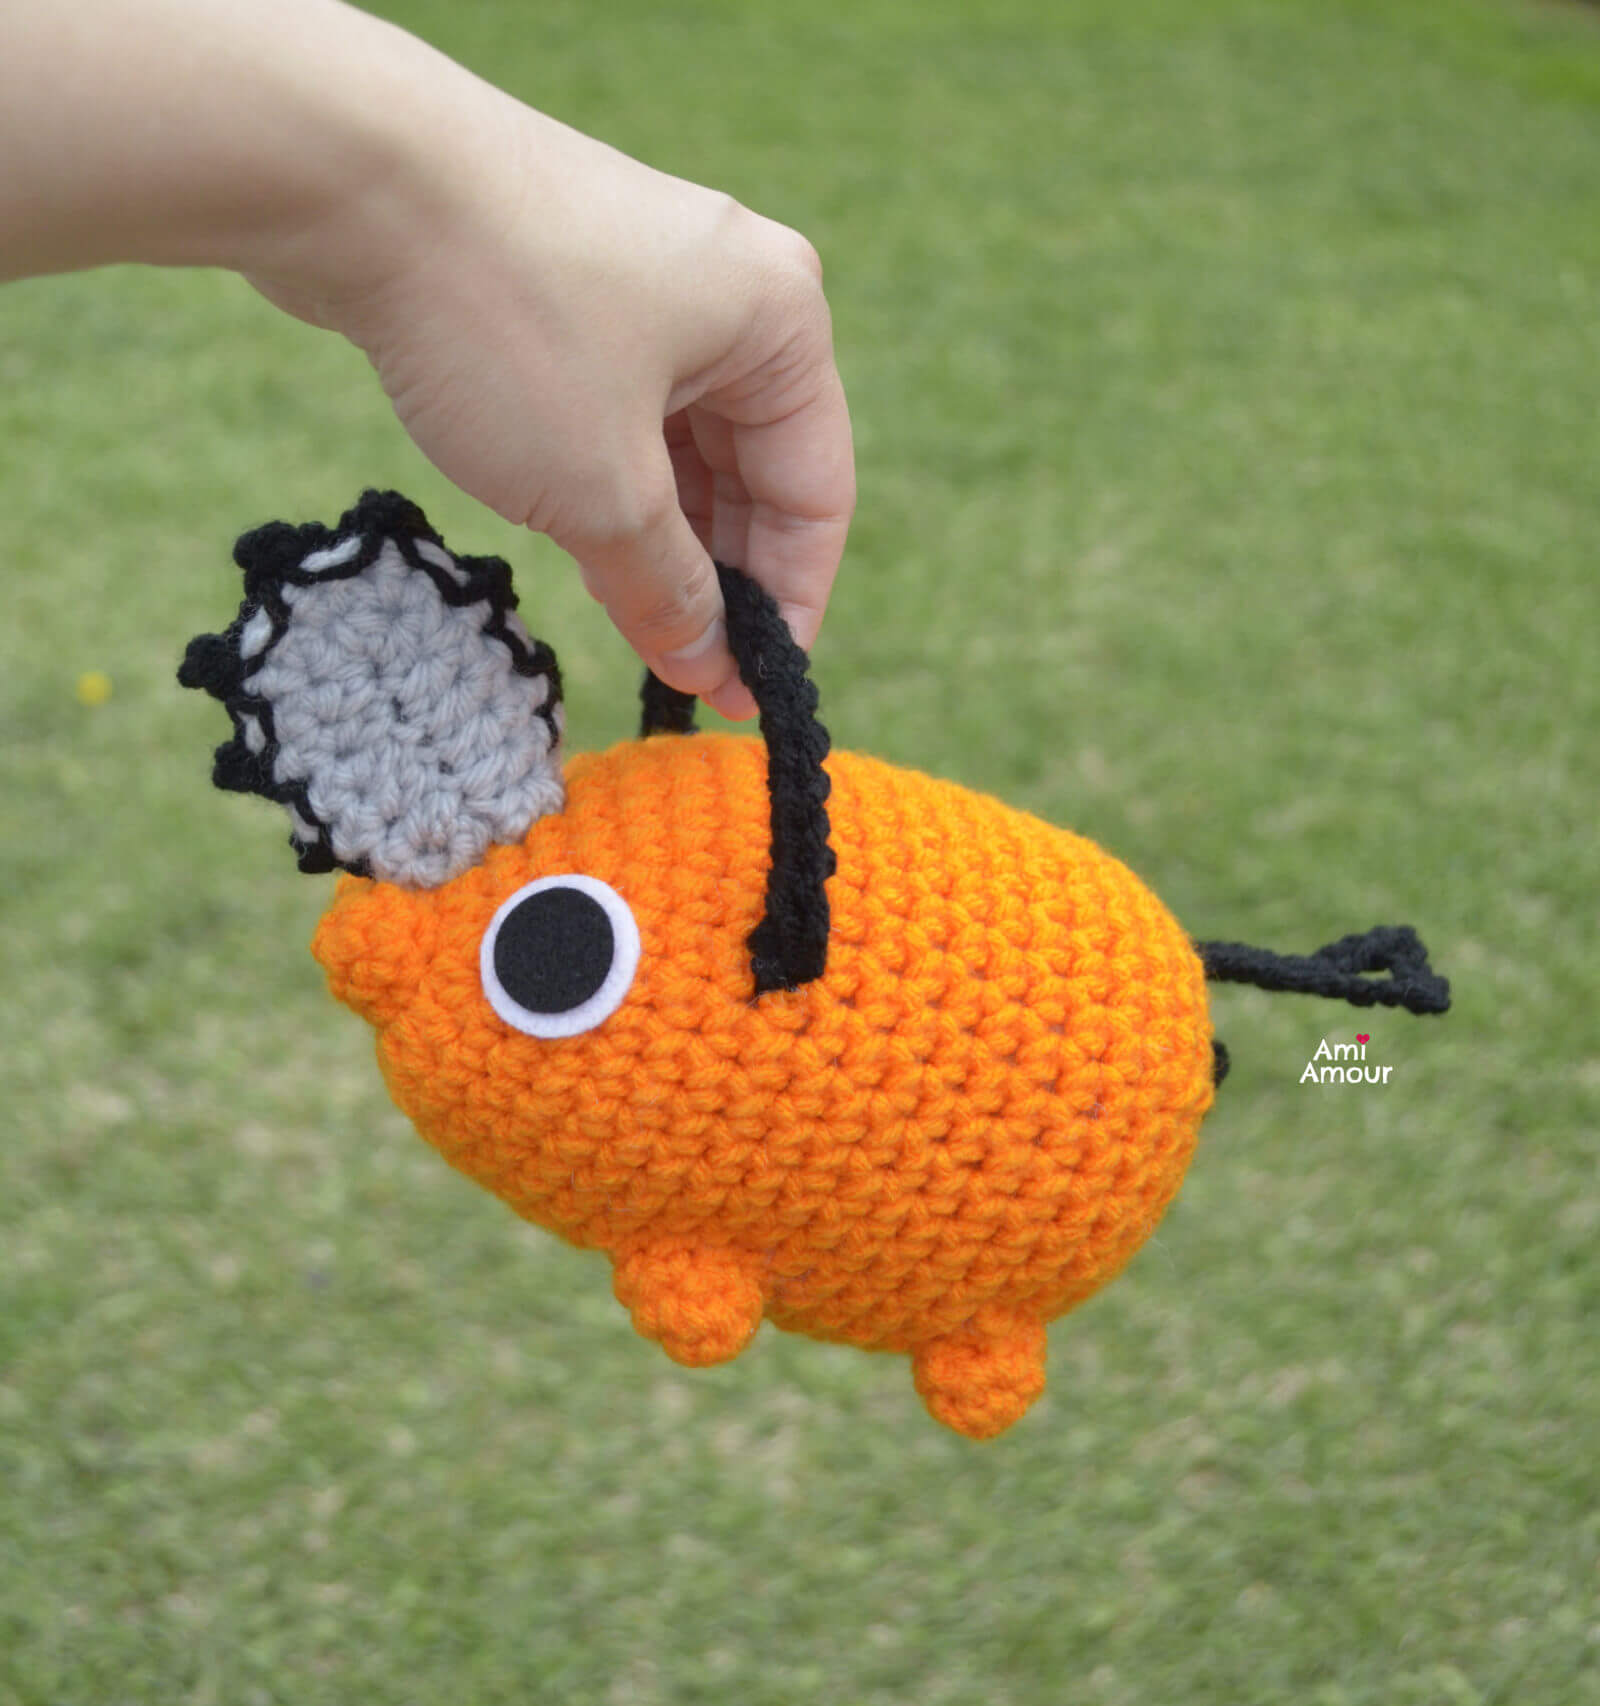
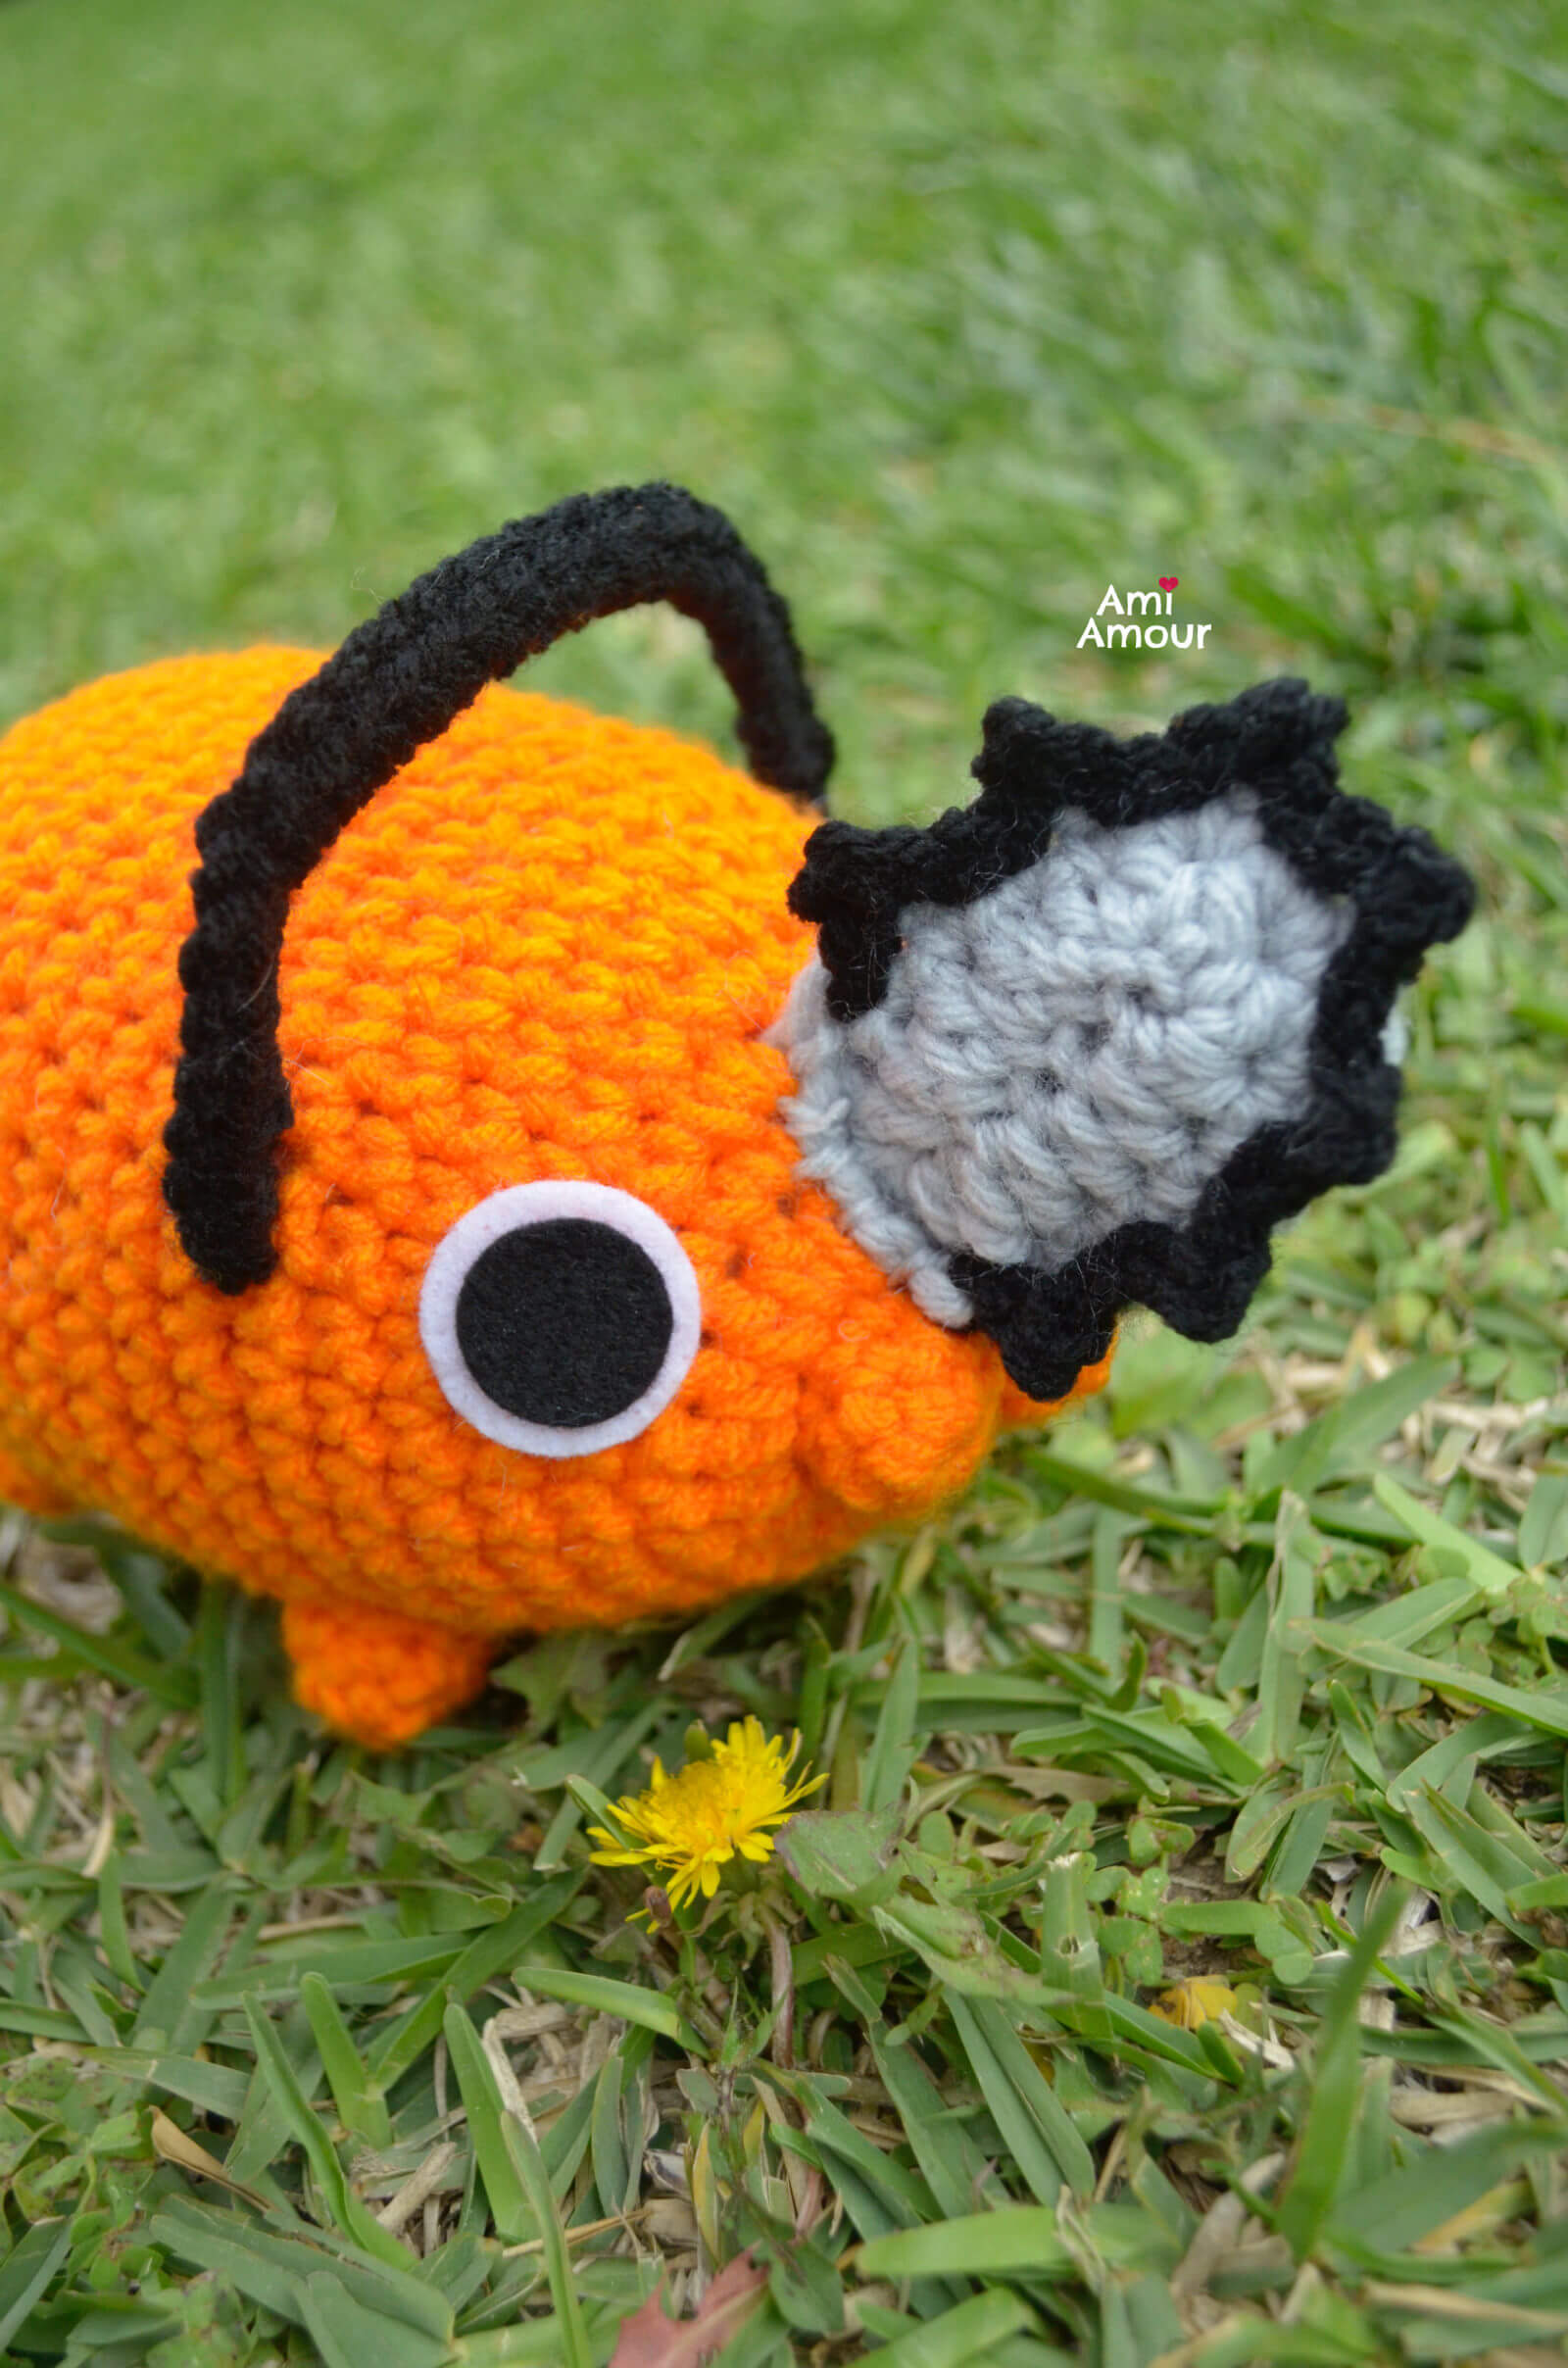
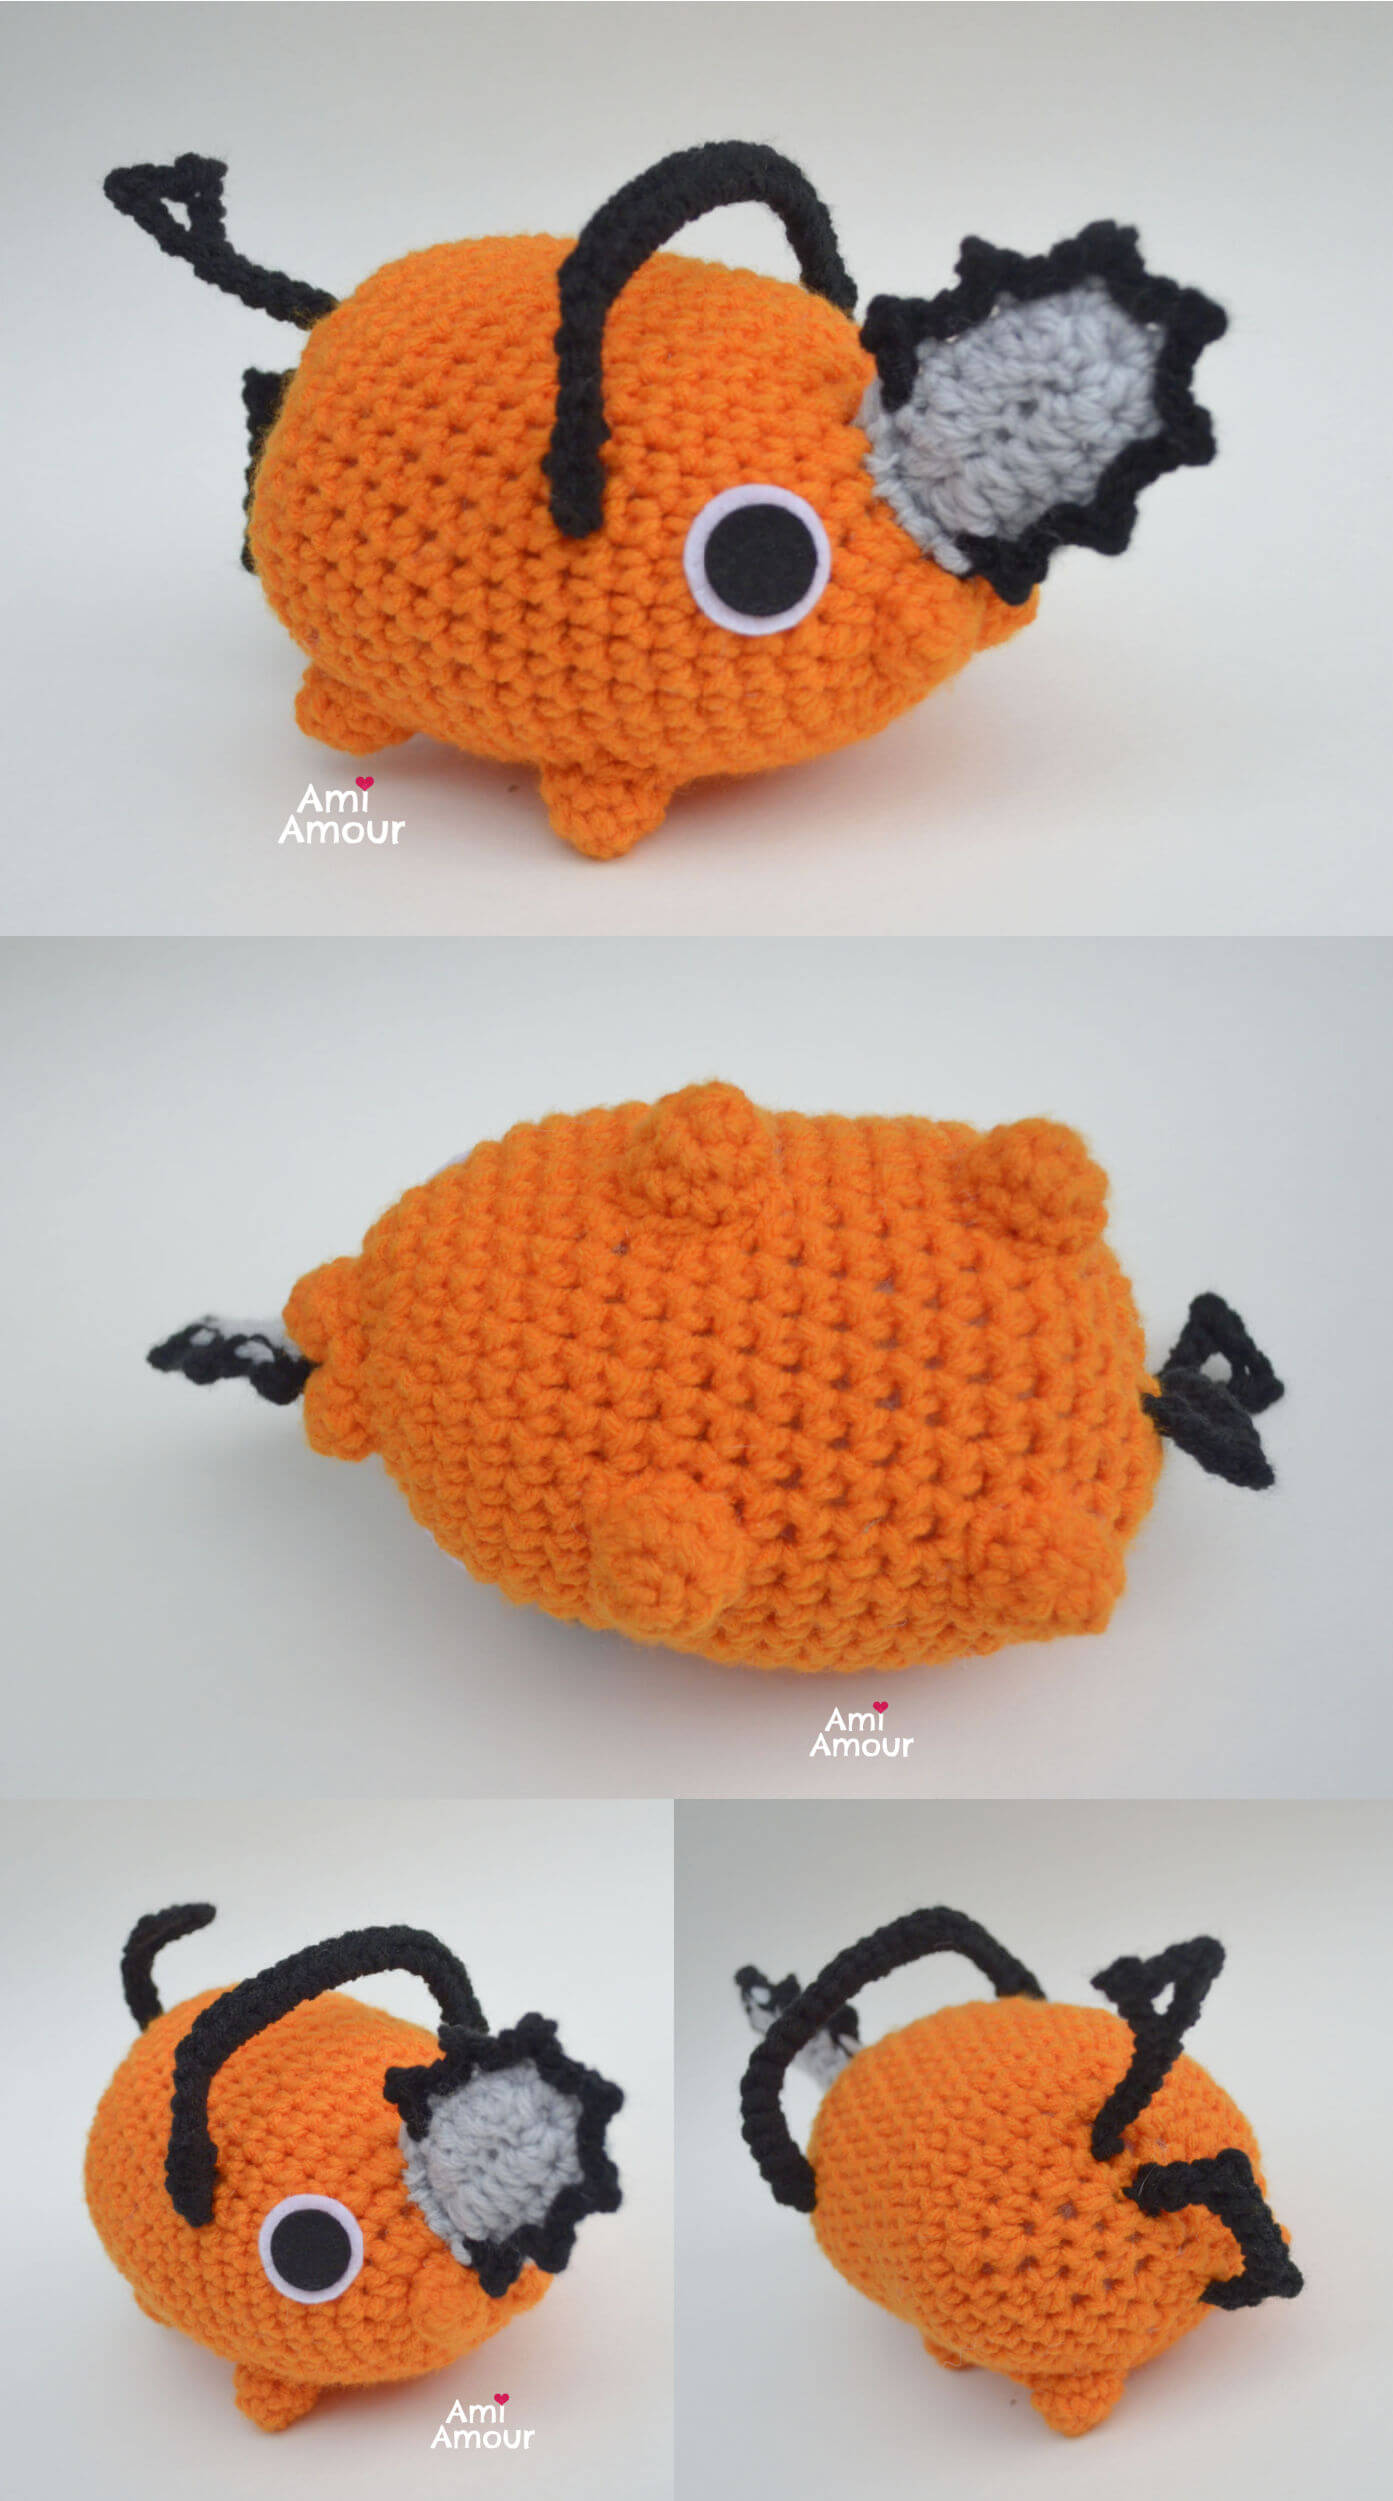
Here is crochet Pochita from the anime series, Chainsaw Man, looking devilishly cute! His appearance looks like a dog and reminds me of a pug with his face and snout.
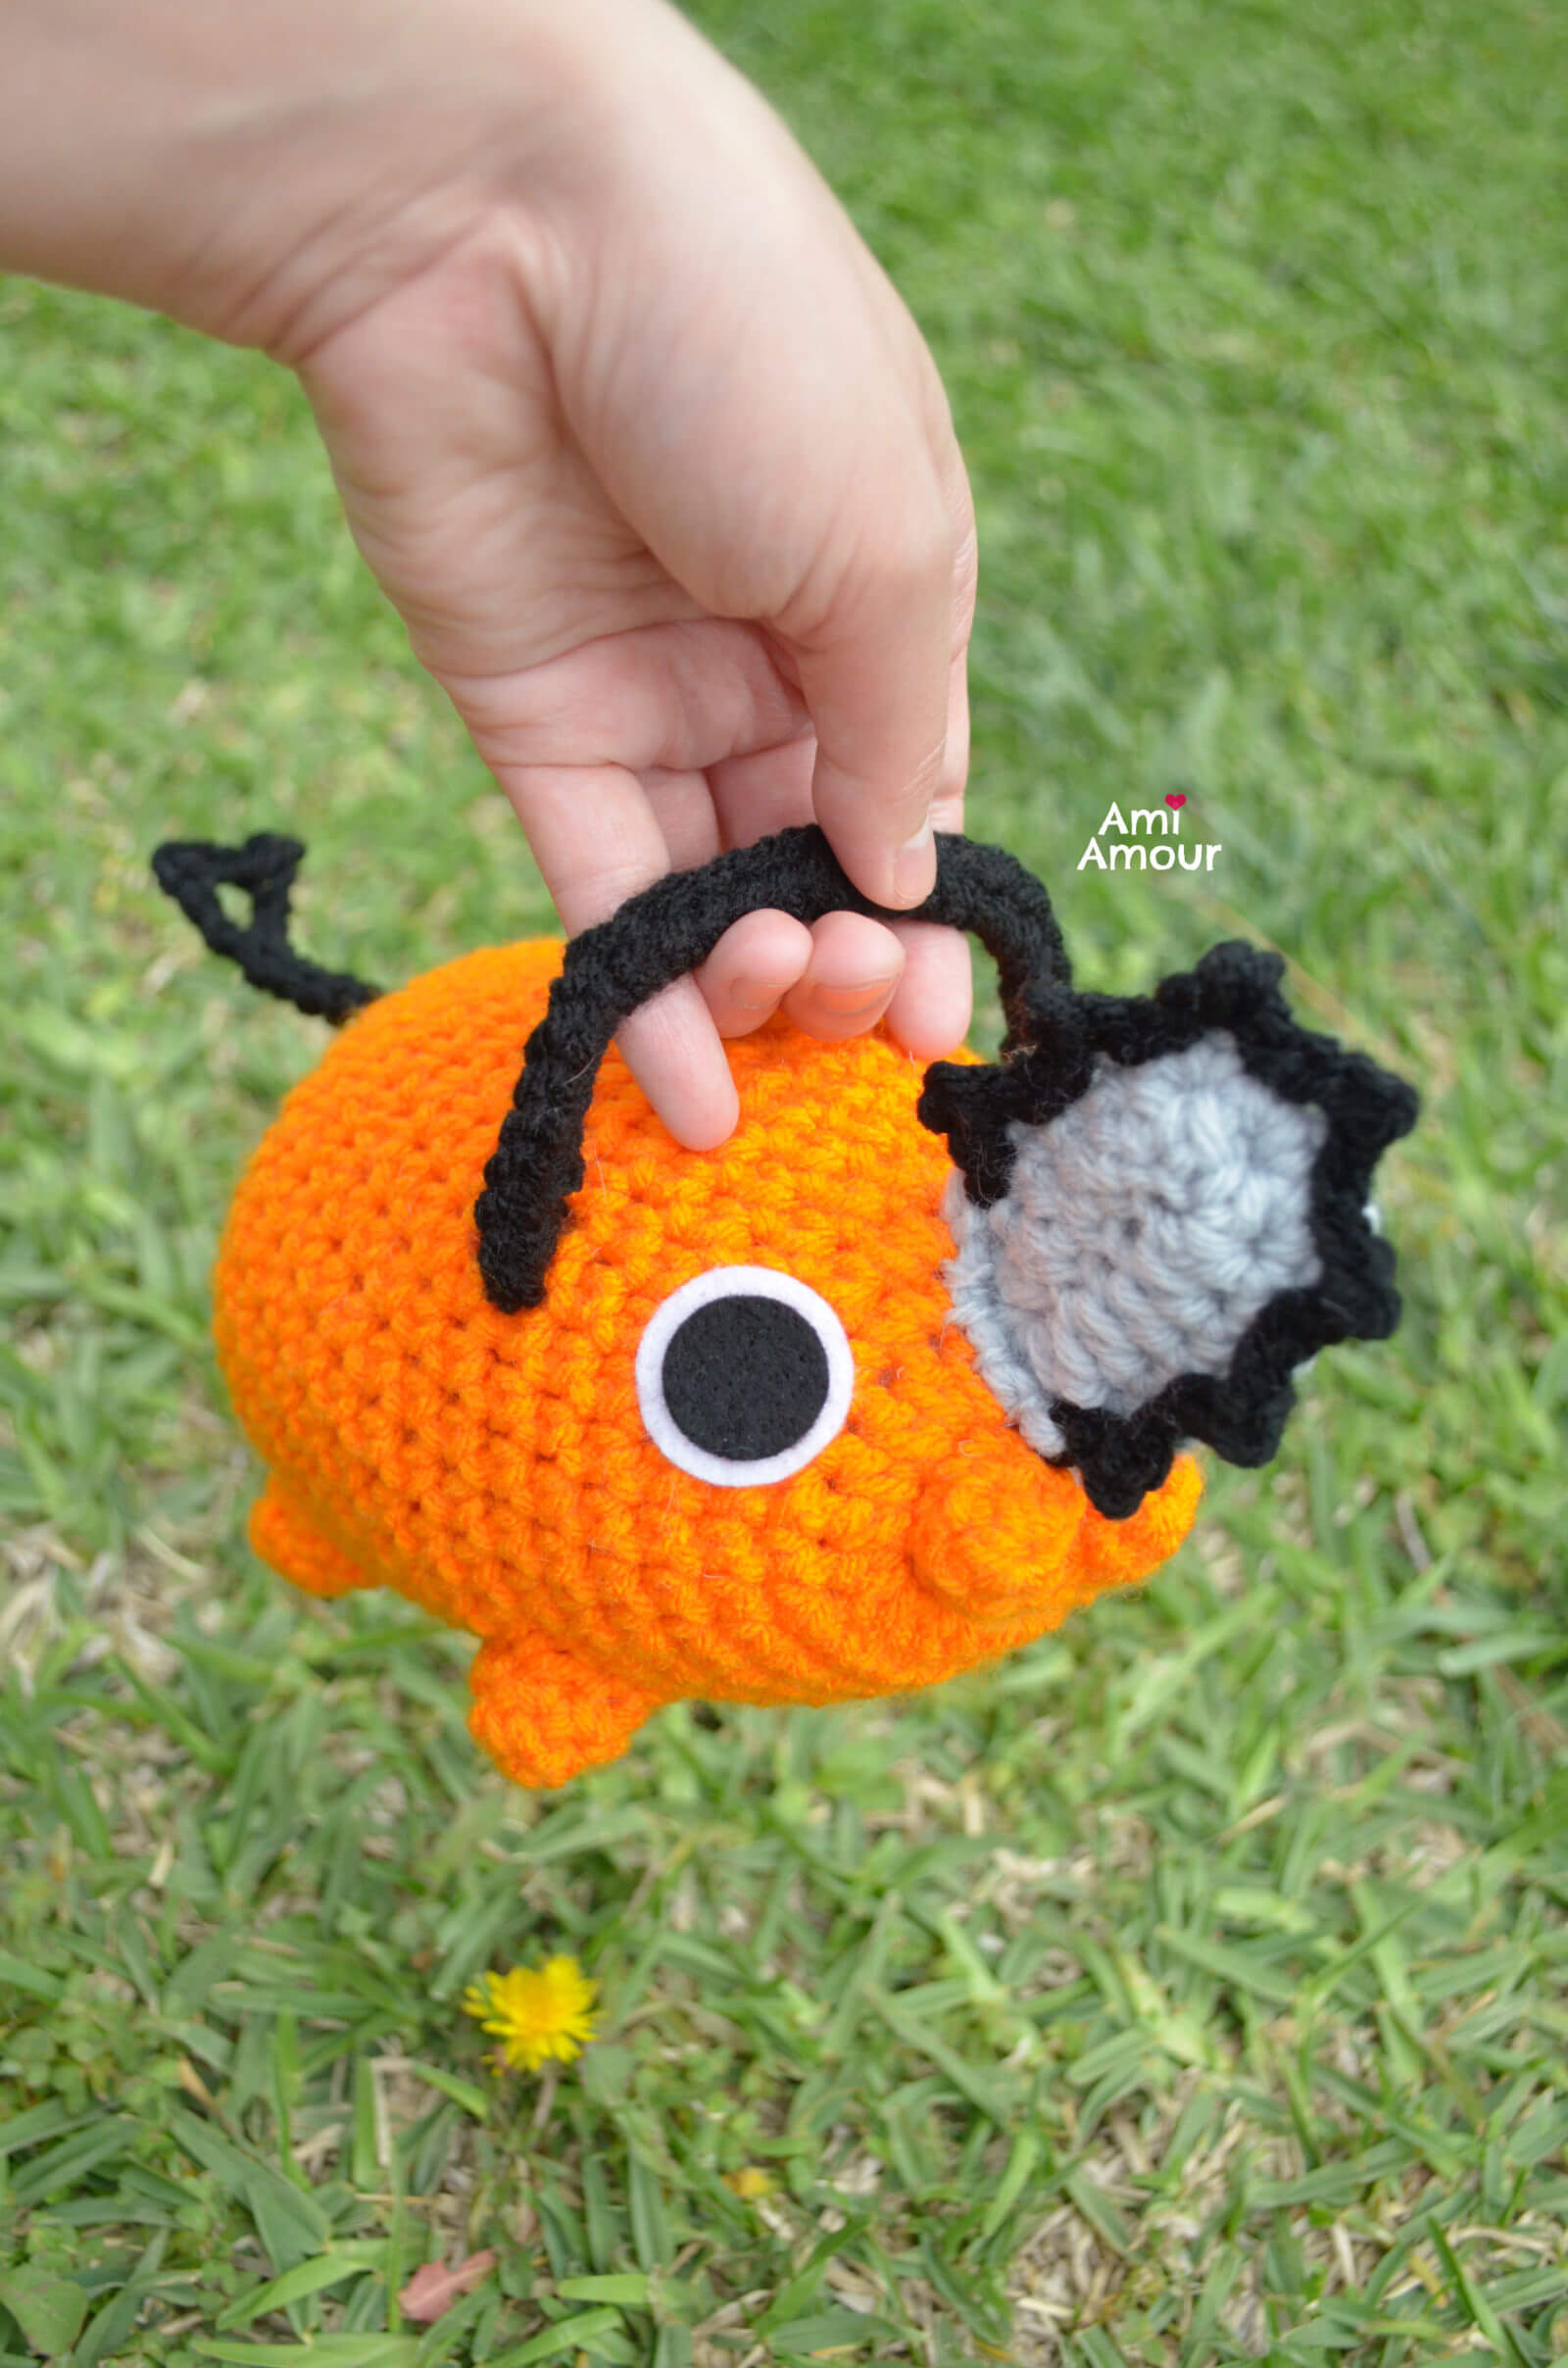
But right above his snout, he has a chainsaw. He also has an interesting handle that wraps around the top of his body.
Prior to his dog form, Pochita was known to be “the devil that devils fear the most” since he had the power to obliterate a demon completely and erase their existence. Pochita, in his dog state, forms a bond with the lead character Denji.
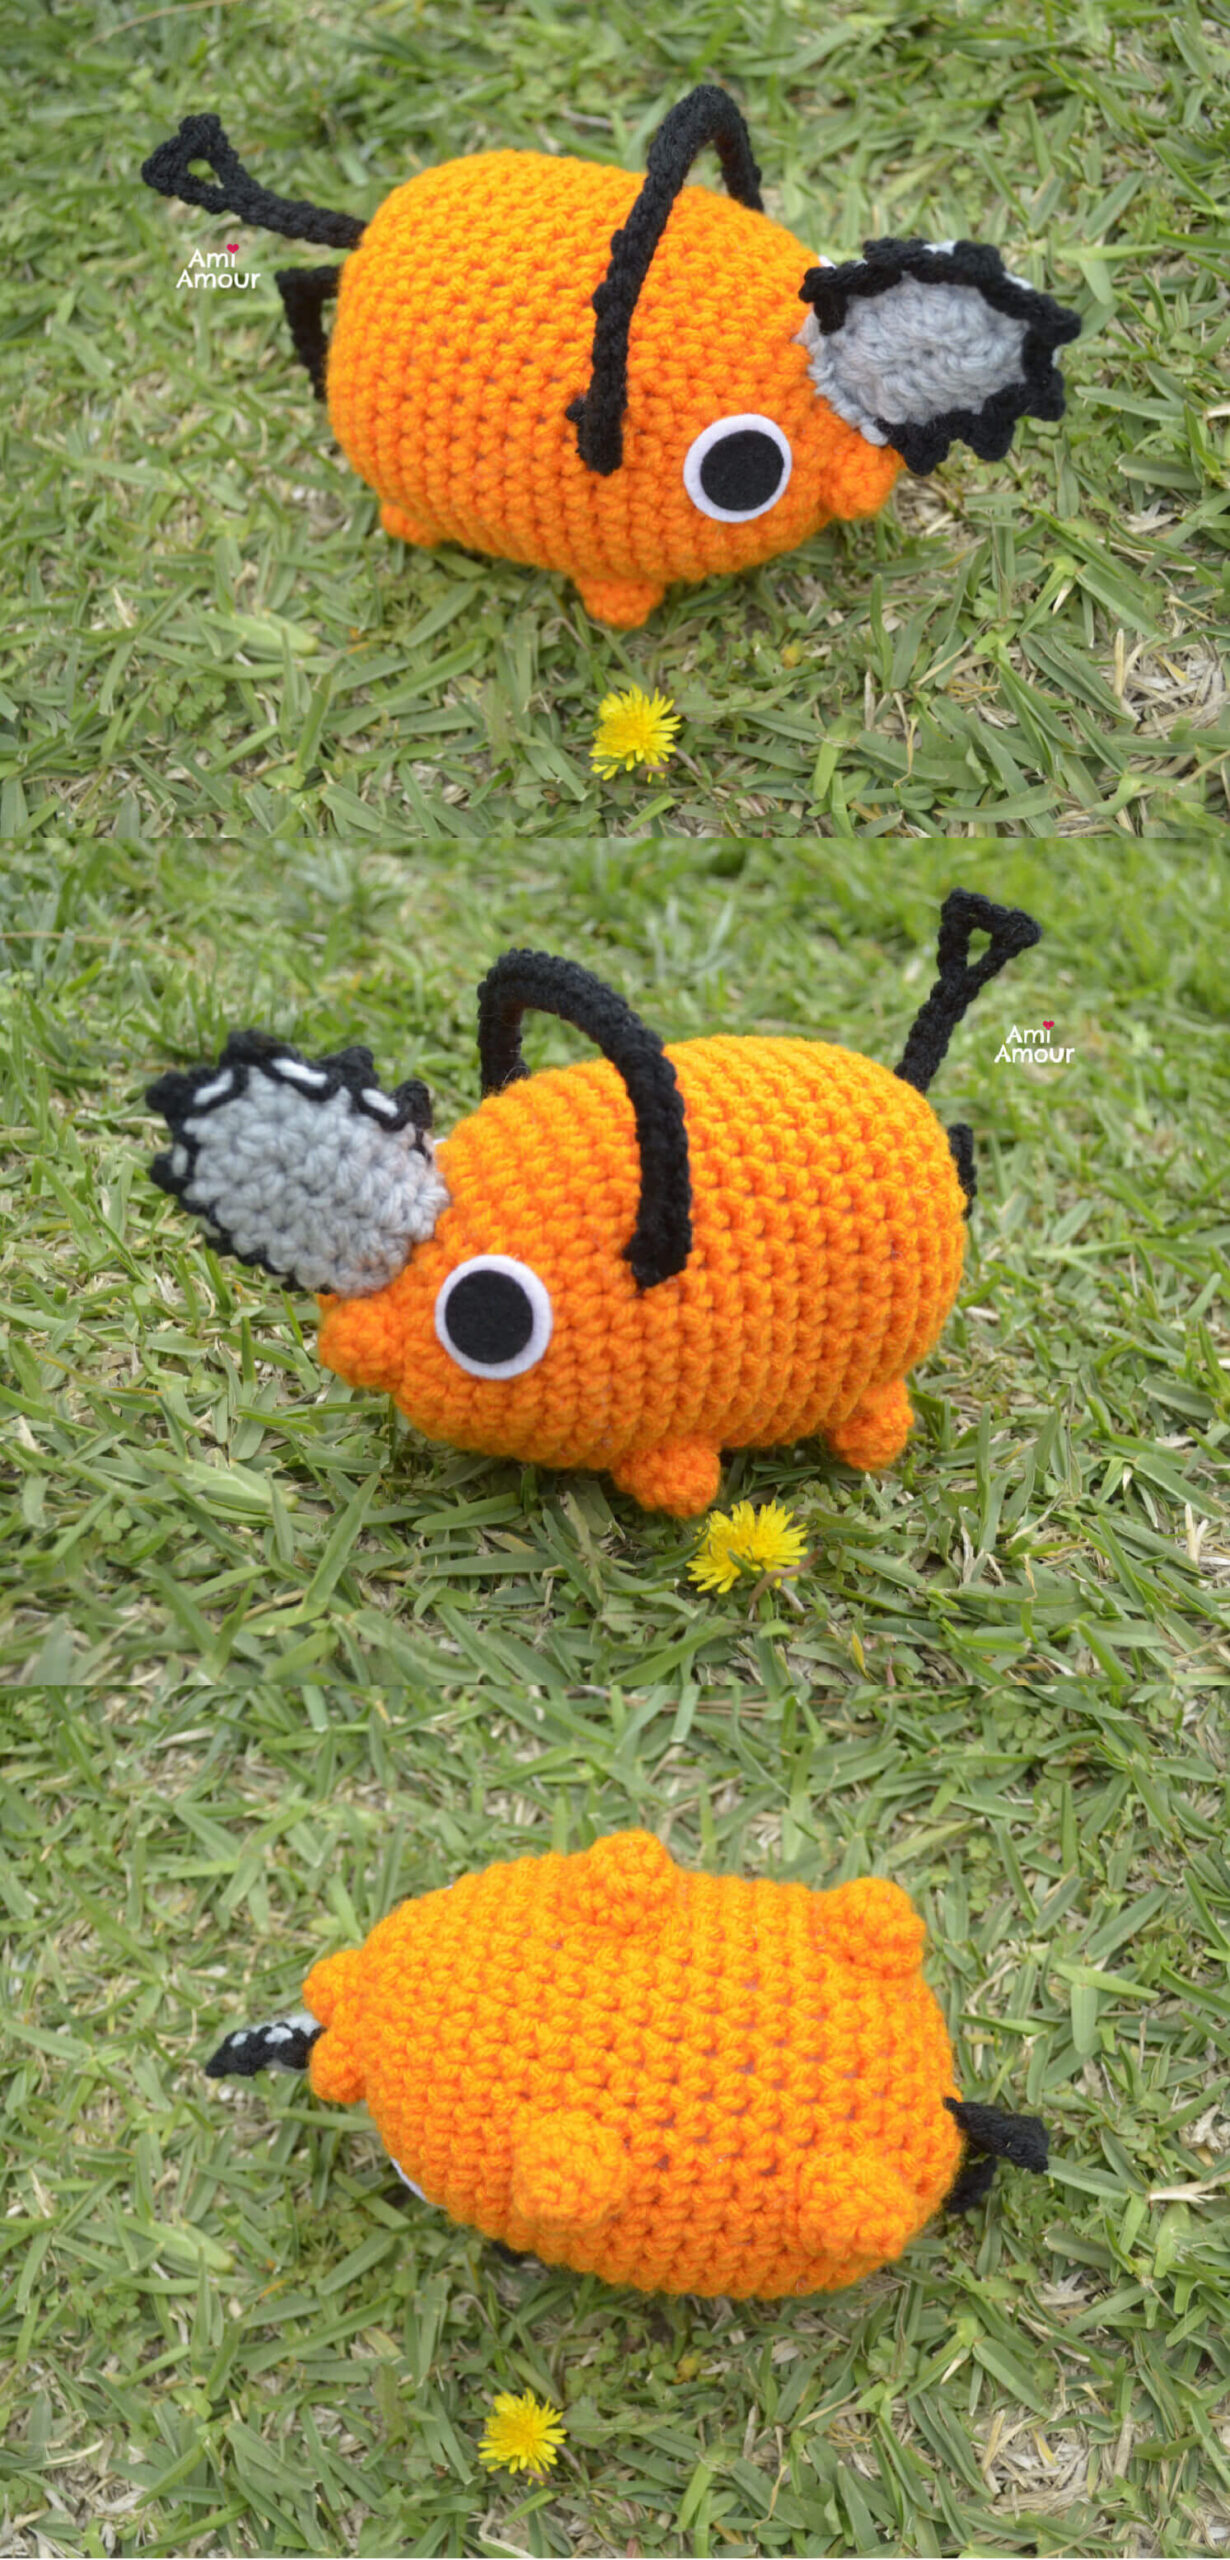
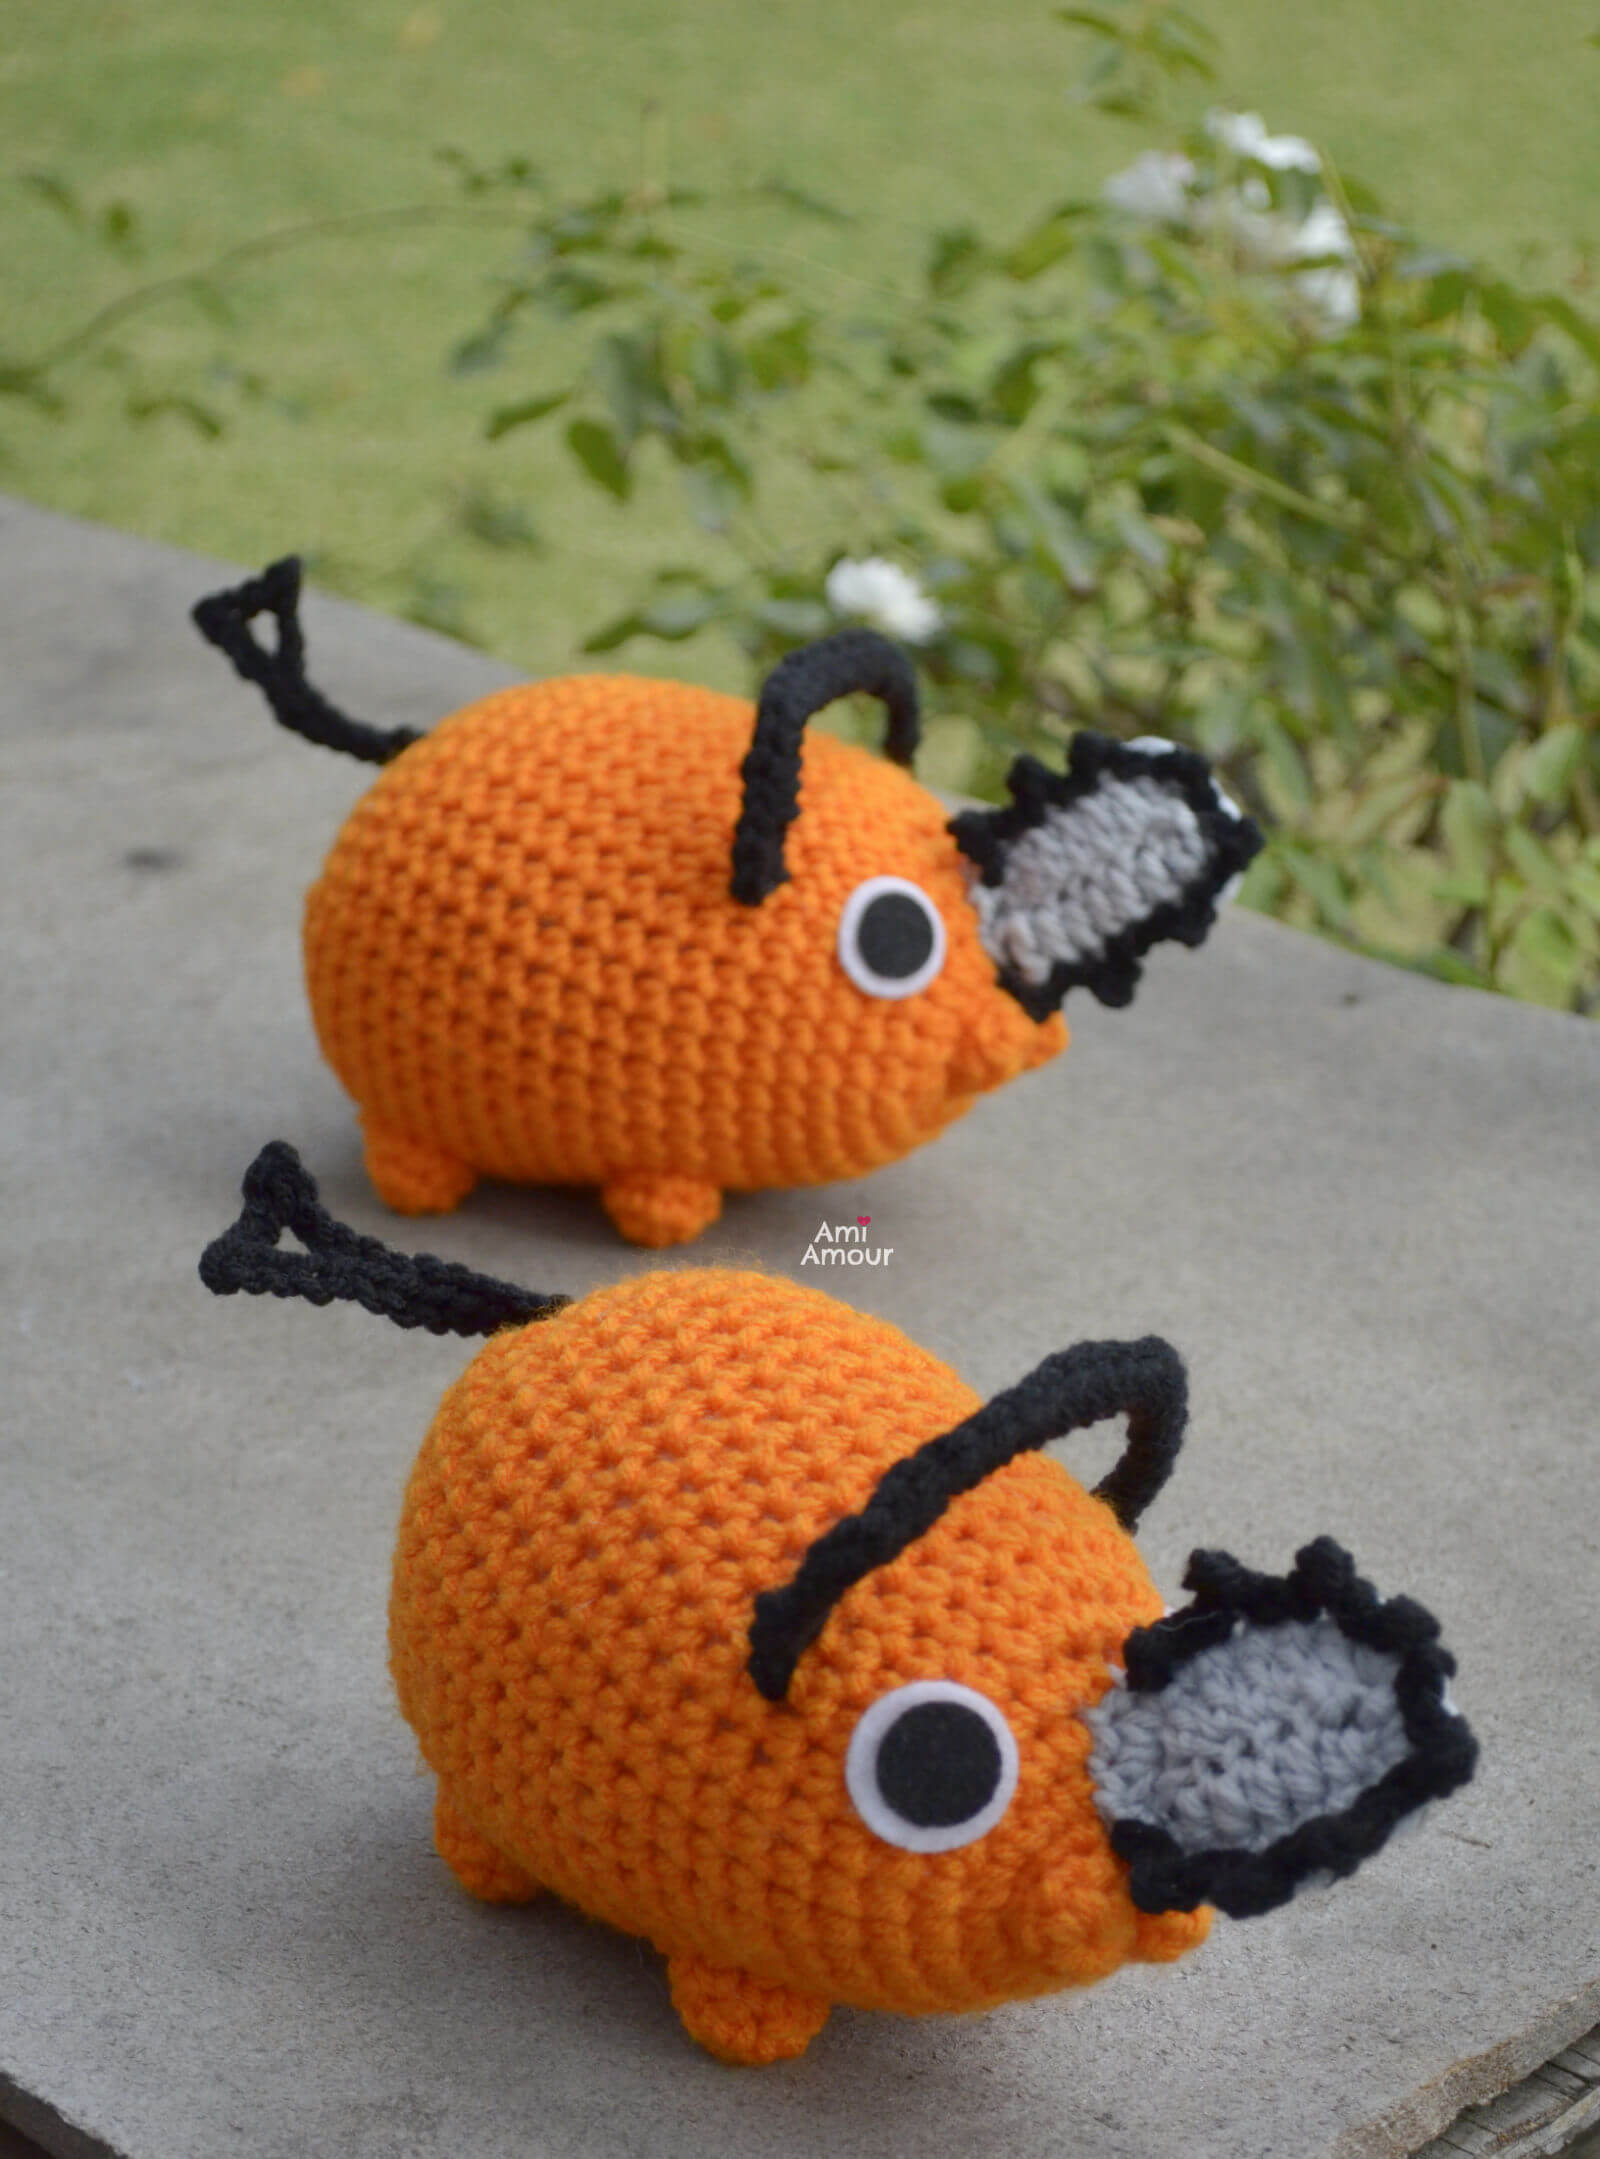
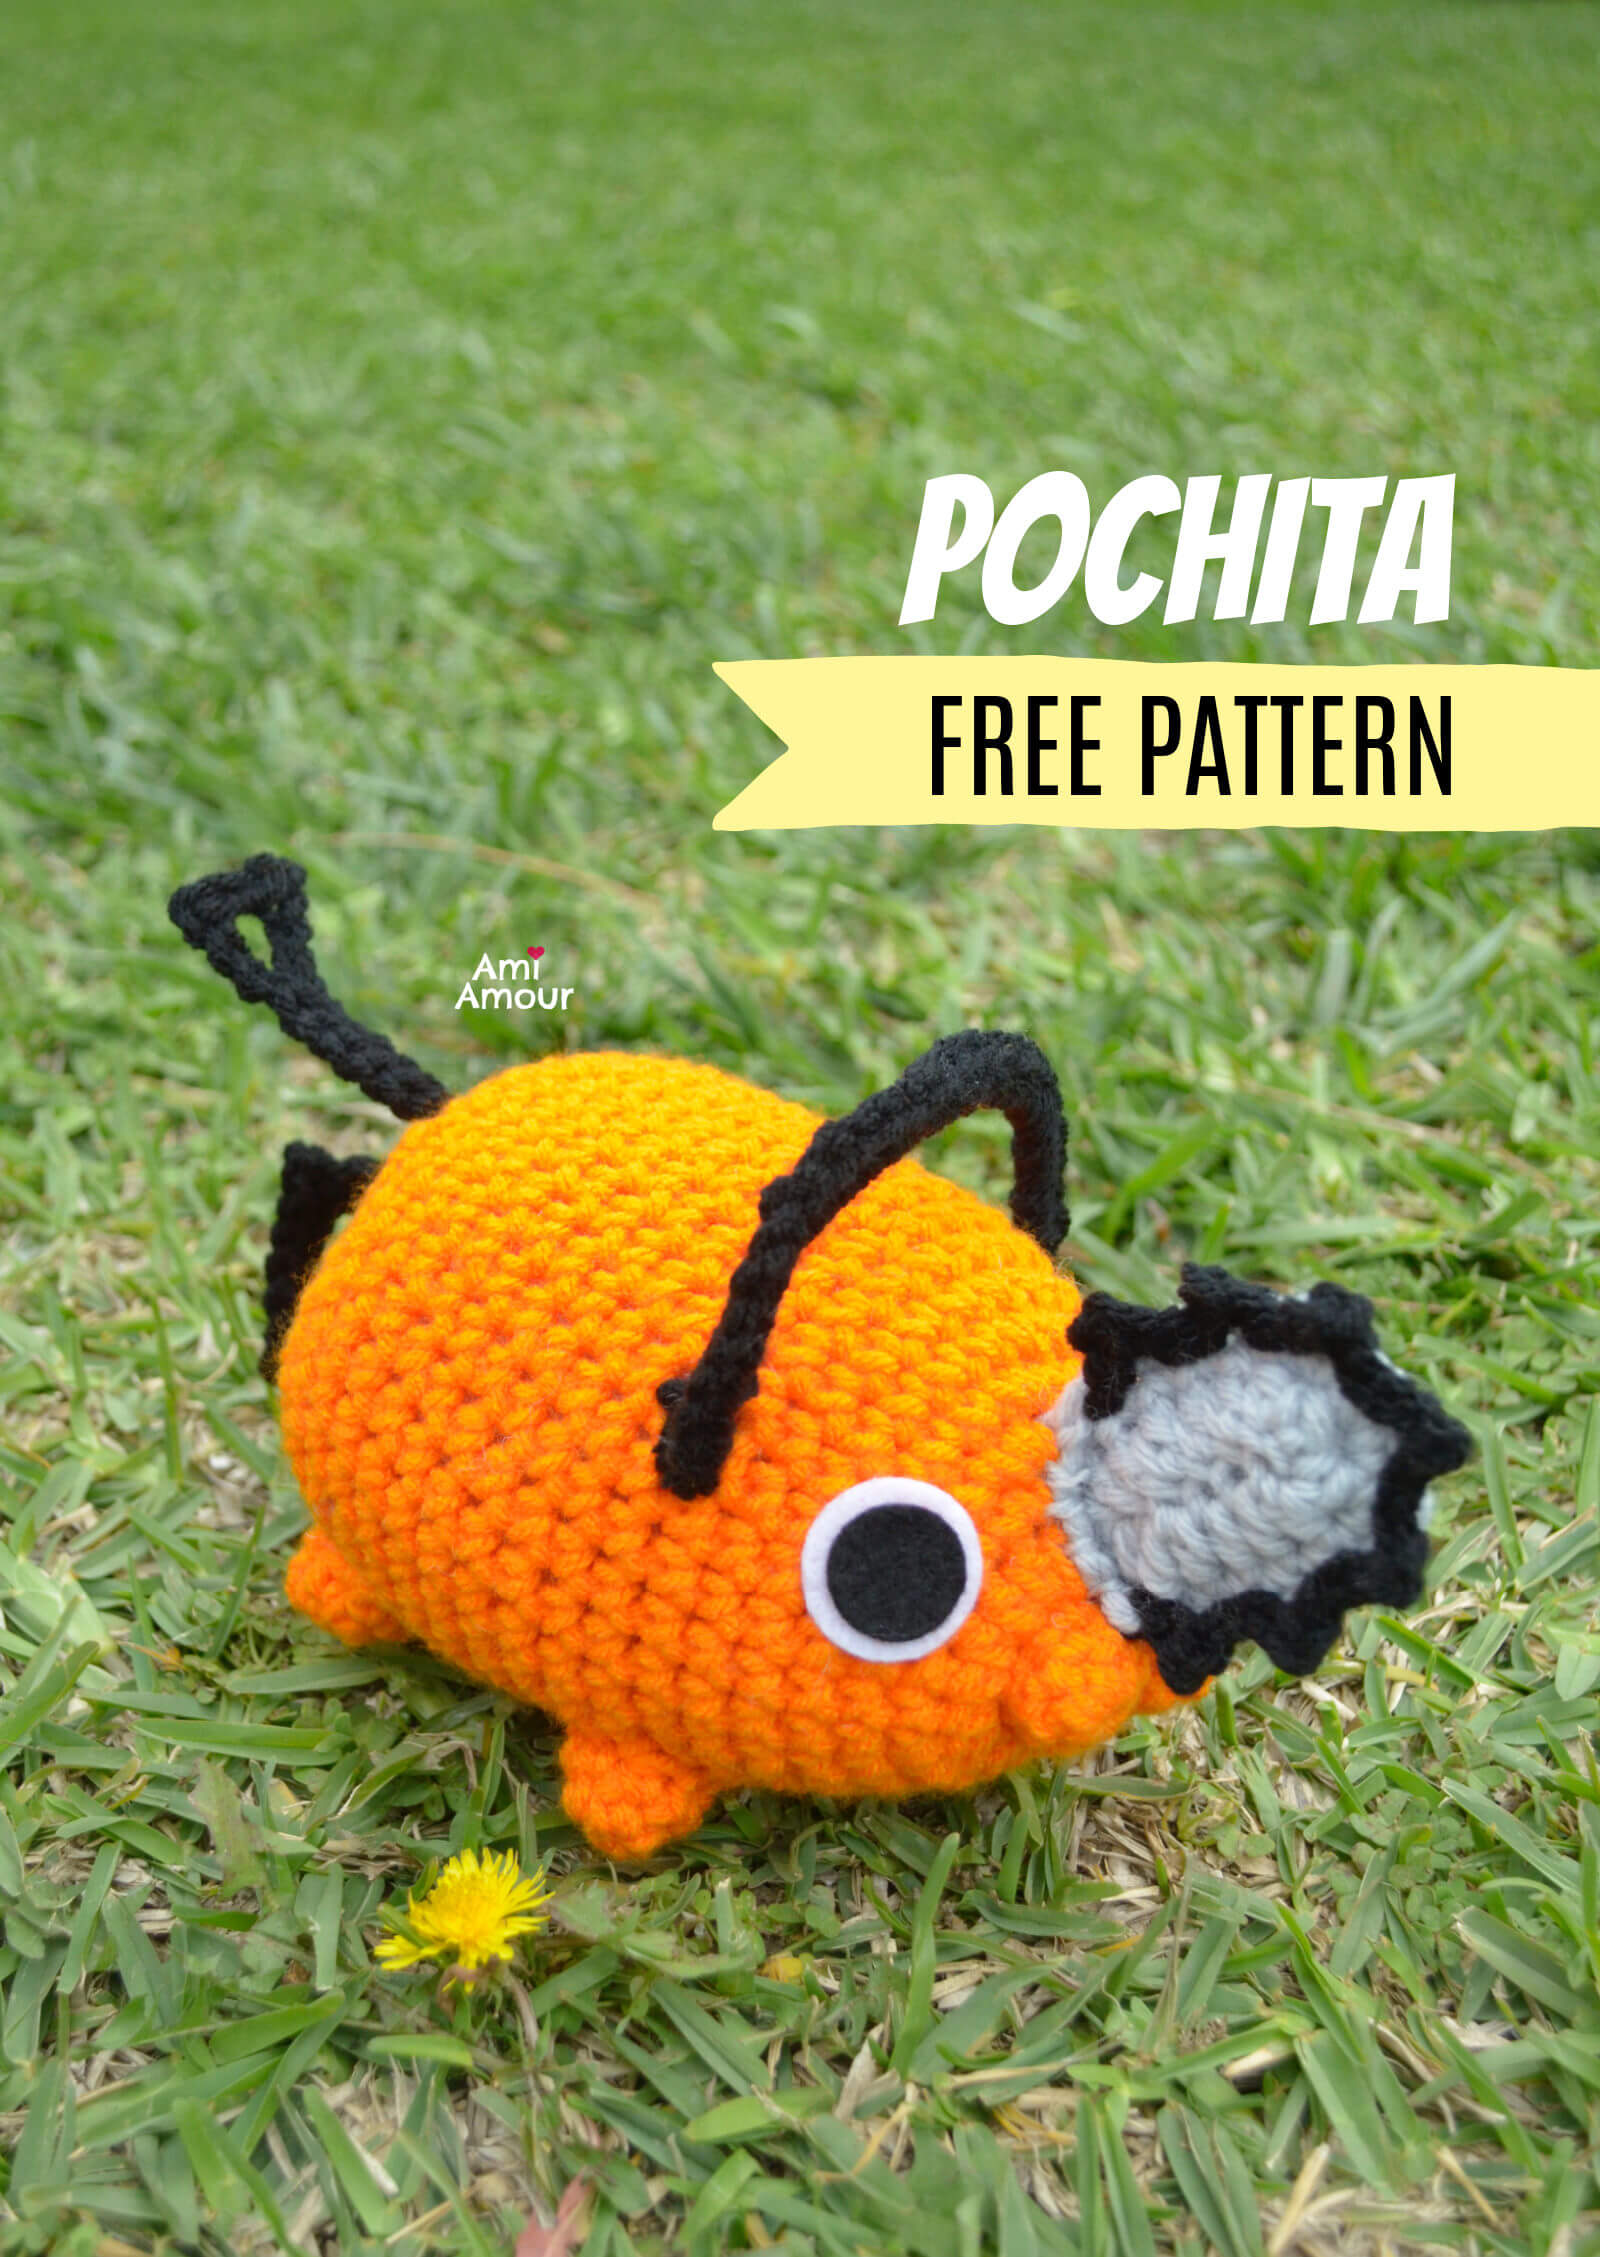
Although fearsome in his prior life, crochet Pochita amigurumi is quite adorable rolling and playing around in the grass. You just want to pet him, but be mindful of his saw!
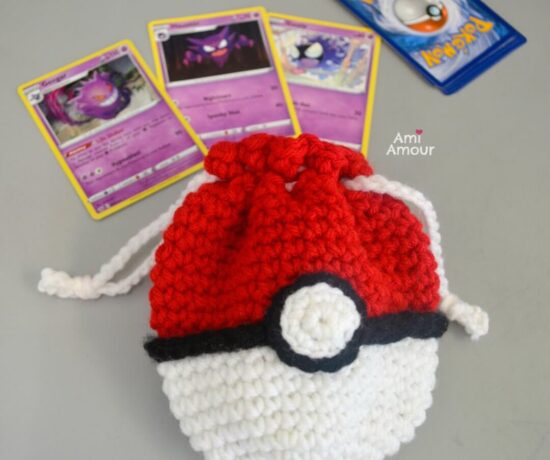
And look he’s made friends with another type of monster!
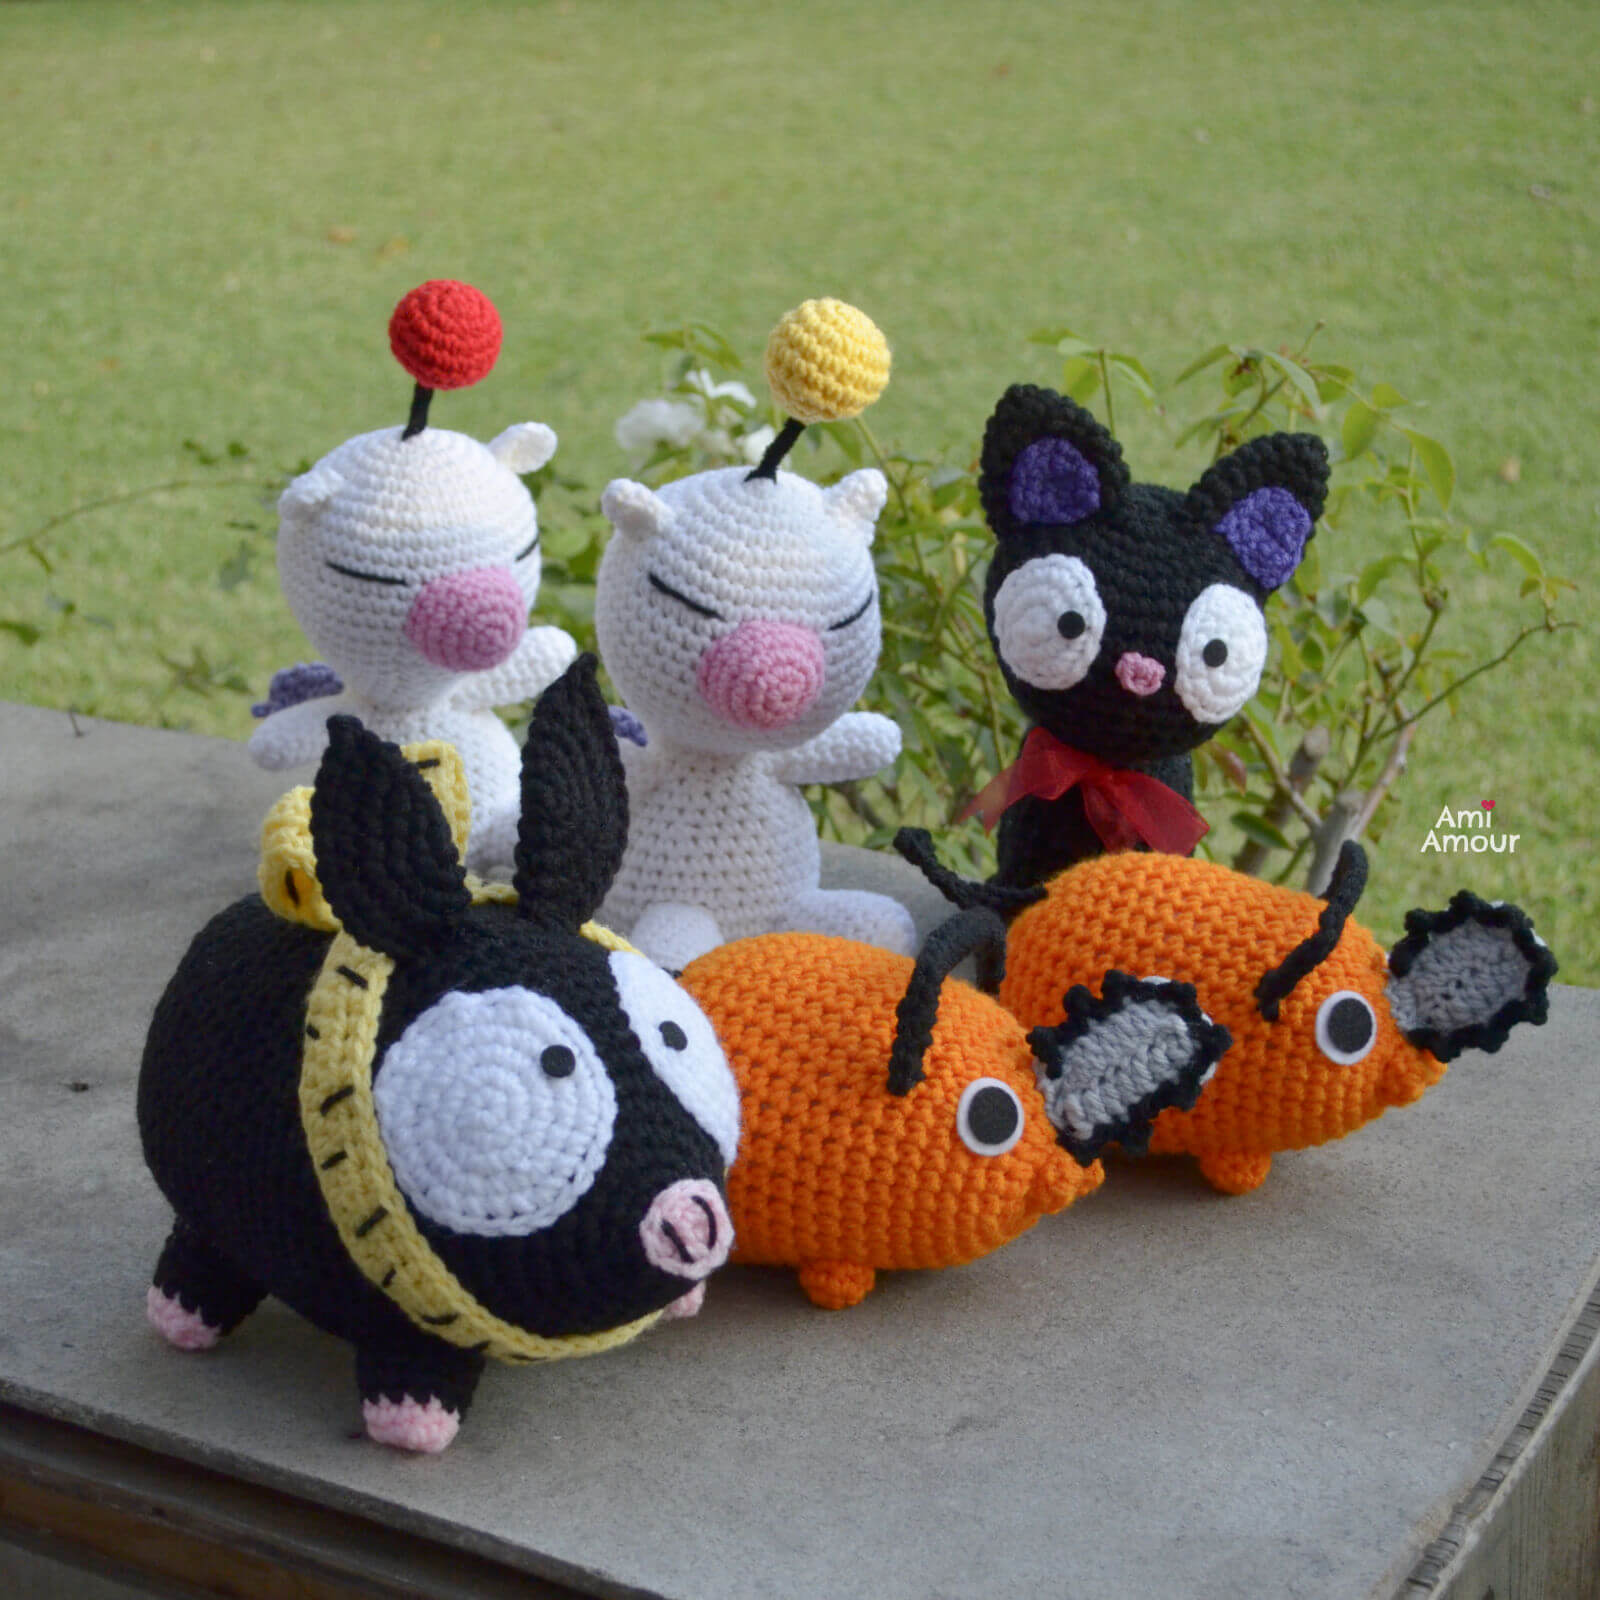
When constructing crochet Pochita’s body, I gave him a body shape similar to some of the other 4 legged creatures I’ve released patterns for on this blog which includes Moo Deng the Hippo and P-Chan the Pig.
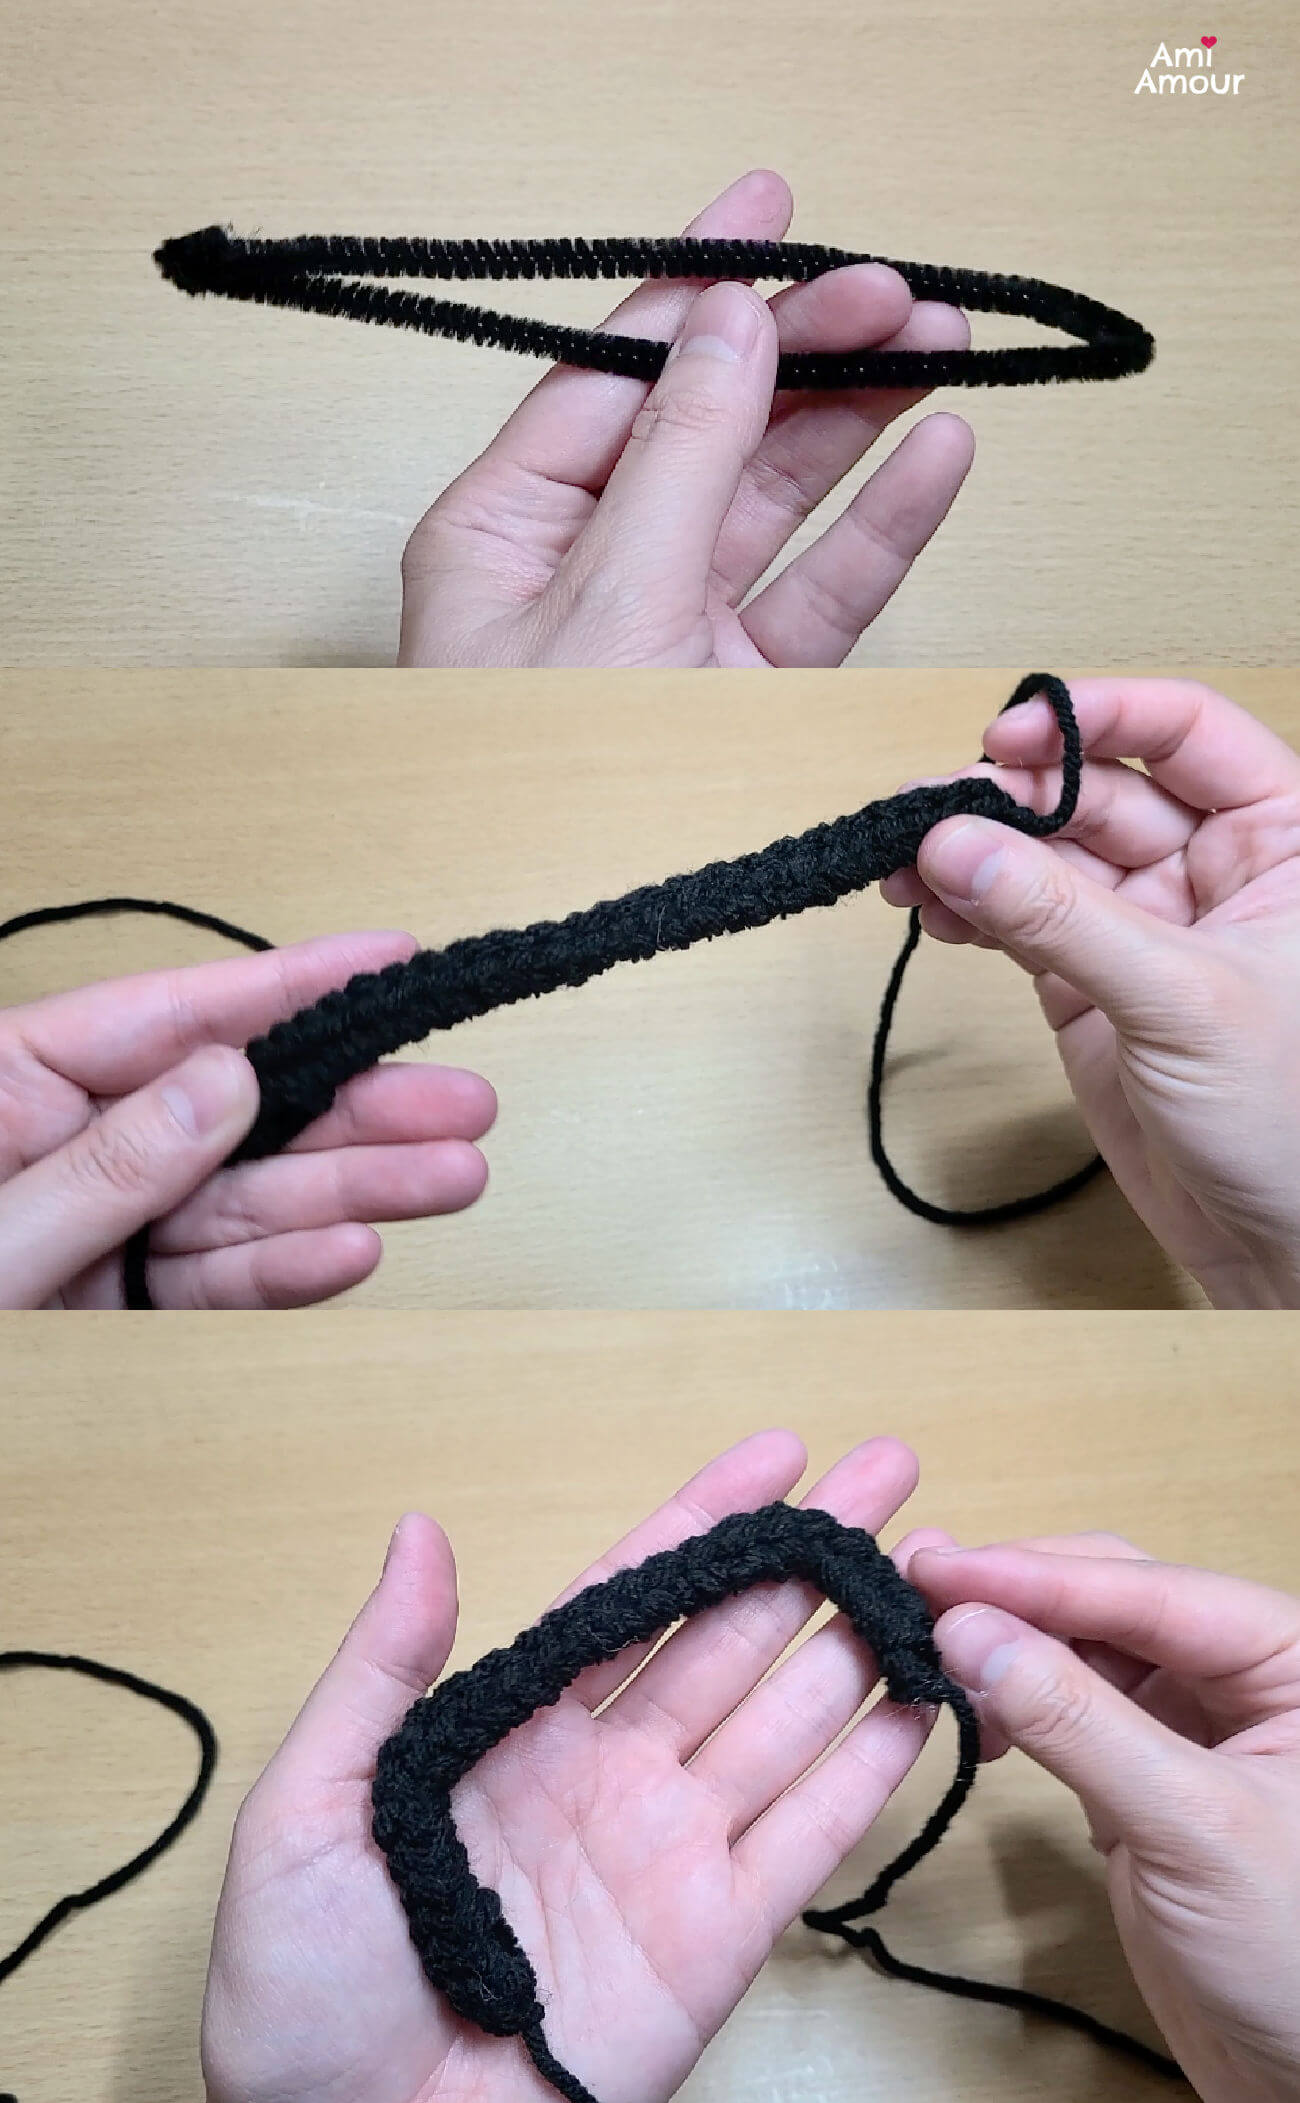
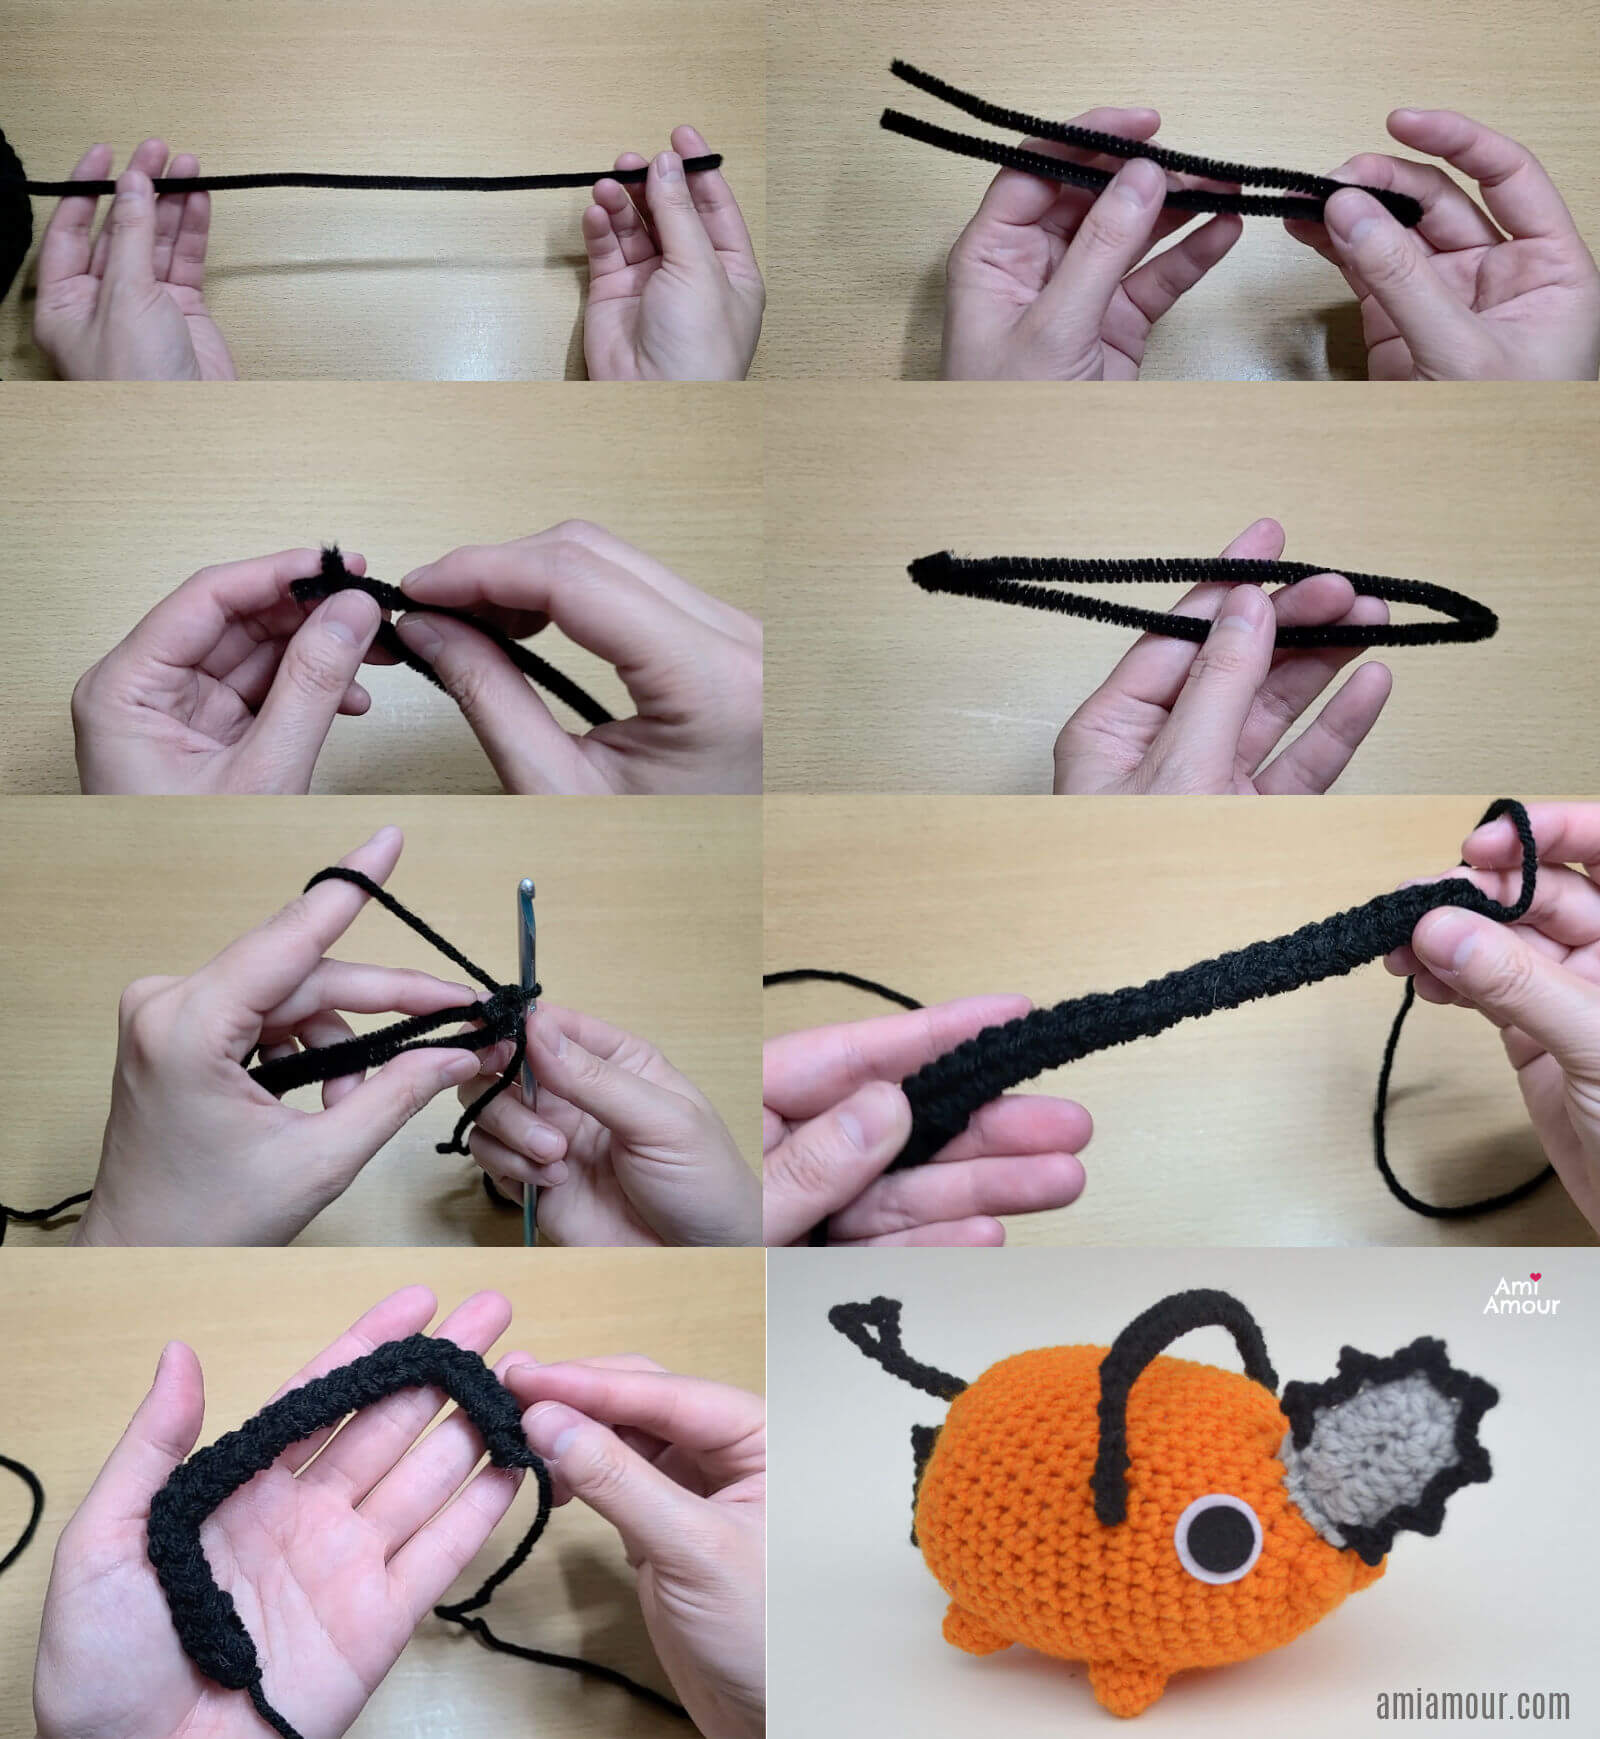
For the creation of the handle, I wanted it sturdy enough to hold onto and keep its shape, so I used a pipe cleaner and single crocheted around it.
The free Pochita crochet pattern and video tutorial is available below. I hope you enjoy making this Pochita amigurumi. Make sure to tag me with your projects on my Instagram @ami_amour.
If you like this pattern, here are some other anime crochet patterns you may enjoy:
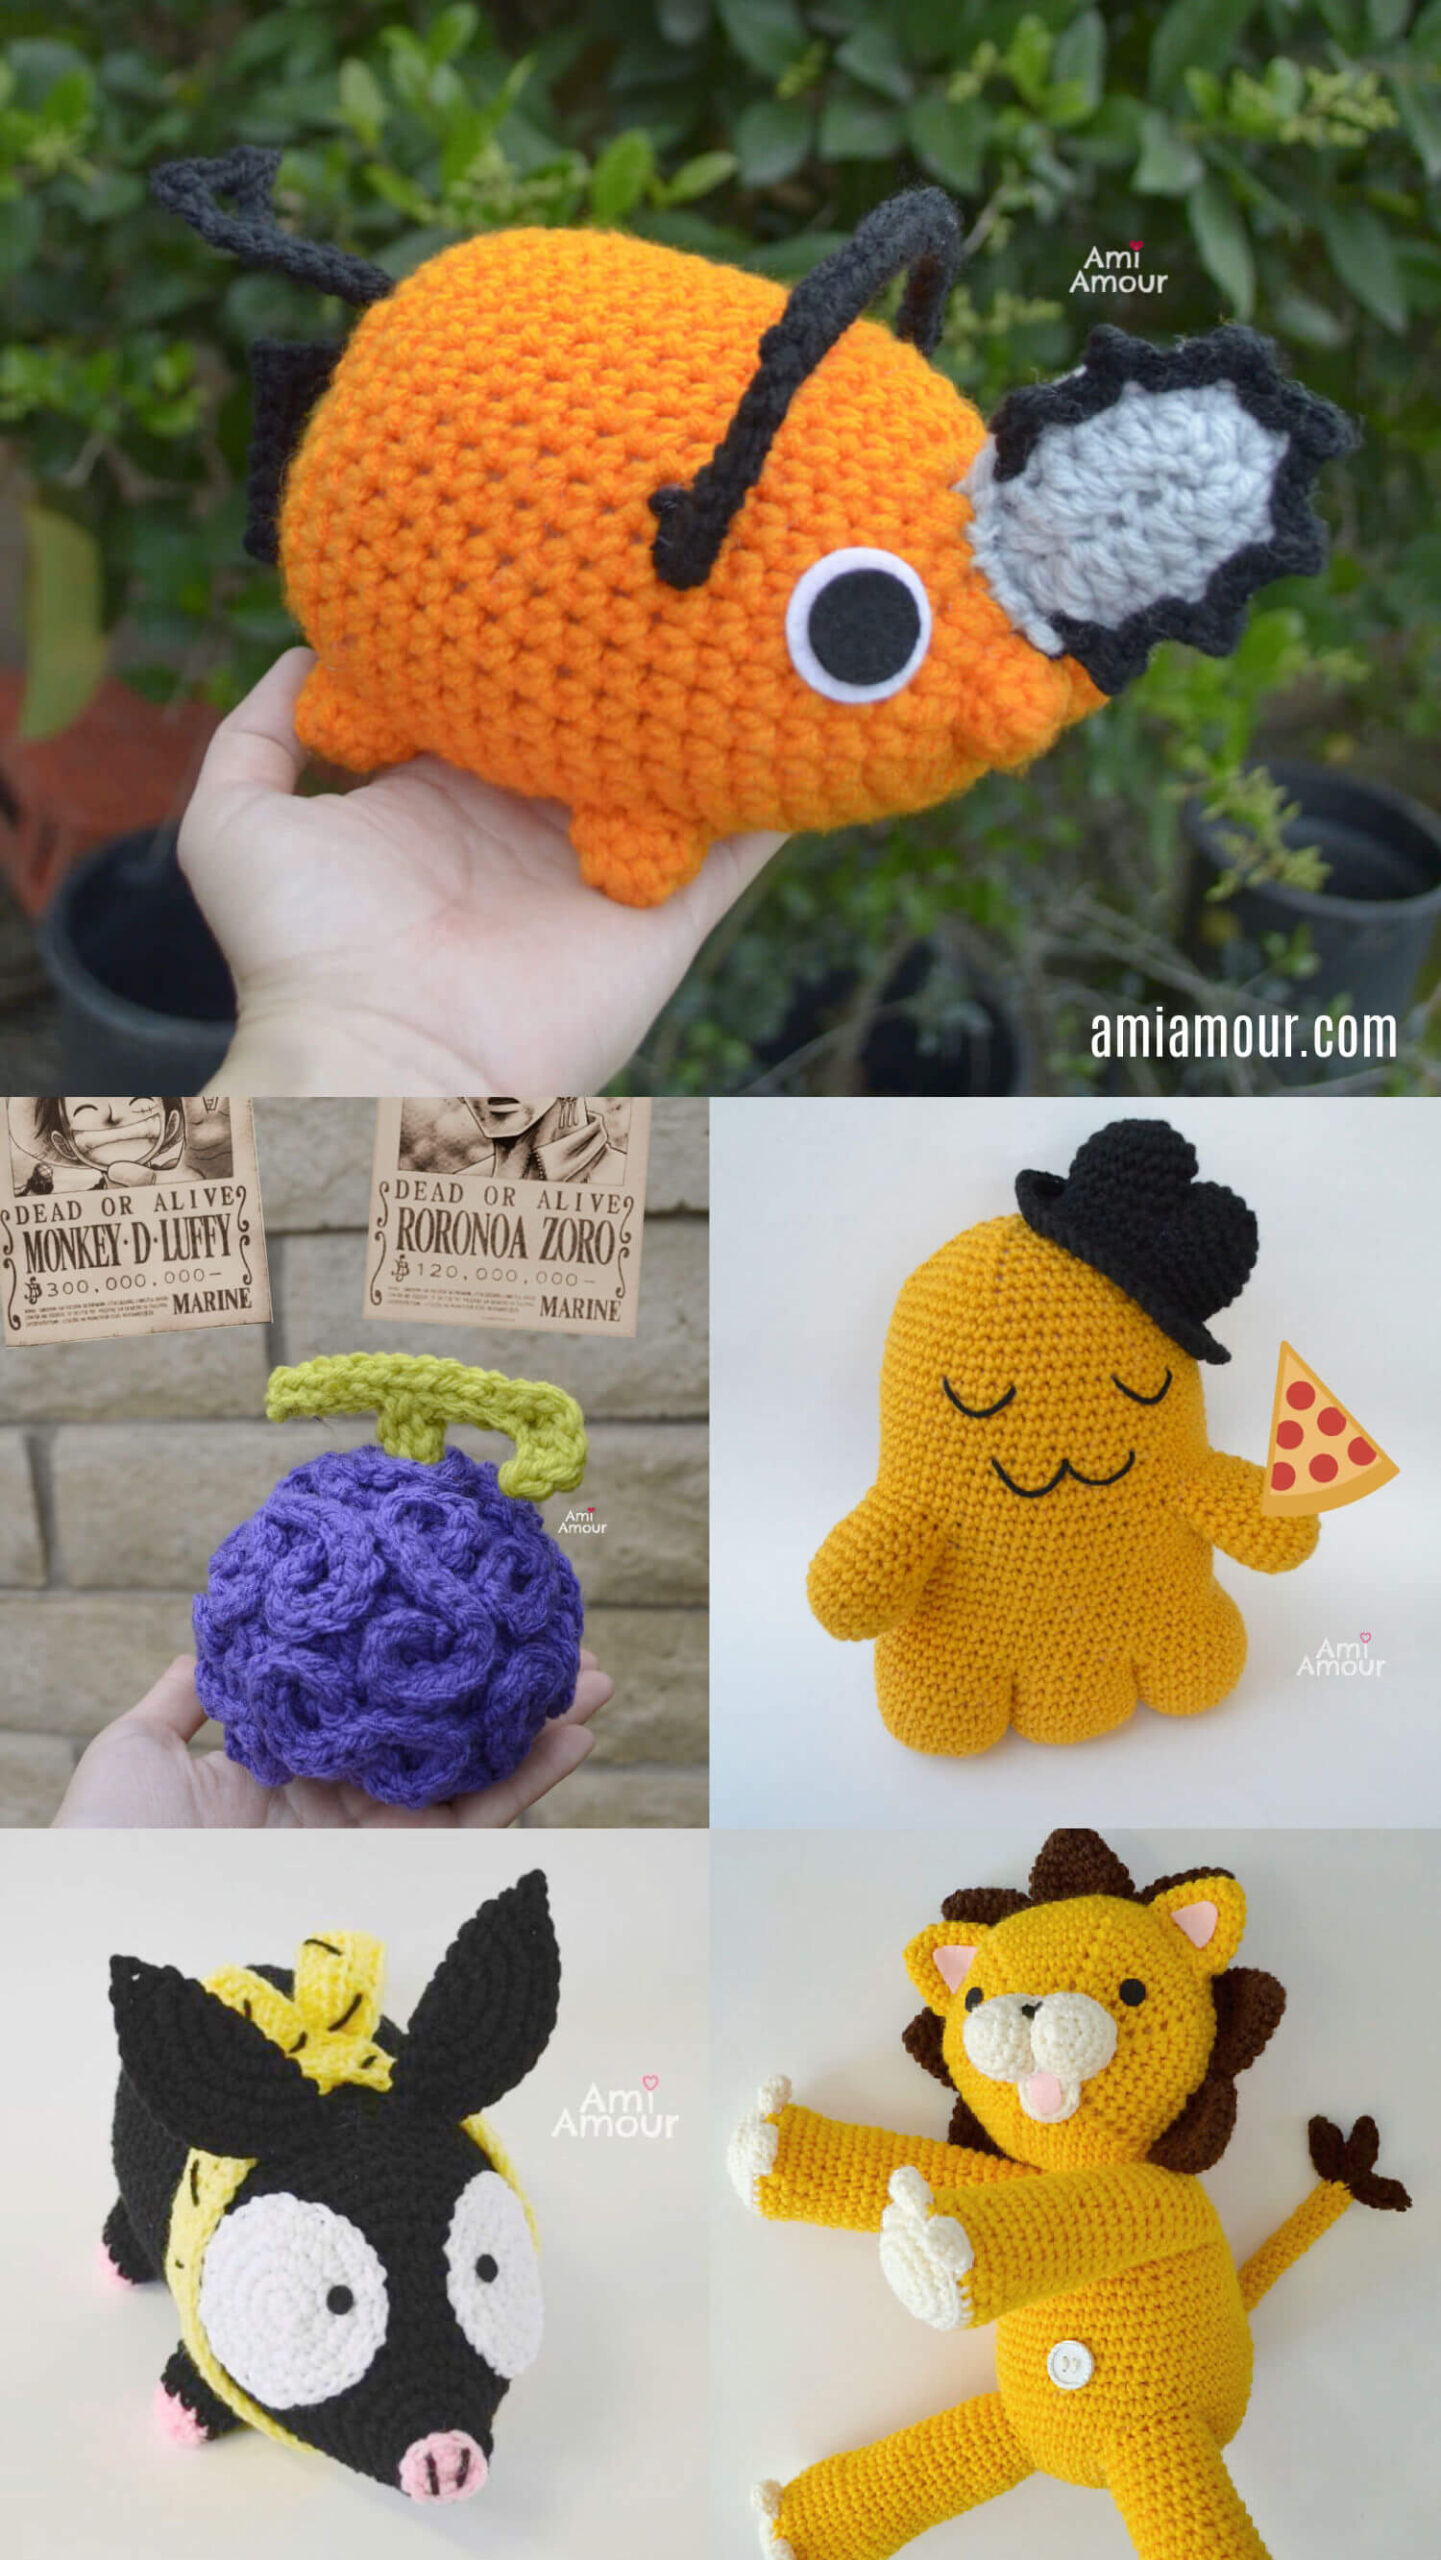
1. Devil Fruit Amigurumi
2. Cheese-kun
3. Pchan Amigurumi
4. Kon the Lion
Crochet Pochita Video Tutorial Video
See Pochita in action and crochet along with me!

Disclosure: This post contains affiliate links. This means I may receive a small commission if you decide to purchase anything by using one of these links.
Pochita Amigurumi Pattern
LEVEL: Easy Intermediate
CROCHET HOOK:
5.0mm size
YARN:
Soft Classic Solid Yarn by Loops & Threads
(worsted weight, acrylic yarn)
– Orange
– Black
– Light Gray
NOTIONS:
Yarn Needle
Scissors
Stitch Marker
White Felt and Black Felt (for the eyes)
Fabri-tac Glue
Polyfill Stuffing
Black Pipe Cleaner
ABBREVIATIONS (American English crochet)
ch – chain
hdc – half double crochet
sc – single crochet
sl st – slip stitch
sc2tog – single crochet 2 together (sc dec)
st – stitch
APPROXIMATE SIZE:
8 inches wide and 5 inches tall (20cm wide by 13cm tall)
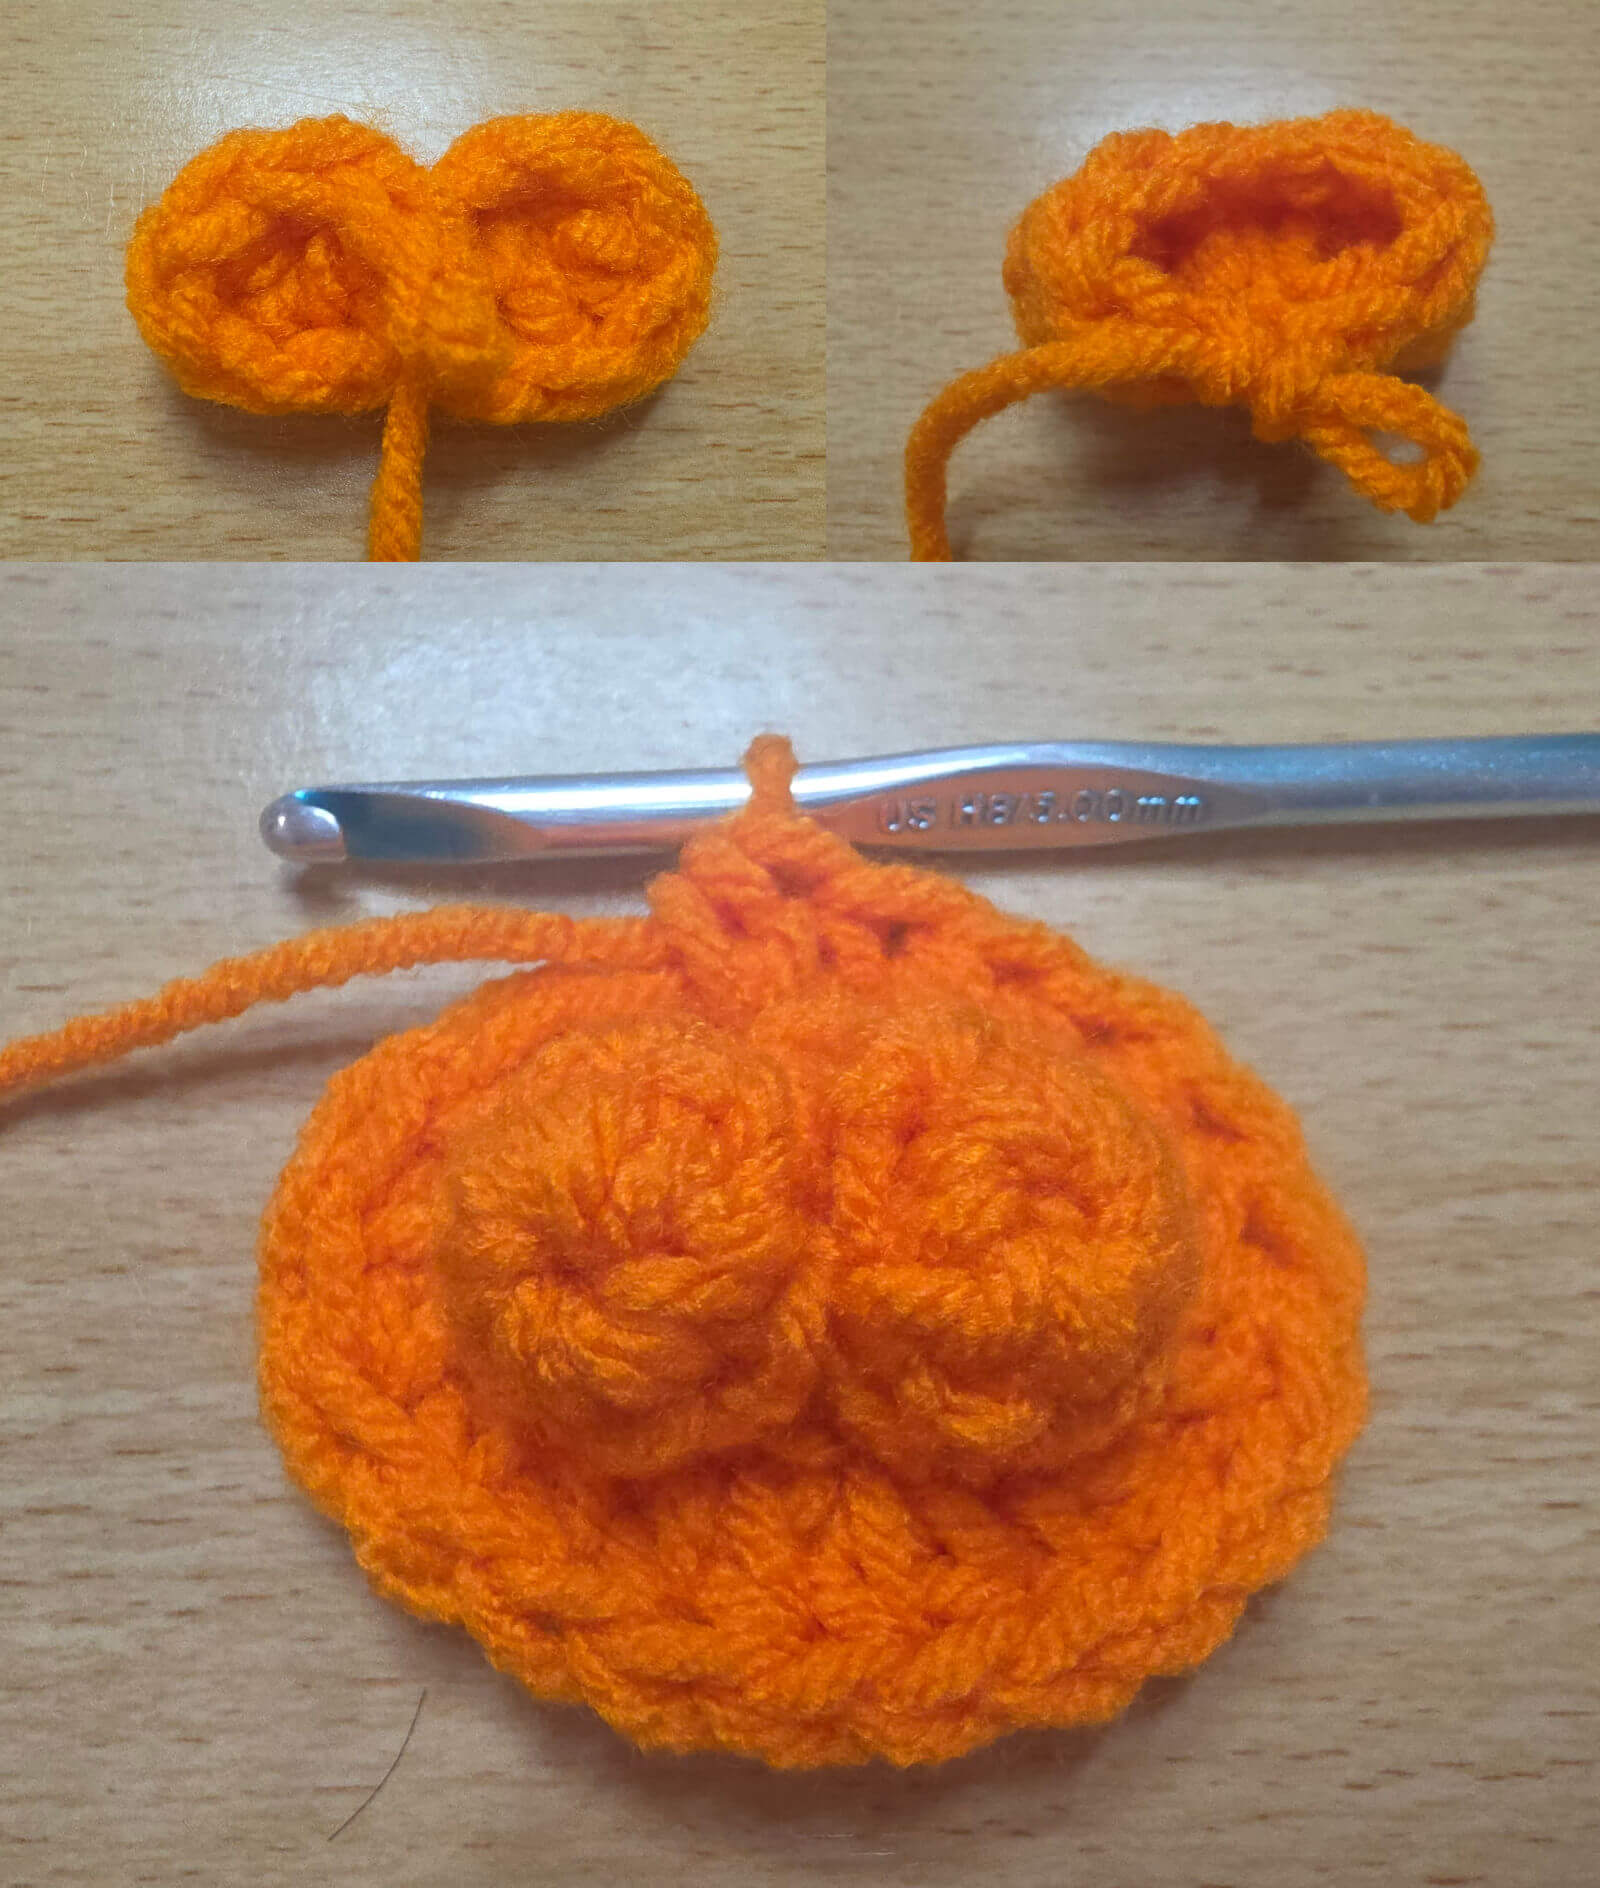
BODY
With orange yarn
Round 1: 6 sc into magic ring.
Round 2: Sc in each st around – 6 sc.
Fasten off, and cut yarn. You have created Part A. Repeat Rounds 1-2 once again to create Part B. Do not cut off yarn after creating Part B. Join Part A and Part B together across 2 st using sc (You can also sew across 2 st if you prefer). You should now have 8 sts around. See video tutorial here. We will now crochet around the circumference of the 2 parts.
Round 3: [2 sc in next st, sc in next 3 st] around – 10 sc.
Sc in next st only. Move stitch marker to last st.
Round 4: 2 hdc in each st around – 20 hdc.
Round 5: [2 sc in next st, sc in next 4 st] around – 24 sc.
Sc in next 6 st only. Move stitch marker. This will now mark the end of the round.
Round 6: [2 sc in next st, sc in next 2 st] 4 times, sc in next 12 st – 28 sc.
Round 7: [2 sc in next st, sc in next 3 st] 4 times, sc in next 12 st – 32 sc.
Round 8-20: Sc in each st around – 32 sc.
Round 21: [Sc2tog, sc in next 6 st] around – 28 sc.
Round 22: [Sc2tog, sc in next 5 st] around – 24 sc.
Round 23: [Sc2tog, sc in next 2 st] around – 18 sc.
Note: Begin stuffing and stuff as you go.
Round 24: [Sc2tog, sc in next st] around – 12 sc.
Round 25: Sc2tog around – 6 sc.
Finish stuffing and sew closed.
LEG (make 4)
With orange yarn
Round 1: 4 sc into magic ring – 4 sc.
Round 2: 2 sc in each st around – 8 sc.
Round 3: Sc in each st around – 8 sc.
Sl st in next st.
Fasten off, leaving a long tail.
TAIL
With black yarn
Ch 11, sl st in previous ch, ch 3, sl st in previous ch, ch 2, count 3 ch down from first picot and sl st into ch (it will form a triangle).
Sl st across next 6 ch (all the way down).
Fasten off, leaving a long tail.
You can also see video tutorial for the tail.

HANDLE
See video tutorial.
Fold pipe cleaner in half. Twist ends closed. Point twisted ends inward so that the sharp points aren’t pointing outward.
With black yarn, fasten on with sc into the top part of the stem. Sc one more time into the top part.
And then sc under both stems all the way across.
At the end go under one stem and sc 3 times under one stem only and fasten off. This will secure the yarn and make sure it doesn’t fall off the pipe cleaner.
Fasten off, leaving a long tail.
Sculpt into handle shape to look like the shape of a staple.
SAW
Round 1: With gray yarn, ch 8, hdc in 3rd ch from hook, hdc in next 4 ch, 2 hdc in last ch. On other side of chain, 2 hdc in next ch, hdc in next 5 ch, sl st into last st.
Fasten off.
You have just created Part A. Repeat same pattern again to create Part B, but DO NOT FASTEN OFF. Place Part A and B back to back and we will join the two parts together by doing sc across both layers with the next round. See video tutorial here.
Round 2: Sc in next 6 st, 2 sc in next 3 st, sc in next 5 st, sc in next 3 st (in the last st, change color to black yarn).
Round 3: With black yarn, sl st in next st, (ch 2, sl st in previous ch, sl st in next 2 ch) 7 times.
Note: It will have 7 spikes at the end.
Fasten off, leaving a long tail.
SMALL HANDLE
Ch 11, sl st back 3 ch, ch 1, sl st into previous ch, sl st in next 5 st, ch 1, sl st into previous ch, sl st into next 2 ch.
Fasten off, leaving a long tail.
AMIGURUMI ASSEMBLY
See video tutorial here for assembly.
1. Sew the Saw to the Head. Placement: In the middle right above the snout.
2. With white felt, cut out two circles in the size of 25mm. These will be the whites of the eye.
3. With black felt, cut out two circles in the size of 18mm. These will be the pupils.
4. Glue on the eyes to the face with Fabri-tac Glue.
5. Stuff the legs and sew onto the bottom of the Body. Front Leg Placement: 8 Rounds down from Snout.
6. Sew Handle onto top of Body.
7. Sew Tail on back of Body towards the upper part.
8. Sew Small Handle onto the back of Body below Tail.
9. Tag me with your project on Instagram @ami_amour. I’d love to see!


No Comments