
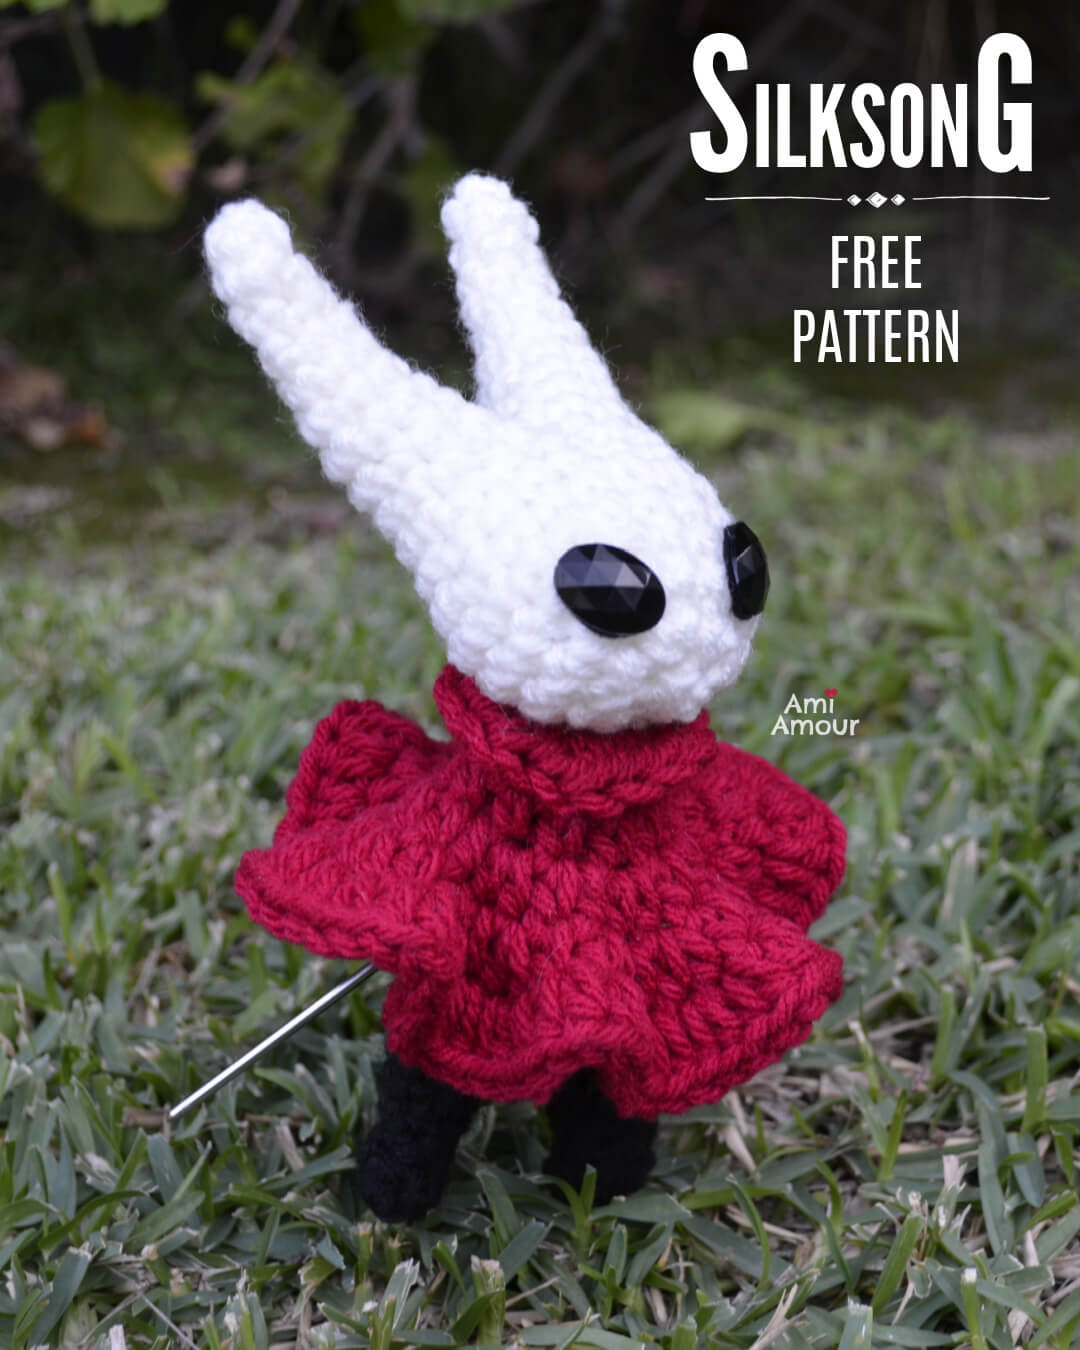
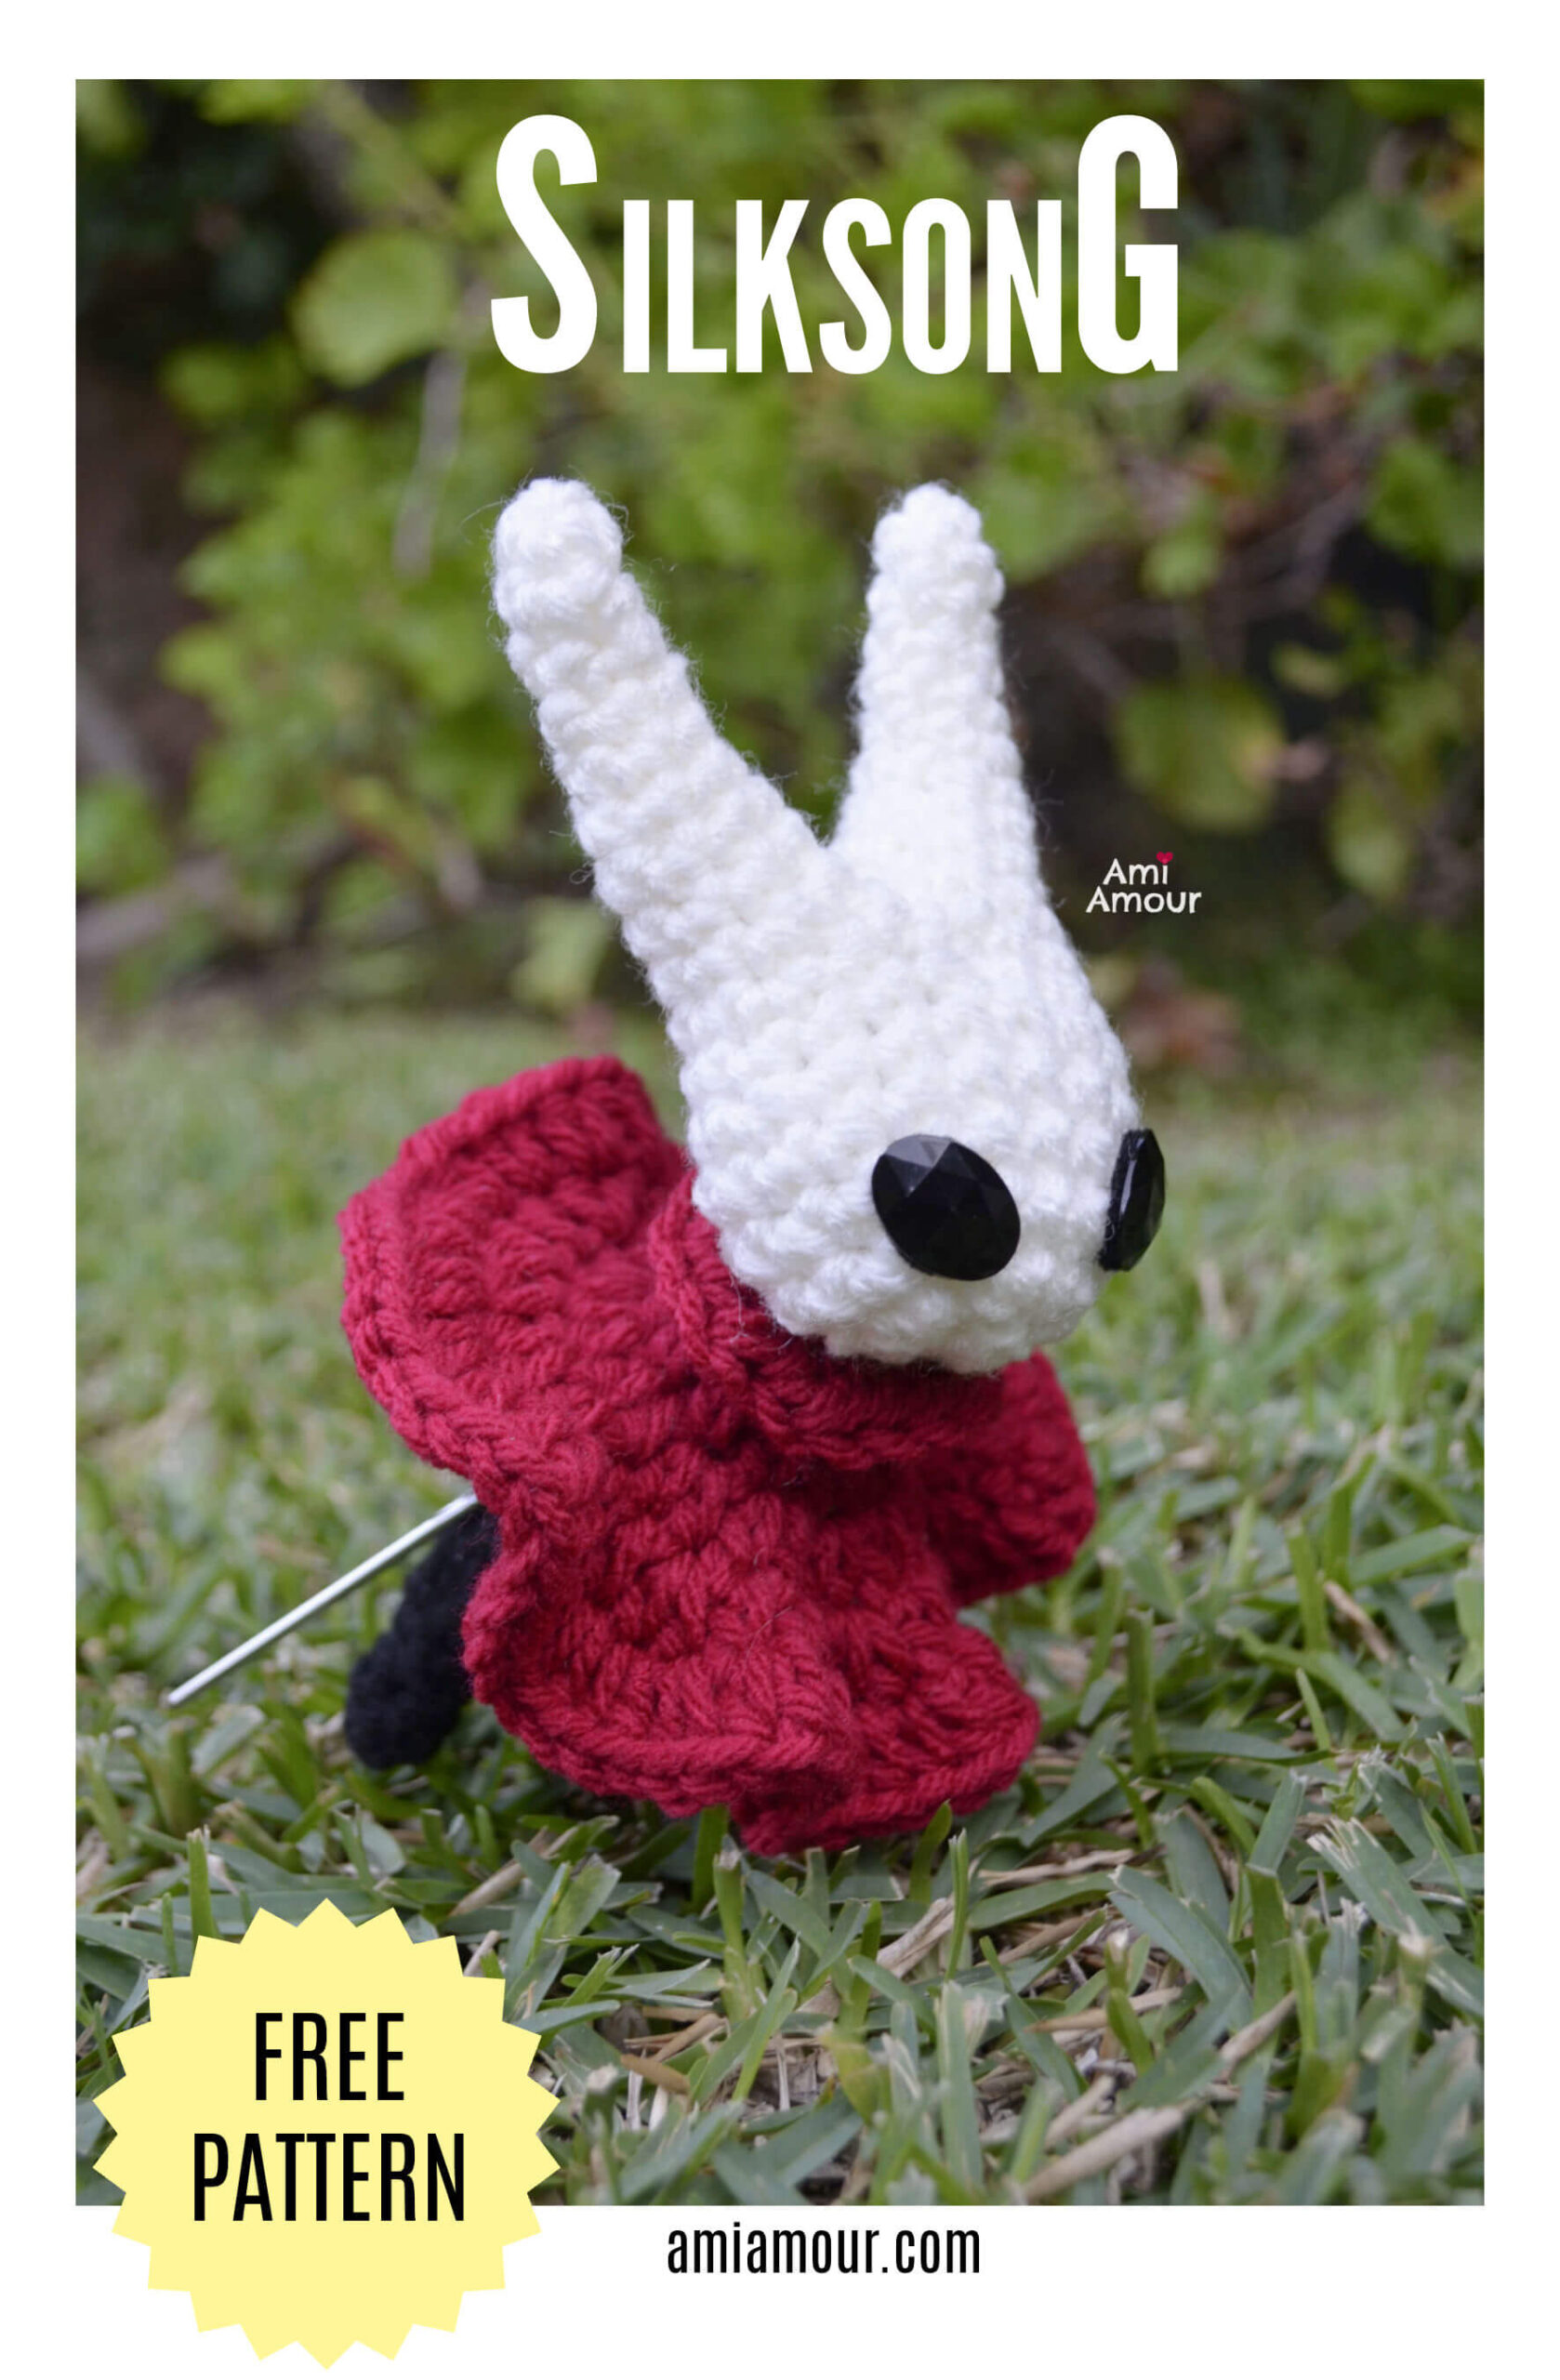
I present to you Hornet Amigurumi of Hollow Knight: Silksong, the latest breakout viral game for this year in a free and fun crochet pattern!
I read that when the game was first released, it broke both the steam shop and nintendo eshop due to the demand! When I saw Hornet and some gameplay, I immediately fell in love with her design and I knew I had to create a Hollow Knight Silksong crochet pattern for it.
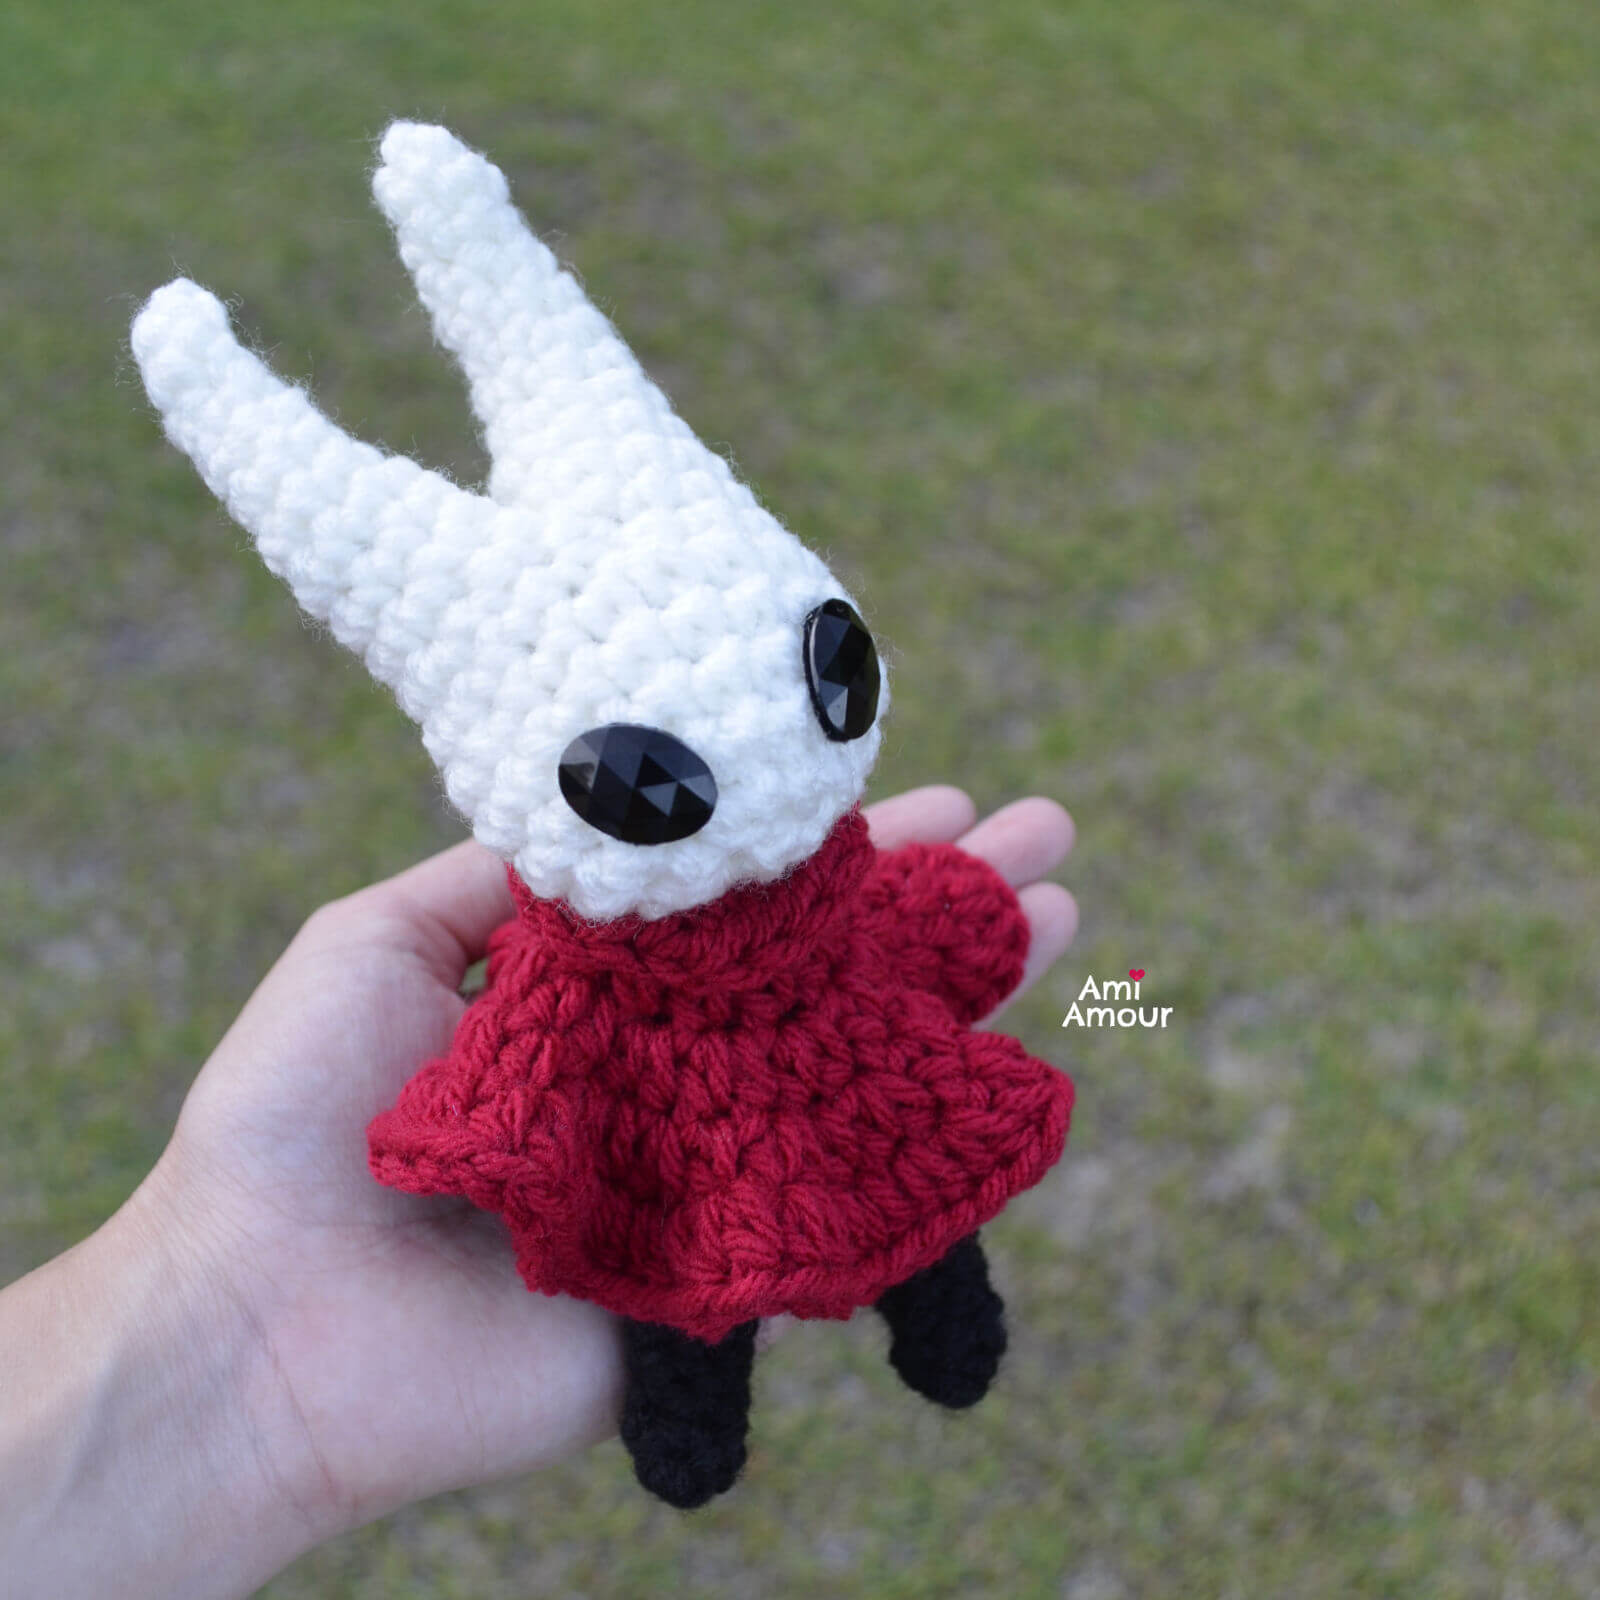
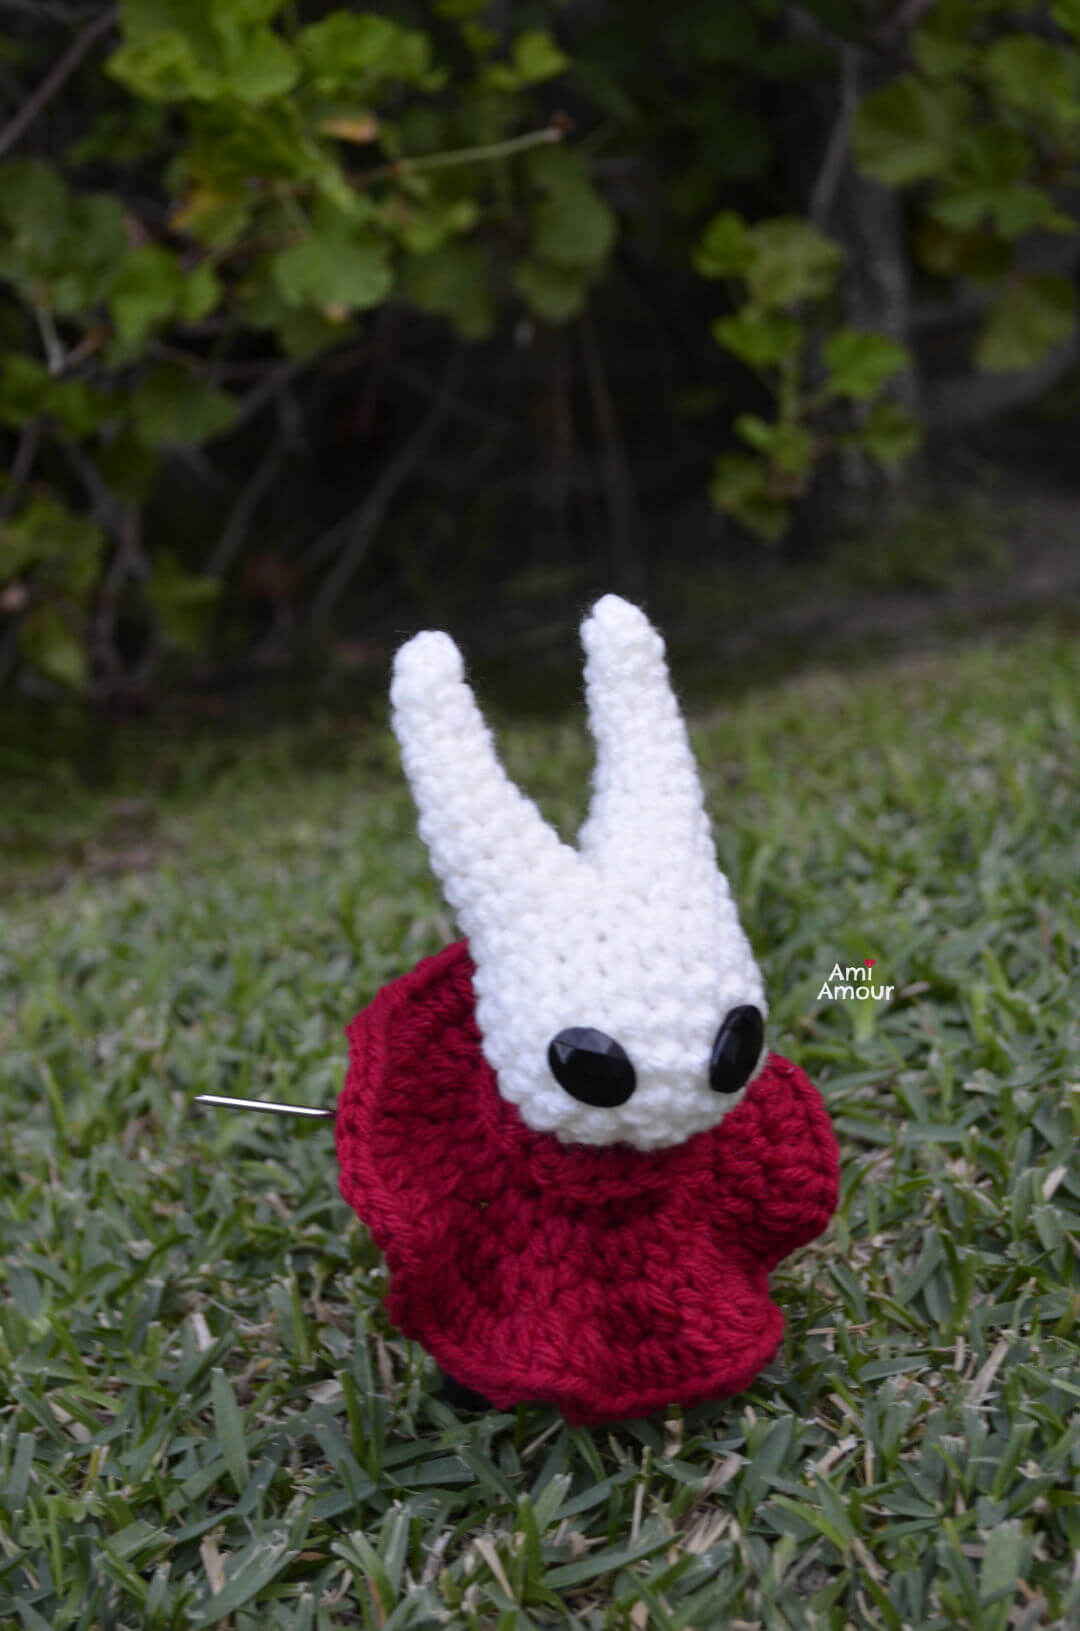
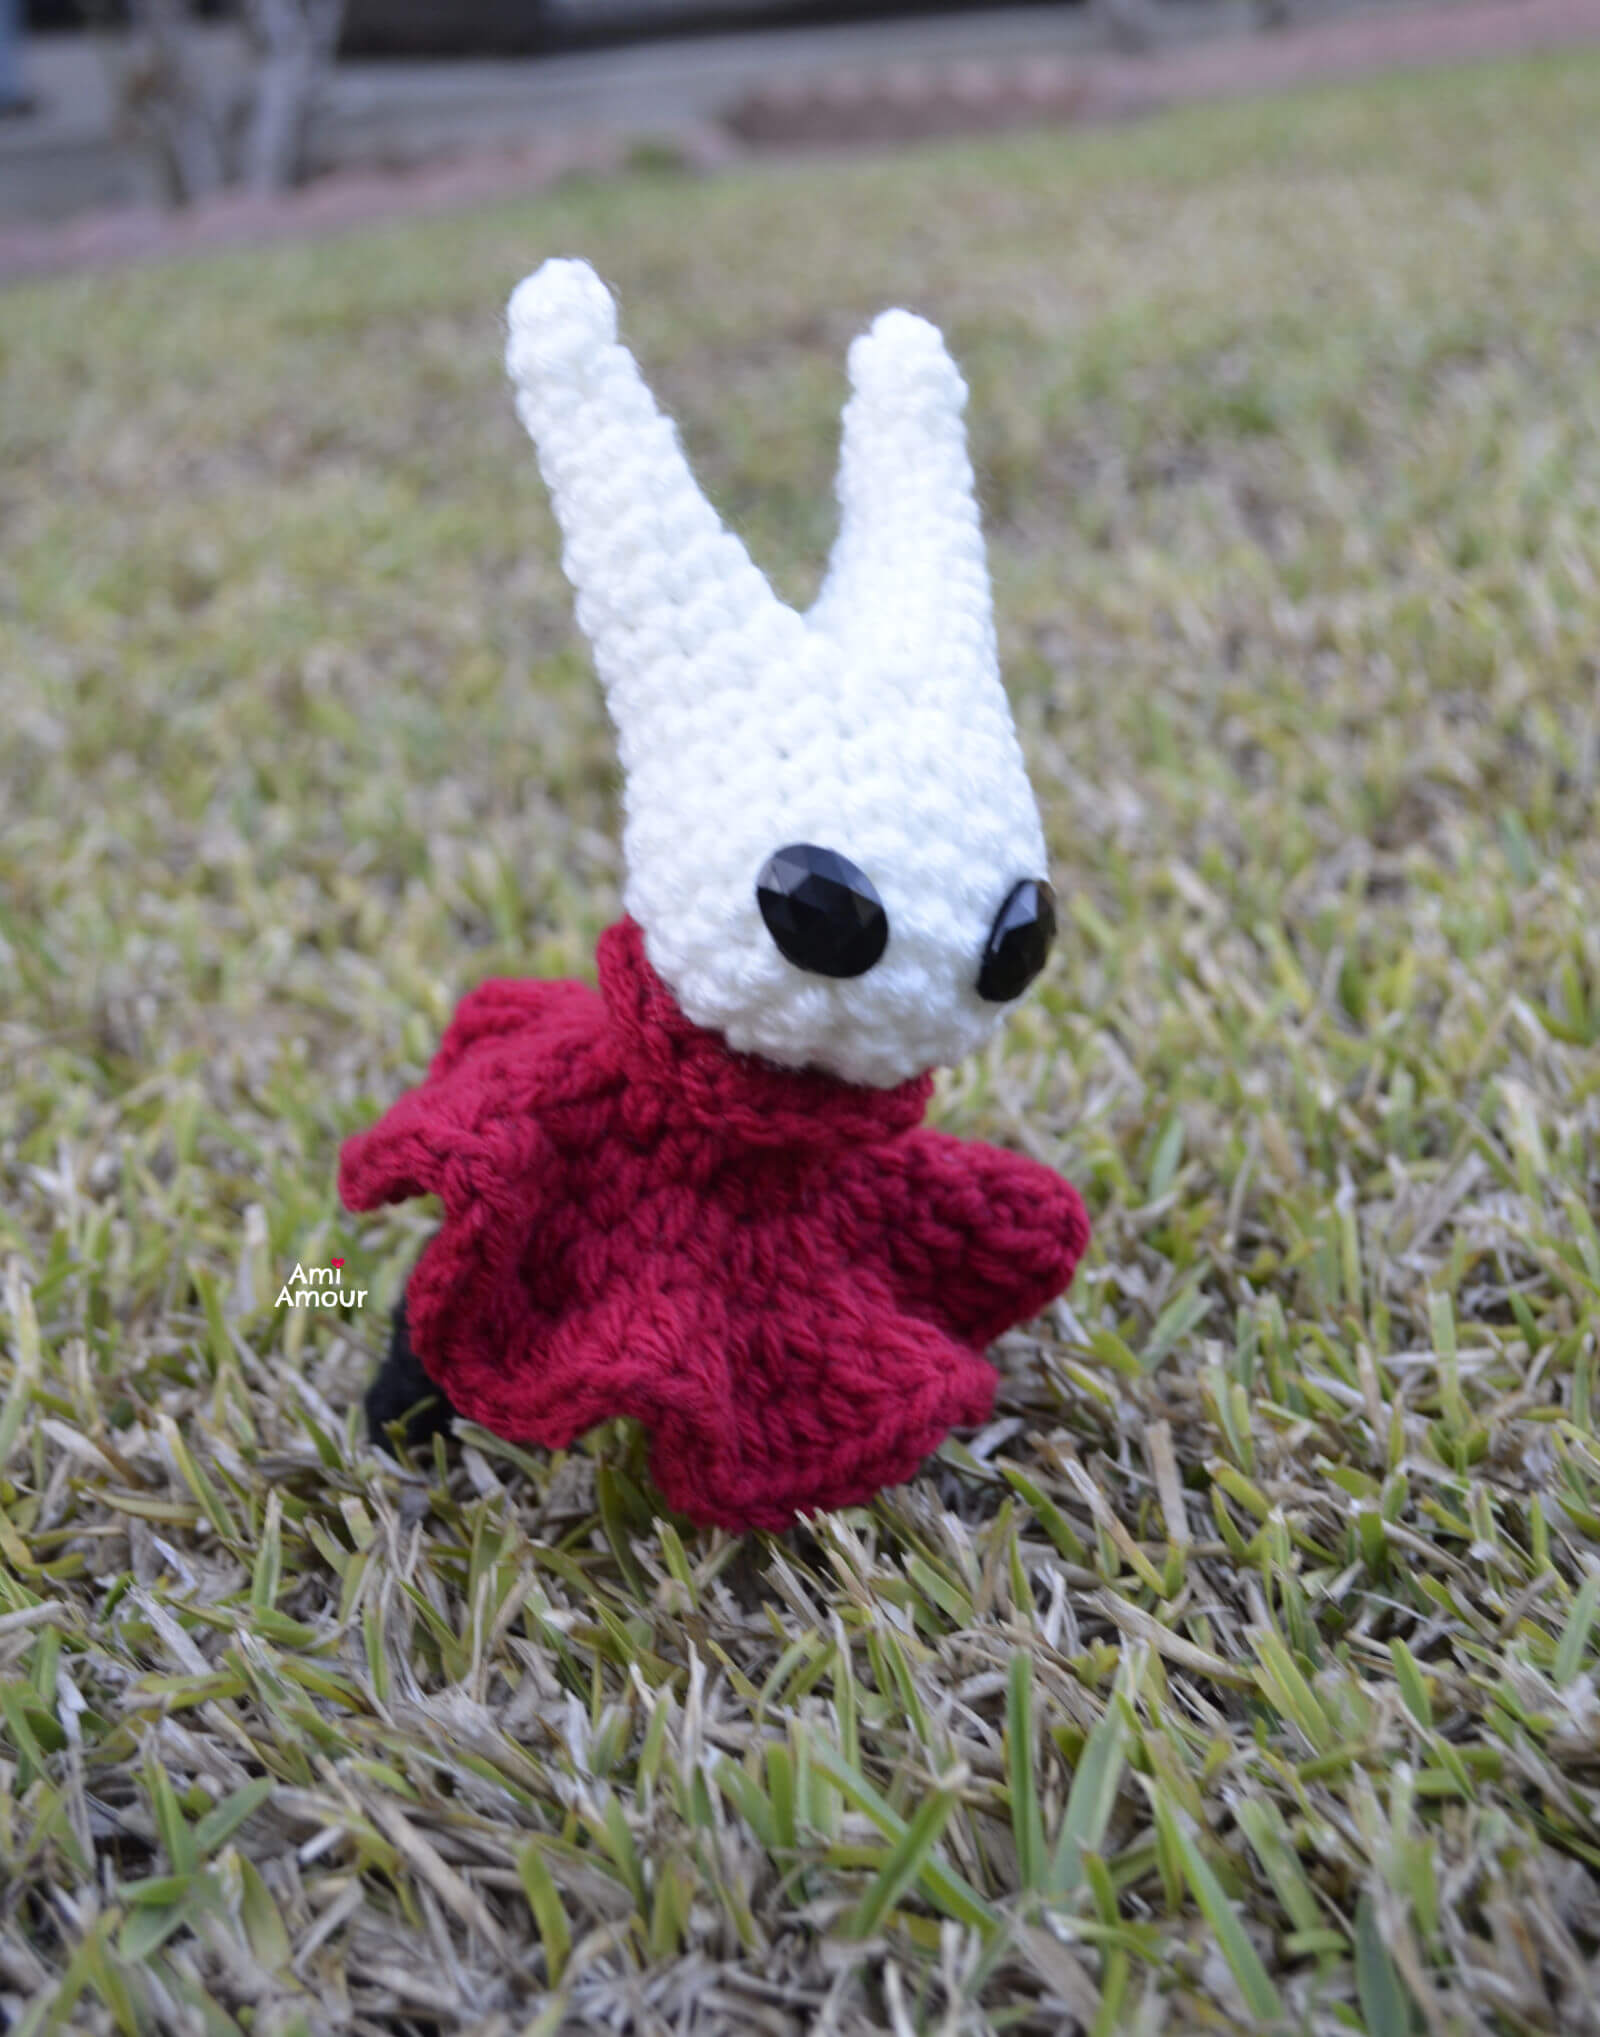
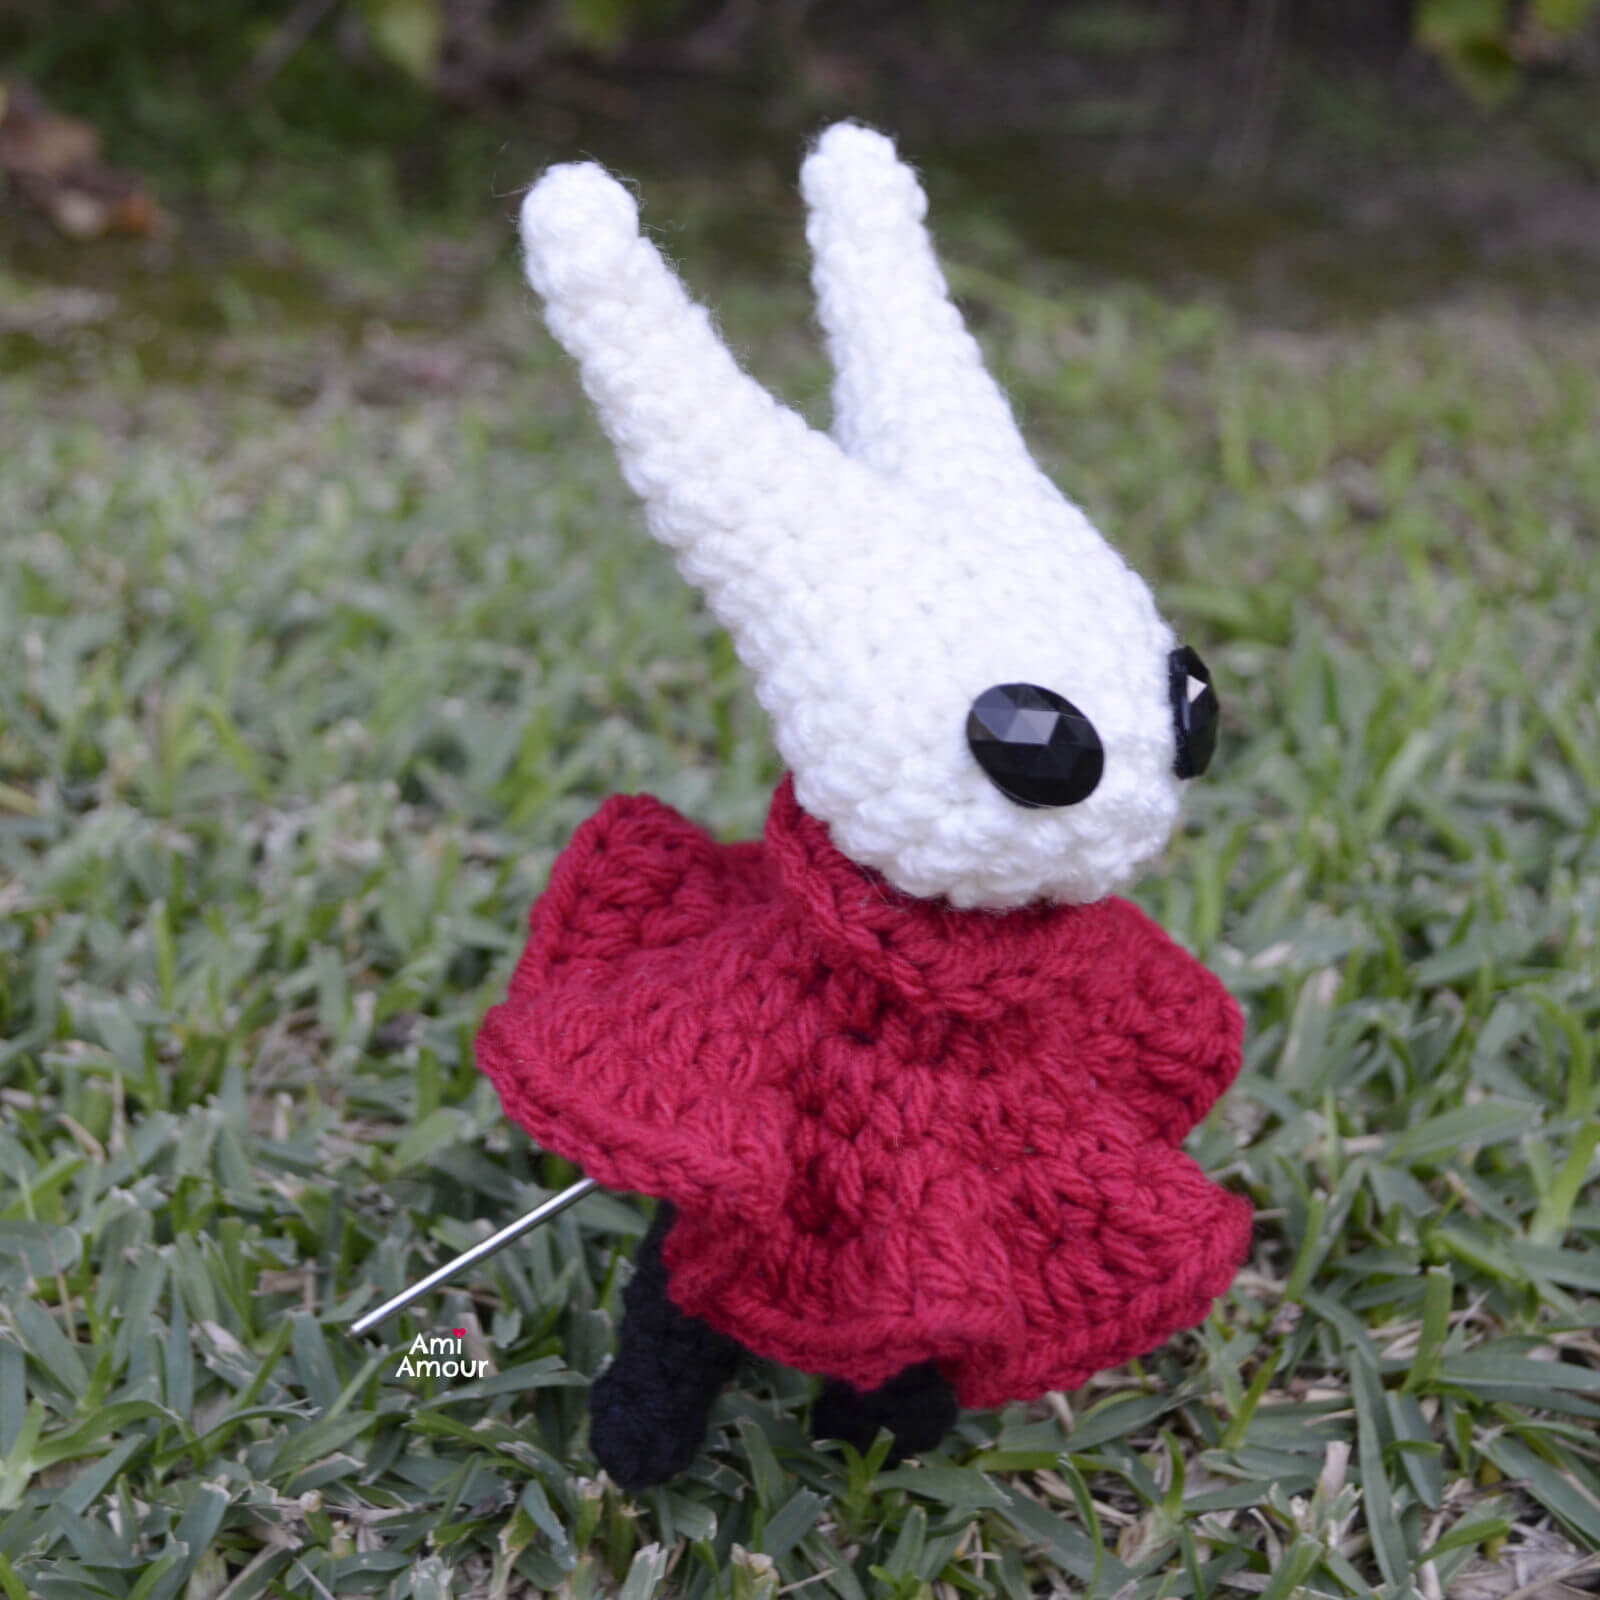
I loved everything about her from her character design to how she moved. Her head looks like a boomerang crescent and she has black oval eyes. I like that her horns look like rabbit ears, but her origin actually comes from a more arachnid source, as her mother comes from a spider tribe.
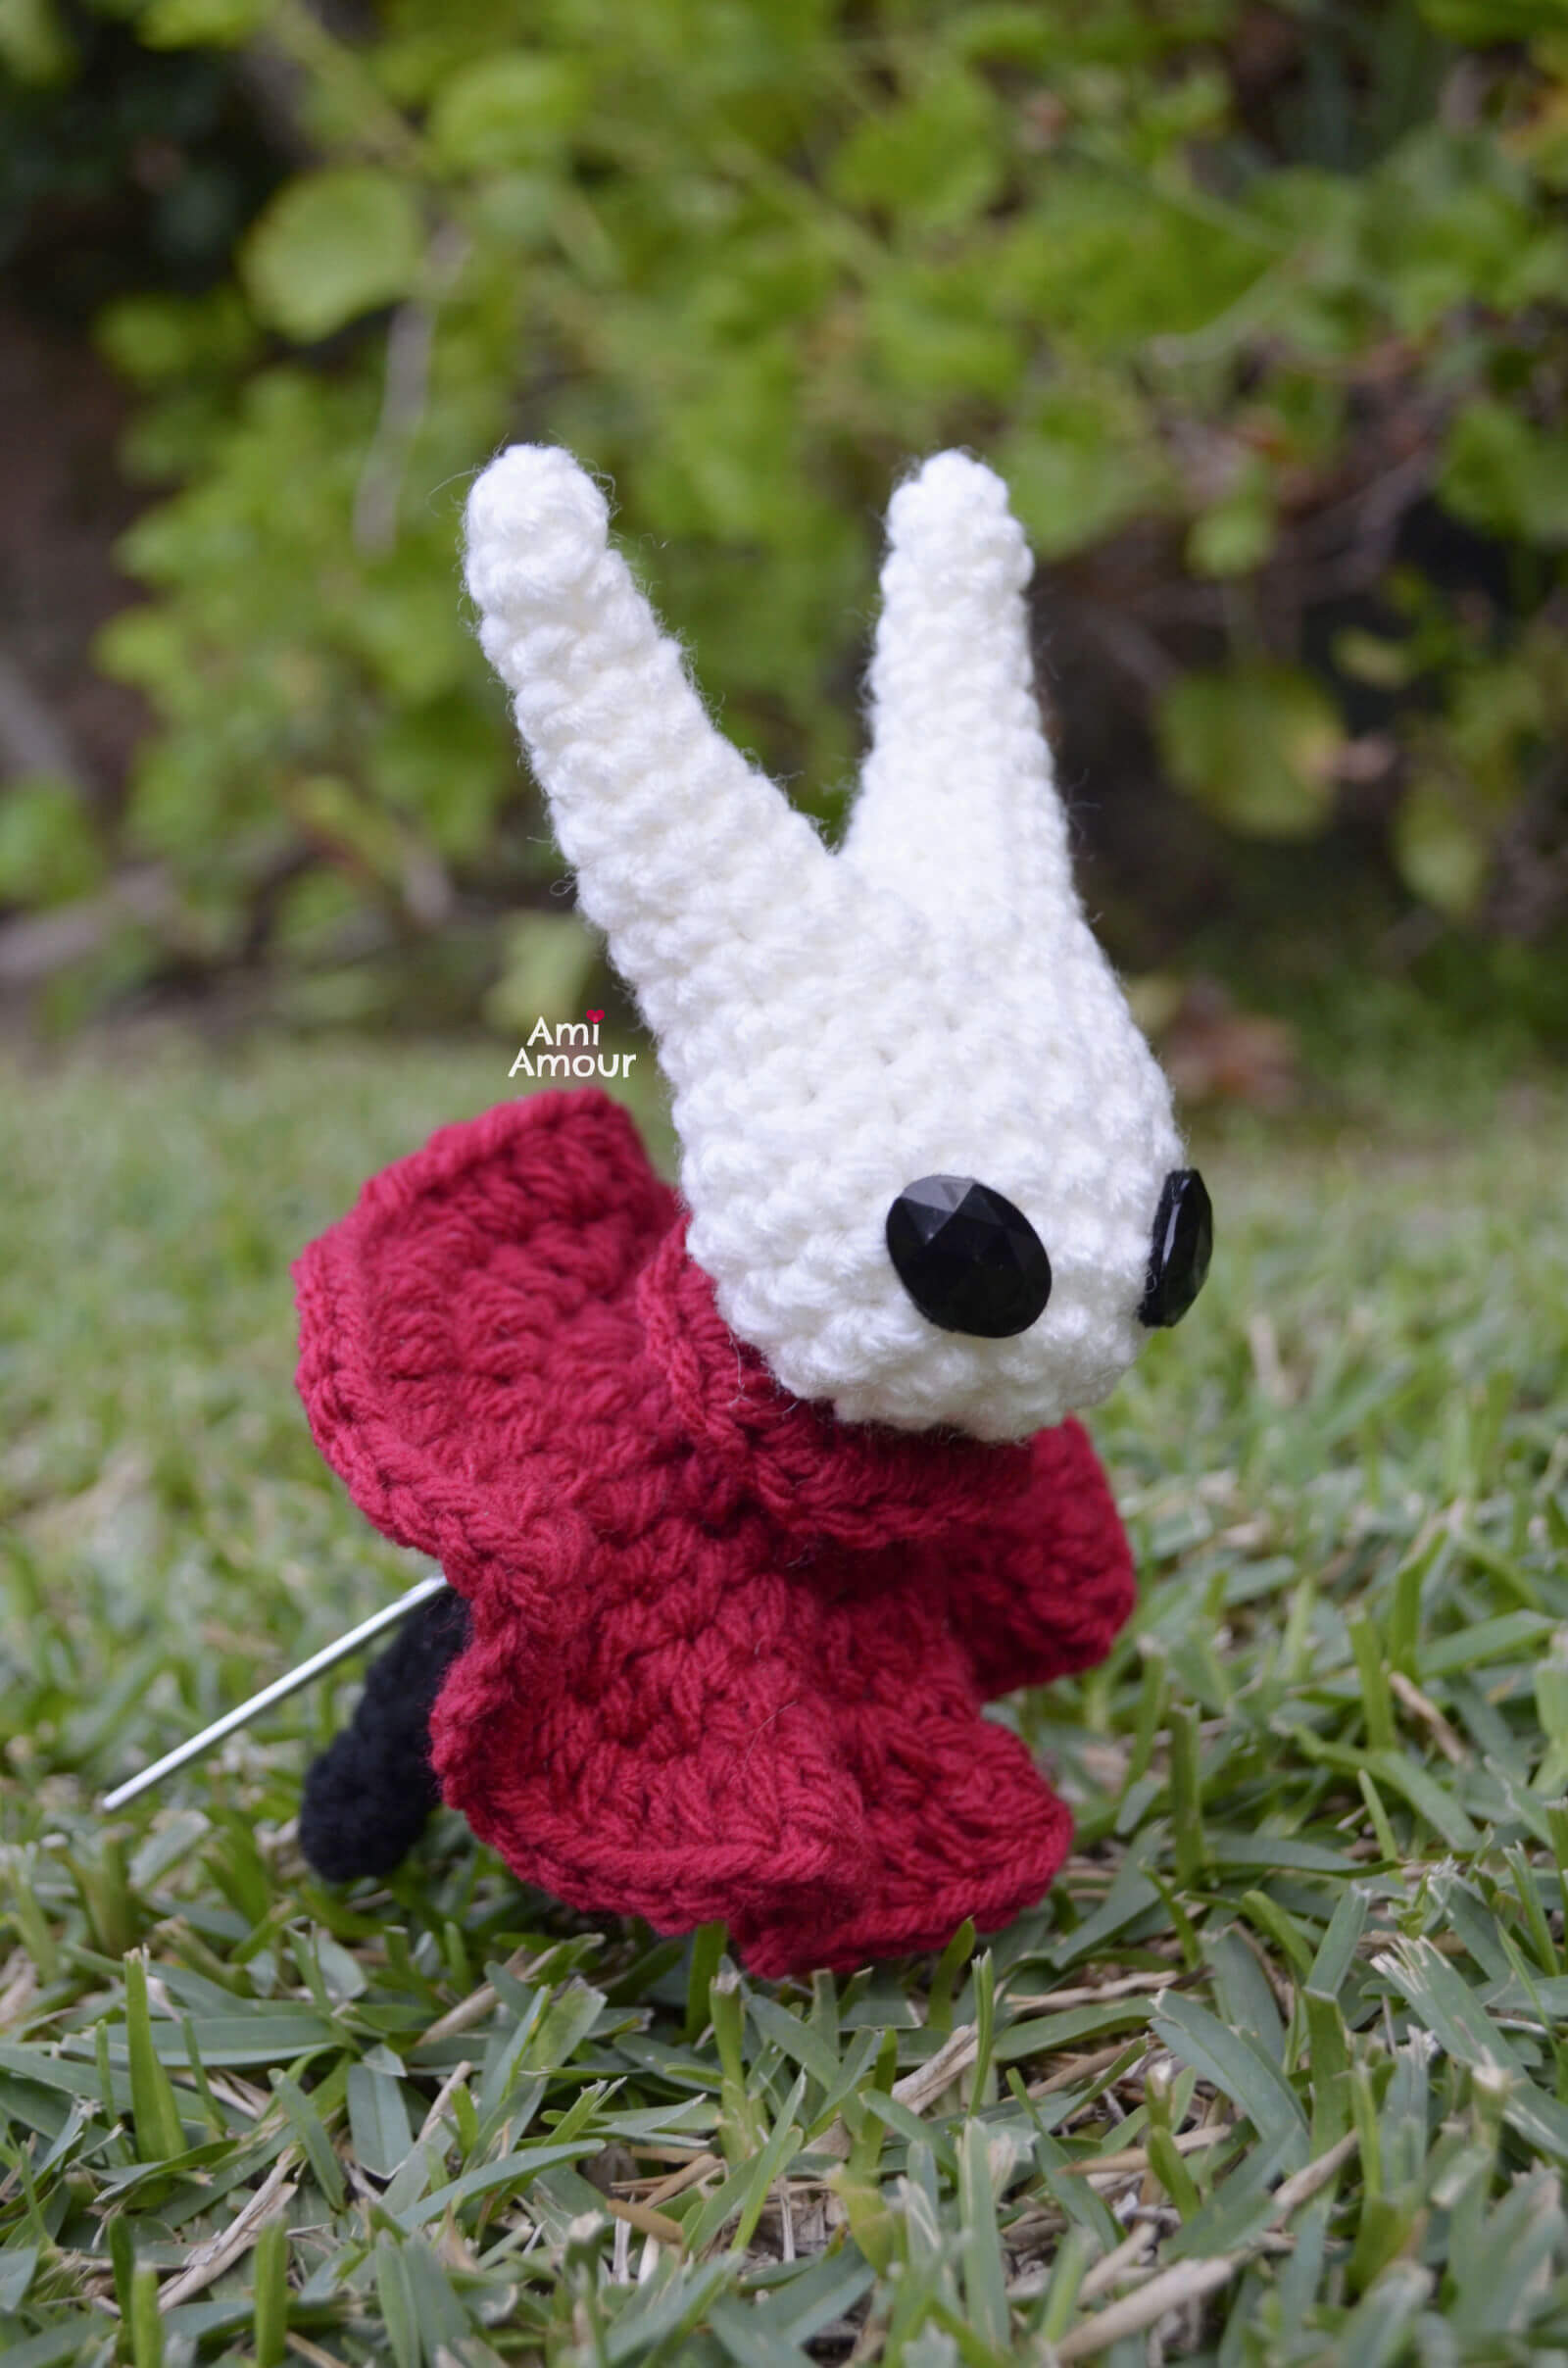
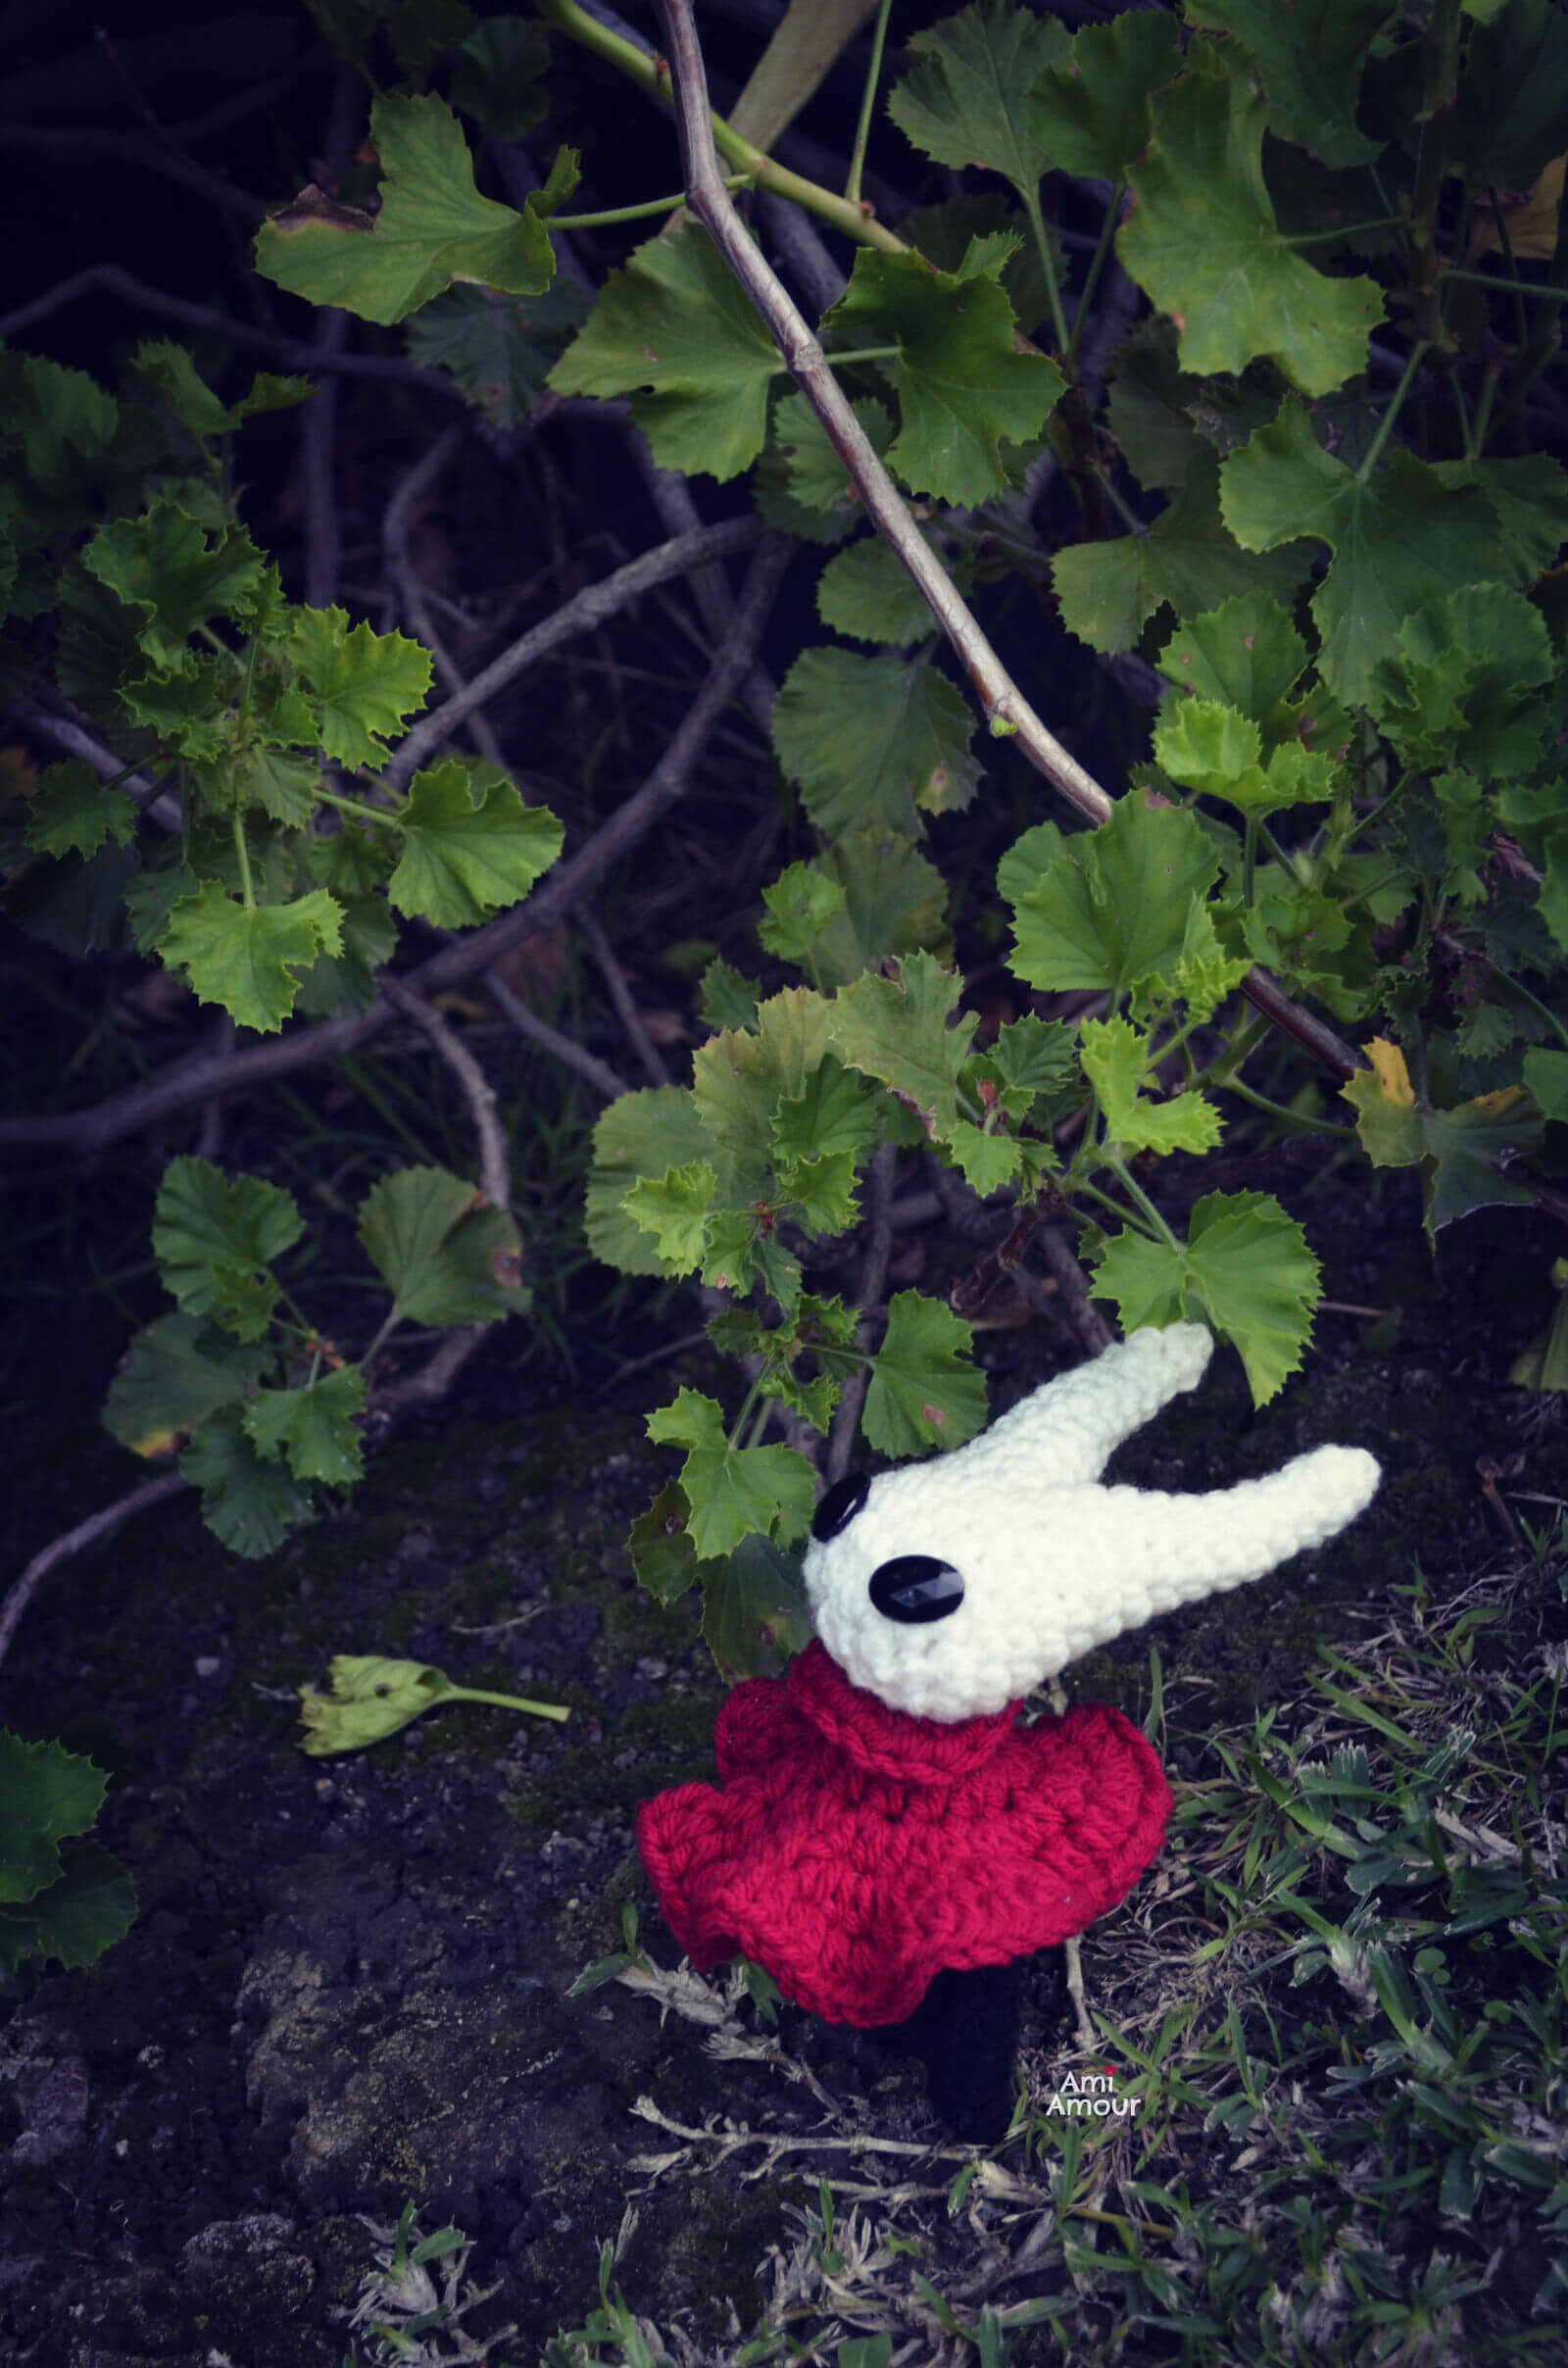
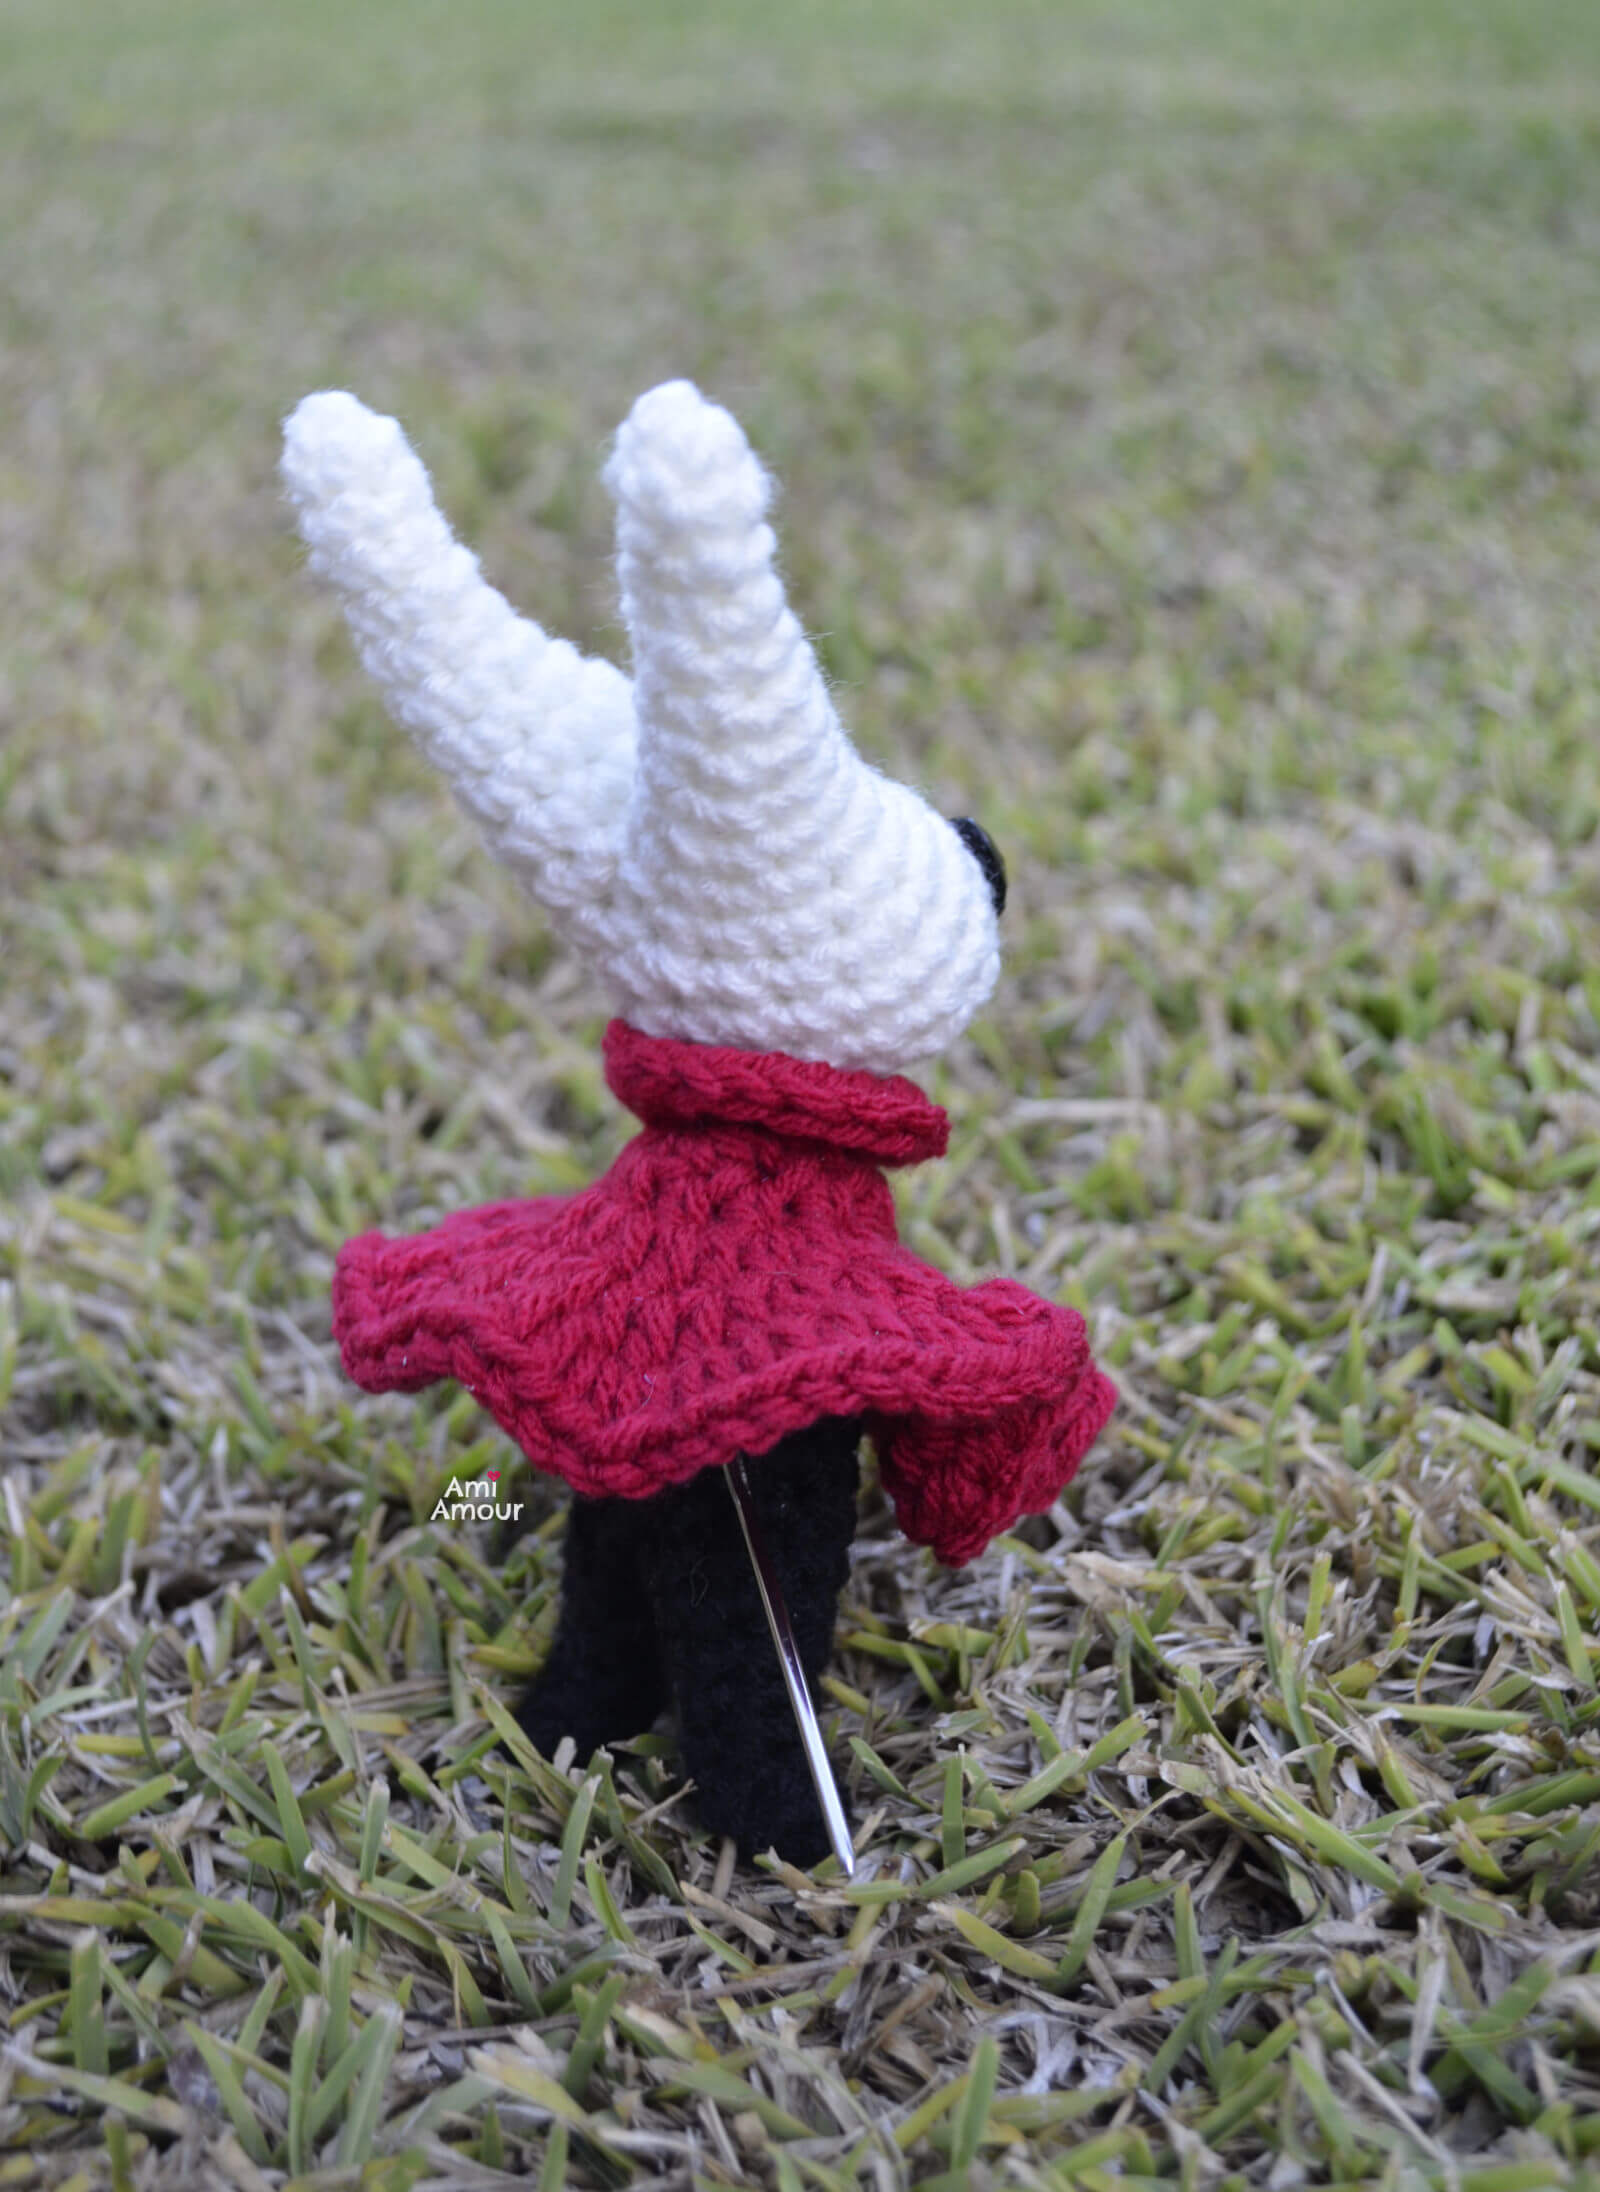
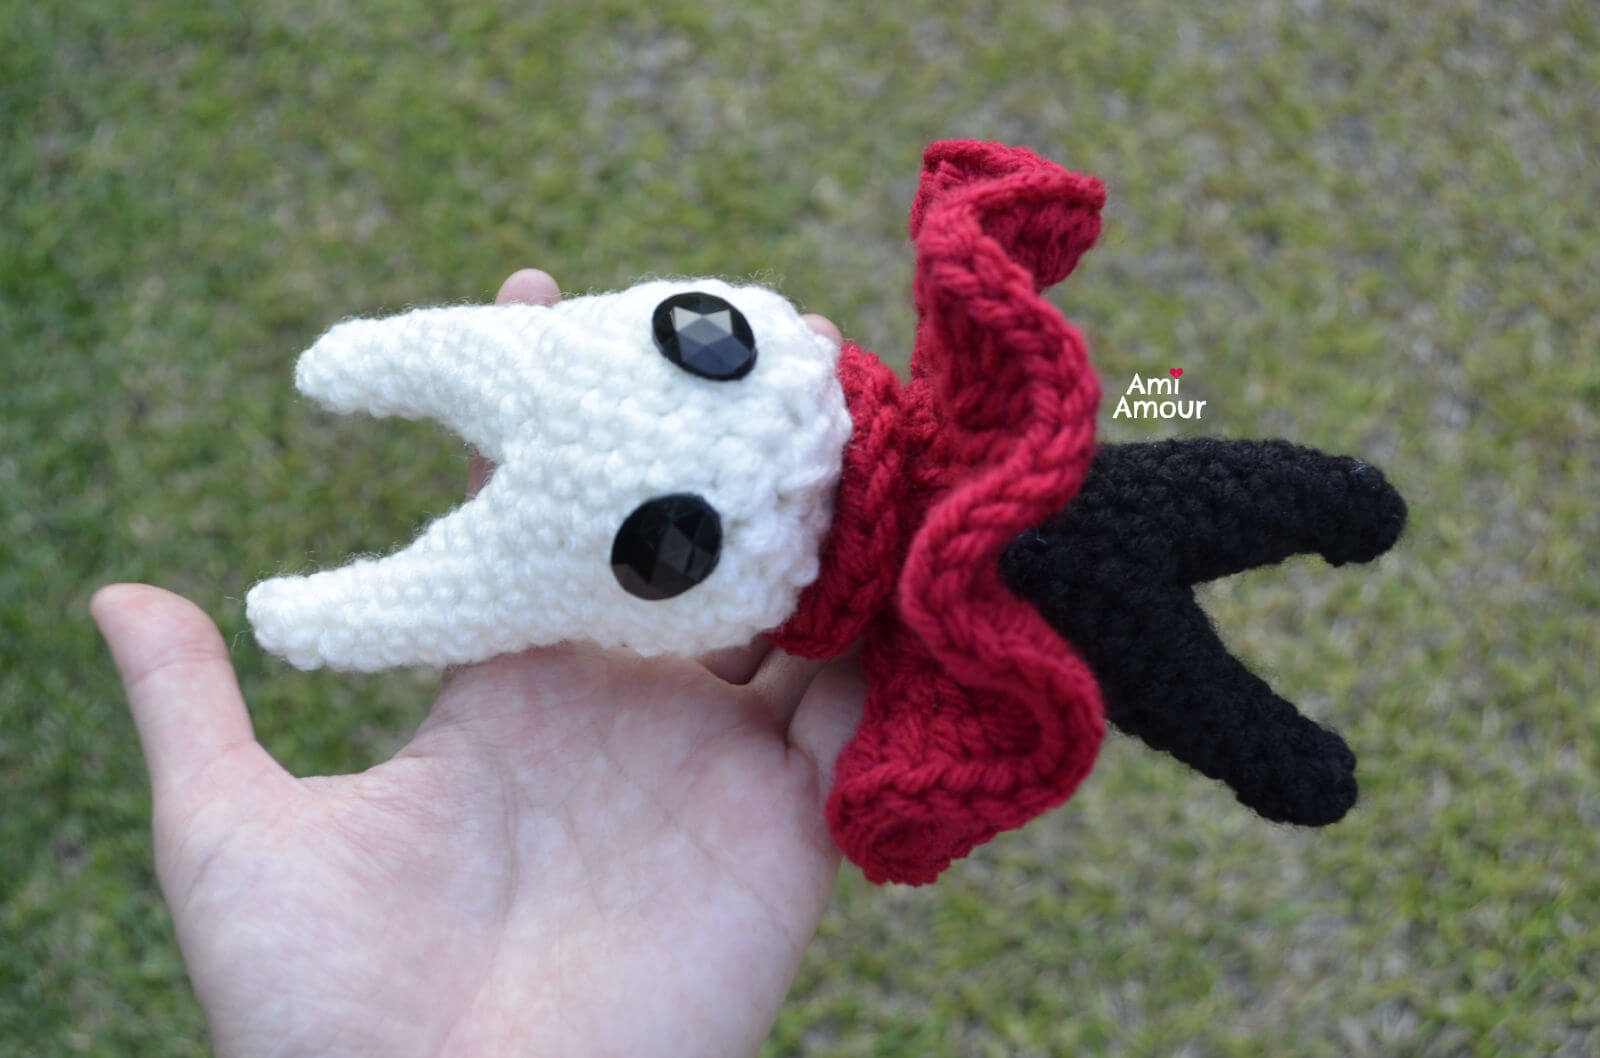
She has spindly legs, but has a red trapeze dress that swishes about as she speedily dashes about. The dress can also act as a parachute to help her float more slowly down as well.
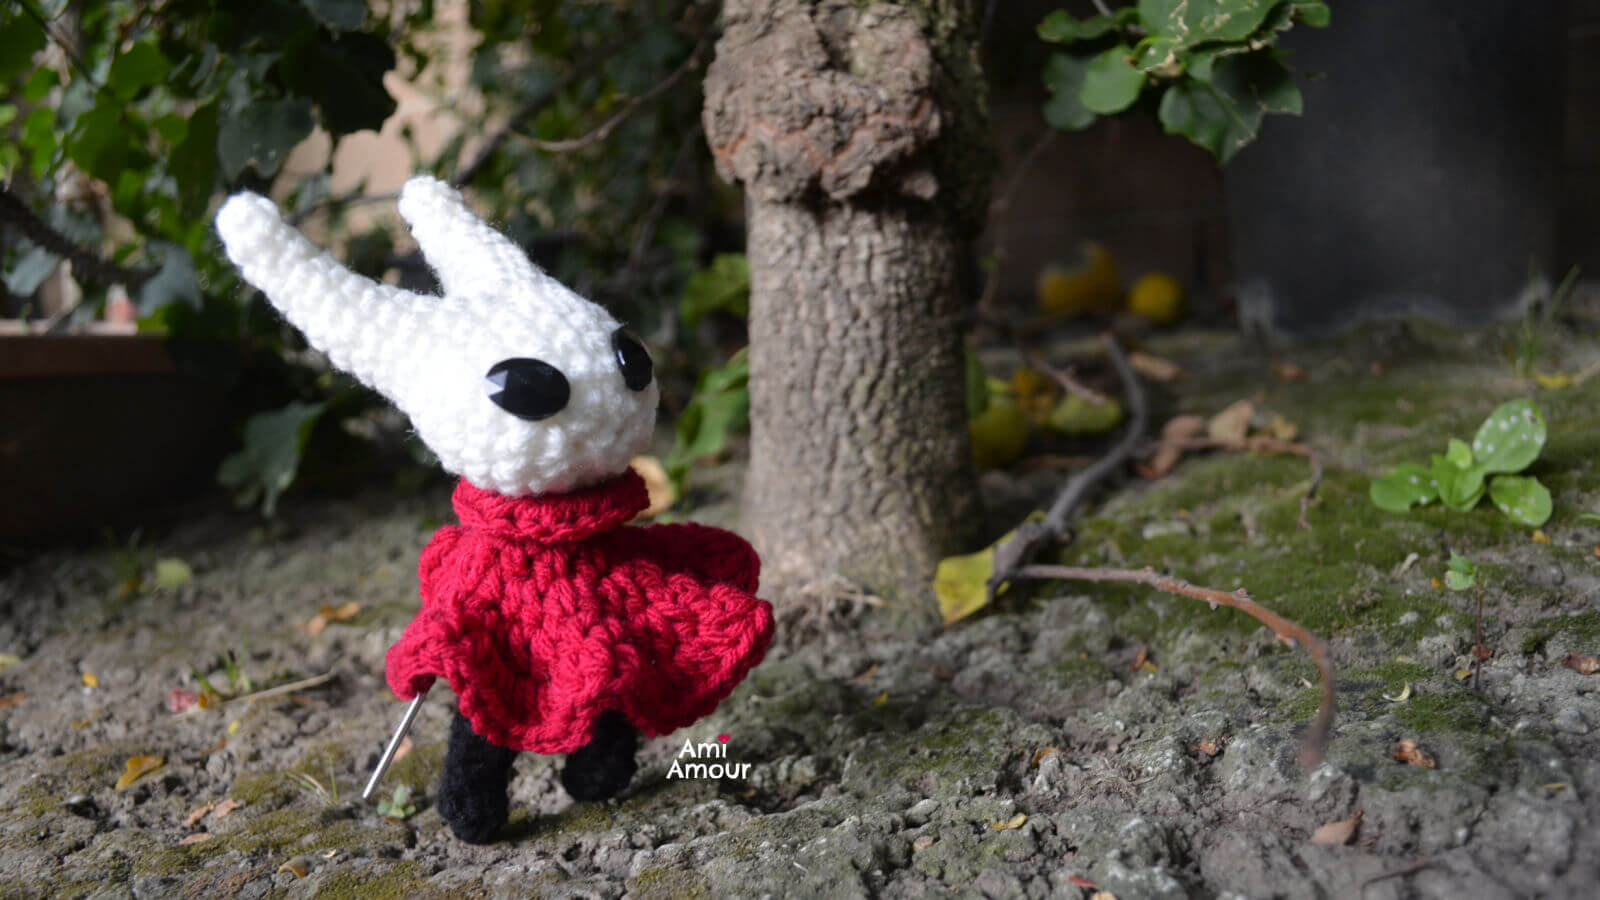
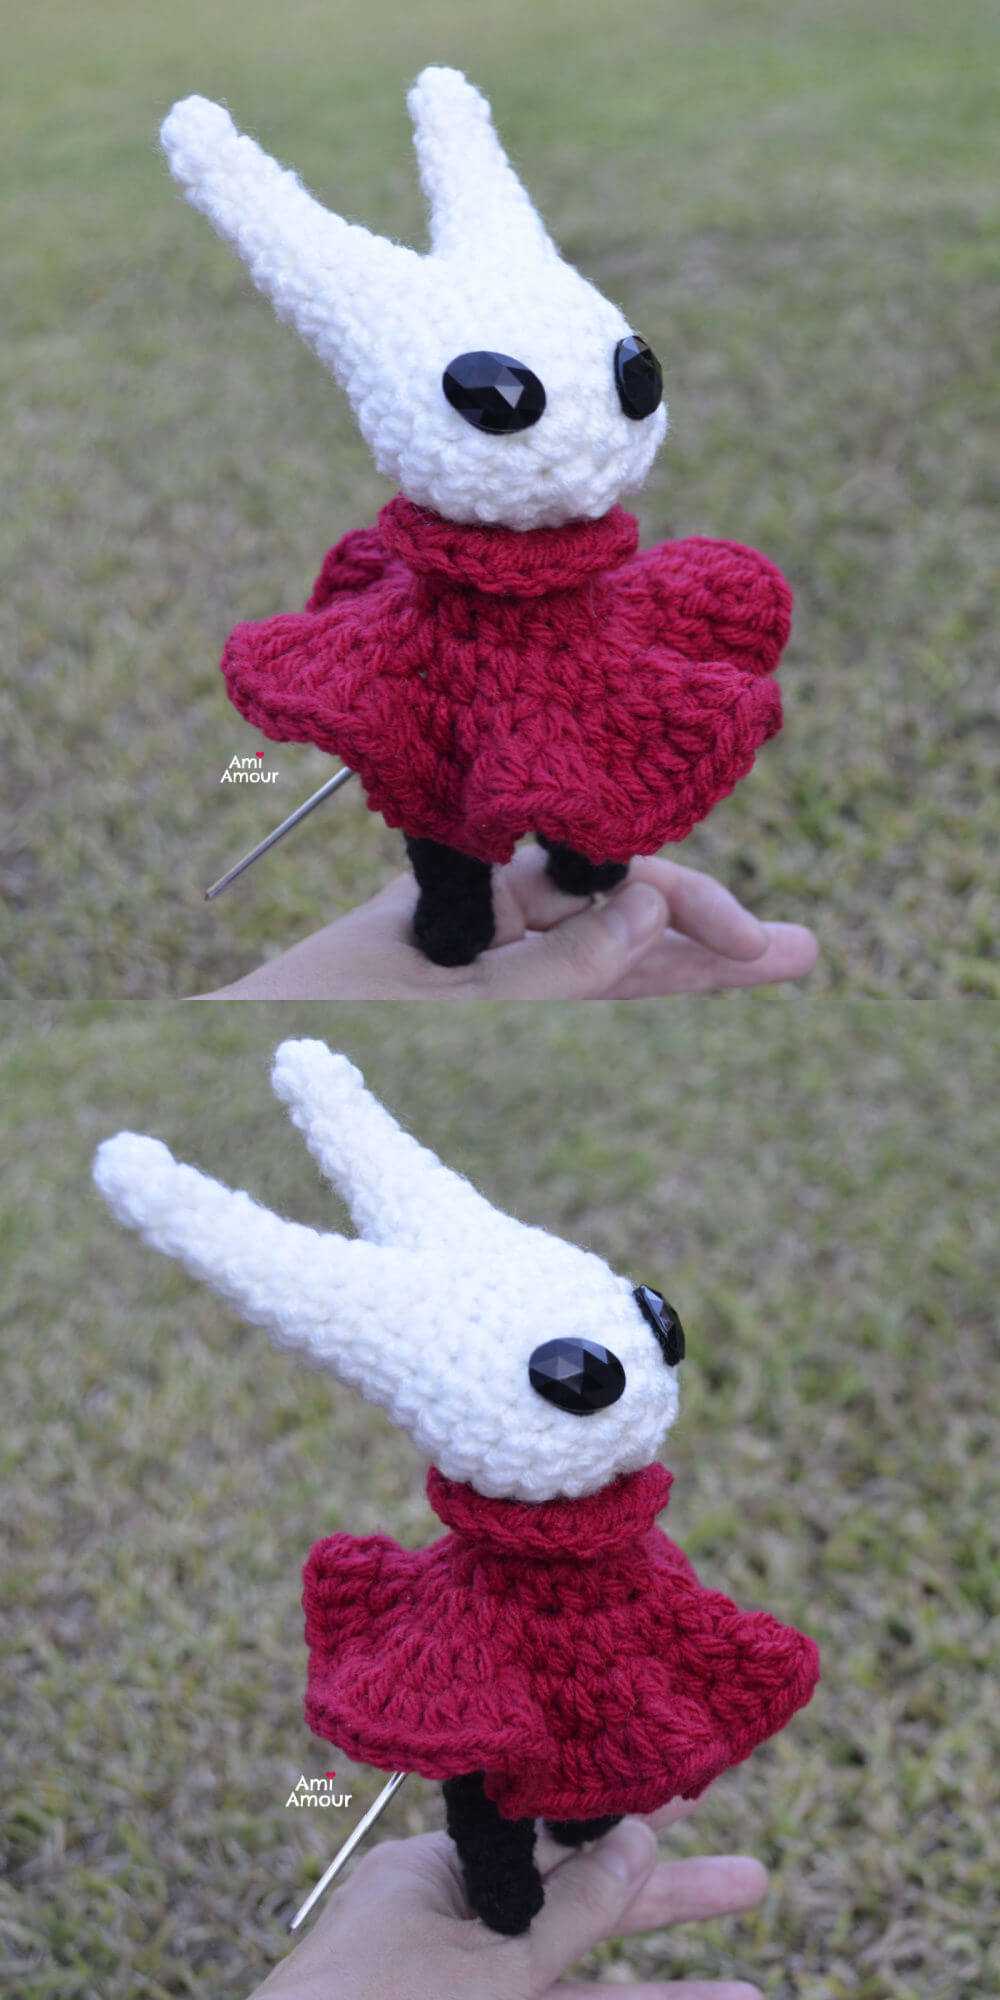
Her weapon is a needle sword. She uses it to slash insect-like monsters or to get rid of obstacles like walls or greenery. I just used my yarn needle I had at hand to act as a sword and I think she looks pretty cool with it!
Now for some crochet design notes: When I design, I find some designs to be more satisfying than another and that was the case with Hornet from Hollow Knight Silksong. The Head and Body pattern are almost exactly the same pattern (apart from a few rounds), so it has nice symmetry to it that makes it quite fun.
I created the drape of her dress by applying a crochet ruffle by using a lot of half double crochet increases within the dress. It helps create the dynamic flow in the wind action shot look.
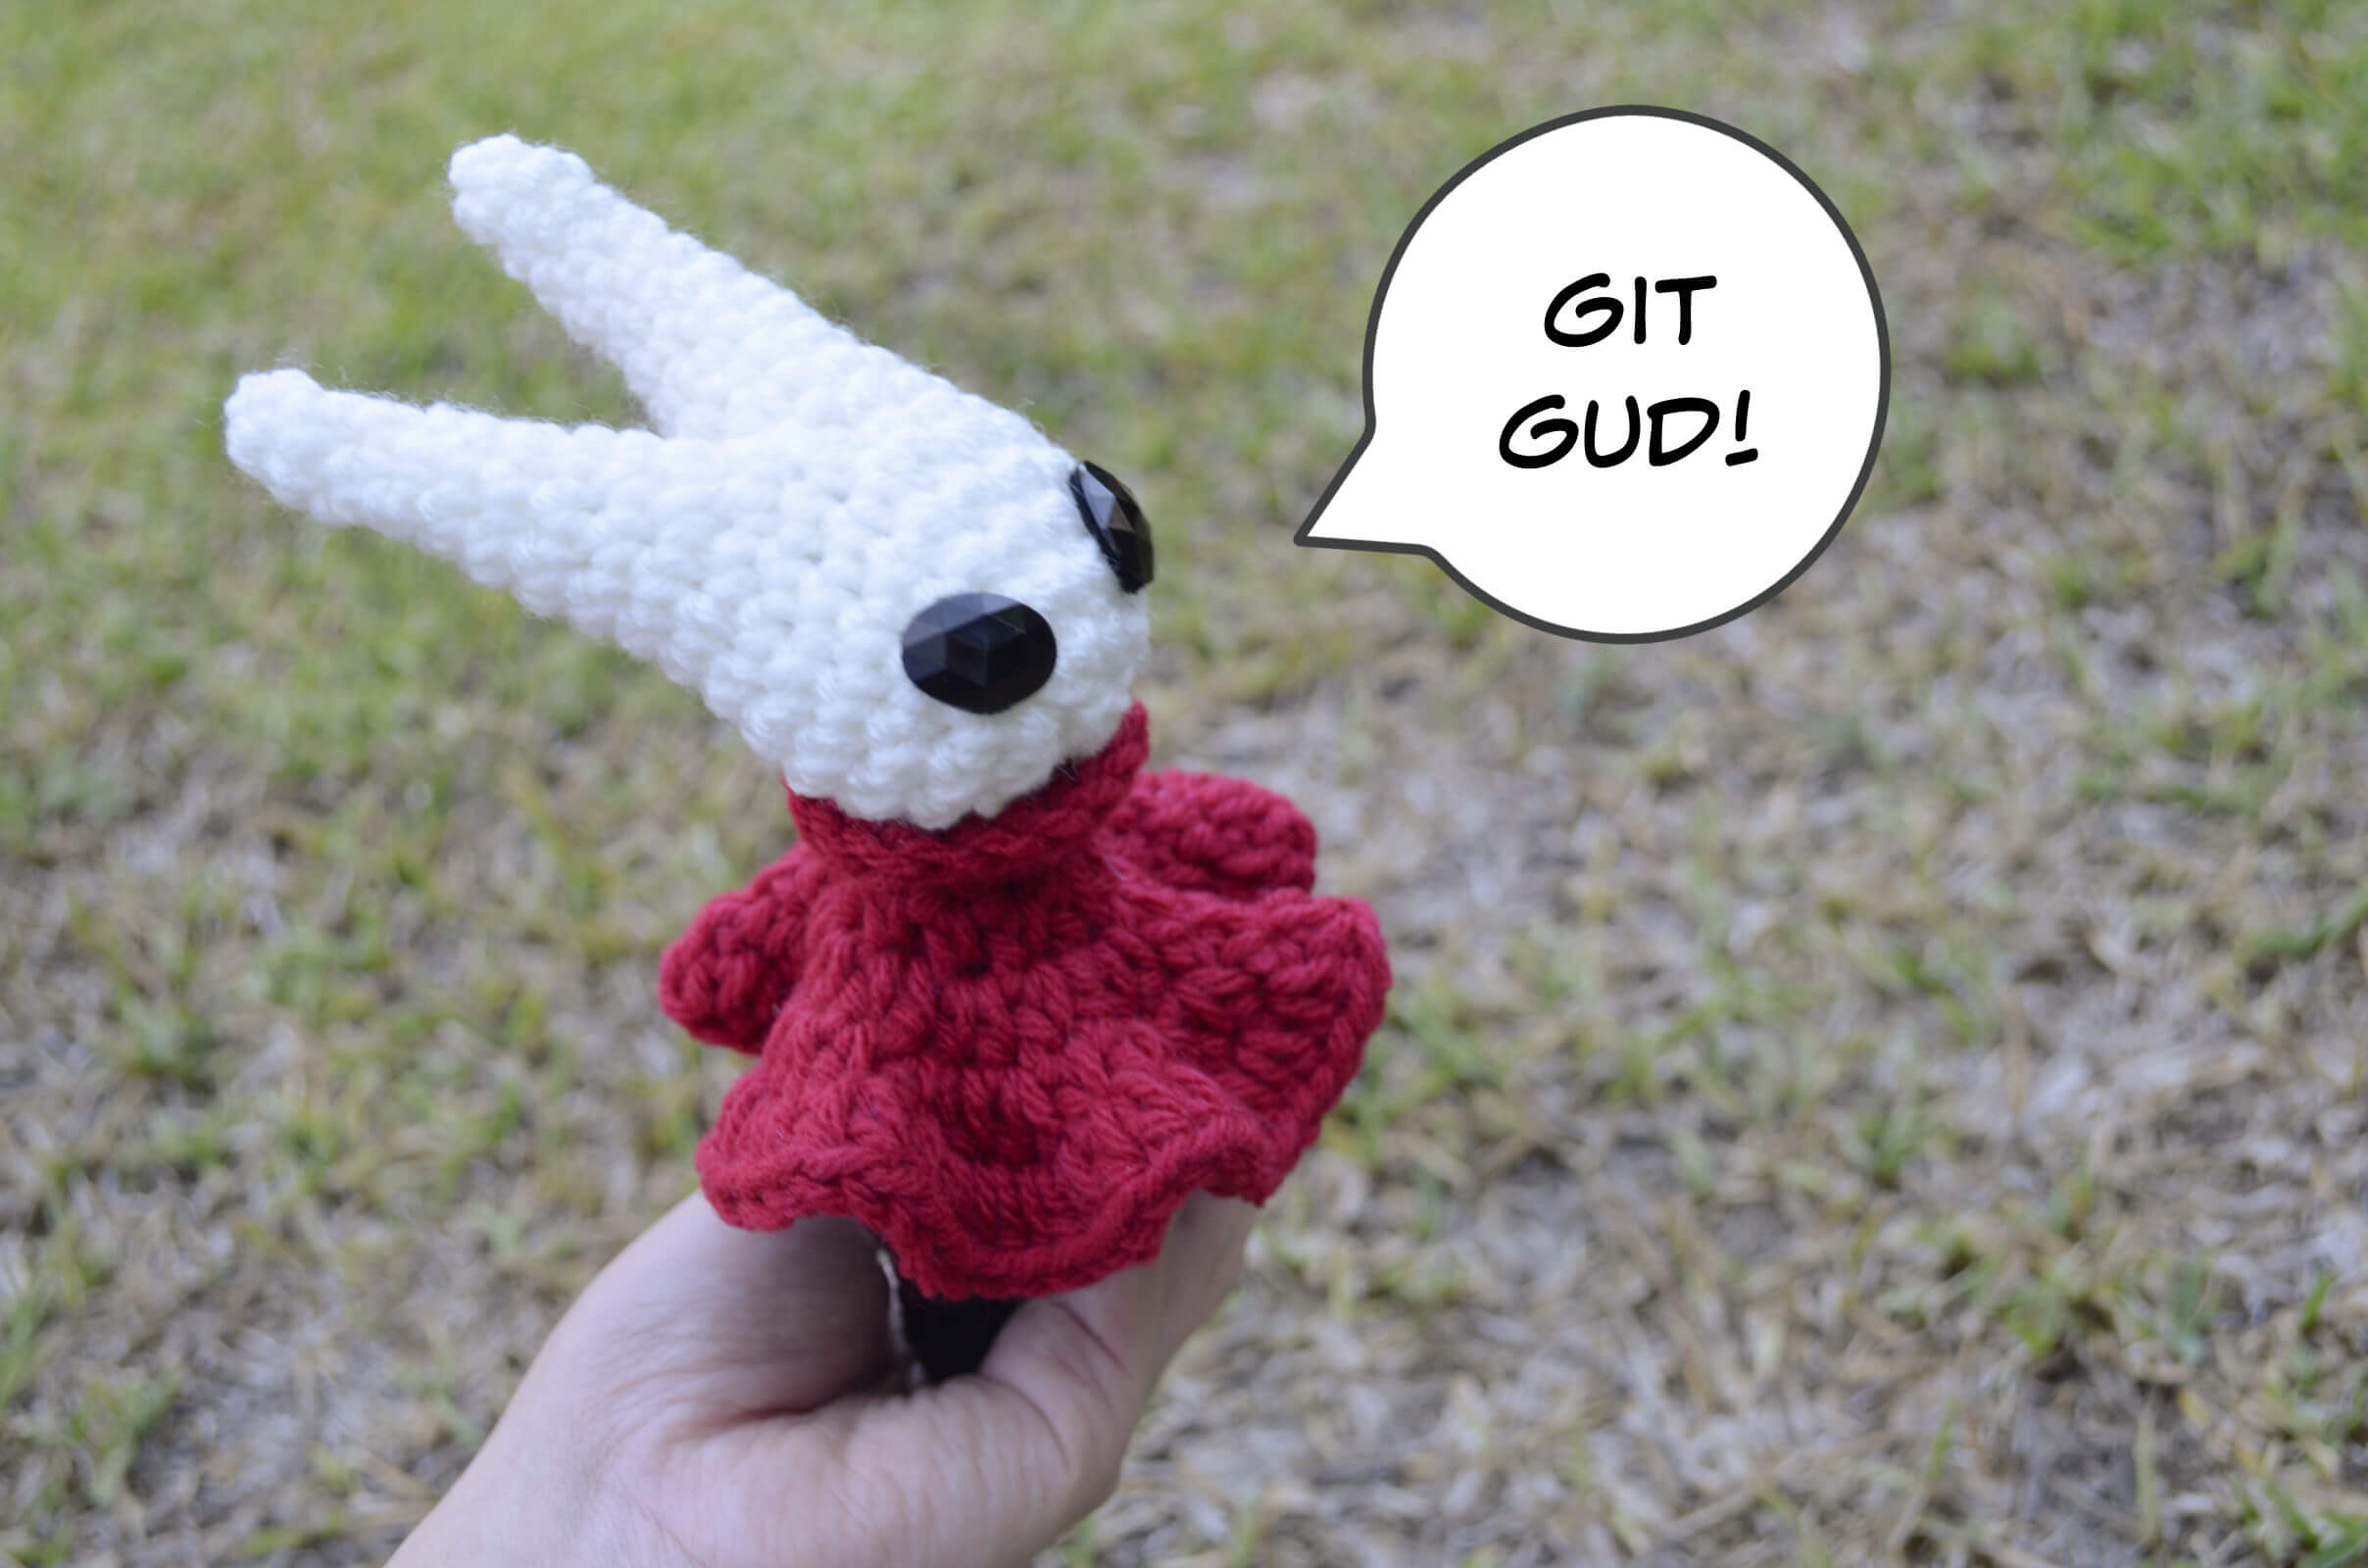
The Hornet Hollow Knight Silksong free crochet pattern is available below along with the video crochet tutorial. I hope it helps you “git gud” as she would say.
It would be fun to work on the Knight or Ghost from Hollow Knight amigurumi sometime in the future. If you’re interested in a pattern for that, let me know! Don’t forget to tag me with your projects on Instagram @ami_amour, I’d love to see!
Here are some other video game crochet patterns you might enjoy!
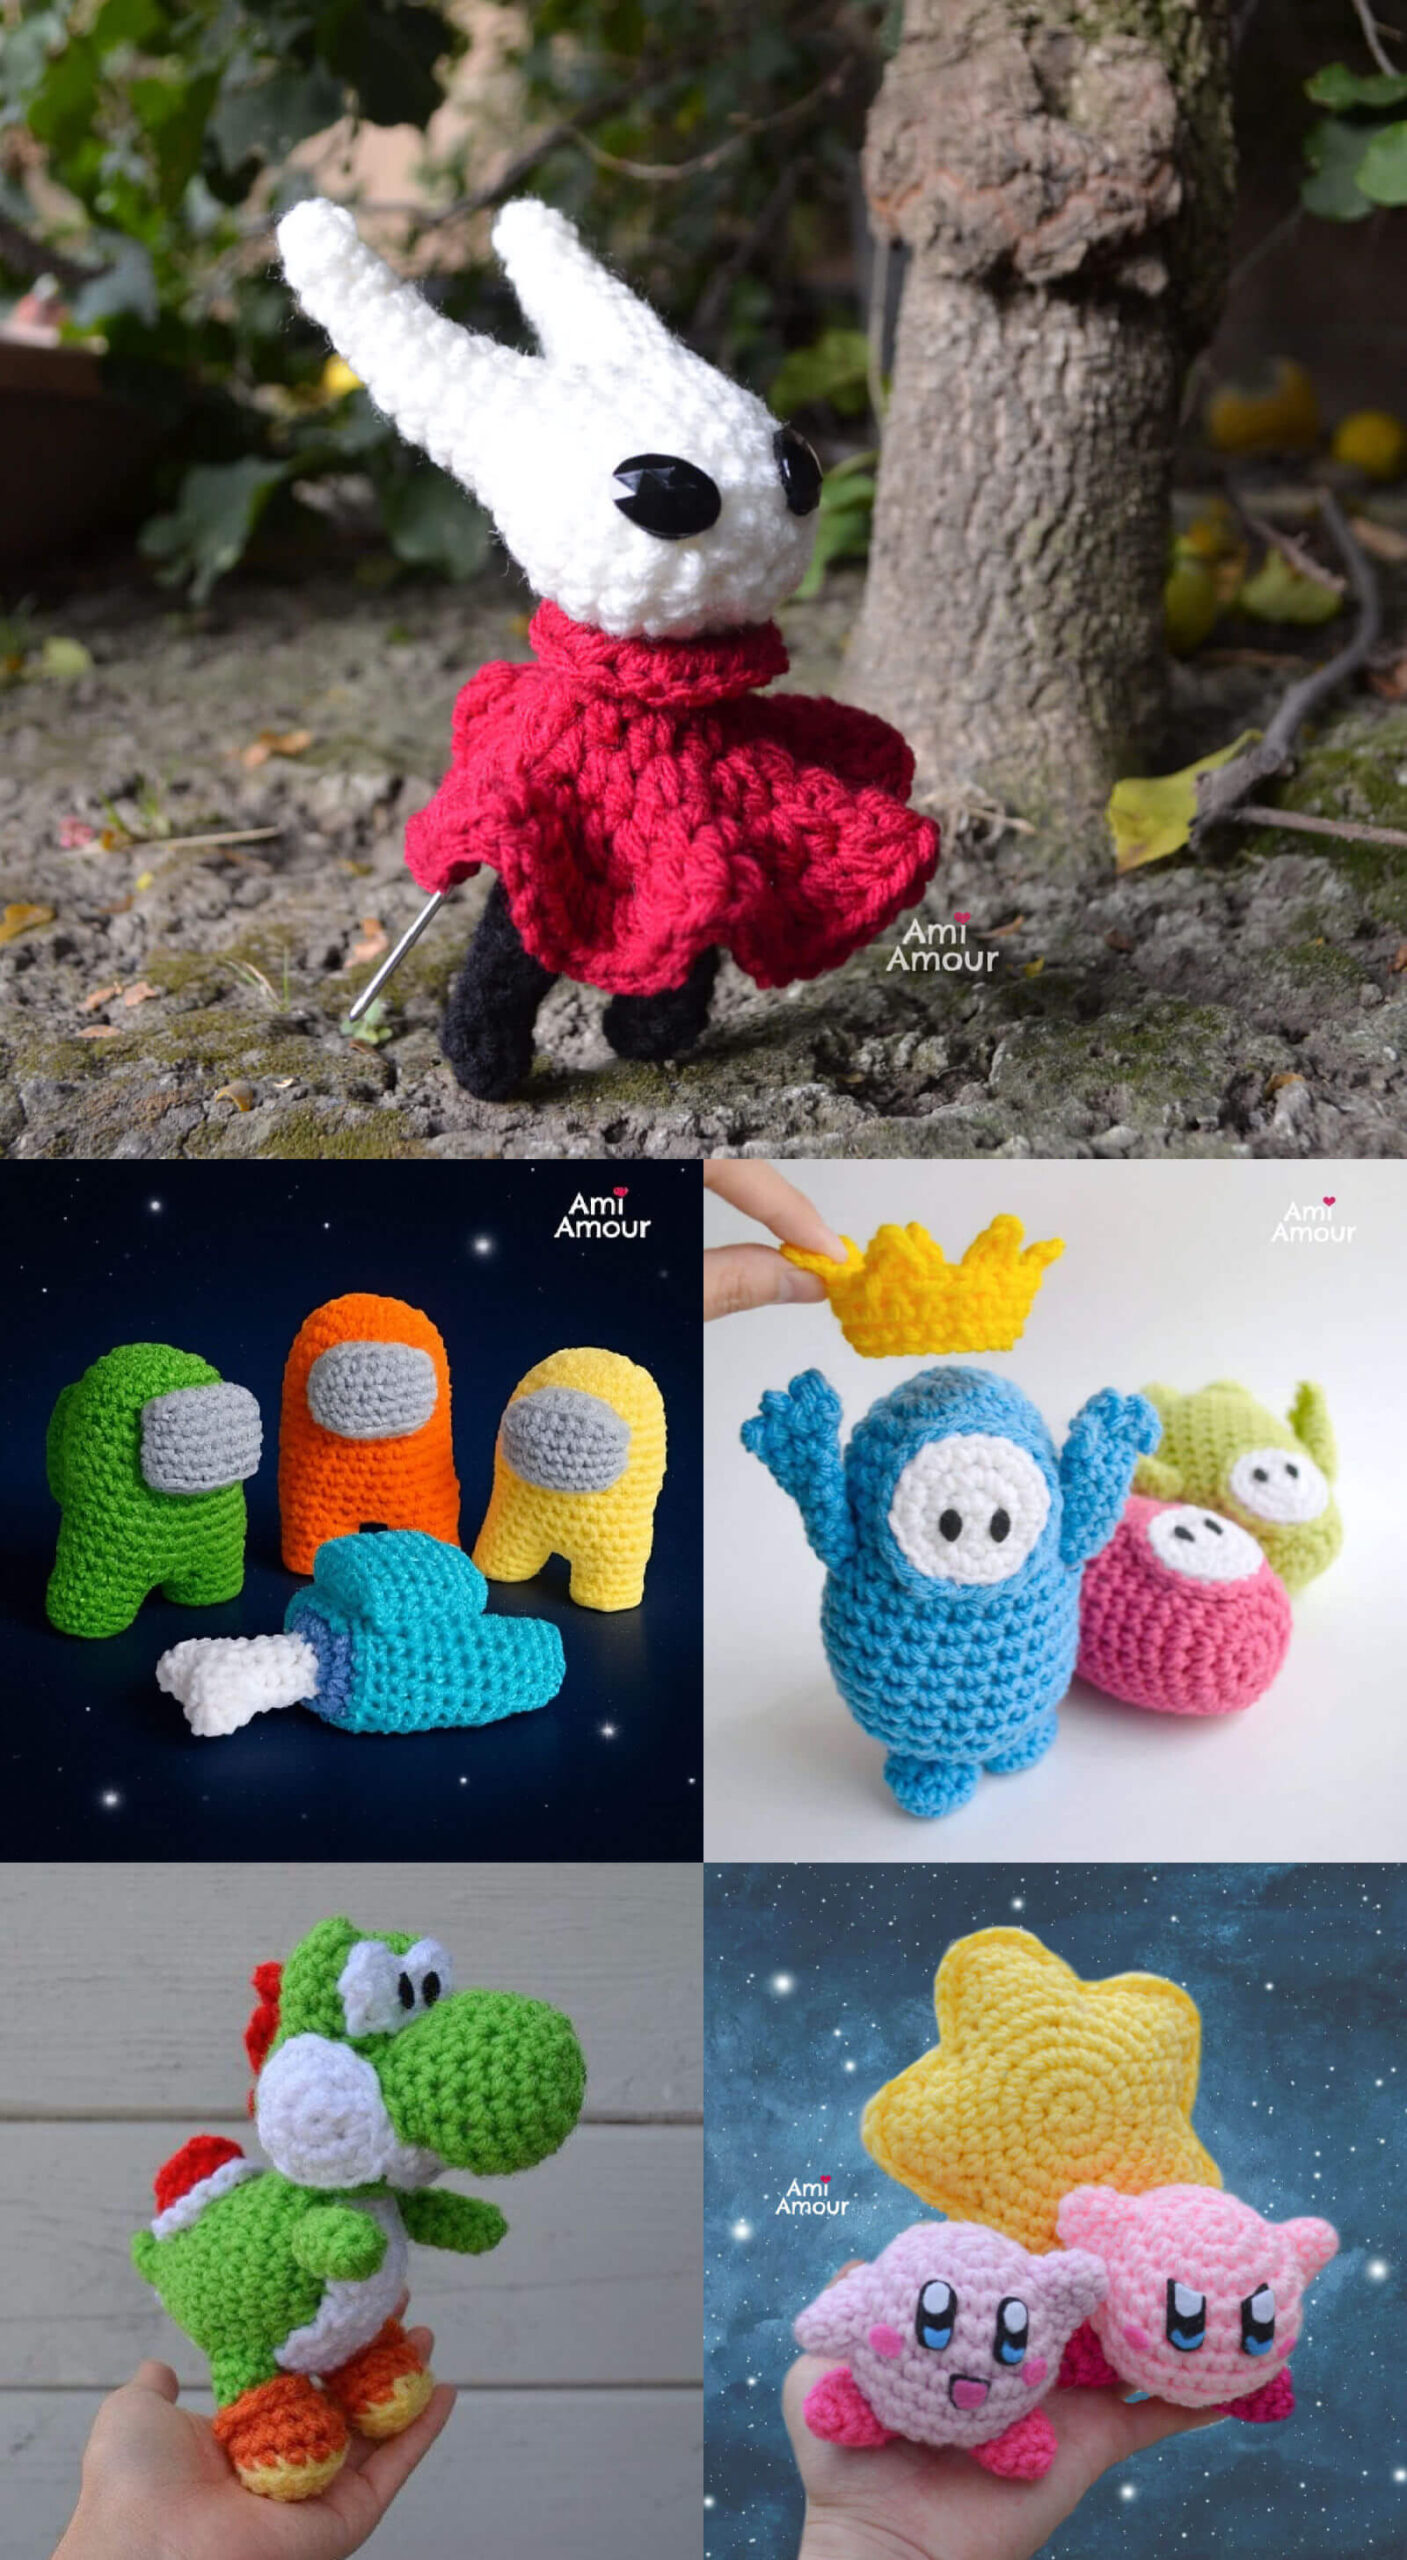
VIDEOGAME PATTERNS
1. Among Us Crochet Pattern
2. Fall Guys Amigurumi
3. Yarn Yoshi Amigurumi
4. Kirby Crochet Pattern
Silksong Crochet Video Tutorial
See Hornet Amigurumi in action and crochet along with me!

Disclosure: This post contains affiliate links. This means I may receive a small commission if you decide to purchase anything by using one of these links.
Hollow Knight: Silksong – Hornet Amigurumi Pattern
LEVEL: Easy Intermediate
CROCHET HOOK: 4.0mm size
YARN:
Impeccable by Loops and Threads
Worsted weight, acrylic
– White
– Black
– Cherry
NOTIONS:
Yarn Needle
Scissors (I like this brand for cutting felt precisely)
Stitch Marker
Oval Acrylic Gems (2) 18mm x 13mm
ABBREVIATIONS (American English crochet)
ch – chain
hdc – half double crochet
sc – single crochet
sl st – slip stitch
sc2tog – single crochet 2 together (sc dec)
st – stitch
APPROXIMATE SIZE:
7.5in tall / 19cm tall
HEAD
With white yarn
Round 1: 4 sc into magic ring.
Round 2: Sc in each st around – 4 sc.
Round 3: 2 sc in next st, sc in next 3 st – 5 sc.
Round 4: Sc in each st around – 5 sc.
Round 5: 2 sc in next st, sc in next 4 st – 6 sc.
Round 6: Sc in each st around – 6 sc.
Round 7: 2 sc in next st, sc in next 5 st – 7 sc.
Round 8: Sc in each st around – 7 sc.
Round 9: 2 sc in next st, sc in next 6 st – 8 sc.
Round 10: [2 sc in next st, sc in next 3 st] around – 10 sc.
Round 11: [2 sc in next st, sc in next 4 st] around – 12 sc.
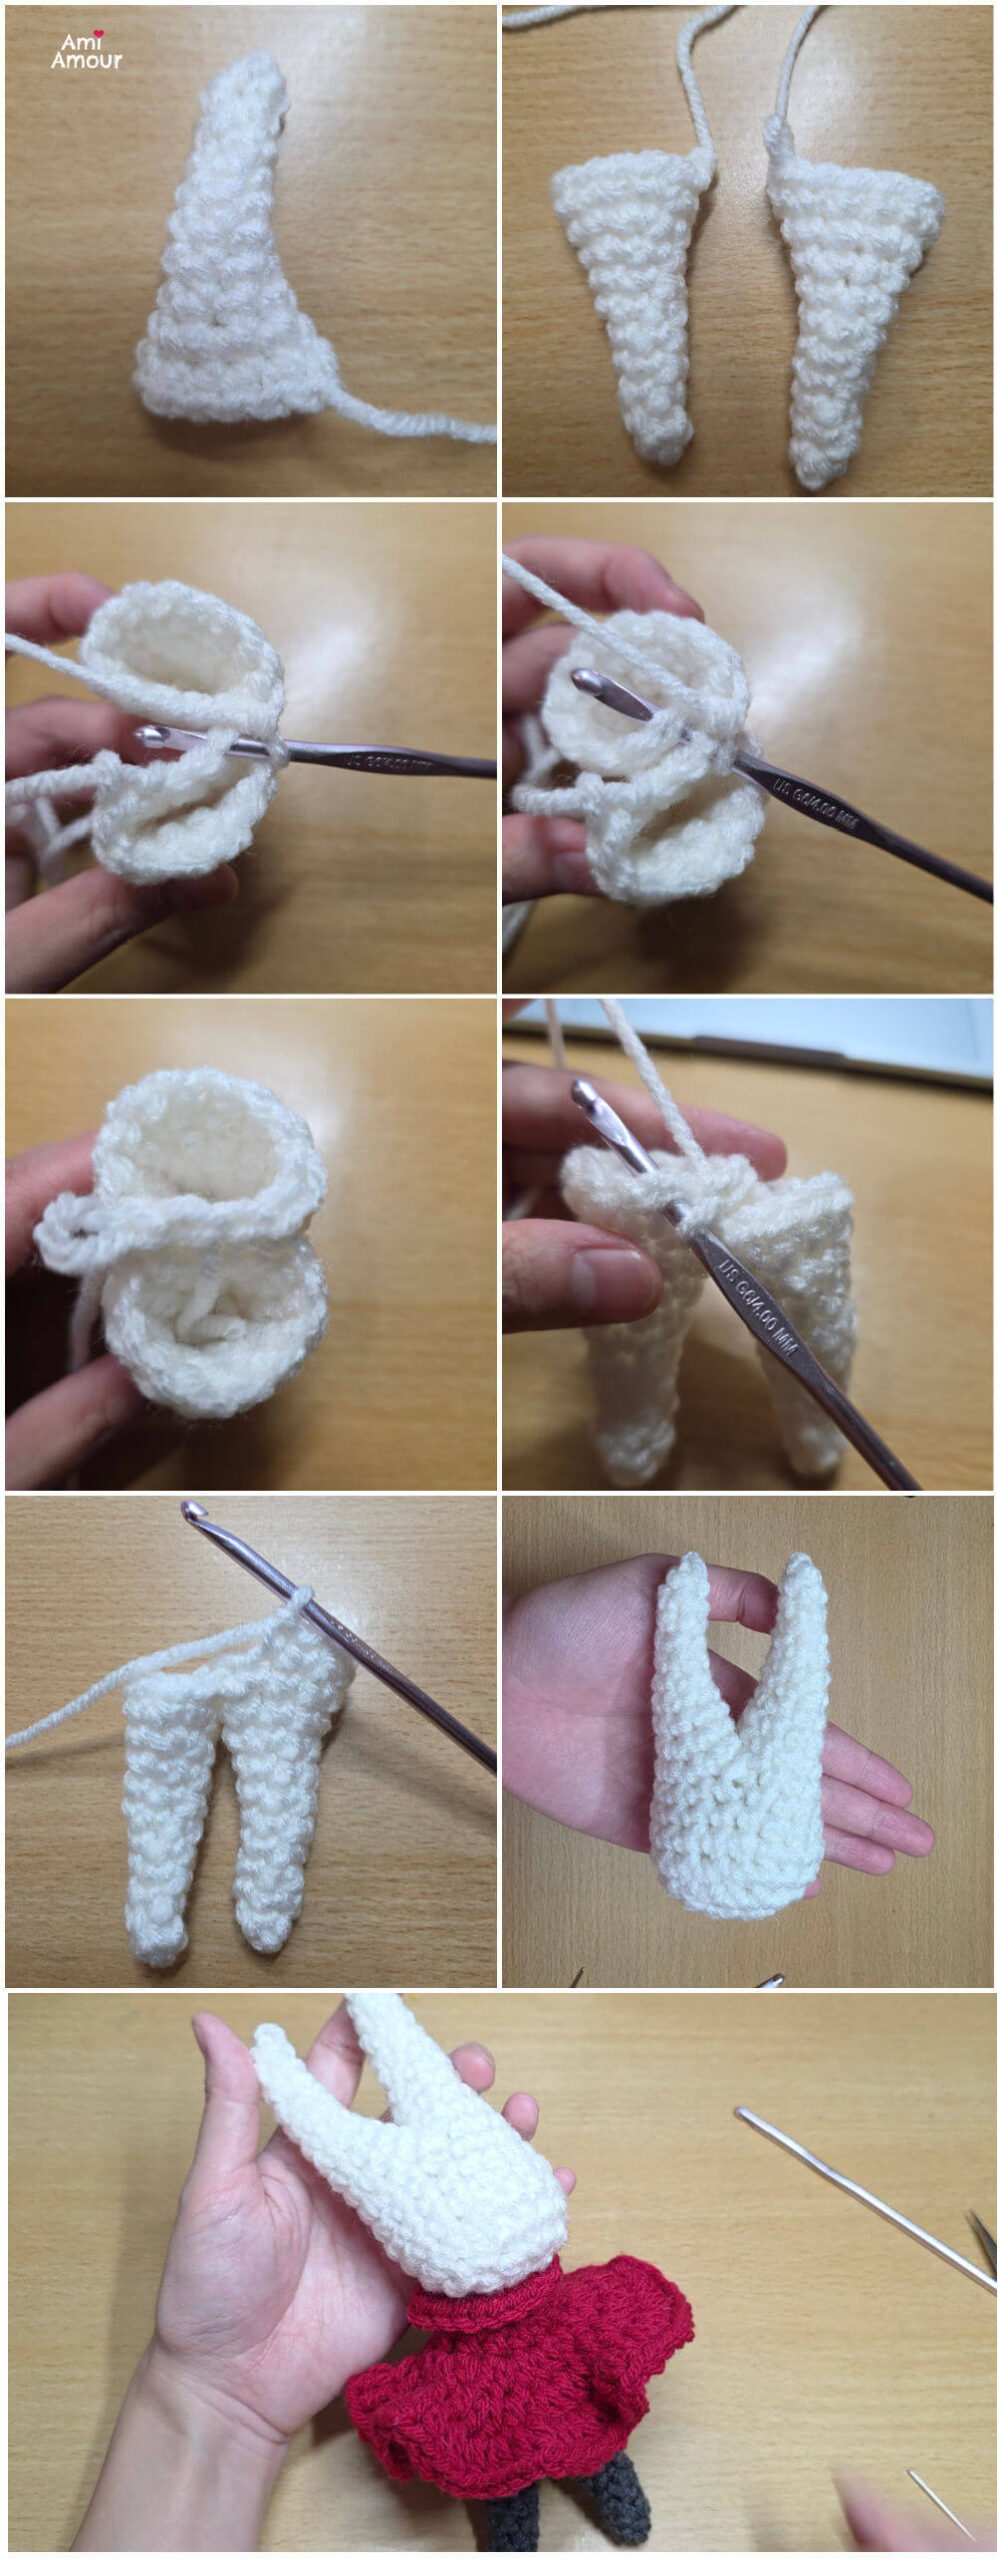
You have just created HEAD PART A. Fasten off, and cut a short tail. Repeat Rounds 1-11 again to create HEAD PART B. Do not fasten off! Join HEAD PART A and HEAD PART B together across 4 sts using sc. See video tutorial.
Now for the head, you should have a circumference of 16 sc around.
Round 12: Sc in each st around – 16 sc.
Sc in next 4 st only. Move stitch marker to last st. This will now mark the end of the round.
Round 13: [2 sc in next st, sc in next 7 st] around – 18 sc.
Round 14-15: Sc in each st around – 18 sc.
Round 16: [Sc2tog, sc in next 4 st] around – 15 sc.
Begin stuffing and stuff as you go.
Round 17: Sc2tog 7 times only. Move stitch marker to last st made. This will now mark the end of the round.
Round 18: Sc2tog 2 times only – 6 sc.
Finish stuffing and sew closed.
BODY
Round 1: With black yarn, 4 sc into magic ring – 4 sc.
Round 2: Sc in each st around – 4 sc.
Round 3: 2 sc in next st, sc in next 3 st – 5 sc.
Round 4: Sc in each st around – 5 sc.
Round 5: 2 sc in next st, sc in next 4 st – 6 sc.
Round 6: Sc in each st around – 6 sc.
Round 7: 2 sc in next st, sc in next 5 st – 7 sc.
Round 8: Sc in each st around – 7 sc.
Round 9: 2 sc in next st, sc in next 6 st – 8 sc.
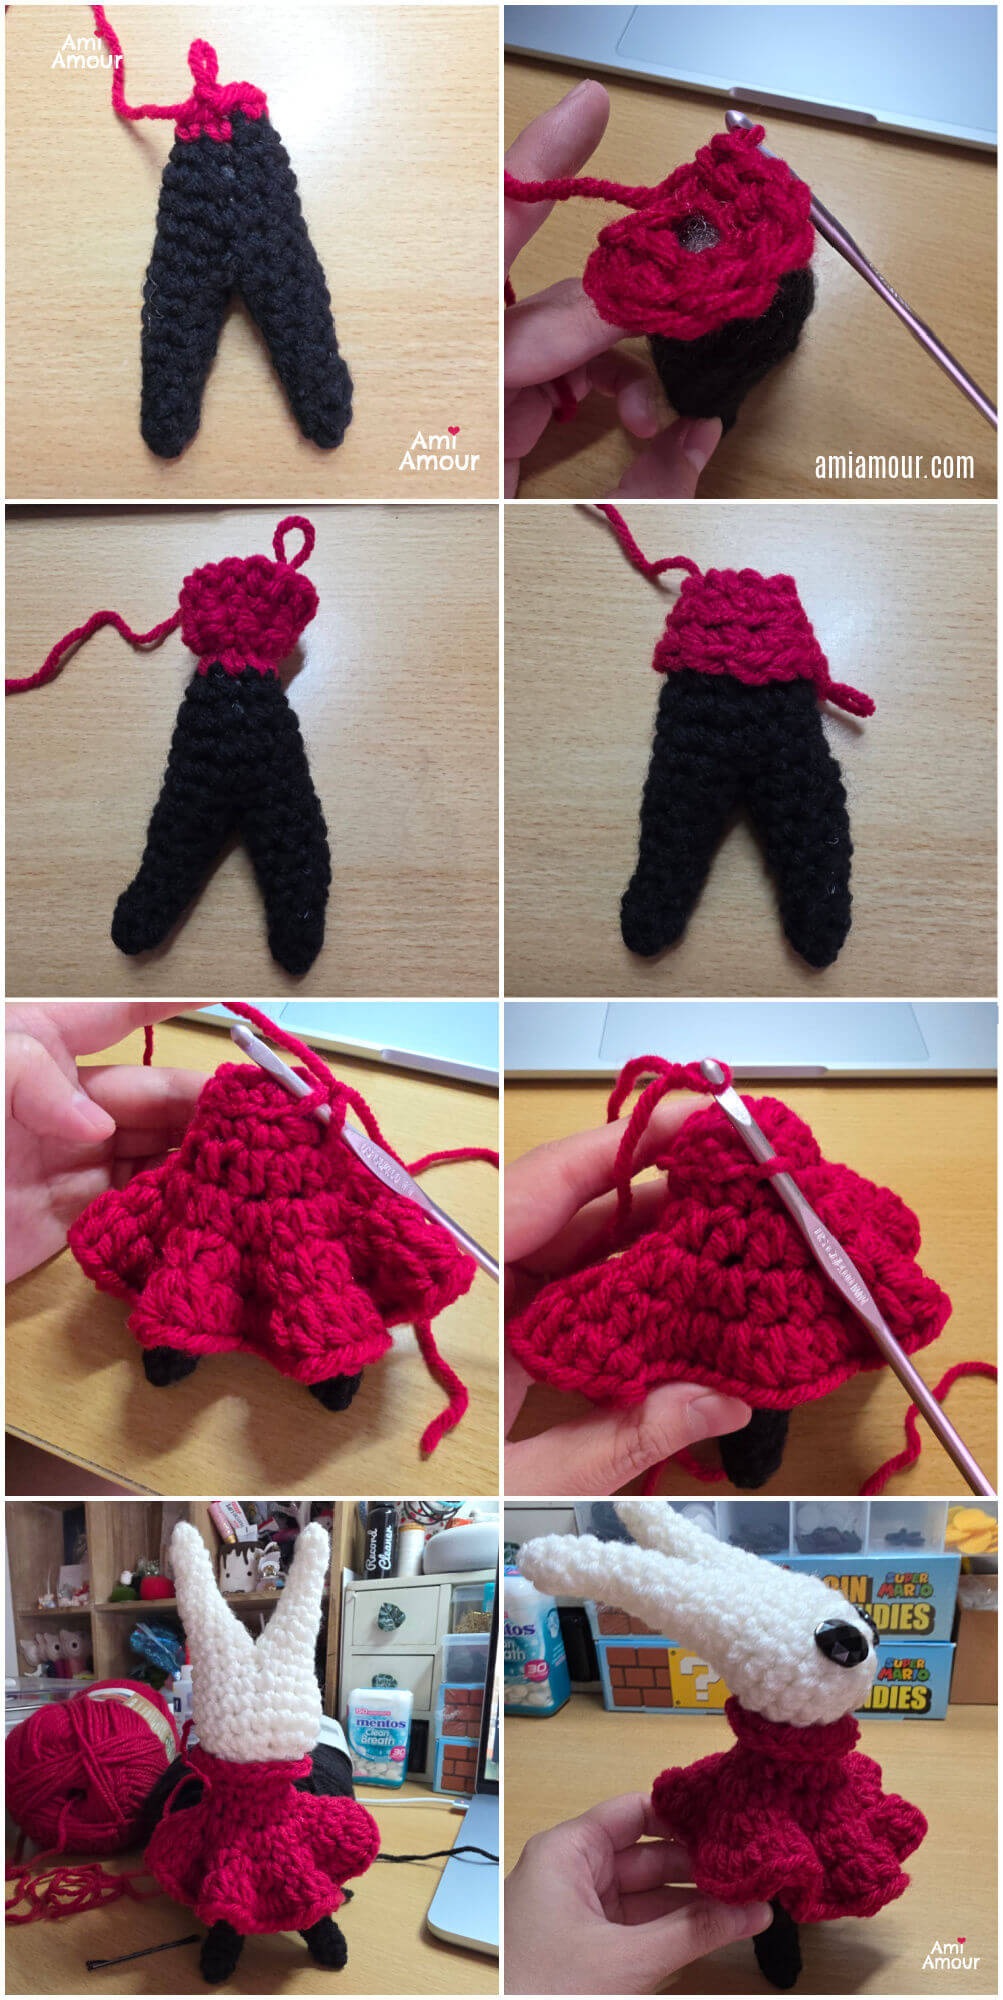
You have just created LEG PART A. Fasten off, leaving a short tail. Repeat Rounds 1-9 again to create LEG PART B, but this time DO NOT FASTEN OFF. Join LEG A and LEG B together across 2 sts by using sc. See video tutorial. You should now have 12 sts around the circumference of the joined legs.
Round 10-12: Sc in each st around – 12 sc.
Round 13: [Sc2tog, sc in nex 4 st] around – 10 sc.
Stuff body, and stuff as you go.
Round 14: [Sc2tog, sc in next 3 st] around – 8 sc.
Round 15: With red yarn, sc in each st around – 8 sc.
Sl st into next st
Round 16: Ch 1, turn, (in back loop only) sc in each st around – 8 sc. Sl st to next st.
Round 17: [2 sc in next st, sc in next 3 st] around – 10 sc.
Round 18: In Back Loop only, [2 sc in next st, sc in next 4 st] around – 12 sc.
Round 19: Hdc in each st around – 12 hdc.
Round 20: 2 hdc in each st around – 24 hdc.
Round 21: [2 hdc in next st, hdc in next st] around – 36 hdc.
Round 22: 2 hdc in each st around – 72 hdc.
Sc in next st, sl st in next st.
Fasten off, leaving a long tail.
COLLAR
Go back to the front loop leftover from Round 18. Fasten on with red yarn and sl st onto the round. 2 hdc in each st around – 20 hdc. (See video tutorial here)
Sl st in next 2 st. Fasten off, leaving a long tail.
ARM (Optional. Make 2)
With black yarn
Ch 6, sl st back 5 st.
Fasten off, leaving a long tail.
AMIGURUMI ASSEMBLY
See video tutorial for assembly.
1. Sew Head on top of Body.
2. Sew Arms to Body (optional)
3. Cut oval eyes with black felt for Head. You can use the acrylic gems as a stencil.
4. Glue on felt eyes to Head with Fabri-tac.
5. For a more special look, glue on gem ovals (18x13mm) on top of the oval felt eyes with Fabri-tac. DO NOT use gems if meant for small children as it can be choking hazard.
6. For Hornet’s needle sword, I like to use a large yarn needle to pose as her weapon.
7. Tag me with your projects on Instagram @ami_amour. I’d love to see!
No Comments