
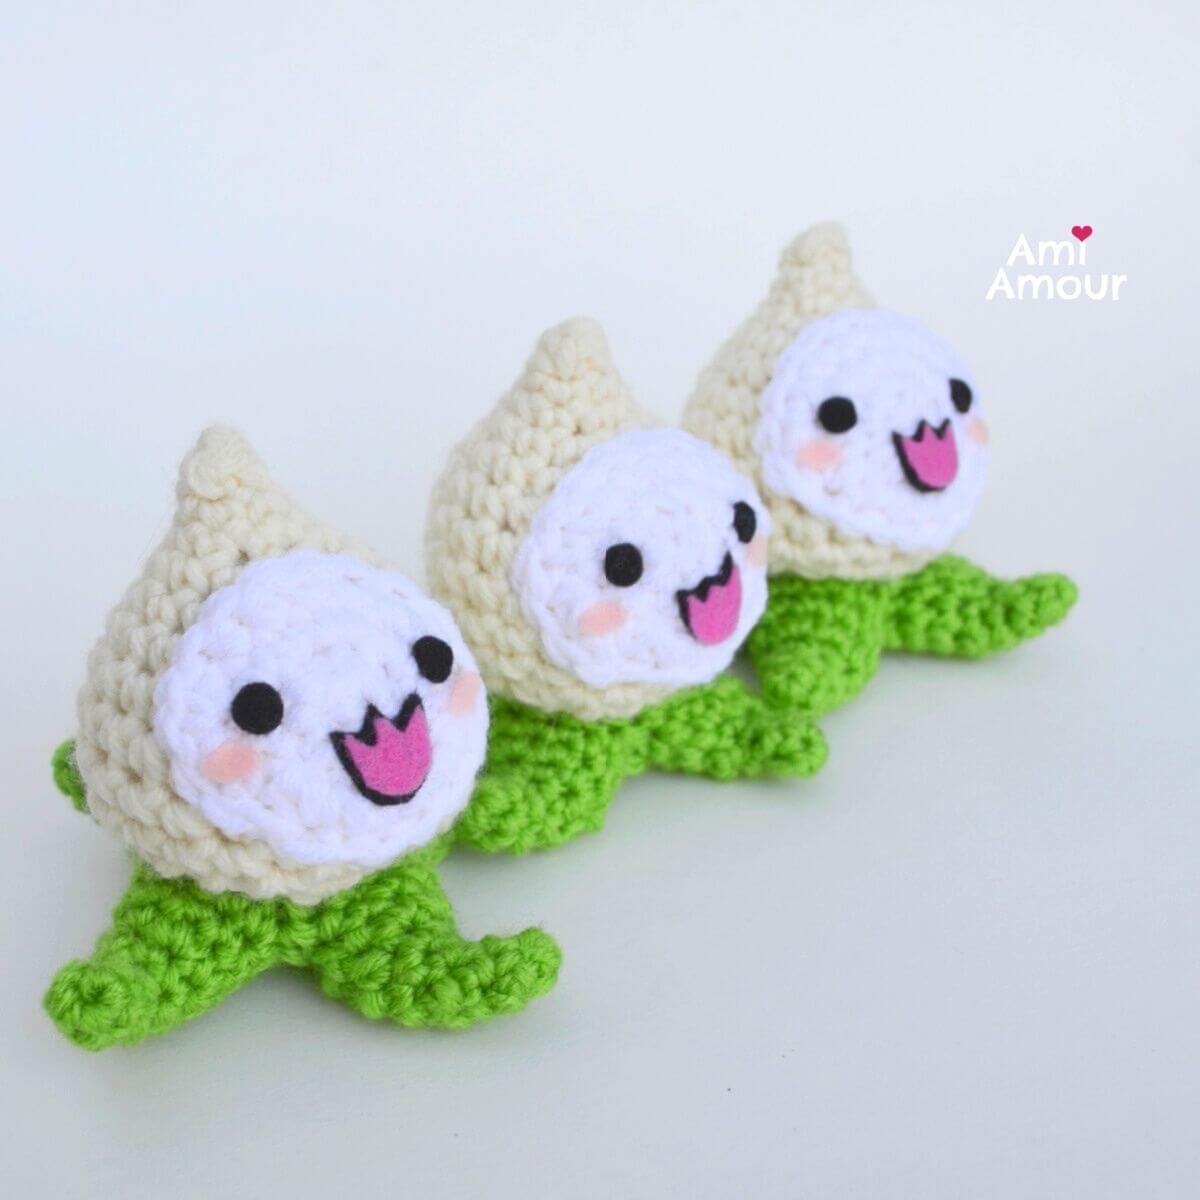
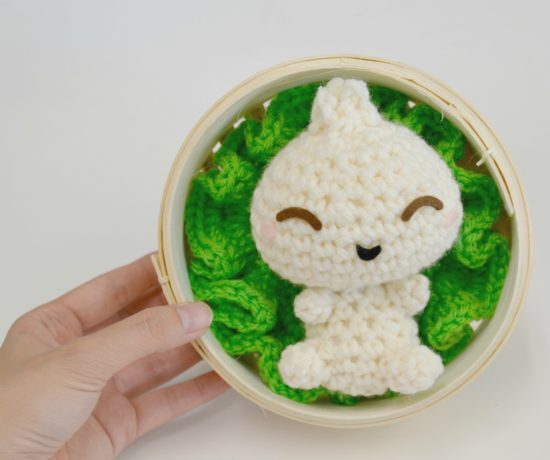
What does Pachimari amigurumi look like to you? It reminds me of an onion or a turnip head combined with tentacles like an octopus. Except the tentacles look leafy to me as well! So it seems like some strange hybrid plant-animal, but still very cute looking.
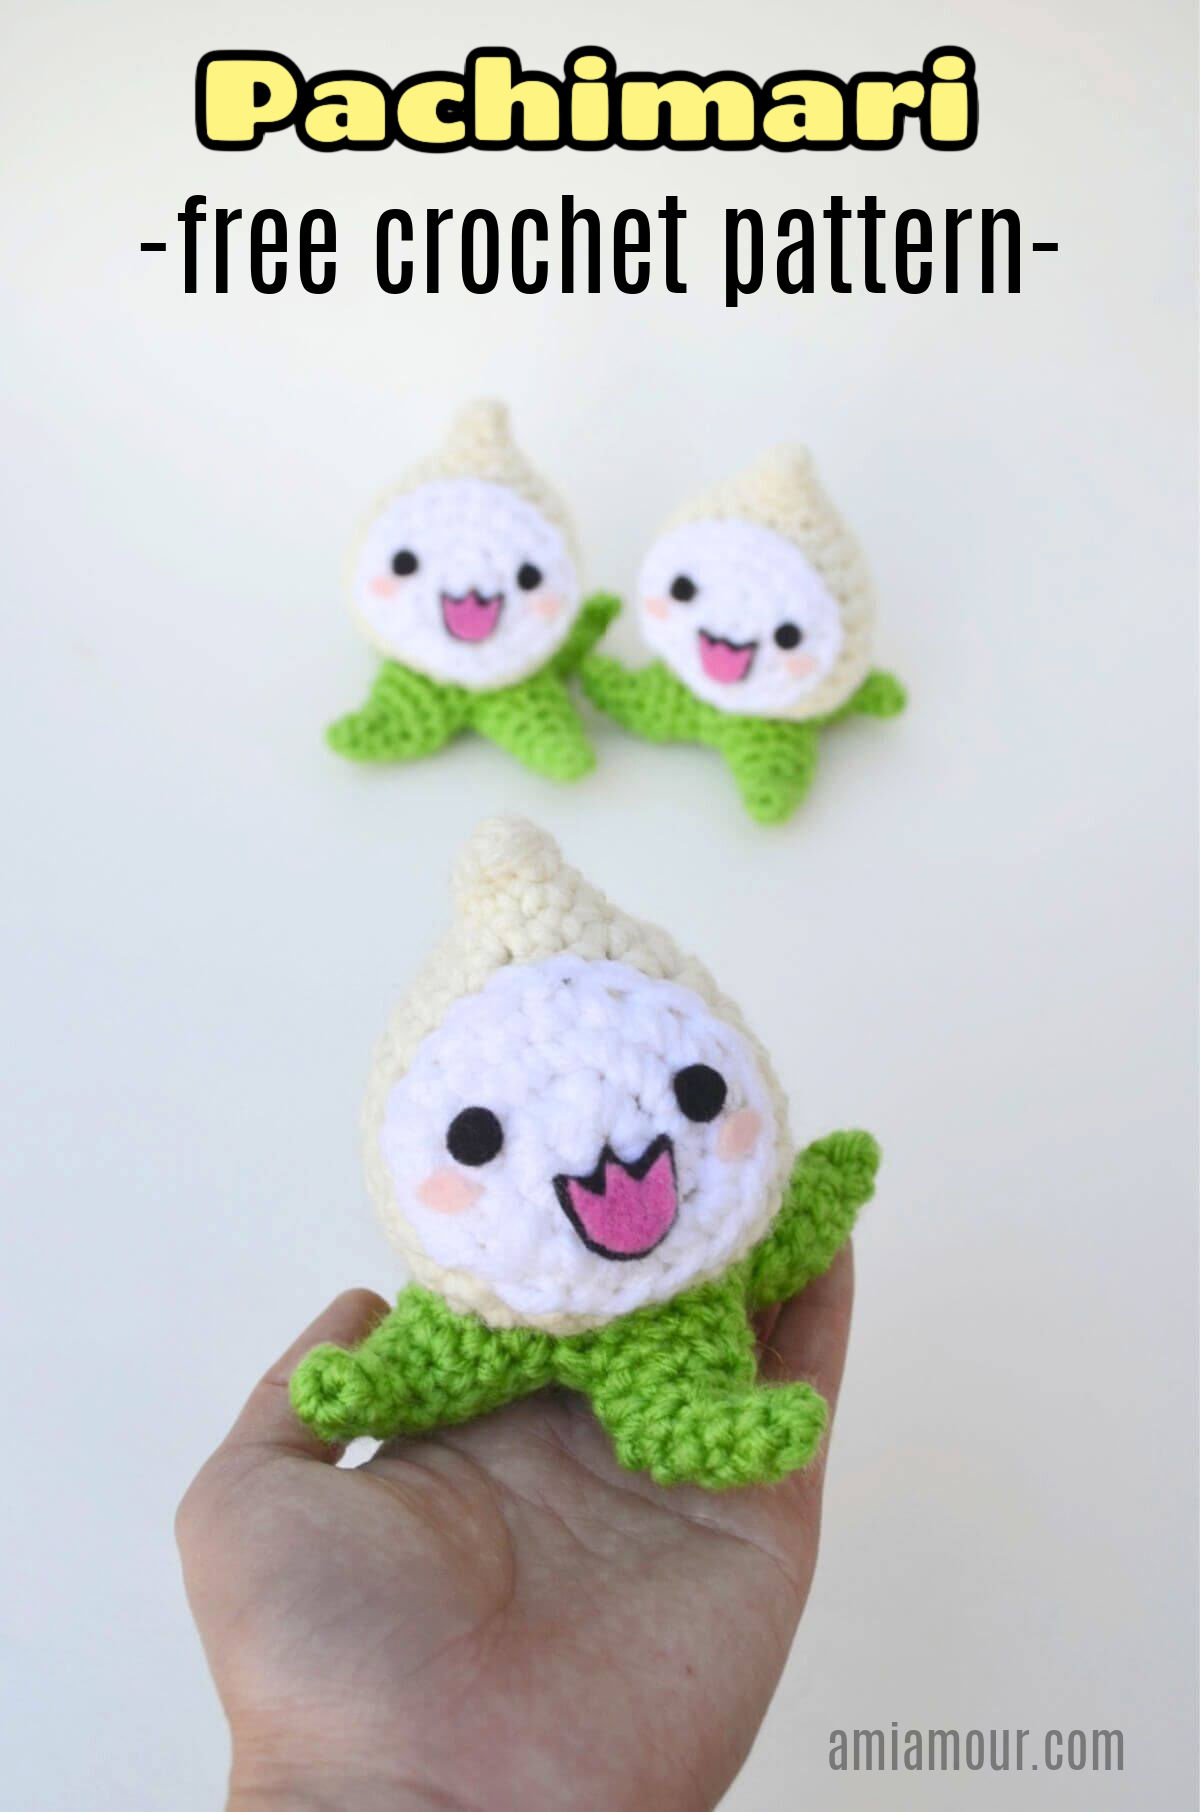
Pachimari is a mascot you can find in the game Overwatch. You can see it in the game often as a fun plushie to be won from an arcade claw machine.
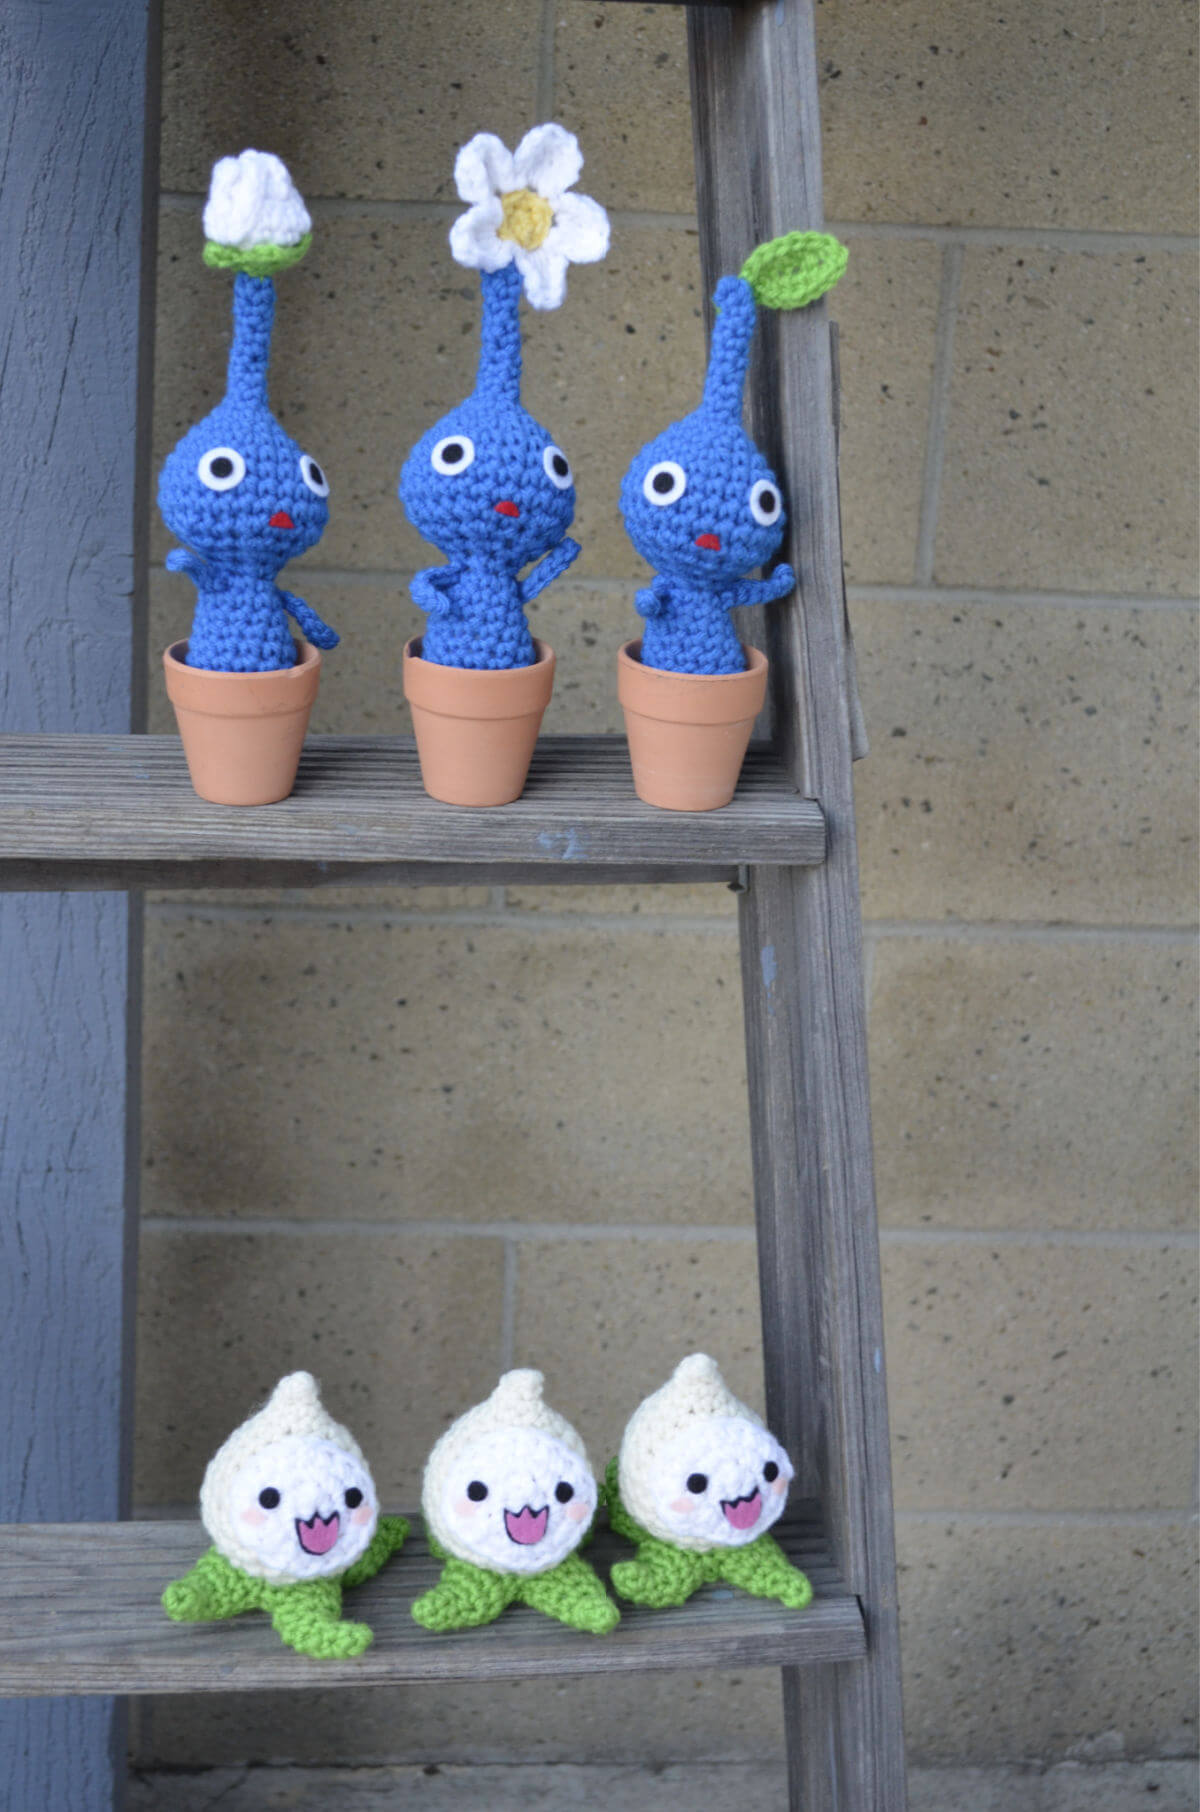
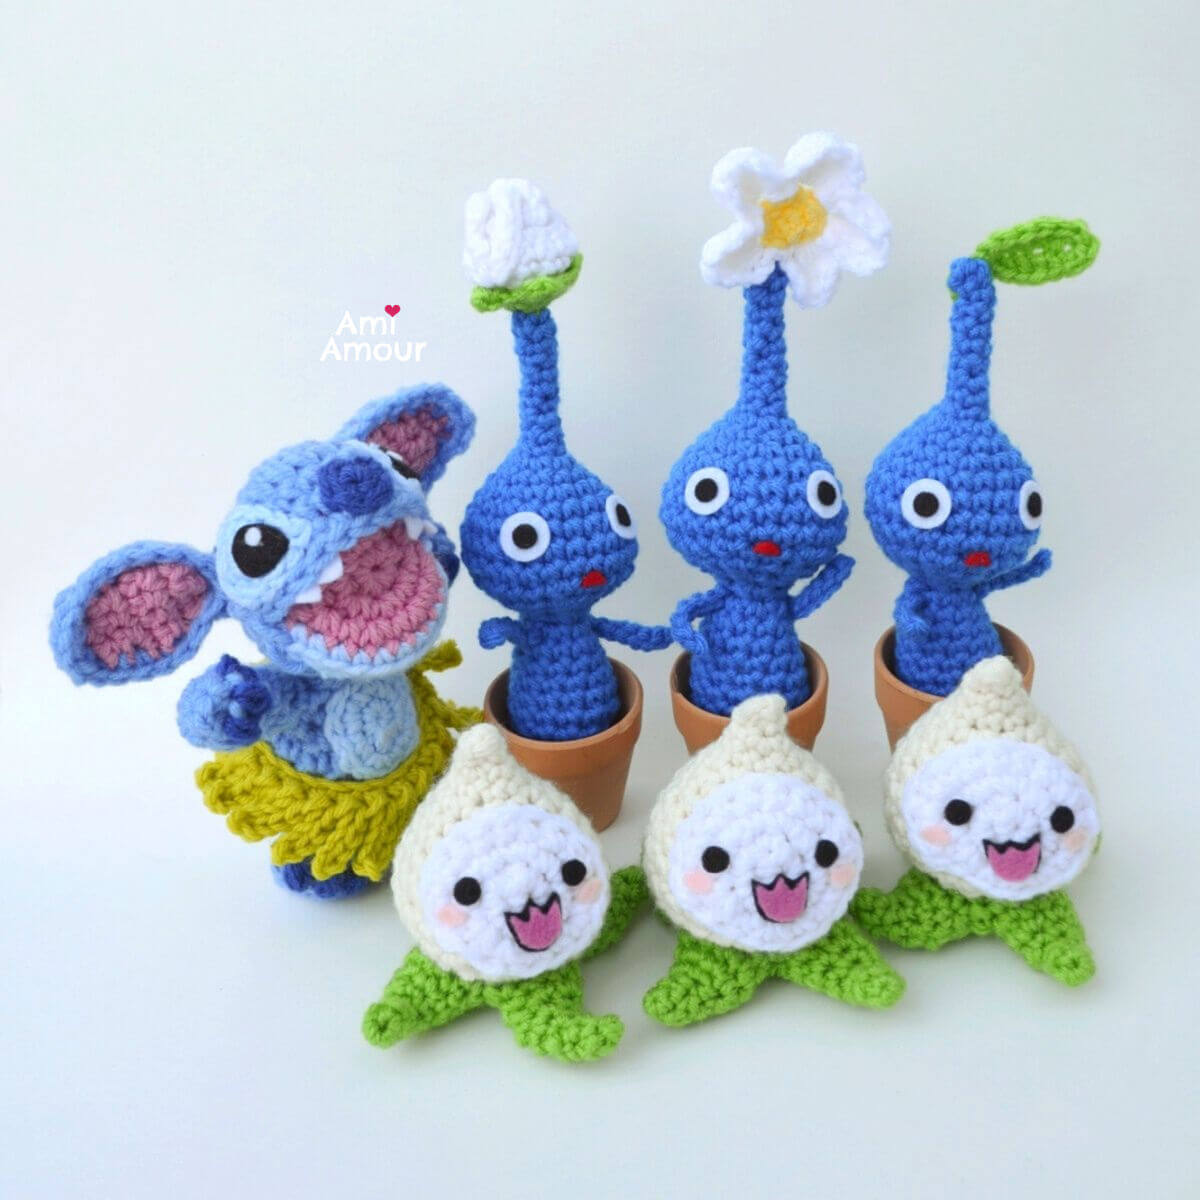
Hmmm a hybrid-plant reminds me of my last released crochet pattern, Pikmin amigurumi. I seem to be on some kind of trend here! Here are my Pachimari amigurumi and crochet Pikmin together. I’m growing quite a hybrid collection!
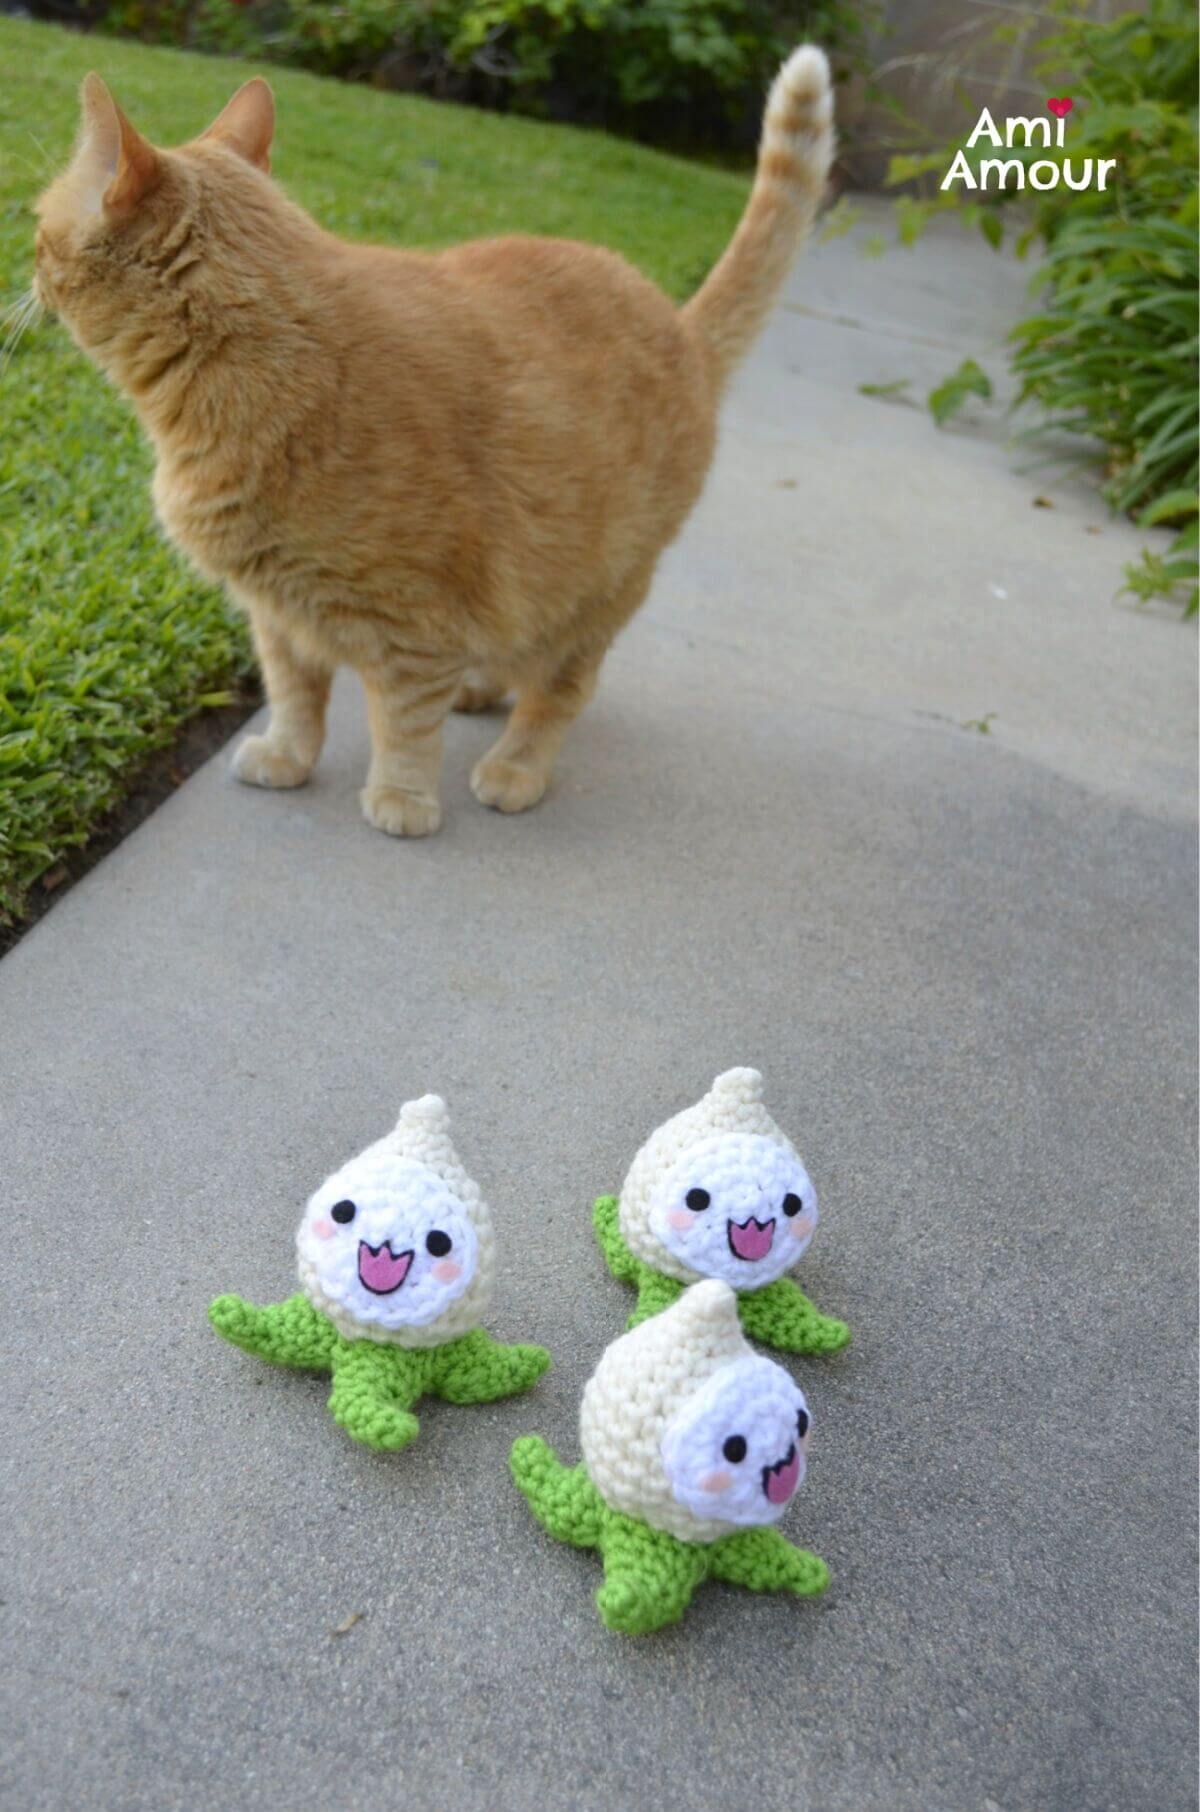
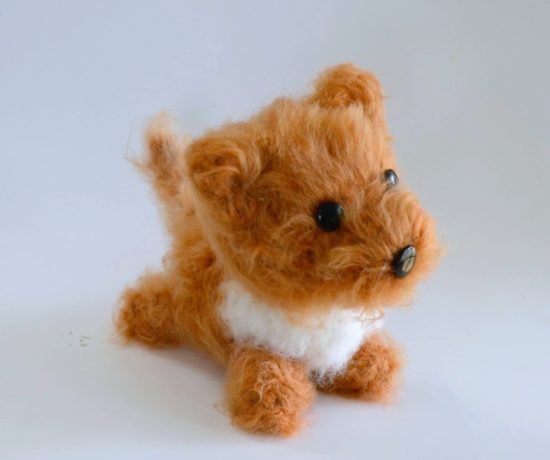
And here’s our cat Hobbes just chilling with the Pachimari. Don’t they look like crawling babies?
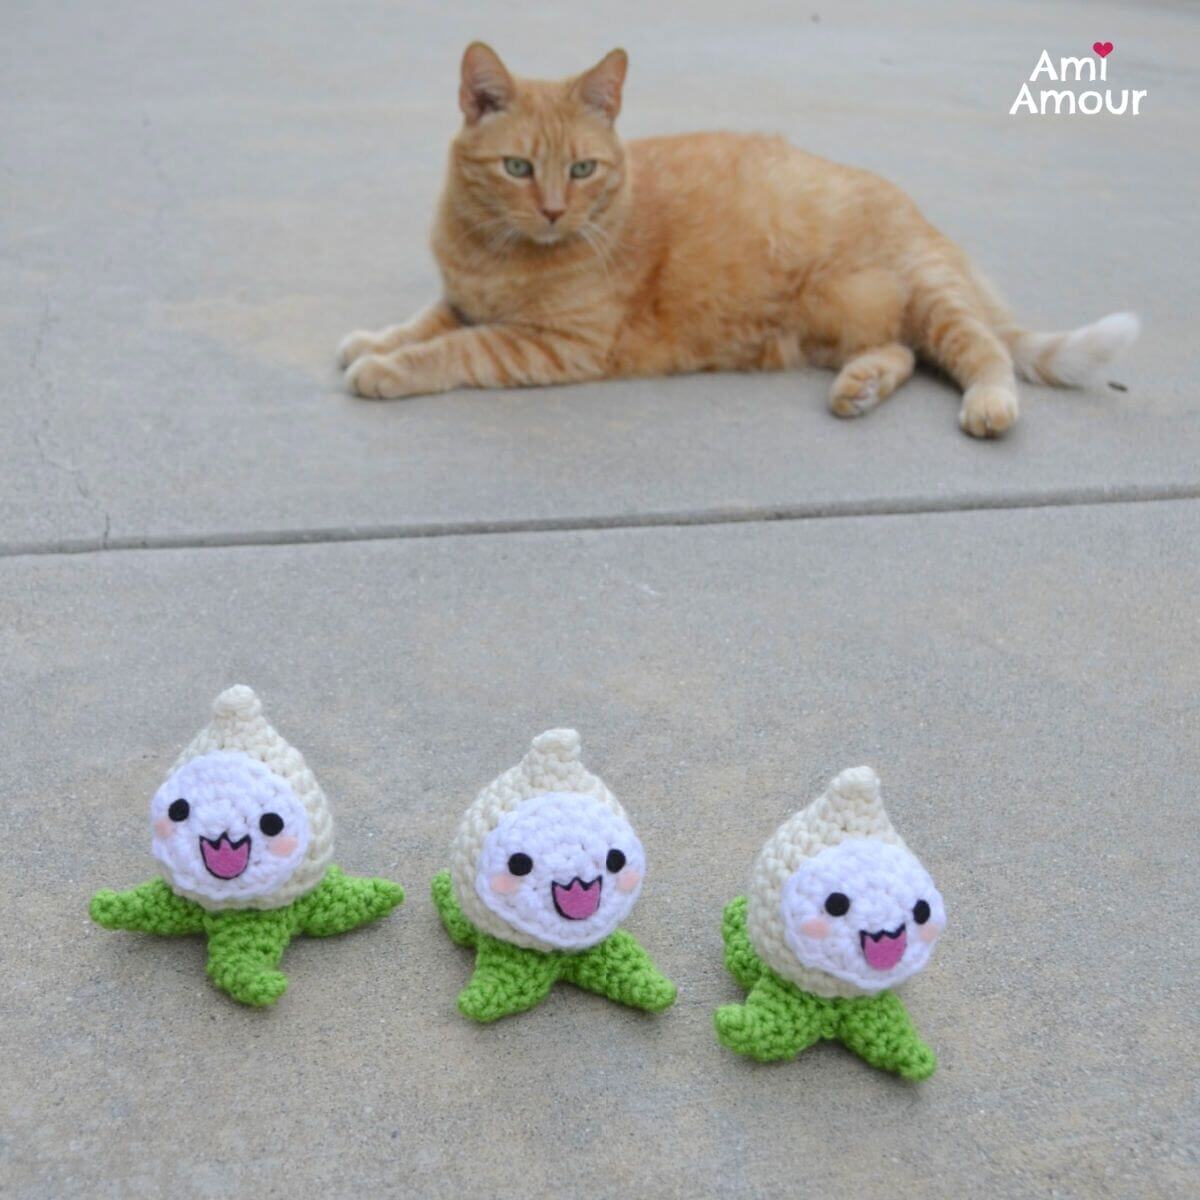
“Quick, make our escape before the cat eats us!”
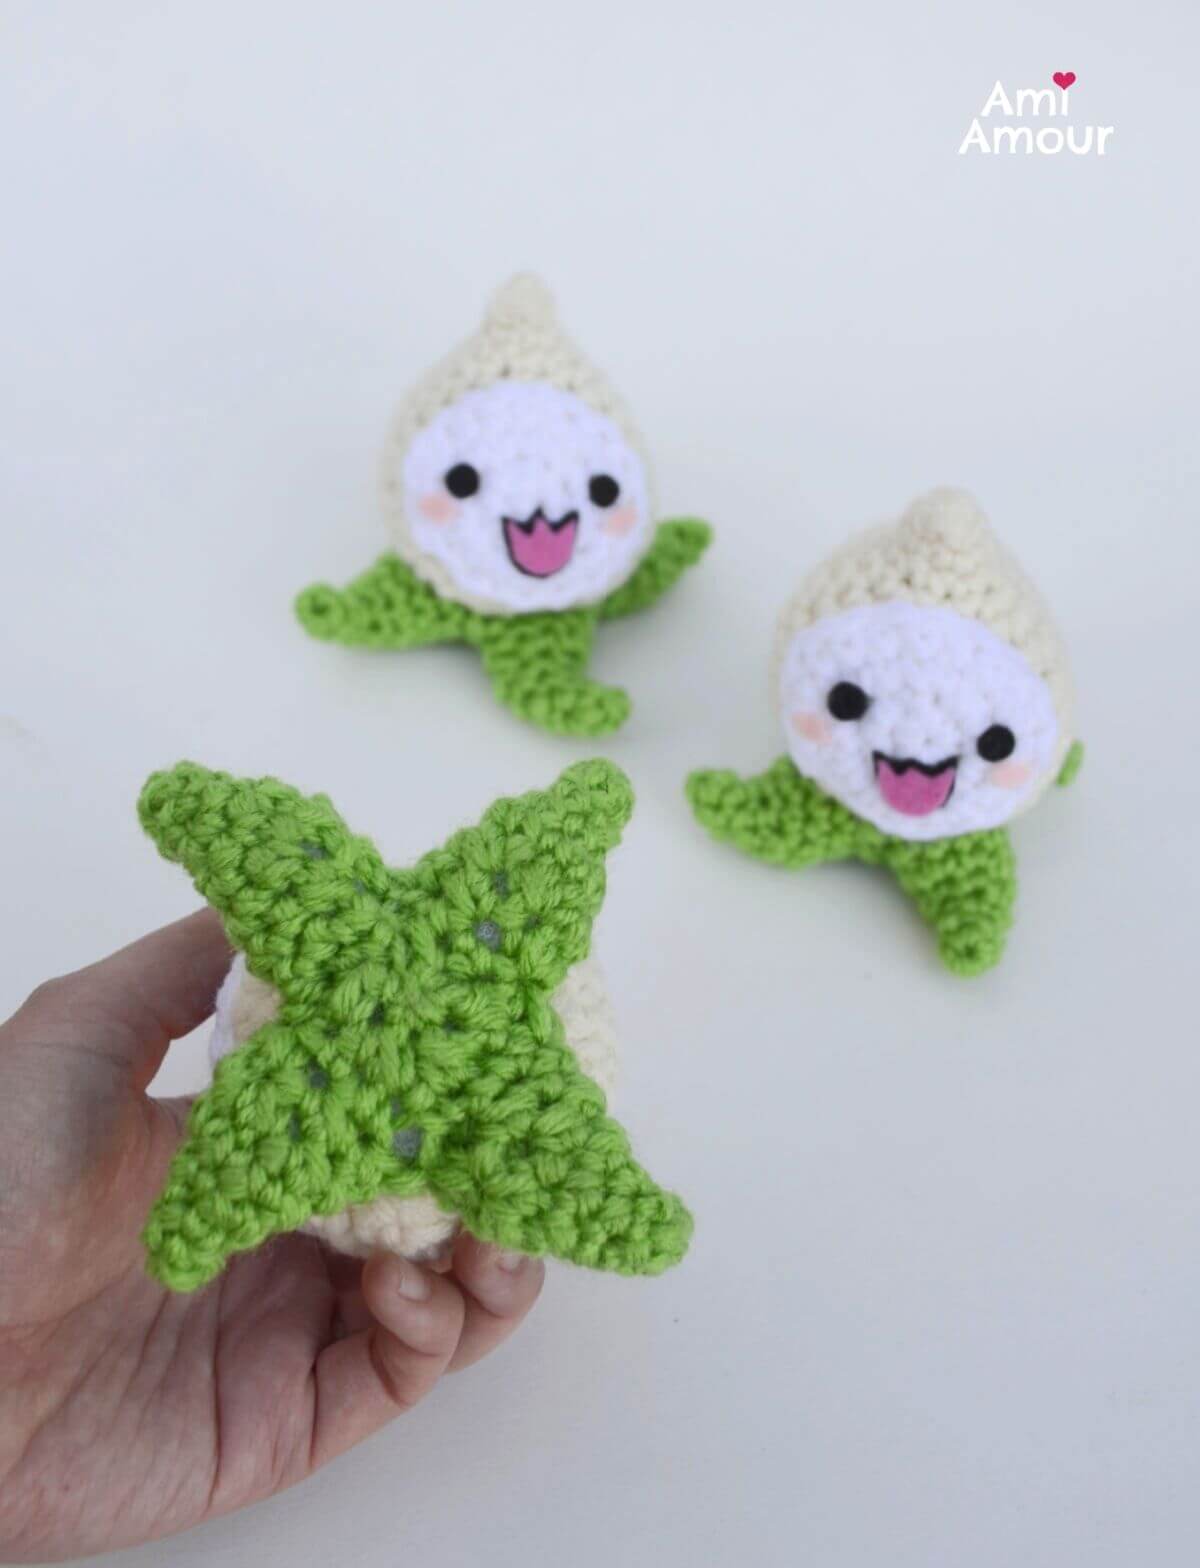
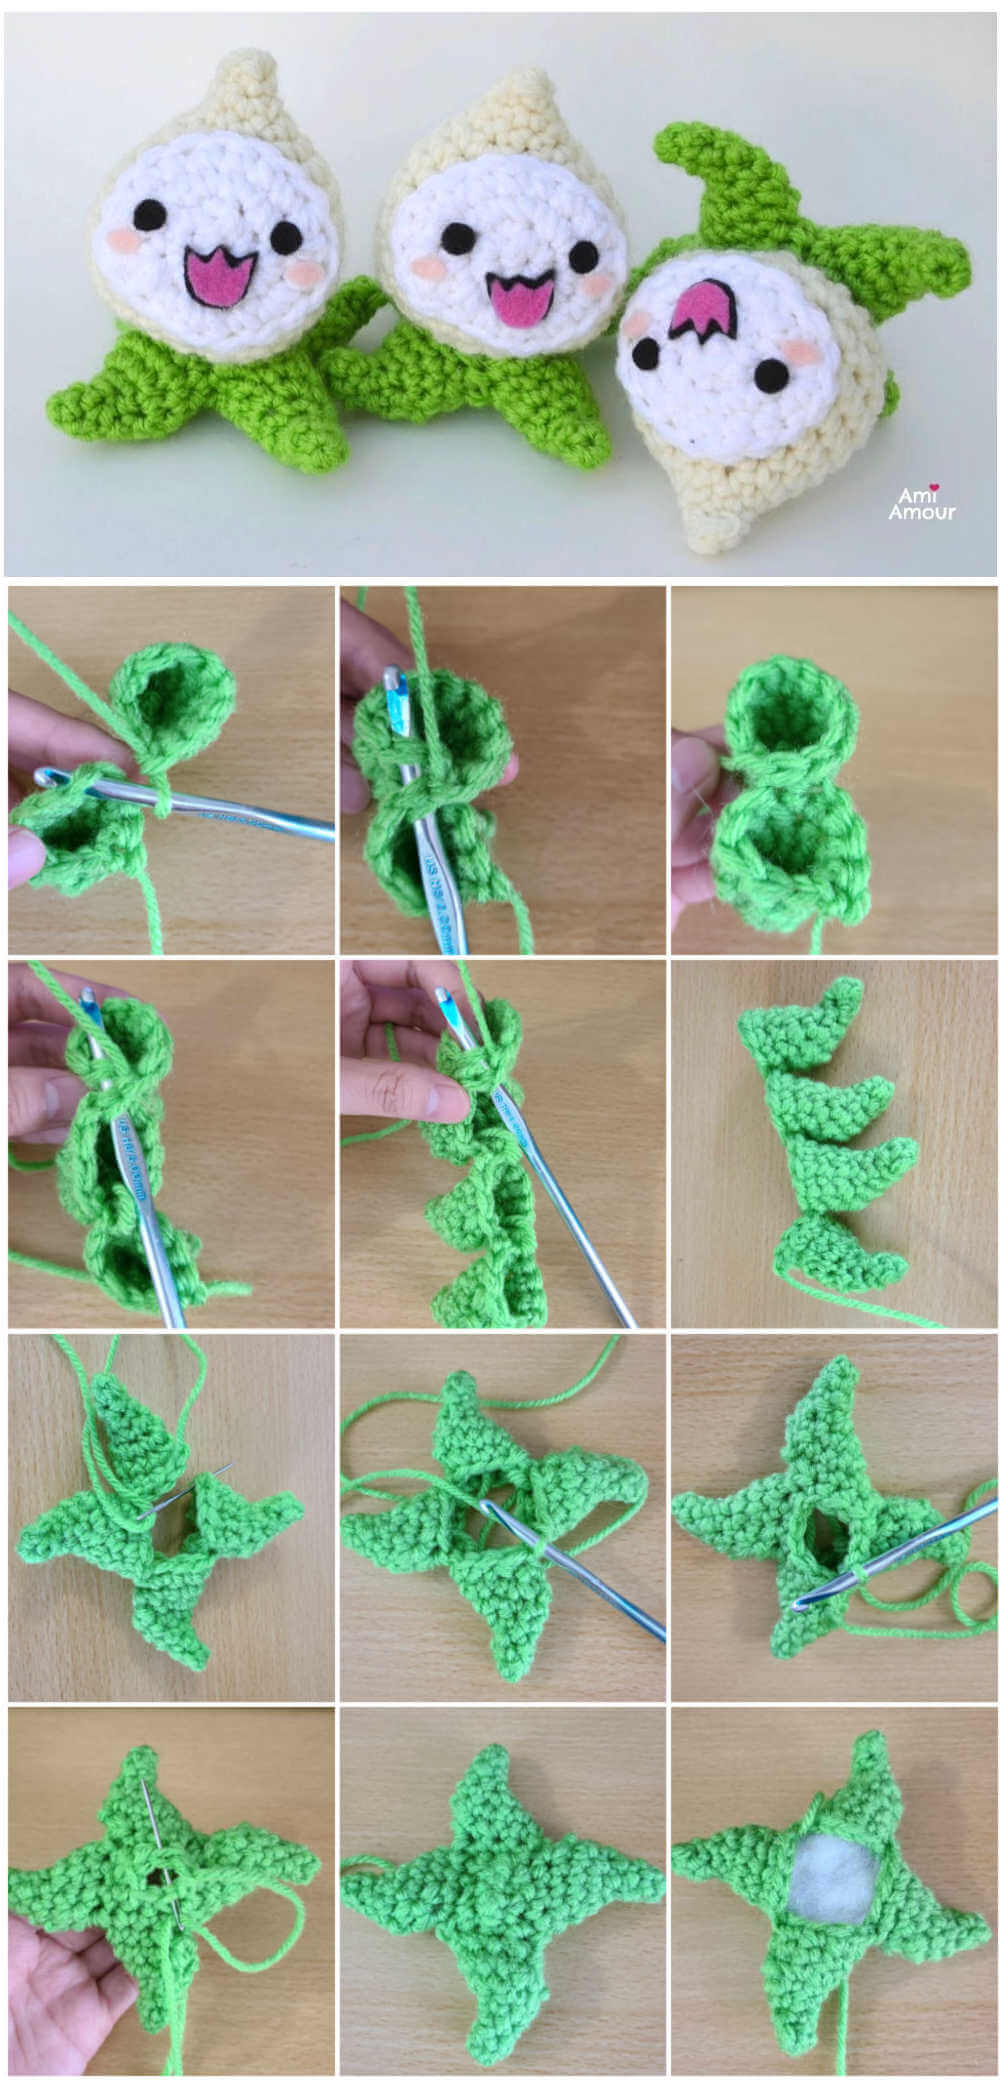
The hardest part in designing crochet Pachimari amigurumi was figuring out how I wanted to do the leafy tentacles. I know I wanted the tentacles to point upward, so there was a lot of decreases and increases within the different rounds.
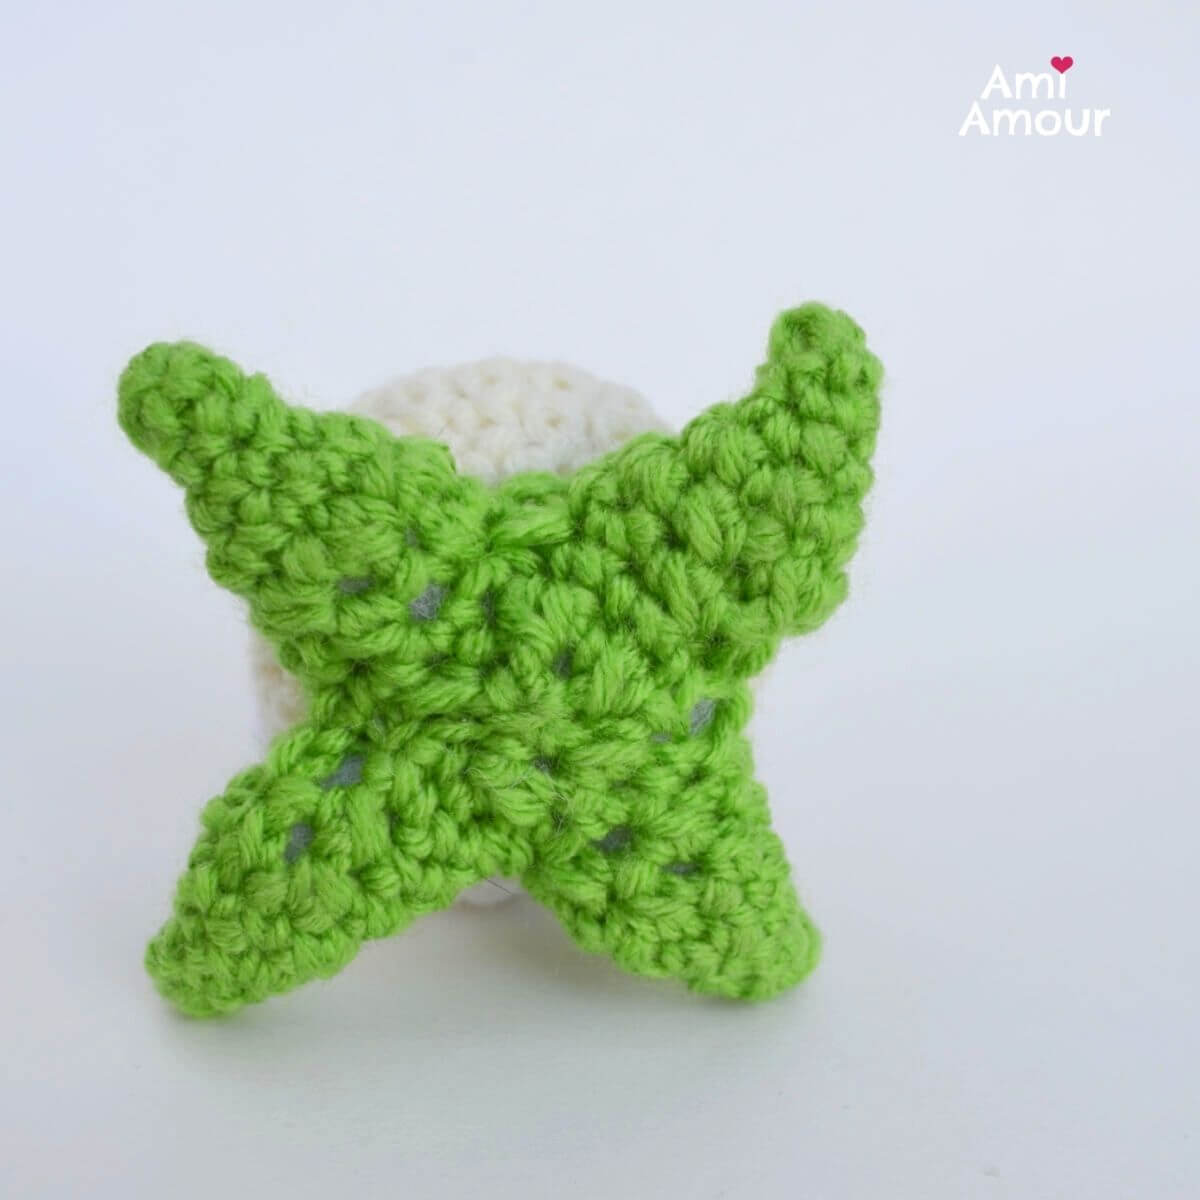
I made each tentacle leaf separately, but joined each tentacles to the previous one as I went. And at the end, I joined all the tentacles together to make a circle. I left the top open but I closed the bottom up by using single crochet decreasing rounds. In the end, it looks like a 4 pointed ninja star.
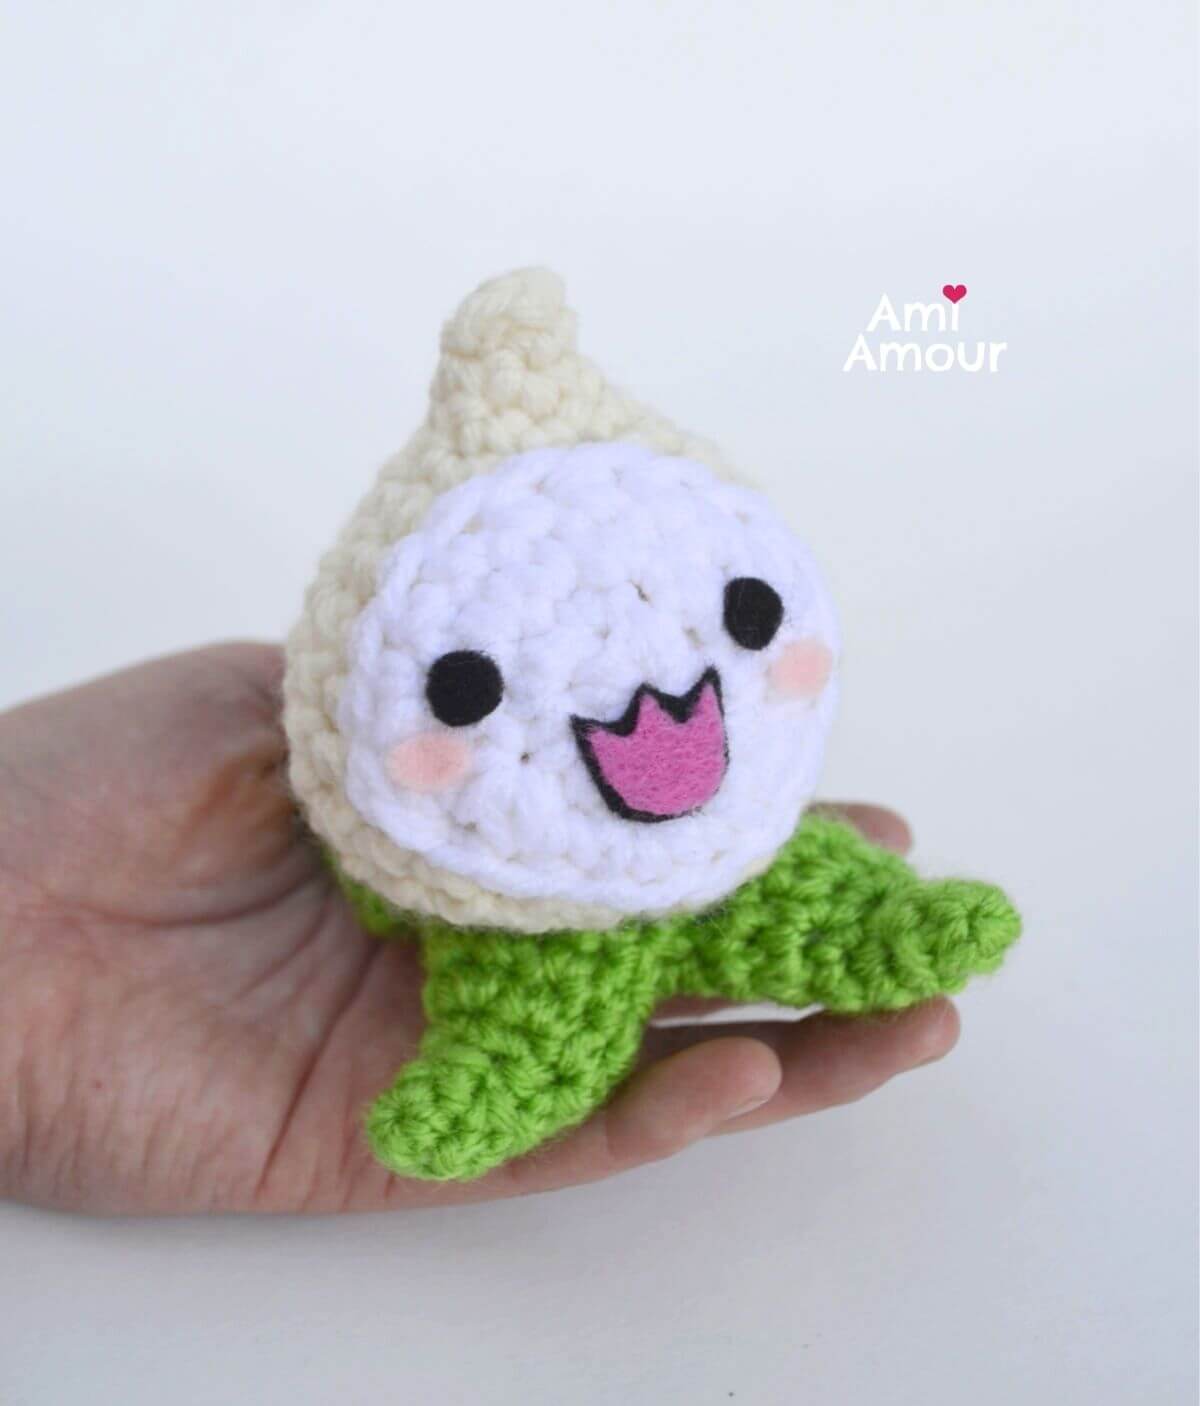
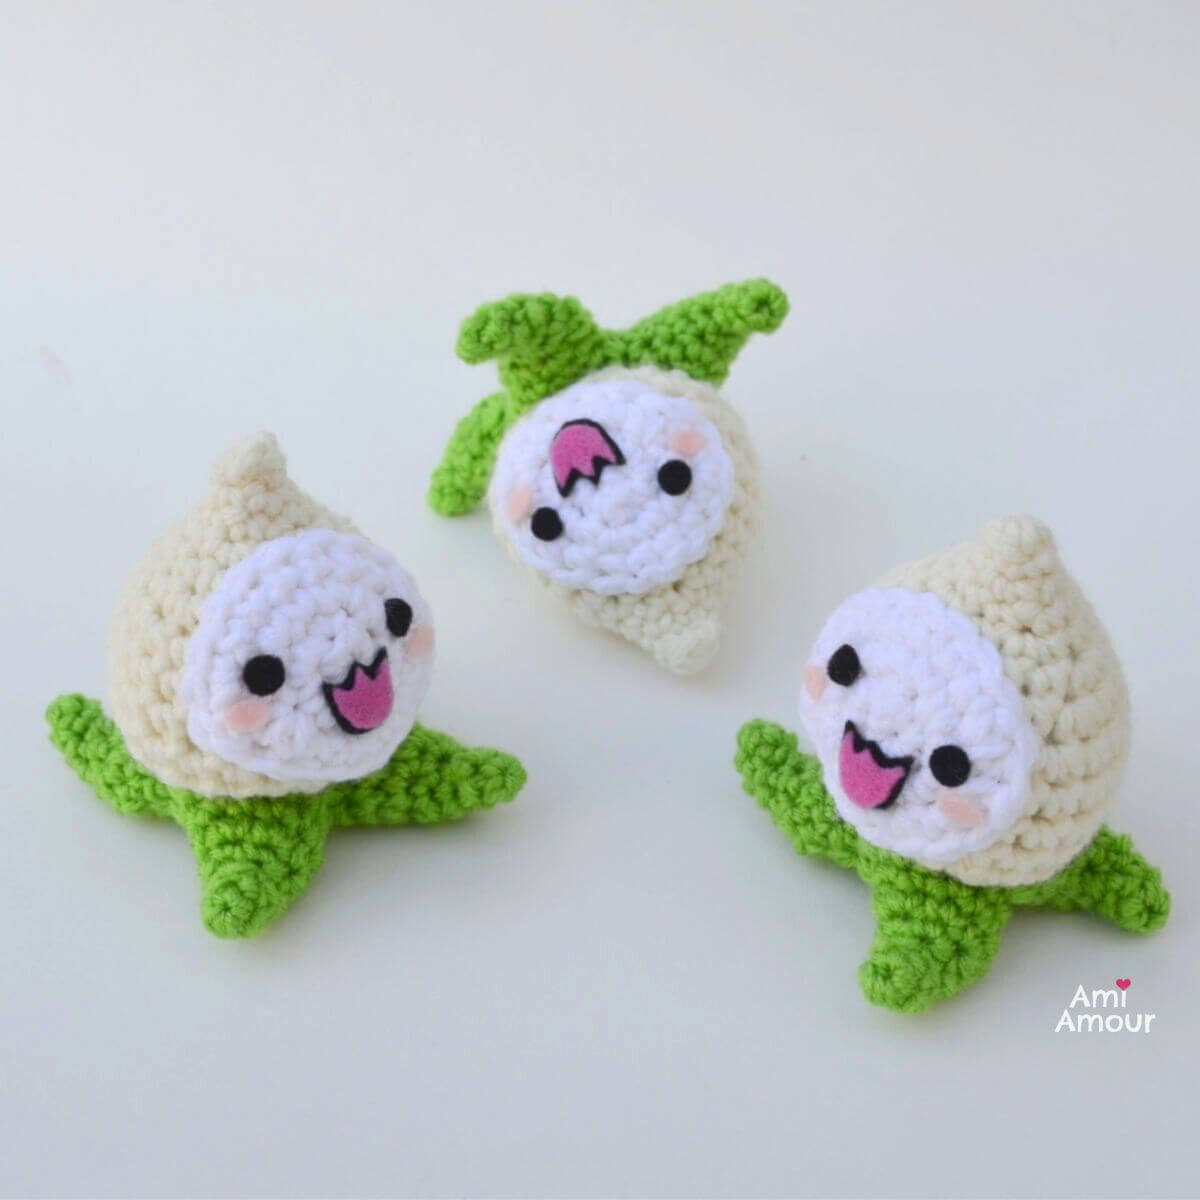
I used felt to create the faces of the shape as they create a clean look. However you can create the Pachimari amigurumi face in many different ways including using safety eyes or embroidery floss. I used light pink felt for the cheeks and cut small oval shapes. And for the mouth, you can think of the shape as a tulip. It makes cutting out the shape that much easier! I like to make the pink tulip first and then create the black tulip behind it to give it a black border outline. I used Fabri-tac to glue them into place.
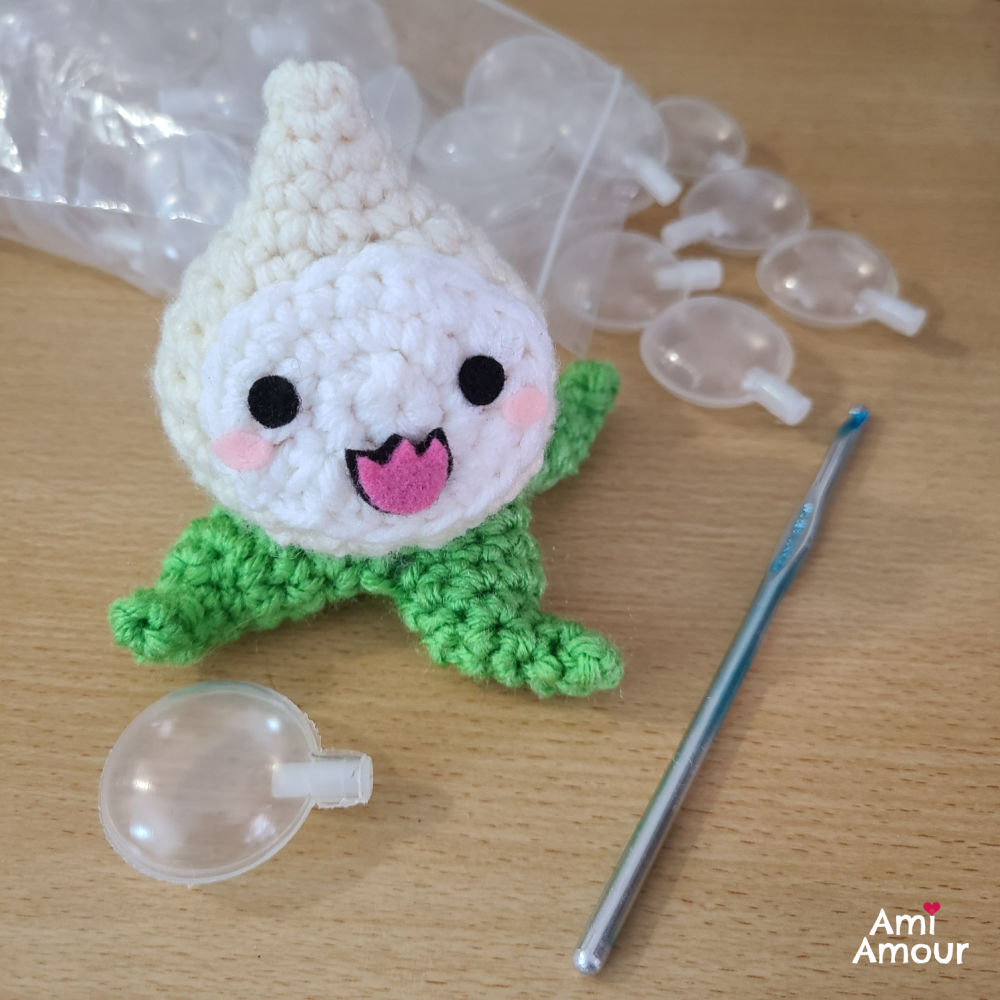
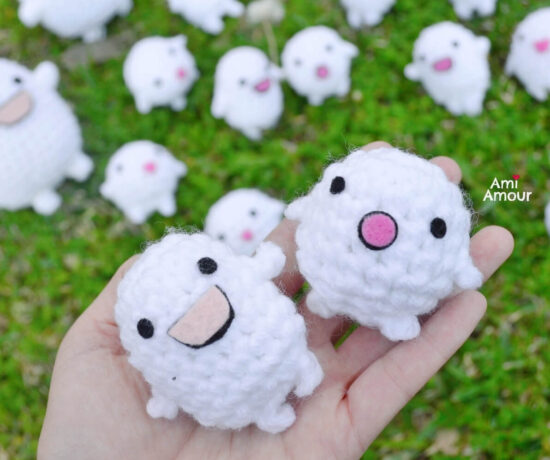
When you squeeze a Pachimari plushie, it likes to make a cute SQUEAK! To recreate that same fun sound, all you have to do is insert a squeaker toy into the Head part, stuff the rest with Polyfill, and then sew it on top of the Tentacle Leaf Set.
I hope you’ll enjoy crocheting this fun hybrid creature called Pachimari amigurumi!
Be sure to tag me with your projects on Instagram @ami_amour or Facebook. I’d love to see!
If you like this pattern, be sure to check out my other Free Crochet Patterns such as these cuties below!
1. Lilo and Stitch Amigurumi
2. Pikmin Amigurumi
Pachimari Crochet Video Tutorial
See Pachimari in action and crochet along with me!
Disclosure: This post contains affiliate links. This means I may receive a small commission if you decide to purchase anything by using one of these links.
Pachimari Amigurumi – Free Crochet Pattern
LEVEL: Intermediate
CROCHET HOOK: 5.0mm size
YARN:
Worsted weight, acrylic yarn
1 skein Loops & Thread Impeccable in Aran
1 skein Red Heart Super Saver in Spring Green
1 skein Red Heart Super Saver in White
NOTIONS
Polyester Fiberfill
Scissors
Stitch Marker
Yarn Needle
Felt in the colors of Black, Light Pink, Hot Pink
Fabri-tac Glue
Optional: Squeaker
ABBREVIATIONS: (American English crochet)
ch – chain
dc – double crochet
hdc – half double crochet
sc – single crochet
sl st – slip stitch
sc2tog – single crochet 2 together (sc dec)
st – stitch
APPROXIMATE SIZE: 4in / 10 cm tall
TURNIP HEAD
With aran color yarn
Round 1: 4 sc into magic ring.
Round 2: Sc in each st around – 4 sc.
Round 3: 2 sc in each st around – 8 sc.
Round 4: Sc in each st around – 8 sc.
Round 5: [2 sc in next st, sc in next st] around – 12 sc.
Round 6: [2 sc in next st, sc in next 3 st] around – 15 sc.
Round 7: [2 sc in next st, sc in next 4 st] around – 18 sc.
Round 8: [2 sc in next st, sc in next 5 st] around – 21 sc.
Round 9-11: Sc in each st around – 21 sc.
Round 12: [Sc2tog, sc in next 5 st] around – 18 sc.
Round 13: [Sc2tog, sc in next st] around – 12 sc.
Start stuffing.
Optional: Insert Squeaker inside the head if you want Pachimari to SQUEAK!
Round 14: Sc2tog around – 6 sc.
Fasten off, leaving a long tail.
Finish stuffing with polyfill
Sew closed with yarn needle.
FACE
With white color yarn
Round 1: 6 sc into magic ring.
Round 2: 2 sc in each st around – 12 sc.
Round 3: [(2 sc in next st, sc in next st) 2 times, 2 hdc in next st, sc in next st] 2 times – 18 st.
Round 4: Sc in next 5 st, 2 hdc in next st, sc in next st, sl st in next st only.
Fasten off, leaving a long tail.
TENTACLE LEAF
Note: Pay attention to the increases and decreases in this section!
With green color yarn
Round 1: 4 sc into magic ring.
Round 2-3: Sc in each st around – 4 sc.
Round 4: 2 sc in next 2 st, sc in next 2 st – 6 sc.
Round 5: [2 sc in next st, sc in next st] 2 times, sc in next 2 st – 8 sc.
Round 6: 2 sc in next 4 st, sc2tog 2 times – 10 sc.
Round 7: Sc in next 8 st.
Move stitch marker to last st made. This will be the end of the round now.
Round 8: Sc2tog 2 times, sc in next 2 st, 2 sc in next 2 st, sc in next 2 st.
Fasten off, leaving a long tail.
You have just created Tentacle #1.
Repeat Round 1-8 to create Tentacle #2, but DO NOT FASTEN OFF.
Join Tentacle #1 and Tentacle #2 together with sc across 2 by doing the following:
On Tentacle #1 count 5 sts over from last st made. Line that 5th stitch to the next stitch on Tentacle #2. You will do sc stitches by going through both layers of Tentacle #1 and Tentacle #2 to join them together. Fasten off.
WATCH the Tentacle Leaf video tutorial to see how I connect the Tentacles together.
Repeat Rounds 1-8 again to create Tentacle #3. Count 5 sts over on Tentacle #2 and line up with the next st on Tentacle #3 and join together with sc across 2 sts.
Repeat Rounds 1-8 again to create the last Tentacle #4. Count 5 sts over on Tentacle #3 and line up with the next st on Tentacle #4 and join together with sc across 2 sts.
Fasten off, and leave a long tail.
Connect Tentacle #4 to Tentacle #1 by using a yarn needle and sewing together across 2 sts.
Now flip over the tentacle leaf set so that you are on the bottom/back side of the tentacle leaf. You will know the front from the back because the front will mostly have tentacles pointing a bit upward. We will now close up the bottom hole with sc.
Sl st onto the bottom hole of the Tentacle Leaf Set.
Tentacle Leaf Set Bottom:
Round 1: Sc in each st around – 12 sc.
(You will want to have 3 sc for each Tentacle)
Round 2: Sc2tog around – 6 sc.
Fasten off, leaving a long tail.
Sew closed on bottom and stuff the Tentacle Leaf Set.
PACHIMARI AMIGURUMI ASSEMBLY
1. Sew Turnip Head on top of Tentacle Leaves.
2. Sew Face onto Turnip Head.
3. Cut 2 small circles from black felt for the eyes.
4. Cut 2 small ovals from light pink felt for the cheeks.
5. Cut a tulip shaped mouth from hot pink felt and black felt for the Mouth. Cut the pink tulip felt shape first. Then place the pink tulip on top of black felt and cut out another outline of the black tulip which will be slightly larger.
6. Glue on the eyes, cheeks, and mouth with Fabri-tac.
7. Hide and cut all ends.
8. Tag me with your project on Instagram @ami_amour. I’d love to see!
No Comments