
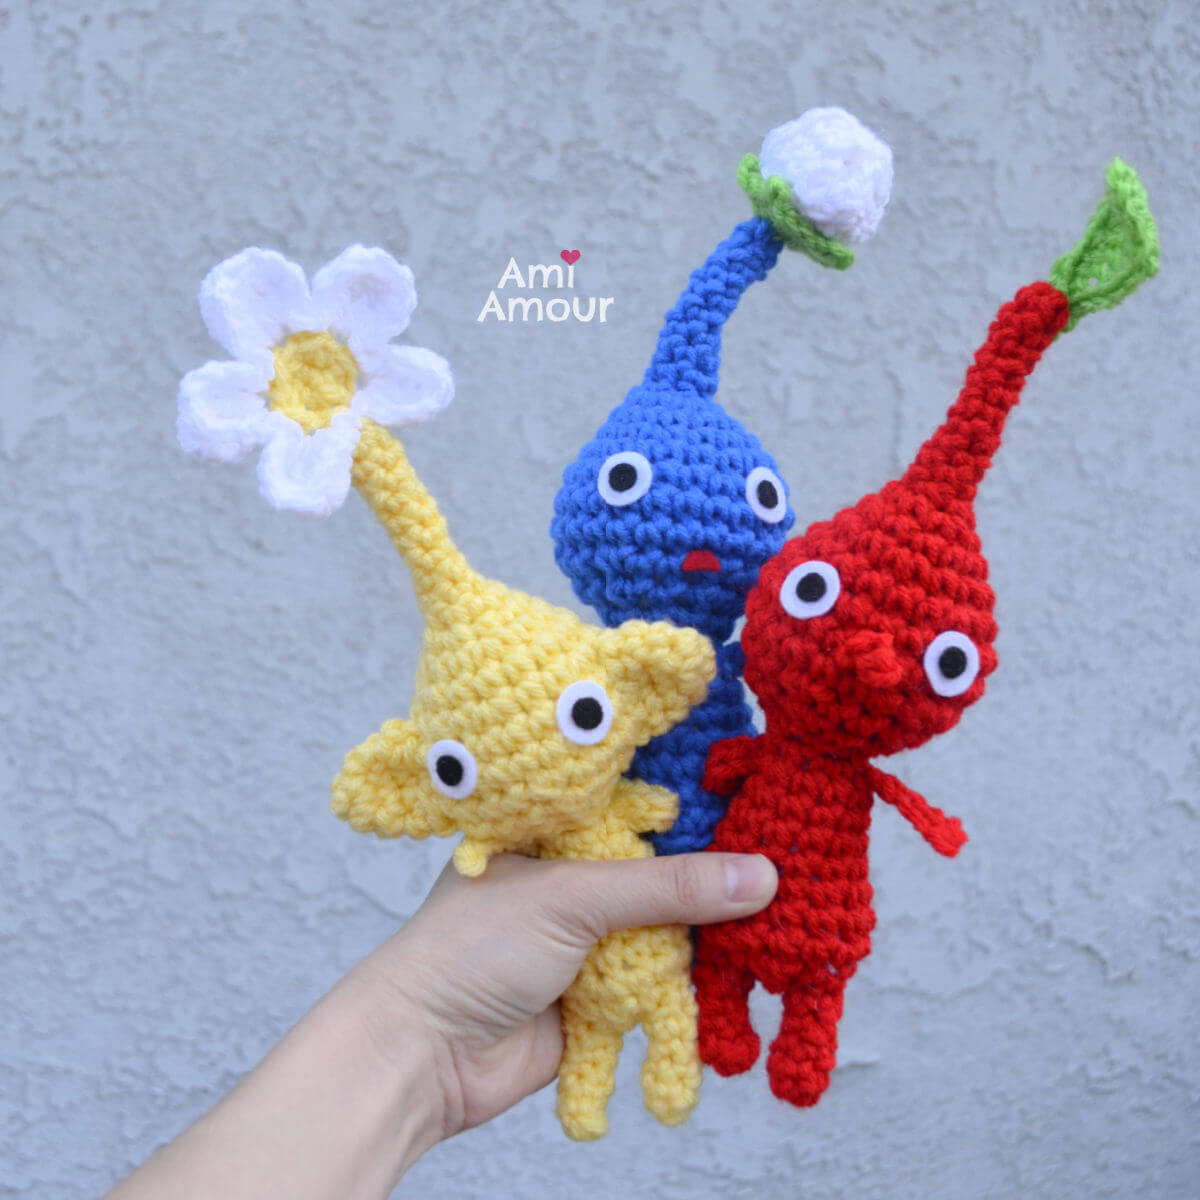
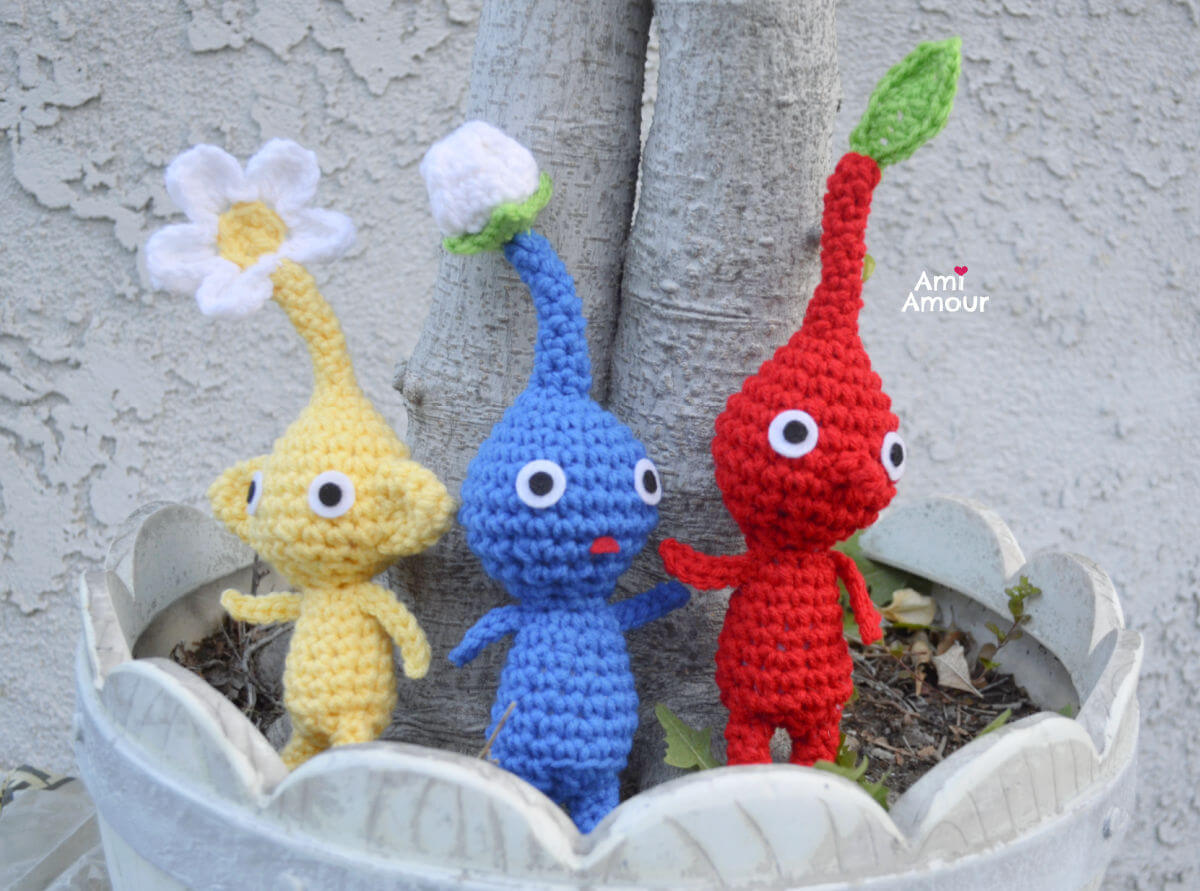
Freshly plucked from my garden, here are some colorful Pikmin amigurumi! They make a fun bouquet all together! Create your own garden with this free Pikmin crochet pattern.
Pikmins are cute plant-animal hybrid creatures made popular from the Nintendo game. They have different stages of maturation just like a regular plant.
You can start with a leaf, and then a bud, and then finally, it can bloom into a flower. You can help them sprout by planting them or feeding them nectar which is their favorite type of food.
These crochet Pikmin amigurumi are quite helpful and can help you accomplish your missions, whether it be chores around the garden, or putting your spaceship back together!

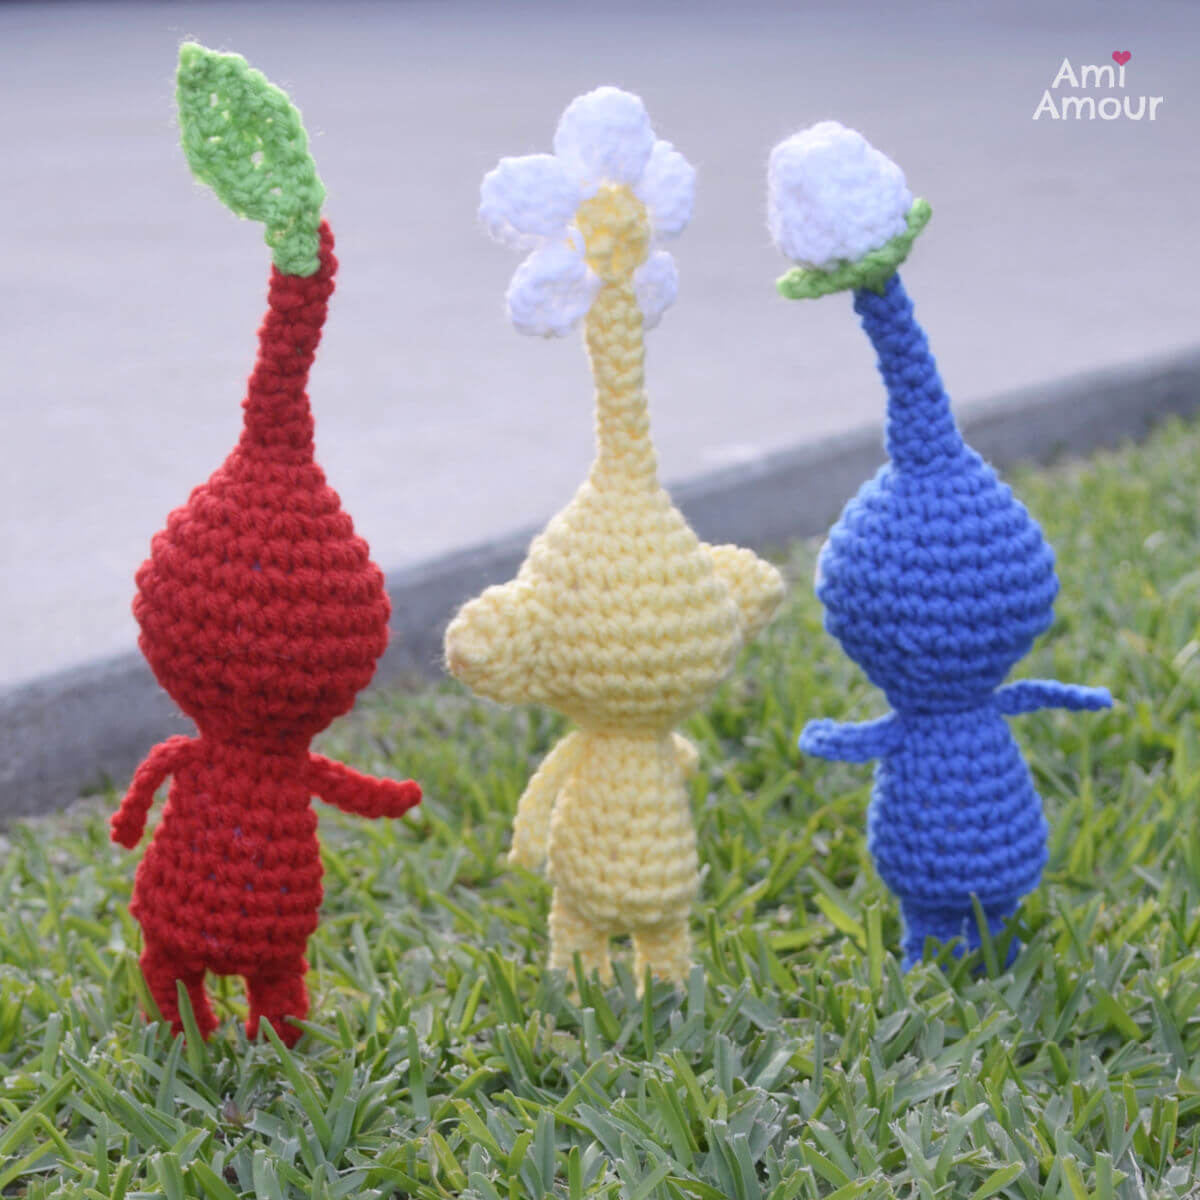
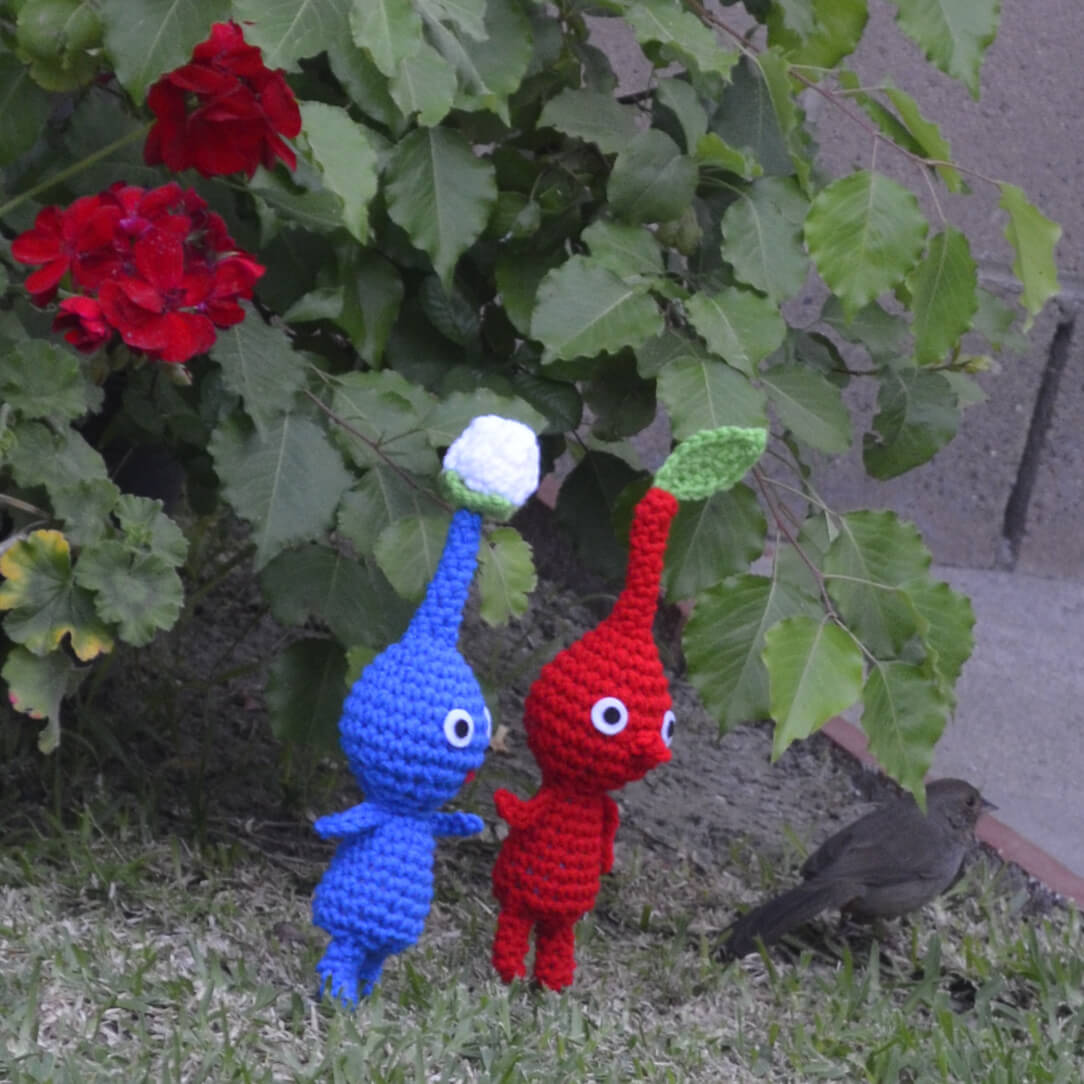
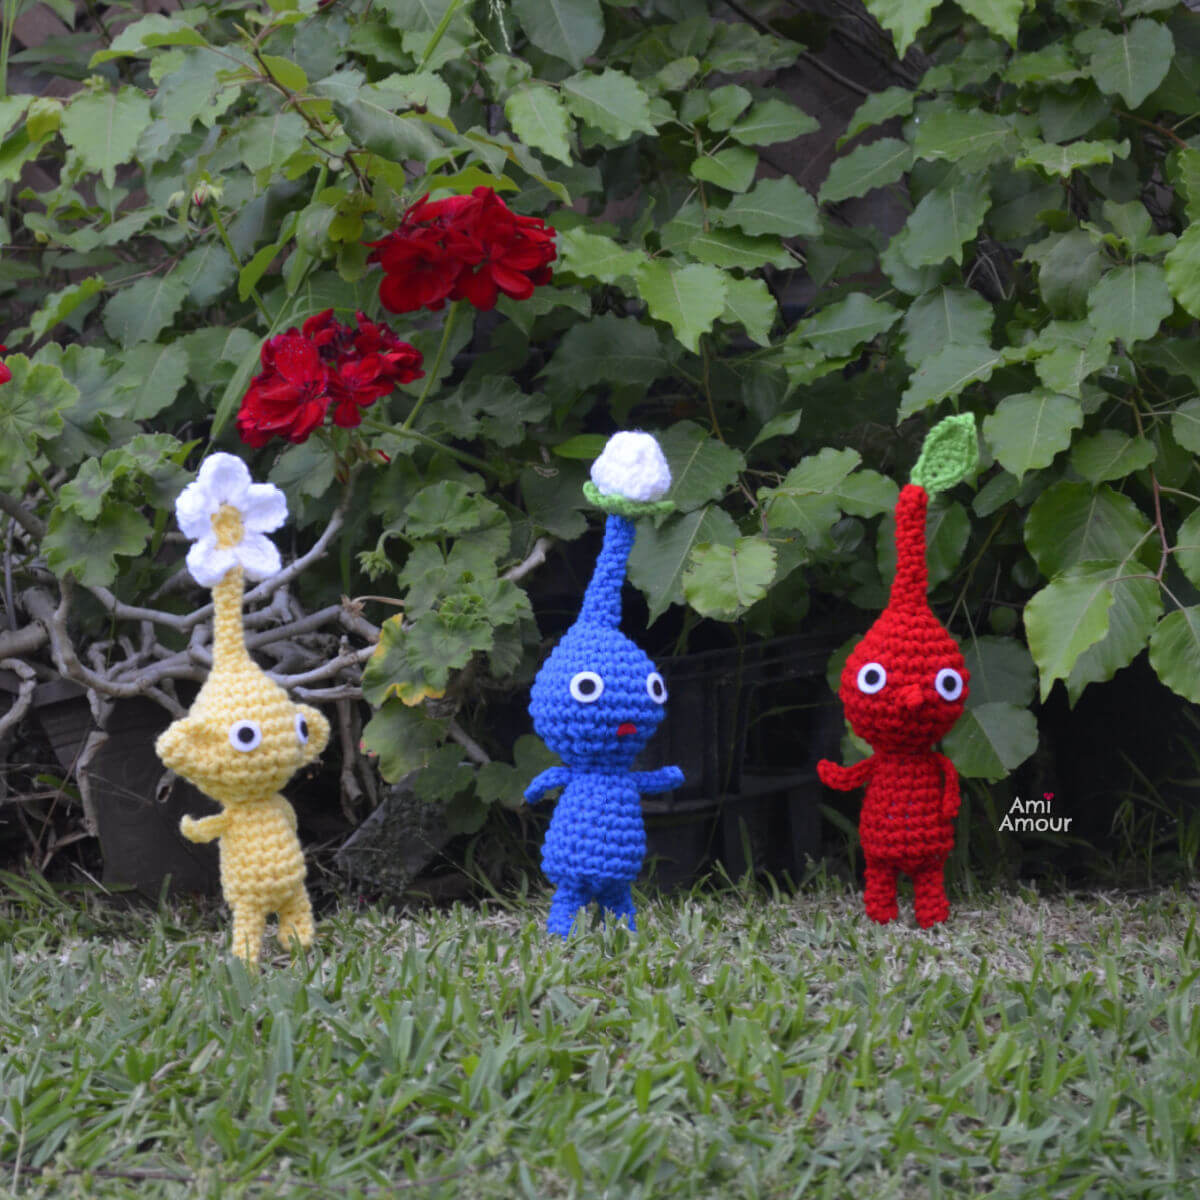
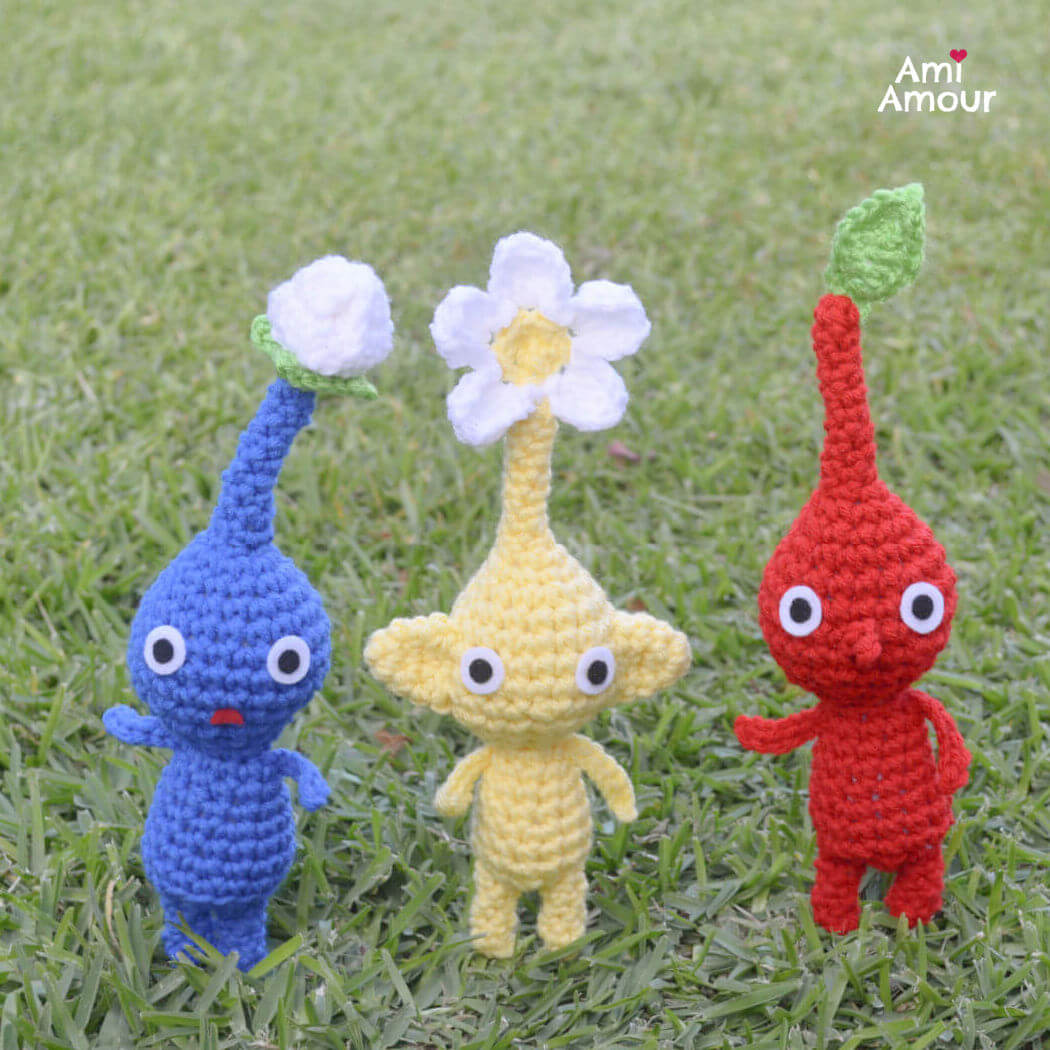
Here’s Red Crochet Pikmin at the very beginning stage with a green leaf on its head. He has a pointy nose.

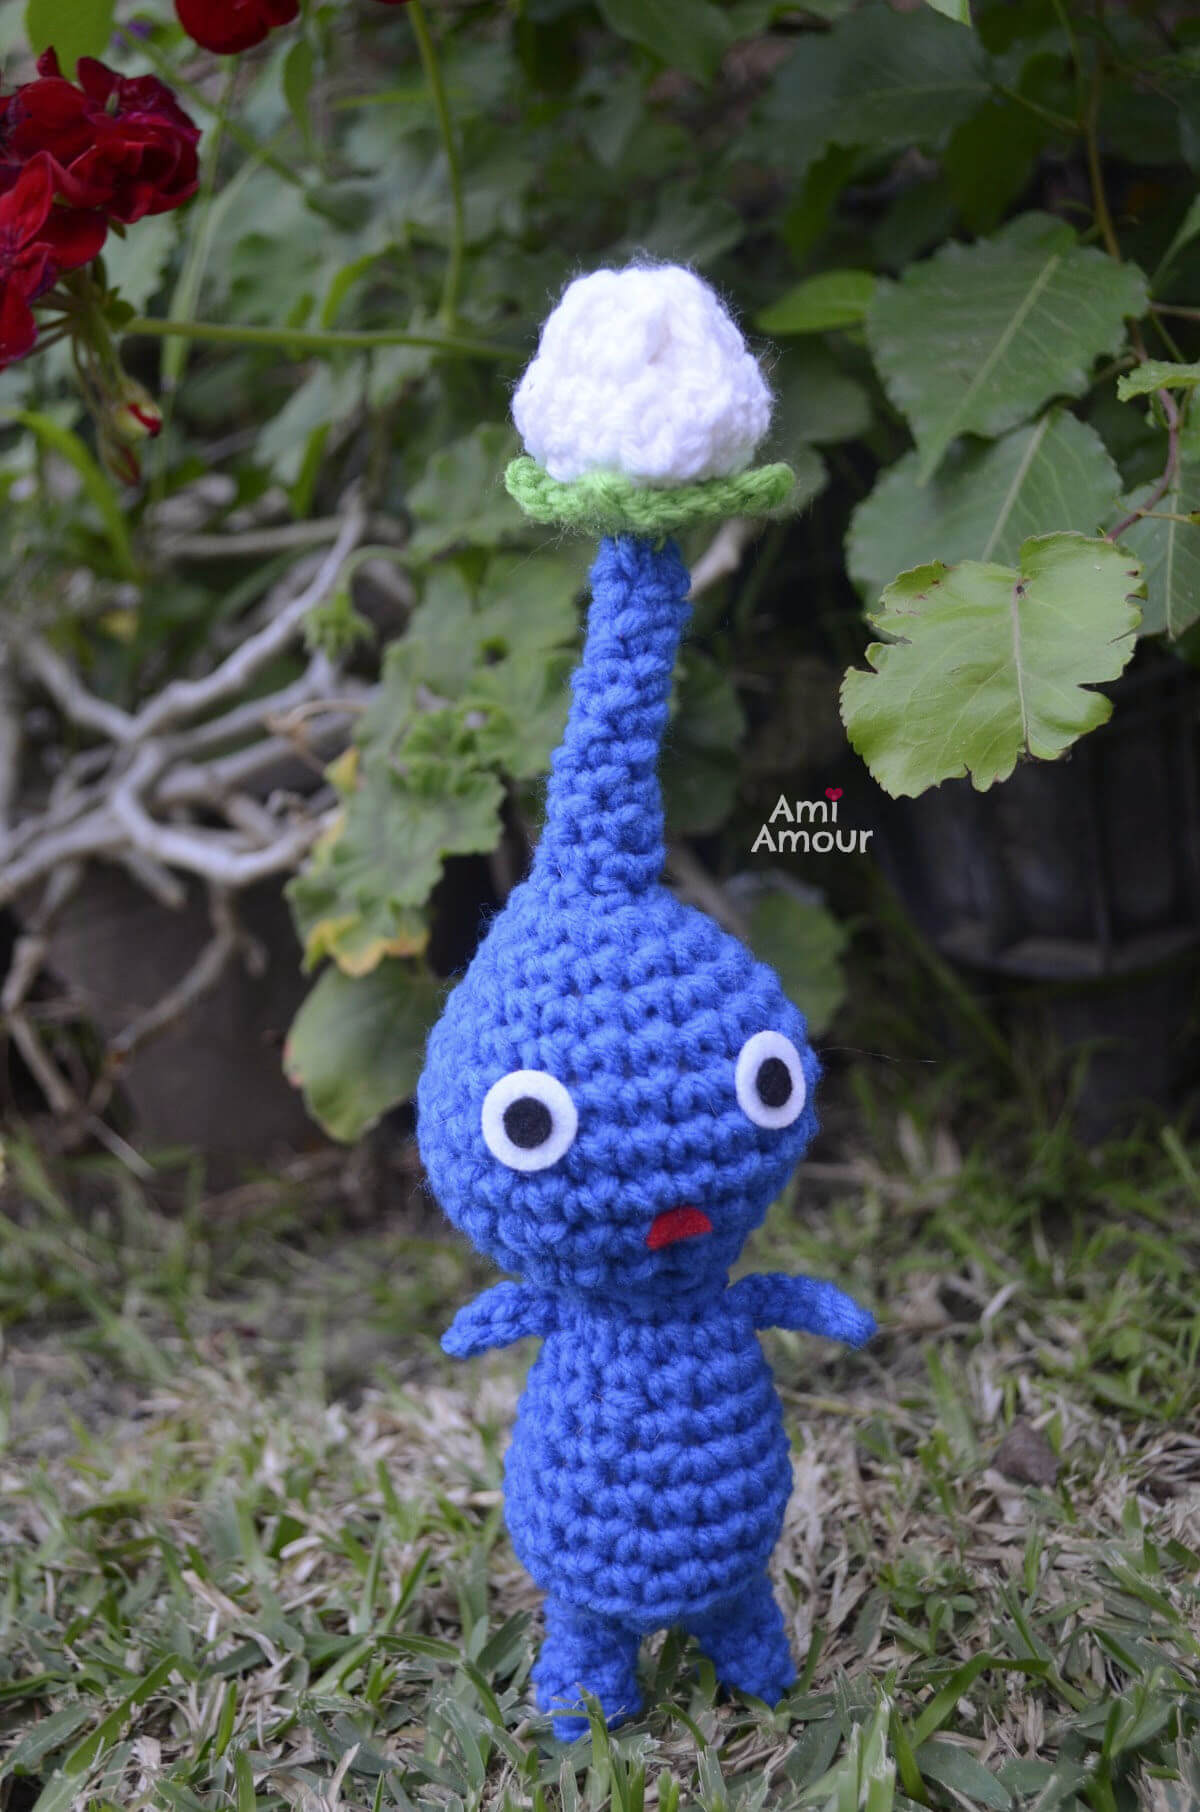
Here’s Blue Pikmin with a bud on top of its stem. This one can also be differentiated by a red mouth.
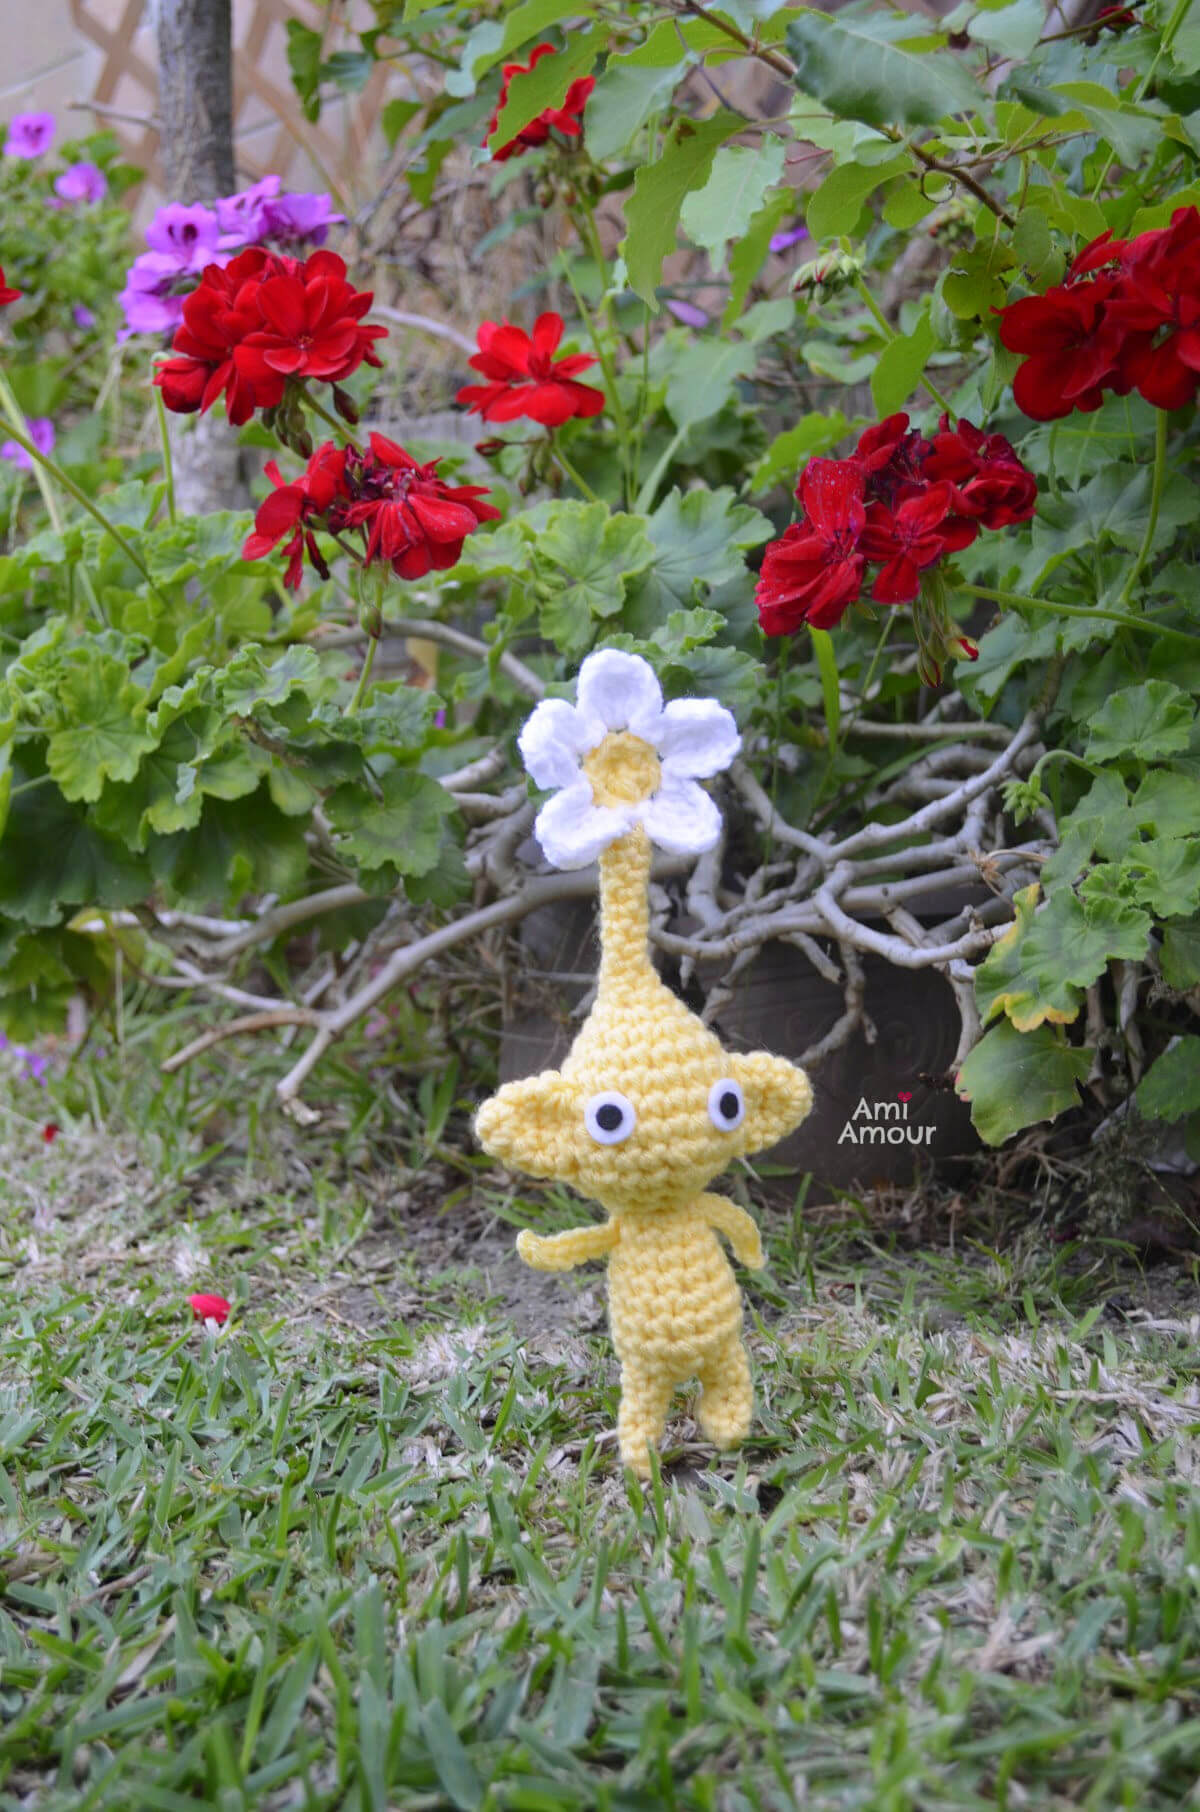
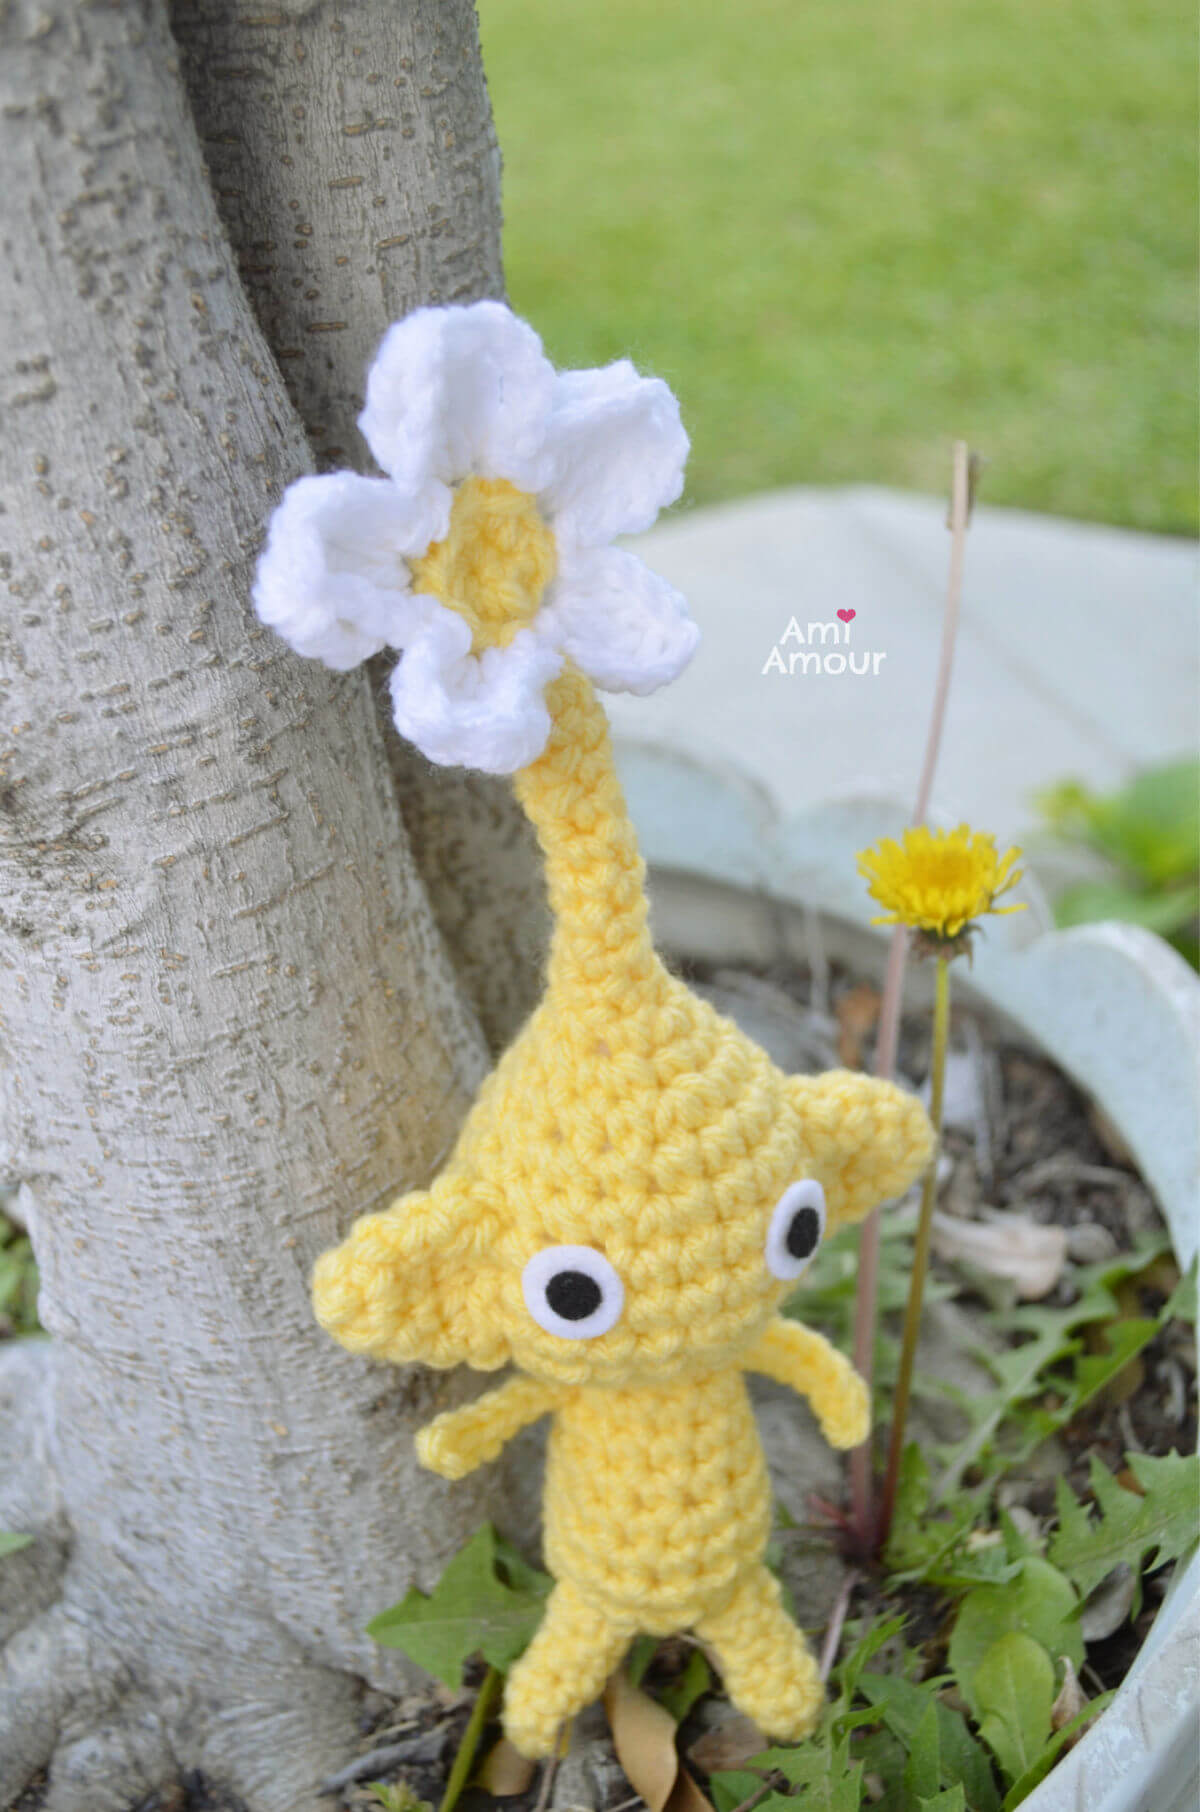
And here’s Yellow Pikmin Amigurumi in the most mature stage with a full blooming flower on its head. This one also has ears!
While I was out in the yard enjoying a fun photo session with the Pikmin amigurumi, we had a little bird visit them as well! I believe the bird had little babies somewhere and somehow saw the Pikmin as threats and came to chase them away. 😂
Anyways hope you guys enjoy this free Pikmin crochet pattern and have fun planting and sprouting them! Happy crocheting in your garden! Be sure to tag me with your projects on Instagram @ami_amour. I’d love to see!
If you enjoyed this gaming crochet pattern, you may enjoy these other free crochet patterns as well!
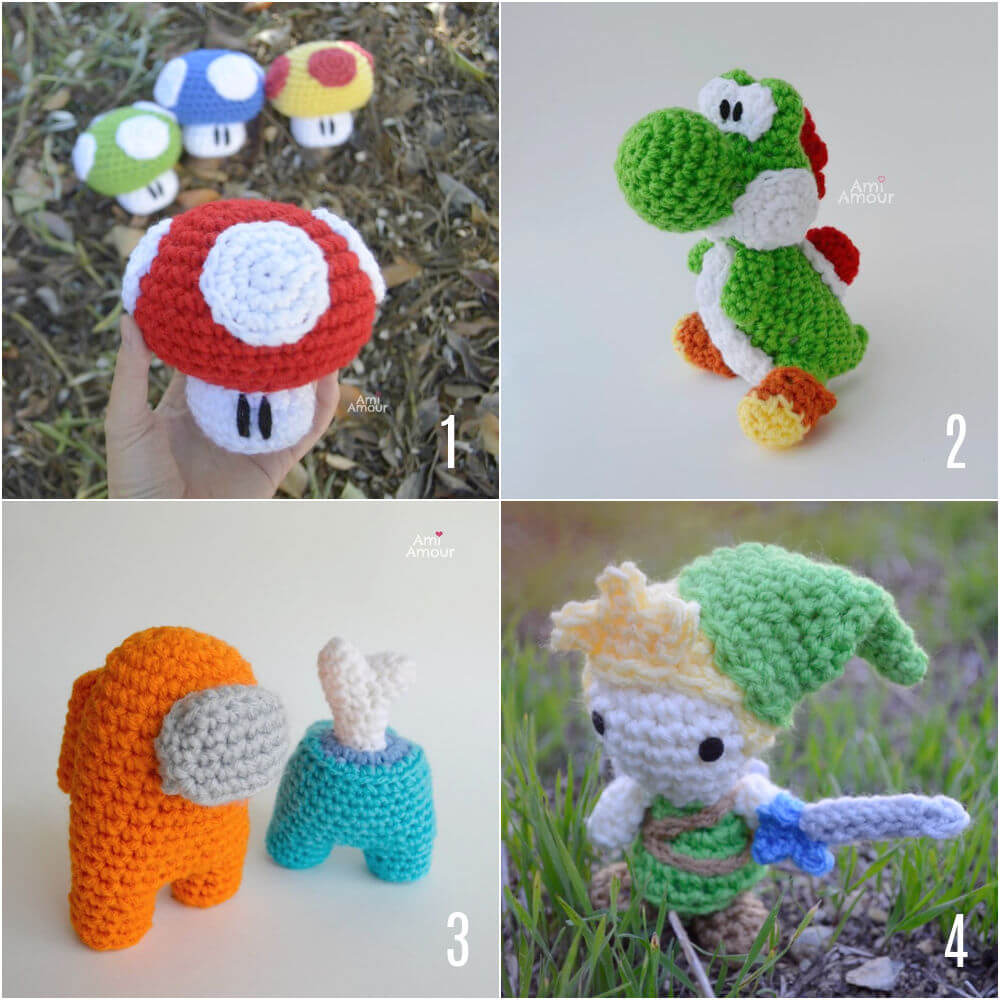
1. Mario Mushroom Pattern
2. Yarn Yoshi Amigurumi Pattern
3. Among Us Amigurumi Pattern
4. Link Amigurumi Pattern
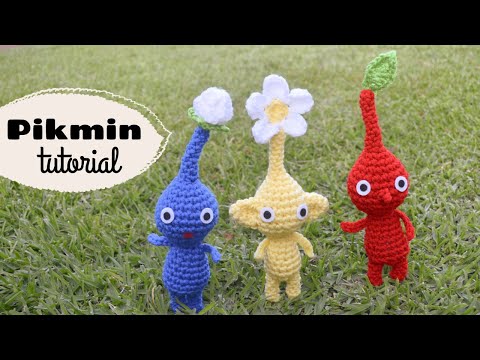
PIKMIN CROCHET TUTORIAL VIDEO
See the Pikmin in action and crochet along with me!
*Disclosure: This post contains affiliate links. This means I may receive a small commission if you decide to purchase anything by clicking on one of these links.
PIKMIN AMIGURUMI – FREE CROCHET PATTERN

*This pattern is for personal use only. Please do not copy, redistribute, or sell this pattern.
LEVEL: Easy Intermediate
CROCHET HOOK:
4.0mm size
YARN:
Red Heart Super Saver Yarn
(worsted weight, acrylic yarn)
– Cherry Red
– Blue
– Lemon
– Spring Green
– White
NOTIONS:
Yarn Needle
Scissors
Stitch Marker
Felt (in small amount of white, black, red) – for the eyes and mouth
Fabri-tac Glue
Polyfill Stuffing
ABBREVIATIONS (American English crochet)
ch – chain
dc – double crochet
tr cl – treble cluster
sc – single crochet
sl st – slip stitch
sc2tog – single crochet 2 together (sc dec)
st – stitch
SPECIAL STITCHES
4-tr cluster:
Yarn over 2 times, insert hook into st, yarn over and draw up a loop, (yarn over, draw through 2 loops) 2 times (you will have 2 loops left on hook). Yarn over 2 times, insert hook into same st, yarn over and draw up a loop, (yarn over, draw through 2 loops) 2 times (you will have 3 loops left on hook). Yarn over 2 times, insert hook into same st, (yarn over, draw through 2 loops) 2 times (you will have 4 loops left on hook). Yarn over 2 times, insert hook into same st, yarn over and draw up a loop, (yarn over, draw through 2 loops) 2 times (you will have 5 loops left on hook). Yarn over, draw through all 5 loops on hook.
APPROXIMATE SIZE:
8 in/20cm tall including stem and plant accessory
HEAD & BODY
With yarn color of choice
Round 1: 4 sc into magic ring.
Round 2-8: Sc in each st around – 4 sc.
Round 9: 2 sc in next st, sc in next 3 st – 5 sc.
Round 10: Sc in each st around – 5 sc.
Round 11: 2 sc in next st, sc in next 4 st – 6 sc.
Round 12: 2 sc in each st around – 12 sc.
Round 13: Sc in each st around – 12 sc.
Round 14: [2 sc in next st, sc in next st] around – 18 sc.
Round 15: Sc in each st around – 18 sc.
Round 16: [2 sc in next st, sc in next 2 st] around – 24 sc.
Round 17-18: Sc in each st around – 24 sc.
Round 19: [Sc2tog, sc in next 2 st] around – 18 sc.
Round 20: [Sc2tog, sc in next st] around – 12 sc.
Round 21: [Sc2tog, sc in next st] around – 8 sc.
Stuff the Head and Stuff as you go.
Round 22: [Sc2tog, sc in next 2 st] around – 6 sc.
Round 23: 2 sc in each st around – 12 sc.
Round 24-26: Sc in each st around – 12 sc.
Round 27: [2 sc in next st, sc in next 5 st] around – 14 sc.
Round 28: Sc in each st around – 14 sc.
Round 29: [2 sc in next st, sc in next 6 st] around – 16 sc.
Round 30: Sc2tog around – 8 sc.
Round 31: Sc2tog 2 times only.
Fasten off, leaving a long tail.
LEG (make 2)
Round 1: 4 sc into magic ring.
Round 2-5: Sc in each st around – 4 sc.
Round 6: 2 sc in next st, sc in next 3 st – 5 sc.
Fasten off, leaving a long tail.
ARM (make 2)
Ch 7, sl st in 2nd ch from hook, and sl st in each ch across – 6 sl st.
Fasten off, leaving a long tail.

PIKMIN VARIATIONS for Yellow and Red Pikmin
EAR (make 2) – For YELLOW PIKMIN
With yellow yarn
Round 1: 4 sc into magic ring.
Round 2: 2 sc in each st around – 8 sc
Round 3: Sc in each st around – 8 sc.
Round 4: [2 sc in next st, sc in next 3 st] around – 10 sc.
Fasten off, leaving a long tail.
NOSE – For RED PIKMIN
With red yarn
Row 1: Ch 2, sl st into first ch
Row 2: Ch 1, turn, sl st into next st
Row 3: Ch 2, turn, sl st into previous ch
Fold the fabric of Rows 1-2 in Half (so that it lies on top of each other) Sl st through both layers of fabric to sew closed.
See nose video tutorial here.

PLANT ACCESSORIES
LEAF
Ch 8, sl st in 2nd ch from hook, sc in next ch, hdc in next 2 ch, sc in next 2 ch, sl st in last ch.
Continue on other side of chain.
Sl st in next ch, sc in next 2 ch, hdc in next 2 ch, sc in next ch, sl st in next 2 ch.
Ch 2, sl st in previous ch, sl st to connect back onto leaf (or first st).
Fasten off, leaving a long tail.
FLOWER
Follow along with Flower Video Tutorial here.
With yellow yarn
Round 1: 5 sc into magic ring.
Round 2: 2 sc in each st around – 10 sc.
Round 3: With white yarn, Back Loop only (sl st in next st, ch 4, 4-tr cluster, ch 4, sl st into same st, skip next st) 5 times.
Note: You should have 5 Petals.
Sl st to join to first petal and fasten off, leaving a long tail.

BUD
With white yarn
Round 1: 6 sc into magic ring
Round 2: 2 sc in each st around – 12 sc.
Round 3: In back loop only, sc in each st around – 12 sc.
Round 4: [Sc2tog, sc in next 4 st] around – 10 sc.
Round 5: [Sc2tog, sc in nexzt 3 st] around – 8 sc.
Round 6: Sc2tog around – 4 sc.
Surface slip stitch down until you get to the front loop from Round 3.
We will now work our stitches into the front loops but work in rows.
(If this part is a bit confusing, be sure to check out my Bud Video Tutorial here.)
Row 1: Sc in next 4 st – 4 sc.
Row 2: Ch 1, turn, sc in each st across – 4 sc.
Row 3: Ch 1, turn, skip first st, sc in next 3 st – 3 sc.
Row 4: Ch 1, turn, skip first st, sc in next 2 st – 2 sc.
Row 5: Ch 1, turn, sc in next 2 st – 2 sc.
Sl st down the side of the Petal Bud, until you reach back down to the Front Loop of Round 3 of previous bud.
Repeat the pattern for the the Bud Petal again (Rows 1-5), and continue repeating until you have 3 Bud Petals.
At the end, sl st to join to first Bud Petal, fasten off and leave a long tail.
Stuff the Bud.
Pull the 3 Bud Petals upward to wrap around the bud and sew into place.
SEPAL for the Bud
With green yarn
Round 1: 6 sc into magic ring.
Round 2: 2 sc in each st around – 12 sc.
Round 3: In Back Loop only, [ch 2, sc into previous ch, sl st in next 3 st] 4 times.
Fasten off, leaving a long tail.
You should have 4 points at the end.
Place the Sepal under the bottom of the Bud and sew into place to fully assemble your Bud.
PIKMIN AMIGURUMI ASSEMBLY
1. Stuff your Head and Body
2. Sew Legs onto the Bottom of the Body.
3. Sew Arms to the Side of the Body.
4. Cut 2 white felt circles for the Eyes. Cut 2 small black felt circles for the pupils.
5. Glue the eyes onto the face with Fabri-tac Glue.
6. For Red Pikmin, sew on nose to face.
7. For Yellow Pikmin, sew on Ears to Head.
8. For Blue Pikmin, cut a small red triangle for mouth. Glue on with Fabri-tac.
9. Sew desired plant accessory on top of head.
10. Hide and cut all ends.
11. Tag me with your projects on my Instagram @ami_amour, I’d love to see!
9 Comments
Linda Apps
May 17, 2021 at 12:11 amThey are very cute. Very clear instructions. I’m going to make them for my 2 grandchildren.
Ami Amour
June 2, 2021 at 1:34 pmHappy Crocheting! Love to see how they turn out!
Jenifer
June 24, 2021 at 9:28 pmThank you so much for these patterns! My son will love these! They’re a great size to play with too!
Tyvan Hansen
August 22, 2024 at 10:10 amJust finished Pikmin 3 and i cant wait to make these! thank you for providing a pattern like this!
Ami Amour
September 23, 2024 at 11:01 pmHappy Crocheting!
Joey
November 17, 2024 at 9:56 amThis pattern is so cute! Im making one as a Christmas gift 🙂
question: do we close the hole at the bottom of the body completely before we sew on the legs? or are the legs used to close it?
Ami Amour
December 23, 2024 at 2:20 pmYou sew the bottom completely closed before you sew on the legs, but don’t forget to stuff first!
Ghostly
December 7, 2024 at 12:23 pmThis is the cutest thing i’ve ever made oh my goodness! it worked up so quickly too! thank you for the pattern!
Ami Amour
December 23, 2024 at 2:15 pmYour welcome, glad you enjoyed!