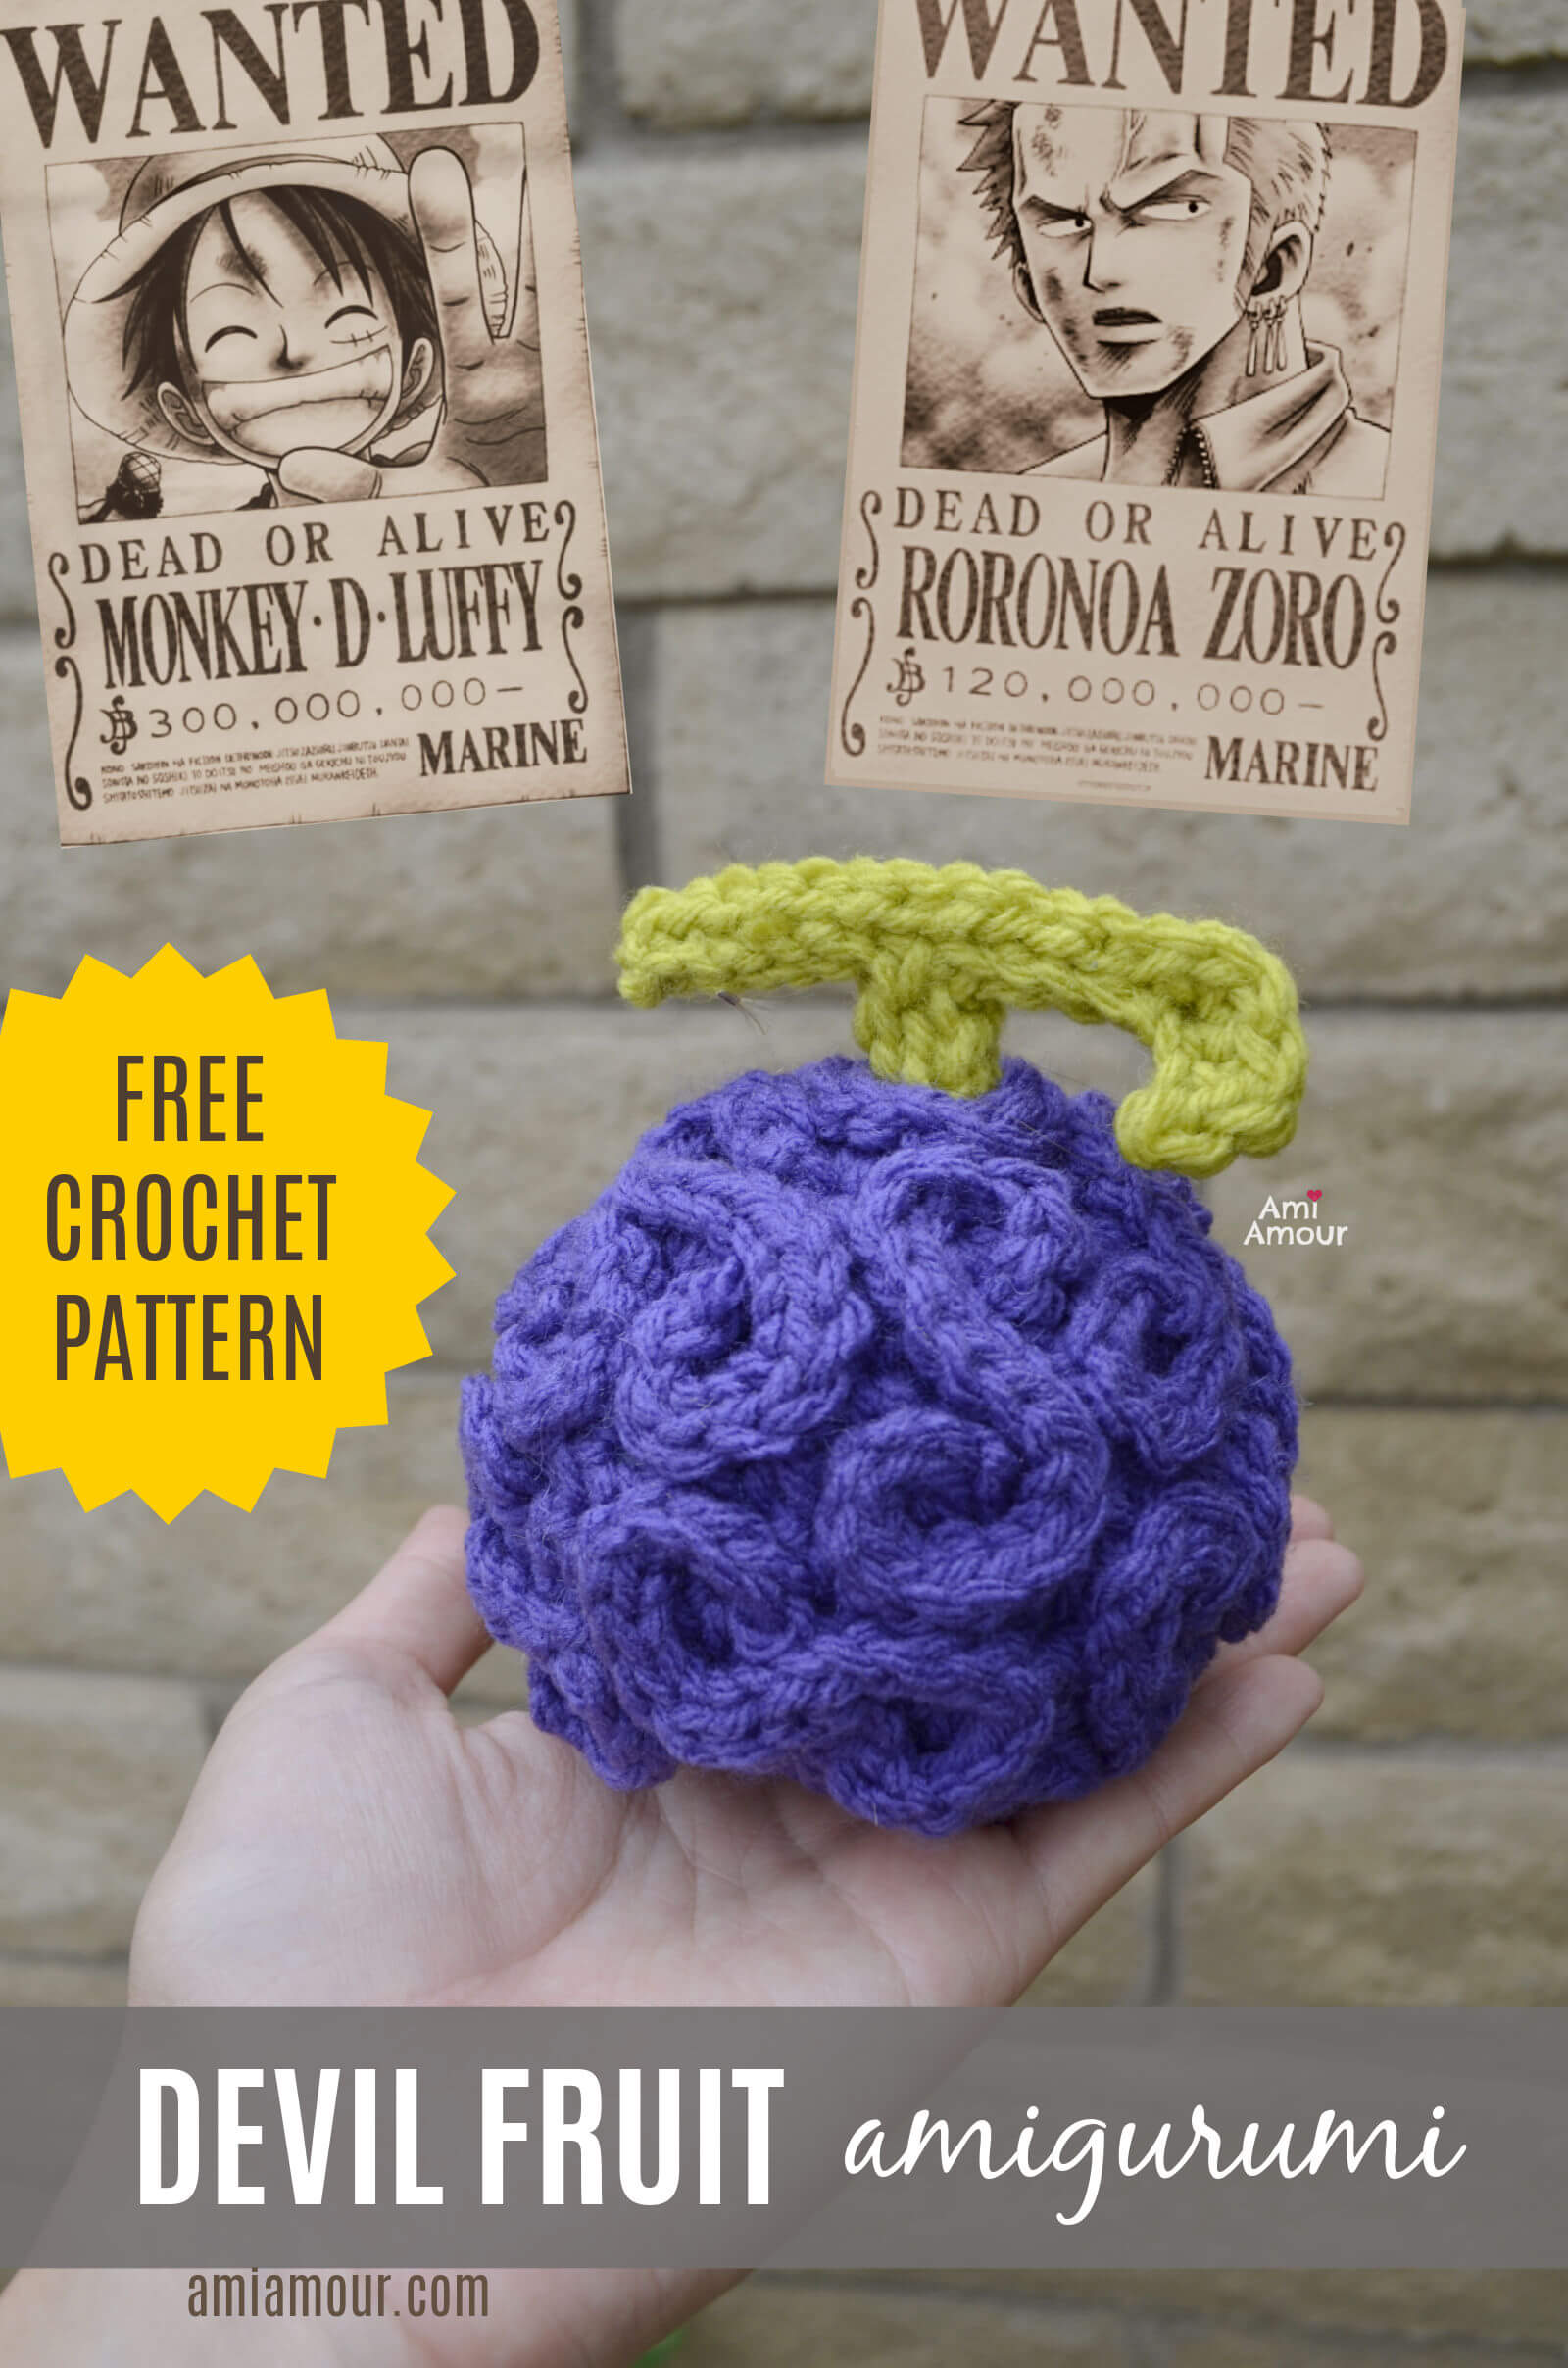
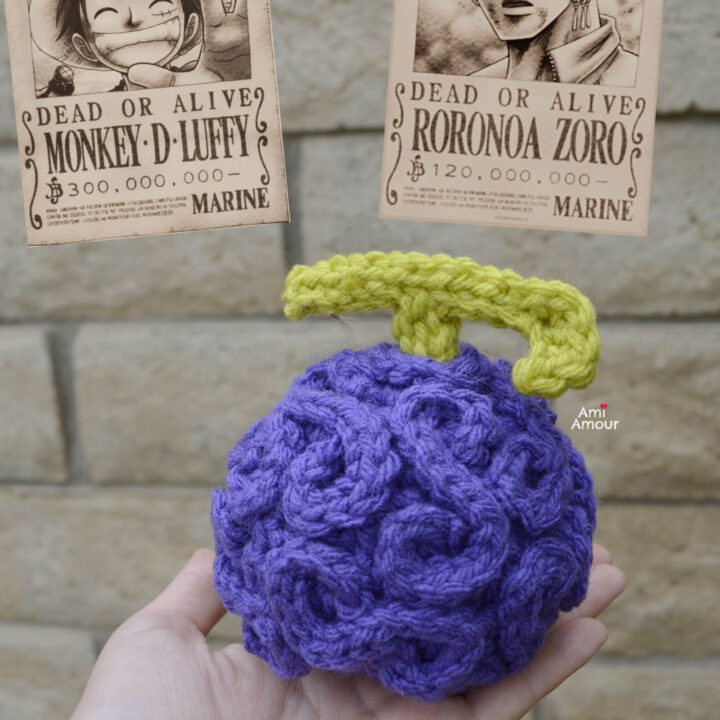
Here is a Devil Fruit amigurumi inspired from the One Piece anime and live action Netflix series. I recently watched the live action series and really enjoyed all the characters and storyline on pirates, and so I thought it would be fun to release a free crochet pattern for my version of the Gomu Gomu no Mi (aka gum gum fruit).
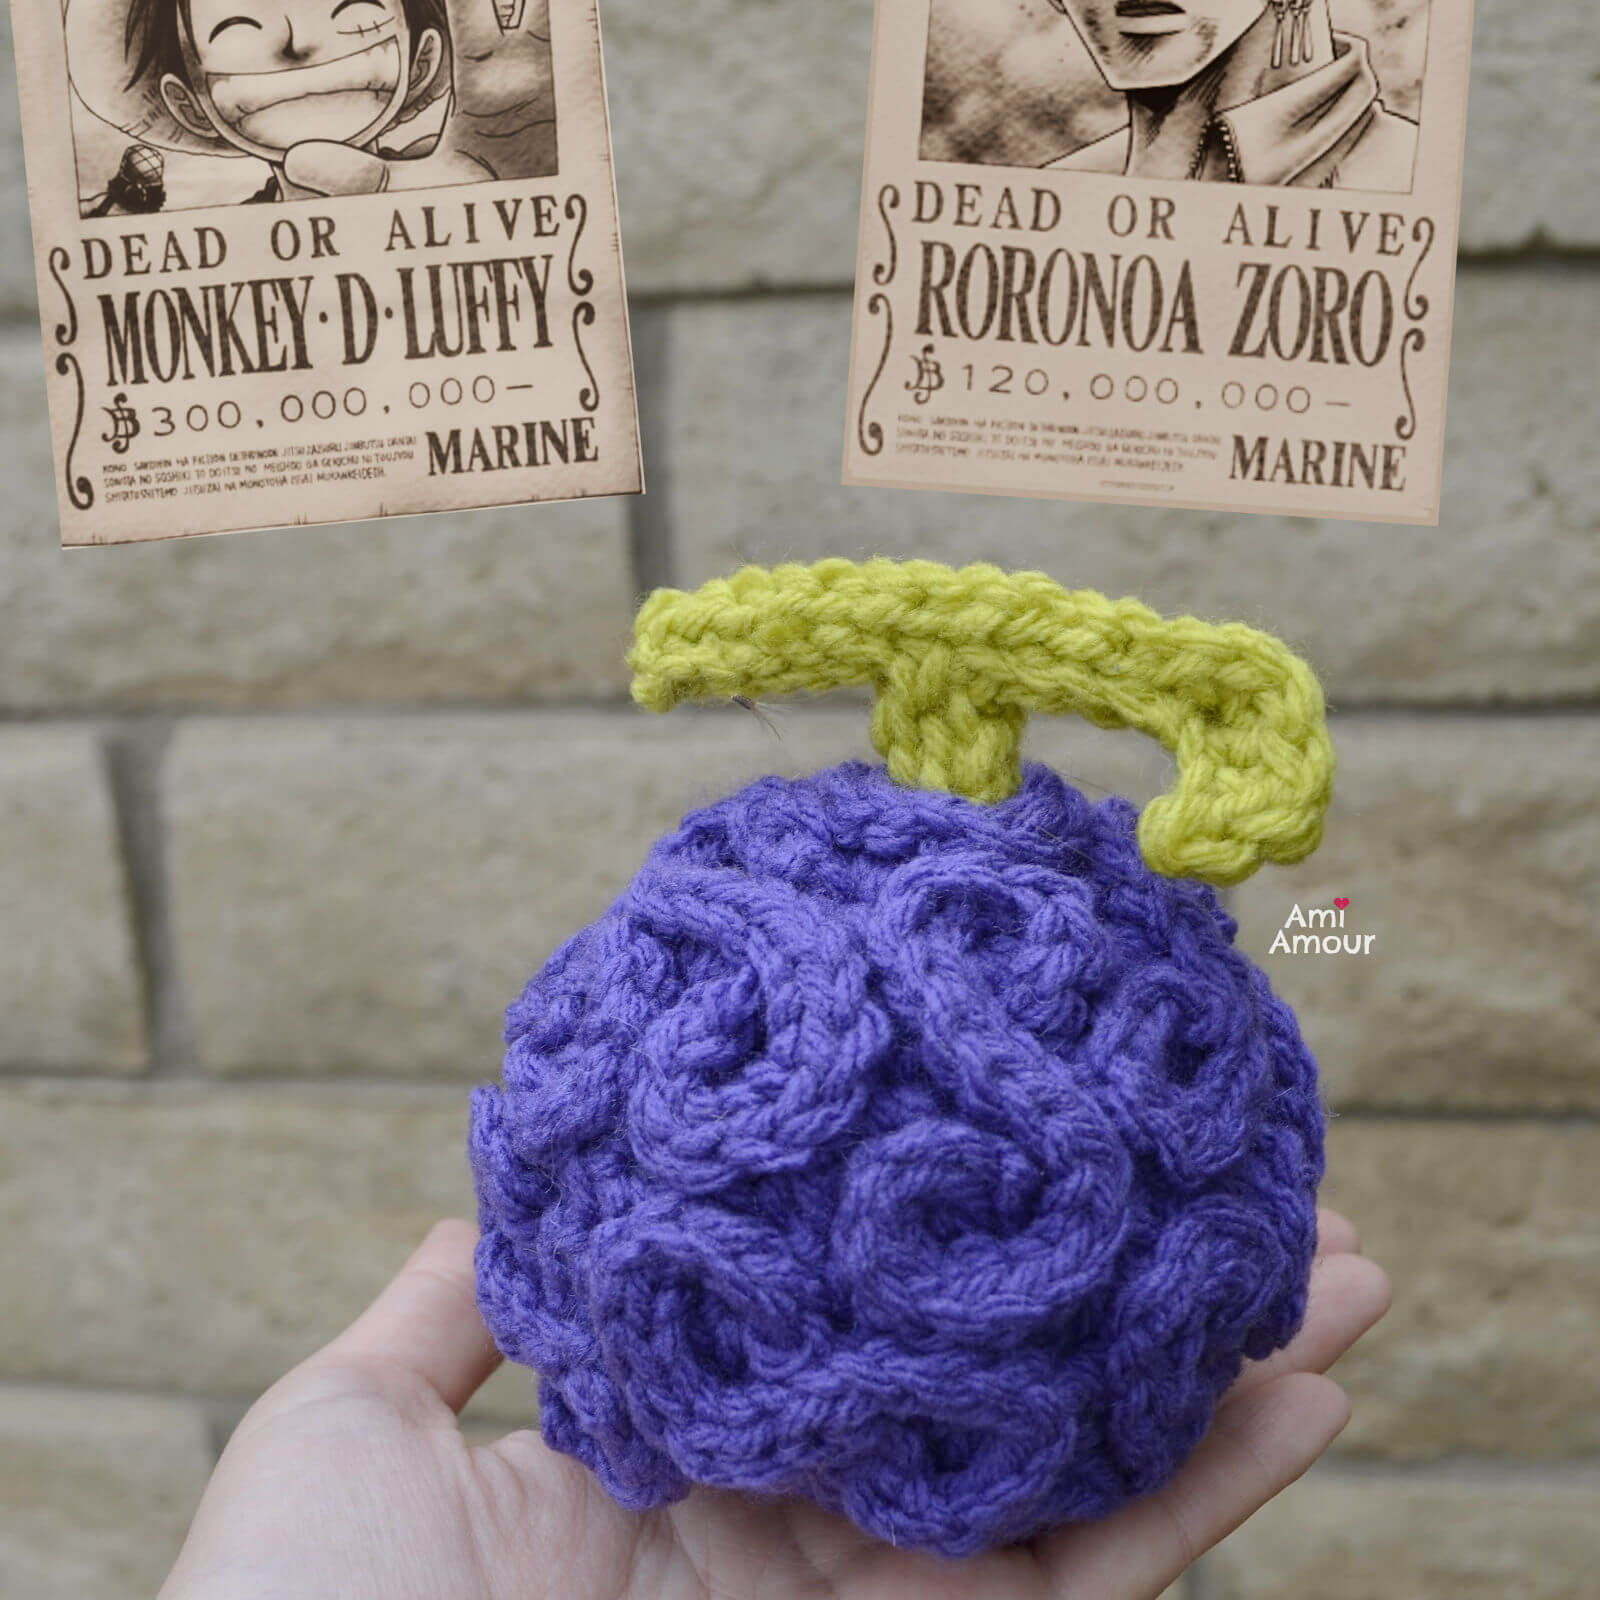
This is the fruit which Monkey D. Luffy, our main character, eats as a young boy, and it gives him stretchy powers. Alas, it also comes with a curse as all those who consume the devil fruit lose their ability to swim.
It’s a bit of an alarming fate for any pirate sailing the Blue Sea. Nevertheless, Luffy is quite determined though to find the One Piece treasure and become the King of the Pirates!
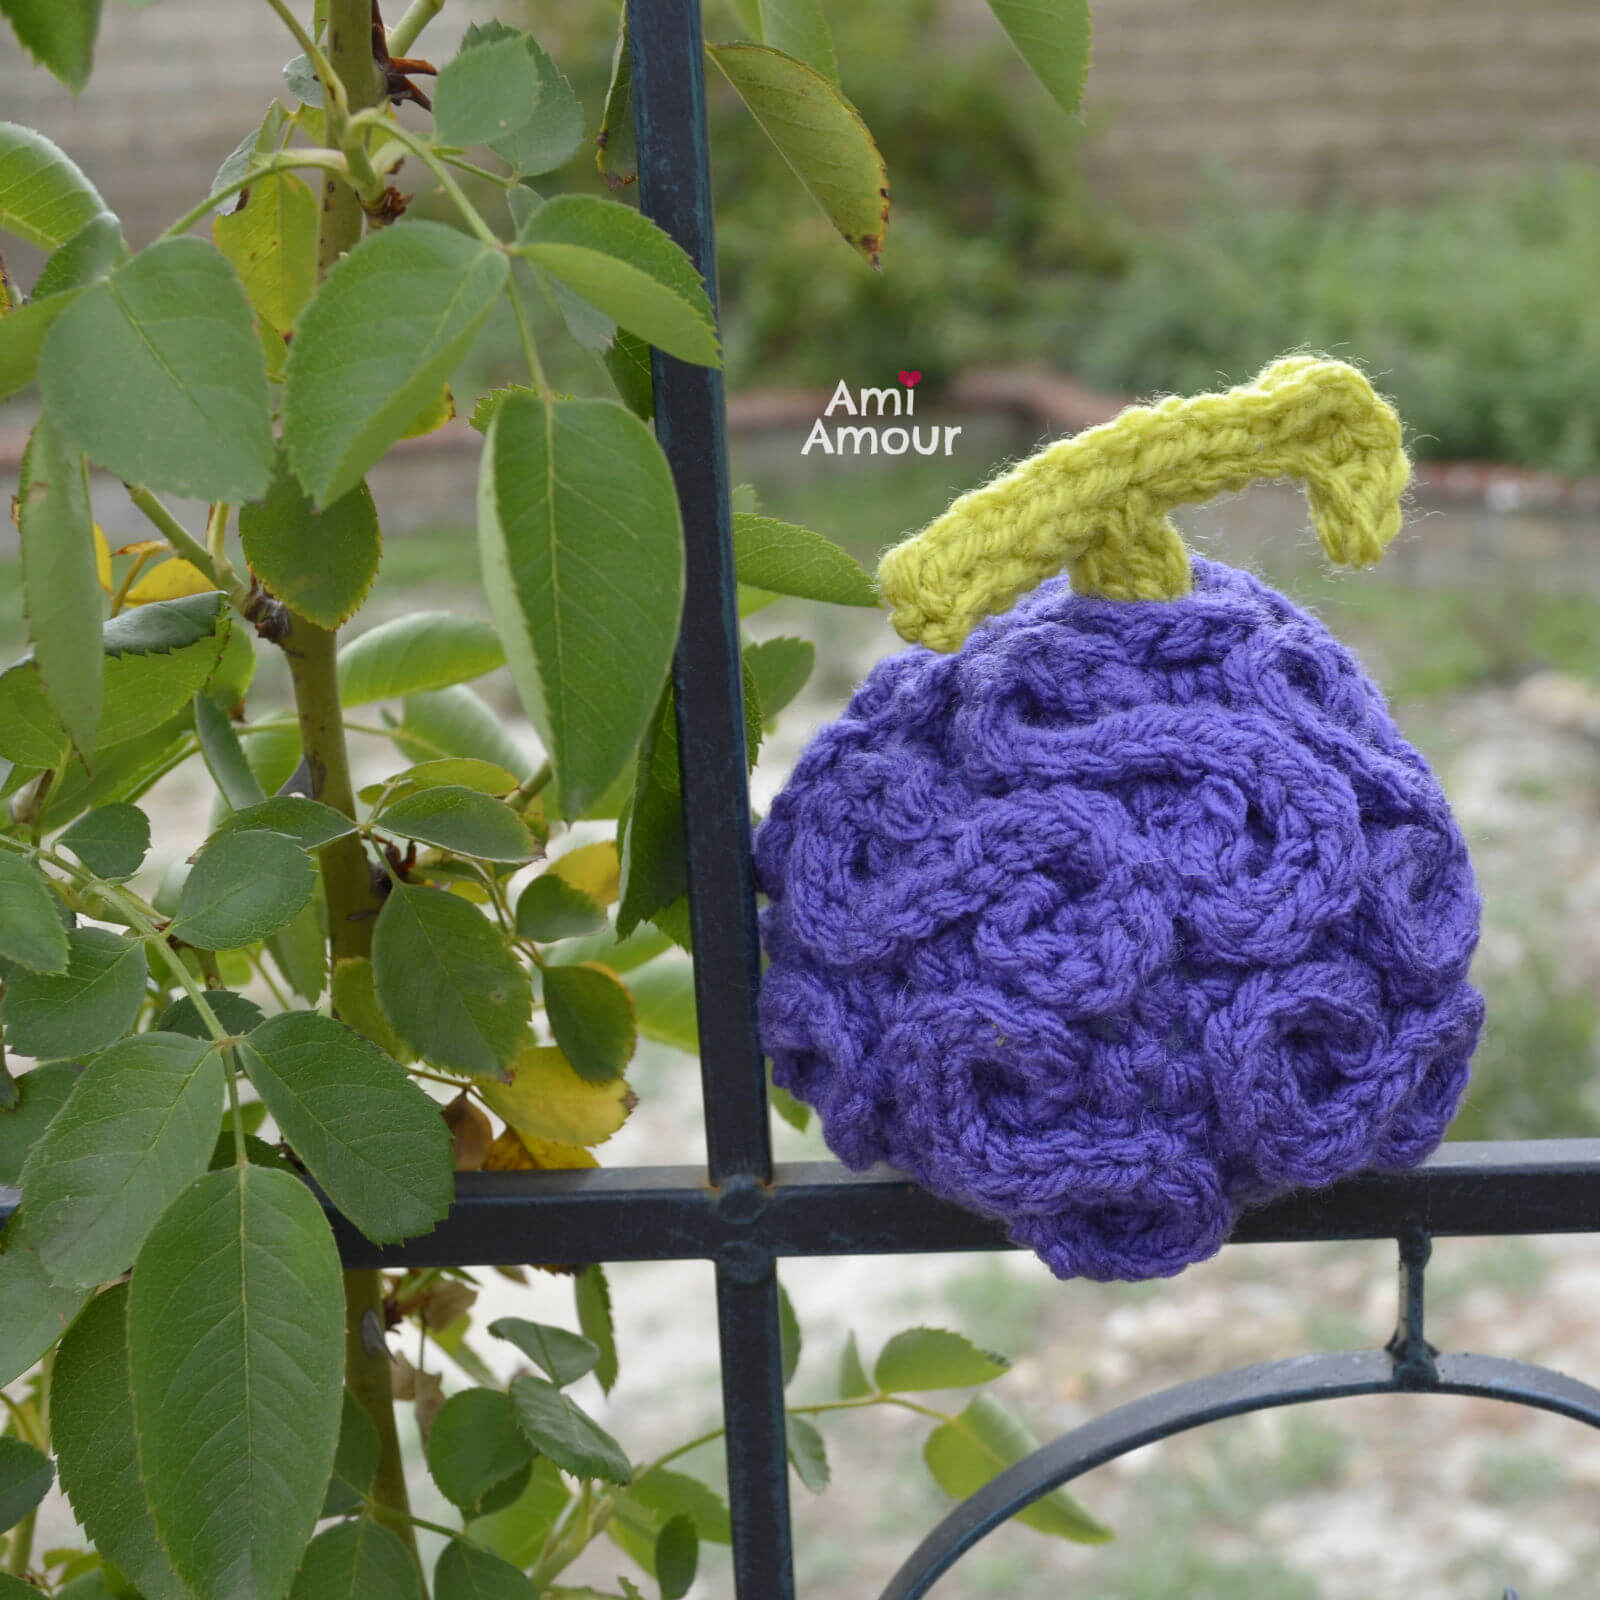
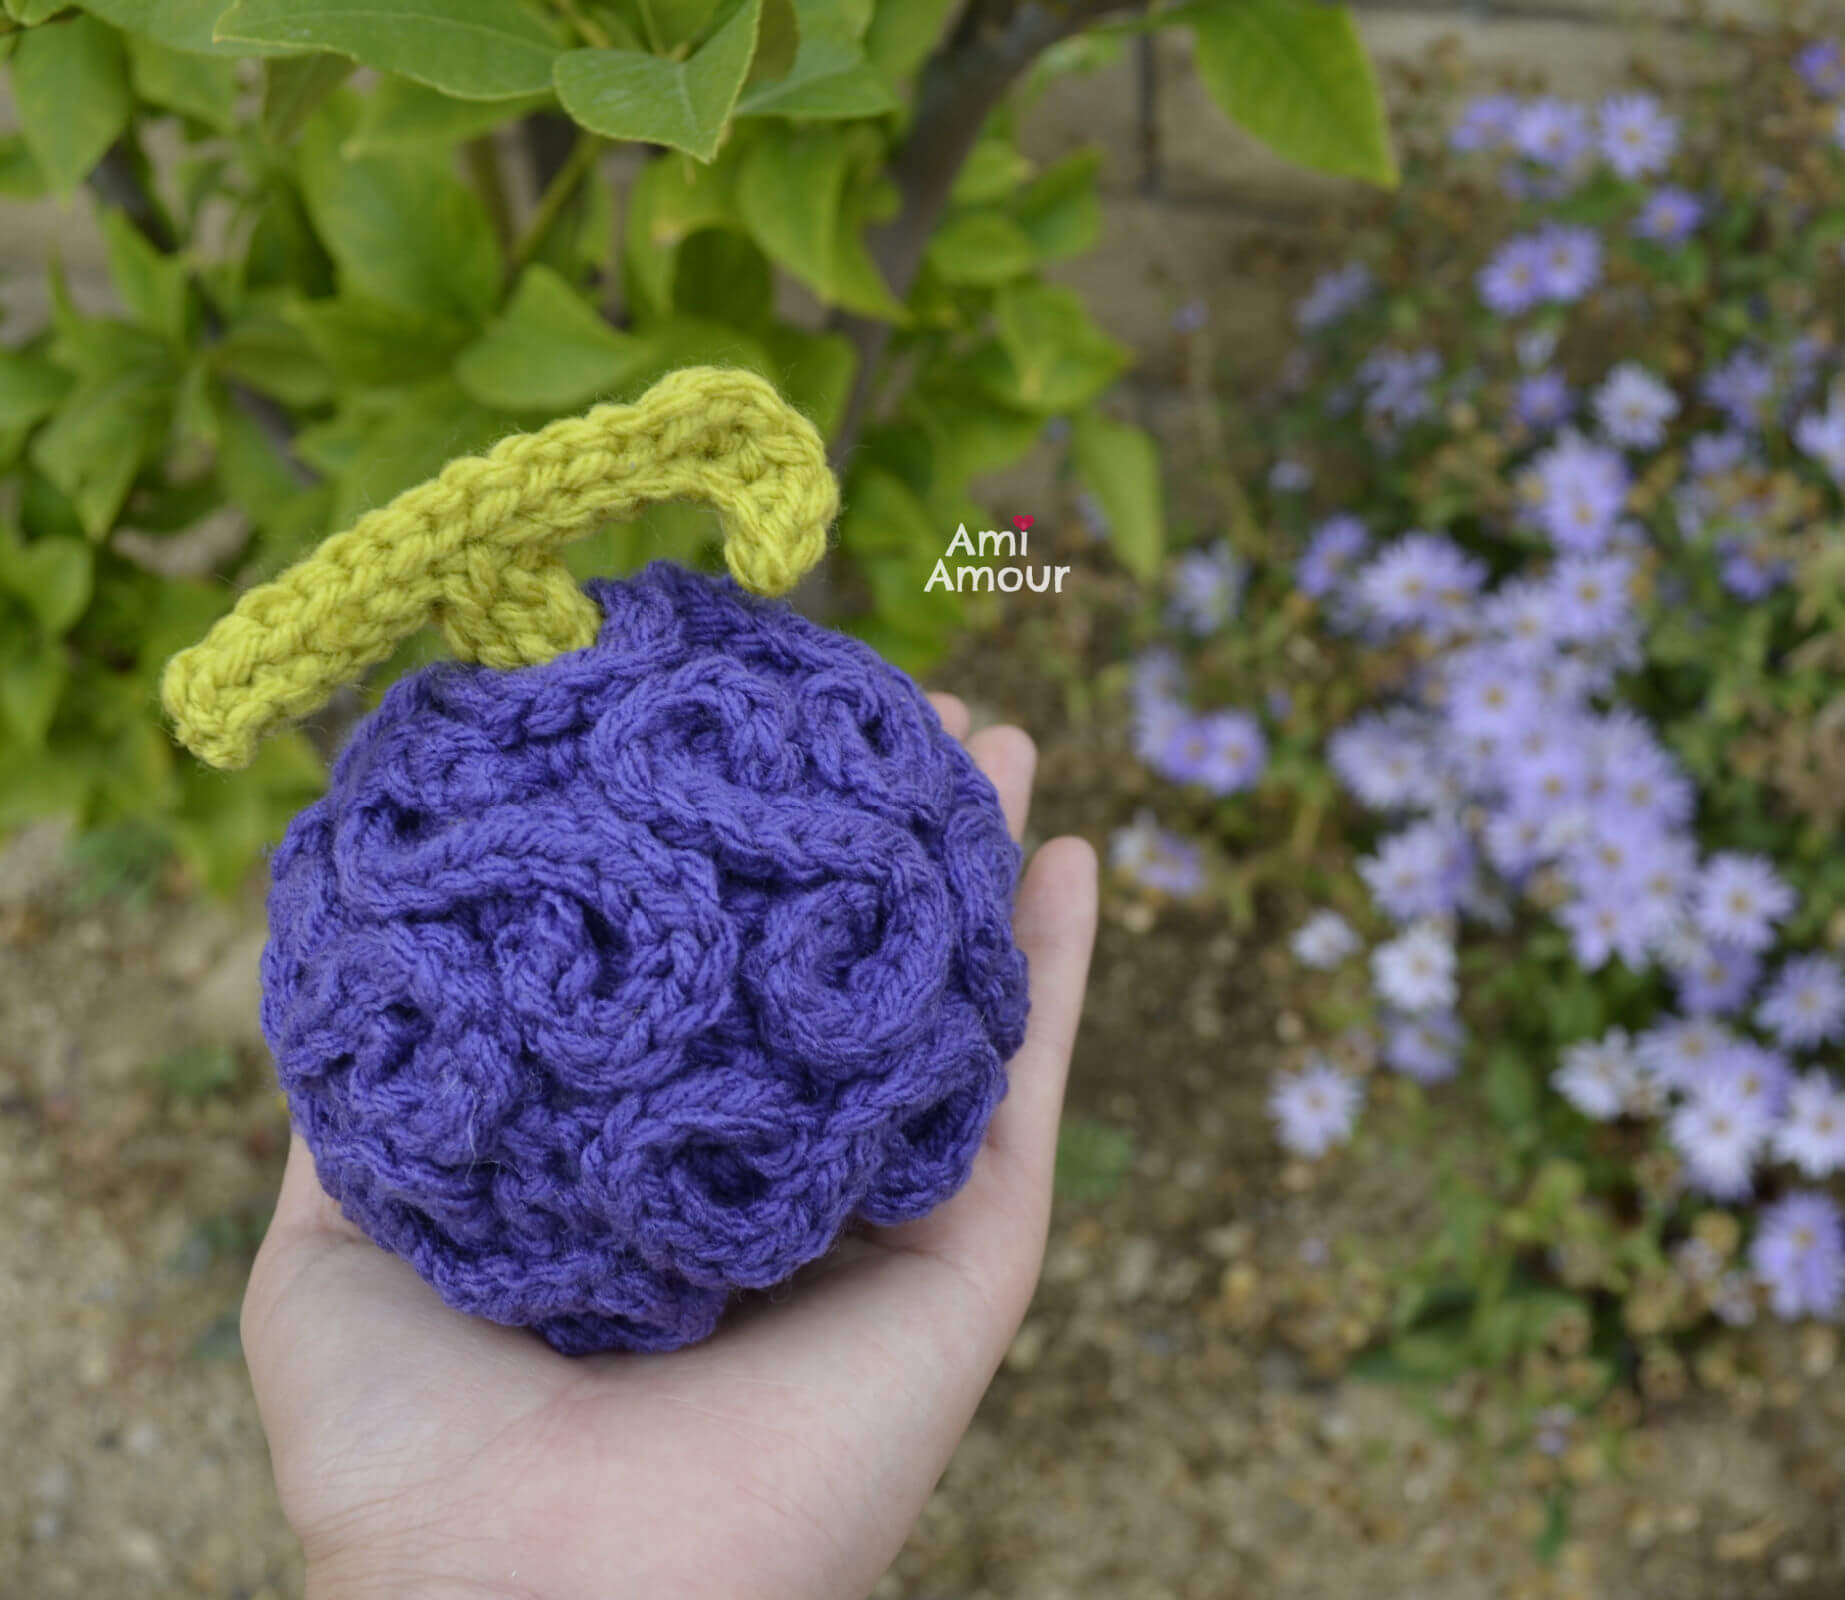
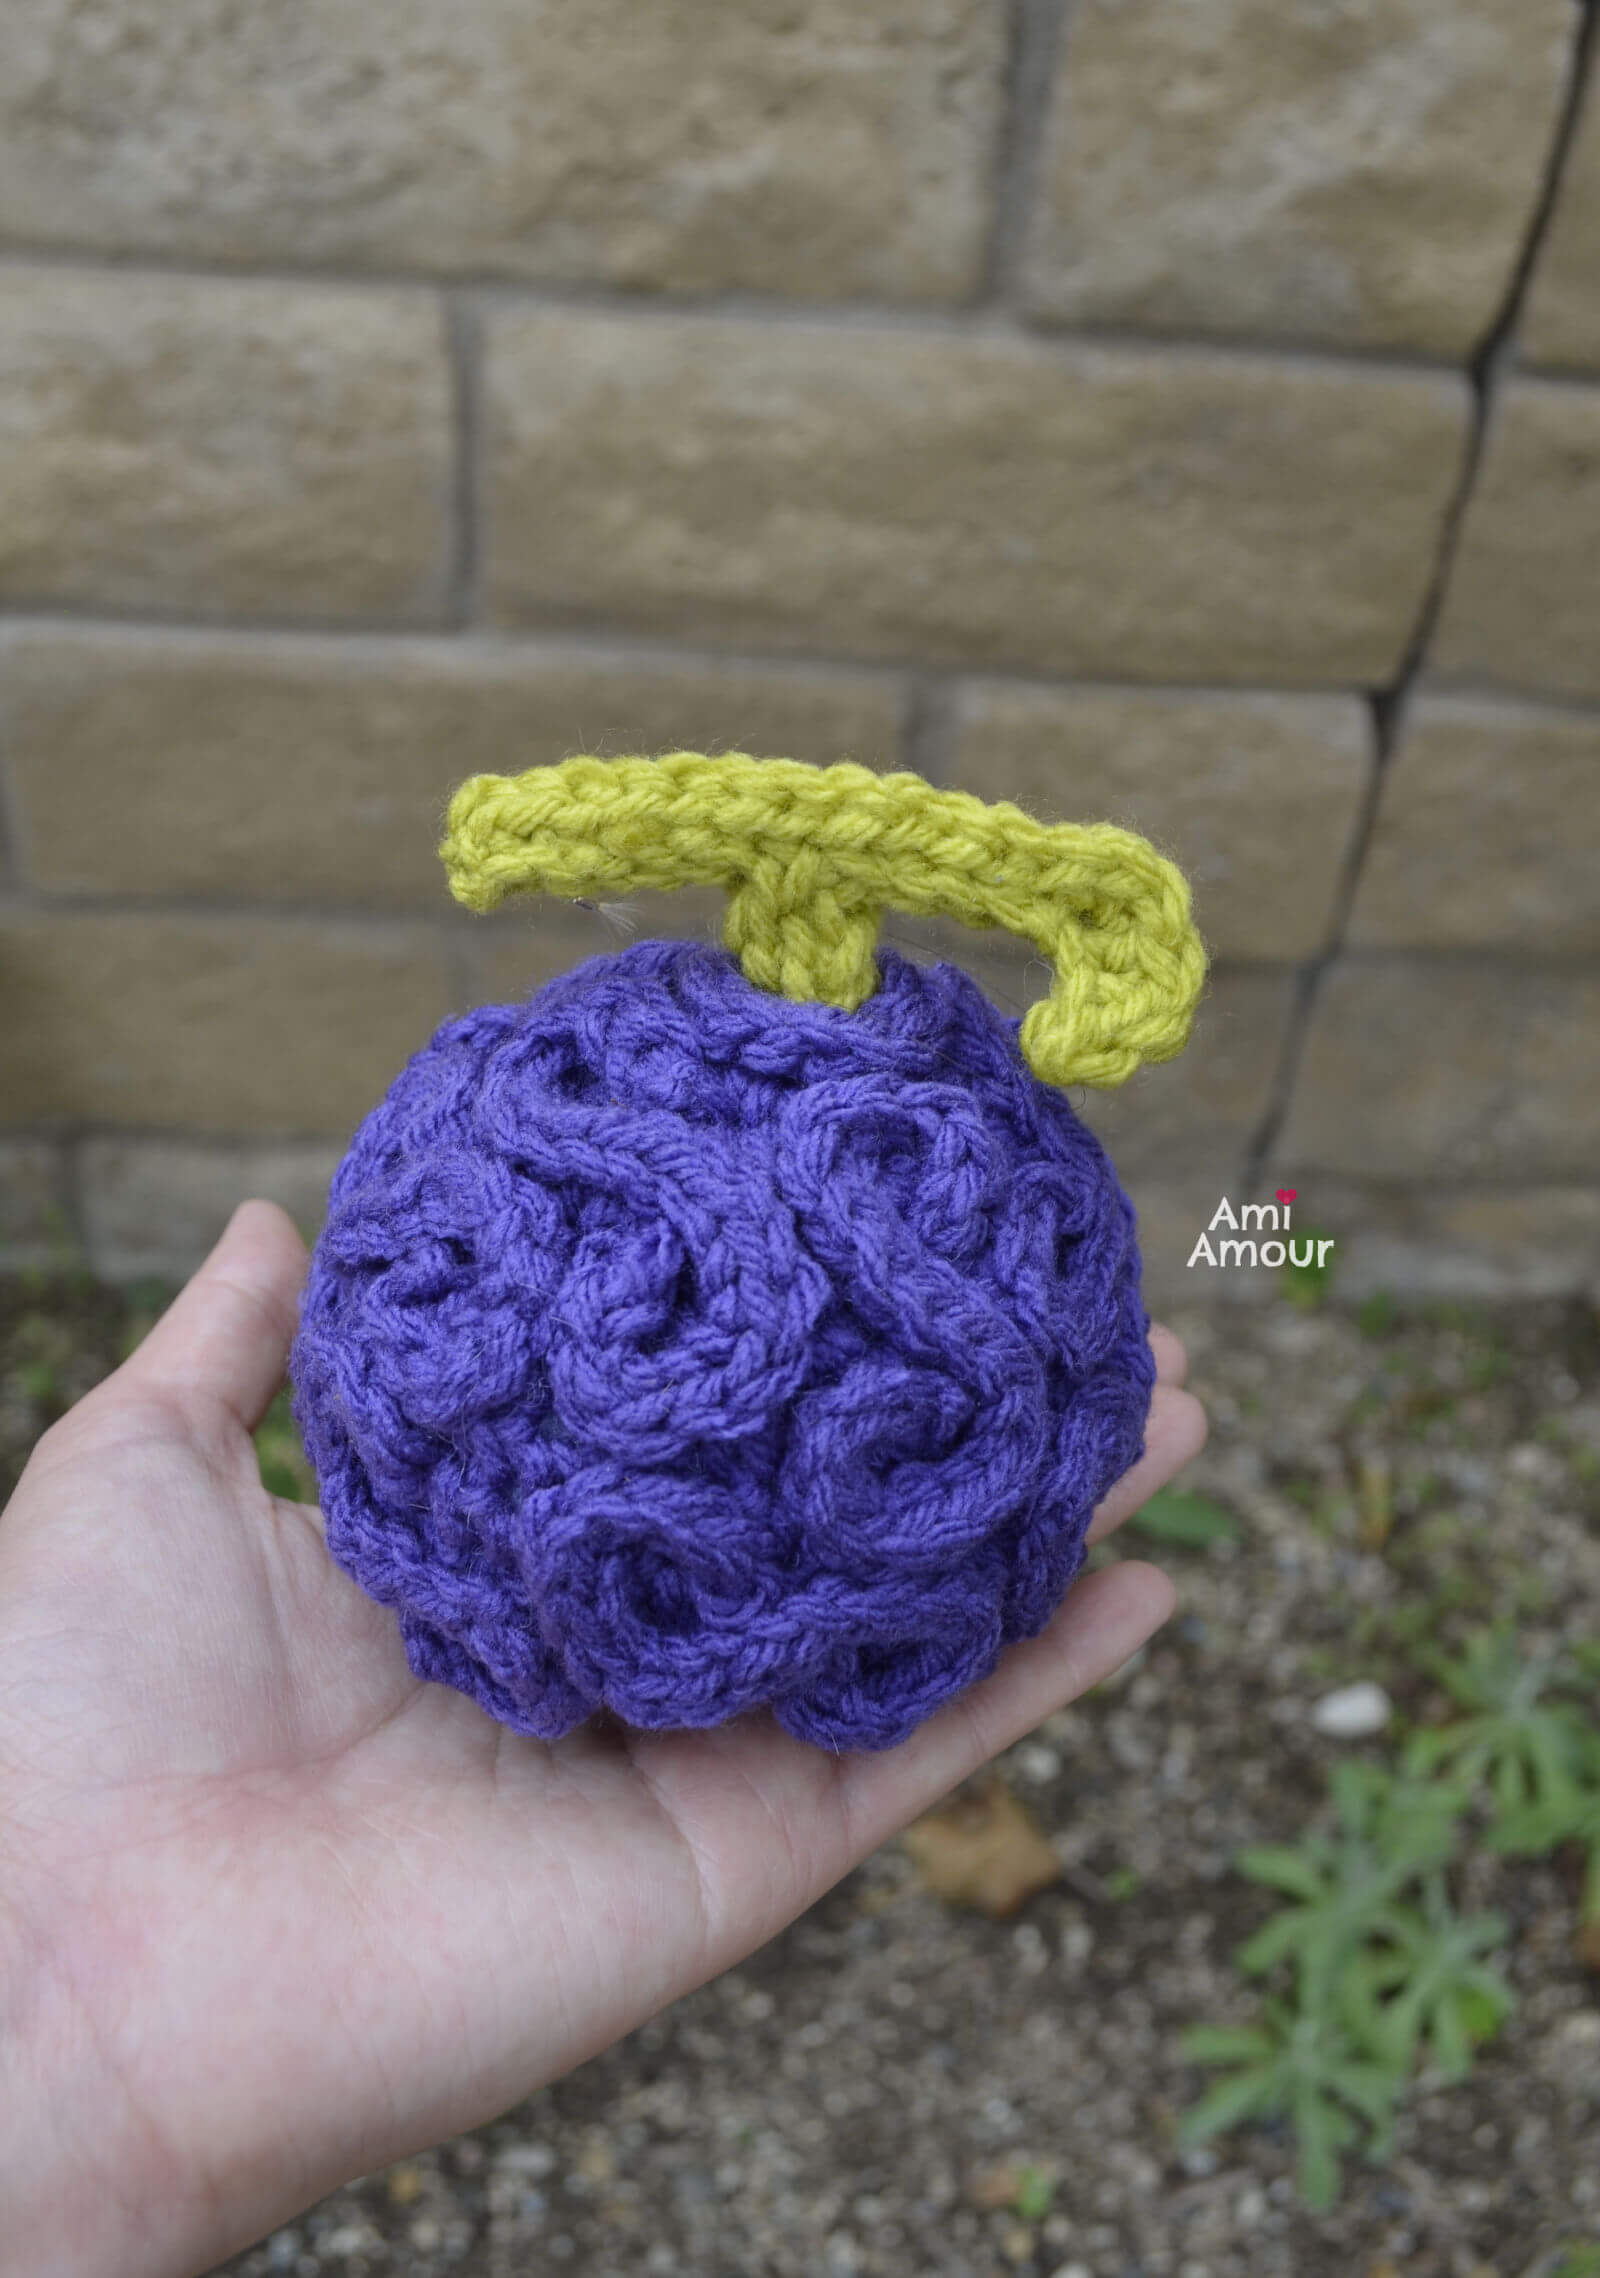
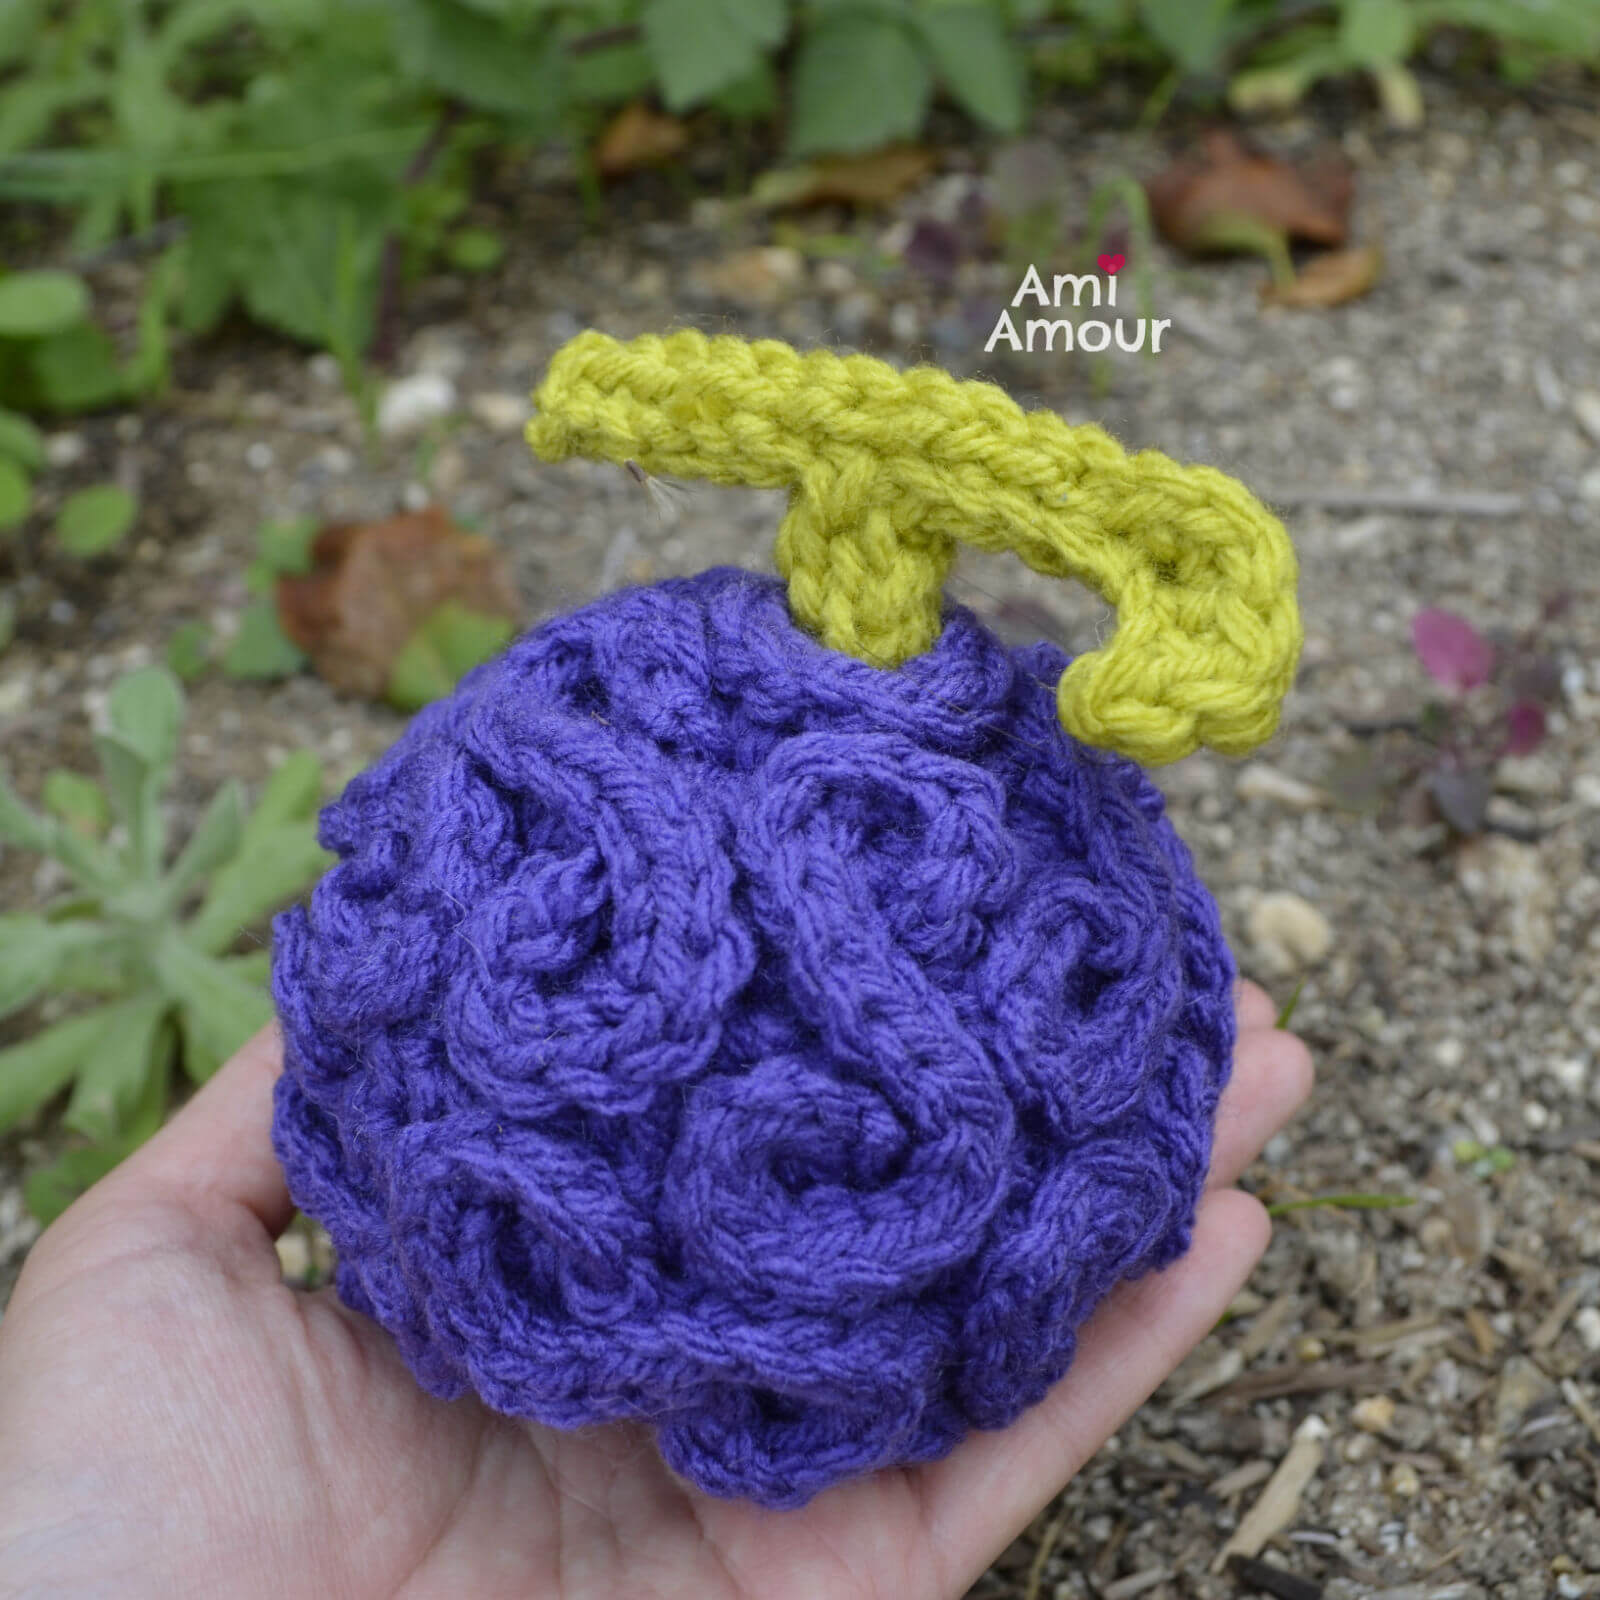
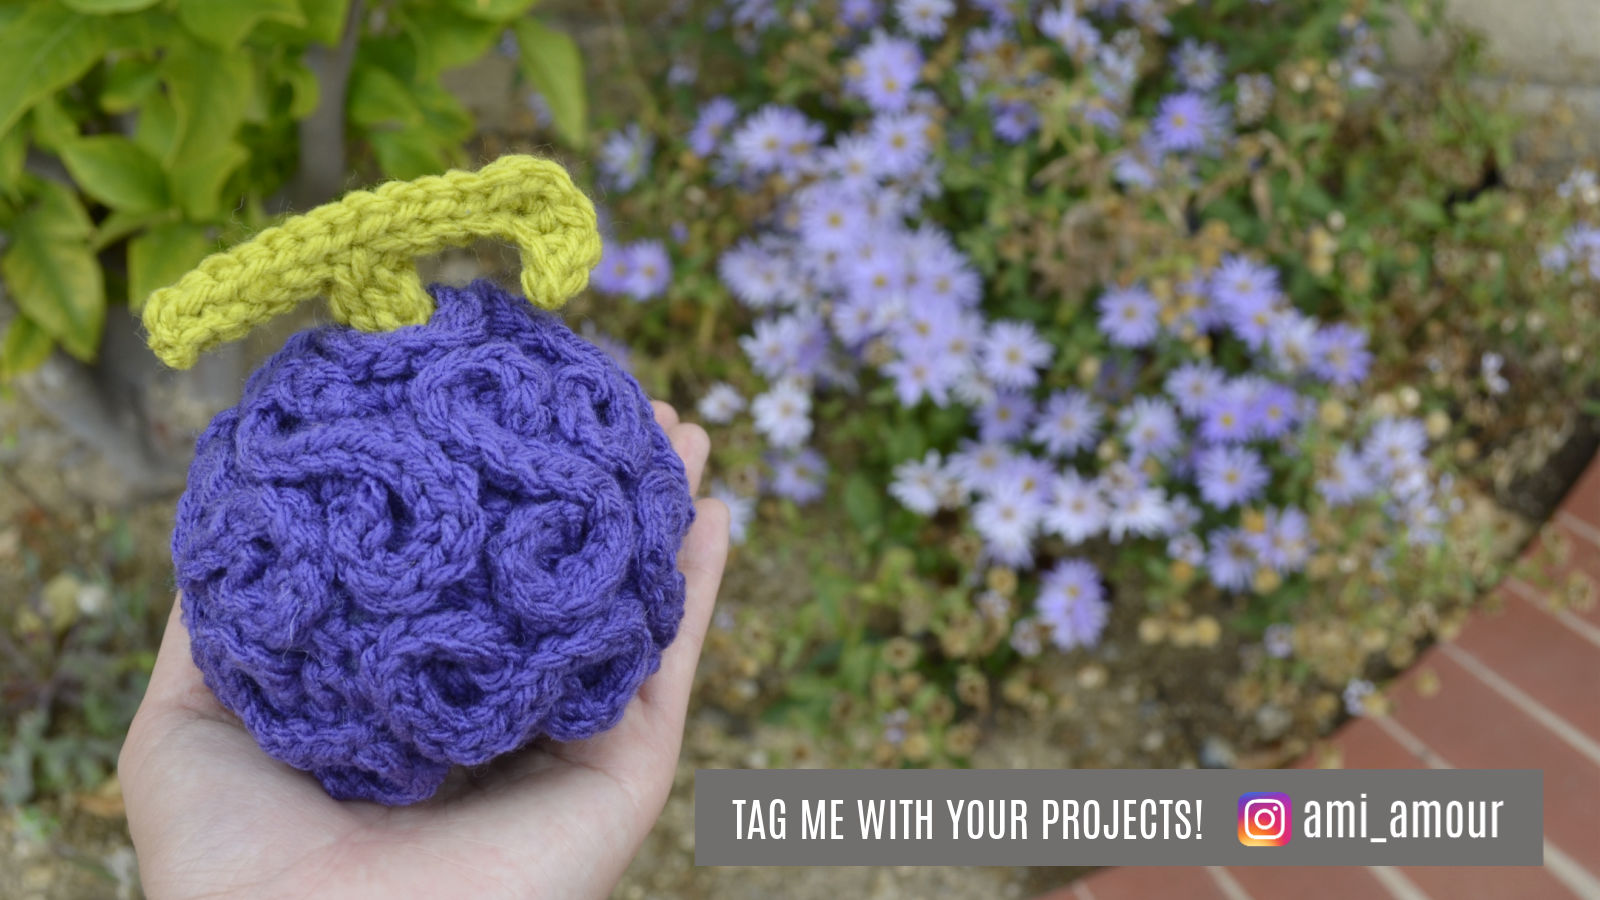
The features of this crochet Gum Gum Devil Fruit amigurumi include a purple fruit base with swirls of textural S curves, and a light green stem at the top.
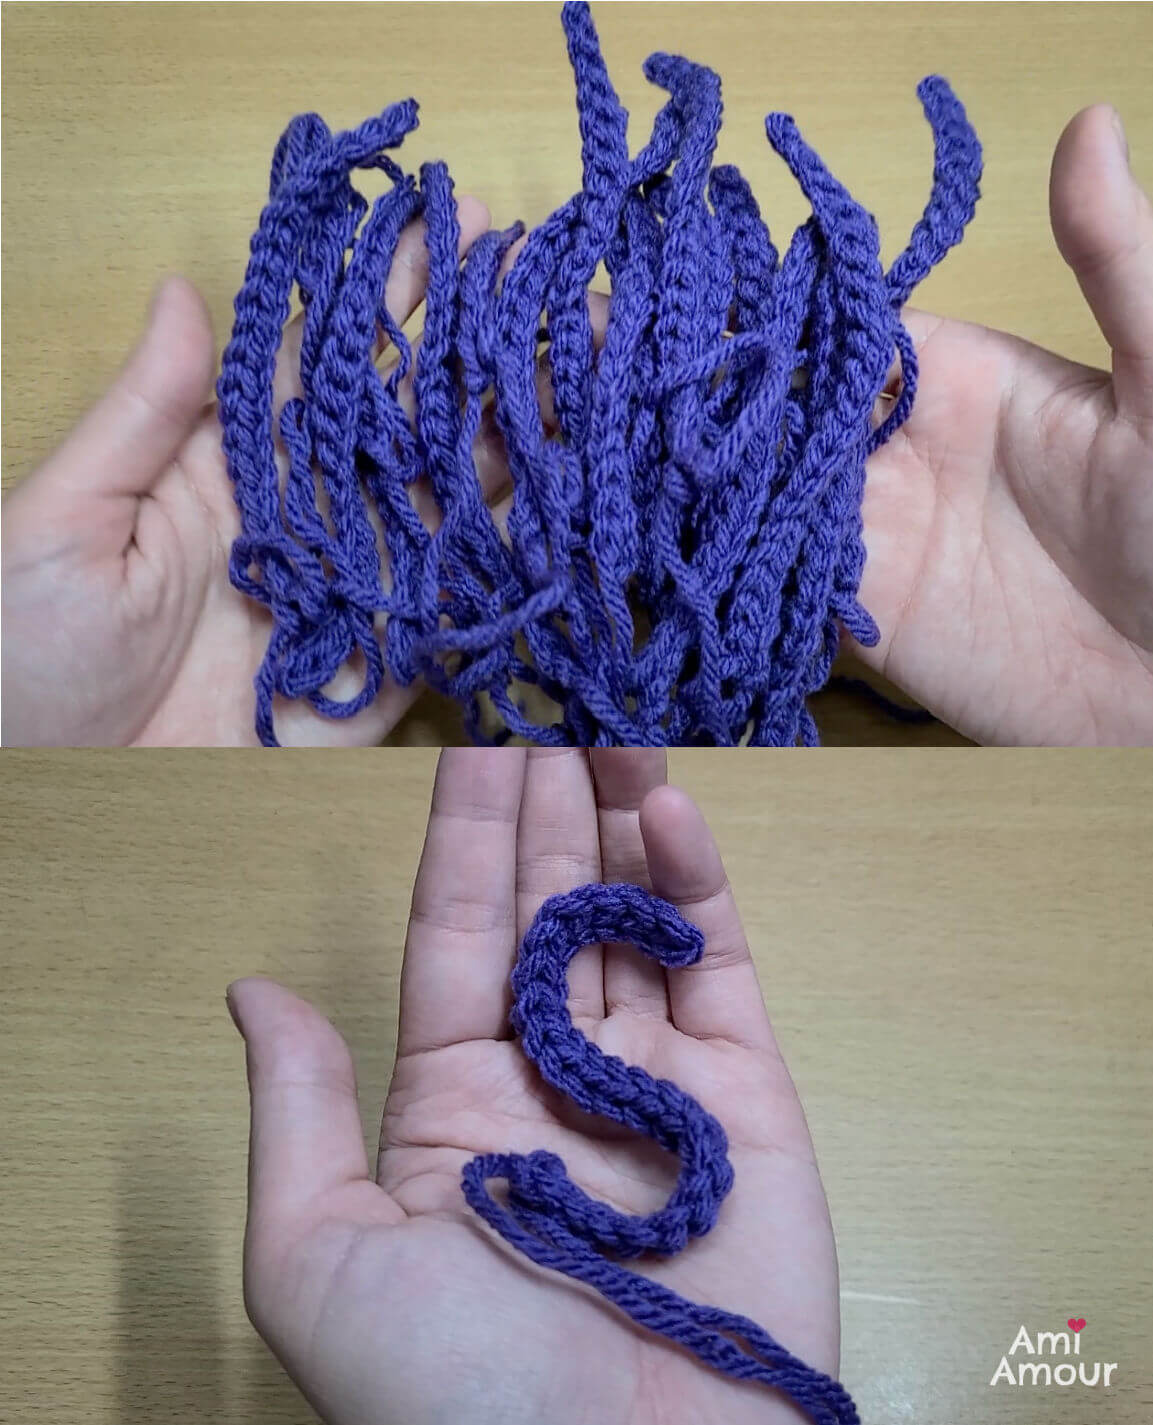
The design looks complicated, but it’s actually quite simple. The fruit base is an amigurumi sphere. Then I crochet a bunch of chains that can be molded into S shapes and sew it all down onto the fruit base.
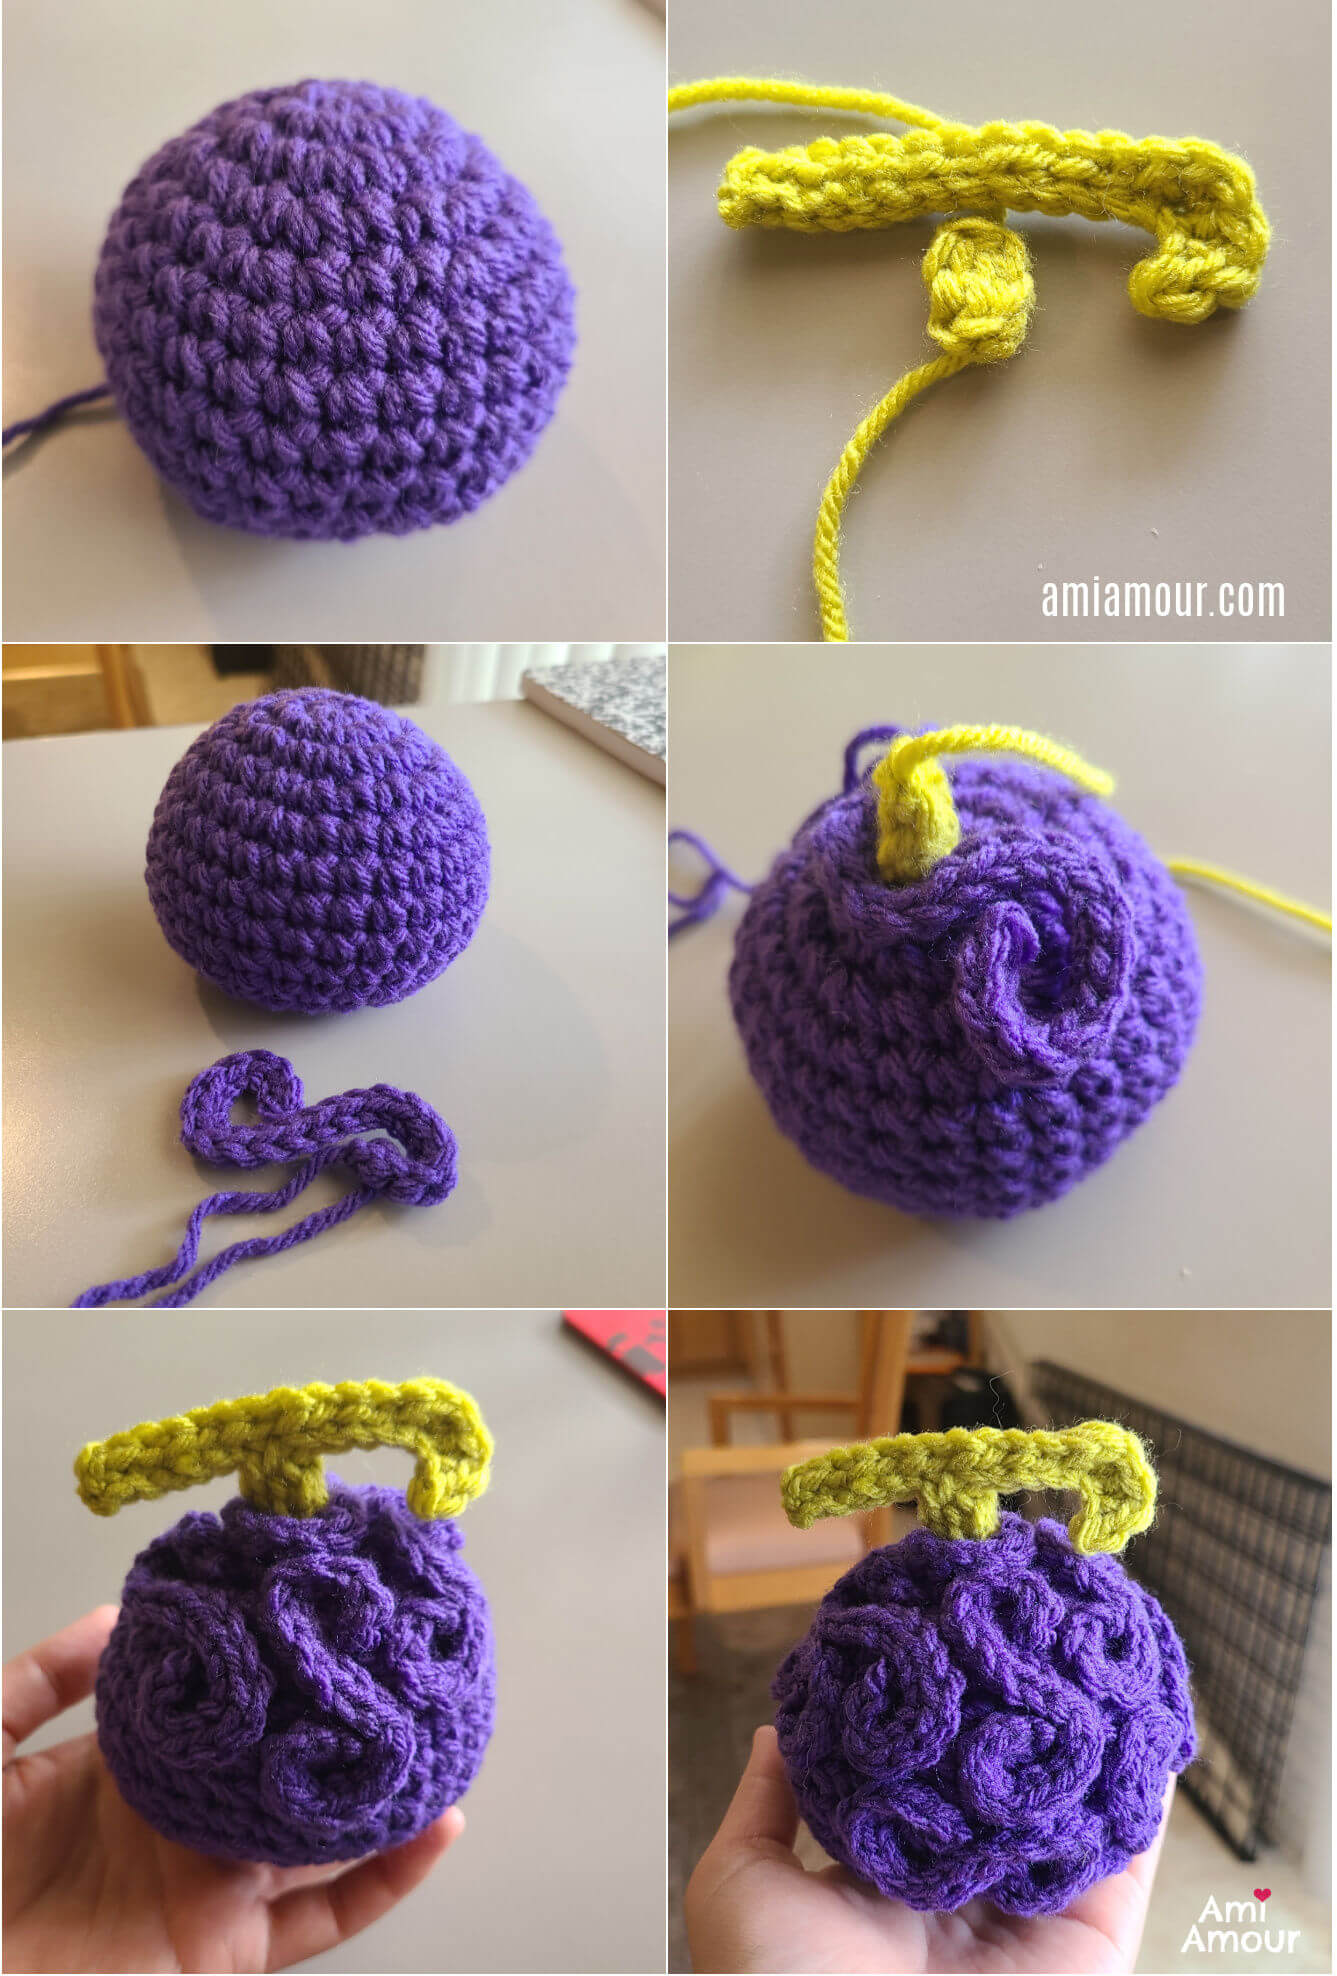
The sewing of the S’s is the hardest and tedious part of the pattern, but the end result with the nice textural sculpture is worth it!
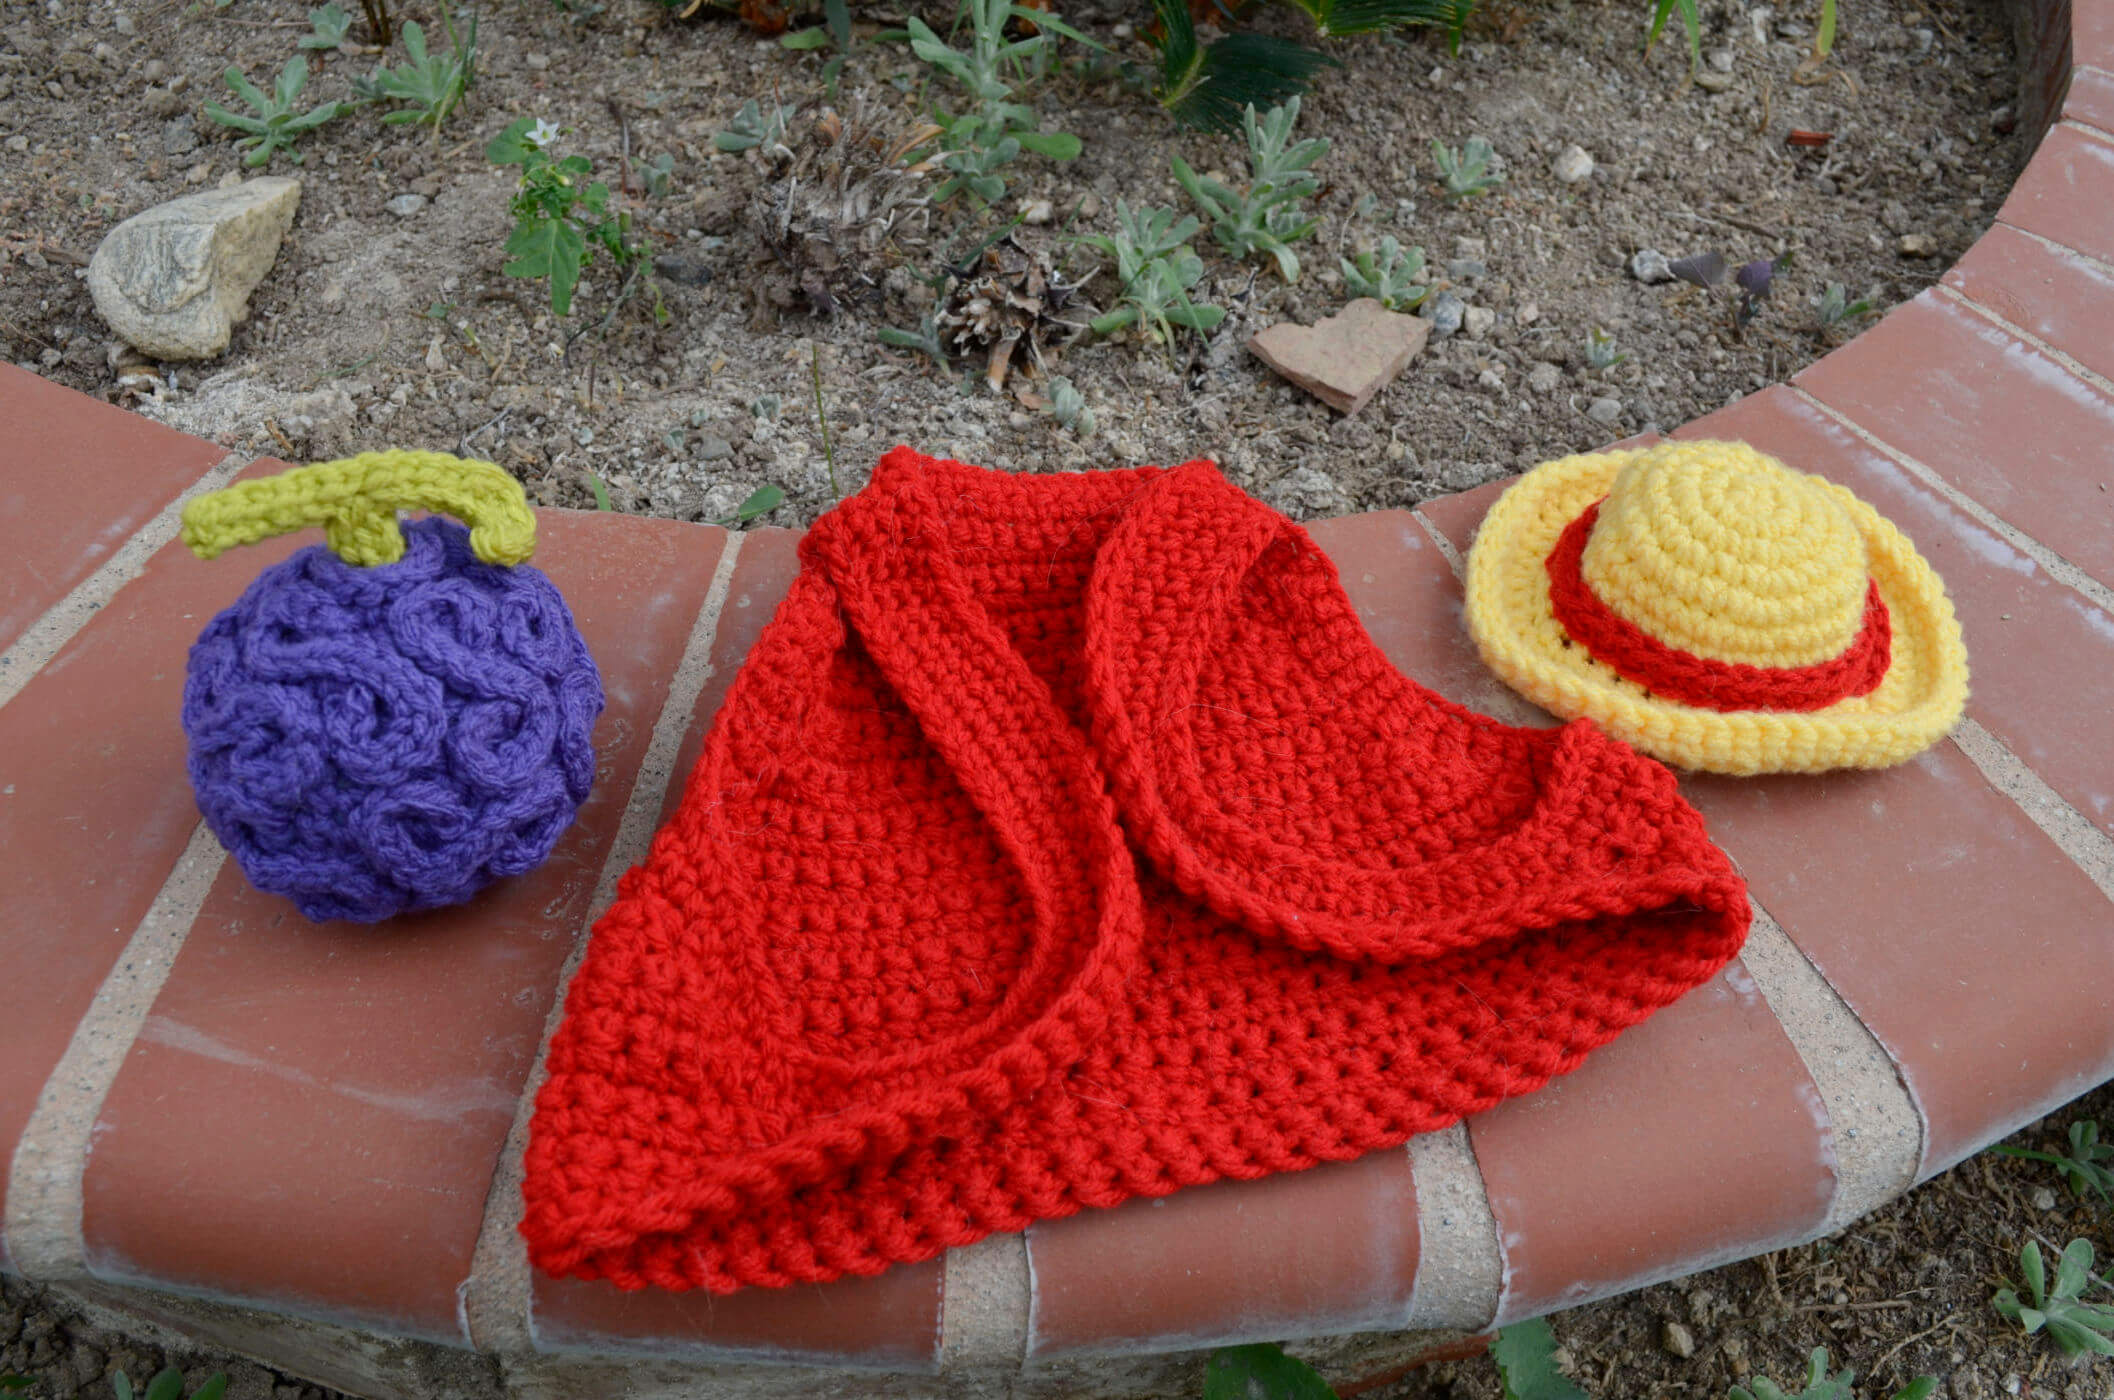
Recently I was dog sitting and created a Luffy pet costume for Tobi. I crocheted him a red vest, a straw hat, and of course he wouldn’t be complete without his devil fruit amigurumi accessory.
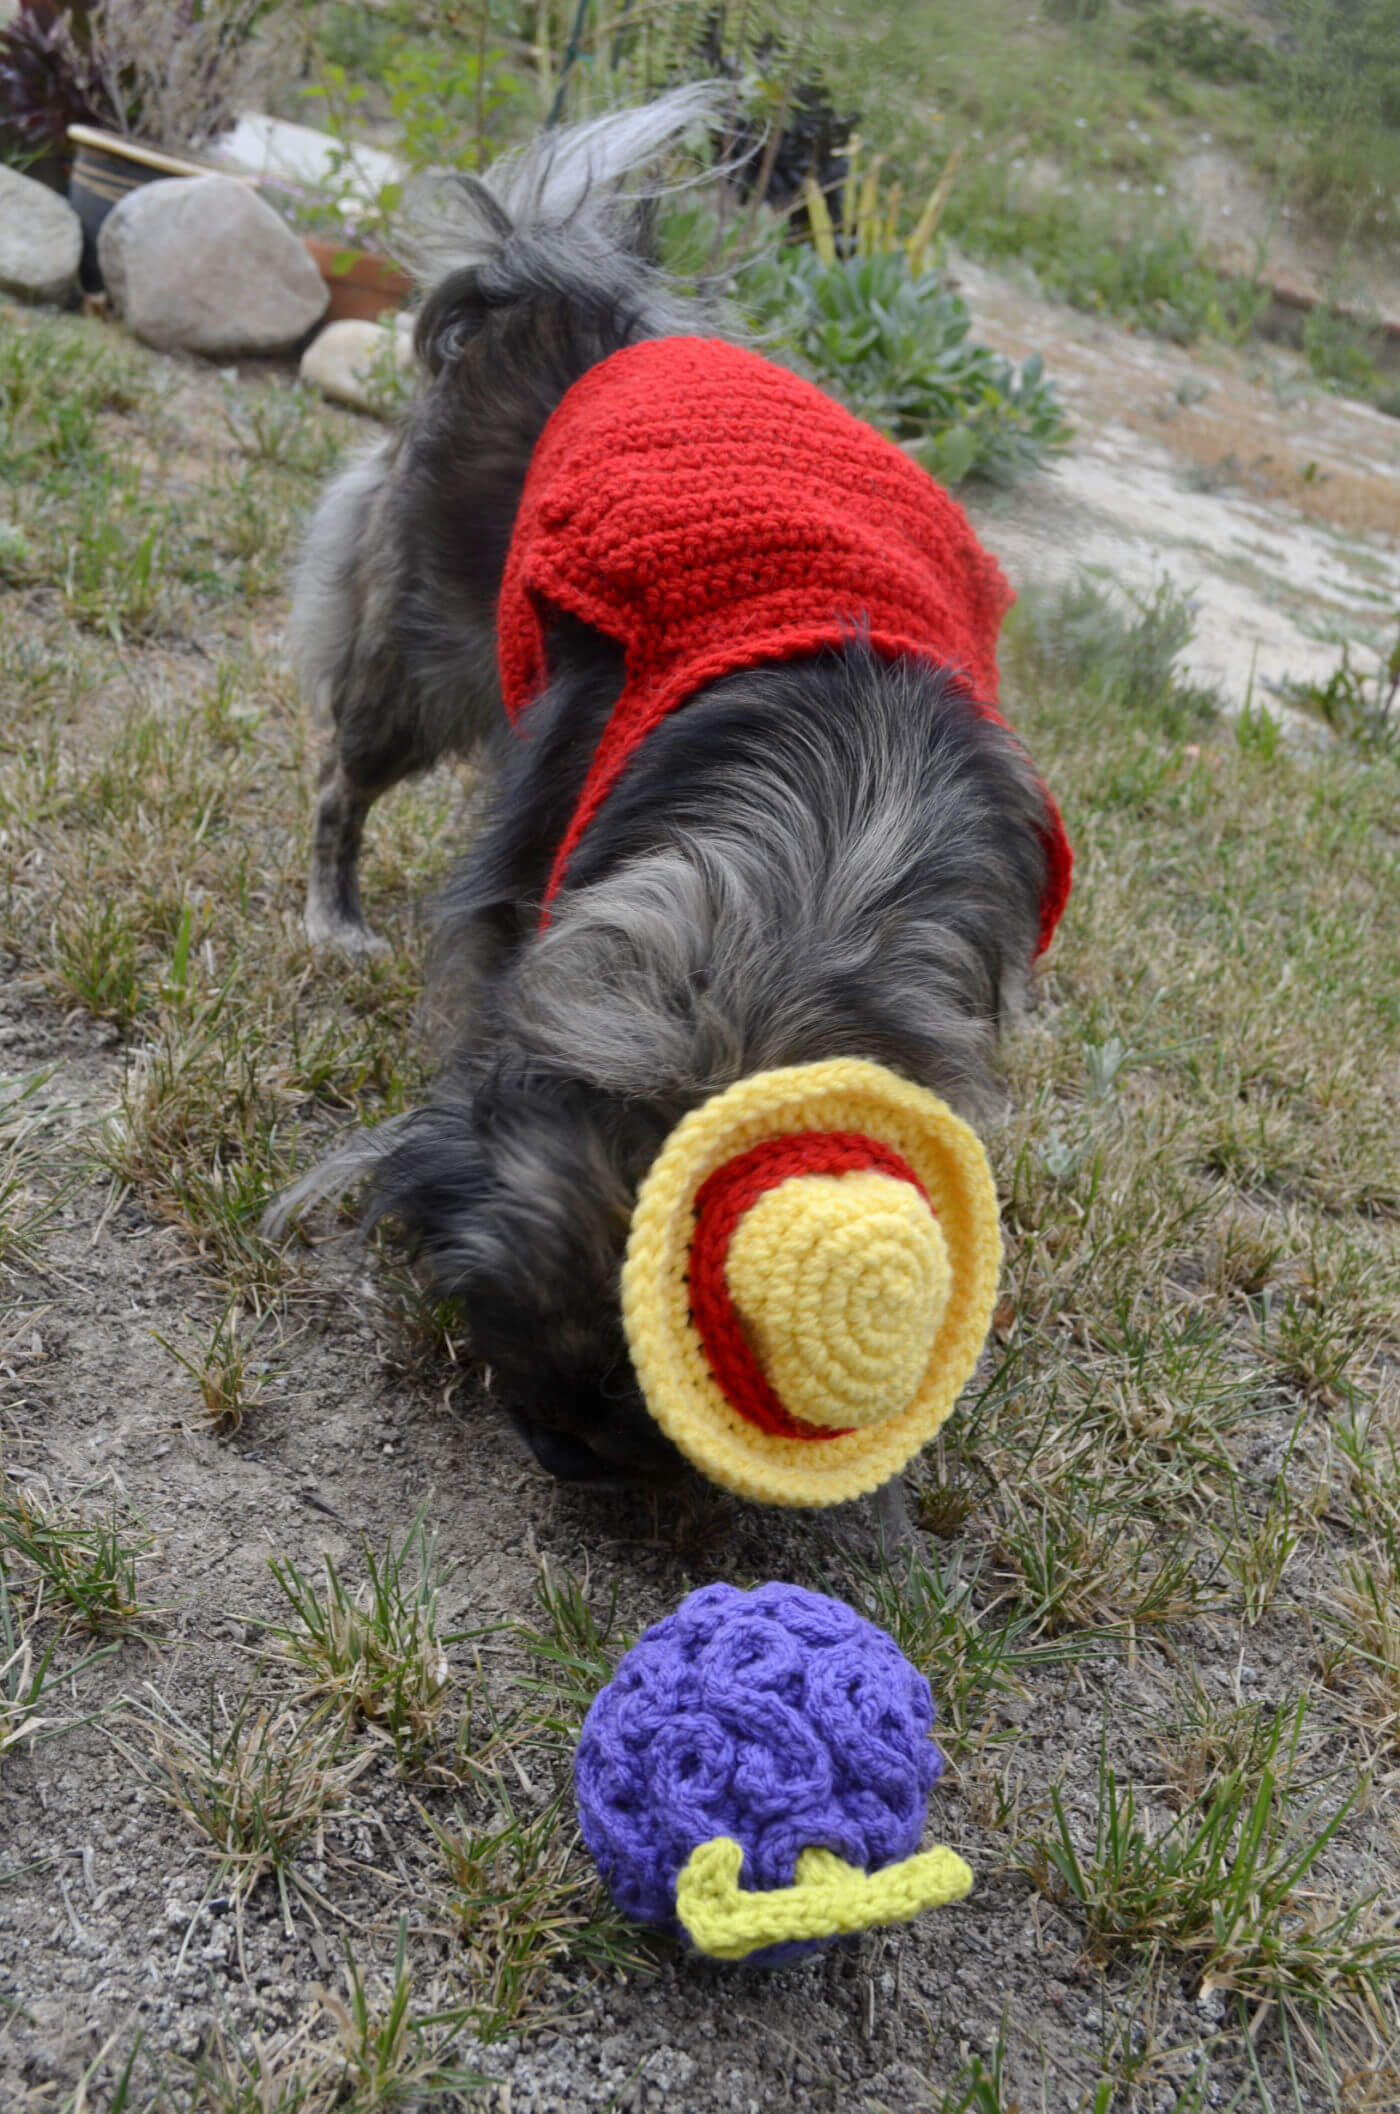
Instead of Monkey D. Luffy, he is Doggy D. Luffy! See this cute video reel I made of him as Doggy Luffy. I posted it on my Instagram, and I was super ecstatic when the music composer of One Piece live action, Sonya Belousova, also shared it as an IG story on her account.
Anyways I hope you enjoy making this Gomu Gomu no Mi amigurumi. The free written pattern and video tutorial can be found below. You can also tag me with your projects on Instagram @ami_amour, I’d love to see! And let me know if there’s any other devil fruits you’d like to see me take on.
Don’t forget to subscribe to my newsletter so you don’t miss any of my patterns!
If you enjoyed this pattern, you may also enjoy my other anime crochet patterns.
GOMU GOMU NO MI VIDEO TUTORIAL
See the Devil Fruit in action and crochet along with me!
*Disclosure: This post contains affiliate links. This means I may receive a small commission if you decide to purchase anything by clicking on one of these links.
Devil Fruit Amigurumi
LEVEL: Easy Intermediate
CROCHET HOOK: 4.0mm size
YARN:
Worsted weight, acrylic yarn
Impeccable Yarn by Loops & Threads: Eggplant
Impeccable Yarn by Loops & Threads: Grass
NOTIONS:
Yarn Needle
Pins (to help with placement of S Curves)
Scissors
Stitch Marker
ABBREVIATIONS (American English crochet)
ch – chain
sc – single crochet
sl st – slip stitch
sc2tog – single crohcet 2 together (sc dec)
st – stitch
APPROXIMATE SIZE OF FINISHED OBJECT:
3.5in wide by 4in tall (9cm wide by 10cm tall) – includes the stem
FRUIT BASE
With purple yarn
Round 1: 6 sc into magic ring
Round 2: 2 sc in each st around – 12 sc.
Round 3: [2 sc into next st, sc in next st] – 18 sc.
Round 4: [2 sc in next st, sc in next 2 st] – 24 sc.
Round 5: [2 sc in next st, sc in next 3 st] around – 30 sc.
Round 6-10: Sc in each st around – 30 sc.
Round 11: [Sc2tog, sc in next 3 st] around – 24 sc.
Round 12: [Sc2tog, sc in next 2 st] around – 18 sc.
Round 13: [Sc2tog, sc in next st] around – 12 sc.
Stuff the ball.
Round 14: Sc2tog around – 6 sc.
Fasten off, leaving a long tail. Finish stuffing and sew closed.
S CURVE
With purple yarn
Ch 21, sl st in 2nd ch from hook, and sl st in each ch across – 20 sl st.
Note: Make 16 or however many pieces you need to cover the Fruit Base.
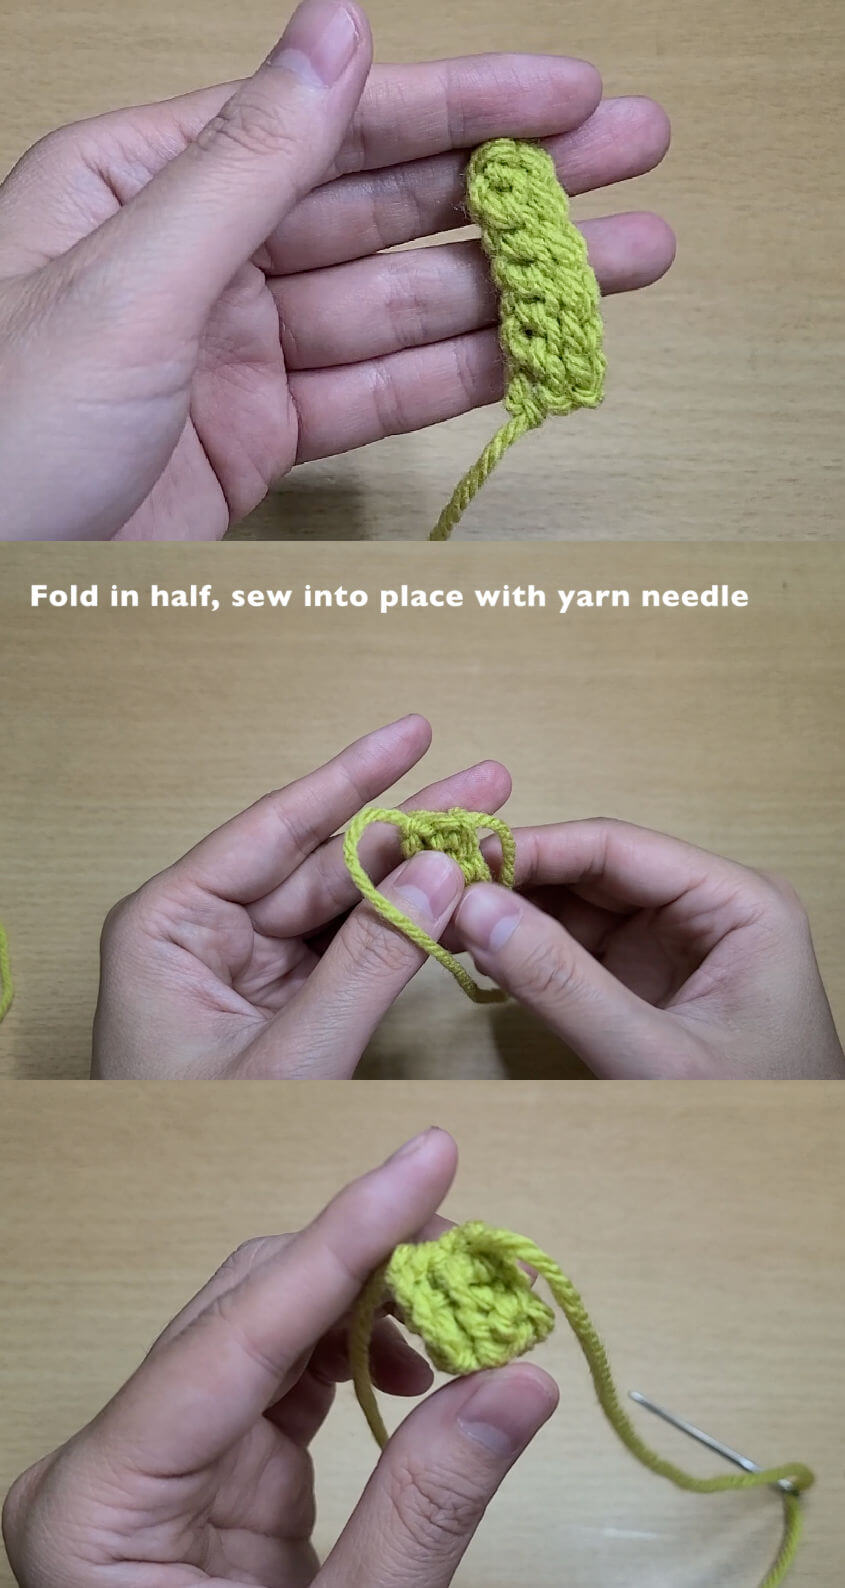
LOWER STEM
With light green yarn
Row 1: Ch 7, sl st back 6 ch – 6 sl st.
Row 2: Ch 1, turn, sl st across 6 ch – 6 sl st.
Fold in half and sew into place.
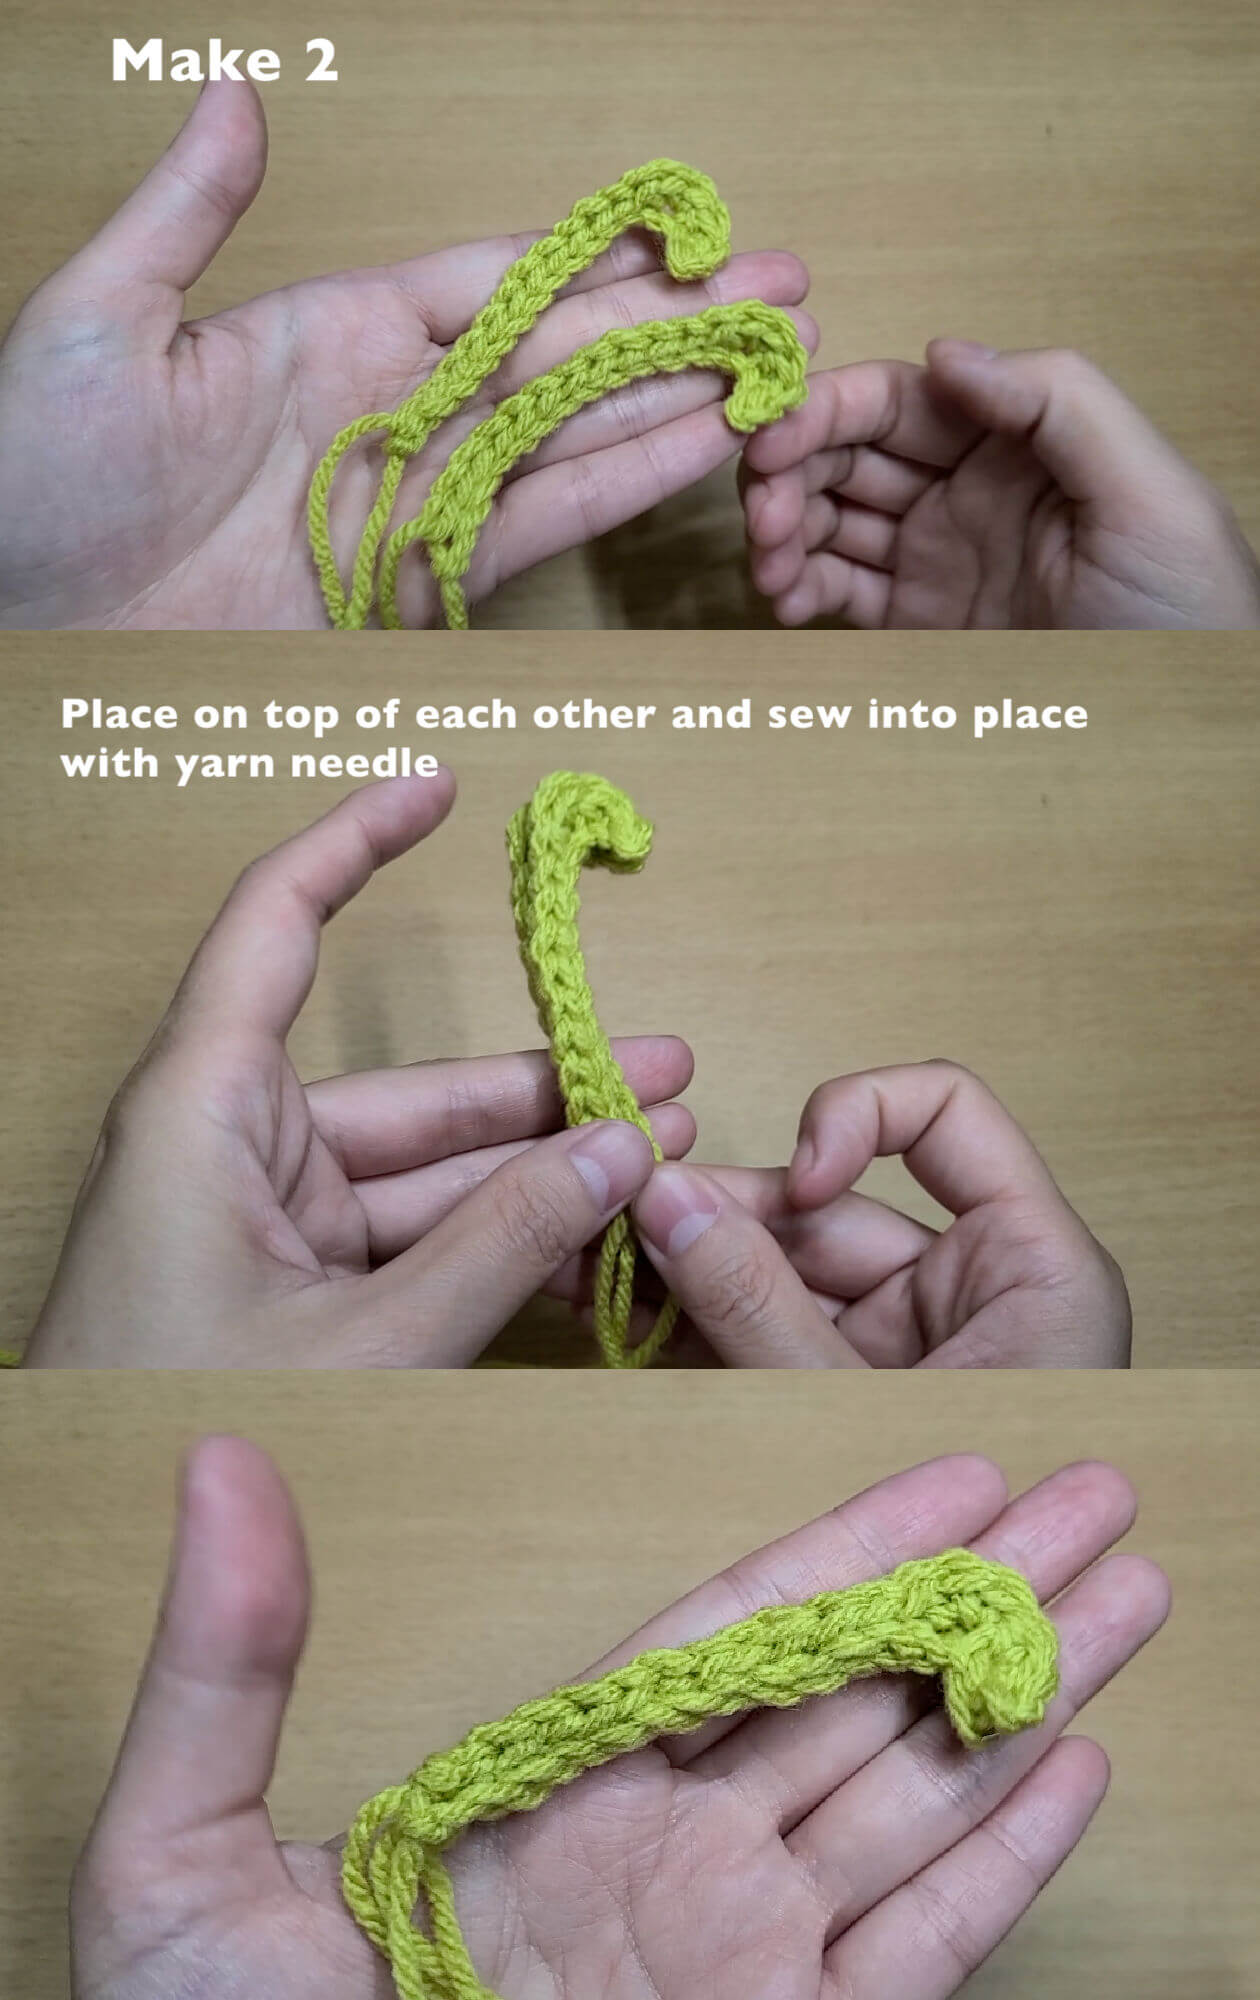
UPPER STEM HANDLE
With light green yarn
Ch 16, sl st in 2nd ch from hook, 2 sc in next 2 ch, sl st in next 12 ch.
Repeat pattern again to have 2 pieces. Lay them on top of one another and sew into place to make 1 thicker piece.
DEVIL FRUIT – GOMU GOMU NO MI ASSEMBLY
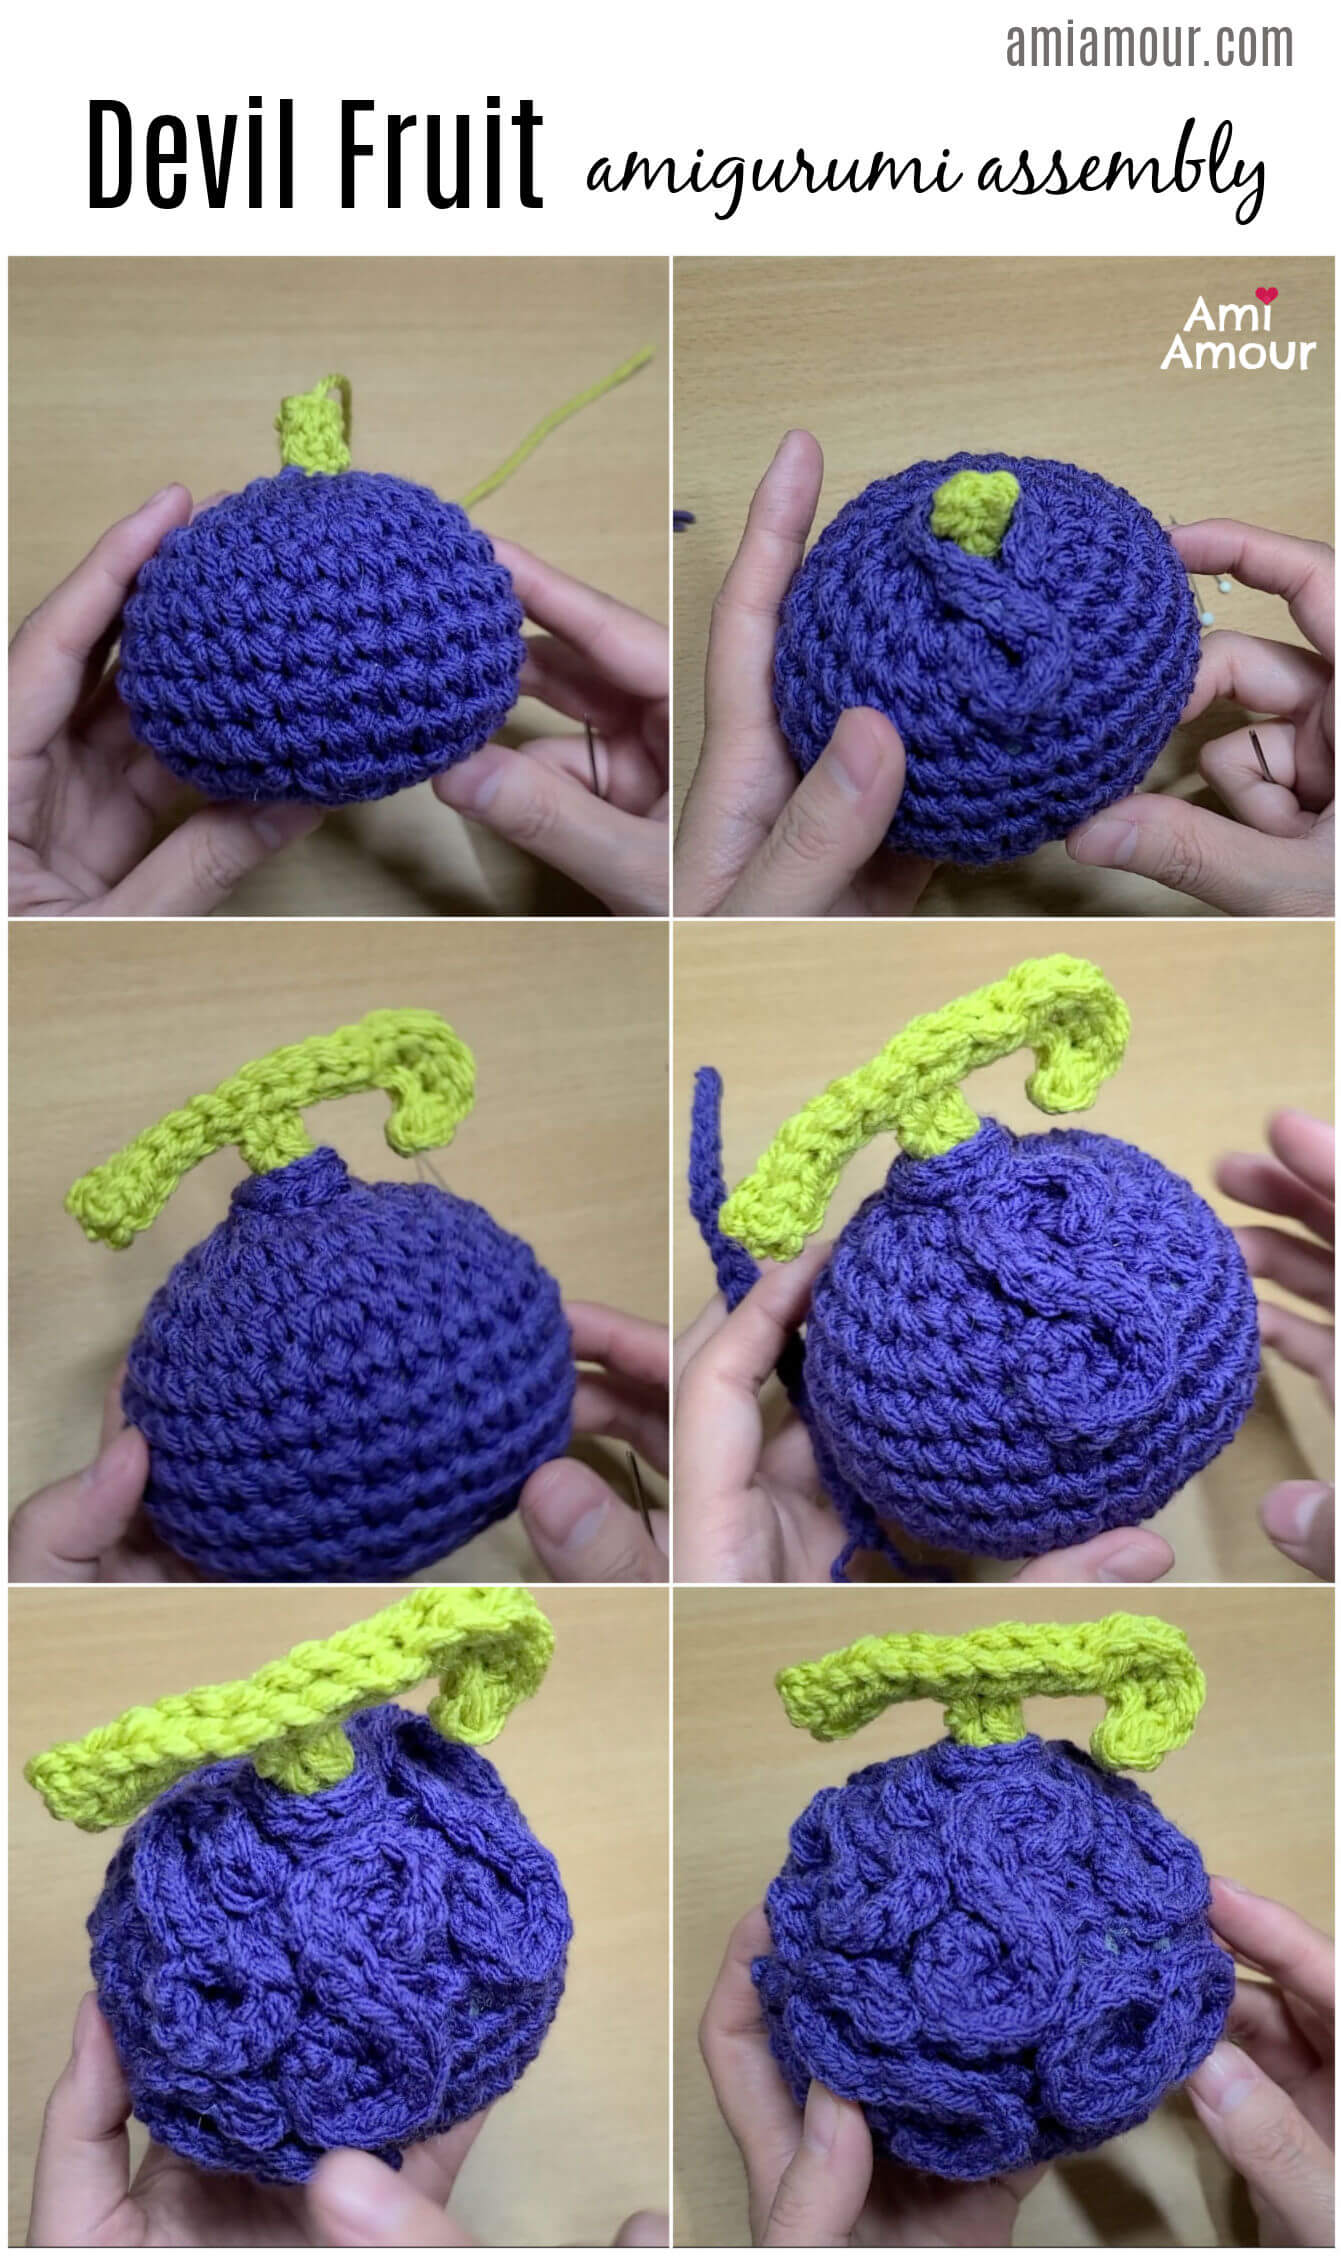
1. Sew the Lower Stem to the center top of the Fruit Base.
2. Wrap the first S curve around the Lower Stem and sew into place. See the video tutorial here for placement. There are also photos below.
3. Sew the Upper Stem Handle to the top of the Lower Stem.
4. Sew the rest of the S Curves onto the fruit base, making sure to cover the entire fruit base. You can use pins to help with placement of the S’s as you sew them down.
5. Hide and cut all ends.
6. Don’t forget to tag me with your projects on Instagram @ami_amour. I’d love to see!
One Piece Devil Fruit Crochet Pattern
Consume this Devil Fruit and gain the powers of strechiness, but lose your ability to swim. This free crochet pattern shows you how to make your own One Piece Gomu Gomu no Mi amigurumi.
Materials
YARN
- Impeccable Yarn by Loops & Threads: 1 skein of Eggplant
- Impeccable Yarn by Loops & Threads: 1 skein of Grass
Tools
- Crochet Hook: Size 4.0mm
- Polyfil Stuffing
- Yarn Needle
- Pins
- Scissors
- Stitch Marker
Instructions
FRUIT BASE
With purple yarn
Round 1: 6 sc into magic ring
Round 2: 2 sc in each st around - 12 sc.
Round 3: [2 sc in next st, sc in next st] around - 18 sc.
Round 4: [2 sc in next st, sc in next 2 st] around - 24 sc.
Round 5: [2 sc in next st, sc in next 3 st] around - 30 sc.
Round 6-10: Sc in each st around - 30 sc.
Round 11: [Sc2tog, sc in next 3 st] around - 24 sc.
Round 12: [Sc2tog, sc in next 2 st] around - 18 sc.
Round 13: [Sc2tog, sc in next st] around - 12 sc.
Stuff the ball.
Round 14: Sc2tog around - 6 sc.
Fasten off, leaving a long tail. Finish stuffing and sew closed.
S CURVE
With purple yarn
Ch 21, sl st in 2nd ch from hook, and sl st in each ch across - 20 sl st.
Note: Make 16 pieces (or however many pieces you need to cover the Fruit Base. The S Curve looks like a straight line, but later when you sew on the S curve, you will shape into an S and then sew into place.
LOWER STEM
With light green yarn
Row 1: Ch 7, sl st back 6 ch - 6 sl st.
Row 2: Ch 1, turn, sl st across 6 st - 6 sl st.
Fold in half and sew into place.
UPPER STEM
WIth light green yarn
Ch 16, sl st in 2nd ch from hook, 2 sc in next 2 ch, sl st in next 12 ch.
Repeat pattern again to have 2 pieces. Lay them on top of one another and sew into place to make into 1 thicker piece.
DEVIL FRUIT ASSEMBLY
1. Sew the Lower Stem to the center top of the Fruit Base.
2. Wrap the first S curve around the Lower Stem and sew into place. See the video tutorial here for placement.
3. Sew the Upper Stem handle to the top of the Lower Stem.
4. Sew the rest of the S Curves onto the Fruit Base, making sure to cover the entire Fruit Base. You can use pins to help with placement of the S's as you sew them down.
5. Hide and cut all ends.
6. Don't forget to tag me with. your projects on Instagram @ami_amour. I'd love to see!

No Comments