
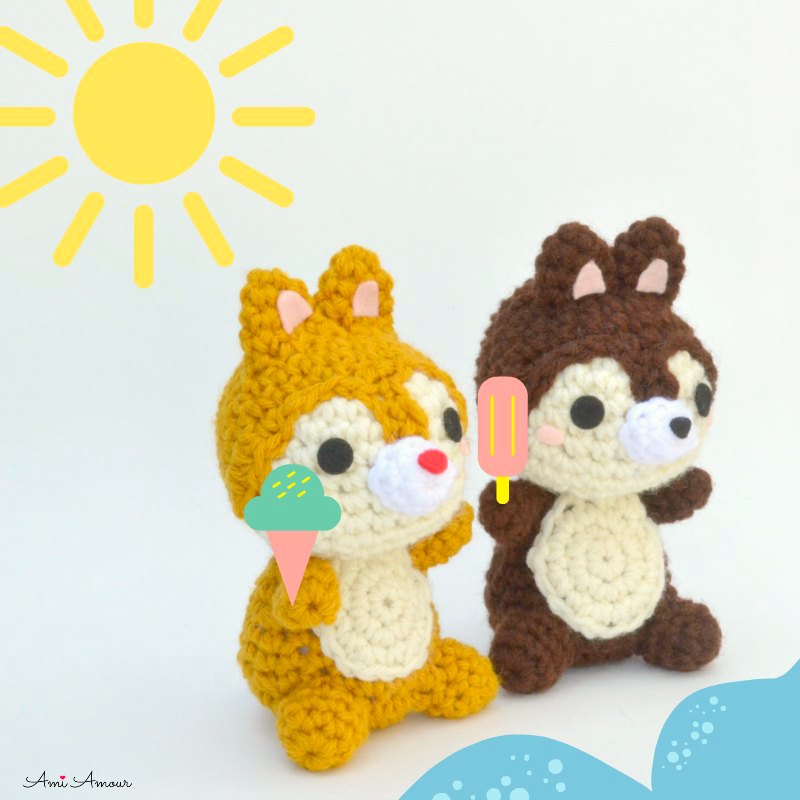
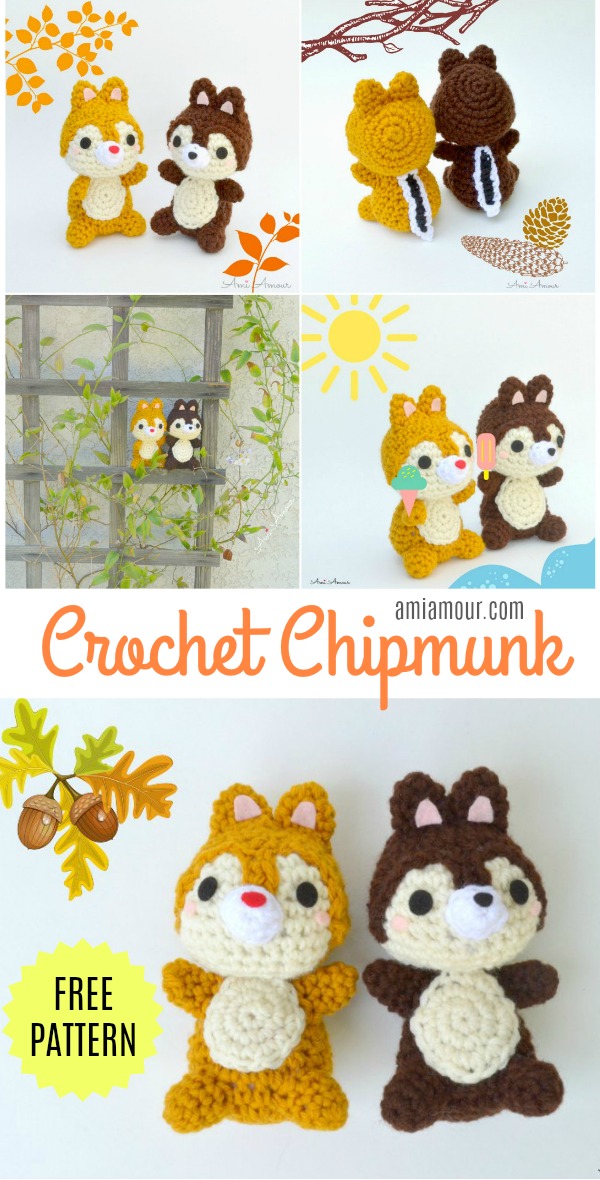
Here’s a pair of rascally crochet chipmunk amigurumis inspired by Chip & Dale! I’ve written them up as a playful free crochet pattern you’ll go nuts over!
I first created this pair when I needed a special gift for a dear friend’s birthday and I knew she loved these playful chipmunks.
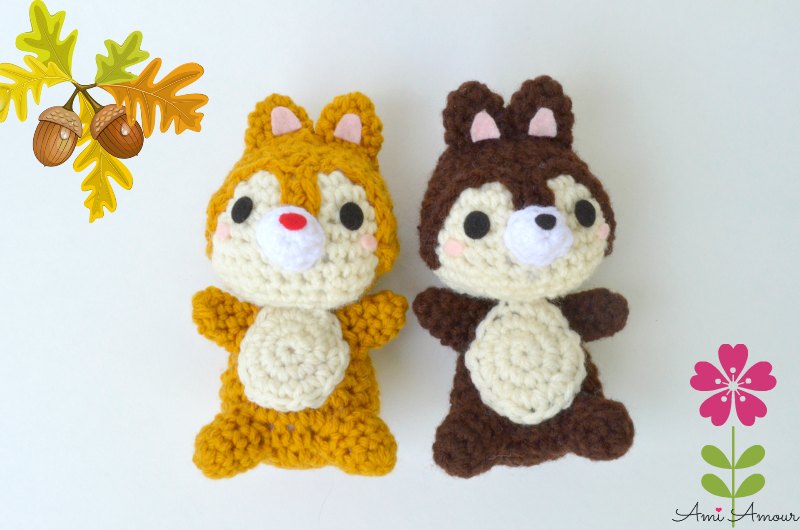
You can use the same pattern to create the pair. They just have minor differences between the two of them. One has a dark chocolate coloring and the other a more golden, or mustard coloring. One has a black nose or (chocolate chip as I like to call it) and the other one a slightly larger, red nose.
Anyways I always got confused between which chipmunk was which until my sis told me that you can distinguish between Chip and Dale because Chip is the one with the Chocolate Chip on his nose. So a lightbulb went off, and I’ve remembered ever since then!
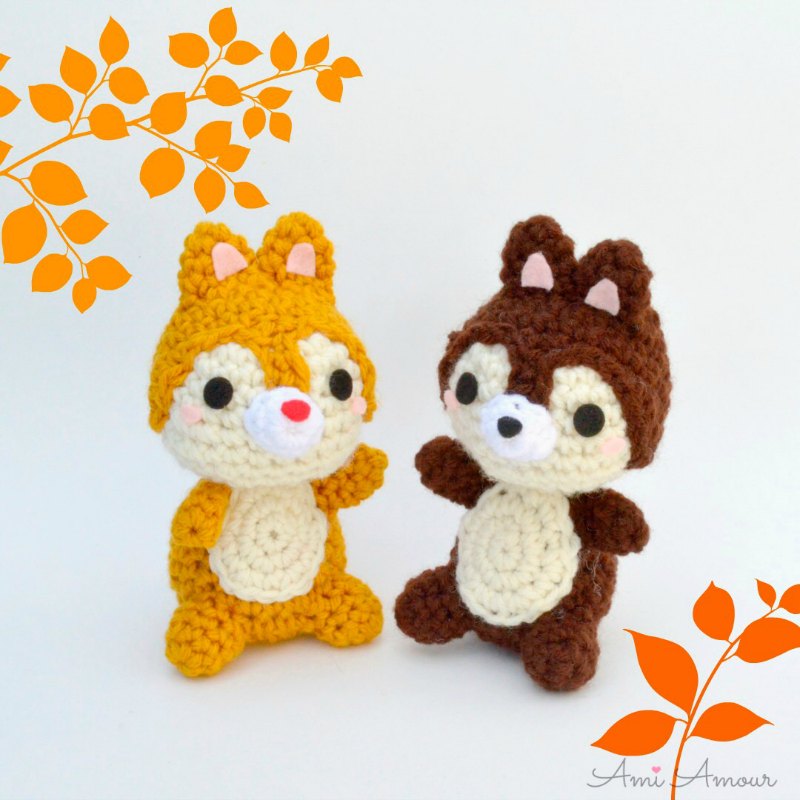
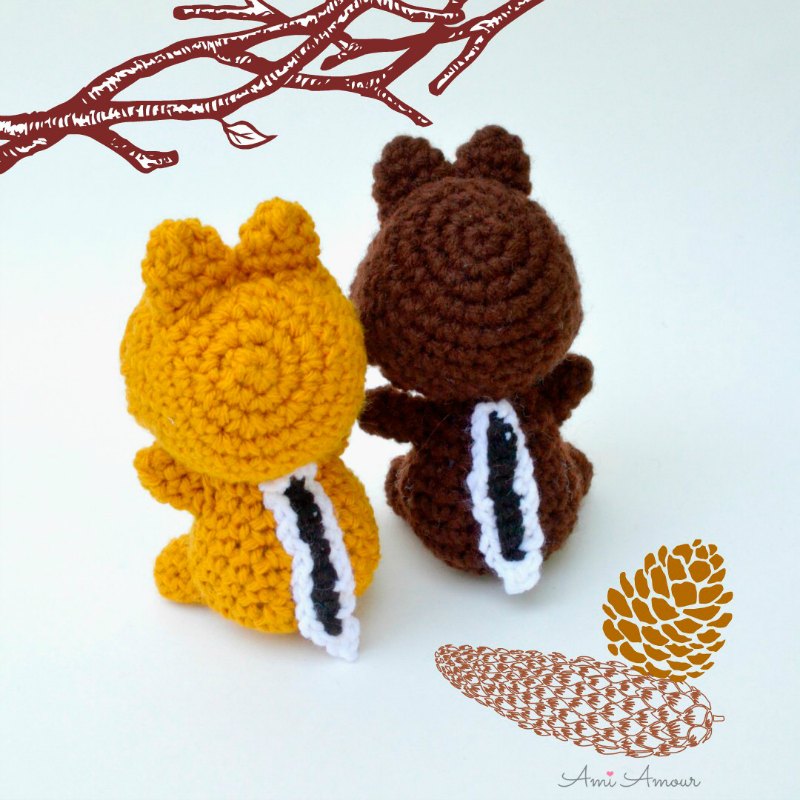
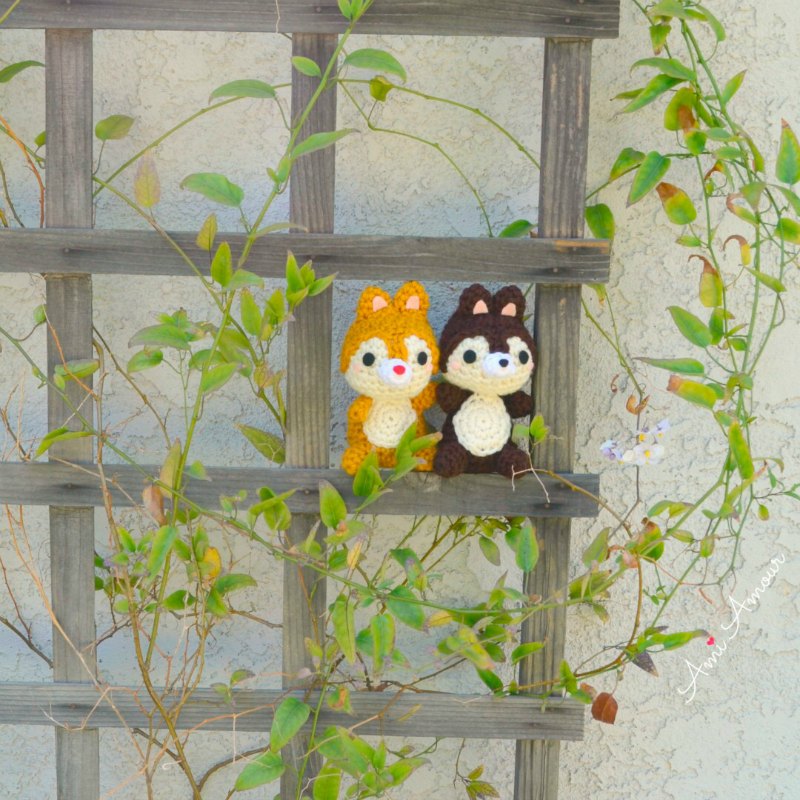
I thought I’d do a fun photo concept for their pictures. Here they are, best friends throughout all the seasons.
In the Fall when the leaves are changing into beautiful colors.
In Winter when the branches are bare and pinecones are on the ground. Hope they saved enough acorns for the winter!
And in Spring, when flowers are blooming!
And in Summer, when the days are hot and they can enjoy some icy treats by the water!
Anyways, I hope you’ll enjoy making this cute pair. If you do create these crochet chipmunk amigurumis, be sure to tag me on my Instagram with your project so I get to see!
Don’t forget to subscribe to my blog so you’ll be sure to get all my pattern updates!
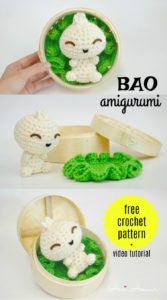
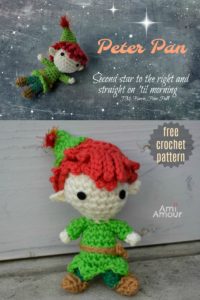
Here are some other FREE crochet patterns, you may enjoy!

Disclosure: This post contains affiliate links. This means I may receive a small commission if you decide to purchase anything by clicking on one of these links.
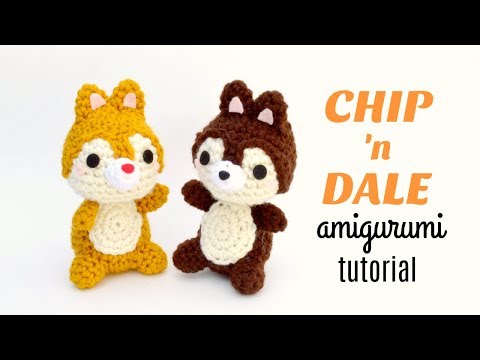
Chip and Dale Crochet Tutorial Video
See the chipmunk pair in action and crochet along with me from start to finish!
Crochet Chipmunk Amigurumi Pattern
LEVEL: Intermediate
CROCHET HOOK: 5.0mm hook
YARN:
Red Heart Super Saver (worsted weight, acrylic yarn)
– Aran
– Coffee
– Saffron
– White (very small amount for nose and tail)
– Black (very small amount for tail)
NOTIONS:
– Polyester Fiberfill
– Yarn Needle
– Stitch Marker
– Scissors
– Felt (in colors black, pink, and red)
– Fabri-tac Glue
SIZE: Approximately 5.5in/14cm tall


HEAD
With aran yarn
Round 1: 6 sc into magic ring.
Round 2: 2 sc in each st around – 12 sc.
Round 3: [2 sc in next st, sc in next st] around – 18 sc.
Round 4: [2 sc in next st, sc in next 2 st] around – 24 sc.
Round 5-7: Sc in each st around.
Round 8: [2 sc in next 3 st, sc in next 9 st] 2 times – 30 sc.
Round 9: Sc in each st around.
Round 10: [Sc2tog, sc in next 3 st] around – 24 sc.
Round 11: [Sc2tog, sc in next 2 st] around – 18 sc.
Round 12: [Sc2tog, sc in next st] around – 12 sc.
Round 13: Sc2tog around – 6 sc.
Fasten off, leaving a long tail. Finish stuffing and sew closed.
HEAD COVER
With gold or dark brown yarn
Round 1: 6 sc into magic ring.
Round 2: 2 sc in each st around – 12 sc.
Round 3: [2 sc in next st, sc in next st] around – 18 sc.
Round 4: [2 sc in next st, sc in next 2 st] around – 24 sc.
Round 5-9: Sc in each st around.
Round 10: Sc in next st, ch 5, sc in next 4 ch, sc in next st, sl st in next 3 st, 2 hdc in next 2 st, sc in next 11 st, 2 hdc in next 2 st, sc in next st, sl st in next 3 st.
Fasten off, leaving a long tail. Do not stuff.
EAR (make 2)
With gold yarn or dark brown yarn
Round 1: 4 sc into magic ring.
Round 2: 2 sc in each st around – 8 sc.
Round 3-4: Sc in each st around.
Fasten off, leaving a long tail. Do not stuff.
SNOUT
With white yarn
Round 1: 8 sc into magic ring.
Round 2: Sc in each st around.
Fasten off, leaving a long tail.
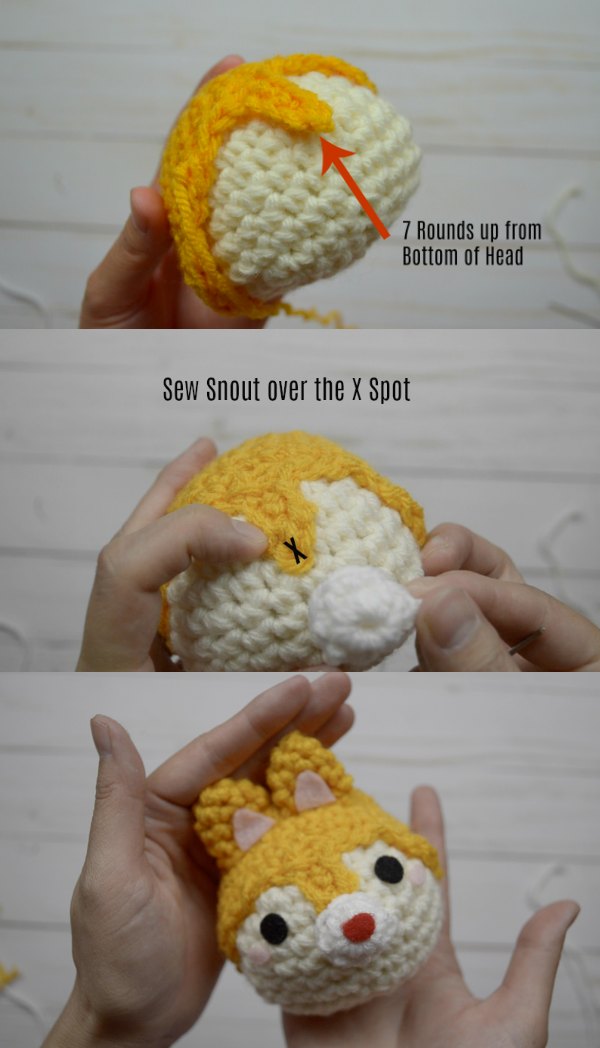
Sew nose over on top so that it covers the first st of the middle line (I’ve marked it as an X in the photo below)
CHIPMUNK HEAD ASSEMBLY
BODY
With gold or dark brown yarn
Round 1: 6 sc into magic ring.
Round 2: 2 sc in each st around – 12 sc.
Round 3: [2 sc in next st, sc in next st] around – 18 sc.
Round 4: [2 sc in next st, sc in next 2 st] around – 24 sc.
Round 5: Sc in each st around.
Round 6: [Sc2tog, sc in next 2 st] around – 18 sc.
Round 7-8: Sc in each st around.
Round 9: [Sc2tog, sc in next 4 st] around – 15 sc.
Round 10: Sc in each st around.
Round 11: [Sc2tog, sc in next 3 st] around – 12 sc.
Round 12: Sc in each st around.
Fasten off, leaving a long tail. Stuff.
BELLY PATCH
With aran yarn
Round 1: 6 sc into magic ring.
Round 2: 2 sc in each st around – 12 sc.
Round 3: [2 sc in next st, sc in next st] around – 18 sc.
Round 4: 2 sc in next st, sc in next 3 st, sl st in next st – 19 sc.
Fasten off, leaving a long tail.
ARM (make 2)
With gold or dark brown yarn
Round 1: 6 sc into magic ring.
Round 2-4: Sc in each st around.
Fasten off, leaving a long tail.
Do not stuff.
FOOT (make 2)
With gold or dark brown yarn
Round 1: 8 sc into magic ring.
Round 2-4: Sc in each st around.
Fasten off, leaving a long tail. Stuff.
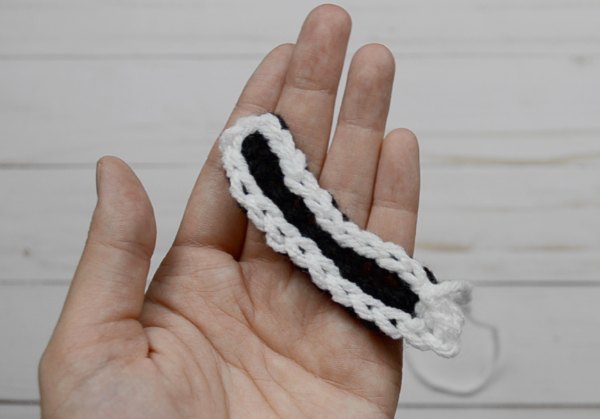
STRIPED TAIL
Row 1: With black yarn, Ch 11, sc in 2nd ch from hook and in each st across – 10 sc.
With white yarn, sl st around the row to make a border, join to beginning st, ch 2, sc in first ch, sl st in next st.
Fasten off, leaving a long tail.
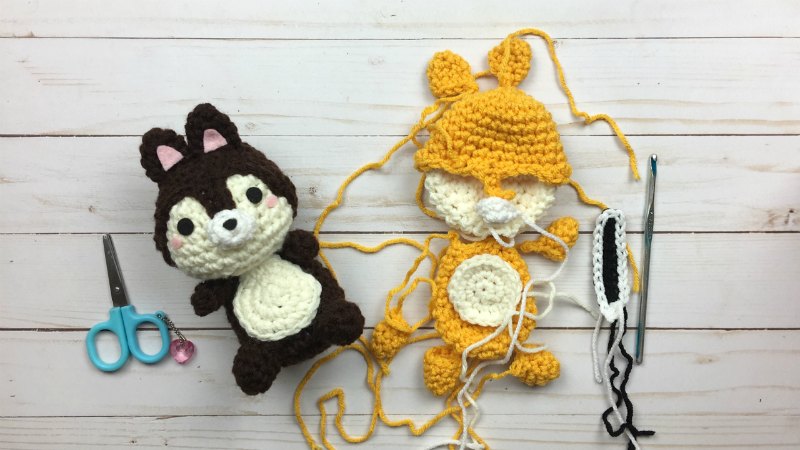
Crochet Chipmunk Amigurumi Assembly
Watch how to assemble the pieces in this video here.
1. Stuff Head and sew closed.
2. Place Head Mask over the Head. Placement: The middle line of the head mask should be 7 rows up from very bottom of head. See photos for reference. Sew into place.
3. Sew Snout to Face. See photos for placement.
4. Cut 2 small circles from black felt for the eyes. Cut 2 small ovals from pink felt for the cheeks. Cut 2 small pieces from pink felt for the inner ears (see photo for shape, they’re a bit U like). Cut a small oval nose from black or red felt.
4. With Fabri-tac, glue black eyes to head. Glue pink ovals for cheeks. Glue pink inner ears to ears. Glue black or red nose to snout.
5. Stuff Body. Sew Head to Body.
6. Sew Belly Patch to Body.
7. Sew arms (do not need to stuff) to Body.
8. Stuff Feet and sew to bottom of Body.
9. Sew Striped Tail to Back of Body.
10. Hide and cut all ends.
11. You’ve finished your Chipmunk, now go back and make one more! Also be sure to tag me with your projects on Instagram, Facebook, or Ravelry. I’d love to see!

6 Comments
Cristina
April 21, 2020 at 10:00 amI think that there is a mistake at round 6 of the body. It would be sc2tog, sc in next 2 at (18). If I do it as shown I get 16 st.
Lovely pattern!! Thanks!!
Ami Amour
April 29, 2020 at 9:12 pmYes, you are correct. It’s been fixed now. Thanks for catching that!
Kimberly
February 25, 2021 at 10:49 amI’m rather new at crocheting. I made baby Yoda. He came out super cute. I’m struggling with the ears on this chipmunk pattern. Every time I make them, they are circular in shape at the end and not triangles. I can’t figure out what I’m doing wrong. Is there something you could think of that I might be doing wrong? Thank you!
Ami Amour
February 25, 2021 at 11:27 amThere is a video tutorial for the Chipmunk on my YouTube channel so I hope that can help. The only thing I can think of right now is to make sure that the first round has 4 sts in it, and then all the other rounds after it should be at 8 sts only. Check to make sure that you’re not increasing any sts after Round 2 and that each round is at 8 sts afterwards.
Krista
July 19, 2022 at 10:49 amI’m a beginner to crochet and your videos are AMAZING!! Thank you for making easy videos I can follow along with and pause when I need to. This was my first attempt at crocheting an animal and it turned out great! Now I can’t wait to make the second chipmunk lol. Thank you!!
Ami Amour
July 26, 2022 at 11:49 amHaha yes he needs his pal!! So glad you enjoyed this pattern and I’m glad to hear the video is helpful in following along!