
Here’s a cheerful, playful duck amigurumi pattern for your crochet fun and pleasure! As they say, “Fair is fowl, and fowl is fair!”
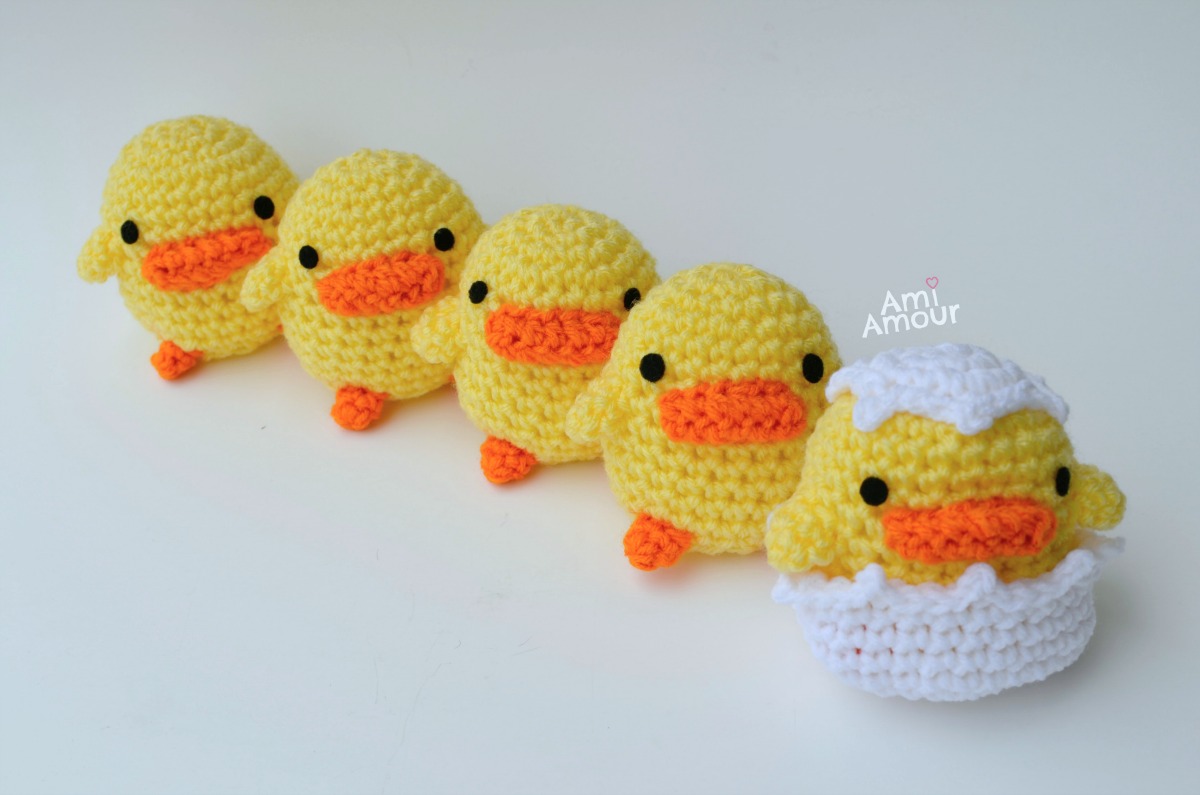
I find yellow to be such a cheerful color. It brings to mind, the sun, spring, and just everything bright and warm! So once you add yellow ducks into the mix, then everything becomes even that much more cuddly cute!
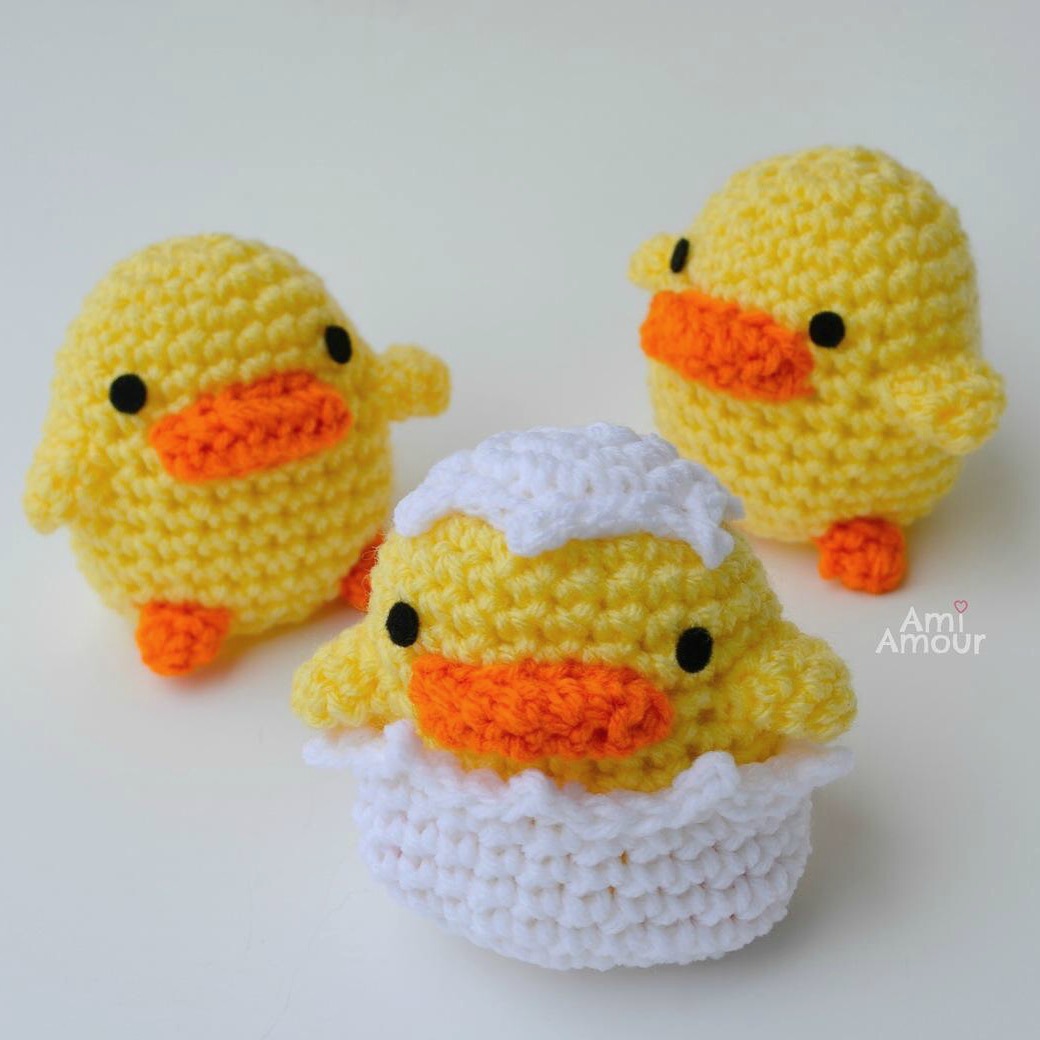
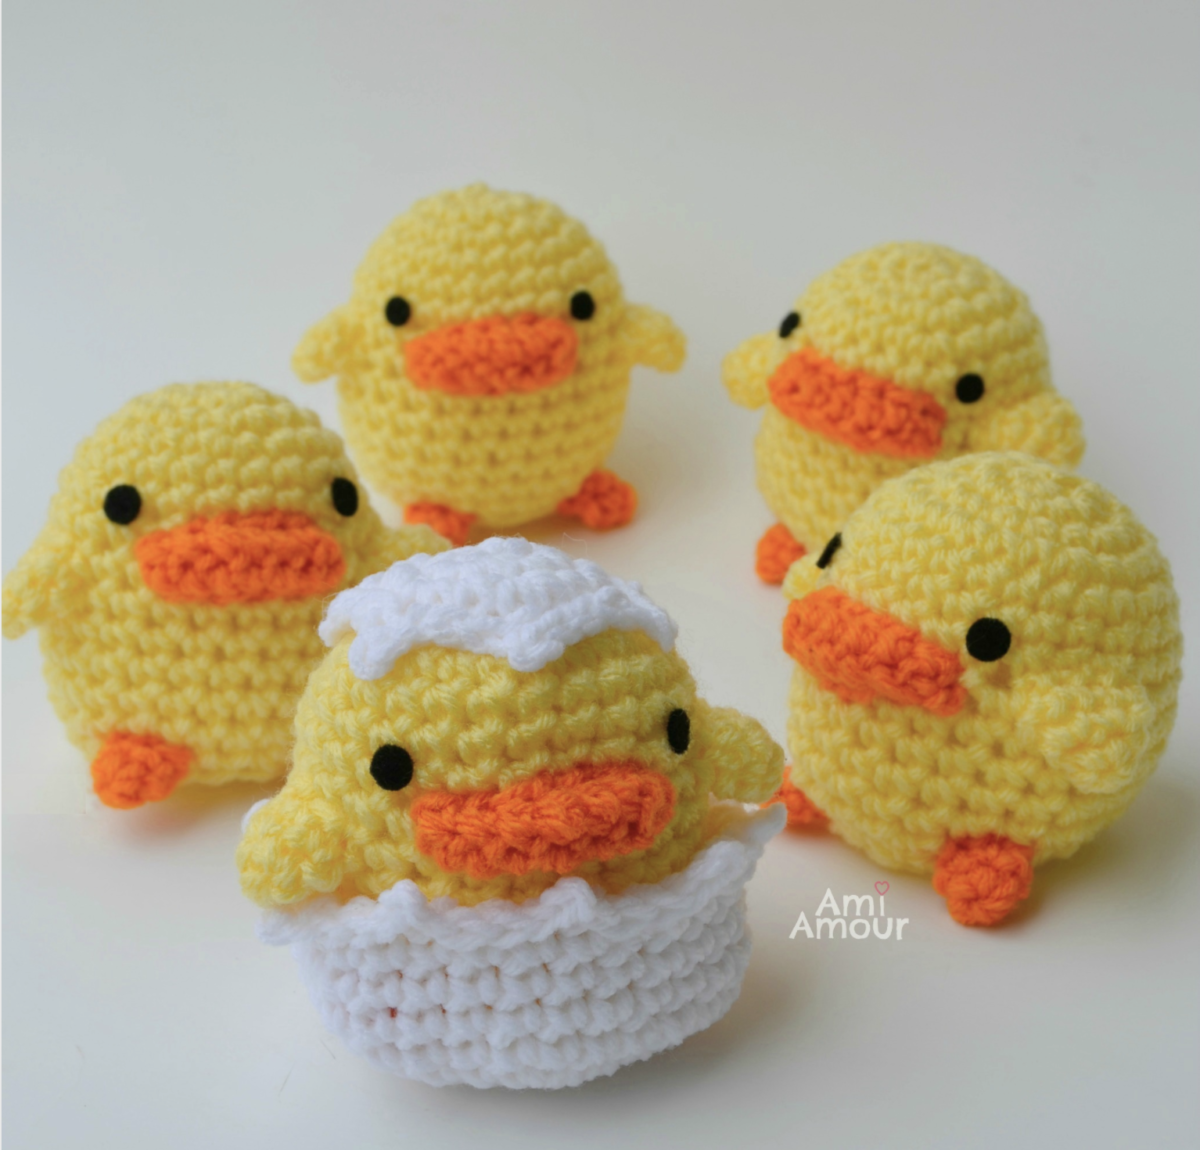
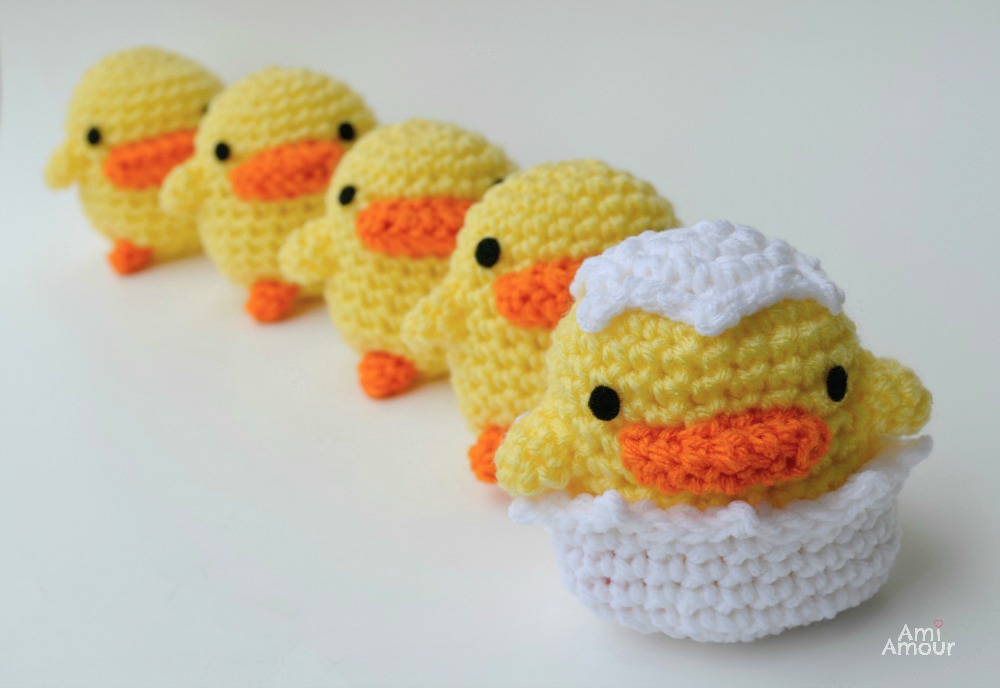
This Duck Amigurumi has an oval shape to it, a flat bill, and short stubby wings as it’s still a wee baby and hasn’t quite grown into its wings yet. Don’t worry little one, you’ll get there!
I’ve also included an egg shell design as a bonus, so you can create a Hatchling in Egg.
It’s made so that the hatchling wears the egg shell on top of its head, like a hat! The body is then tucked inside the bottom half of the egg shell. Together the white and yellow colors really make a nice complement.
I hope you enjoy! Once born, they’ll be sure to imprint onto you.
Happy crocheting and don’t forget to subscribe to my blog so you get all the pattern updates!
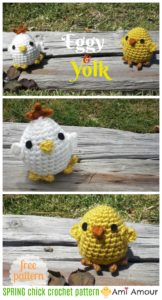
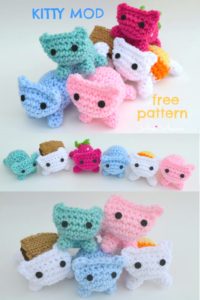
And if you like this project, be sure to also check out my Spring Chick – Eggy pattern. It makes a great companion piece to the Duck Amigurumi!
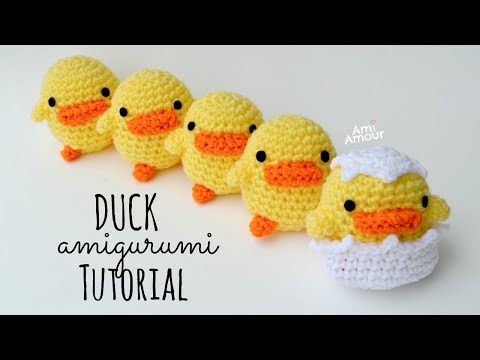
The written crochet pattern is below, but I’ve also created a video amigurumi tutorial for this Duck! It’s great for beginners to follow or if you just want to crochet along with me!
VIDEO CROCHET TUTORIAL
*Disclosure: This post contains affiliate links. This means I may receive a small commission if you decide to purchase anything by clicking on one of these links.
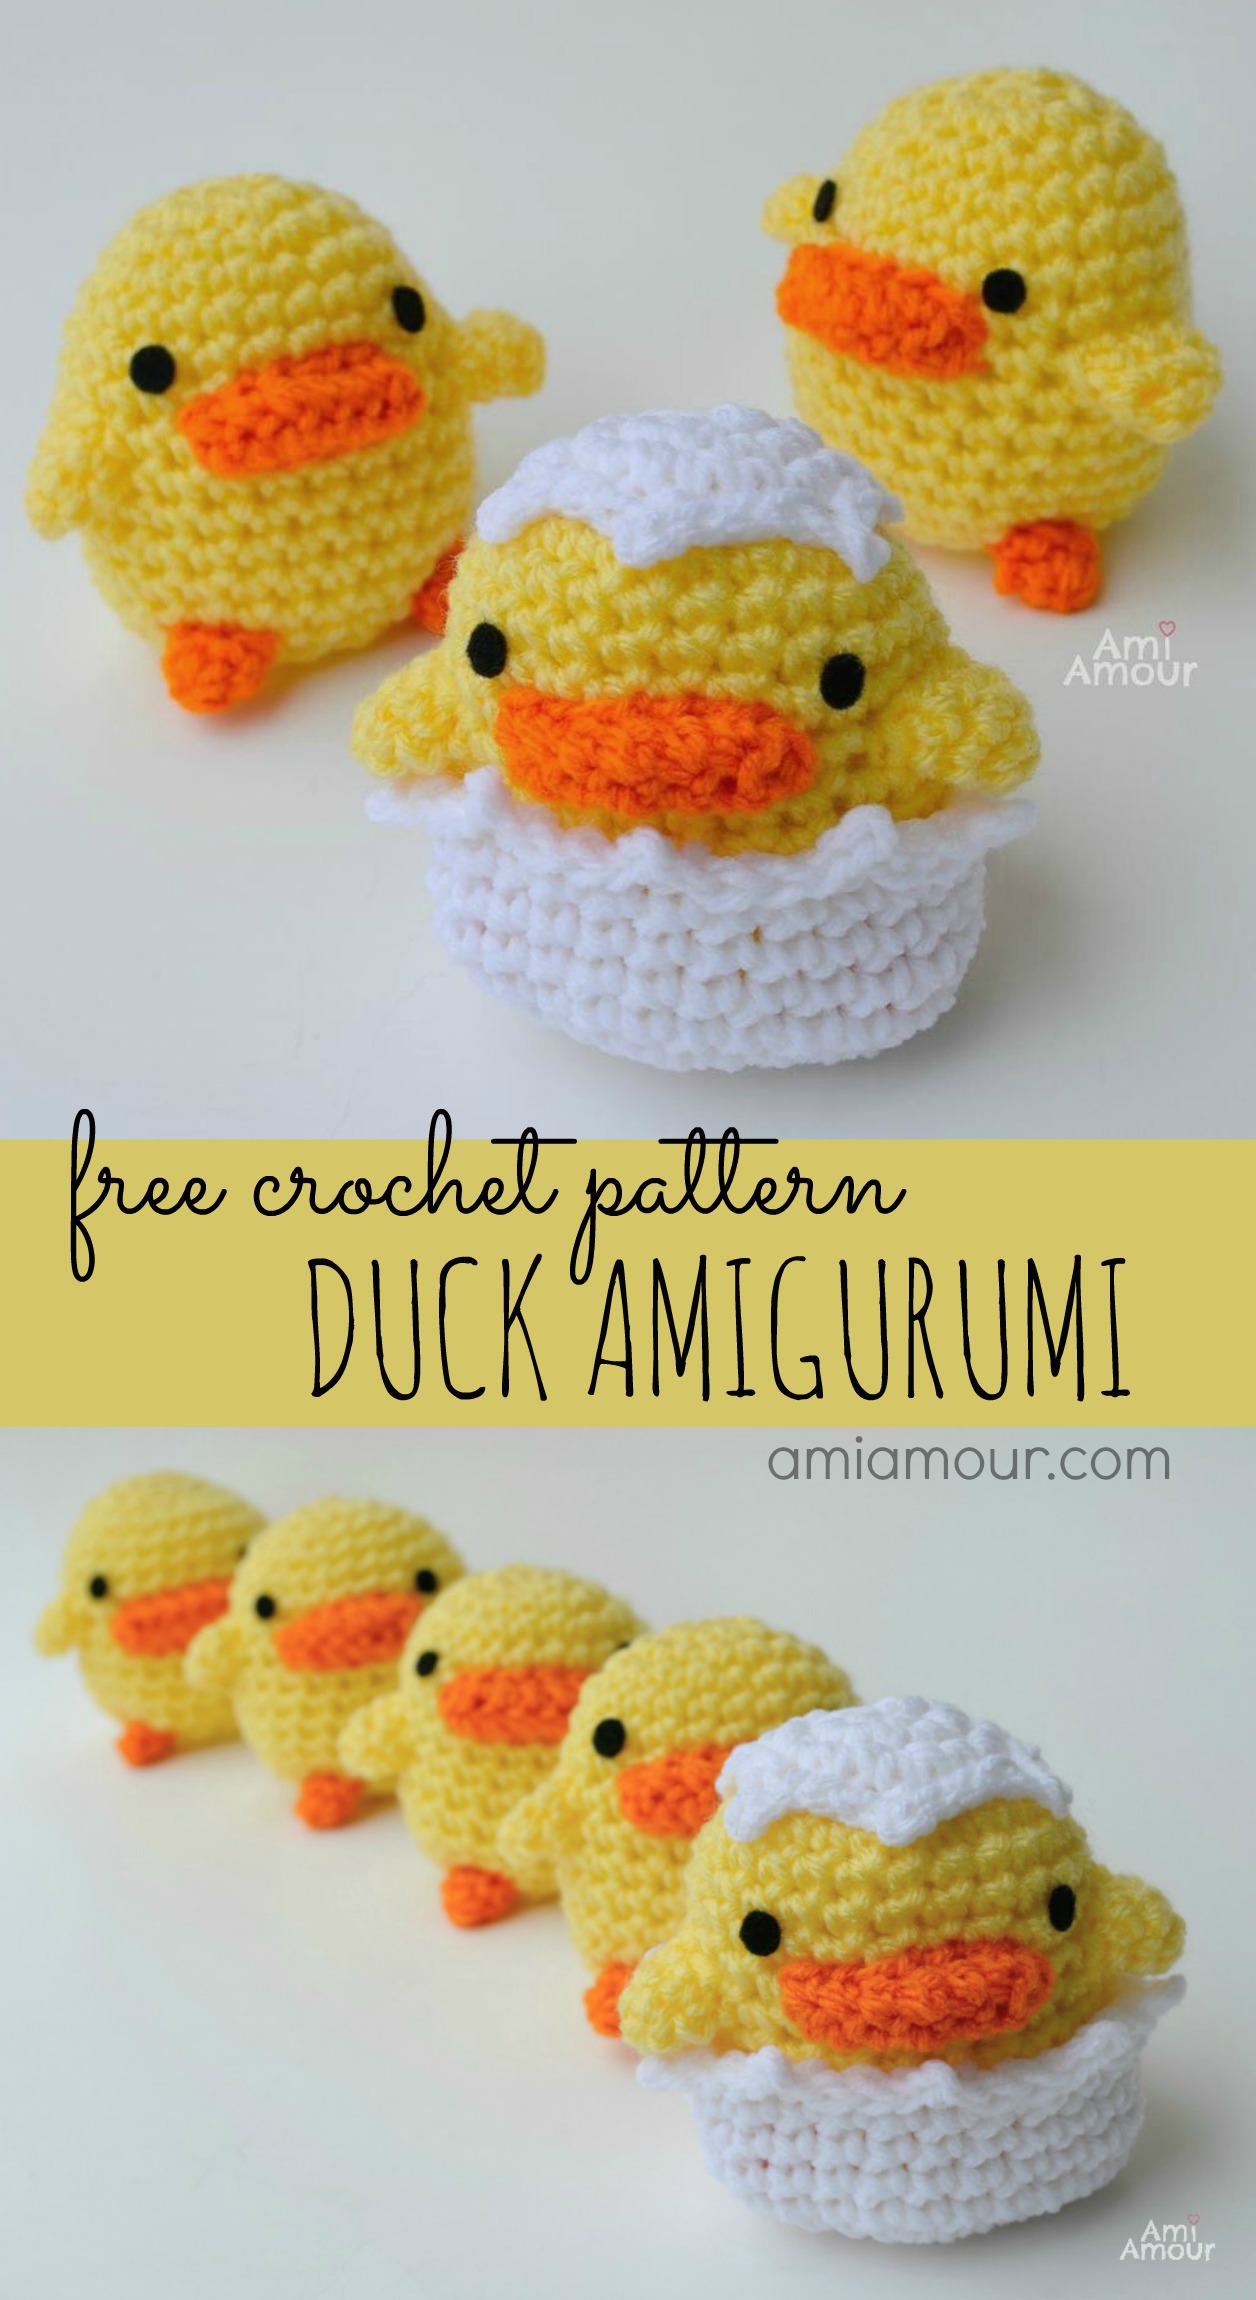
DUCK Amigurumi Pattern “Fair is Fowl”
LEVEL: Easy
HOOK SIZE: 5.0mm hook
YARN:
Red Heart Super Saver (acrylic, worsted weight):
Lemon
Pumpkin
White
NOTIONS:
Yarn Needle
Black Felt for eyes, or Safety Eyes
Fabritac (for glueing on the felt)
Scissors
Polyester Fiberfill (stuffing)
FINISHED SIZE:
Approximately 3.5in/9cm tall
BODY
With yellow yarn
Round 1: 6 sc into adjustable ring.
Round 2: 2 sc in each st around – 12 sc.
Round 3: [2 sc in next st, sc in next st] around – 18 sc.
Round 4: [2 sc in next st, sc in next 2 st] around – 24 sc.
Round 5-13: Sc in each st around.
Round 14: [Sc2tog, sc in next 2 st] around – 18 sc.
Begin stuffing and stuff as you go.
Round 15: In back loop only, [sc2tog, sc in next st] around – 12 sc.
Note: This helps the duck to be more stable in standing.
Round 16: Sc2tog around – 6 sc.
Fasten off, leaving a long tail. Finish stuffing and sew closed.
WING (make 2)
With yellow yarn
Round 1: 4 sc into adjustable ring.
Round 2: 2 sc in each st around – 8 sc.
Round 3: Sc in each st around.
Fasten off, leaving a long tail.
Do not stuff.
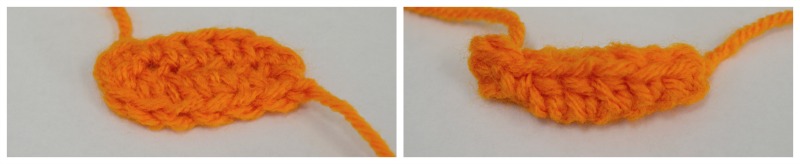
BILL
With orange yarn
Round 1: Ch 8, sc in next 2 ch, hdc in next 3 ch, sc in next 2 ch, (on other side of ch) sc in next 2 ch, hdc in next 3 ch, sc in next 2 ch, sl st in next st – 14 st.
Fasten off, leaving a long tail.
Do not stuff. Fold the fabric in half.
FEET (make 2)
With orange yarn
Round 1: 5 sc into adjustable ring.
Round 2: Sc in each st around.
Fasten off, leaving a long tail.
Do not stuff.
ASSEMBLY
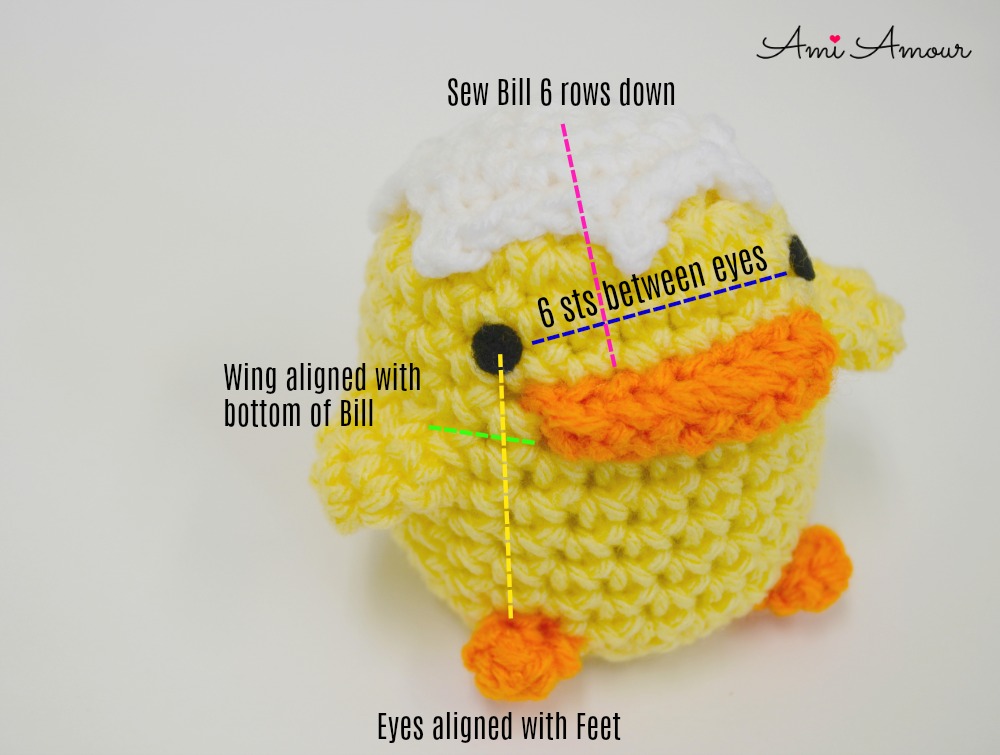
1. Sew Bill to Body. Placement: 6 rows down from head.
2. Cut 2 small black circles from felt and sew to Face or glue on with Fabritac. Placement: Eyes should be 1 row above the bill and with 6 sts spaced in between the eyes. They should both be slightly to the outside of the bill.
3. Sew Arms to Body. Placement: 7 rows down, top of wing should be aligned with bottom part of bill.
4. Sew Feet to Body. Feet should be aligned vertically with the eyes.
5. Hide and cut all ends.
BONUS TIME!
Egg Shell
Video Crochet Tutorial for Eggshell:

TOP EGG SHELL
With white yarn
Round 1: 6 sc into adjustable ring.
Round 2: 2 sc in each st around – 12 sc.
Round 3: [2 sc in next st, sc in next st] around – 18 sc.
Round 4: [Ch 2, sl st into previous ch, sl st in next 3 sc] around. (Note: Should have 6 points)
Fasten off, leaving a long tail.
BOTTOM EGG SHELL
With white yarn
Round 1: 6 sc into adjustable ring.
Round 2: 2 sc in each st around – 12 sc.
Round 3: [2 sc in next st, sc in next st] around – 18 sc.
Round 4: [2 sc in next st, sc in next 2 st] around – 24 sc.
Round 5: [2 sc in next st, sc in next 5 st] around – 28 sc.
Round 6-9: Sc in each st around.
Round 10: [Ch 2, sl st into previous ch, sl st in next 4 sc] around. (Note: Should have 7 points).
Fasten off, leaving a long tail.
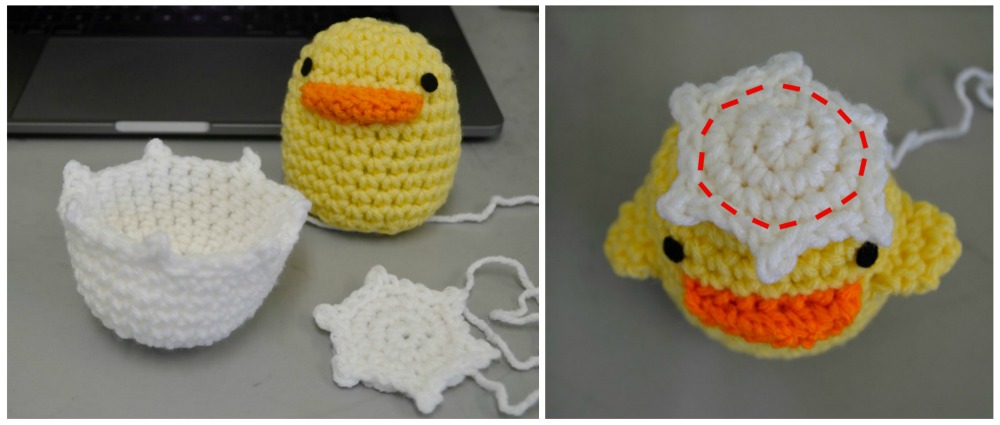
ASSEMBLY
1. Sew Top Egg Shell to top of head. I don’t sew the points down and sew around the circle only.
2. It is optional whether you want to sew the Duck into the bottom part of the Egg. I find it more interactive and fun to be able to take the Duck in and out of its shell! But if you want to hang the duck up somewhere, it would be good to sew the bottom egg shell on.
Happy Crocheting and please do tag me on my Instagram and Facebook!
1 Comment
Let’s Play Catch-up! – Pleasant Plushies
April 6, 2018 at 1:26 pm[…] The duck pattern was released right before Easter and it is too cute! It’s also smaller than I thought it would be – I was thinking it’d be about the same as the chick. But he’s so cute and squishy! I almost added in a plastic egg filled with rice to make it into a shaker, but it made the duck too hard. You can find the “Fair is Fowl” pattern here. […]