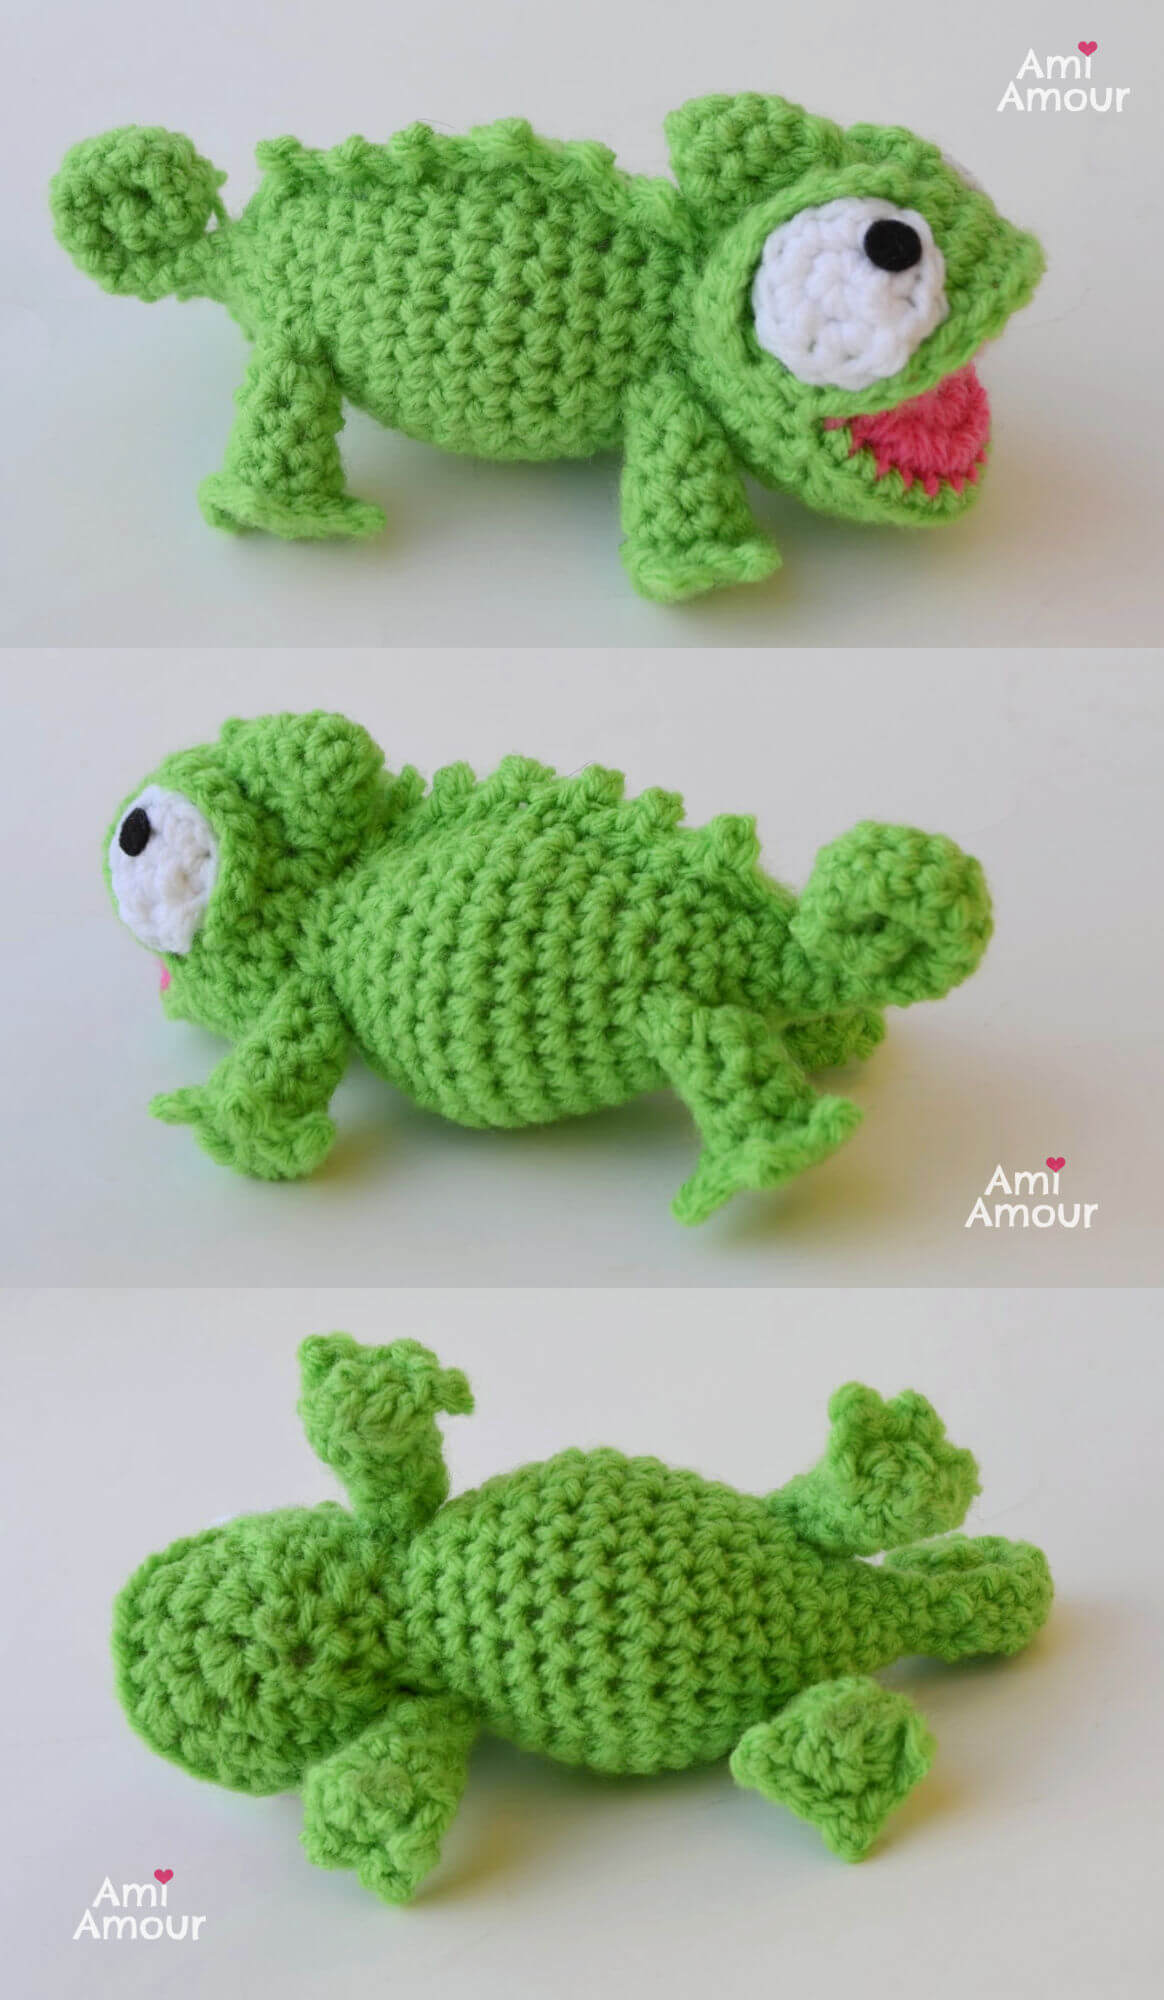
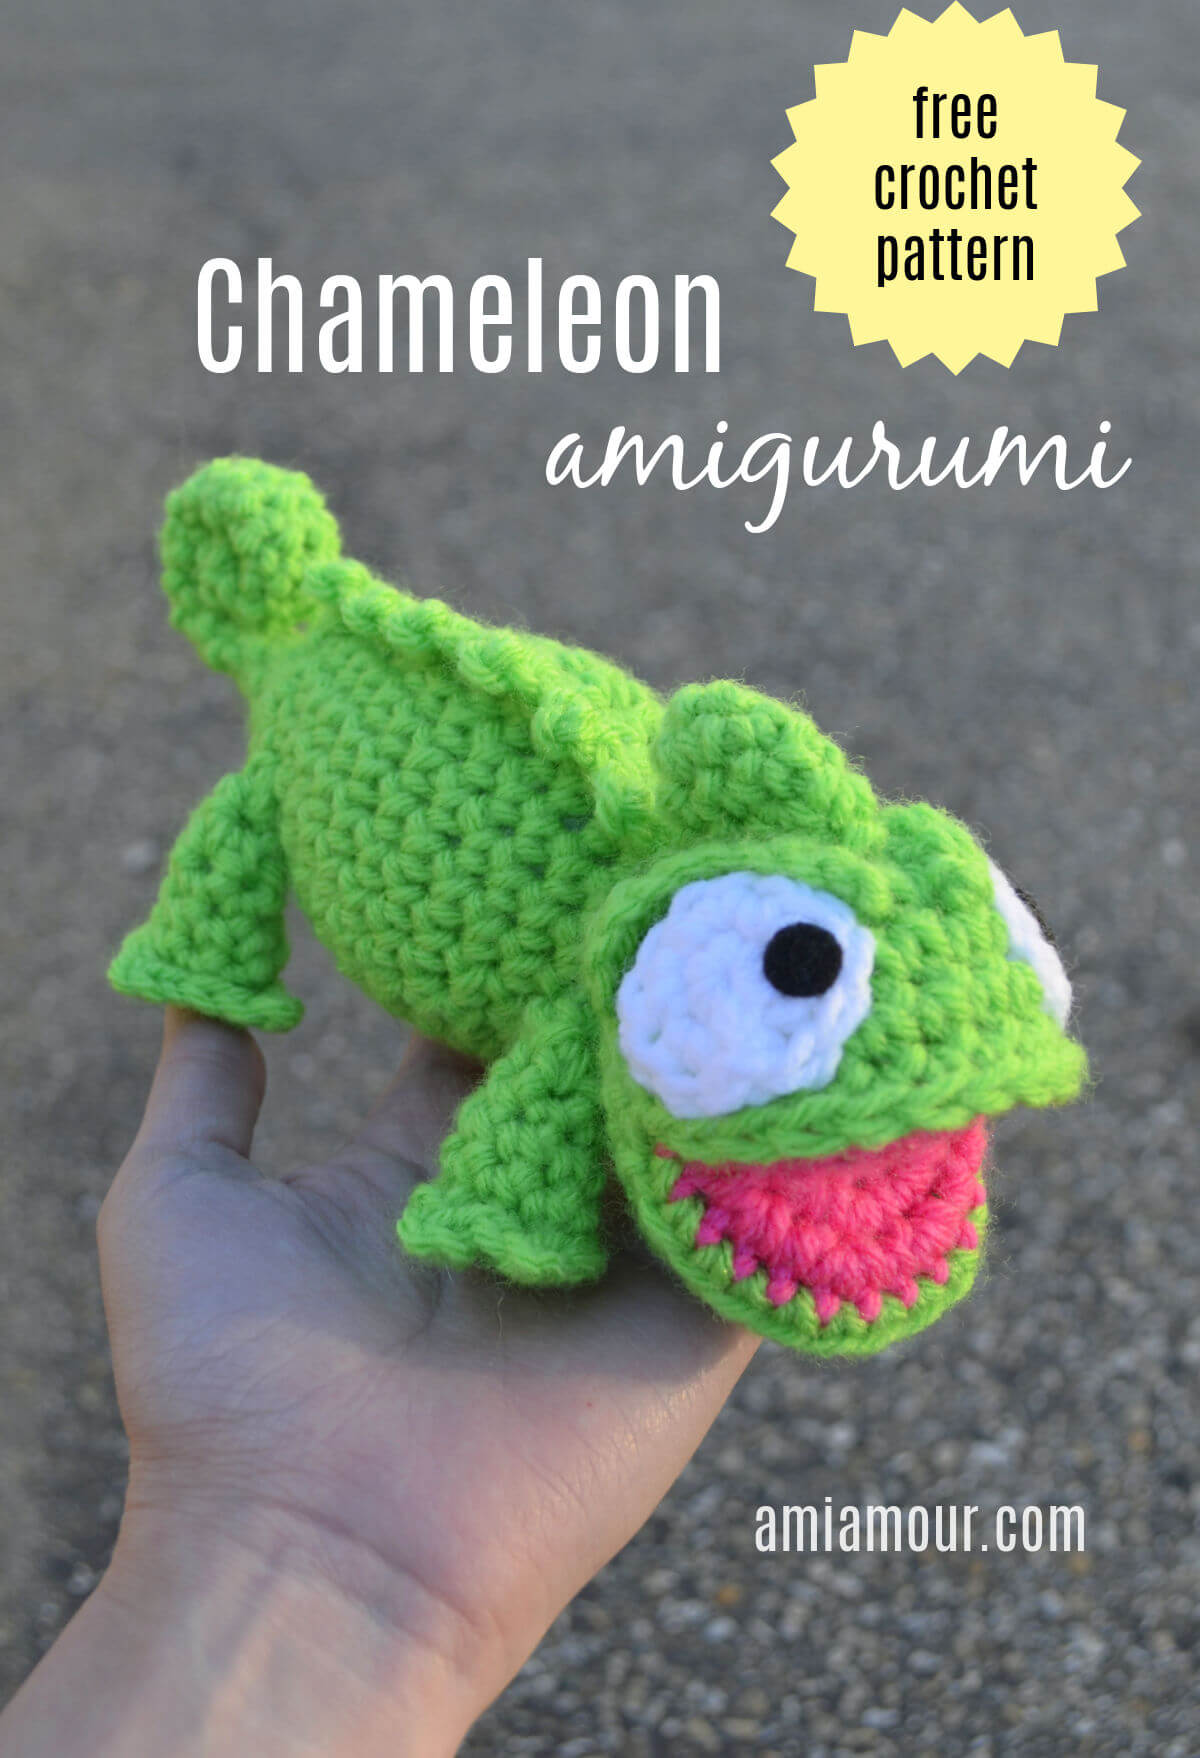
Here’s something a little green for you guys, it’s a cute crochet chameleon! He’s inspired by Pascal from Tangled. His features include a spiral tail, huge eyes, spikes for his head and back, and a very happy face!
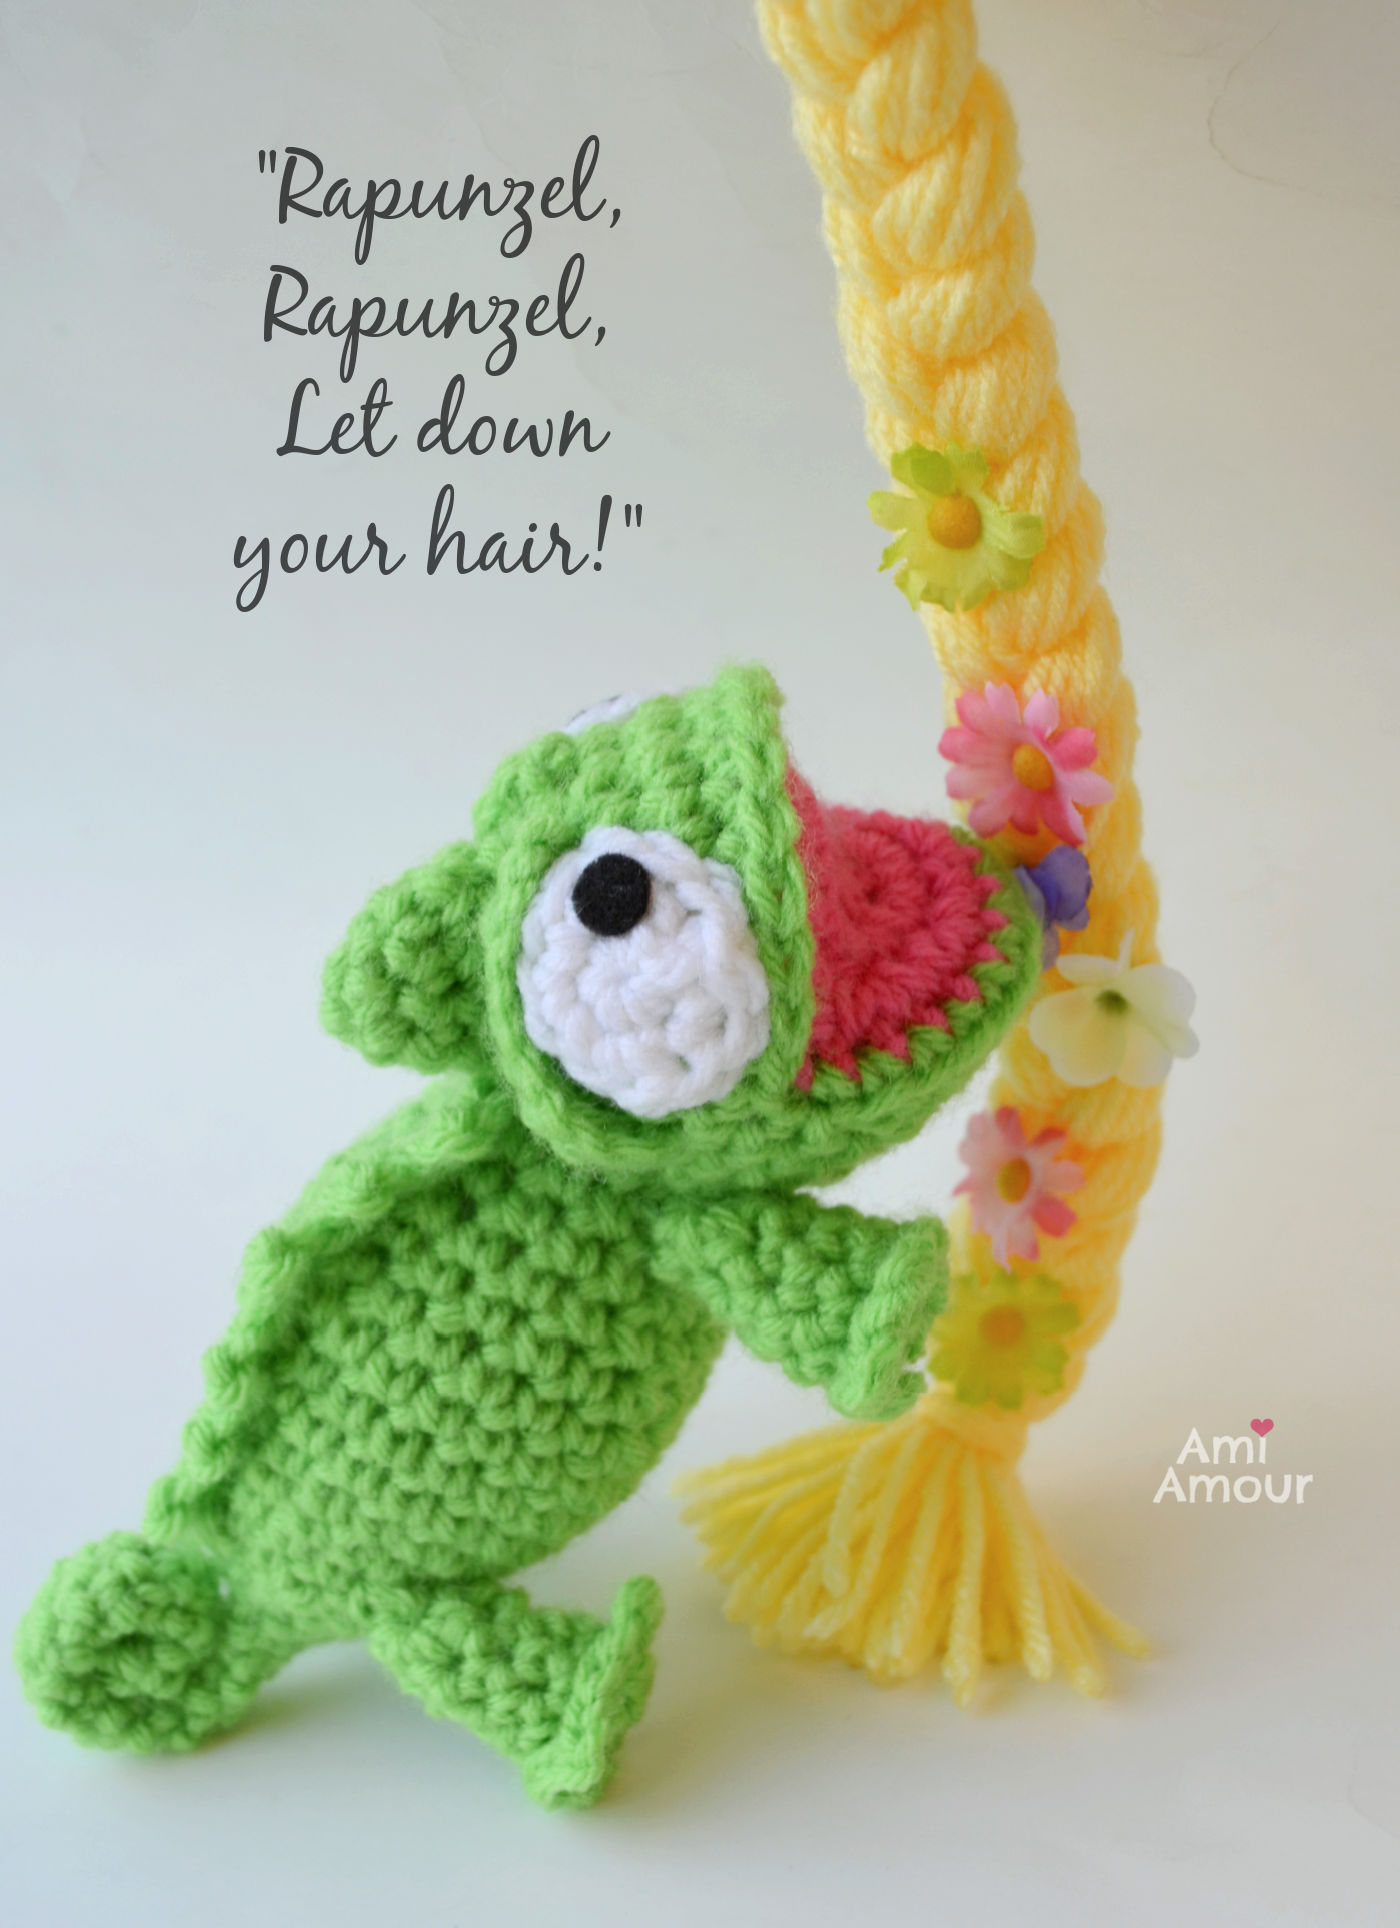
He’s my latest addition to my Open Mouth Amigurumi series. It’s where I use my Open Mouth Head Base to create all kinds of amigurumis but with different styles and shapes.
What they all have in common is that they share the basic same Head Base. However, with some variations in their body or face, they can turn into a whole new kind of amigurumi!
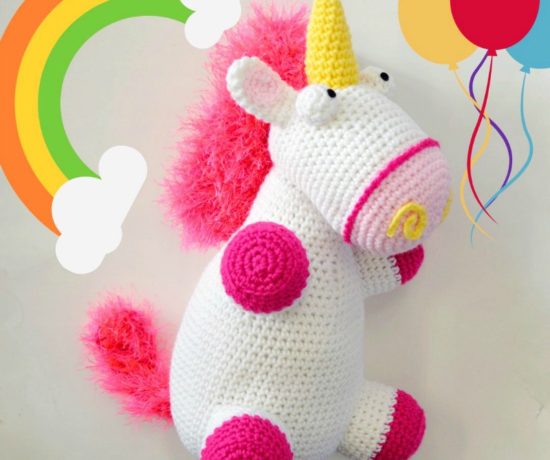
Here’s a photo of some members of my Open Mouth Family.
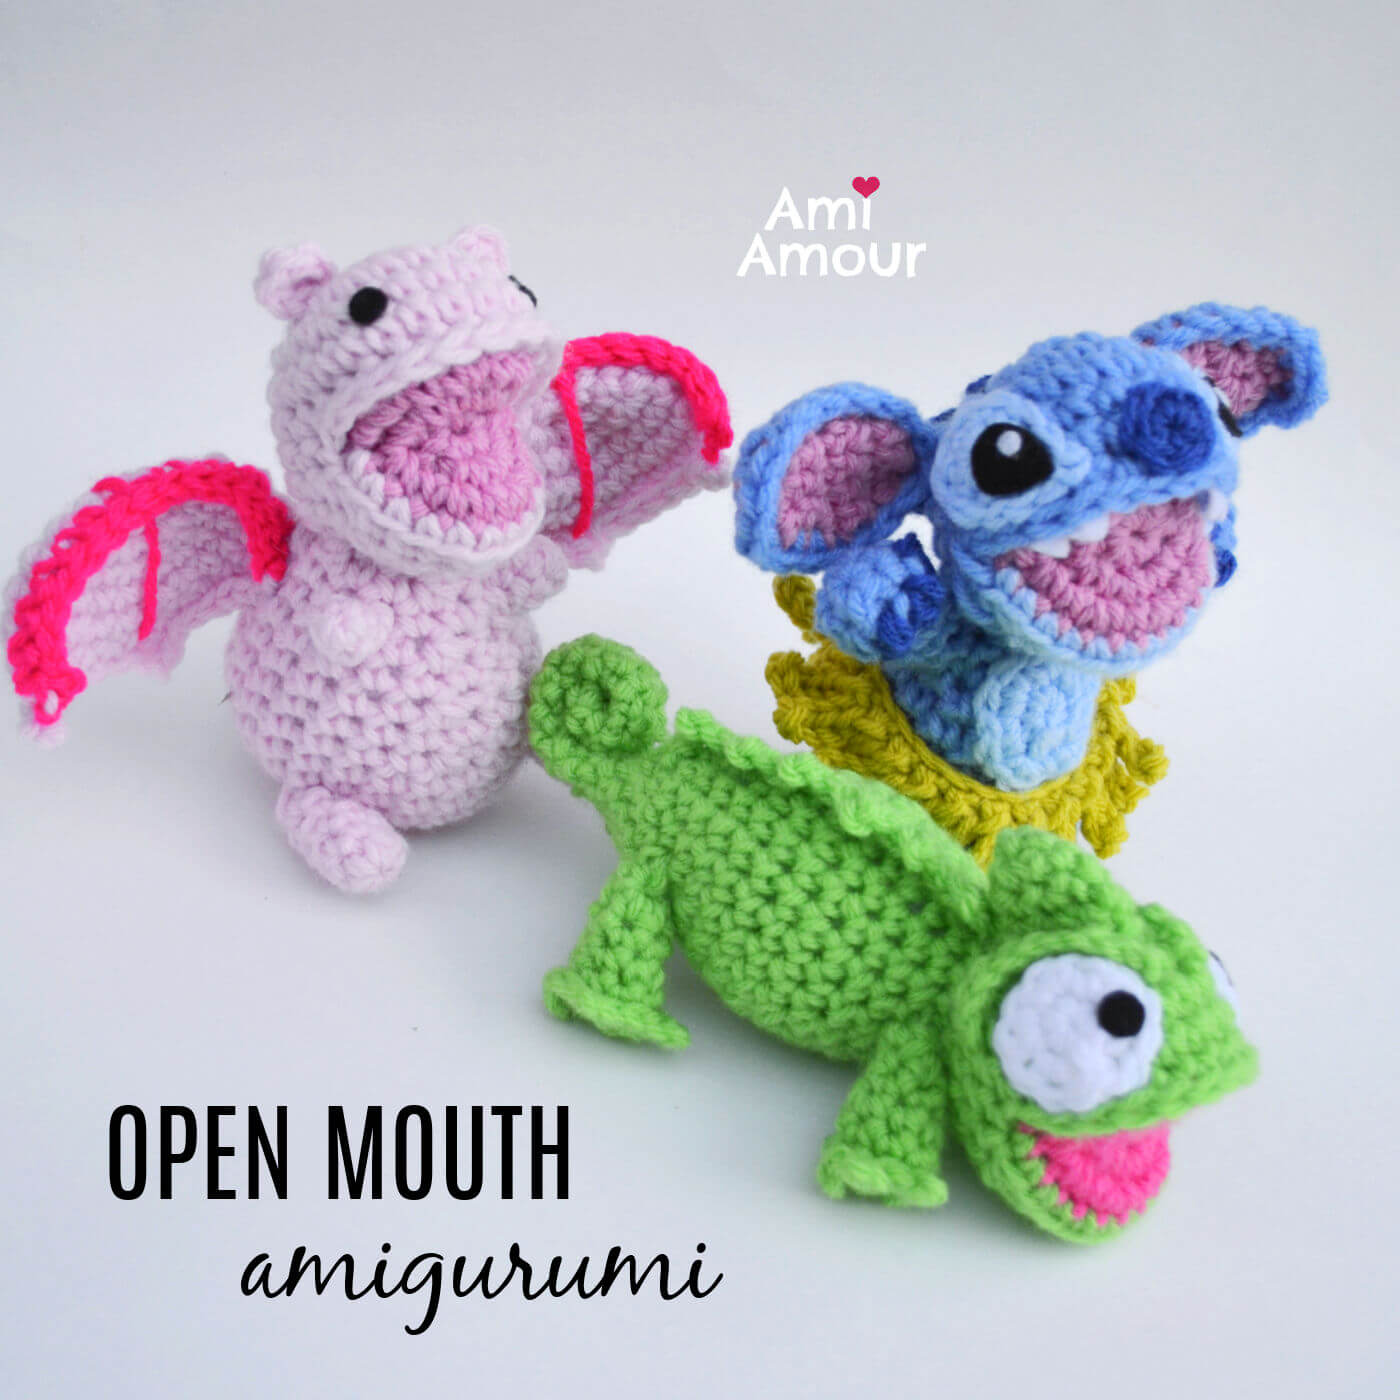
It includes such characters as:
1. Stitch Amigurumi (from Lilo and Stitch)
2. Dragon Amigurumi
These are all free crochet patterns on my blog.
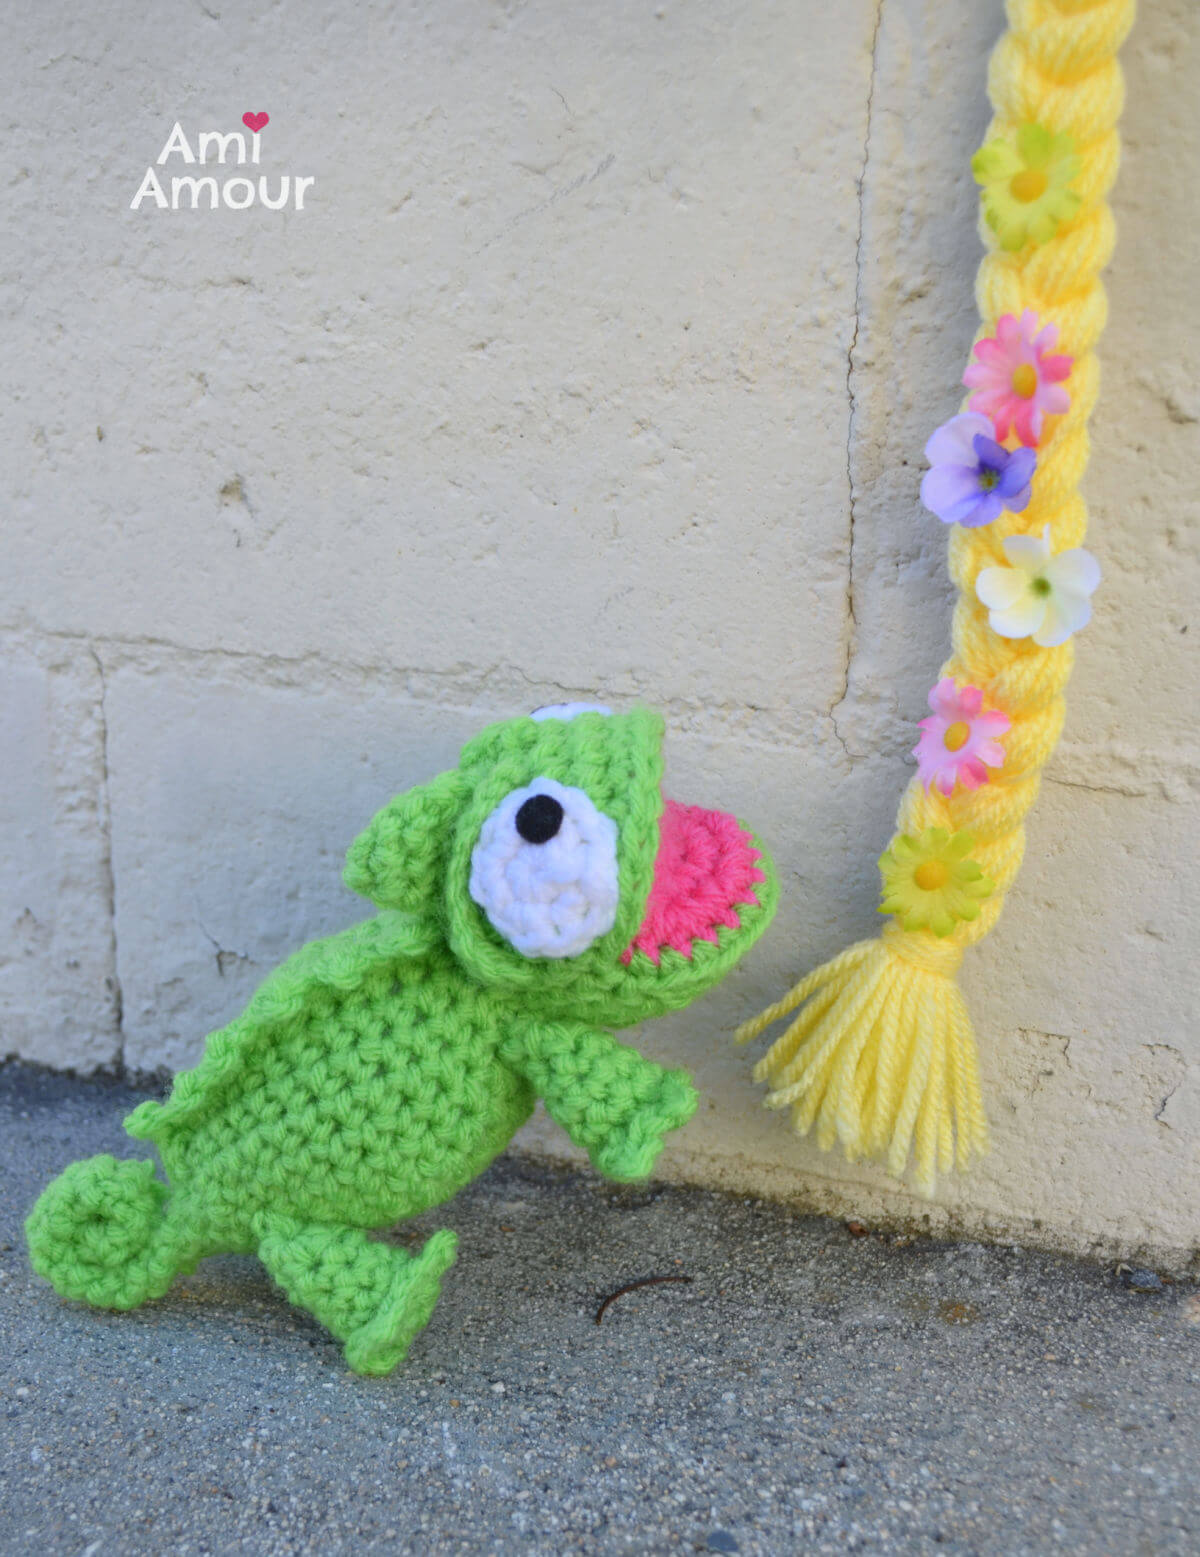
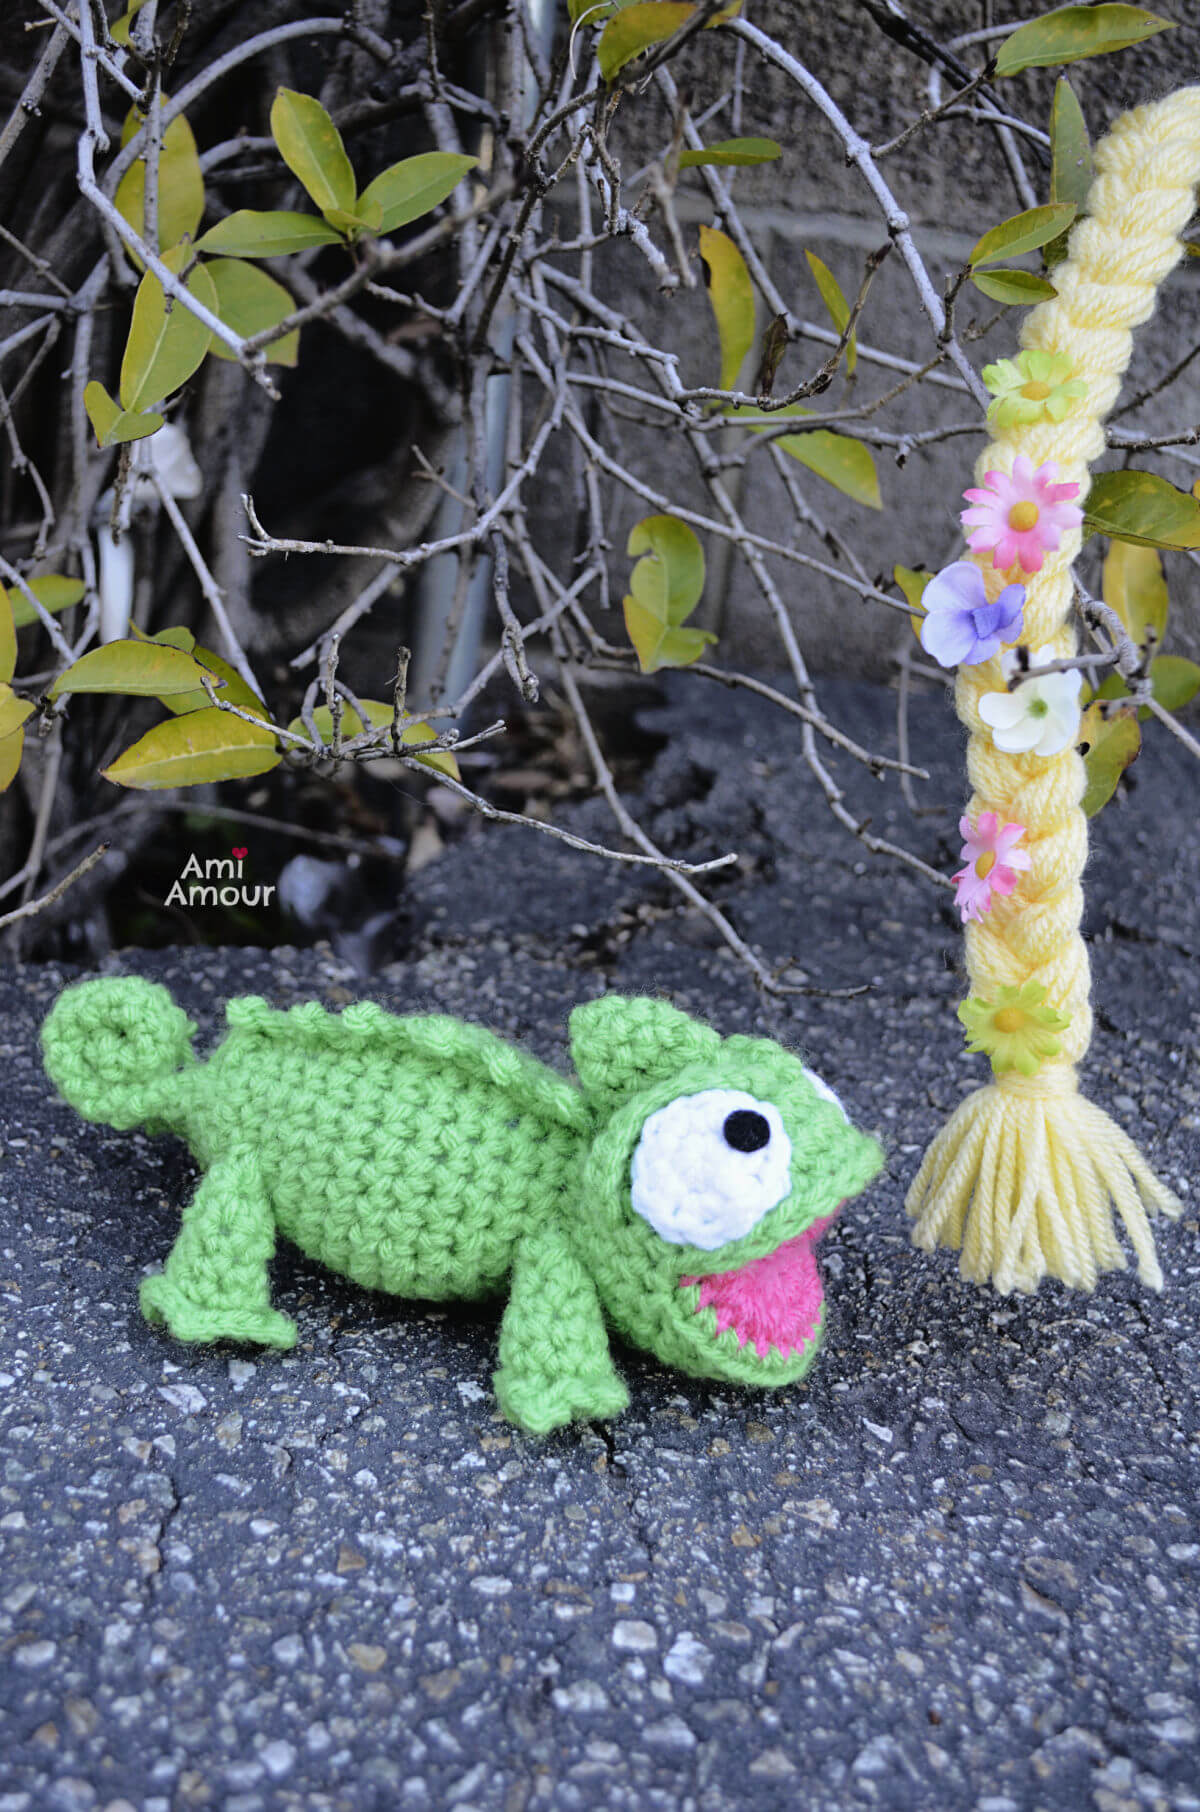
And now adding into the mix is Pascal Chameleon Amigurumi! Here he is happily posing with a pretty braided hair full of flowers.
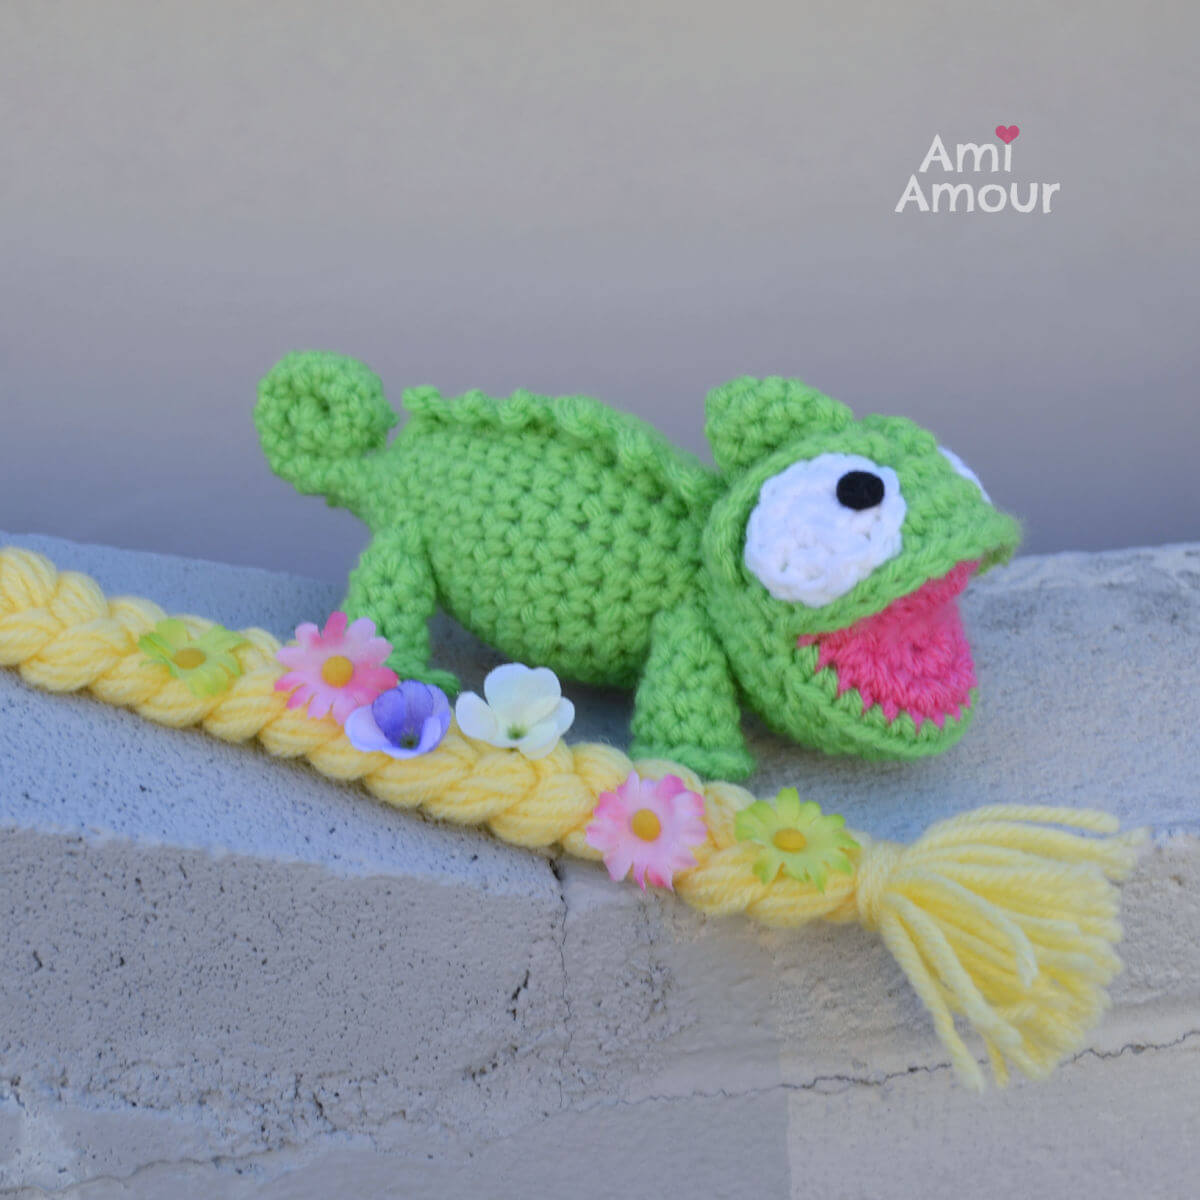
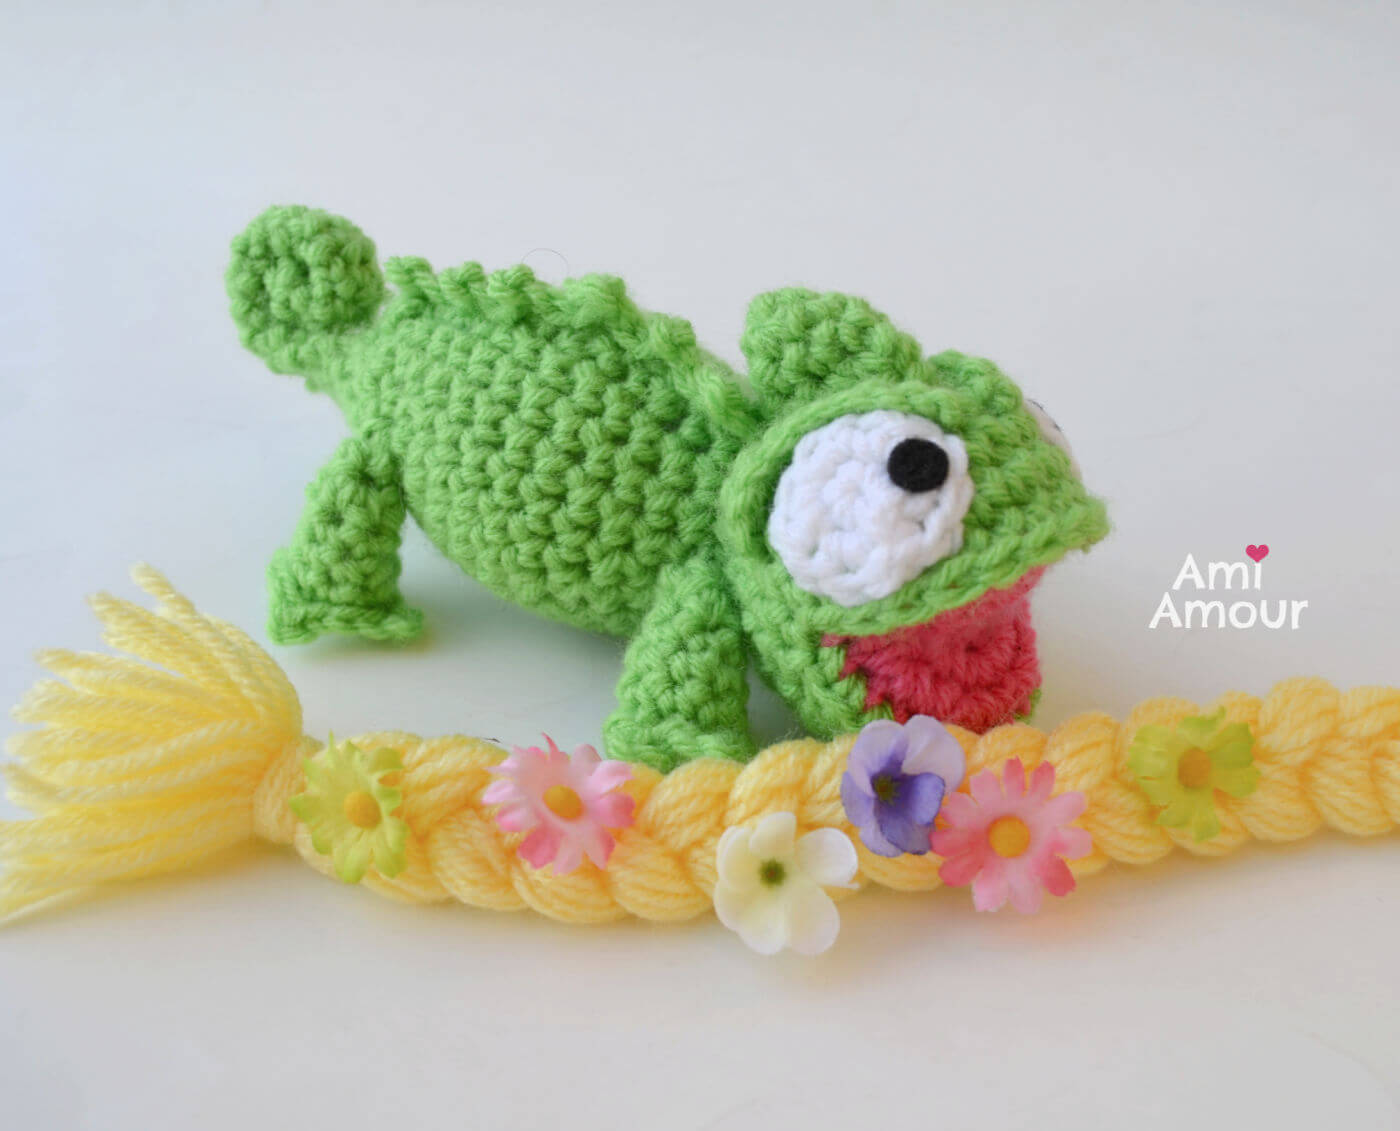
It is the nature of a crochet Chameleon to have many sides to him 😉
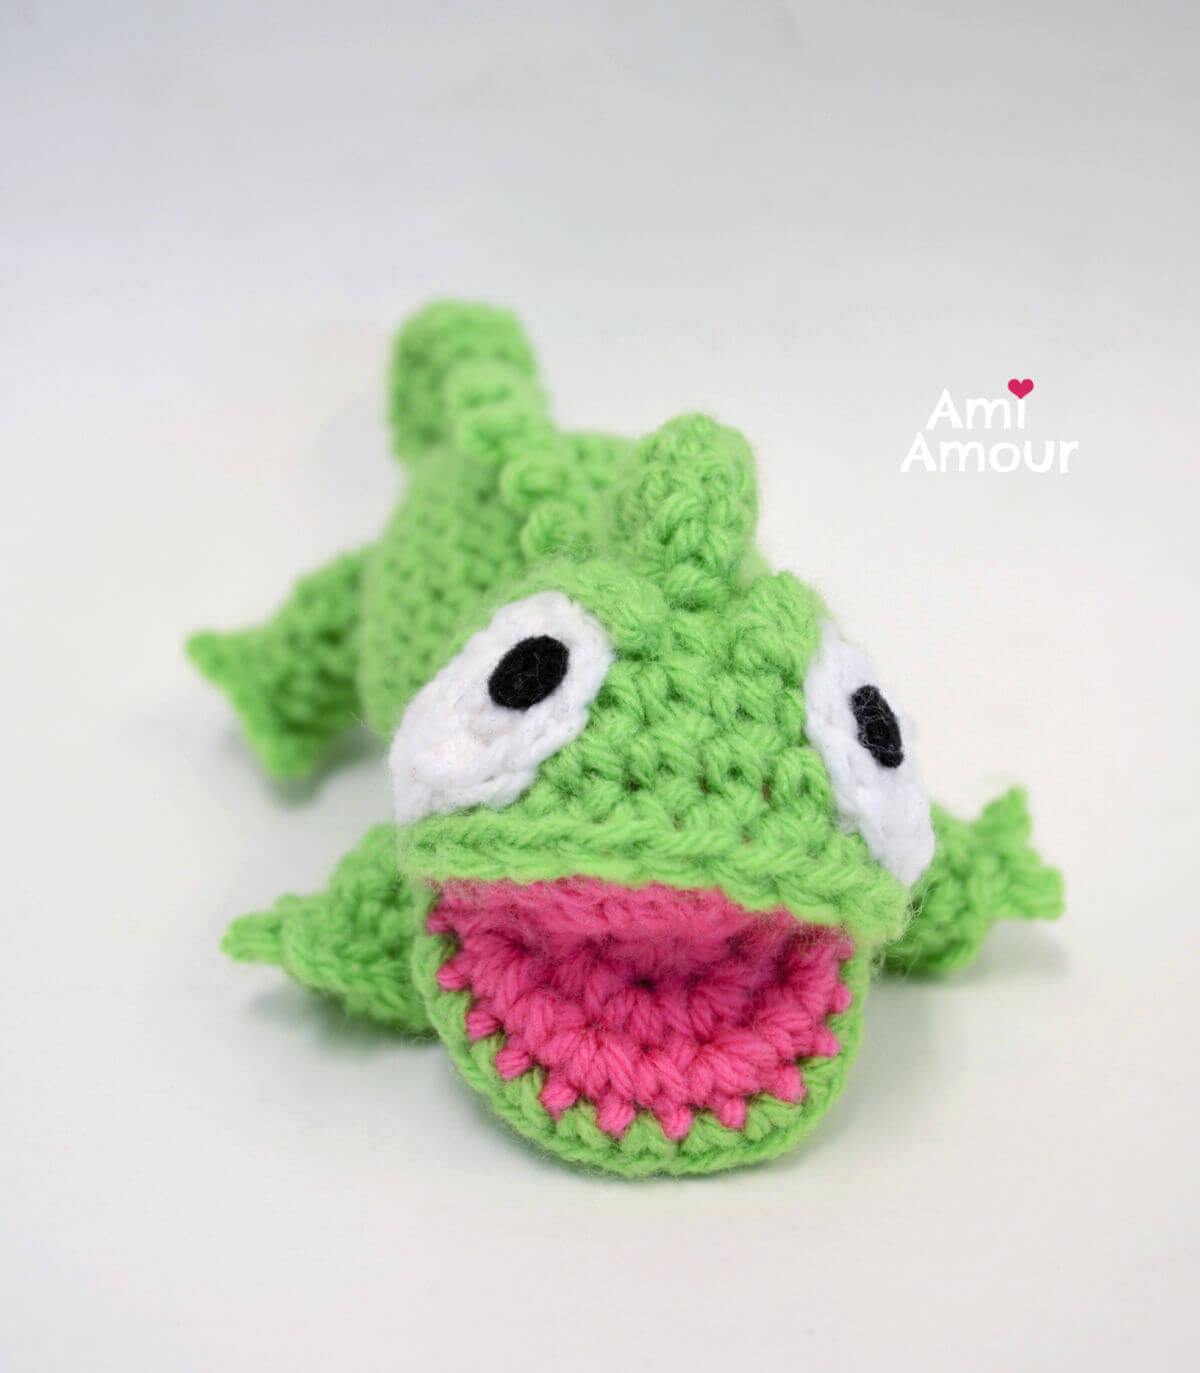
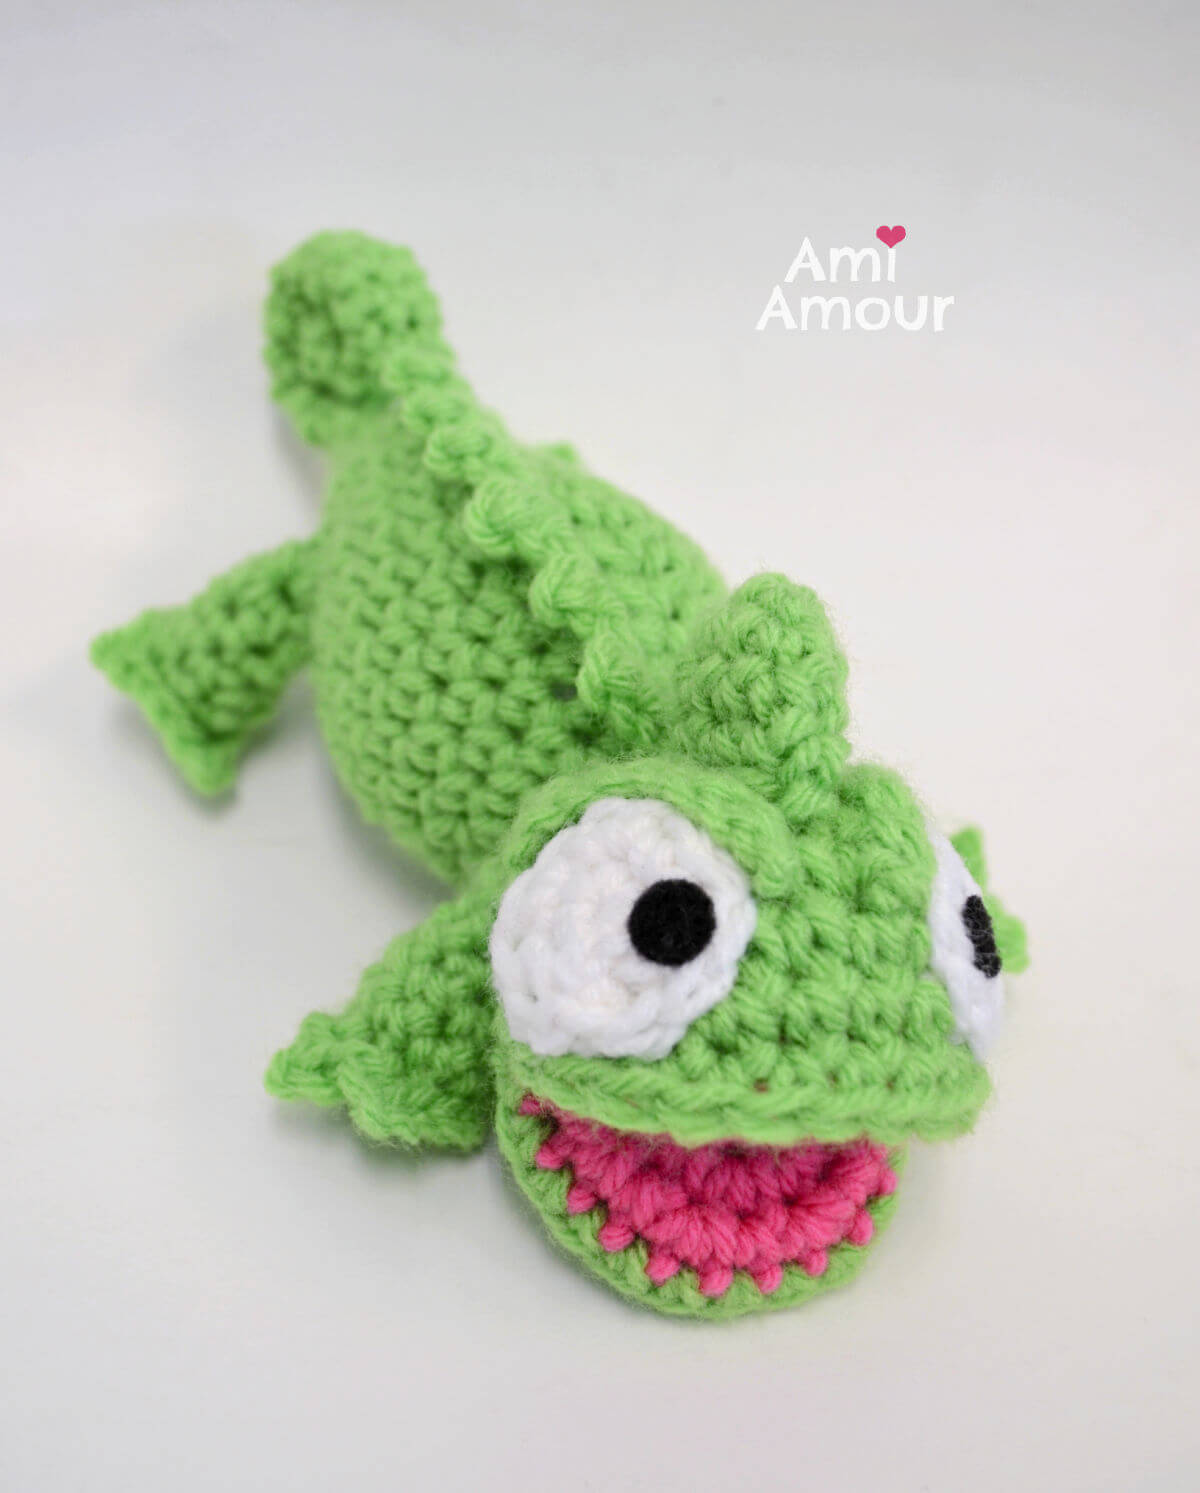
This Derpy Face makes me laugh! It’s his silly side showing up!
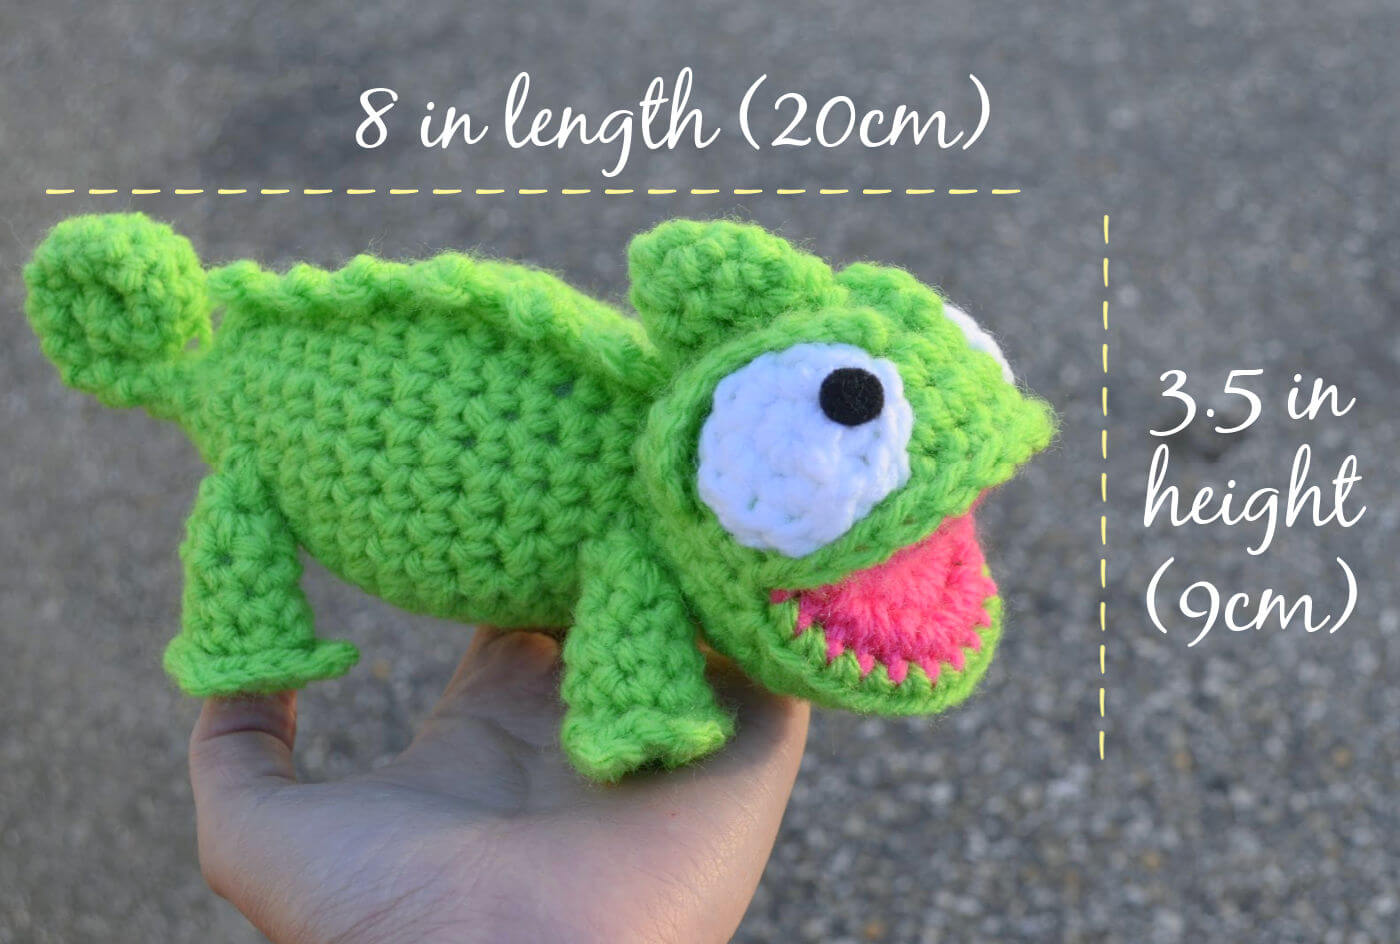
Here he is perched in my hand. He measures about 8 inches long and 3.5 inches tall.
Well I hope you enjoy making your Chameleon Amigurumi Pal with this free crochet pattern, and please do tag me with your projects on Instagram @ami_amour. I’d love to see! I’d especially adore to see any photos of some cute cosplay or even with a real life Chameleon! =D
Don’t forget to subscribe to my blog so you don’t miss any of my patterns!
If you like this pattern, you may also enjoy these other Open Mouth Amigurumi patterns on my blog:
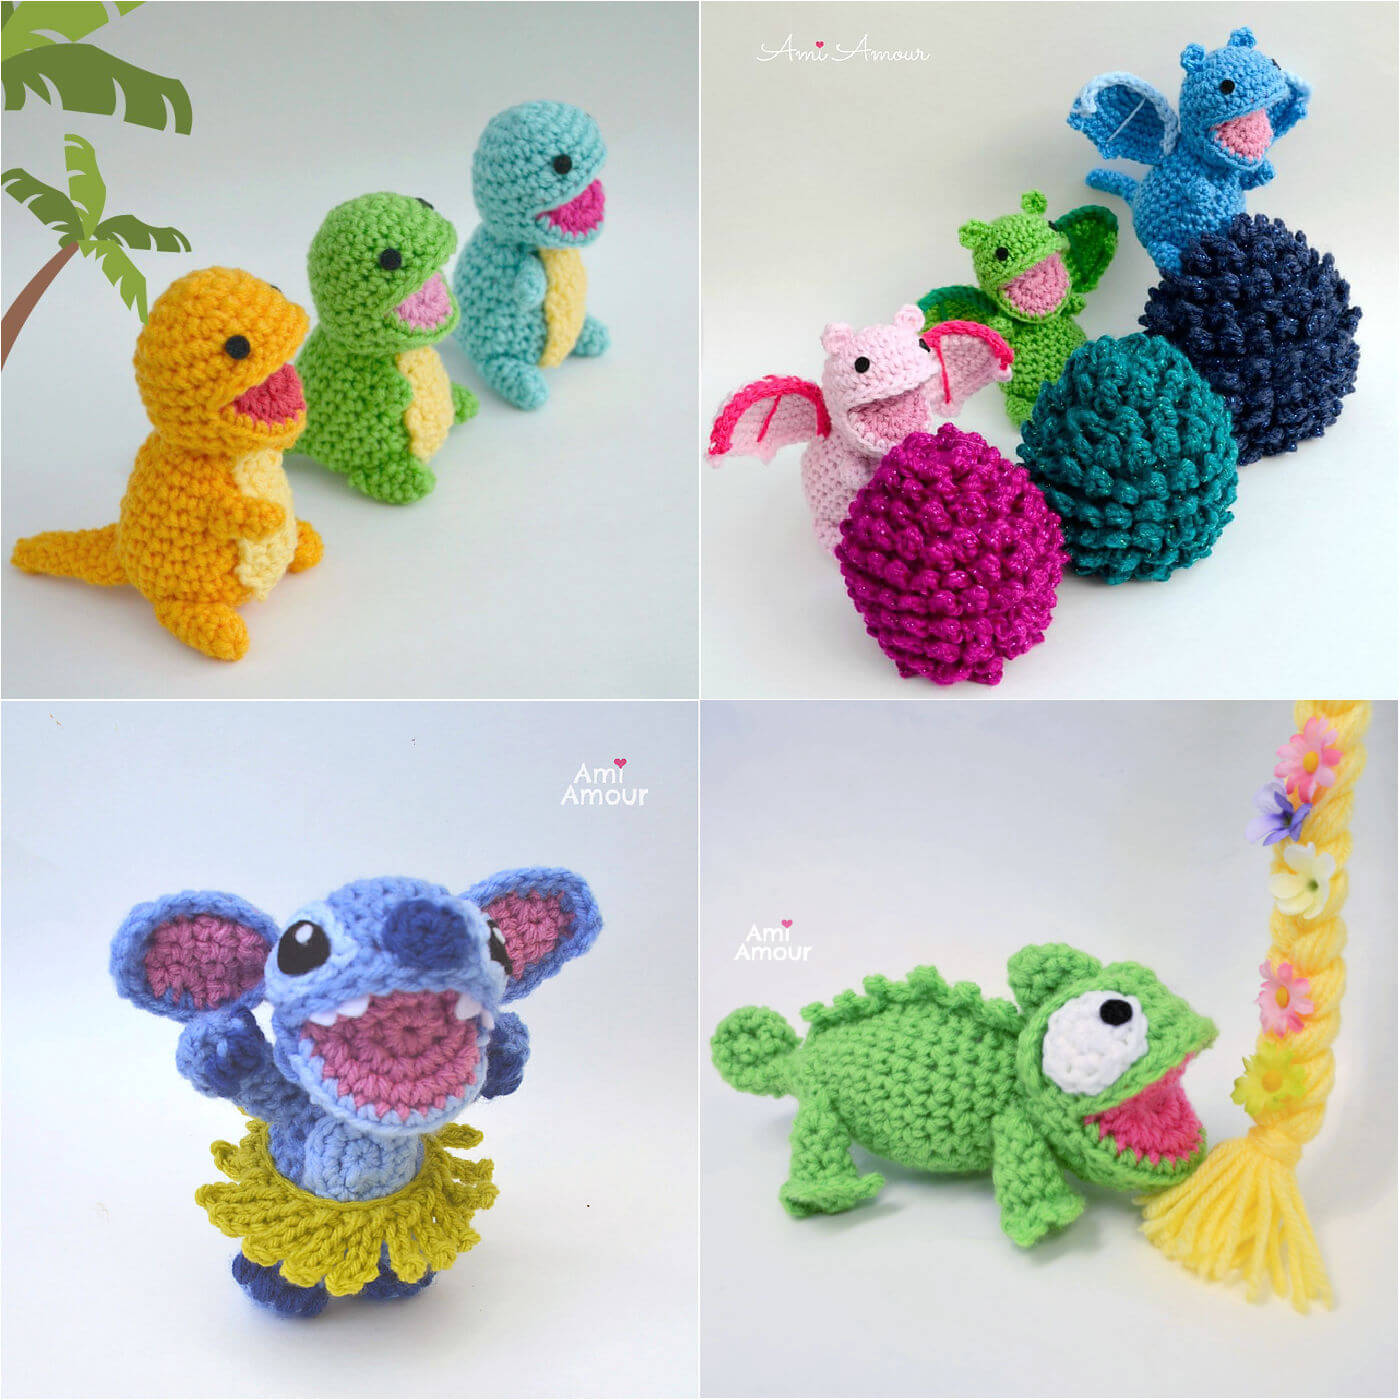
Shown Above:
1. Dinosaur Amigurumi
2. Dragon Egg with Surprise
3. Lilo and Stitch Amigurumi
Crochet Chameleon – Video Tutorial
See the Chameleon in action and crochet along with me!
Disclosure: This post contains affiliate links. This means I may receive a small commission if you decide to purchase anything by using one of these links.
This pattern is for personal use only.
Chameleon Amigurumi Pattern
LEVEL: Easy Intermediate
CROCHET HOOK: 5.0mm size (Here’s my favorite brand to use)
YARN:
Red Heart Super Saver (worsted weight, acrylic yarn)
– Spring Green
– Raspberry
– White
NOTIONS:
– Polyfil Stuffing
– Black Felt (for eyes for chameleon)
or you can also use 10mm Safety Eyes as another option.
– Fabri-tac Glue – for glueing on the eyes
– Scissors
– Stitch Marker
ABBREVIATIONS: (American English crochet)
ch – chain
hdc – half double crochet
sc – single crochet
sl st – slip stitch
sc2tog – single crochet 2 together (sc dec)
st – stitch
PROJECT SIZE: Approximately 8 inches in length and 3.5 inches in height.
HEAD
1. For the Head you will need to first follow the Open Mouth Head Base pattern found here. Use the color Green for the Head, and Pink for the mouth.
2. Then please come back to finish the rest of the Chameleon Amigurumi.
BODY and TAIL
With Spring Green yarn
Round 1: 4 sc into magic ring.
Round 2: 2 sc in next st, sc in next 3 st – 5 sc.
Round 3-15: Sc in each st – 5 sc.
Round 16: 2 sc in next st, sc in next 4 st – 6 sc.
Round 17: [2 sc in next st, sc in next 2 st] around – 8 sc.
Round 18: [2 sc in next st, sc in next 3 st] around – 10 sc.
Round 19: [2 sc in next st, sc in next 4 st] around – 12 sc.
Round 20: [2 sc in next st, sc in next 3 st] around – 15 sc.
Round 21: Sc in each st around – 15 sc.
Round 22: [2 sc in next st, sc in next 4 st] around – 18 sc.
Round 23: [2 sc in next st, sc in next 5 st] around – 21 sc.
Round 24: Sc in each st around – 21 sc.
Round 25: [2 sc in next st, sc in next 6 st] around – 24 sc.
Round 26: Sc in each st around.
Round 27: [Sc2tog, sc in next 6 st] around – 21 sc.
Round 28: [Sc2tog, sc in next 5 st] around – 18 sc.
Round 29: Sc in each st around – 18 sc.
Round 30: [Sc2tog, sc in next 4 st] around – 15 sc.
Round 31: Sc in each st around – 15 sc.
Fasten off, leaving a long tail.
Stuff Body.
EYE (make 2)
With white yarn
Round 1: 6 sc into magic ring.
Round 2: 2 sc in each st around – 12 sc.
Fasten off, leaving a long tail.
EYEBROW (make 2)
With Spring Green yarn
Ch 9, sl st in 2nd ch from hook and in each ch across – 8 sl st.
Fasten off, leaving a long tail.
BIG SPIKE
With Spring Green yarn
Round 1: 4 sc into magic ring.
Round 2: 2 sc in each st around – 8 sc.
Round 3: Sc in each st around – 8 sc.
Round 4: [2 sc in next st, sc in next 3 st] around – 10 sc.
Fasten off, leaving a long tail.
Do not stuff.
LITTLE SPIKES
With Spring Green yarn
Ch 14, sl st in 2nd ch from hook, (ch 2, sl st in 2nd ch from hook, sl st in next 2 ch) 6 times.
Note: Should have 6 spikes in total.
Fasten off, leaving a long tail.
LEGS (make 4)
With Spring Green yarn
Round 1: 4 sc into magic ring.
Round 2: Sc in each st around – 4 sc.
Round 3: 2 hdc in next 2 st, sc in next 2 st – 6 st.
Round 4: Hdc in next 4 st, sc in next 2 st – 6 st.
Round 5: [2 sc in next st, sc in next 2 st] around – 8 sc.
Round 6: Sc in each st around – 8 sc.
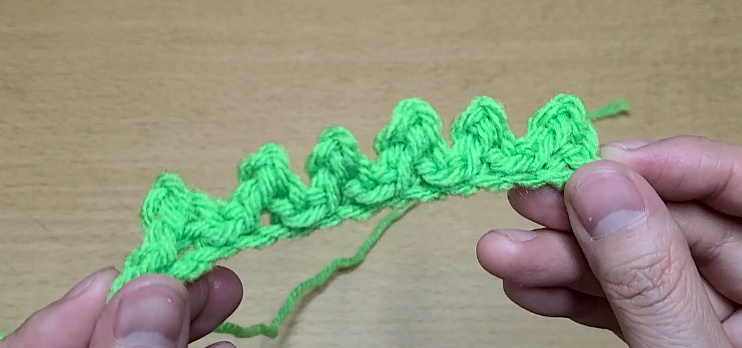
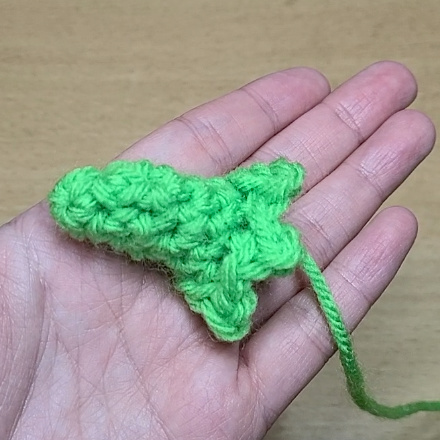
Round 7a: In Front Loop only, sl st in next st, (ch 2, sl st in previous ch, sl st in next st) 3 times, sl st in next 4 st.
Note: Video tutorial for this leg part here.
Round 7b: In Back Loop only, sc2tog 3 times.
Fasten off, leaving a long tail.
Stuff leg and sew bottom closed. Afterwards pass the yarn tail through to the top of the leg so it will be ready to sew onto Body.
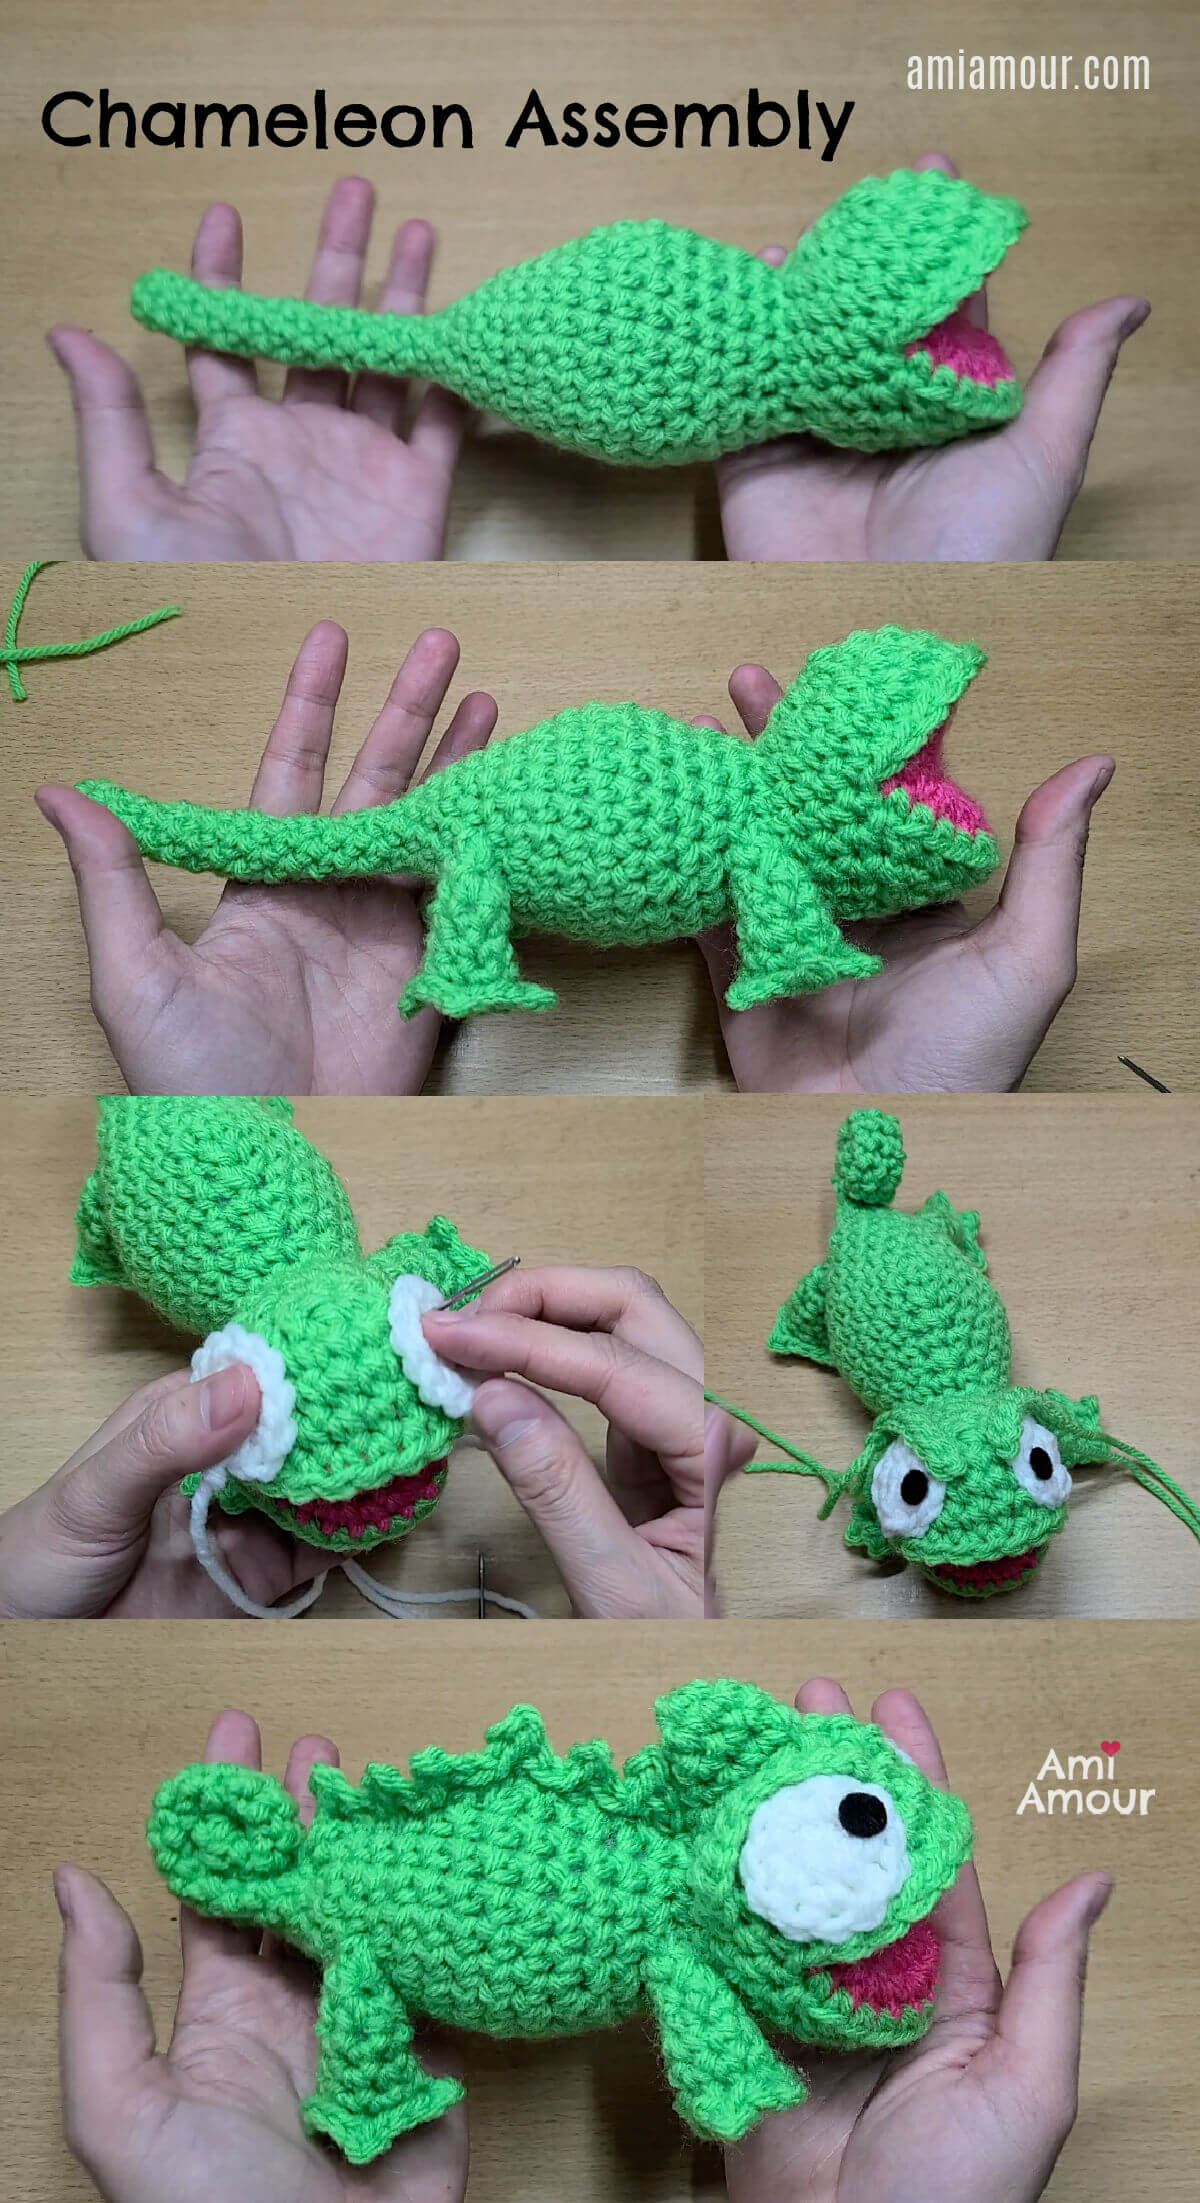
CHAMELEON ASSEMBLY
Note: Video for the assembly here.
1. Sew Head to Body.
2. Sew Legs to Body. Try to stabilize legs so that the chameleon can stand on its own.
3. Curl Tail into a Spiral and sew into place.
4. Sew Eyes onto Head. (If you’re using Safety Eyes, you can put them on now before you sew on the eyes. I recommend using at least 10mm sized Safety Eyes or bigger.)
Placement: There should be 3 stitches in between the eyes.
5. Sew and arch Brows over the Eyes. You will only sew the one length of the brow that curves around the eye. The other opposite side of the length you will not sew down because we want it to hang free and curve over the eye like a shade or awning.
6. Sew Big Spike on top of Head.
7. Sew Little Spikes onto top of Body.
8. Cut small circles from black felt for the pupils. Glue onto eyes with Fabri-tac.
Note: If you’re curious how I’m able to cut perfect felt shapes for my amigurumi, be sure to read my blog post where I write all about the tool that helps me out!
9. Cut and hide all ends.
10. Tag me with your projects on Instagram @ami_amour, I’d love to see!

No Comments