
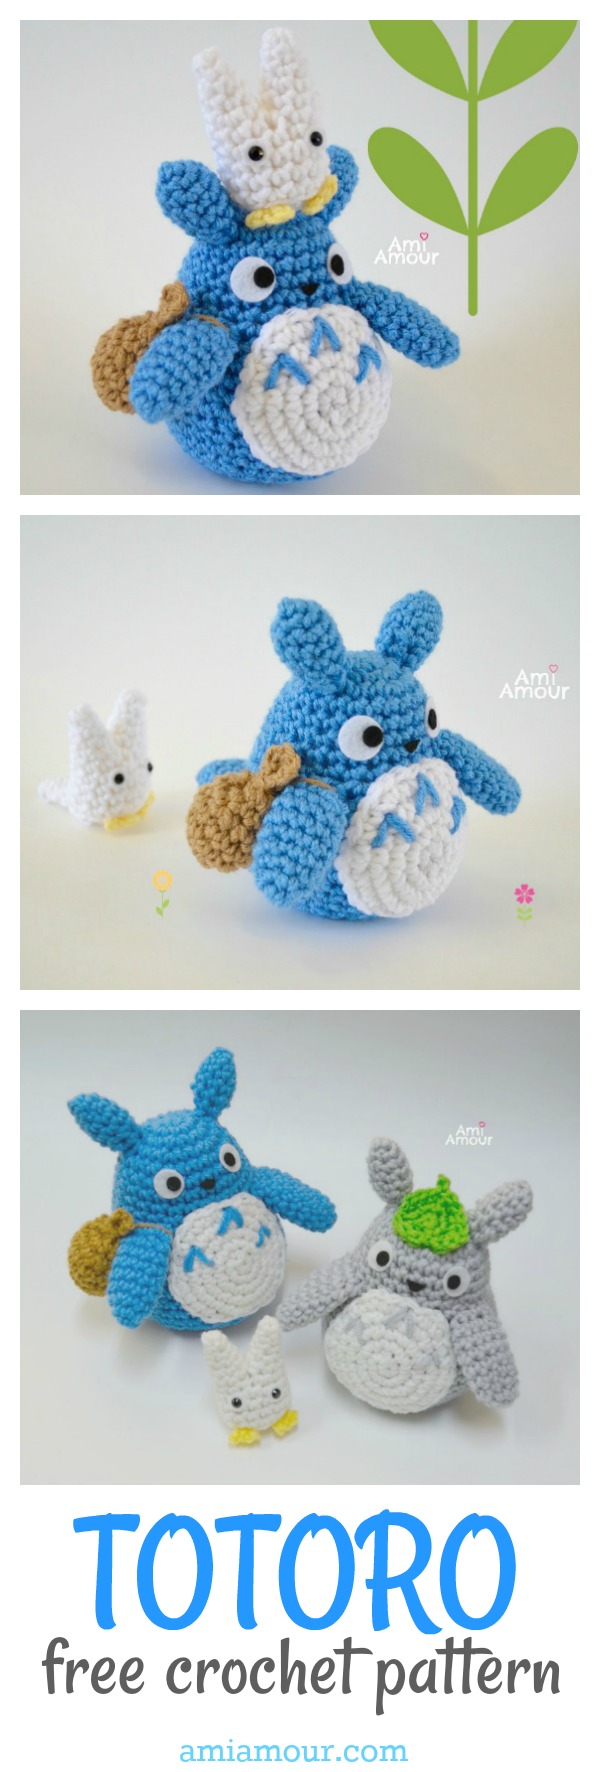
I finally got the chance to write up this free Totoro amigurumi crochet pattern. I hope you guys will enjoy!
Totoro was first introduced in Hayao Mikazaki’s animated film My Neighbor Totoro (1988).
He’s a forest spirit that comes to the comfort of two little girls when their mother is sick and he takes them on a great adventure and shows them the beauty and wonder of the forest.
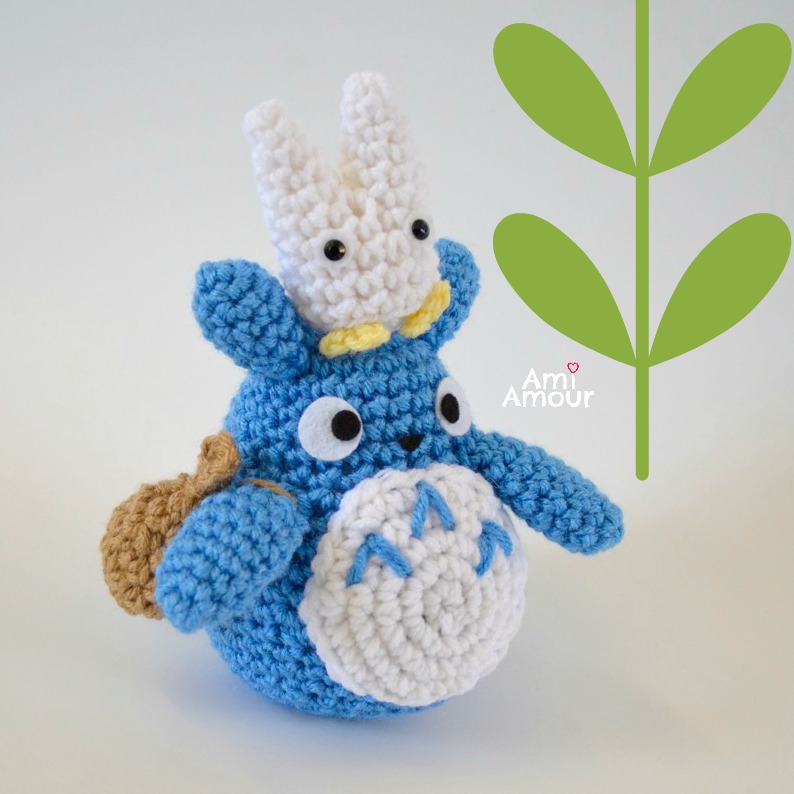
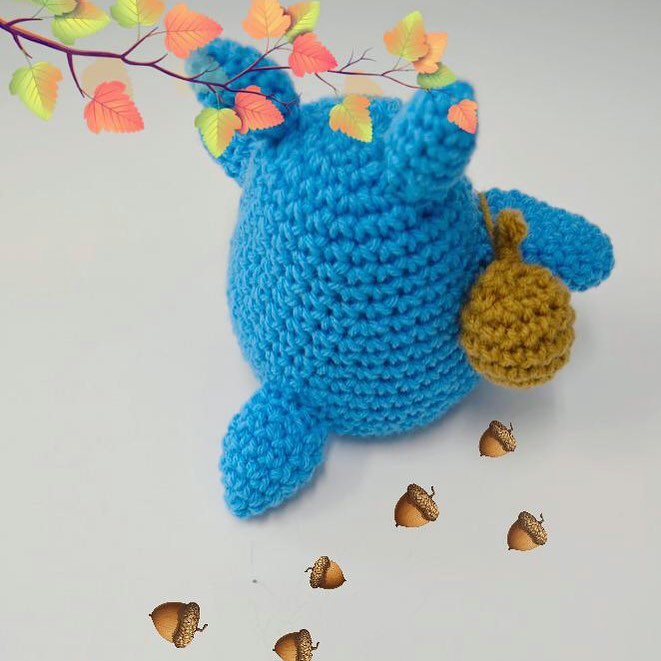
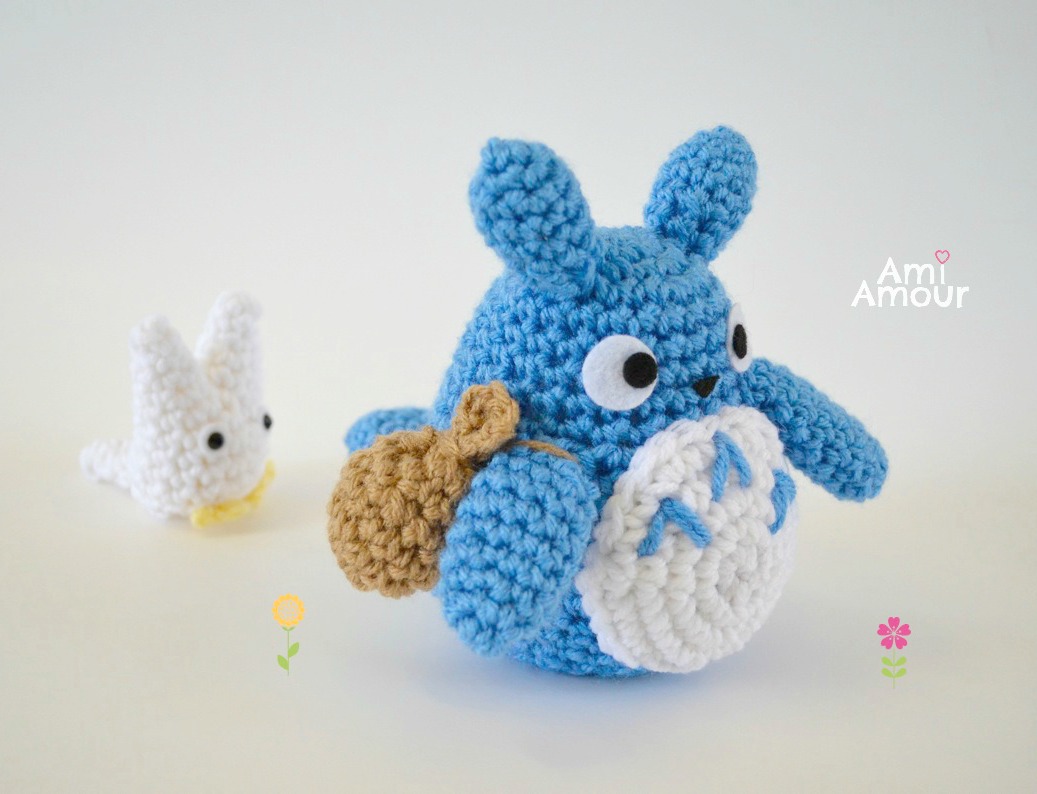
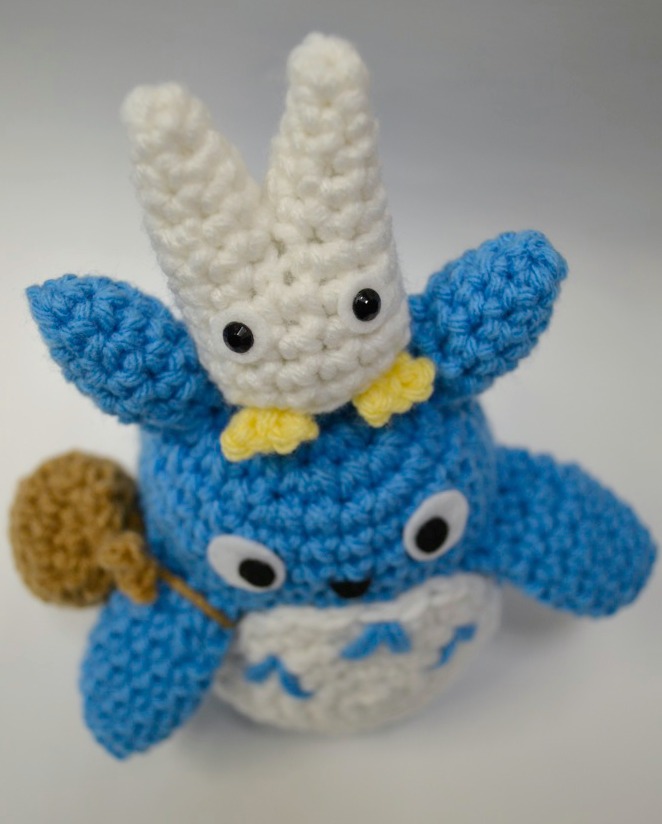
The gray Totoro is the one best known, but there’s also a smaller blue Totoro (aka Chu Totoro) and a white chibi Totoro. The blue Totoro likes to collect acorns and carry them in his knapsack.
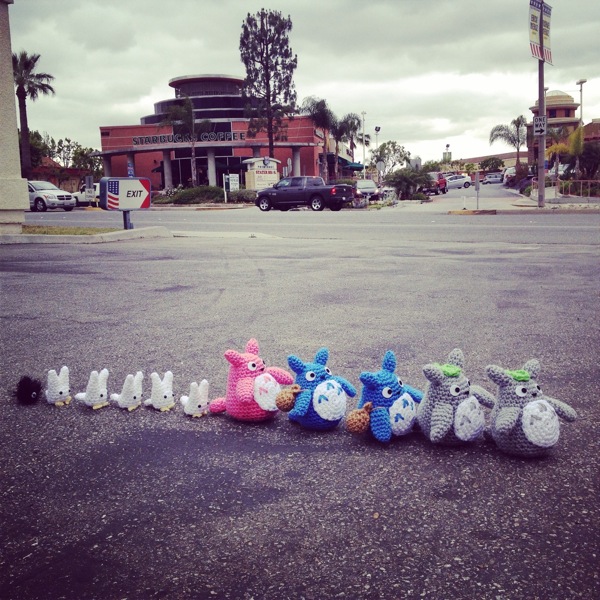
I’m a huge fan of Studio Ghibli (you can check out my free Soot Sprite pattern as well!) and I’ve made many crochet Totoros throughout the years. I even made a pink Totoro amigurumi!
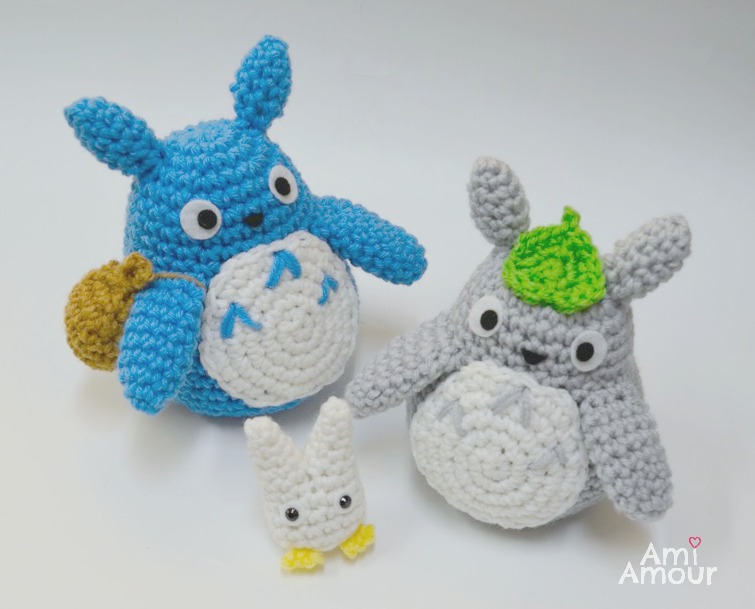
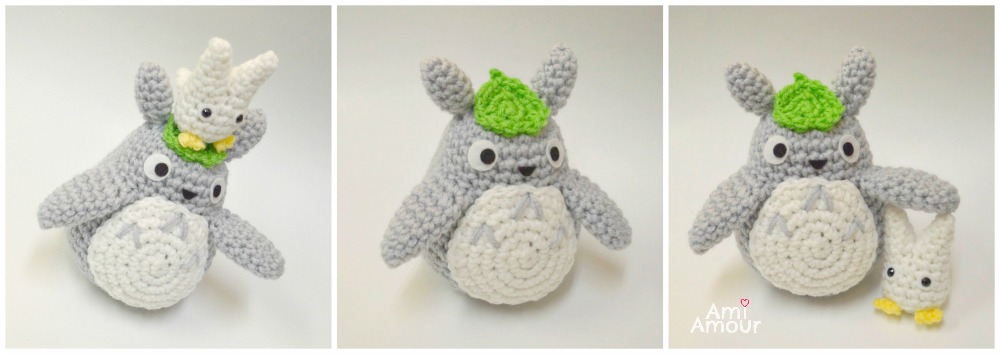
When I crochet the Gray Totoro Amigurumi I like to give him a little green leaf at the top of his head. It’s what he uses to shield his head from the rain sometimes!
Have fun making all the different color crochet Totoros. I also include the chibi white Totoro amigurumi pattern as well! And be sure to subscribe to my blog to get all the latest pattern updates!
If you like this pattern, you may enjoy these other Studio Ghibli patterns as well:


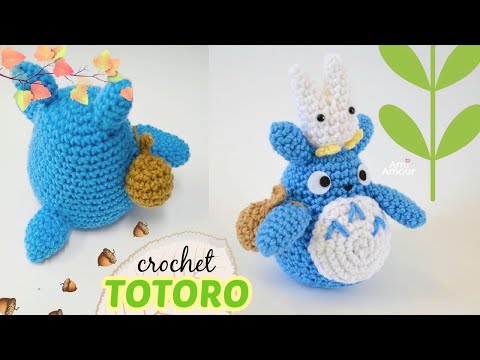
TOTORO – CROCHET TUTORIAL VIDEO
See Totoro in action and crochet along with me!
*Disclosure: This post contains affiliate links. This means I may receive a small commission if you decide to purchase anything by clicking on one of these links. Thank you for your support!
Amigurumi Totoro Crochet Pattern
SKILL LEVEL: Easy
CROCHET HOOK:
Size H-8 (5 mm)
YARN:
Loops & Threads, Impeccable – worsted weight, acrylic yarn
- Clear Blue
- White
- Soft Taupe
- Butterscotch
NOTIONS:
Polyester Fiberfill
White Felt
Yarn Needle
Stitch Marker
Fabri-tac Glue
6 mm Acrylic Rhinestones (or Black Felt)
ABBREVIATIONS:
ch – chain
sc – single crochet
sl st – slip stitch
sc2tog – single crochet 2 together (sc dec)
st – stitch
SIZE:
Totoro: Approximately 7 in / 18 cm tall,including ear
Chibi Totoro: Approximately 3 in / 8 cm tall.
BODY
Round 1: With blue yarn, ch 2, 6 sc into first ch.
Round 2: 2 sc in each st around – 12 sc.
Round 3: [2 sc in next st, sc in next st] around – 18 sc.
Round 4: [2 sc in next st, sc in next 2 st] around – 24 sc.
Round 5-9: Sc in each st around.
Round 10: [2 sc in next st, sc in next 3 st] around – 30 sc.
Round 11-12: Sc in each st around.
Round 13: [2 sc in next st, sc in next 4 st] around – 36 sc.
Round 14: Sc in each st around.
Round 15: [2 sc in next st, sc in next 5 st] around – 42 sc.
Round 16: [Sc2tog, sc in next 5 st] around – 36 sc.
Round 17-18: Sc in each st around.
Round 19: [Sc2tog, sc in next 4 st] around – 30 sc.
Round 20: Sc in each st around.
Round 21: [Sc2tog, sc in next 3 st] around – 24 sc.
Note: Begin stuffing, and stuff as you go.
Round 22: [Sc2tog, sc in next 2 st] around – 18 sc.
Round 23: [Sc2tog, sc in next st] around – 12 sc.
Round 24: Sc2tog around – 6 sc.
Fasten off, leaving a long tail. Stuff and sew closed.
ARM (make 2)
Round 1: With blue yarn, ch 2, 4 sc into first ch.
Round 2: 2 sc in each st around – 8 sc.
Round 3: [2 sc in next st, sc in next 3 st] around – 10 sc.
Round 4-7: Sc in each st around.
Round 8: [Sc2tog, sc in next 3 st] around – 8 sc.
Round 9: Sc in each st around.
Fasten off, leaving a long tail.
Stuff very lightly.
TAIL
Round 1: With blue yarn, ch 2, 4 sc into first ch.
Round 2: 2 sc in each st around – 8 sc.
Round 3: [2 sc in next st, sc in next st] around – 12 sc.
Round 4-5 Sc in each st around.
Round 6 [Sc2tog, sc in next st] around – 8 sc.
Round 7 Sc in each st around.
Fasten off, leaving a long tail.
Stuff very lightly.
EAR (make 2)
Round 1: With blue yarn, ch 2, 4 sc into first ch.
Round 2: [2 sc in next st, sc in next st] around – 6 sc.
Round 3: [2 sc in next st, sc in next 2 st] around – 8 sc.
Round 4-5: Sc in each st around.
Round 6: [Sc2tog, sc in next 2 st] around – 6 sc.
Note: Begin stuffing.
Round 7: [Sc2tog, sc in next st] around – 4 sc.
Fasten off, leaving a long tail. Finish stuffing.
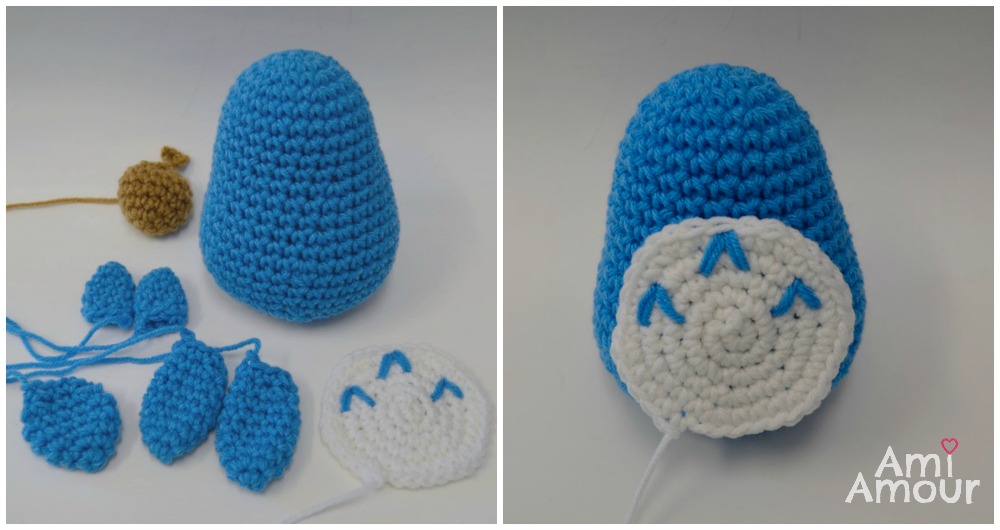
BELLY PATCH
Round 1: With white yarn, ch 2, 6 sc into first ch.
Round 2: 2 sc in each st around – 12 sc.
Round 3: [2 sc in next st, sc in next st] around – 18 sc.
Round 4: [2 sc in next st, sc in next 2 st] around – 24 sc.
Round 5: [2 sc in next st, sc in next 3 st] around – 30 sc.
Round 6: [2 sc in next st, sc in next 4 st] 3 times – 33 sc.
Fasten off, leaving a long tail.
Use blue yarn to embroider the 3 ^ marks on the Belly Patch. I like to double strand the yarn to make the marks stand out more.
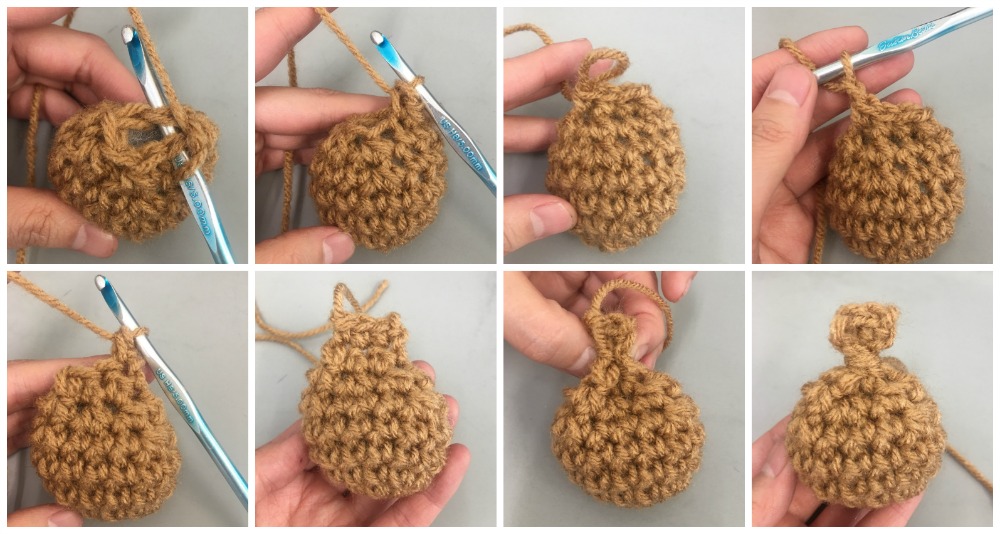
KNAPSACK
Round 1: With brown yarn, ch 2, 6 sc into first ch.
Round 2: 2 sc in each st around – 12 sc.
Round 3: [2 sc in next st, sc in next 3 st] around – 15 sc.
Round 4-5: Sc in each st around.
Round 6: [Sc2tog, sc in next 3 st] around – 12 sc.
Round 7: Sc2tog around – 6 sc.
We will now begin to work in rows.
Row 8: Stuff, sew shut with 3 sc across the top (See photos below).
Row 9: Ch 1, sc across – 3 sc.
Fasten off, leave a long tail. Pinch the top, and wrap the yarn around the tip of the knapsack several times and tie through to secure. Leave a long tail so we can tie to arm. See photos below.
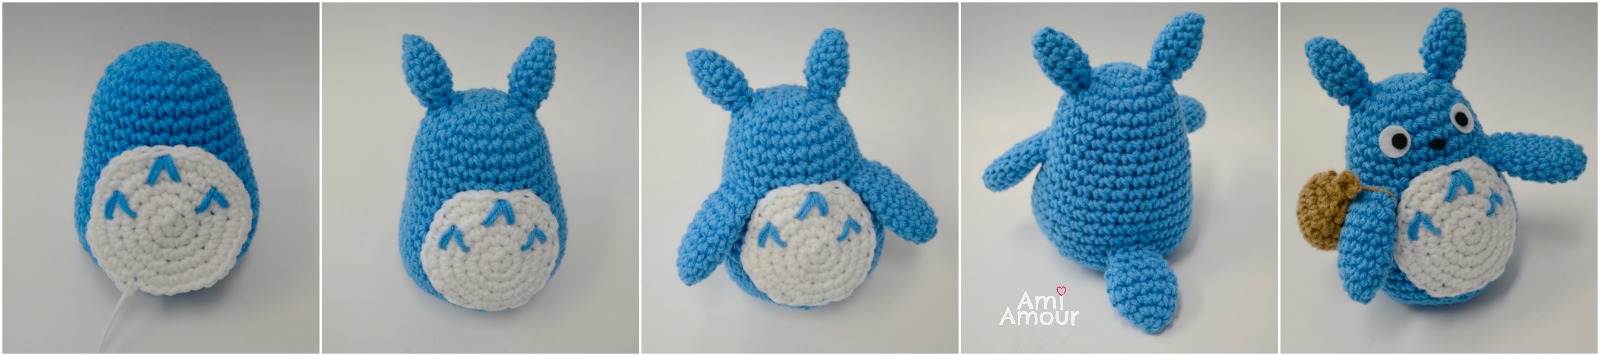
ASSEMBLY
1. Sew Belly Patch to Body.
2. Sew Arms to Body.
3. Sew Tail to Body.
4. Sew Ears to Head.
5. Secure knapsack around arm.
6. Cut 2 white circles from felt for the eyes. Cut 2 small black circles from felt. Sew or glue on. I like to use Fabri-tac Glue to glue them on.
7. Cut a small triangle for the nose, and glue or sew on.
8. Hide and cut off all ends.
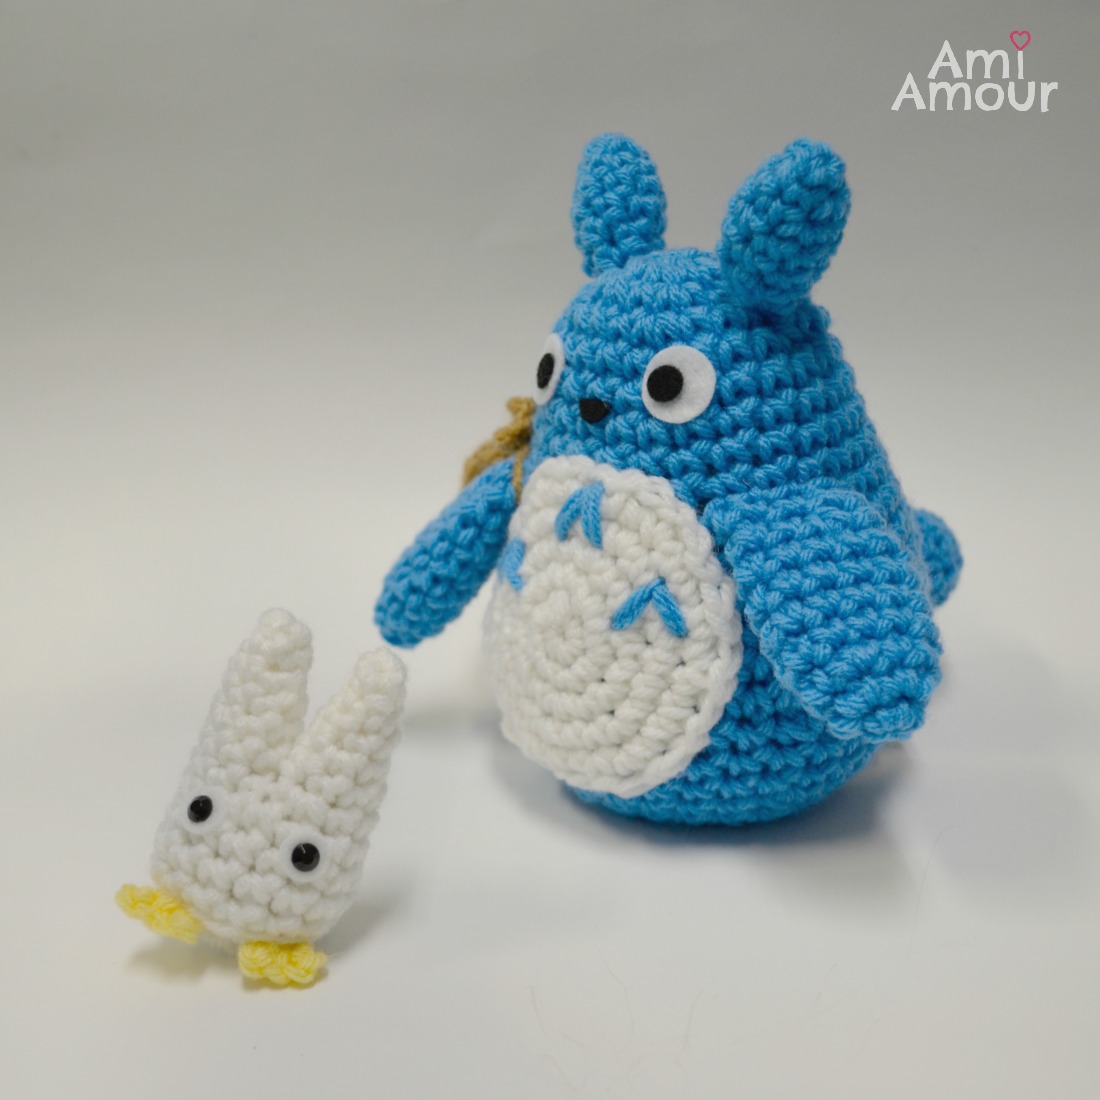
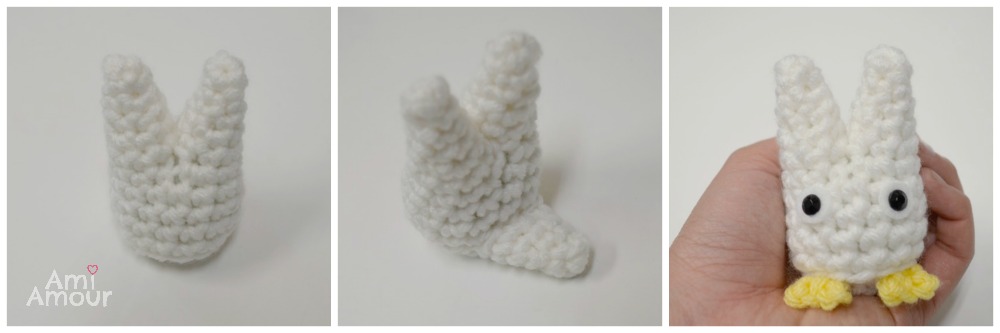
CHIBI TOTORO AMIGURUMI PATTERN
BODY
Round 1: With white yarn, ch 2, 4 sc into first ch – 4 sc.
Round 2: Sc in each st around.
Round 3: [2 sc in next st, sc in next st] around – 6 sc.
Round 4: Sc in each st around.
Round 5: [2 sc in next st, sc in next 2 st] around – 8 sc.
Round 6: Sc in each st around.
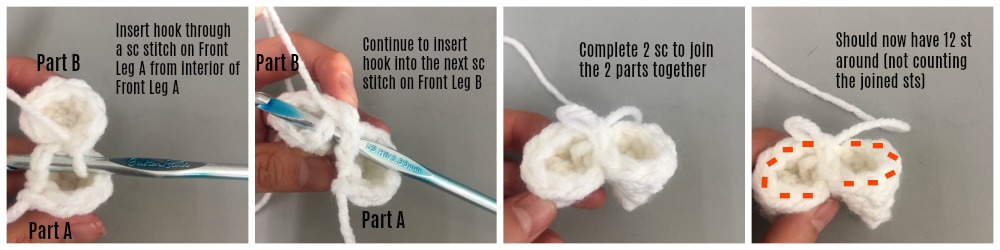
You have created Part A. Repeat Rounds 1-6 to create Part B, but do not fasten off. Join Part A and B by joining across 2 sts of BOTH Part A and Part B with sc. See photos below. (Another option is to create the 2 parts and then sew them together across 2 sts). You should now have 12 sts around. We will now work around the body.
Round 7: [2 sc in next st, sc in next 5 st] around – 14 sc.
Round 8-11: Sc in each st around.
Round 12: (In back loop only) Sc2tog around – 7 sc.
Stuff and sew closed.
TAIL
Round 1: With white yarn, ch 2, 4 sc into first ch – 4 sc.
Round 2: Sc in each st around.
Round 3: [2 sc in next st, sc in next st] around – 6 sc.
Round 4: Sc in each st around.
Round 5: [2 sc in next st, sc in next 2 st] around – 8 sc.
Fasten off, leaving a long tail. Do not stuff.
FEET (make 2):
With yellow yarn, ch 2, sl st into first ch, ch 2, sl st in next 2 st.
ASSEMBLY
1. Sew tail to back.
2. Sew feet on.
3. Cut 2 small white circles. Glue two *6mm black acrylic rhinestones for the pupils (DO NOT use if for young children. See warning note.). Or you can also cut out 2 smaller black circles from felt for the pupils as well. I like to use Fabri-Tac as my glue.
WARNING:
CHOKING HAZARD — The acrylic rhinestones contains small parts. It is NOT for children under 3 years.
BONUS TIME!
You can also use the Blue Totoro Pattern to create the Gray Totoro. Here’s a bonus freebie for the leaf on its head. Go ahead and create the whole collection! You can never have too many Totoros 😉
LEAF HAT
Round 1: With green yarn, ch 2, 6 sc into first ch – 6 sc.
Round 2: 2 sc in each st around – 12 sc.
Round 3: 3 hdc in next st, sl st in next st, 3 hdc in next st, sc in next 4 st, ch 3, sl st back the 2 ch, sc in next 4 st, sl st in next st.
Fasten off, leaving a long tail.
I hope you have fun making your very own Totoros and when you finish your projects be sure to tag me on my Instagram or my Facebook. I’d love to see!

14 Comments
Kackie Cohen
September 17, 2019 at 7:00 amLove love love this! So sweet, thanks for sharing!
Ami Amour
September 17, 2019 at 9:08 amThanks Kackie, so glad you like!
Emily
August 30, 2020 at 1:08 pmThis is so adorable! Approximately how tall does Totoro end up being?
Ami Amour
August 30, 2020 at 1:43 pmThanks! He’s about 7in/18cm tall, including his ears.
Lee-Anne
January 25, 2021 at 9:36 amI love your patterns and am always recommending them :). I made Totoro and gave him safety eyes and nose, he’s so adorable and fits in the palm of my hand! Please continue to design lovey Chibi amigurumi!
Ami Amour
January 25, 2021 at 10:17 amThank you, I love chibi amigurumis myself and hope to keep coming out with more patterns! I bet your Totoro is adorable! 💙
Erin
March 20, 2021 at 10:27 amHello! I’m a beginner at crochet and I got a little stuck at round 6 of the belly patch for the blue totoro (Round 6: [2 sc in next st, sc in next 4 st] 3 times – 33 sc.) Do you just repeat the 2sc in one, sc in next 4 until you make 33 sc? 3 times would be 18 sc. I’m new to reading patterns so I’m not sure what I’m missing.
Thanks for your help!
Ami Amour
March 20, 2021 at 11:07 amHi, you would only do it 3 times, so up to that stitch you finish off it would be only 18 stitches you do. I just wrote 33 stitches because if you count all around the round, the previous round had 30 stitches, but we added 3 more extra stitches (because we did 3 increases) to equal a total of 33 stitches in total. Hope that helps and make sense!
Kayla
September 20, 2021 at 7:58 pmHey so when we begin the body do we do a magic circle or just a slip knot?
Ami Amour
September 20, 2021 at 8:19 pmHi, I like to do a magic ring to start the amigurumi. But you can also do Ch 2, 6 sc into the first ch to begin as annother way to start as well. Happy crocheting!
Lulu
April 12, 2022 at 3:16 amHi Sharon! This is super adorable! I am currently making this for my sister’s graduation gift with a little adjustment by adding a convocation hat instead of the leaf. Will it be alright to share a video on tiktok (not a tutorial) after I’m done with the Totoro? I will add your website to my video as well 😊. Please do let me know as I would love to share this with my fellow friends and family. Thank you!
Ami Amour
April 12, 2022 at 4:30 pmHi sure, yes that’ll be fine. Thanks for the credit! And Happy Graduation to your sis! A Graduation Totoro present sounds wonderful!
rachel grech
July 26, 2022 at 5:46 amhi, is this worked in uk or us terms please?
These pattens are so adorable.
Thank you
Ami Amour
July 26, 2022 at 11:47 amHi, it is written in US crochet terms. Thank you! So glad you like my patterns. Happy Crocheting!