
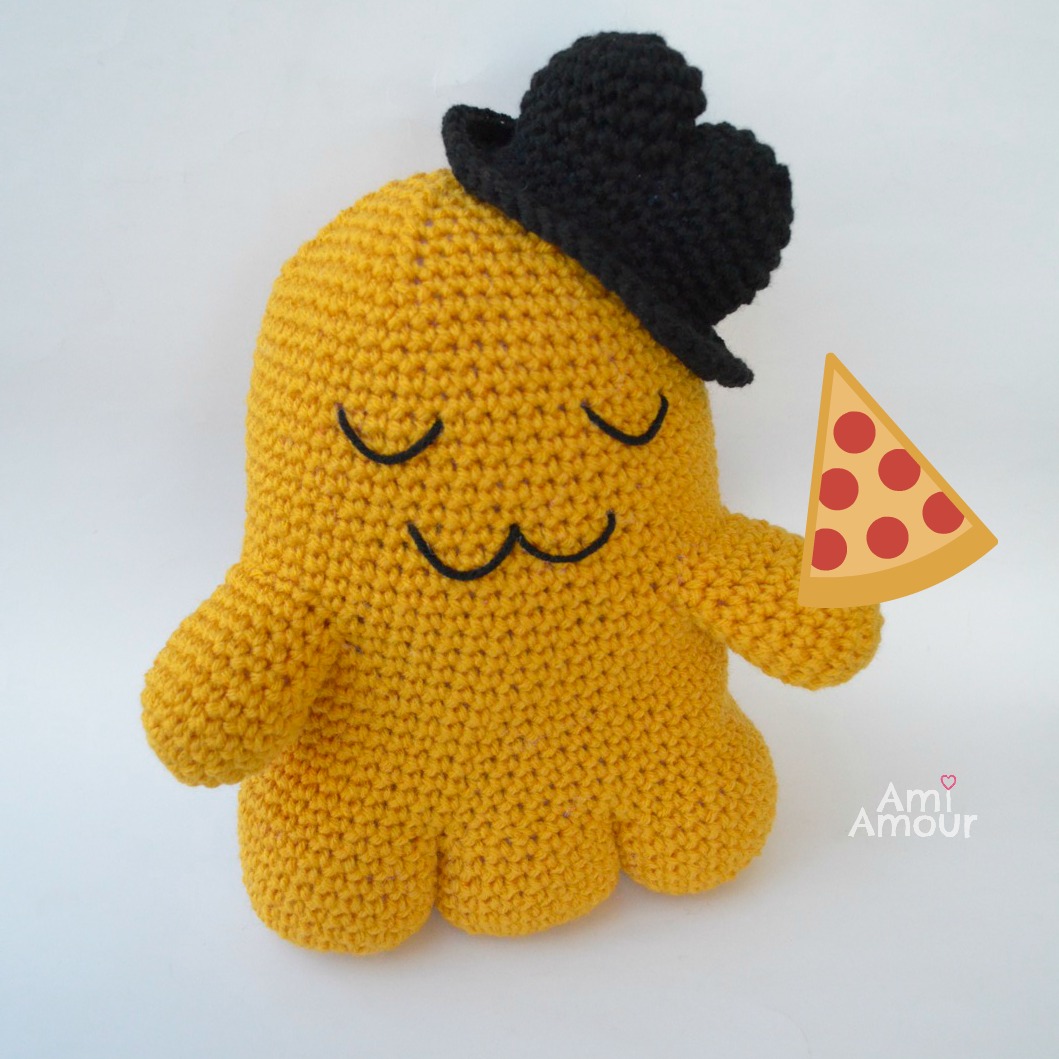
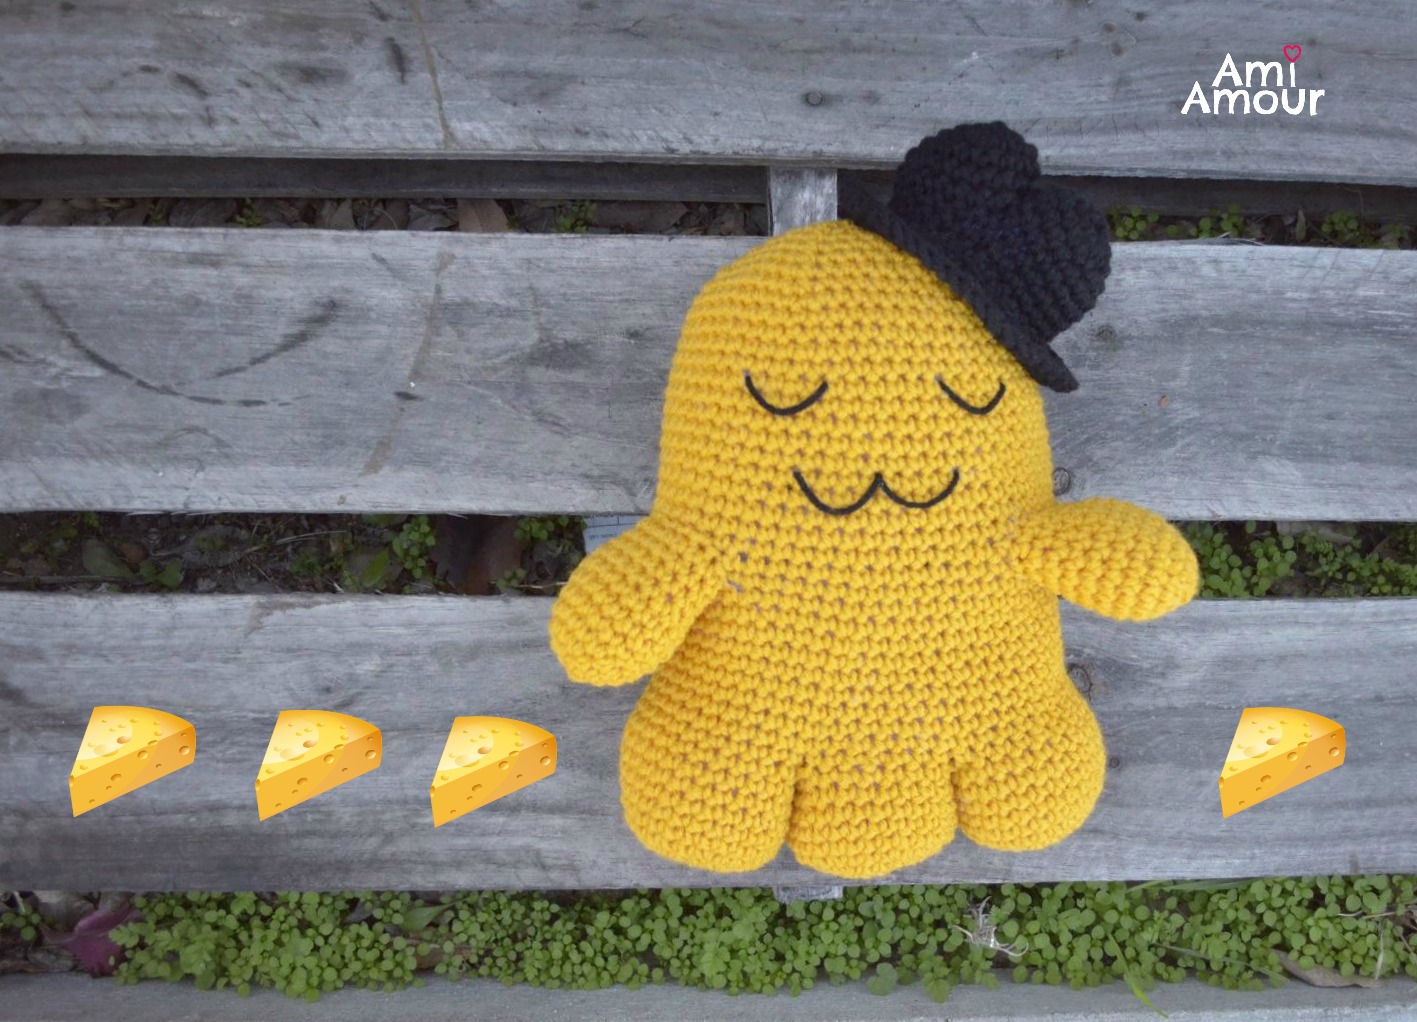
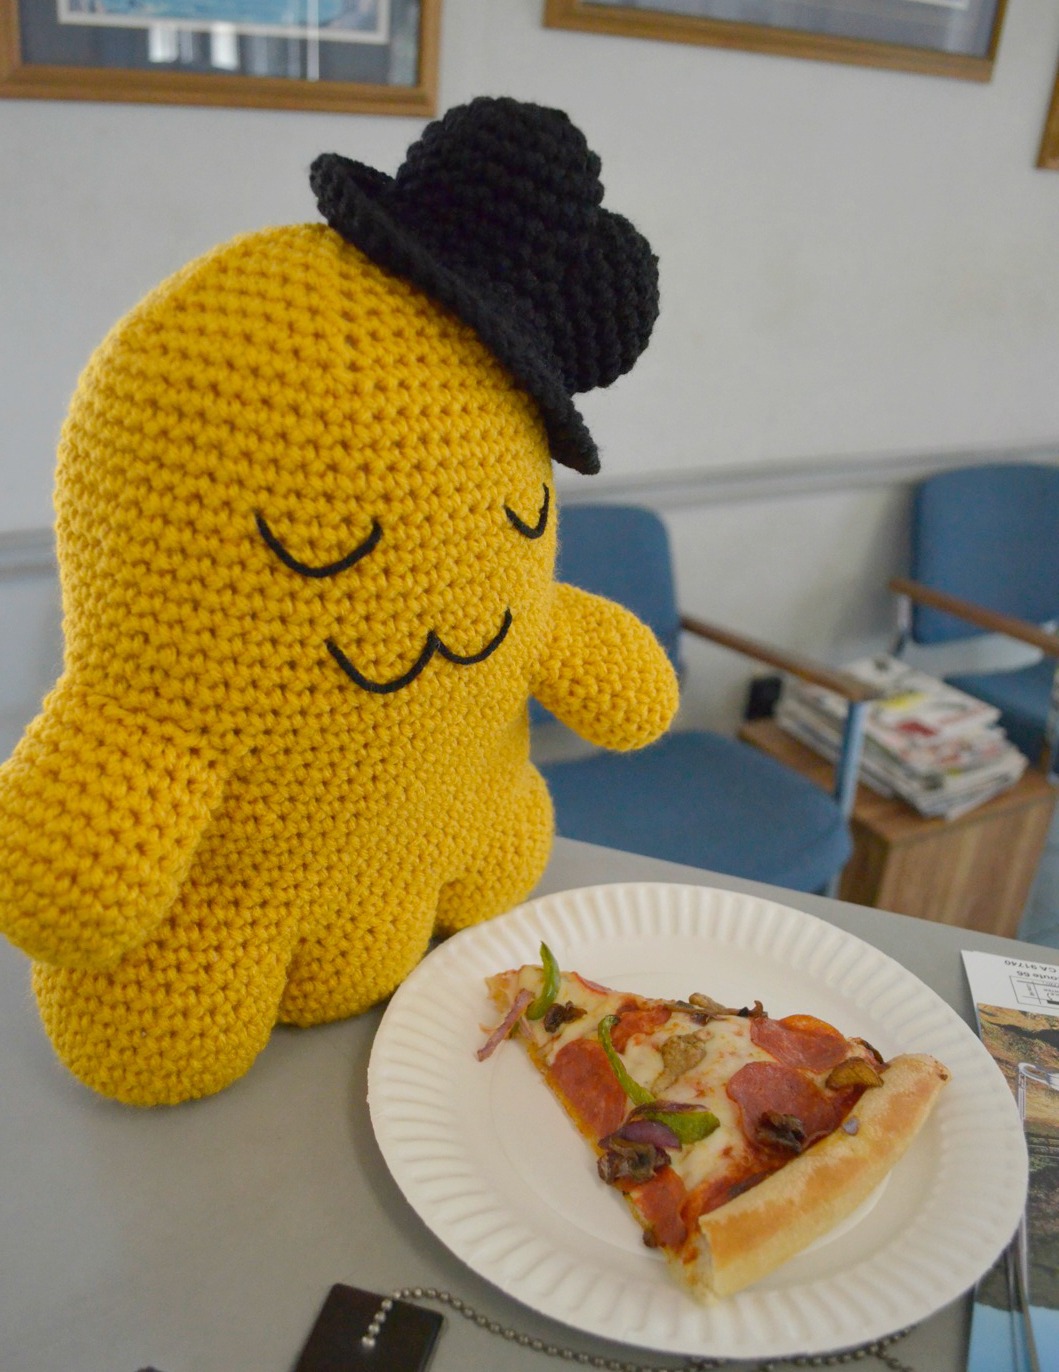
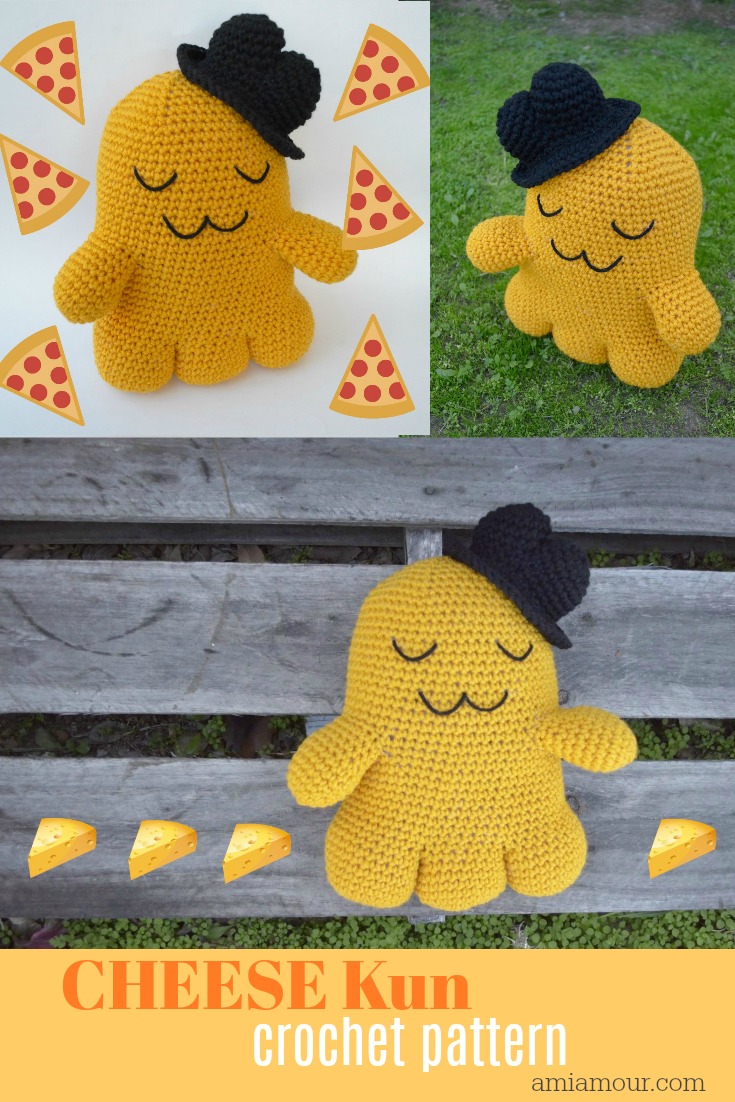
For those who love cheese and pizza, this is a perfect Cheese Kun Amigurumi pattern to crochet! I first heard of Cheese Kun from the anime Code Geass. In there a character named C.C. loves pizza and she orders so many that she finally wins the prize of Cheesekun as the plushie. In Japan, Cheese kun is a bit like the mascot for Pizza Hut. You can see him popping up quite often on the Japanese Pizza Hut facebook page.

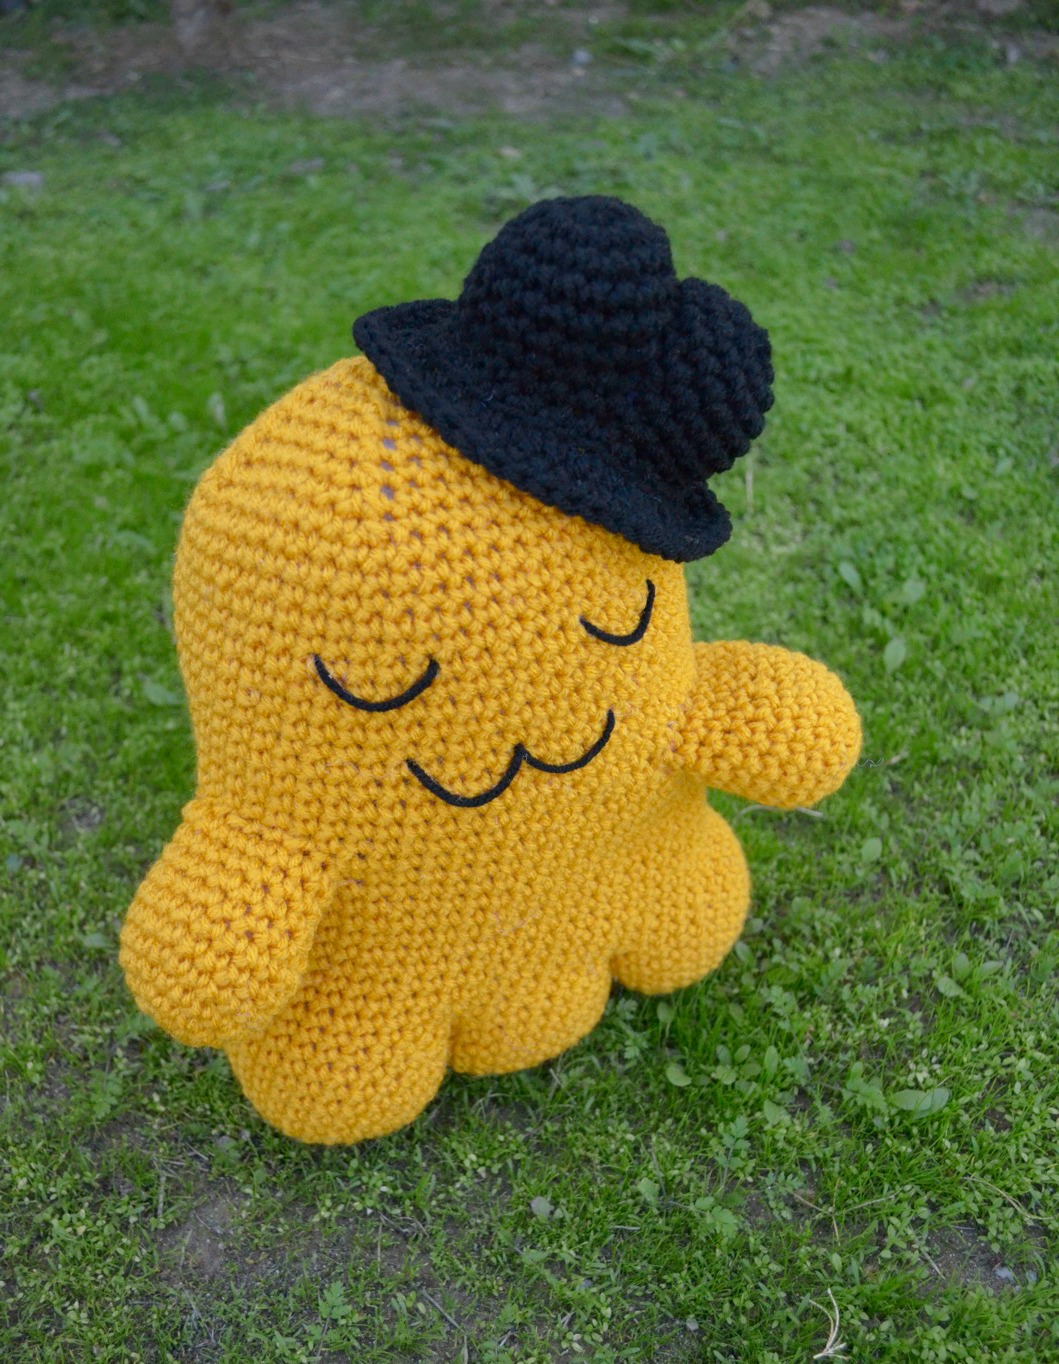
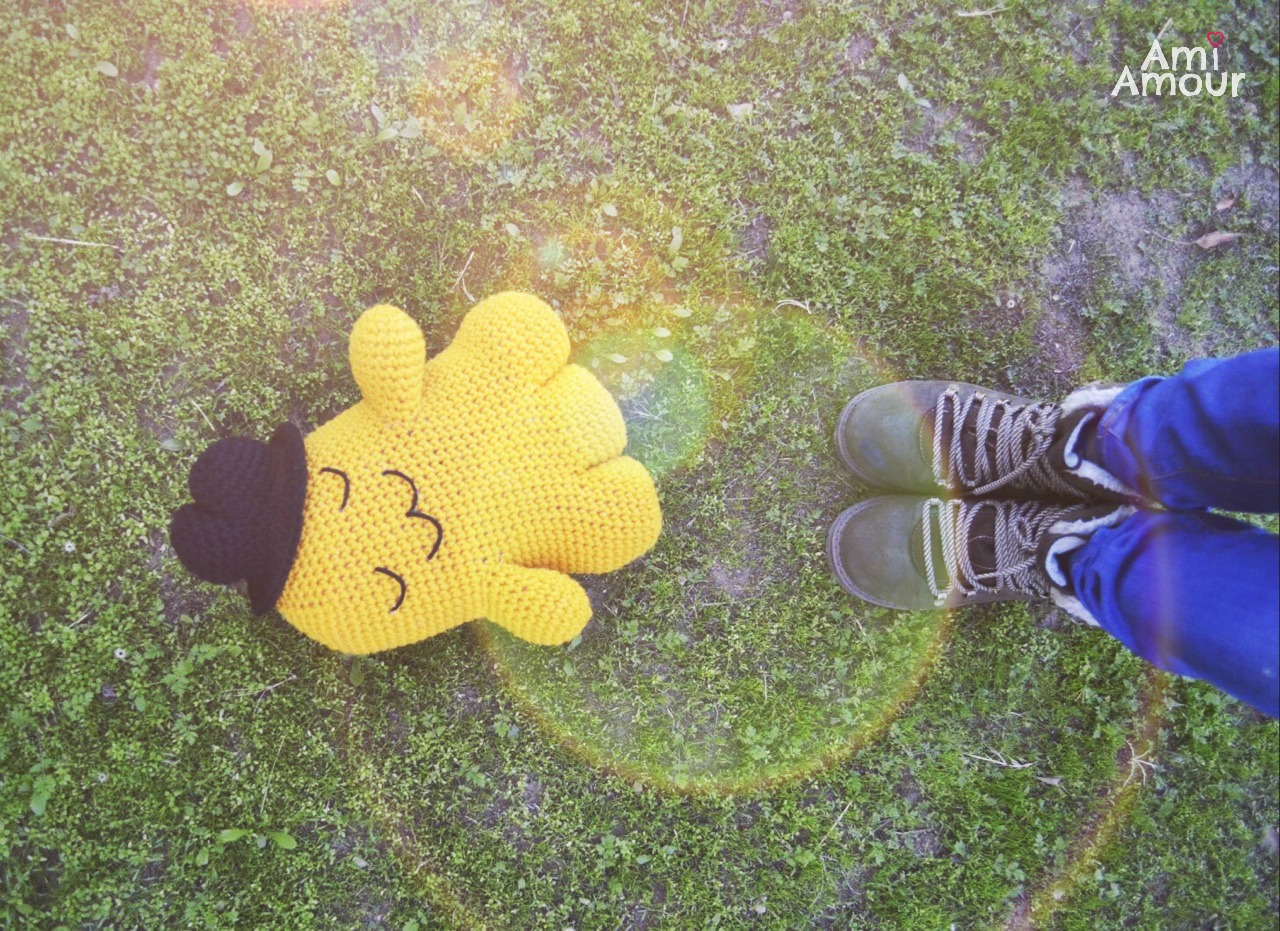
The best feature of Cheese kun in my eye, is his closed eye smile. He always look so happy and zenlike…. must be from all that gooey deliciousness!
Anyways if you too like cheese, have fun creating this golden guy!
*Disclosure: This post contains affiliate links. This means I may receive a small commission if you decide to purchase anything by clicking on one of these links. There is no extra cost to you and it helps me to keep creating free content and patterns for you guys on this blog. Thank you for your support!
Cheese Kun Crochet Pattern
SKILL LEVEL: Easy
CROCHET HOOK:
Size 5.0mm hook
YARN:
Red Heart Super Saver #321 (Gold)
Red Heart Super Saver #312 (Black)
NOTIONS:
Fabri-Tac
Yarn Needle
Polyester Fiberfill
ABBREVIATIONS:
ch chain
sc single crochet
sc2tog single crochet 2 stitches together aka sc dec
st stitch
SIZE: Approximately 12in or 30cm tall, including hat
BODY
Round 1: Ch 2, 6 sc into first ch – 6 sc.
Round 2: 2 sc in each st around – 12 sc.
Round 3: [2 sc in next st, sc in next st] around – 18 sc.
Round 4: [2 sc in next st, sc in next 2 st] around – 24 sc.
Round 5: [2 sc in next st, sc in next 5 st] around – 28 sc.
Round 6-10: Sc in each st around.
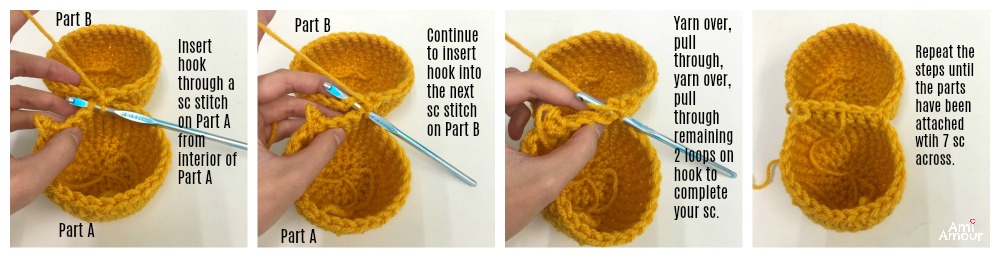
Fasten off. You have just created Part A. Repeat Rounds 1-10 once more to create Part B. Do not fasten off. Join Part A and Part B by joining across 7 sts of BOTH Part A and Part B with sc. [See photo tutorial below]. Fasten off.
Repeat Rounds 1-10 once more to create Part C. On Part B, count 7 stitches away from the joined sts. On the 8th stitch is where you will begin to join Part C to Part B (see photo below). Join Part C and Part B by joining across 7 sts of BOTH Part C and Part B with sc. We should now have the 3 parts joined together.
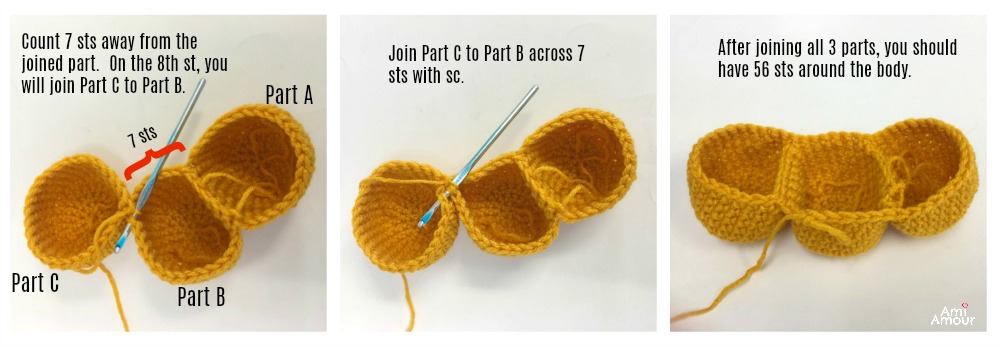
There should now be 56 sts around the BODY, not counting the joined stitches. We will begin to work around this body.
Round 11: Sc in each st around – 56 sc.
Round 12: Sc in next 9 st, sc2tog, sc in next 26 st, sc2tog, sc in next 17 st – 54 sc.
Round 13-38: Sc in each st around.
Begin stuffing and stuff as you go
Round 39: [Sc2tog, sc in next 7 st] around – 48 sc.
Round 40: [Sc2tog, sc in next 6 st] around – 42 sc.
Round 41: [Sc2tog, sc in next 5 st] around – 36 sc.
Round 42: [Sc2tog, sc in next 4 st] aroud – 30 sc.
Round 43: [Sc2tog, sc in next 3 st] around – 24 sc.
Round 44: [Sc2tog, sc in next 2 st] around – 18 sc.
Round 45: [Sc2tog, sc in next st] around – 12 sc.
Round 46: Sc2tog around – 6 sc.
Fasten off. Finish stuffing and sew closed.
ARM (make 2)
Round 1: Ch 2, 6 sc into first ch.
Round 2: 2 sc in each st around – 12 sc.
Round 3: [2 sc in next st, sc in next st] around – 18 sc.
Round 4: [2 sc in next st, sc in next 5 st] around – 21 sc.
Round 5-7: Sc in each st around.
Round 8: [Sc2tog, sc in next 5 st] around – 18 sc.
Round 9-11: Sc in each st around.
Fasten off, leaving a long tail. Stuff lightly.
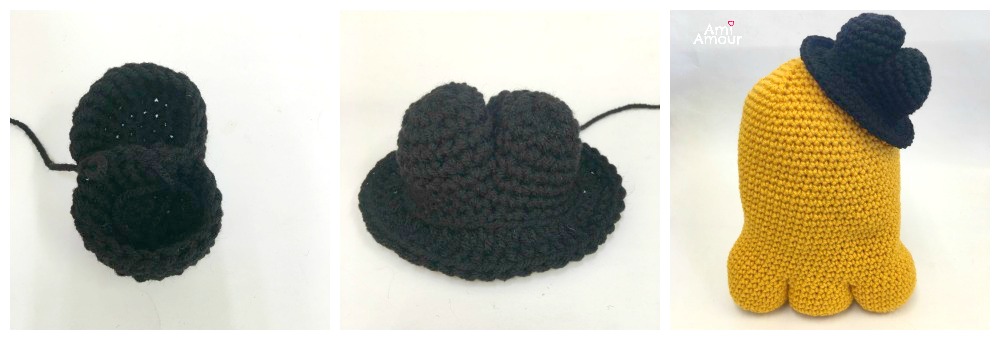
HAT
Round 1: Ch 2, 6 sc into first ch.
Round 2: 2 sc in each st around – 12 sc.
Round 3: [2 sc in next st, sc in next st] around – 18 sc.
Round 4: [2 sc in next st, sc in next 5 st] around – 21 sc.
Round 5-6: Sc in each st around.
Fasten off. You have just created Hat Tip Part A. Repeat Rounds 1-6 once more to create Hat Tip Part B. Do not fasten off. Join Part A and Part B by joining across 7 sts of BOTH Part A and Part B with sc. You should now have 28 sts around. We will now work around the body of the hat.
Round 7: Sc in each st around – 28 sc.
Round 8: Sc in next 7 st, 2 sc in next st, sc in next 13 st, 2 sc in next st, sc in next 6 st- 30 sc.
Round 9: Sc in next 7 st, 2 sc in next st, sc in next 14 st, 2 sc in next st, sc in next 7 st around – 32 sc.
Round 10: (in back loop only) [2 hdc in next st, hdc] around – 48 hdc.
Round 11: Sc in each st around – 48 sc.
Fasten off, leaving a long tail. Stuff hat.
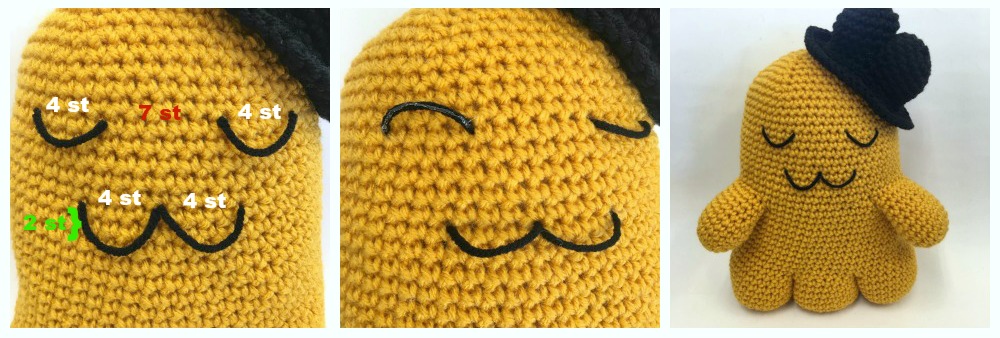
ASSEMBLY
1. Sew hat on top of head off to one side.
2. Embroider Face on with black yarn. See photo below for spacing.
(Tip: I like to use Fabri-tac to glue it down. If you get some glue marks on the yarn, you can use a black Sharpie to color it back to black.)
3. Sew Arms to Body.
4. Finish and hide all ends.
Share your project with me on my Instagram or Facebook!
No Comments