
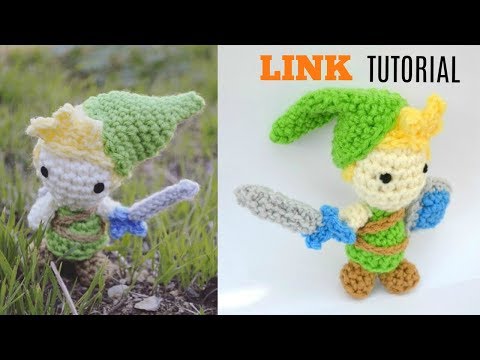
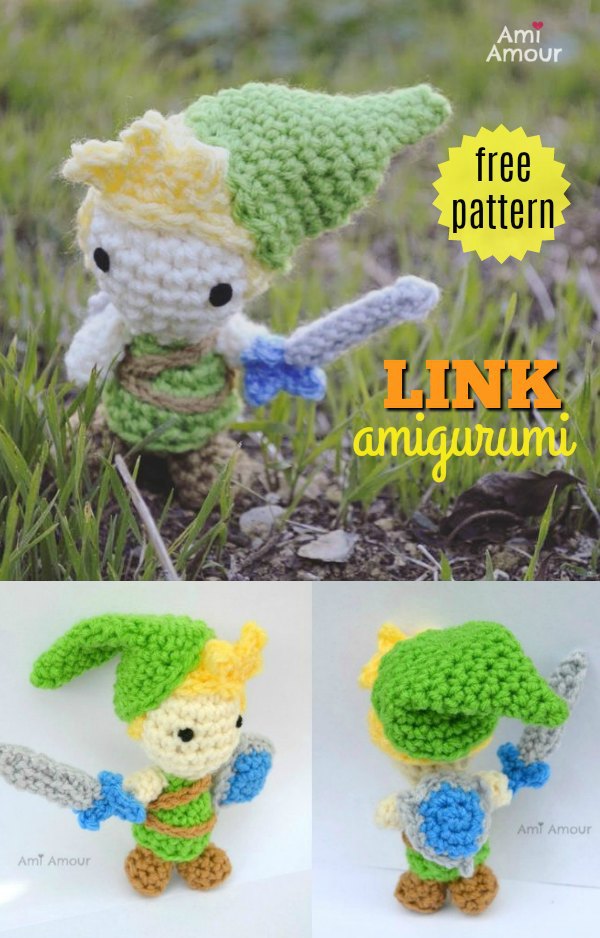
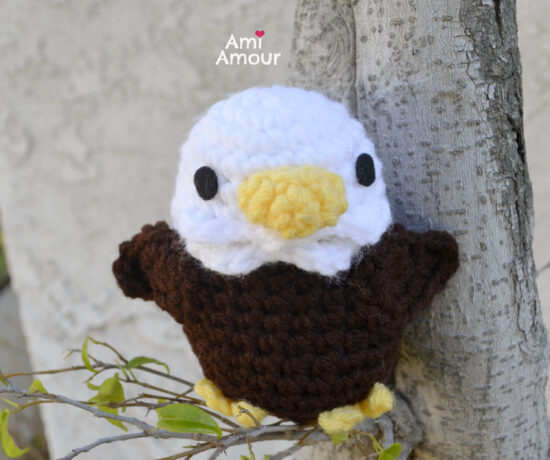
It’s Link Amigurumi, our favorite Hylian boy from Legend of Zelda, in a cute and free crochet pattern! Before you know it, he’ll be off on an adventure in the Lost Woods!
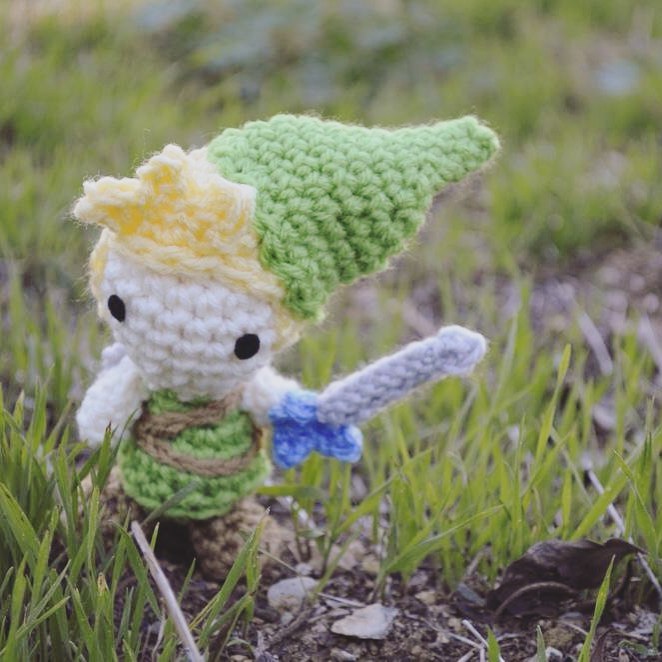
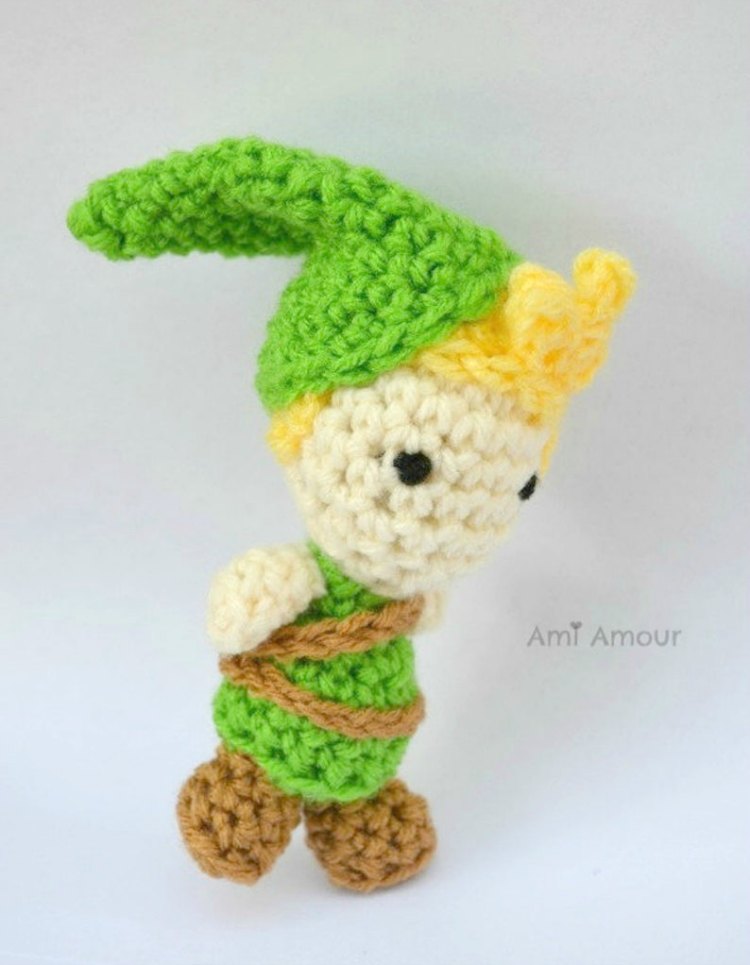
I created Link Amigurumi in a kawaii chibi style.
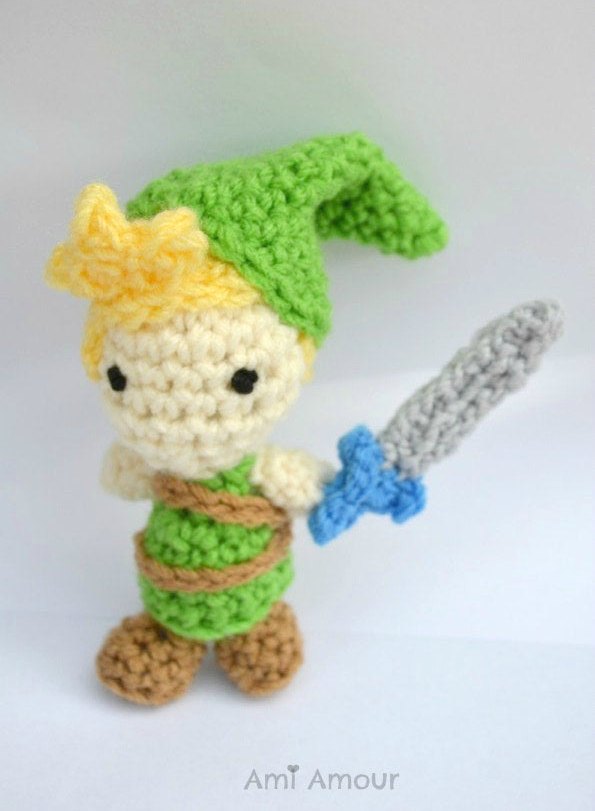
His features include a green elvish cap that sits on top of a golden head with spiky bangs. He has brown boots (great for bounding through the woods!) and 2 straps that wrap around his chest.
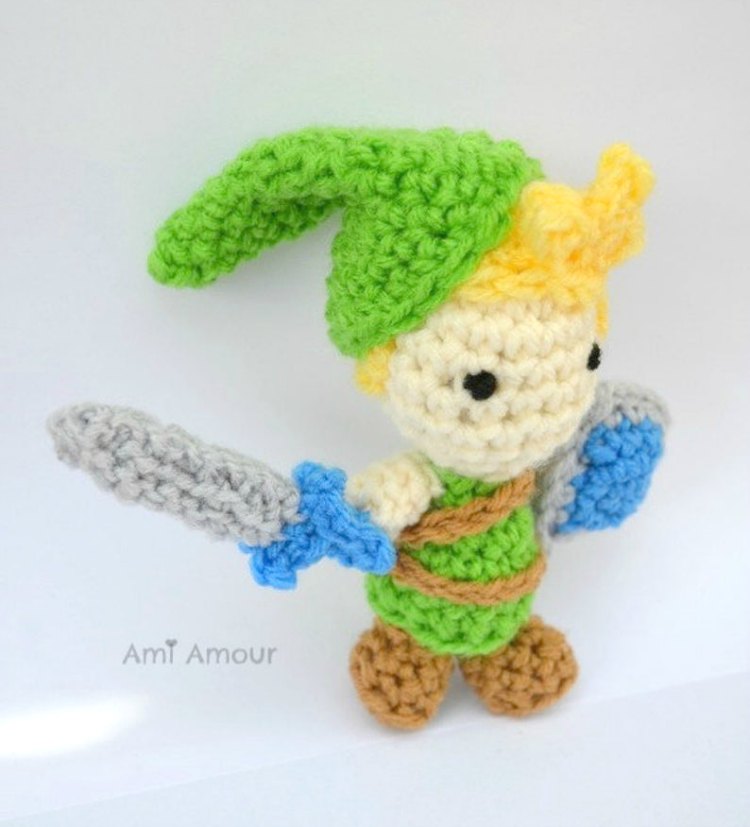
He also has two accessories crucial to his journey. One is his trusty shield and the other, his sharp sword.
It’s totally up to you how you want to pose your Link amigurumi. Sometimes I like to have him hold the sword in one hand, and the shield in another.
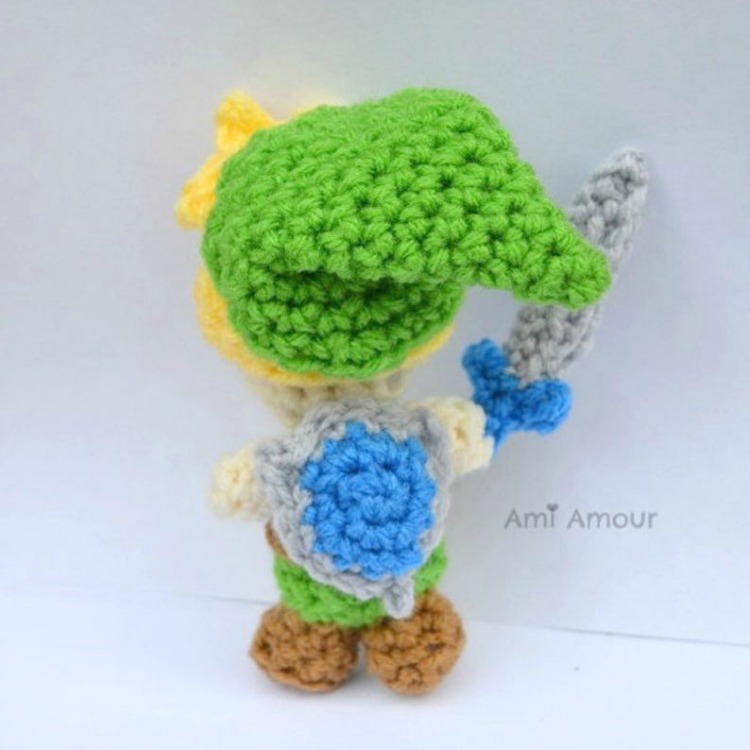
Other times, I like to sew his shield onto his back so he can carry it around easily everywhere.
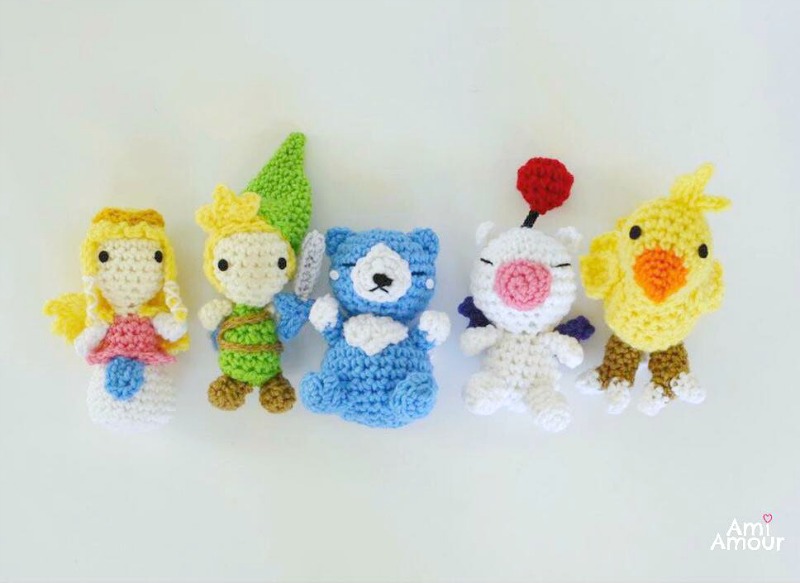
Here is Link with Zelda along with other gamer amigurumi favorites that I’ve made! Can you name them all?
Anyways I hope you enjoy this Link amigurumi pattern! Let me know how it turns out! Tag me on Instagram @ami_amour!
Happy crocheting and don’t forget to subscribe to my blog so you get all the pattern updates! I hope to be coming out with more favorites!
And if you like this project, check out my other videogame crochet patterns!
LINK CROCHET TUTORIAL VIDEO
See the Link Amigurumi Doll in action and crochet along with me!
*Disclosure: This post contains affiliate links. This means I may receive a small commission if you decide to purchase anything by clicking on one of these links. Thanks for your support!
Link Amigurumi Crochet Pattern
LEVEL: Easy
CROCHET HOOK:
Size 5.0mm
YARN:
Red Heart Super Saver, worsted weight, acrylic yarn
– Aran
– Lemon
– Spring Green
– Warm Brown
– Light Gray
– Delft Blue
NOTIONS:
– Polyfill
– Scissors
– Stitch Marker
– Black Felt (For eyes, or you can use black yarn to embroider French knots as well)
– Fabri-tac
ABBREVIATIONS: Written in standard American Crochet terminology
ch – chain
hdc – half double crochet
sc – single crochet
sc2tog – single crochet 2 stitches together
sl st – slip stitch
st – stitch
FINISHED SIZE: Approximately 6in/15cm tall , including cap.
HEAD
Round 1: With aran, 6 sc into adjustable ring.
Round 2: 2 sc in each st around – 12 sc.
Round 3: [2 sc in next st, sc in next st] around – 18 sc.
Round 4-7: Sc in each st around.
Round 8: [Sc2tog, sc in next st] around – 12 sc.
Round 9: [Sc2tog, sc in next st] around – 8 sc.
Fasten off, leaving a long tail.
Stuff.
BODY
Round 1: With green, 6 sc into adjustable ring.
Round 2: 2 sc in each st around – 12 sc.
Round 3: [2 sc in next st, sc in next 3 st] around – 15 sc.
Round 4: In back loop, sc in each st around.
Round 5: Sc in each st around.
Round 6: [Sc2tog, sc in next 3 st] around – 12 sc.
Round 7: [Sc2tog, sc in next st] around – 8 sc.
Round 8: Sc in each st around.
Fasten off.
Stuff.
HAT
Round 1: With green, 4 sc into adjustable ring.
Round 2: Sc in each st around.
Round 3: [2 sc in next st, sc in next st] around – 6 sc.
Round 4: Sc in each st around.
Round 5: [2 sc in next st, sc in next 2 st] around – 8 sc.
Round 6: Sc in each st around.
Round 7: [2 sc in next st, sc in next st] around – 12 sc.
Round 8: Sc in each st around.
Round 9: [2 sc in next st, sc in next 3 st] around – 15 sc.
Round 10: Sc in each st around.
Round 11: [2 sc in next st, sc in next 4 st] around – 18 sc.
Round 12: [2 sc in next st, sc in next 8 st] around – 20 sc.
Round 13: [2 sc in next st, sc in next 4 st] around – 24 sc.
Fasten off, leaving a long tail.
Do not stuff.
ARM (make 2)
Round 1: With aran, 6 sc into adjustable ring.
Round 2: In back loop, sc in each st around.
Round 3: Sc in each st around.
Round 4: [Sc2tog, sc in next st] around – 4 sc.
Fasten off, leaving a long tail.
Do not stuff.
HAIR
Round 1: With yellow, 6 sc into adjustable ring.
Round 2: 2 sc in each st around – 12 sc.
Round 3: [2 sc in next st, sc in next st] around – 18 sc.
Round 4-5: Sc in each st around.
Note: Now we will work in rows
Row 6: Sc in next 12 st.
Row 7-8: Ch 1, turn, sc in next 12 st.
Fasten off, leaving a long tail.
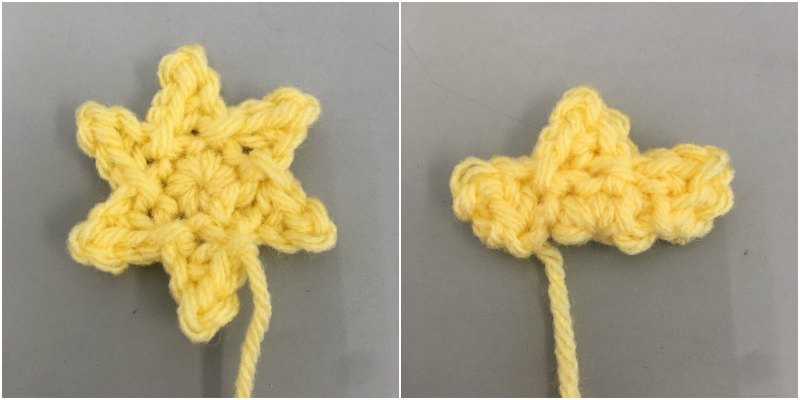
SPIKY BANG
Round 1: With yellow, 6 sc into adjustable ring.
Round 2: Sl st into next st, [ch 3, turn, sl st into next ch, sc in next ch, sl st into next sc on Round 1] 6 times.
Fasten off, leaving a long tail.
Note: It should look like a 6 pointed star
Fold in half so that each point lines up with another point. Sew in place.
SHOE (make 2)
Round 1: With brown, ch 5, sc in 2nd ch from hook and in each remaining ch across, sc in next 4 st on other side of chain – 8 sc.
Round 2: In back loop, sc in each st around.
Round 3: Sc2tog, sc in next 6 st – 7 sc.
Round 4: Sc2tog, sc in next 5 st – 6 sc.
Fasten off, leaving a long tail.
Stuff.
BELT
Row 1: With brown, ch 16.
Fasten off, leaving a long tail.
STRAP
Row 1: With brown, ch 14.
Fasten off, leaving a long tail.
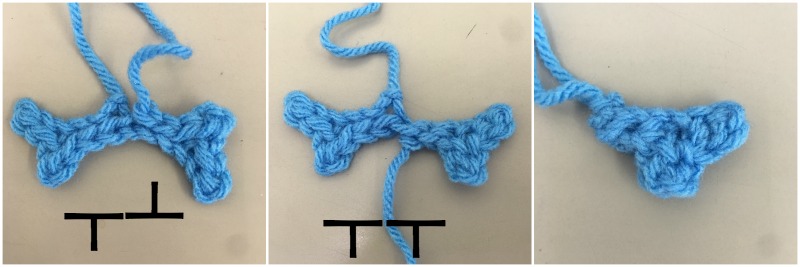
SWORD HILT
Row 1: With blue, ch 6, turn, sl st in next 2 ch, ch 2, turn, sl st in 2nd ch from hook, sl st in remaining 3 ch across.
Without fastening off, repeat Row 1 again.
Now fasten off, leaving a long tail.
You should have 2 mirror images, but one will be upside down. Flip one sword hilt part so it looks the same as the other side. Lay them on top of each other and sew down.
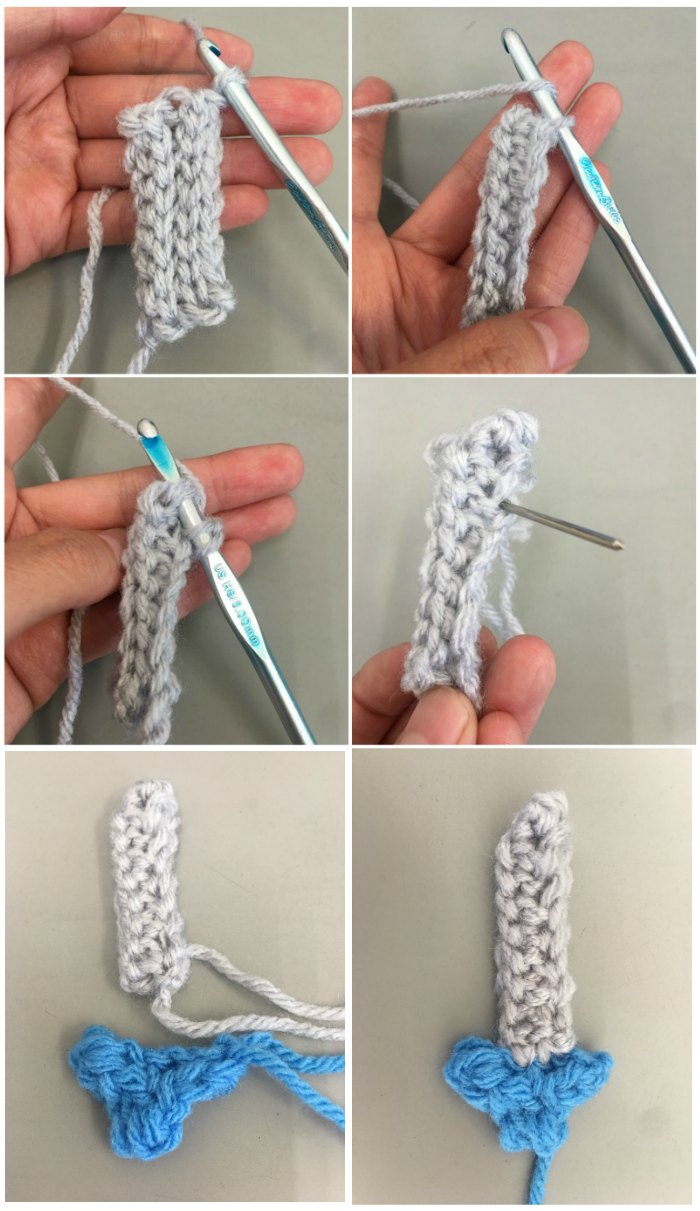
SWORD BLADE
Row 1: With gray, ch 9, sl st back across each ch – 8 st.
Row 2-4: Ch 1, turn, sl st in each st across – 8 st.
Do not fasten off. Fold in half length wise. Crochet top shut with sl st across till end of row, and finish off with a hdc.
Sew to hilt to complete entire sword.
Note: I also created a video tutorial for the sword and shield you can follow along with.
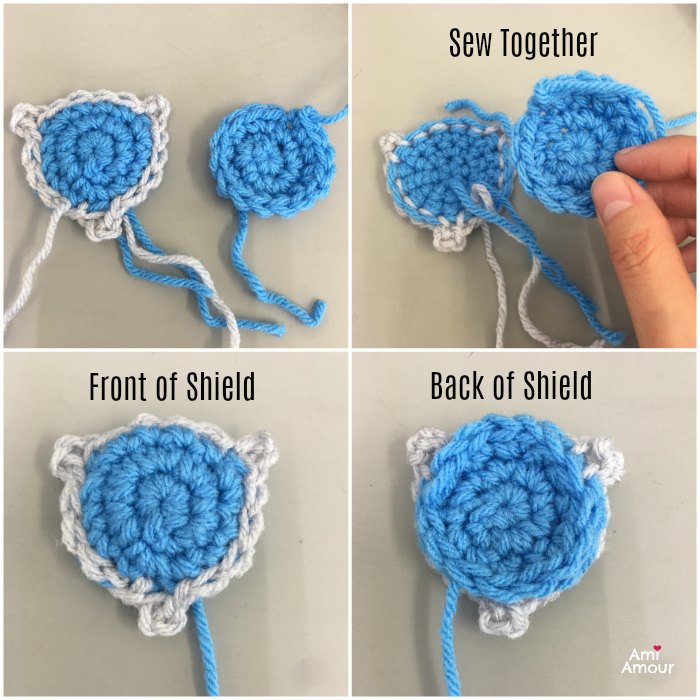
SHIELD FRONT
Special stitch:
Picot (Ch 3, sl st in 1st ch made)
Round 1: With blue, 6 sc into adjustable ring.
Round 2: 2 sc in each st around – 12 sc.
Round 3: [2 sc in next st, sc in next 3 st] around – 15 sc.
Round 4: With gray, sl st in next st, [picot, sl st in next 5 st] around.
(Note: you should have 3 picots at the end. See photos below)
Fasten off, leaving a long tail.
SHIELD BACK
Round 1: With blue, 6 sc into adjustable ring.
Round 2: 2 sc in each st around – 12 sc.
Round 3: [2 sc in next st, sc in next 3 st] around – 15 sc.
Fasten off, leaving a long tail.
Sew the 2 Layers of the Shield together so it makes a strong Shield.
Link Amigurumi Assembly
1. Sew Head onto Body.
2. Sew Hair onto Head
2. Sew Bang onto Left Side of Hair. (See Photo for reference)
3. Sew Cap onto Head slightly tilted (towards the right side of Head)..
4. Sew Belt onto Body.
5. Sew Strap around Chest.
6. Sew Arms onto Body
7. Sew on Boots.
8. Sew on Sword and Shield. I usually like to sew the Shield on his back and the sword to his hand. But you can also have him hold a shield in one hand and the sword in the other as well.
9. For the eyes, you can cut small circles out of black felt and glue on with Fabri-tac. Or you can also use black yarn and embroider French knots for the eyes as well. (Sometimes I will tie a knot twice onto a yarn and then sew that onto the face)
10. Don’t forget to tag me with your project on Instagram or Facebook so I get to see!

No Comments