
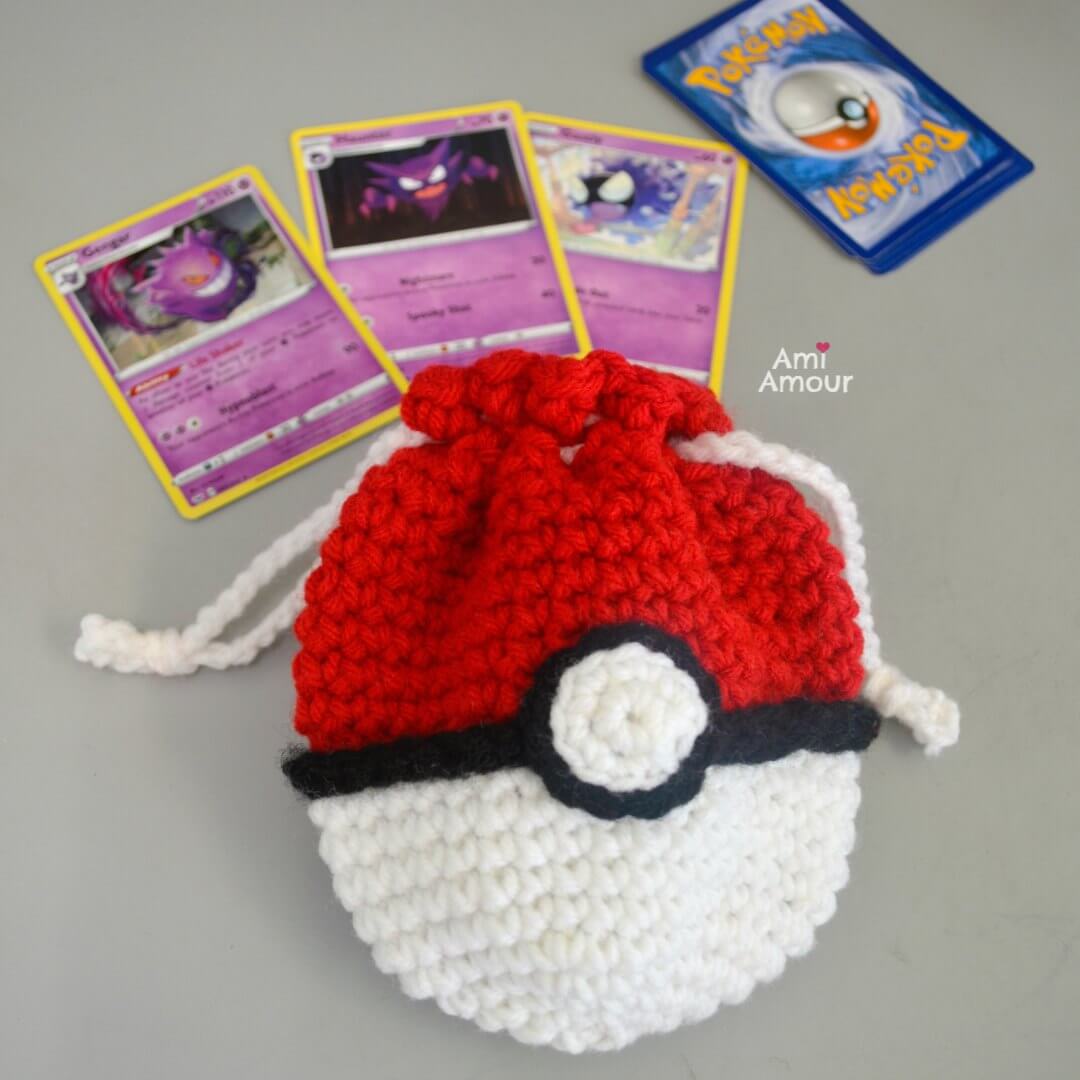
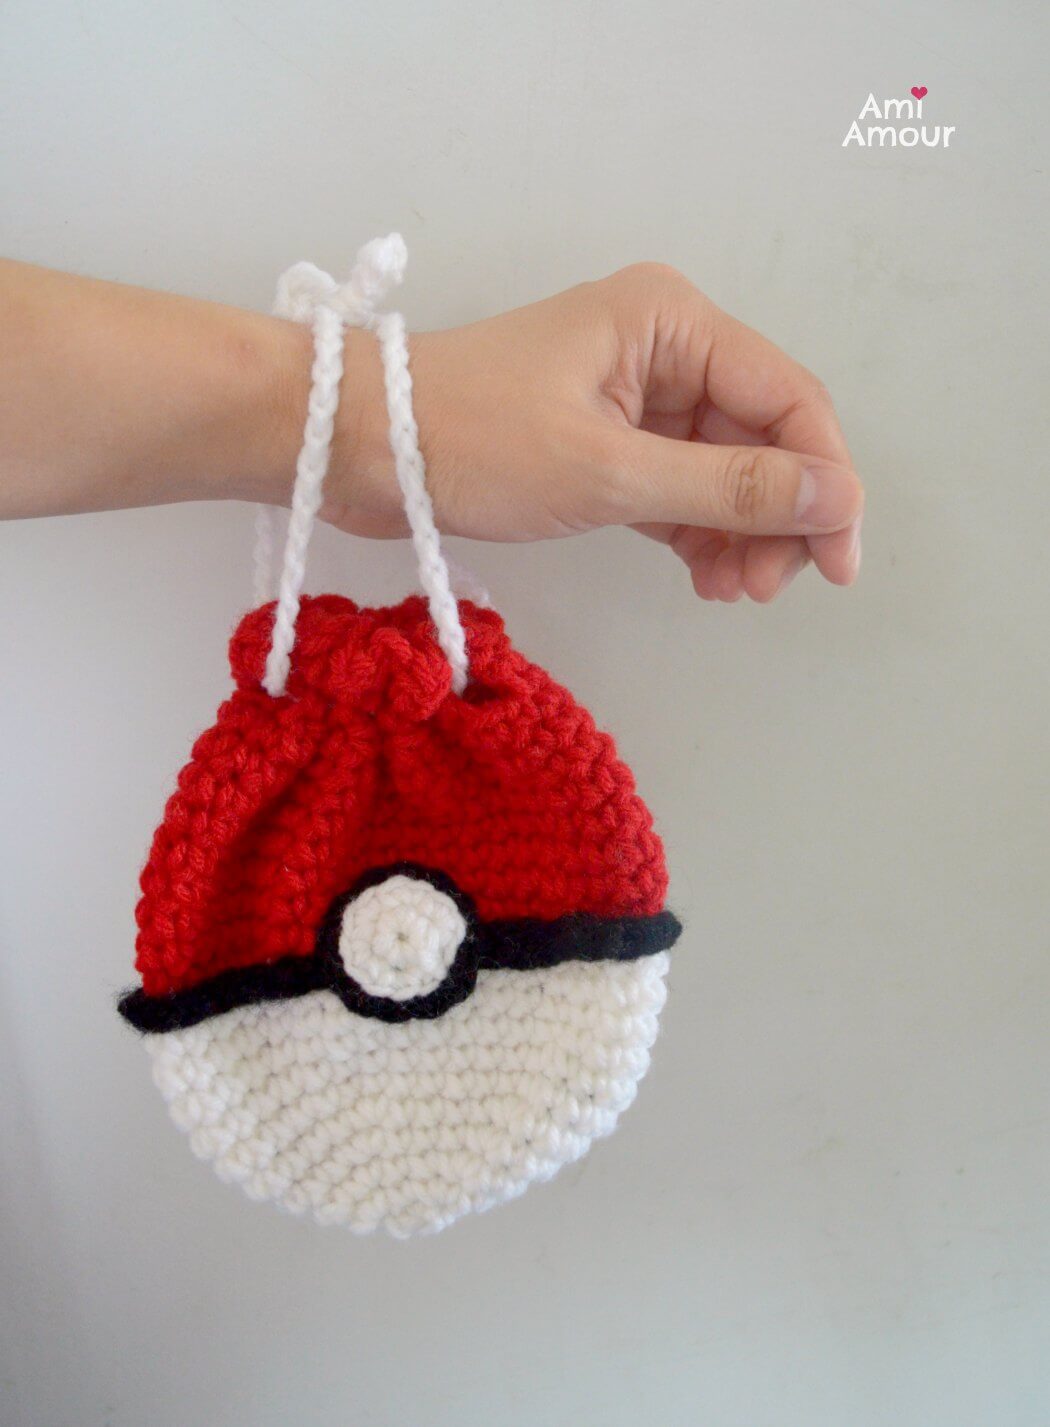
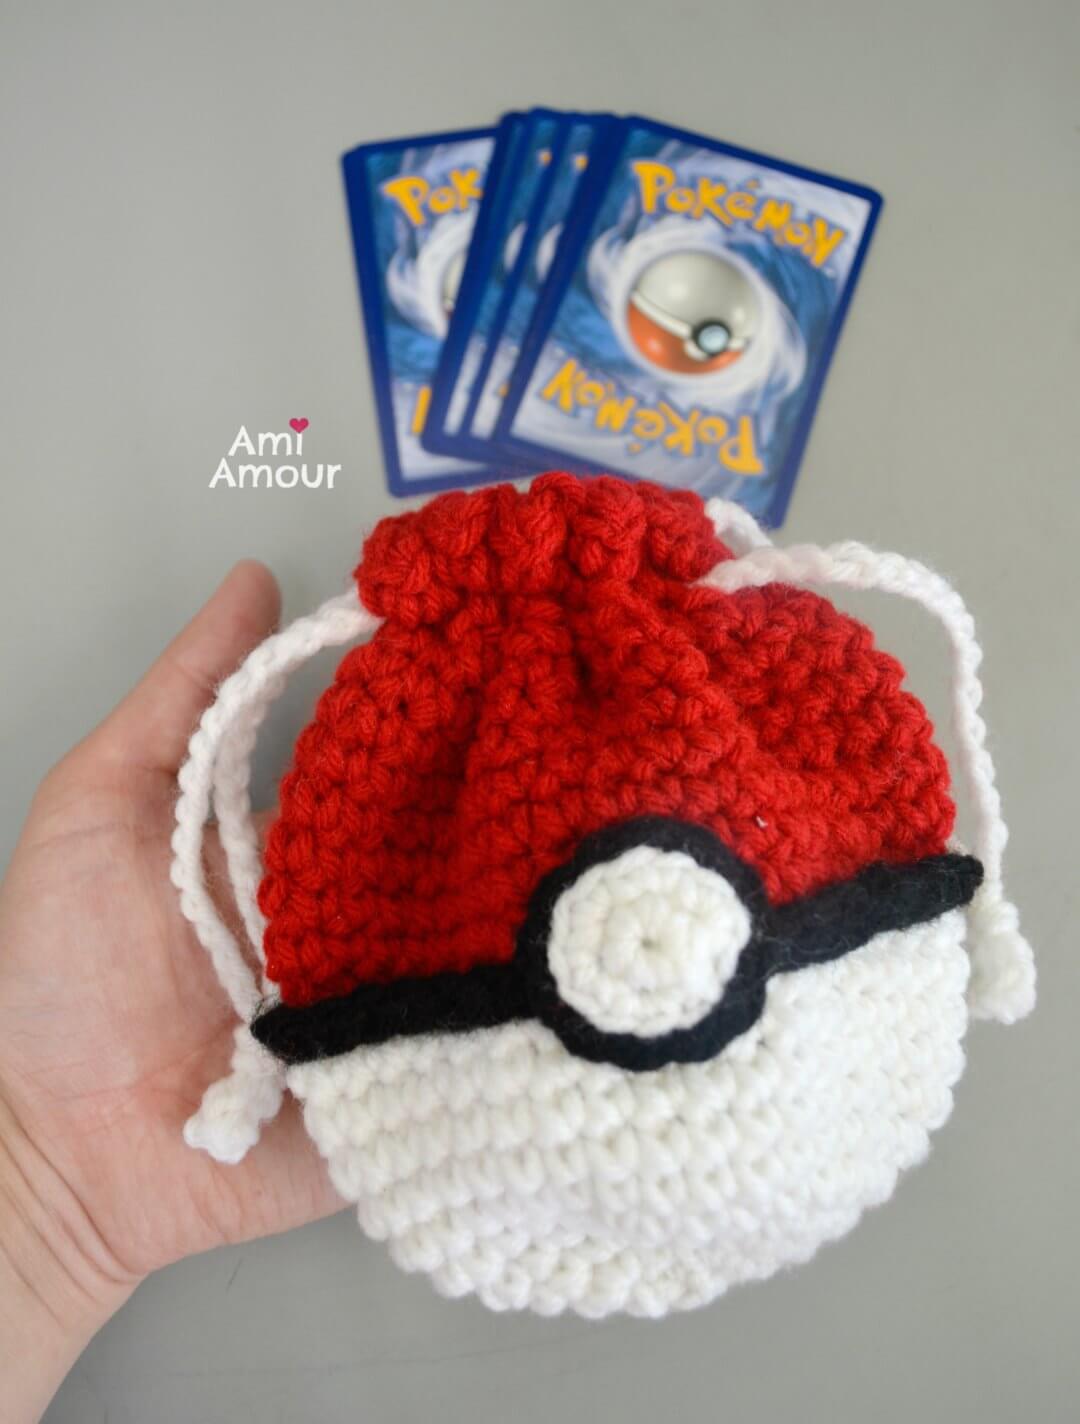
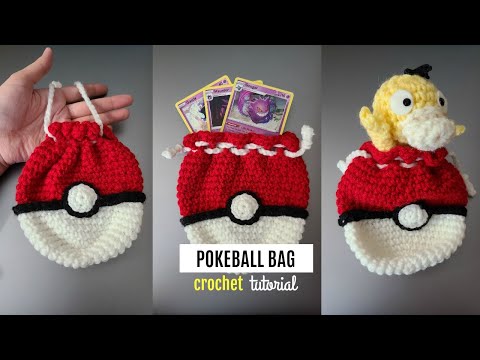
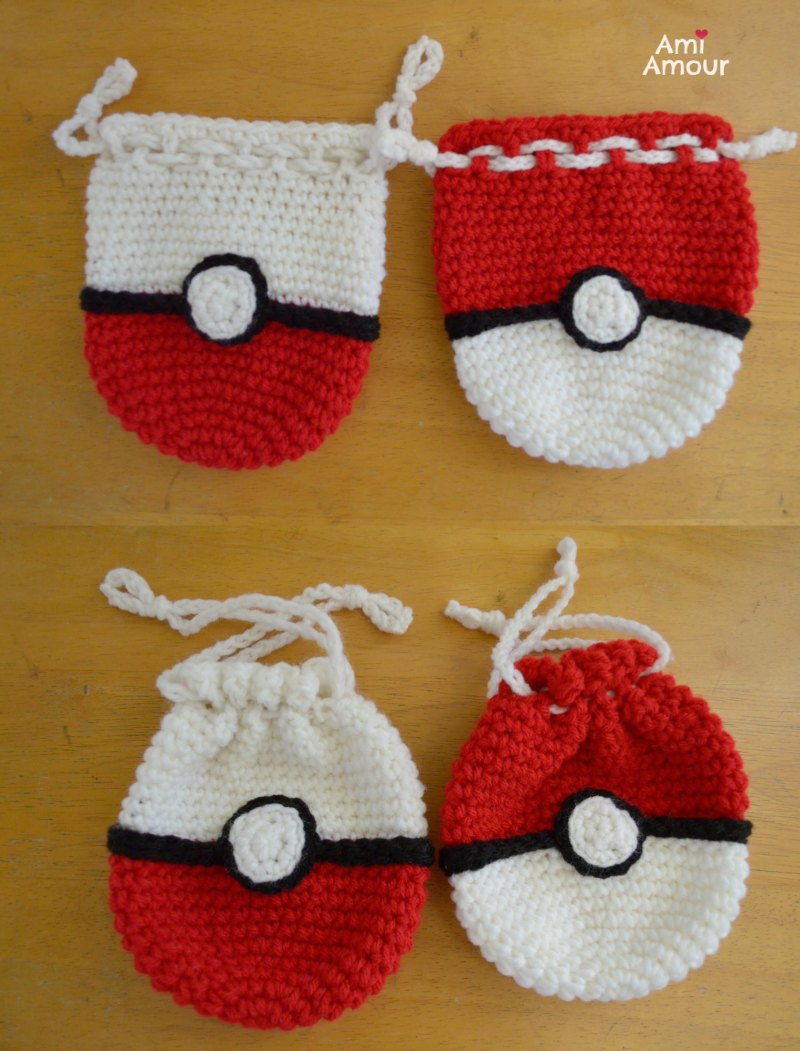
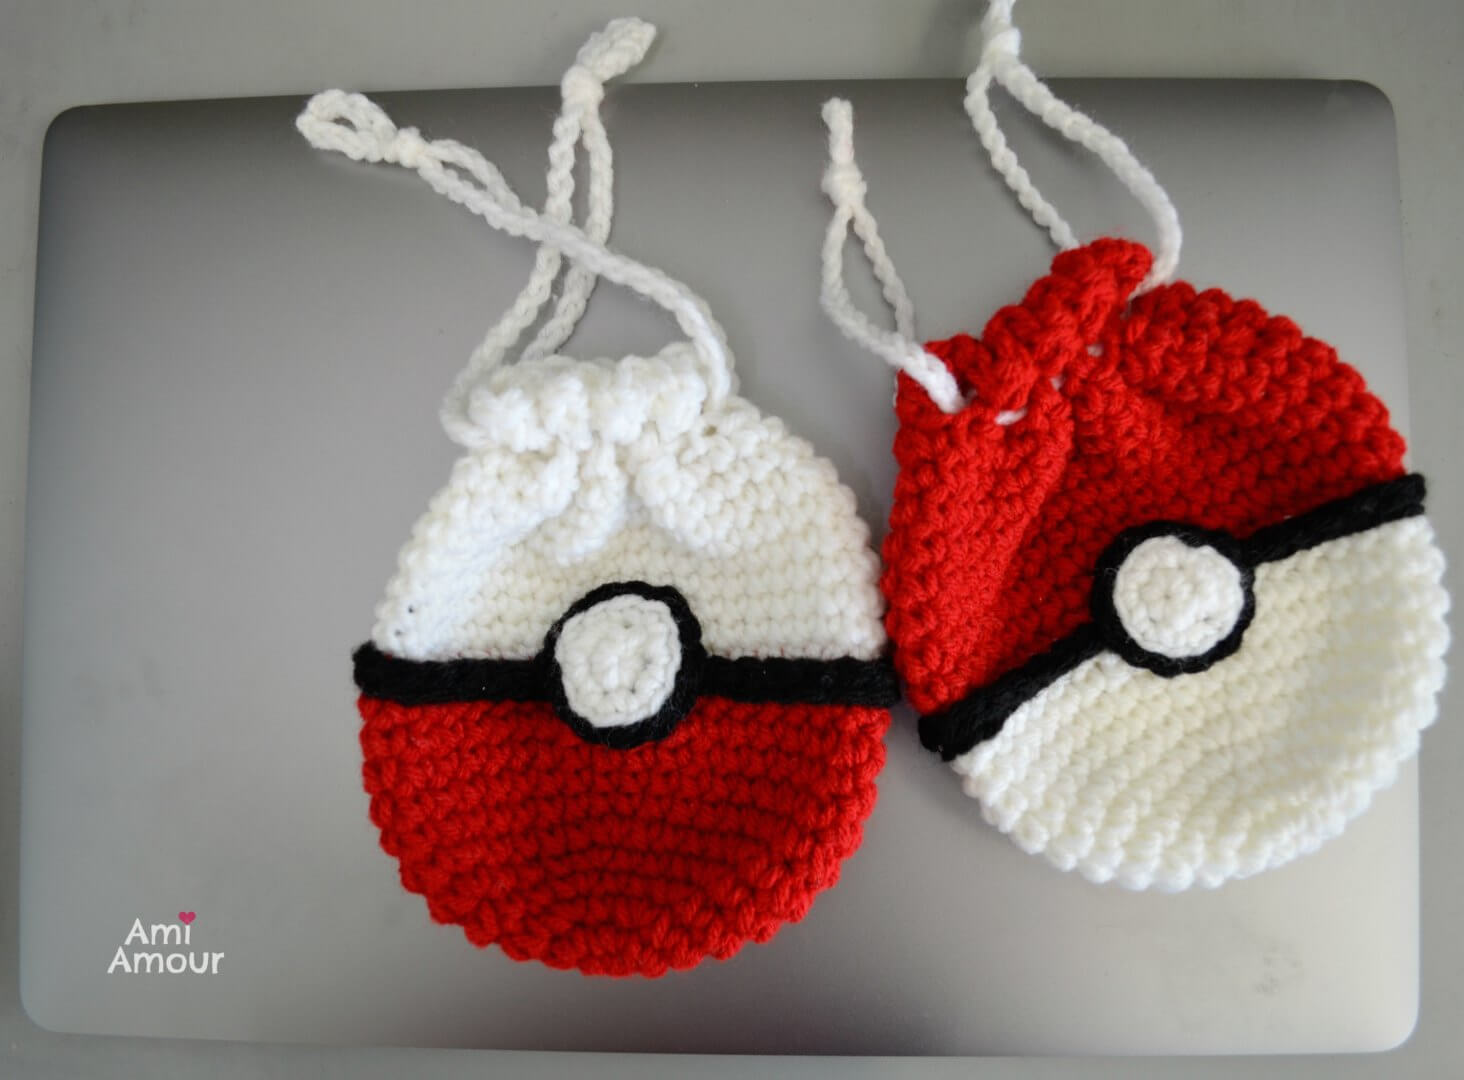
Here’s a cute crochet Pokeball Bag that can hold a number of surprises! I made it in a drawstring style, so that it can close just by pulling the cords tightly together.
This free Pokeball Bag crochet pattern is a fun and quick project to make.
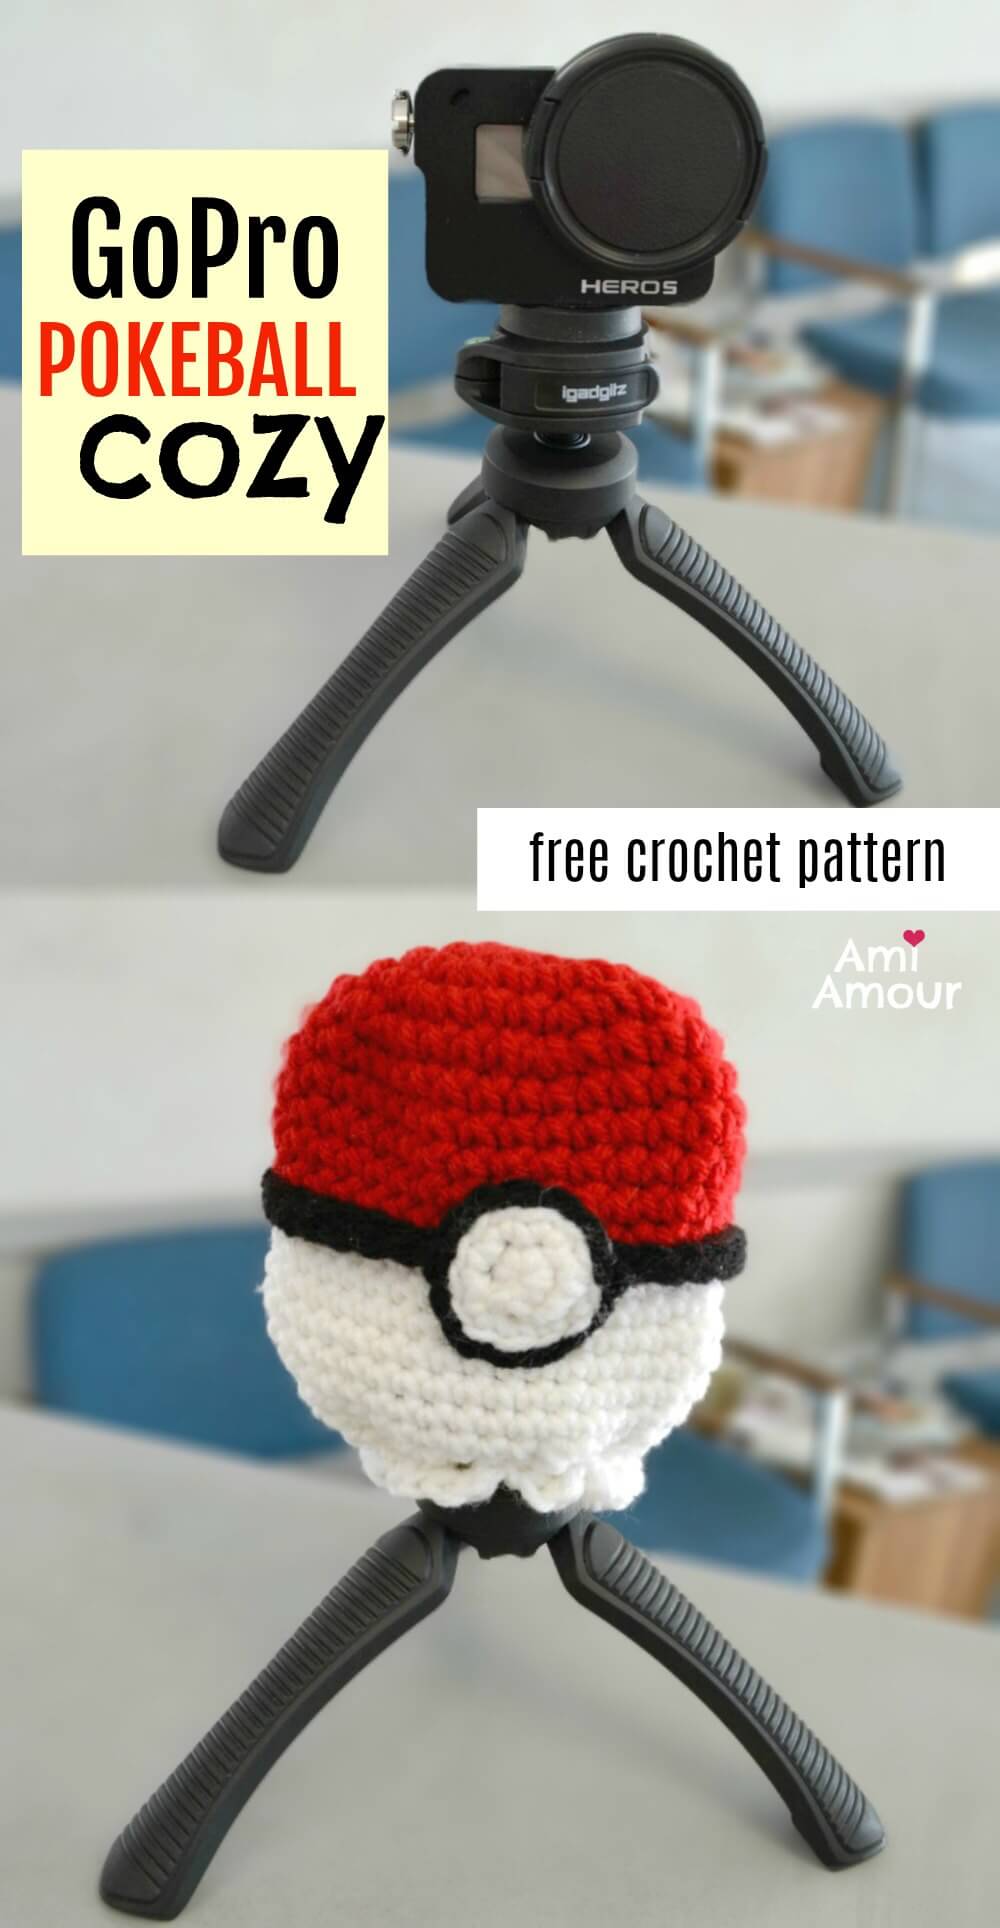
I first created this crochet Pokeball Bag for a specific function. I had a friend who wanted a cozy for the GoPro and wanted it to look unique. And I thought, “Hmmm… a Pokeball style cozy might just do the trick!”
Of course that’s not all the crochet Pokeball Bag can function as. Off the top of my head, I can think of so many fun uses for it.
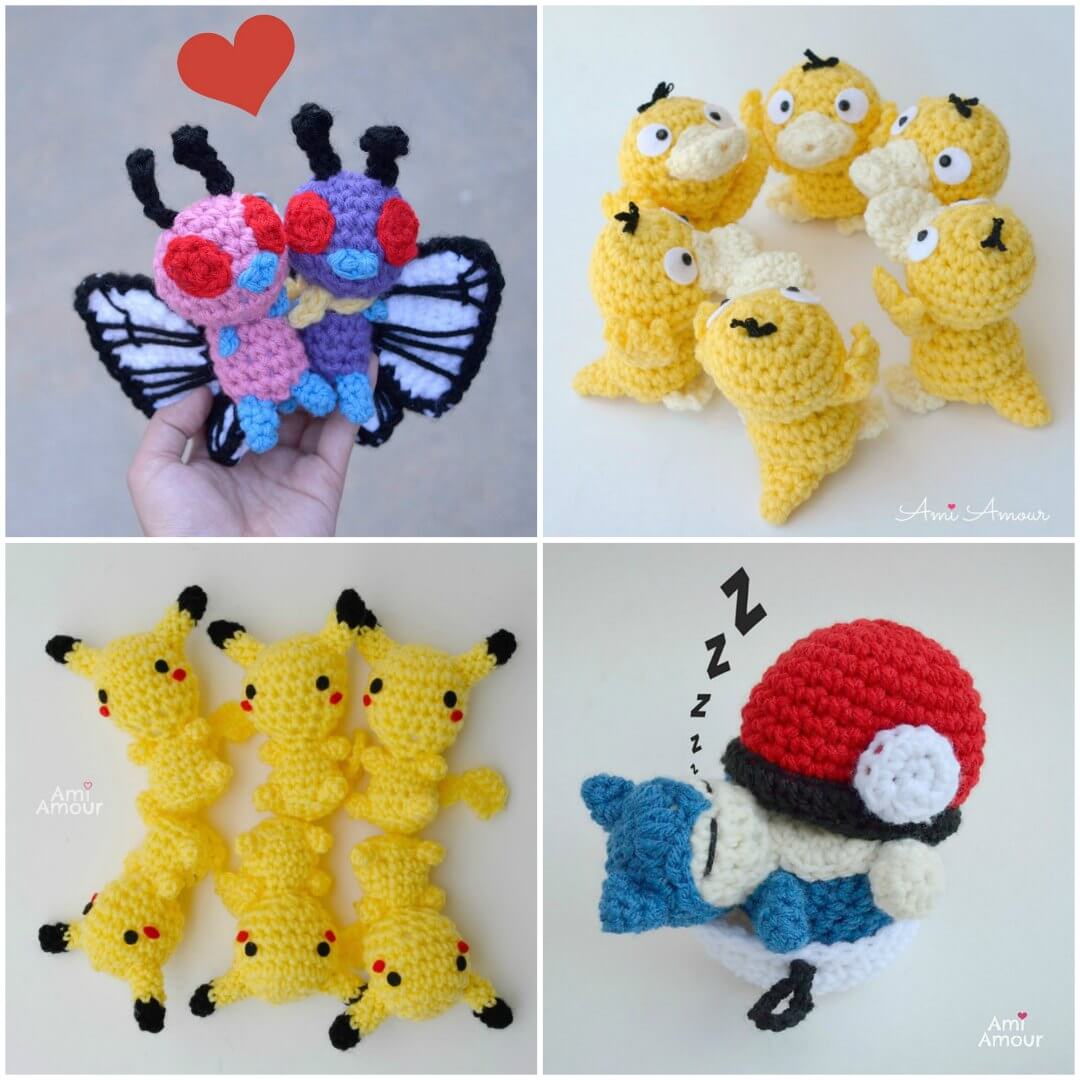
The most obvious one of all is it can just work as a regular Pokeball that captures Pokemon! You may remember my other Pokeball Pod pattern that can open and close to reveal the Pokemon inside.
This Pokeball bag pattern has a similar concept except it opens and closes at the top and also the drawstring cords can work as a handle to carry around the Pokeball as well.
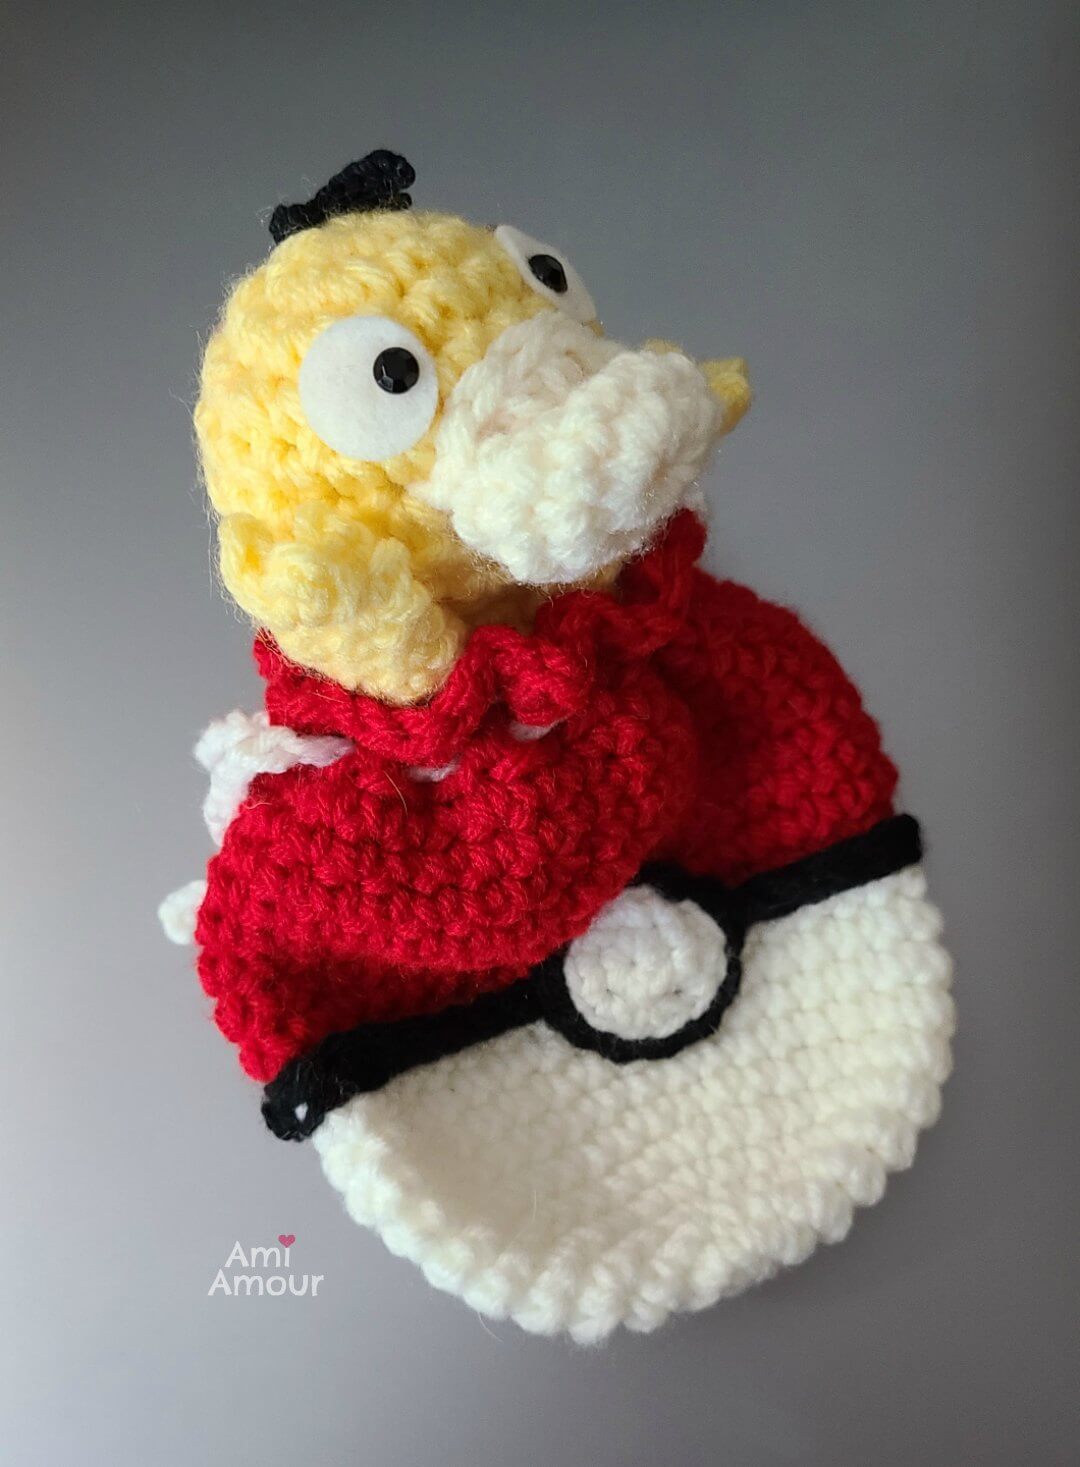
Here is Psyduck amigurumi who likes to use it as a sleeping bag.
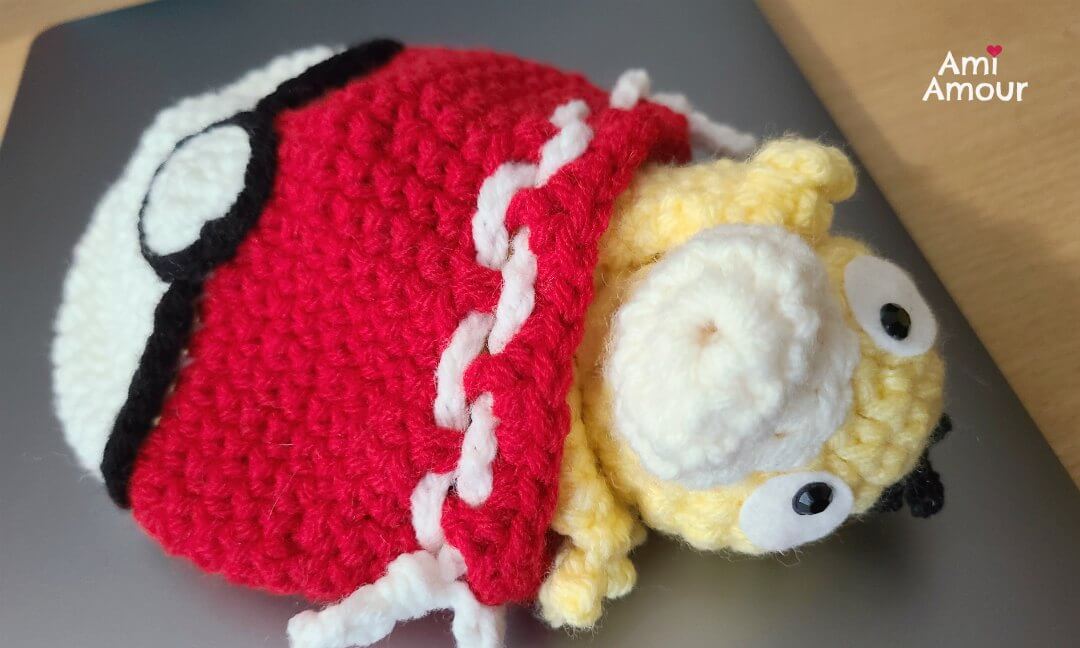
And of course, it’s only Psyduck who will get stuck halfway through a Pokeball 😂
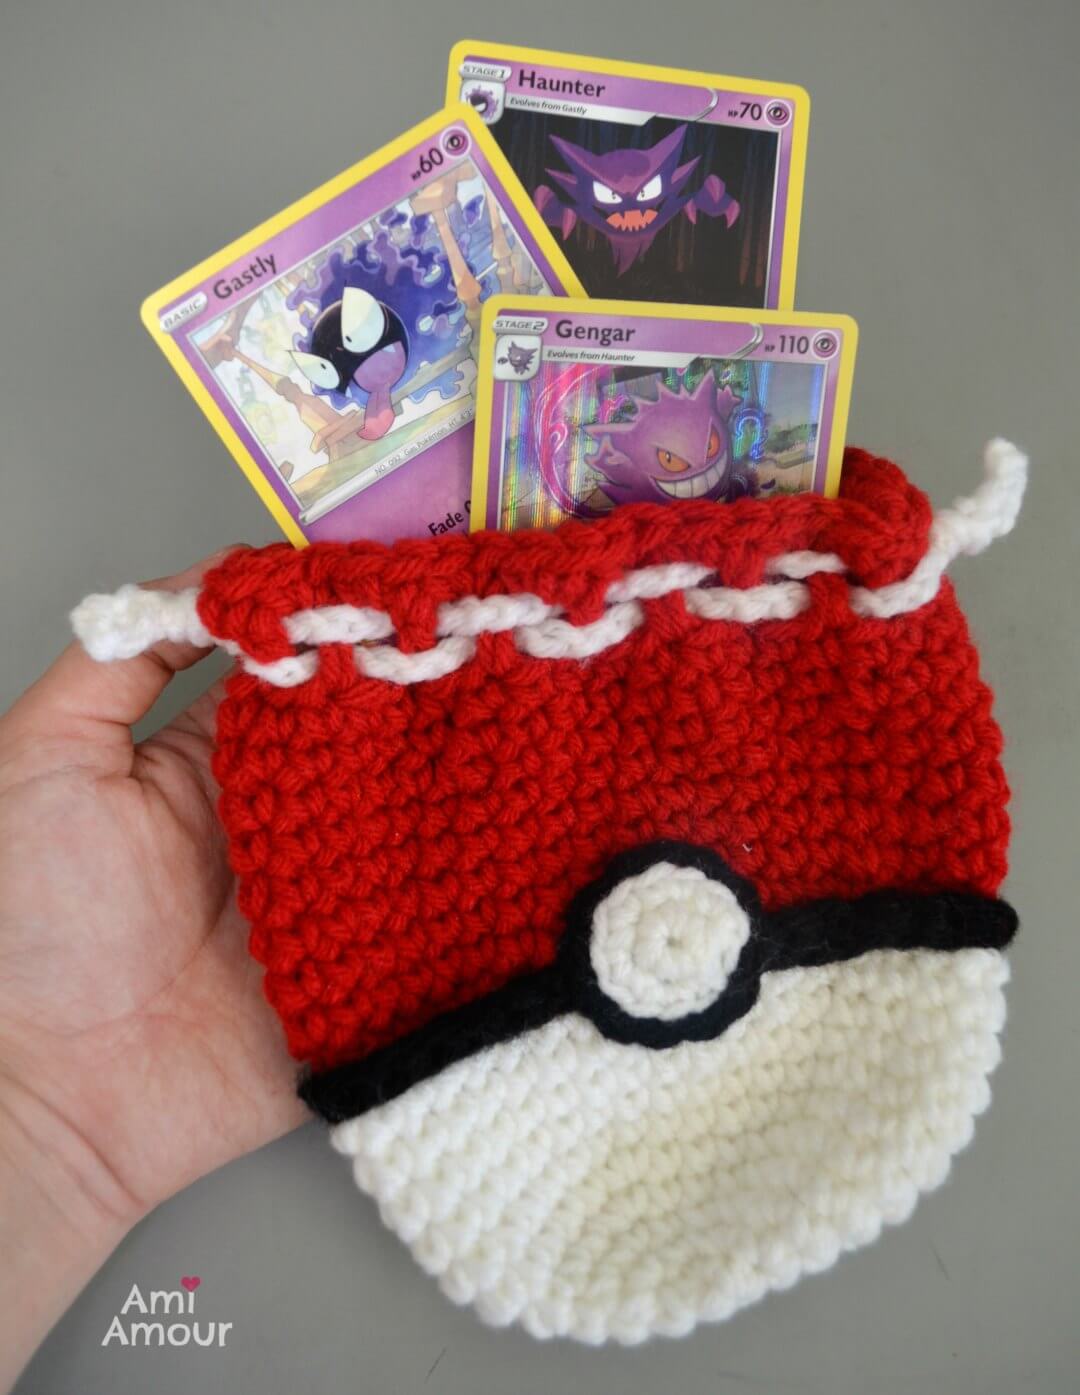
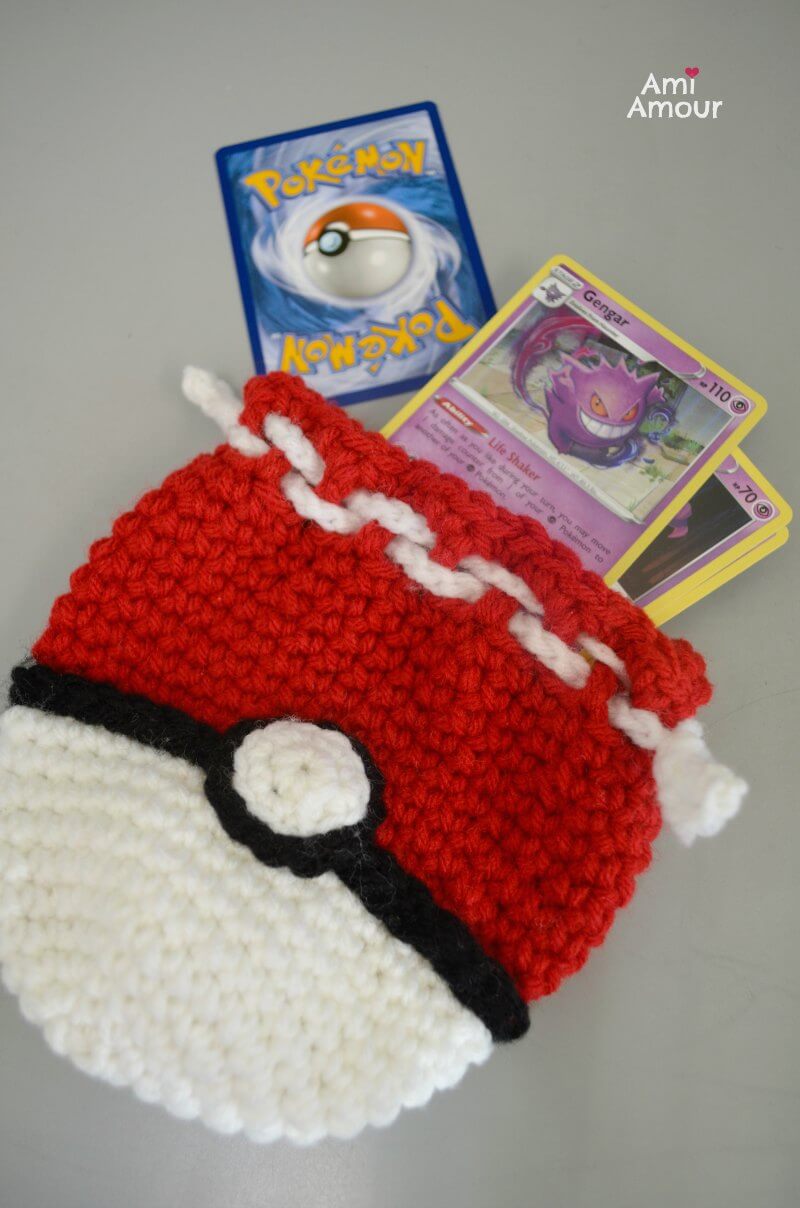
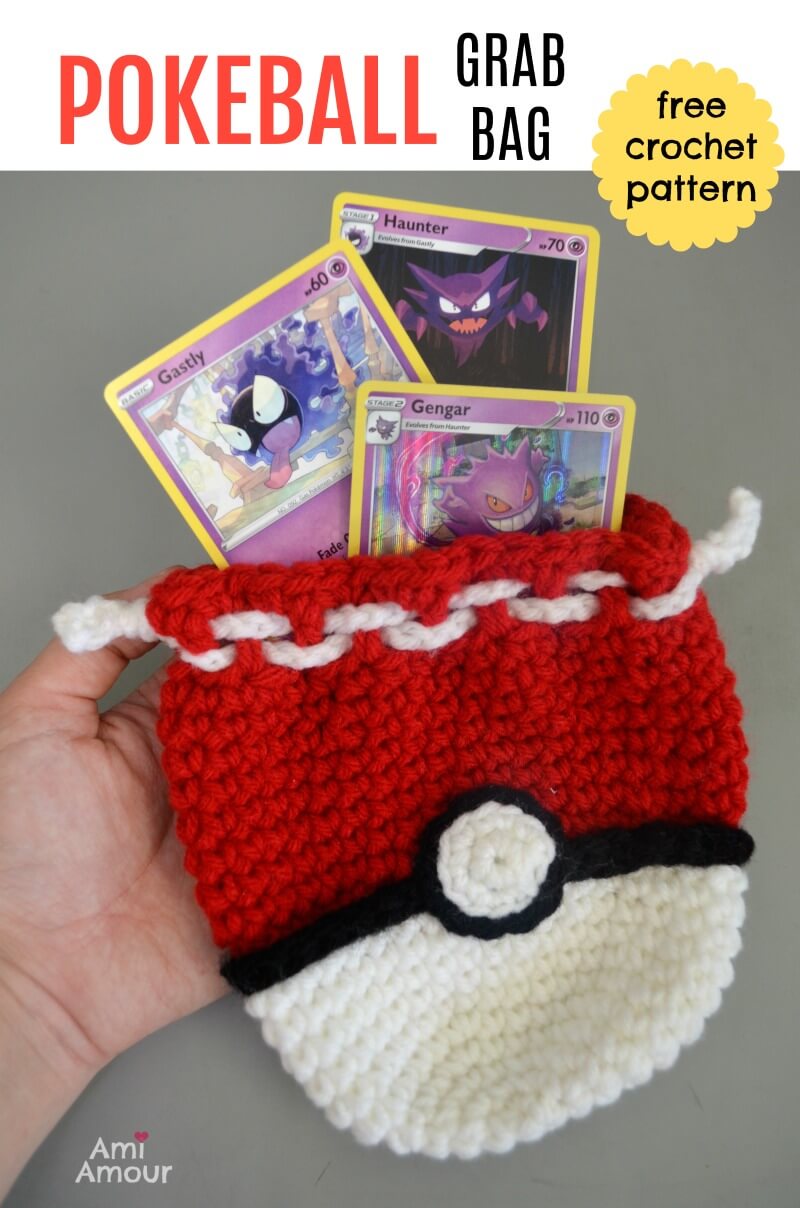
You can carry all sorts of items in it, including Pokemon playing cards.
If you’re a fan of Dungeons and Dragons, it can make a great dice holder too!
And if you like rock climbing, weight lifting, or gymnastics, I think this would make an awesome chalk bag as well! Just put a ball of chalk inside. It would definitely make an awesome conversation piece!
Anyways, hope you have fun with your crochet Pokeball Bag and let me know what you’re using it for! I’d also love to see your projects so make sure you tag me on Instagram @ami_amour.
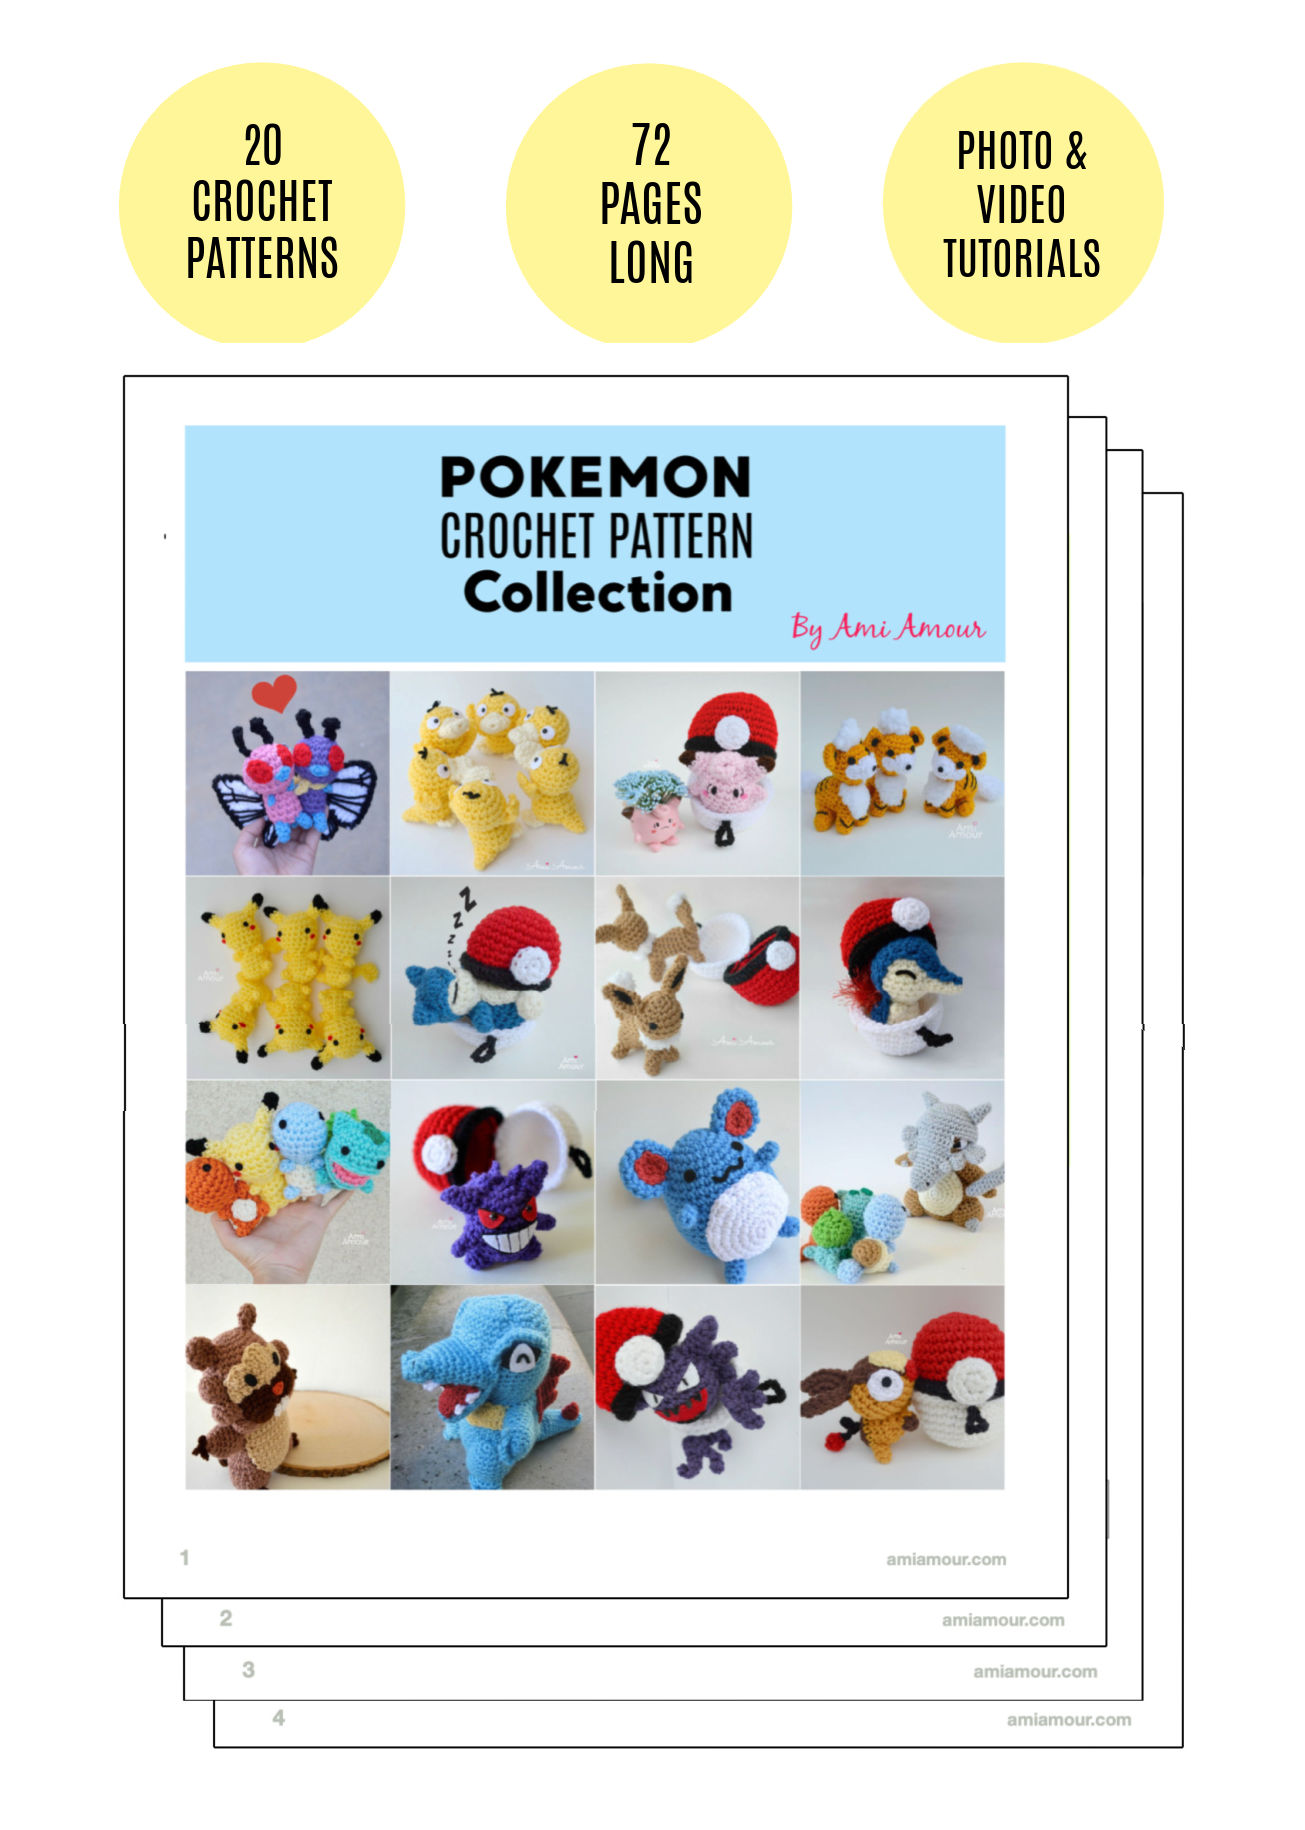
This Pokeball Drawstring Bag pattern is free and the pattern and tutorial is available below, but I’ve also finally compiled ALL my Pokemon Crochet patterns into a beautifully formatted e-book PDF collection.
It includes 20 different Pokemon patterns (including the Pokeball Drawstring bag too) and is 72 pages long! You can check it out here in my Etsy shop. Thank you for supporting my work!
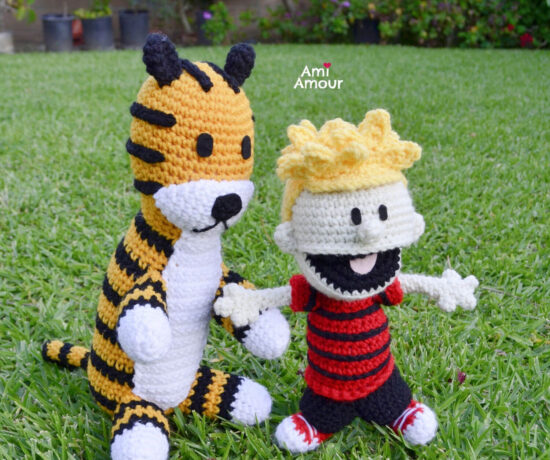
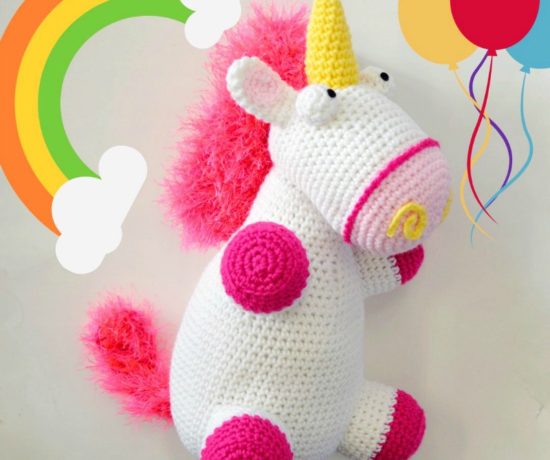
Here are some of my other free Pokemon crochet patterns you may enjoy!
POKEBALL BAG – VIDEO CROCHET TUTORIAL
See how the drawstring works in action and crochet along with me!
*Disclosure: This post contains affiliate links. This means I may receive a small commission if you decide to purchase anything by clicking on one of these links.
POKEBALL DRAWSTRING BAG – FREE CROCHET PATTERN
CROCHET HOOK:
4.00mm size (this brand is my favorite hook)
Usually I like to use a 5.0mm when I crochet, but for this one I wanted tighter stitches, so I used a smaller size hook.
YARN:
Red Heart Super Saver (worsted weight, acrylic yarn)
– cherry red
– white
– black
NOTIONS
– yarn needle
– scissors
ABBREVIATIONS (American English crochet)
ch – chain
hdc – half double crochet
sc – single crochet
sl st – slip stitch
sc2tog – single crochet 2 together (sc dec)
st – stitch
FINISHED SIZE:
Approximately 5.5in tall by 5in wide (14cm tall by 13cm wide)
POKEBALL BAG
Round 1: With white yarn, 6 sc into magic ring.
(NOTE: If you’re making a GoPro cover, you will want to start off with red yarn as your first color instead. But for a regular Pokeball Bag, you can start off with white yarn).
Round 2: 2 sc in each st around – 12 sc.
Round 3: [2 sc in next st, sc in next st] around – 18 sc.
Round 4: [2 sc in next st, sc in next 2 st] around – 24 sc.
Round 5: [2 sc in next st, sc in next 3 st] around – 30 sc.
Round 6: [2 sc in next st, sc in next 4 st] around – 36 sc.
Round 7-11: Sc in each st around – 36 sc.
Round 12: With red yarn, in Back Loop only [2 sc in next st, sc in next 8 st] around – 40 sc.
Round 13-17: Sc in each st around – 40 sc.
Round 18: [Sc2tog, sc in next 8 st] around – 36 sc.
Round 19-20: Sc in each st around – 36 sc.
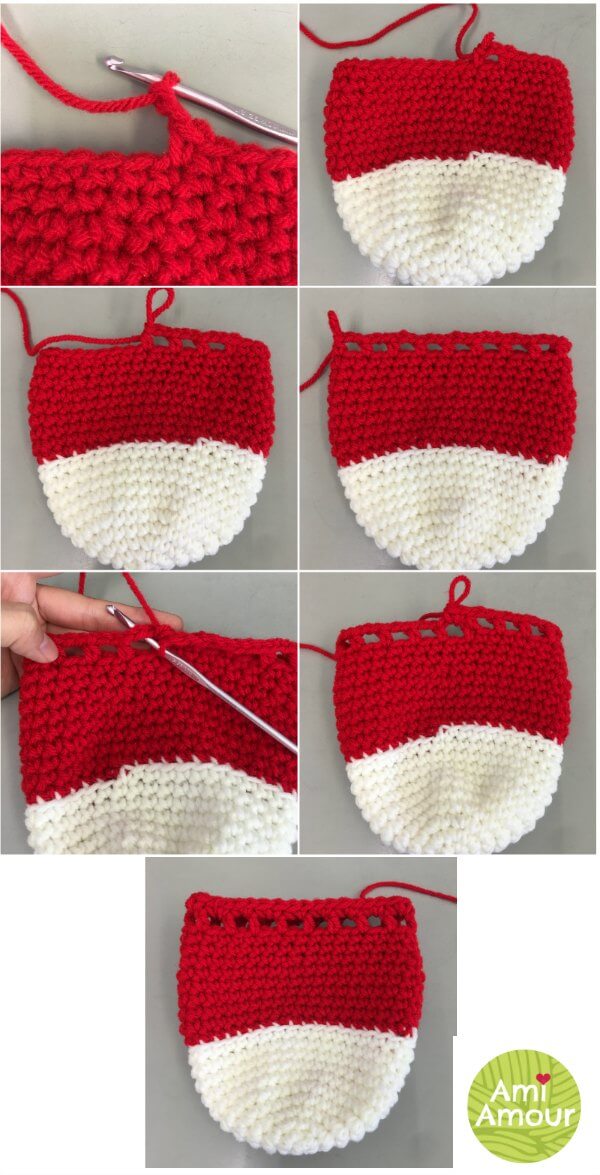
Round 21: [Ch 2, skip st, hdc in next st] around. (You will have 18 windows at end)
See photos below or this part on the video tutorial.
Round 22: 2 sc into each window – 36 sc.
Sl st to next st and fasten off.
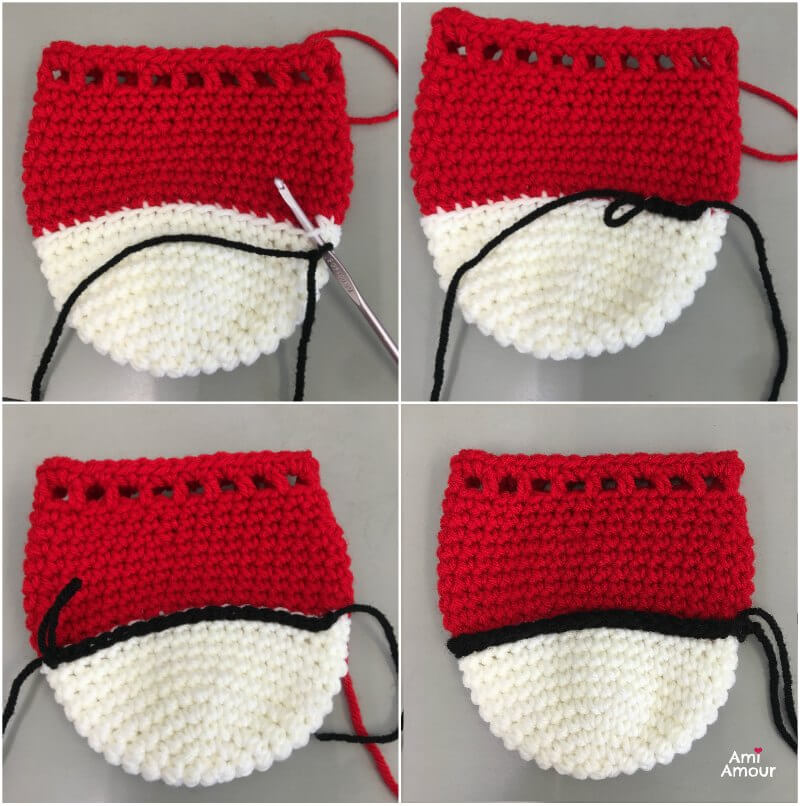
BLACK BELT
Round 1: With black yarn fasten onto the front loop on the white part of the bag. Sl st around the front loops only – 36 sl st.
Round 2: With black yarn, sl st around – 36 sl st.
Sl st into next st and fasten off.
BUTTON
Round 1: With white yarn, 6 sc into magic ring.
Round 2: 2 sc in each st around – 12 sc.
Round 3: With black (in back loop only), sl st around – 12 sc.
Sl st to next st to fasten off. Cut a long tail.
CORD (make 2)
With white yarn
Ch 60, fasten off.
ASSEMBLY
1. Weave to hide and cut all tail ends for the Pokeball Bag.
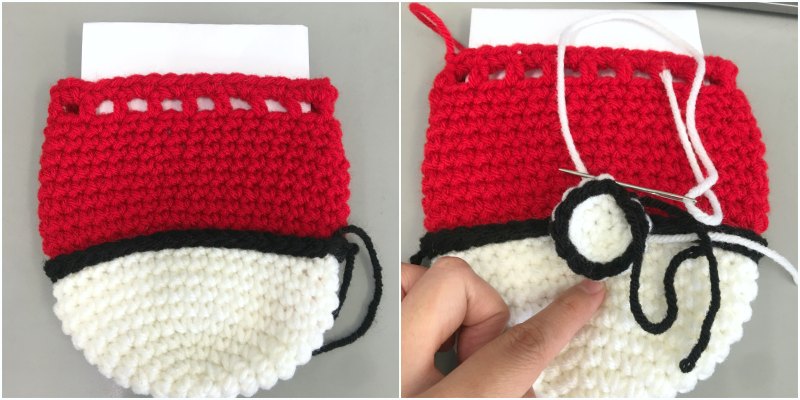
2. Fold a piece of legal size paper in half, and then half again. Place this insert into the bag. This will act as our protective layer as we sew the button on top of the Pokeball bag.
3. Sew the Pokeball Circle onto the bag. For best placement, check out this part of my video tutorial.
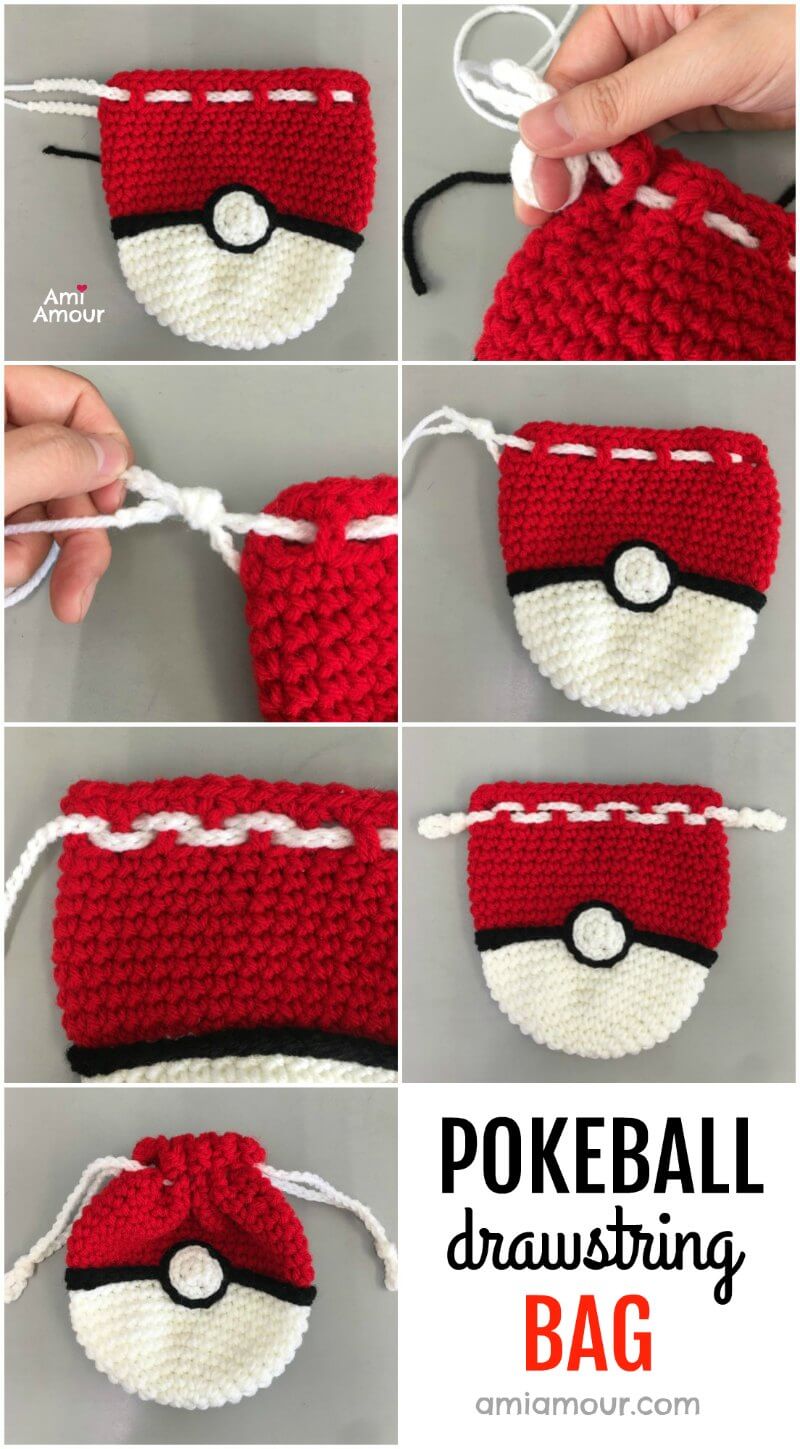
4. Weave in the Cord drawstring through the windows. (See photos below)
Use one cord and weave in and out until you come all the way around back to the beginning.Make the ends even. Tie a knot to secure the ends. Sew the end loops together as well.
5. Now do the same with the other drawstring cord but for the other side of the Pokeball bag. But you want the weaving to be opposite of the other previous cord. (For example: where the other weaves in, you will want to be weaving out.)
6. Your Pokeball Bag is ready for use! Tag me with your projects on Instagram @ami_amour.
What creative ways are you using your bag for?

8 Comments
Allenvee
July 22, 2021 at 1:23 amThank you Ami, the bag looks really cute ^^
Joaniebee
June 18, 2022 at 1:15 pmThis is so cute and clever!! Thank you for sharing with us your amazing talents and adorable patterns. 🥰💗💖
Krista
July 19, 2022 at 10:46 amSO adorable, my 13yo son loves this! Thank you for making great videos!
Ami Amour
July 26, 2022 at 11:49 amSo glad to hear it was a hit with your son!
Bai
July 24, 2022 at 3:51 pmI just used your pattern to create an ultra ball pokeball. thank you so much for your straightforward instructions 💜💜💜
Ami Amour
July 26, 2022 at 11:47 amOoh an ultra ball Pokeball sounds even more fun!
Andy
April 16, 2023 at 3:54 pmSuch a good pattern, it turned out so pretty! Loved it!
Kit
July 6, 2023 at 7:43 amThanks for the patterns! I’ve already made your PokeBall. This will be perfect for holding my crochet accessories.