Here’s a Psyduck Amigurumi so derpy, you can’t help but love him in an exasperated sort of way. I created this free Psyduck Amigurumi Pokemon crochet pattern to incorporate all of Psyduck’s funny features including his webbed arms that clutch his head as he suffers from an immense headache. He has a flat bill and also has tufts of black hair at the top of his head.
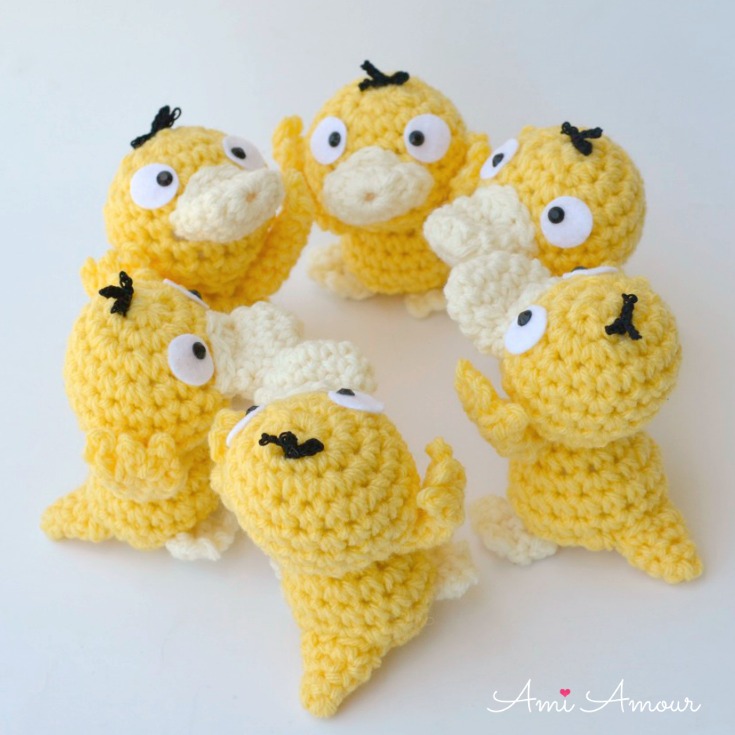
I love to pair him with my crochet Pokeball. But beware, he might accidentally end up capturing himself in it! He also has a tendency to come out of his Pokeball when you least expect it!

I’ve always enjoyed Psyduck because he has loads of personality and he’s ever so relatable! So I really hope you guys enjoy this Psyduck amigurumi pattern too. I have both the written and video tutorial below.
It’s part of my ongoing Gotta crochet ’em all! Pokemon amigurumi series. Be sure to catch them all! 😉
My Pokemon Amigurumi Collection
Here’s a look at all the Pokemon Amigurumi projects I’ve made thus far! There are quite a few chibi Pokemon that also fit into the Pokeball as well as some larger Pokemon dolls.
I’ve made some of these Pokemon patterns available on my blog already, but if you see one I haven’t written up yet, be sure to let me know in the comments, which one you’d like to see next! And don’t forget to subscribe to my blog so you don’t miss any of my pattern updates!
Psyduck Crochet Tutorial Video
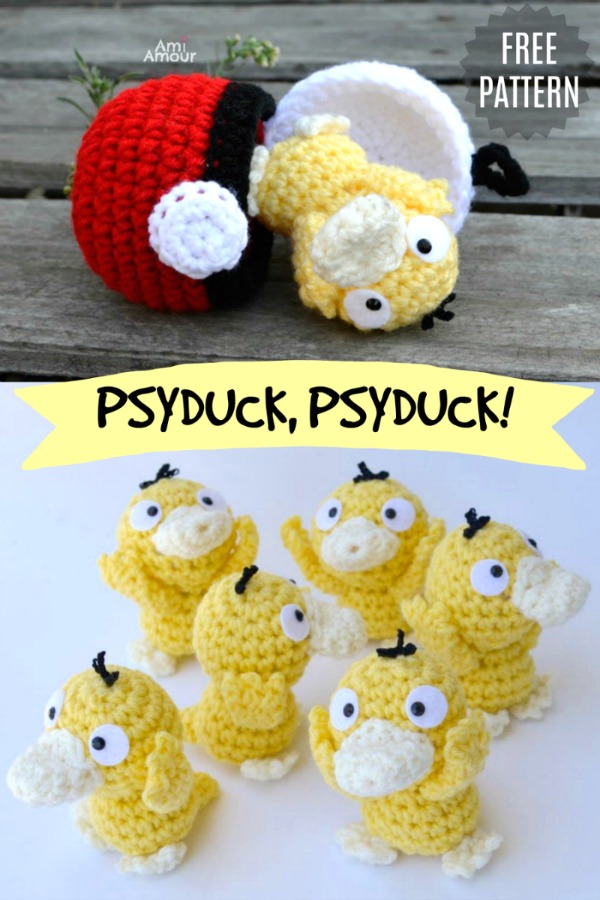
PSYDUCK AMIGURUMI crochet pattern
SIZE: Approximately 4 in/10 cm tall.
LEVEL: Easy
HOOK SIZE:
5.5mm
3.25mm (for hair)
YARN:
Loops & Threads, Impeccable – worsted weight, acrylic yarn
-Butterscotch
-Aran
Aunt Lydia’s Crochet Thread – Size 3
-black
NOTIONS:
Polyester Fiberfill
White Felt
6mm black acrylic rhinestone (2)
Fabritac Glue
Yarn Needle
Stitch Marker
Scissors
HEAD and BODY
With yellow yarn
Round 1: 8 sc into magic ring.
Round 2: [2 sc in next 2 st, sc in next 2 st] around – 12 sc.
Round 3: [2 sc in next 3 st, sc in next 3 st] around – 18 sc.
Sc in next 3 st, and move stitch marker. This will be the start of the round now.
Round 4: [2 sc in next st, sc in next 8 st] around – 20 sc.
Round 5-6: Sc in each st around – 20 sc.
Round 7: [Sc2tog, sc in next 8 st] around – 18 sc.
Round 8: Sc2tog around – 9 sc.
Round 9: [Sc2tog, sc in next st] around – 6 sc.
Round 10: 2 sc in each st around – 12 sc.
Round 11: [2 sc in next st, sc in next st] around – 18 sc.
Round 12-14: Sc in each st around – 18 sc.
Round 15: [Sc2tog, sc in next st] around – 12 sc.
Round 16: Sc2tog around – 6 sc.
Fasten off, leaving a long tail.
Stuff and sew closed.
TAIL
With yellow yarn
Round 1: 4 sc in magic ring.
Round 2: Sc in each st around.
Round 3: [2 sc in next st, sc in next st] around – 6 sc.
Round 4: [2 sc in next st, sc in next 2 st] around – 8 sc.
Fasten off, leaving a long tail.
ARM
With yellow yarn
Round 1: 6 sc in magic ring.
Round 2-6: Sc in each st around.
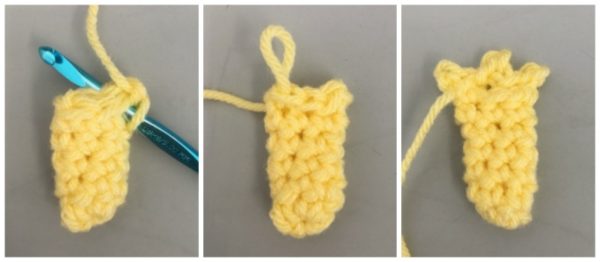
Row 7: Sew shut with sl st across – 3 sl st. (See photo below)
Row 8: [Ch 2, sl st in first ch, sl st in first st] 3 times.
Fasten off, leaving a long tail.
FEET
With aran yarn
Round 1: 6 sc in magic ring.
Round 2: Sc in each st around.
Row 3: Sew shut with sl st across – 3 sl st.
Row 4: [Ch 2, sl st in first ch, sl st in next st] 3 times.
Fasten off, leaving a long tail.
BILL
with aran yarn
Round 1: 12 sc in magic ring.
Round 2-3: Sc in each st around – 12 sc.
Round 4: [Sc2tog, sc in next 4 st] around – 10 sc.
Round 5: Sl st in next 2 st, 2 hdc in next st, sl st in next 3 st.
Fasten off, leave a long tail.
Do not stuff.
Sew 4th Row down from Head.
HAIR
With Black Crochet Thread – Size 3
With Crochet Hook Size 3.25mm
Row 1: Ch 4, sl st into 2nd ch from hook, sl st in next 2 sts.
Row 2: Ch 3, sl st back the row for the next 3 sts.
Row 3: Ch 3, sl st back the row for the next 3 sts.
ASSEMBLY
1. Sew Bill 4th Round down from Head.
2. Cut out 2 white circles for the eyes (approximately 17mm in diamter) from felt. Glue on with Fabri-tac.
3. Glue 6mm black acrylic rhinestone to the Eyes for the pupil.
(Warning: Do not use the rhinestones if intended for young children as they can be a choking hazard. Use black felt instead.)
4. Sew Arms onto Body. You only sew the end of the arm to body. Hands should be upward clutching face.
5. Sew Feet to bottom of Body.
6. Sew Tail onto bottom back of Body.
7. Sew Hair Tuft onto top of Head.
8. Hide and cut all ends.
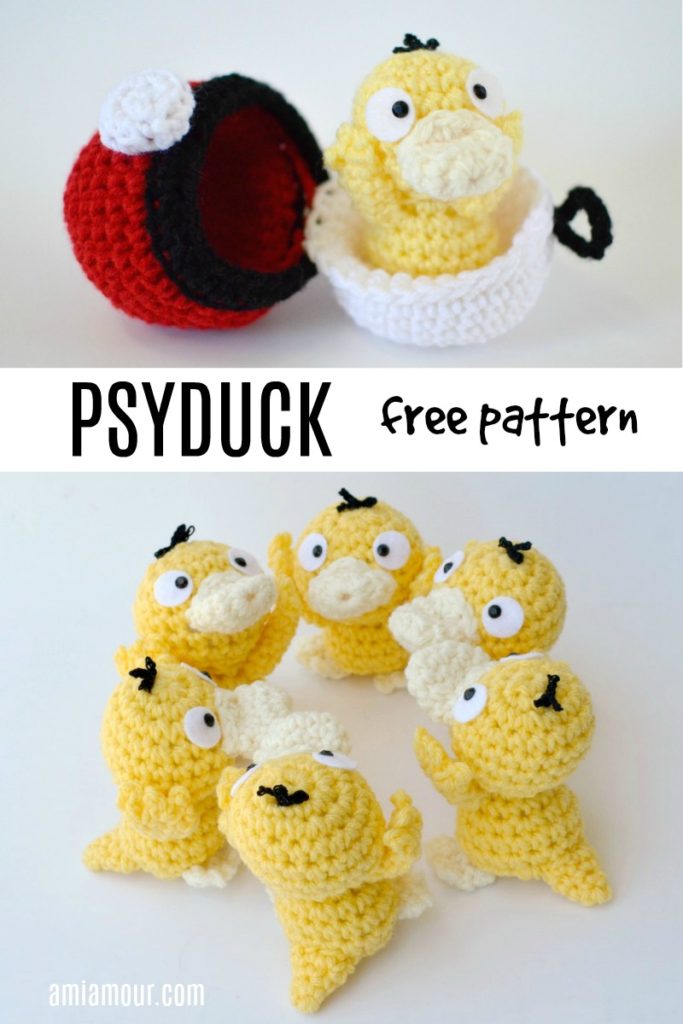
9. Optional: Make a Pokeball Home for Psyduck!

6 Comments
Tunia
June 24, 2019 at 6:51 amSo adorable and helpful tutorial, thank You very much for this ❤️
Ami Amour
July 8, 2019 at 10:58 pmYour welcome! Happy it was helpful to you!
Roch
August 14, 2019 at 3:51 amIt’s really cute thank you so much ??
Ami Amour
August 31, 2019 at 1:38 pmThank you! He’s always been one of my fav Pokemon!
May
March 11, 2021 at 9:56 amThis is adorable!! Please make more pokemon patterns. Your work is amazing 🙂
Michael
February 5, 2023 at 11:25 pmTHIS IS SOOOOO CUTE!!!!!!!!!!!!!!!!!!!!!!!! Please make more CUTE Pokemon patterns. I love Pokemon and making this is hard for me, but I just started crocheting a few days ago. Maybe doing this was a bad idea. I don’t know. All I know is that I really, really, REALLY like this pattern!!!!!!!!!!!!!!!