
This crochet Bald Eagle pattern is my latest addition to my Bird Amigurumi series!
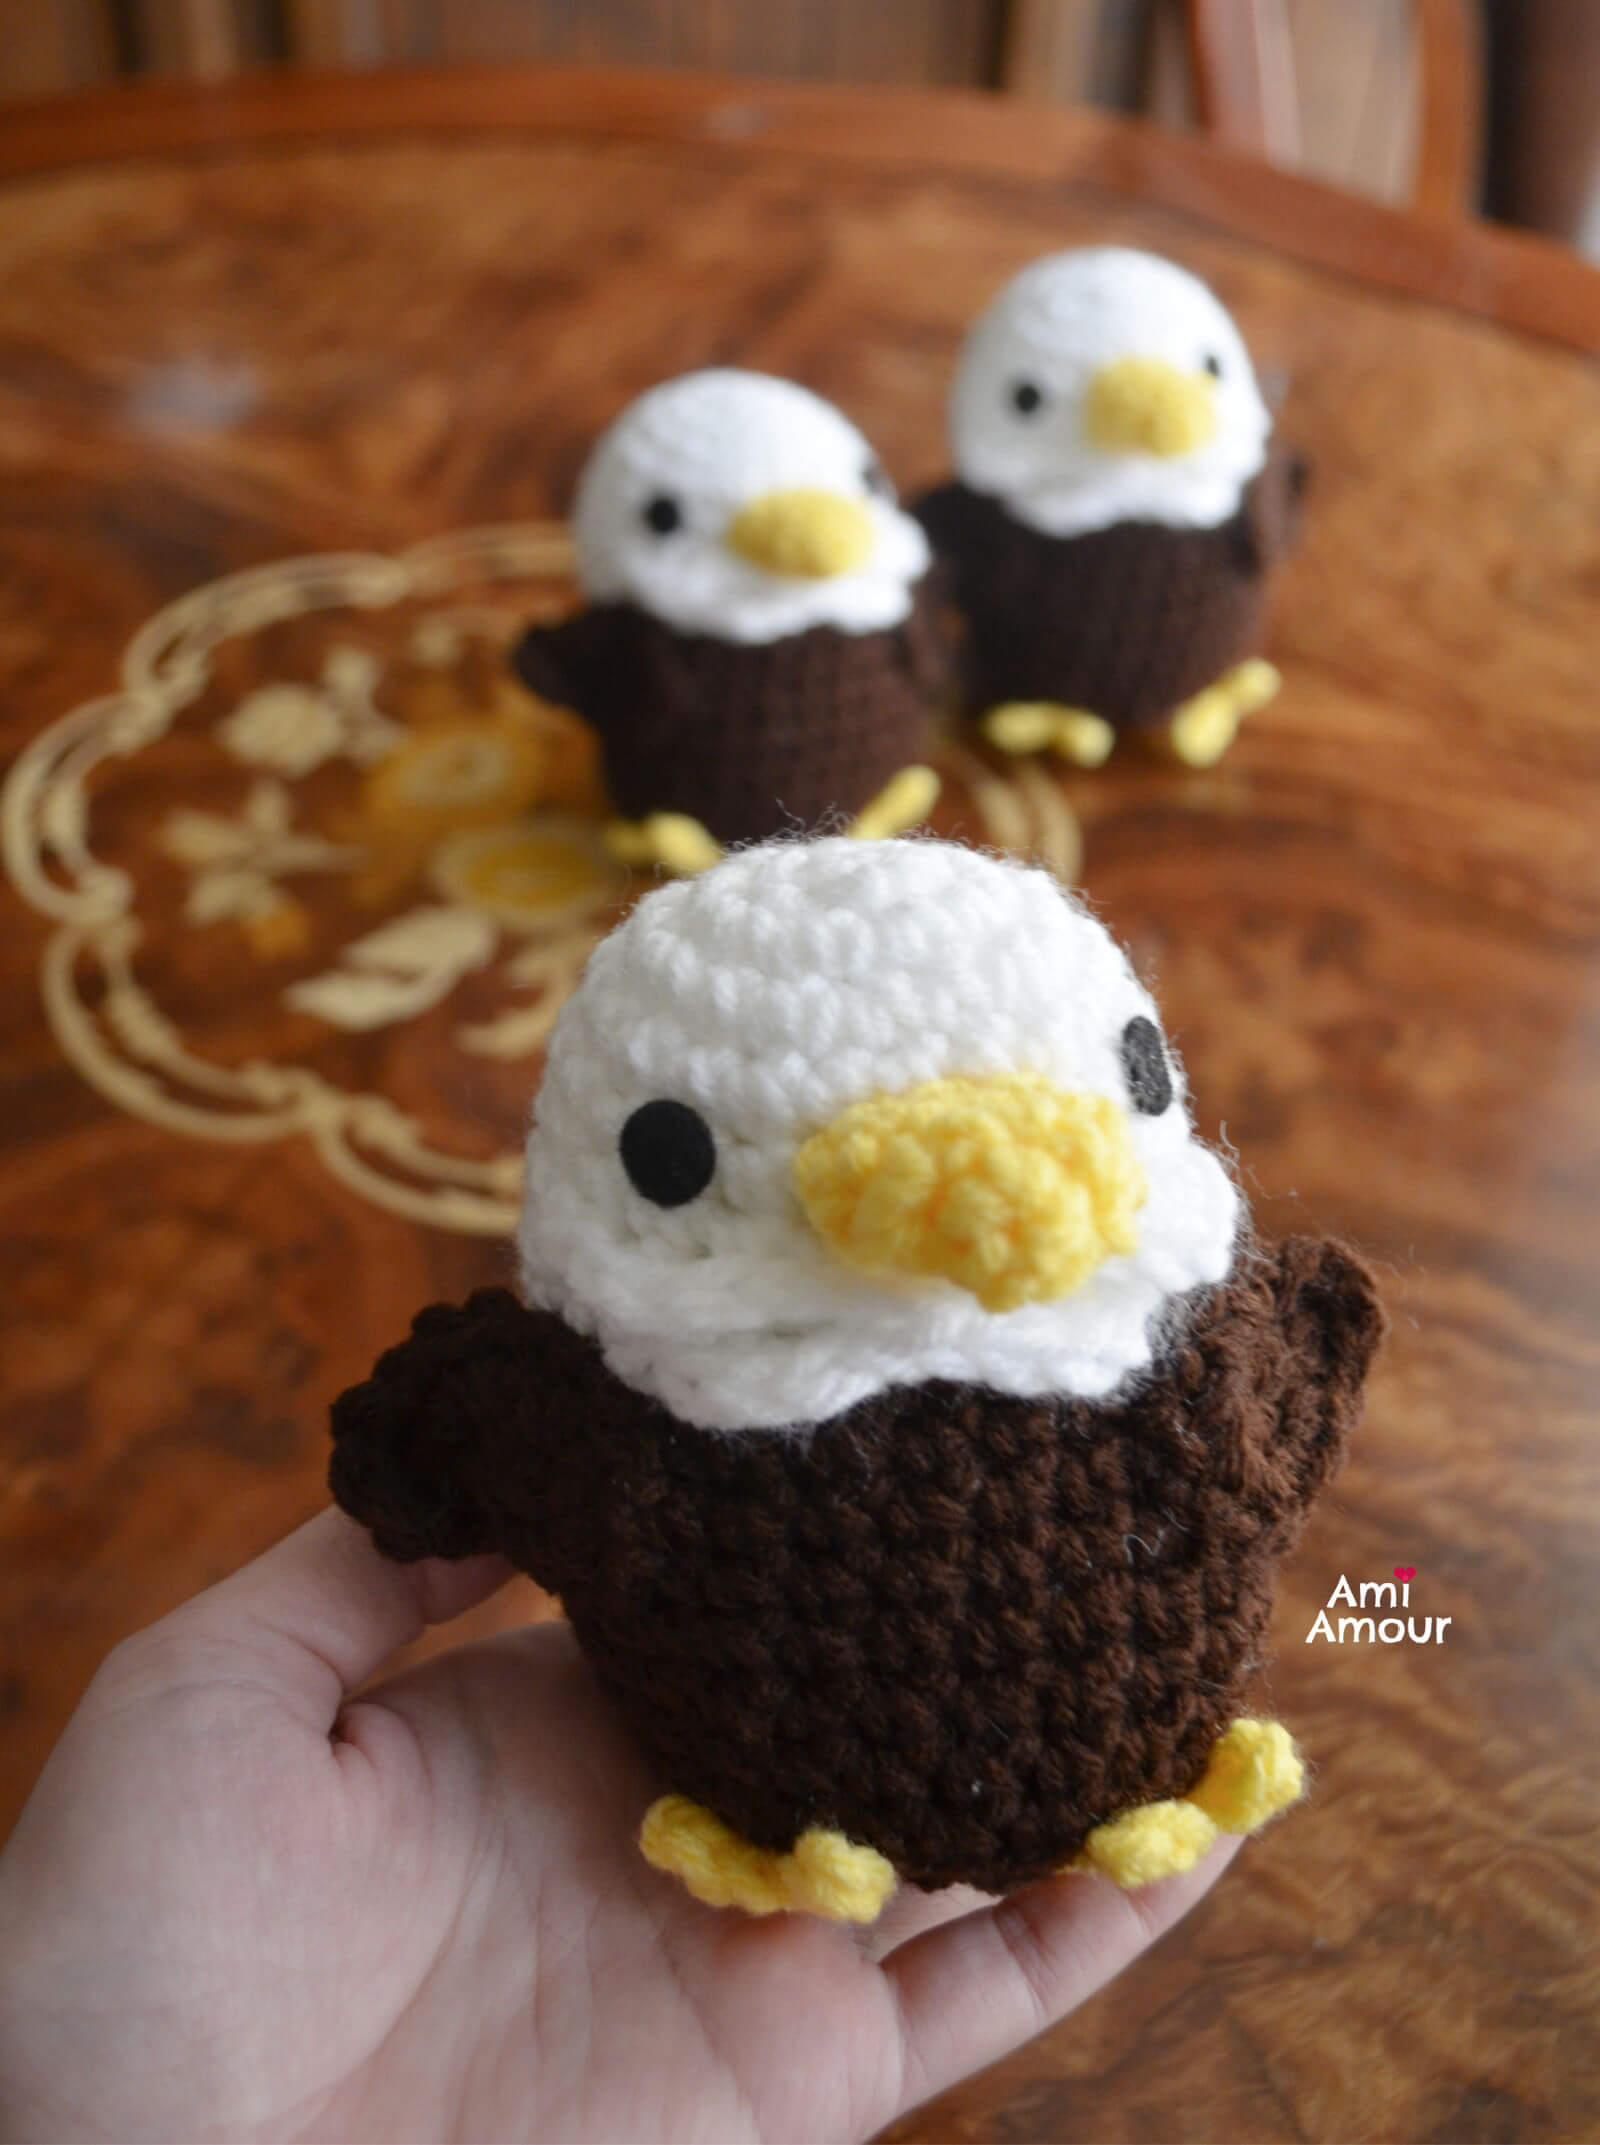
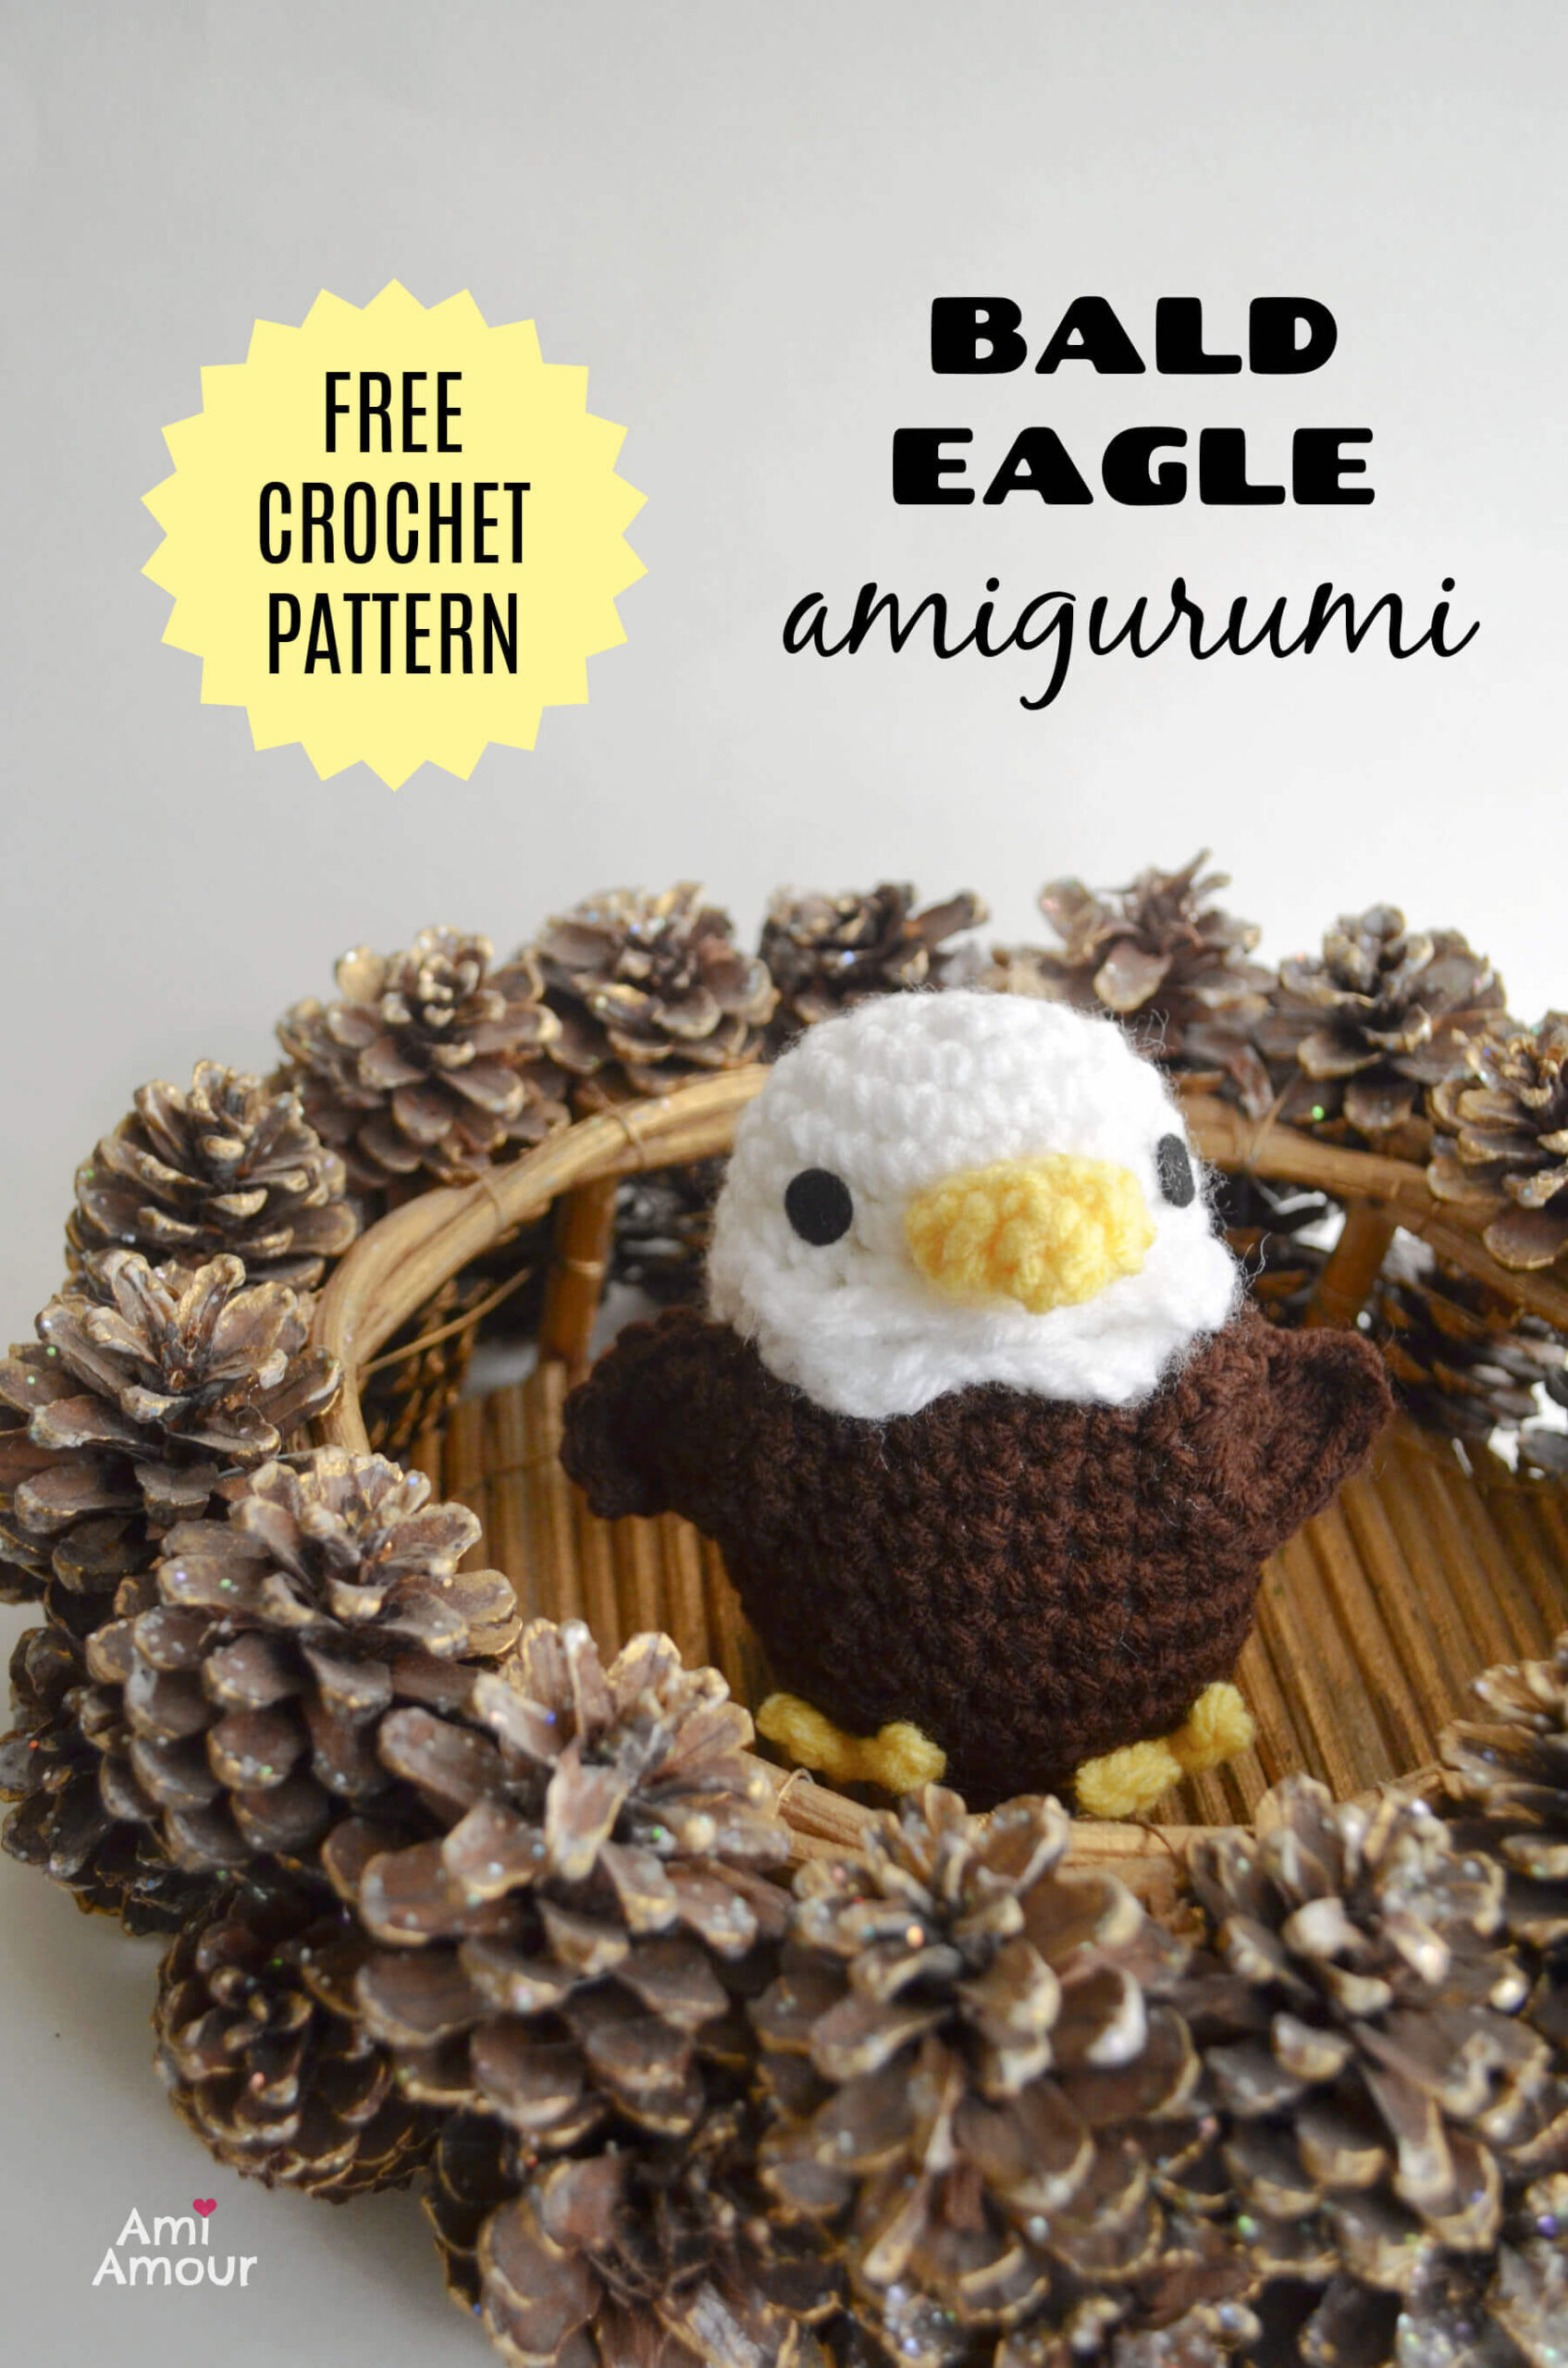
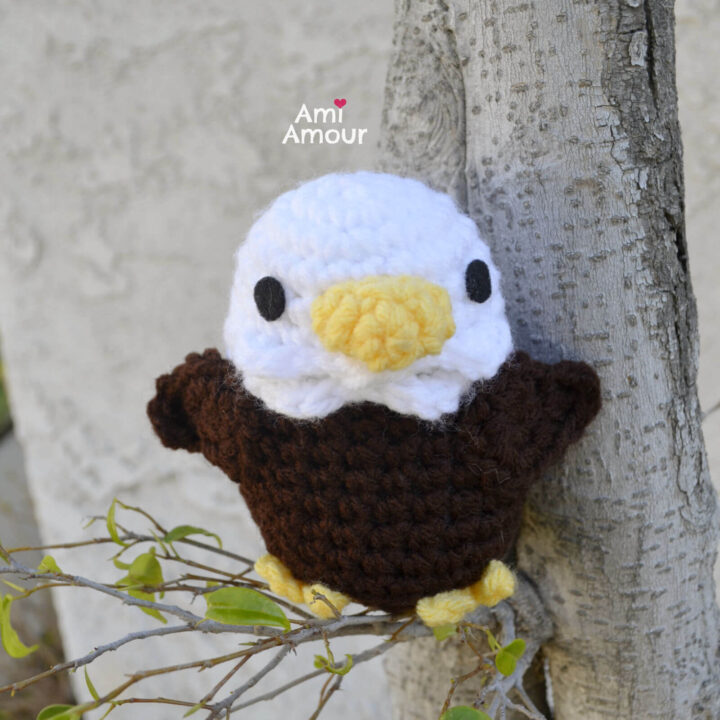
The Eagle is truly a majestic and intelligent creature, but in my Bald Eagle amigurumi version, I tried to create a more cute and baby-like eaglet version.
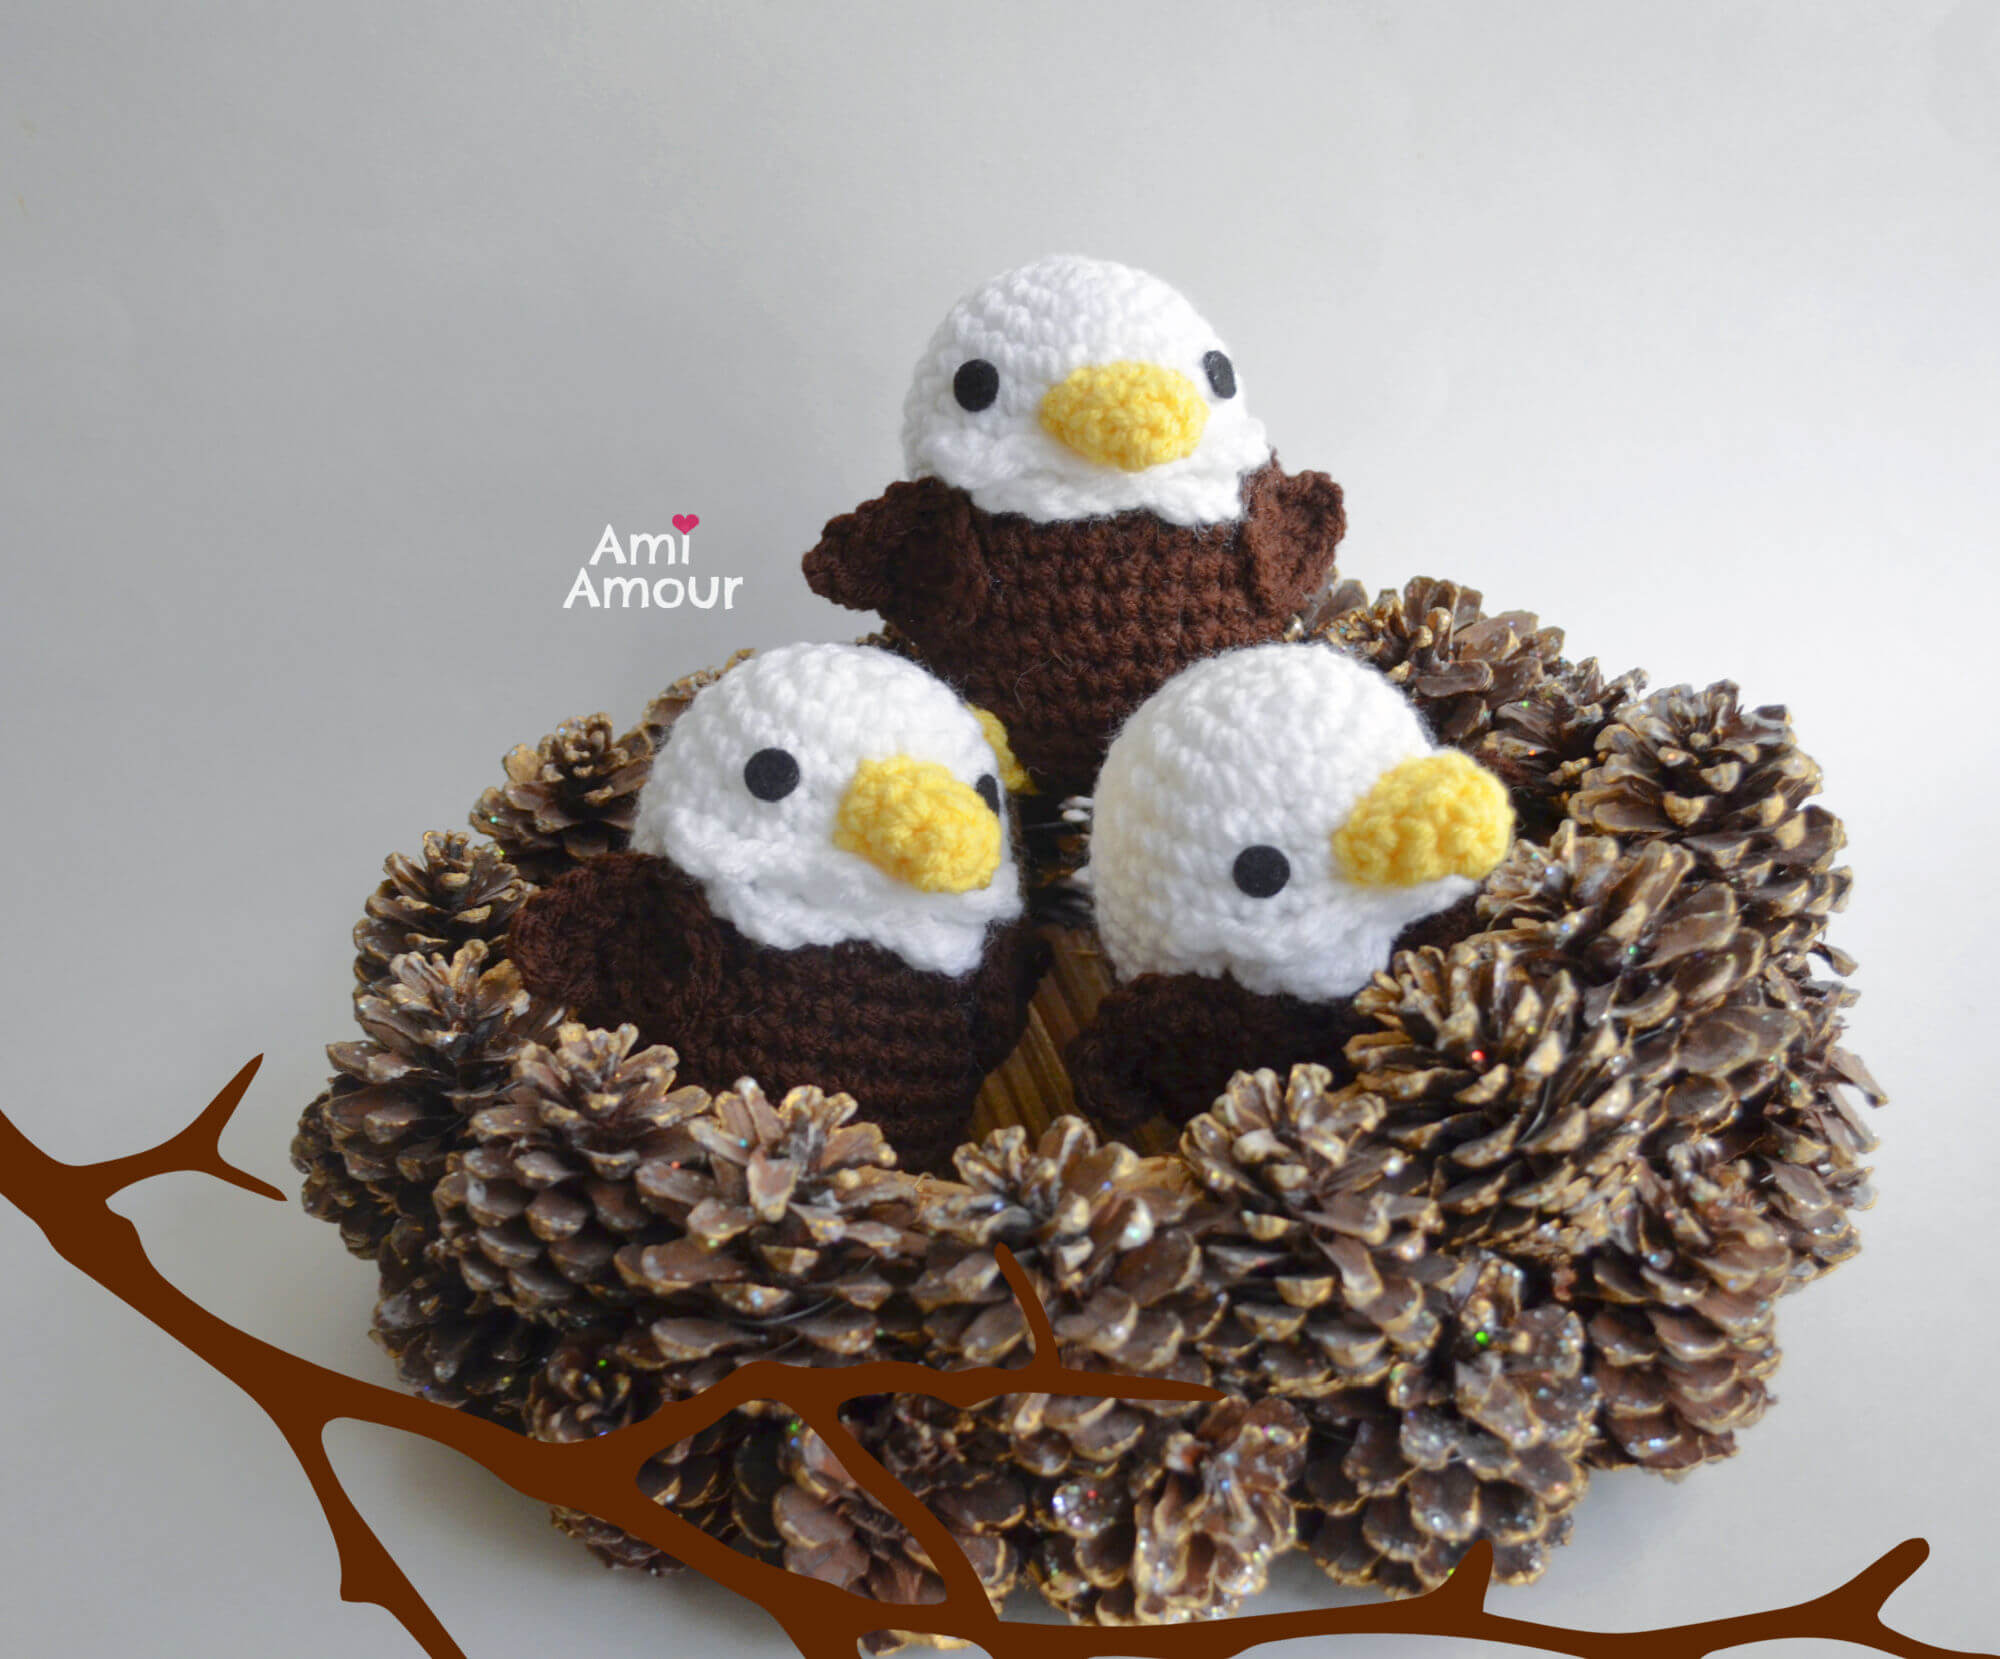
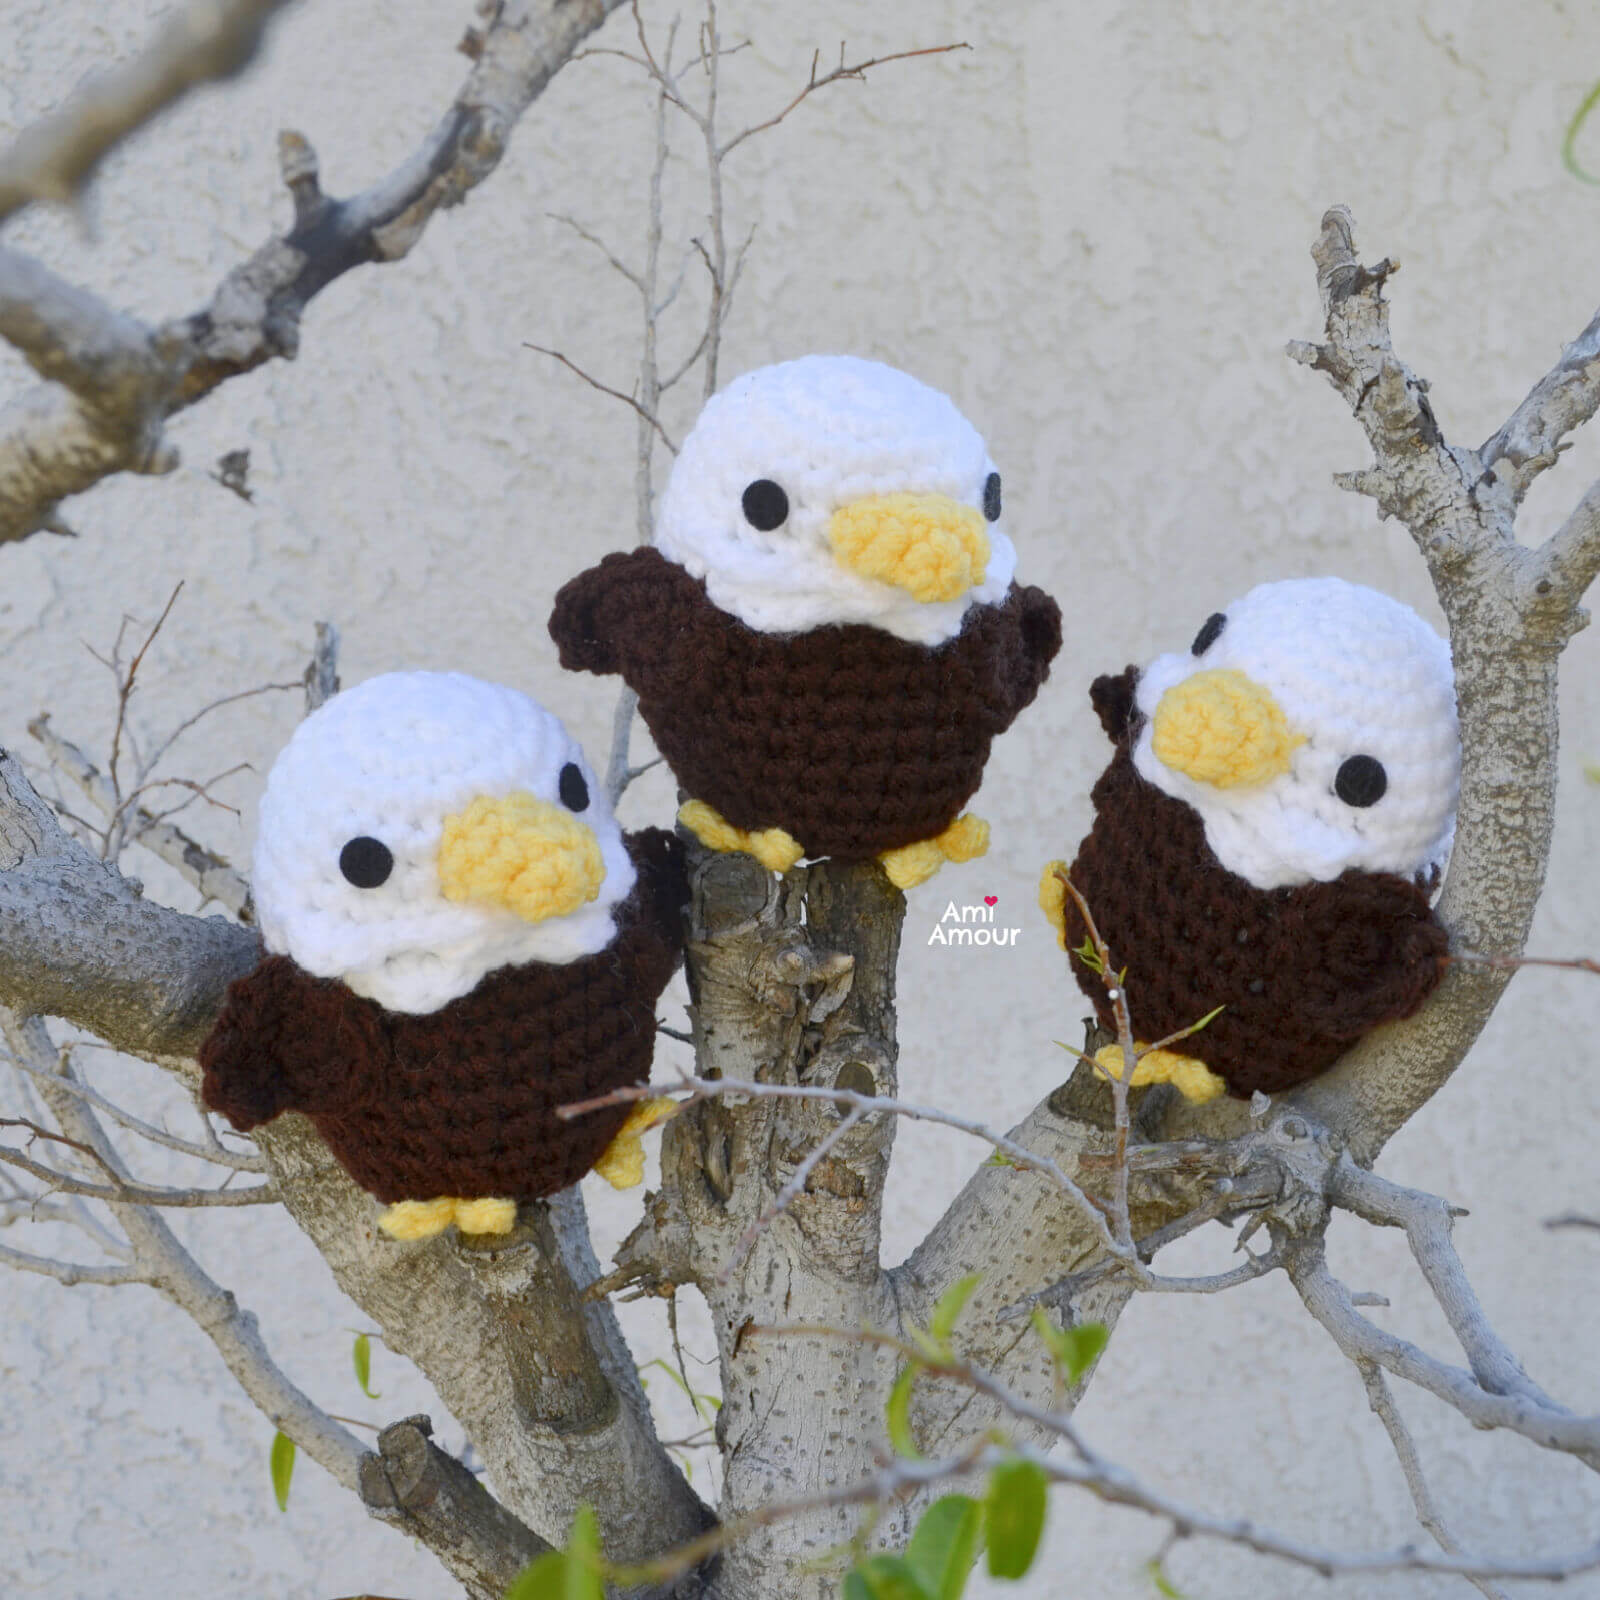
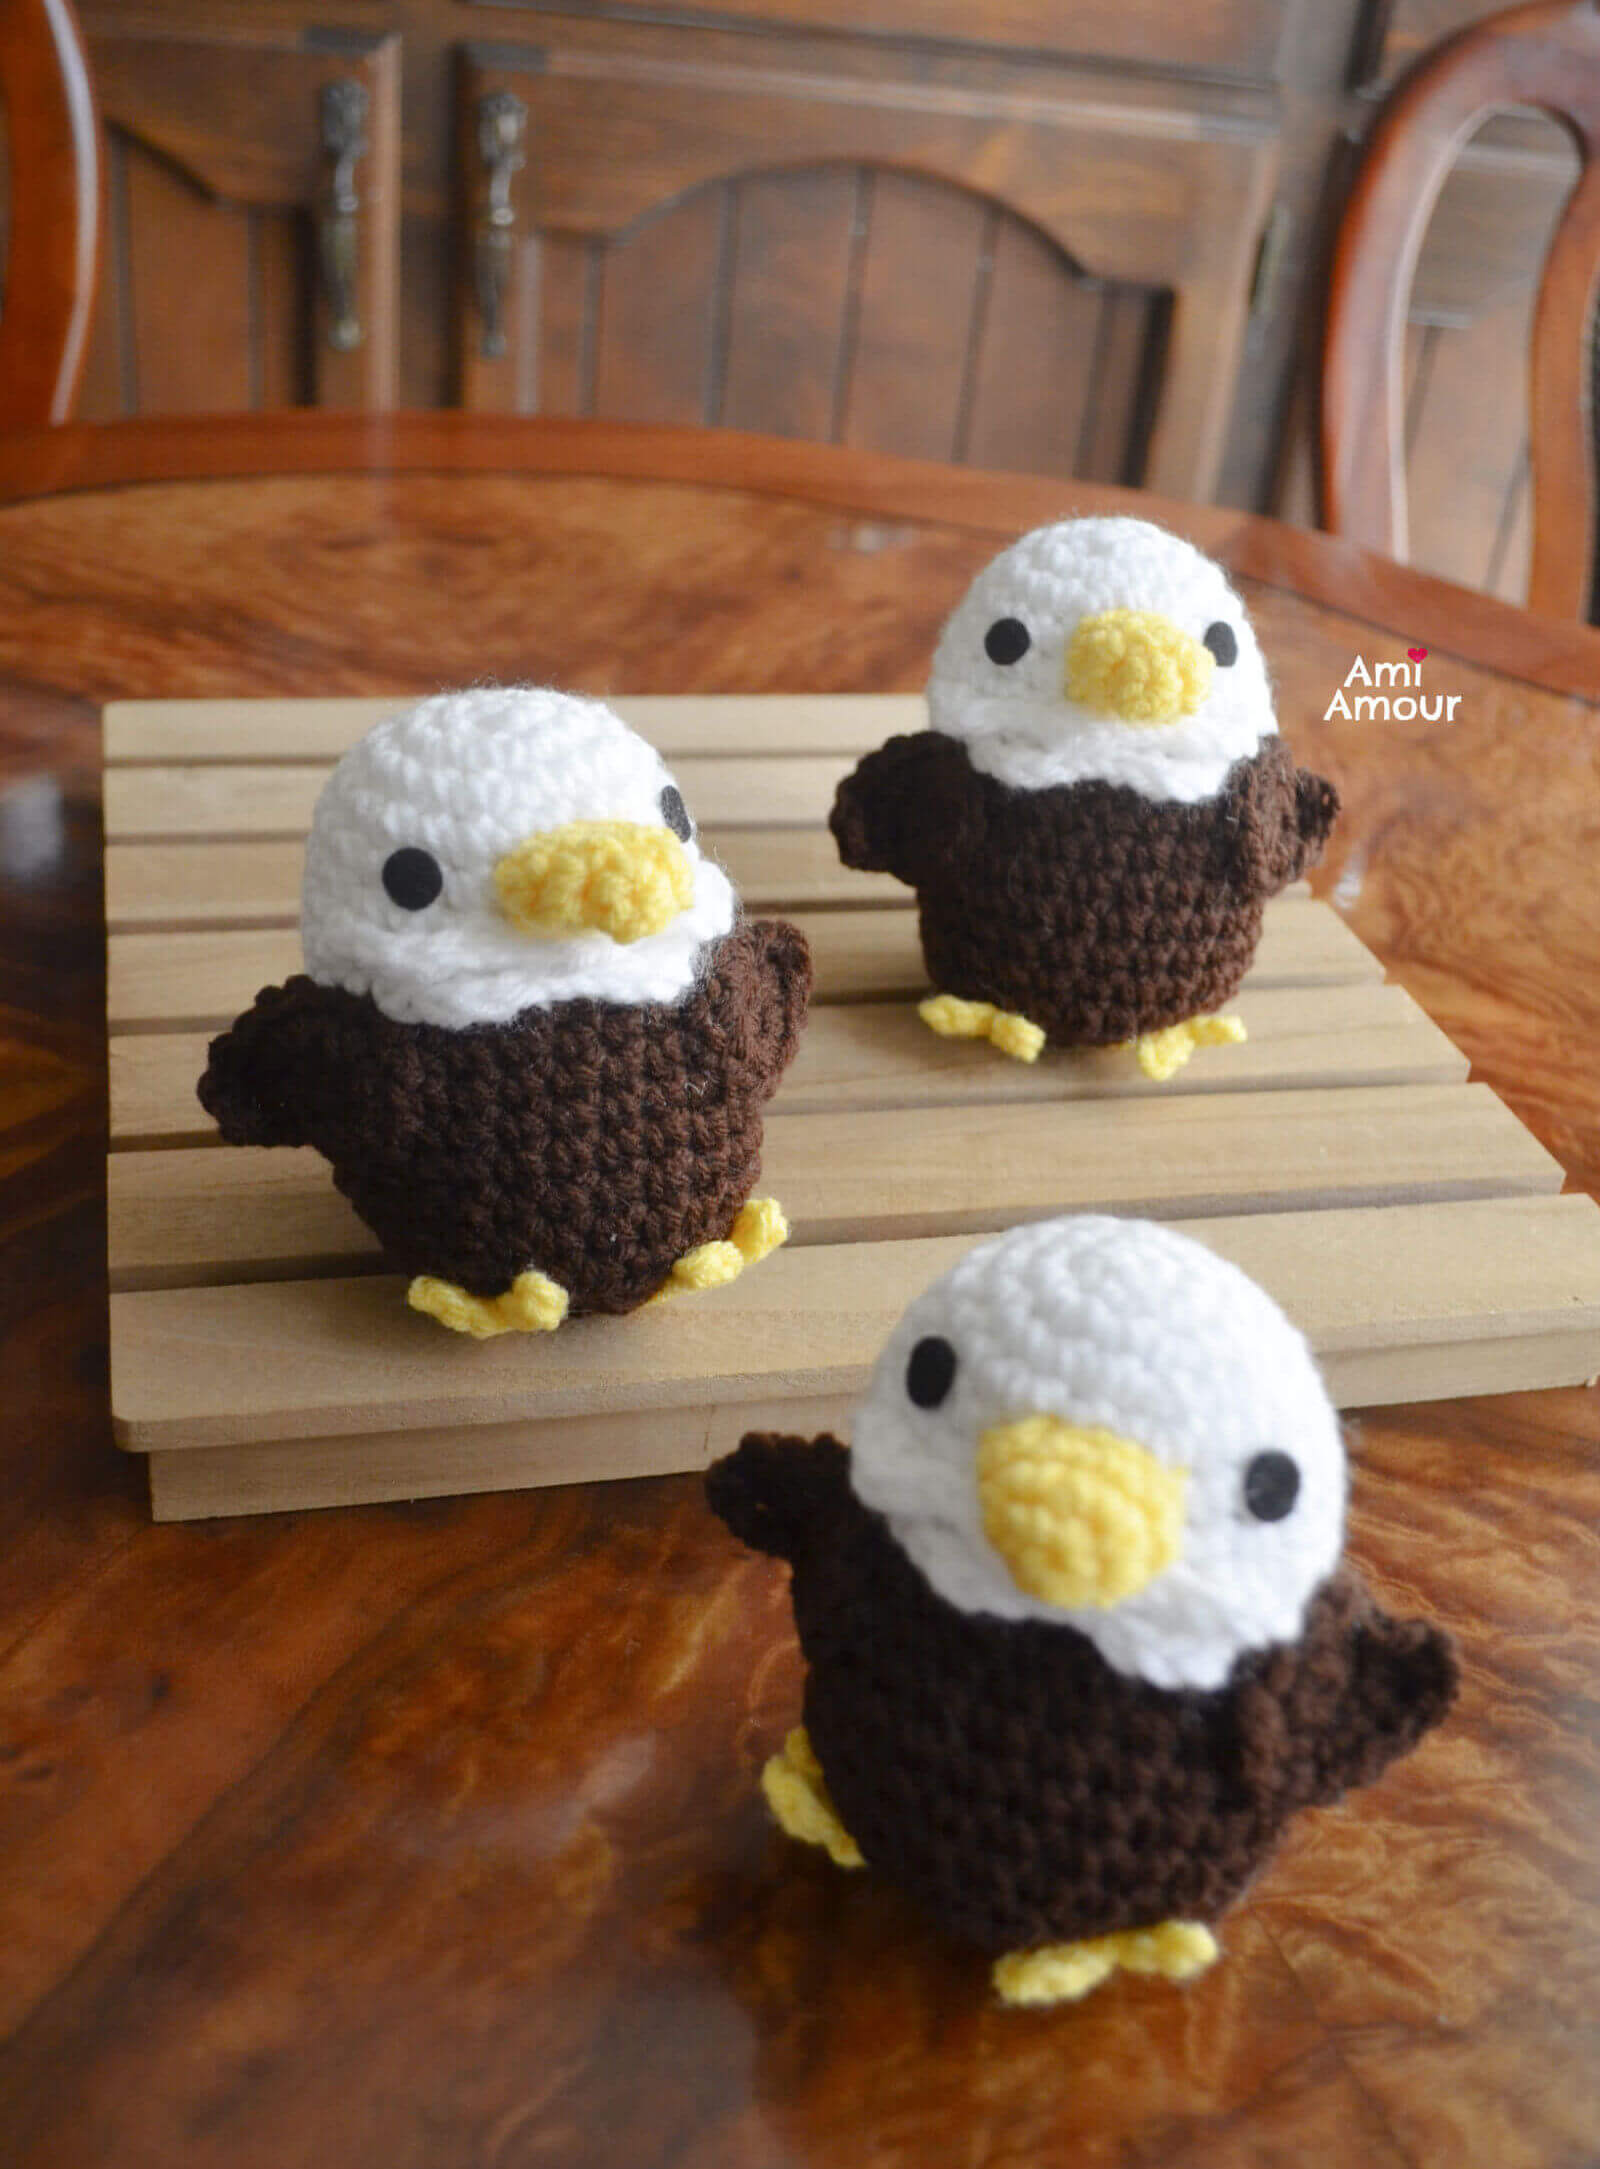
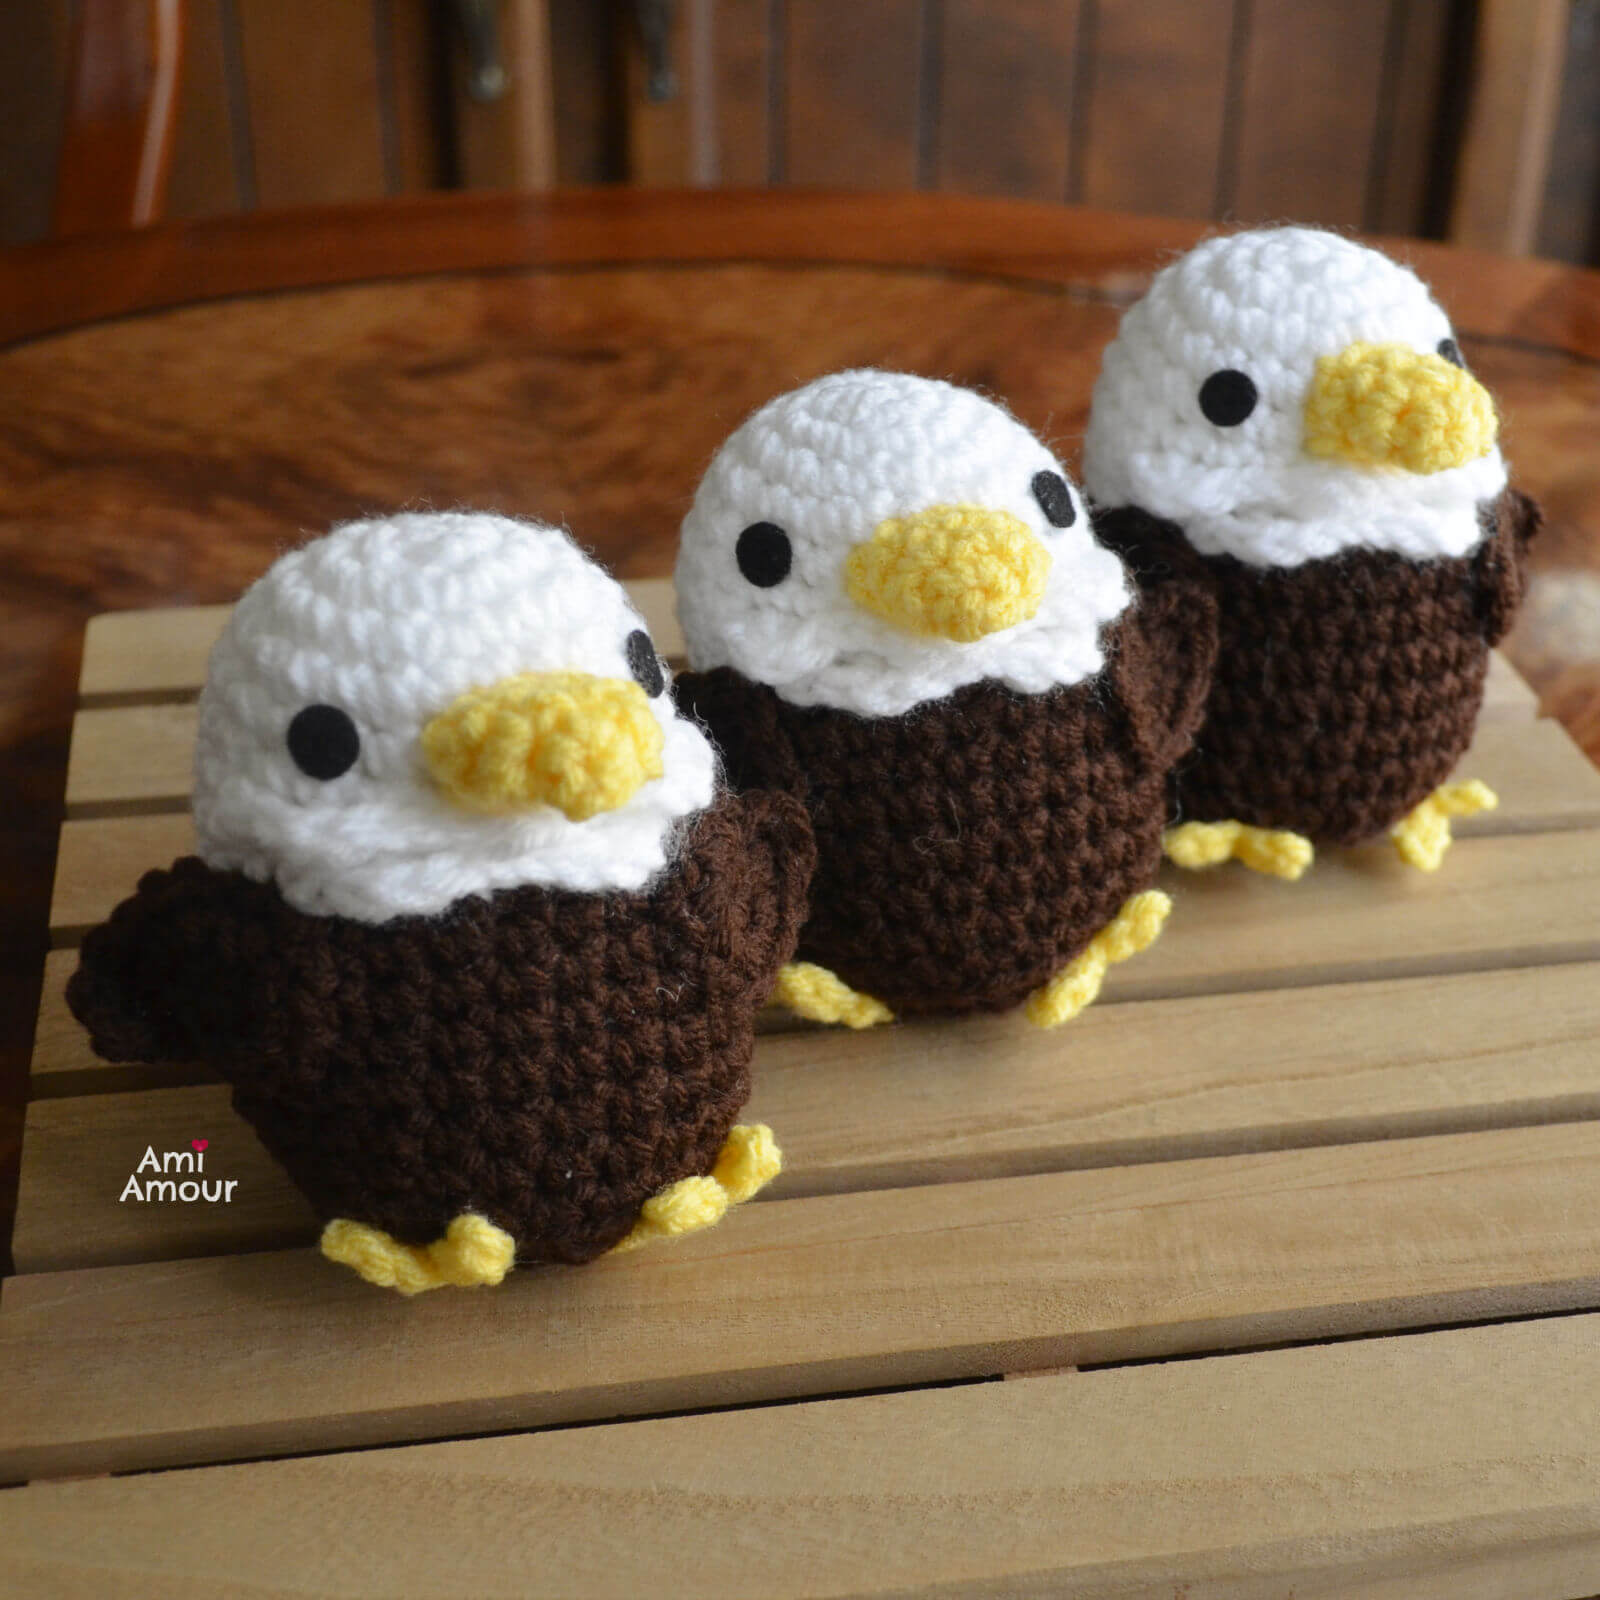
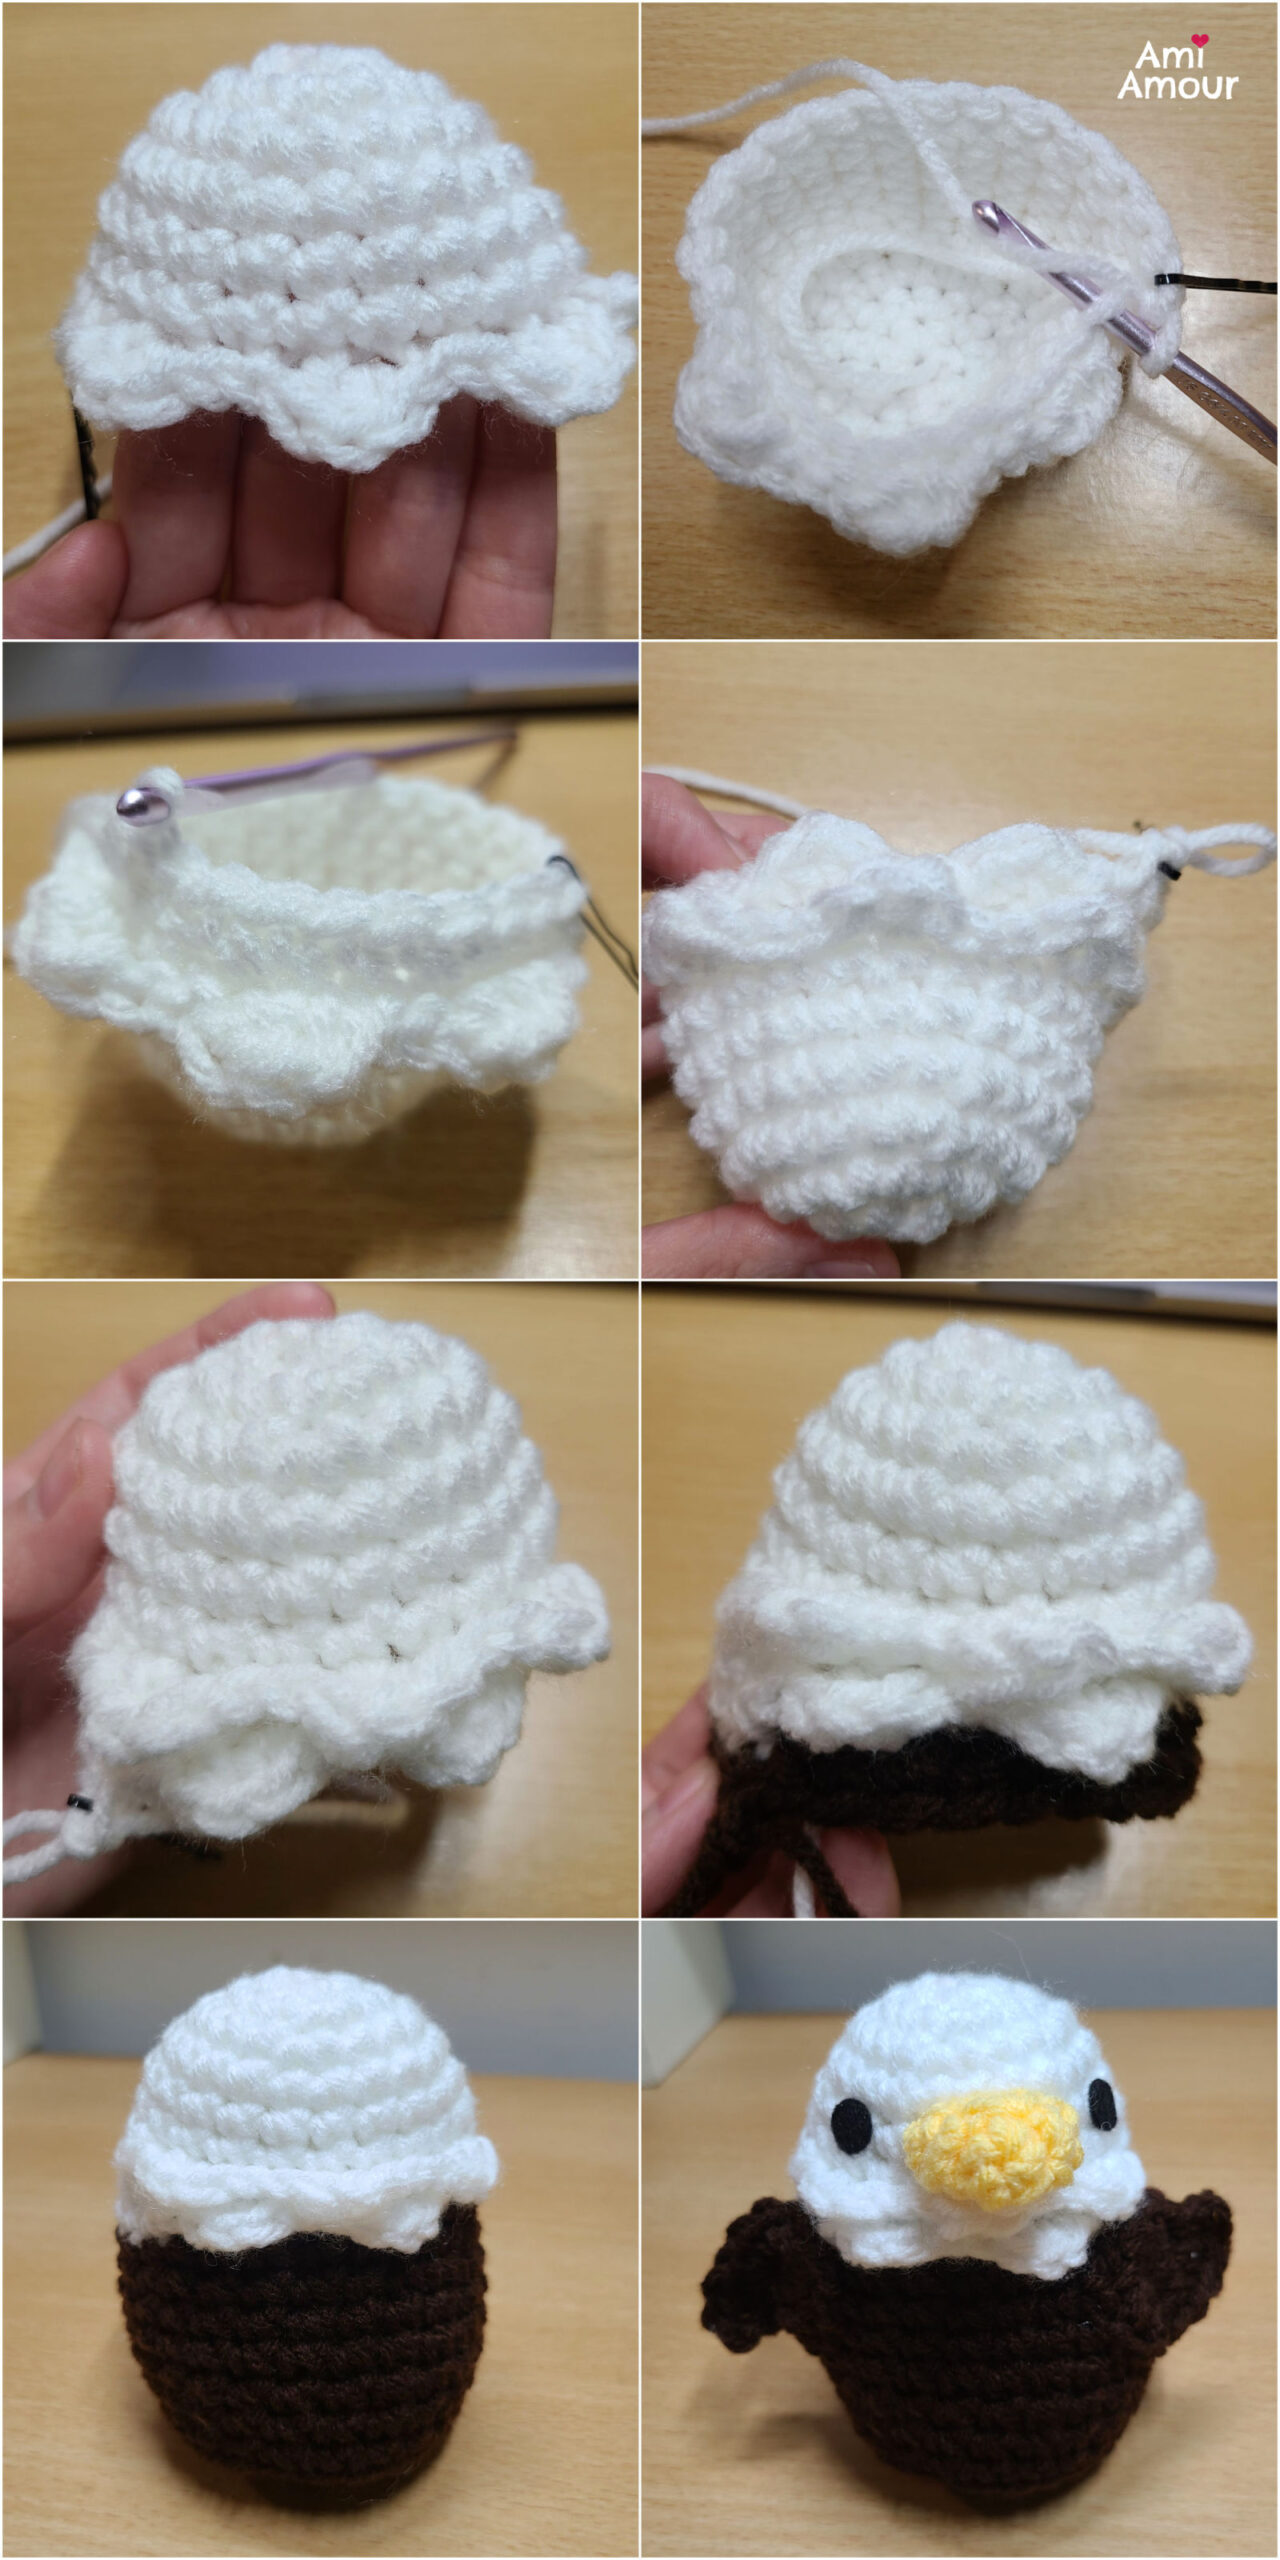
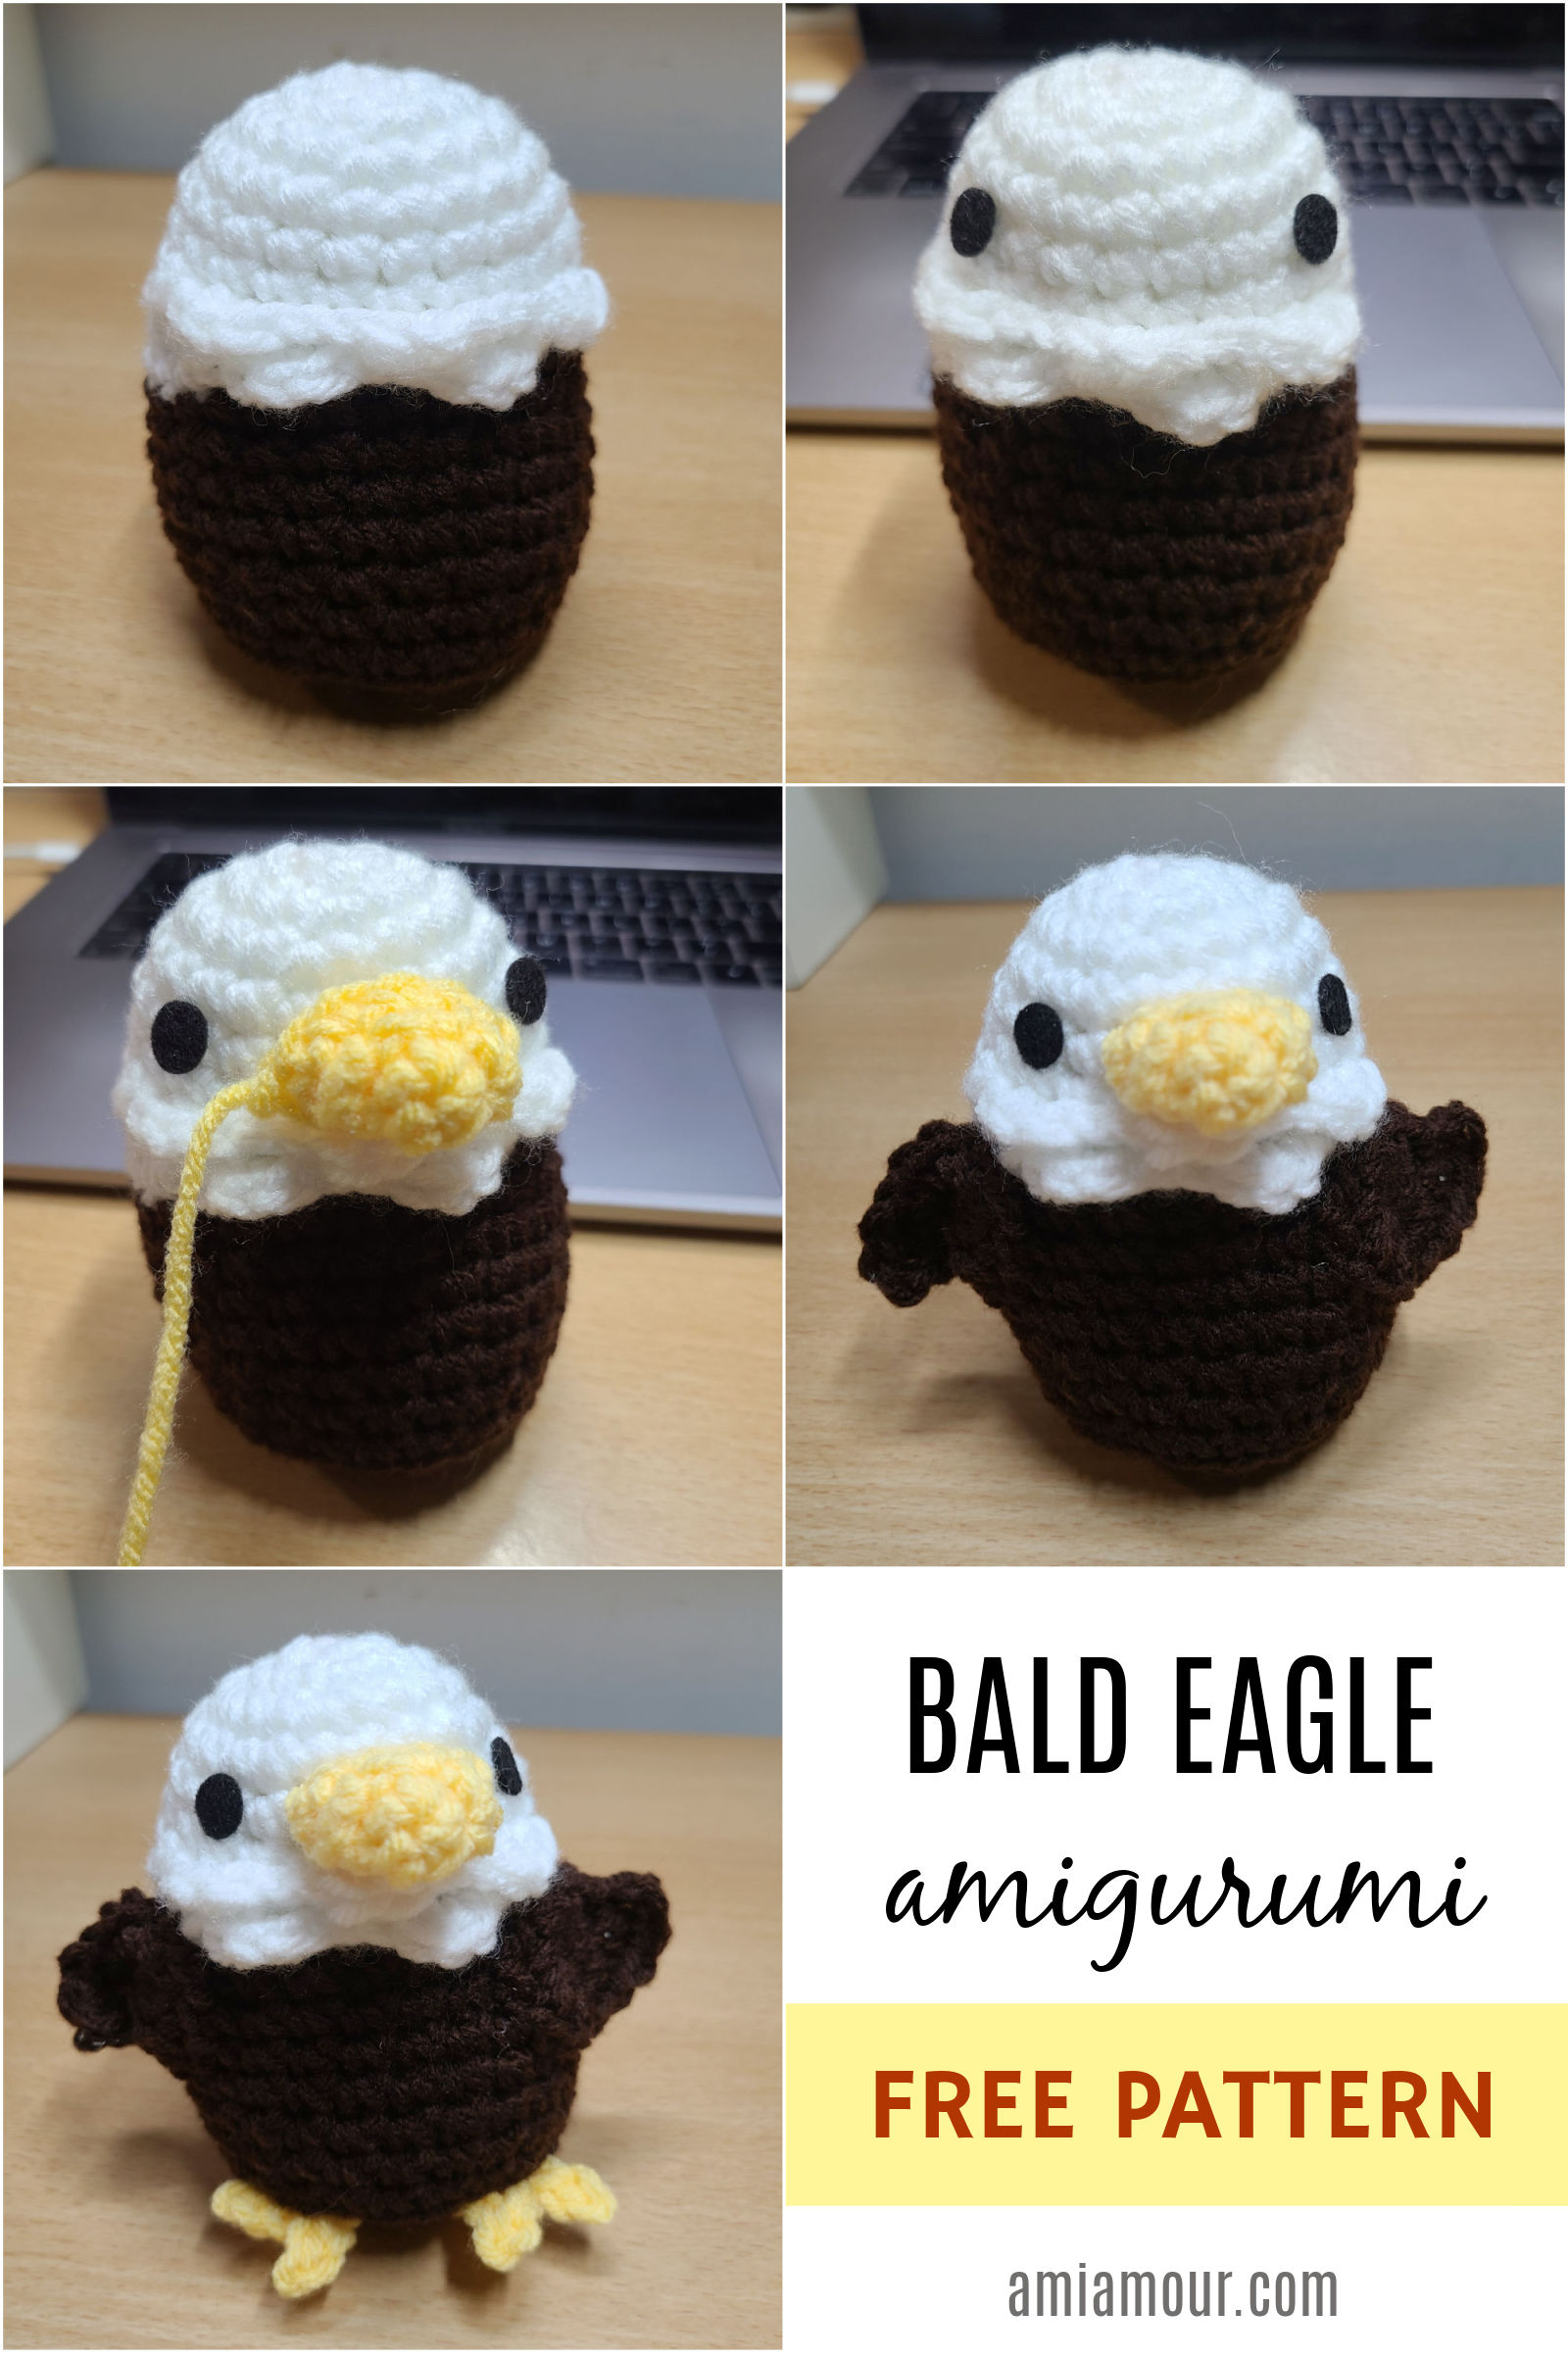
Their features include the classic white and brown colors of the eagle. The crochet Bald Eagle’s prominent identifying feature is the white chest ruffles underneath their hooked beak that gives them that eagle look.
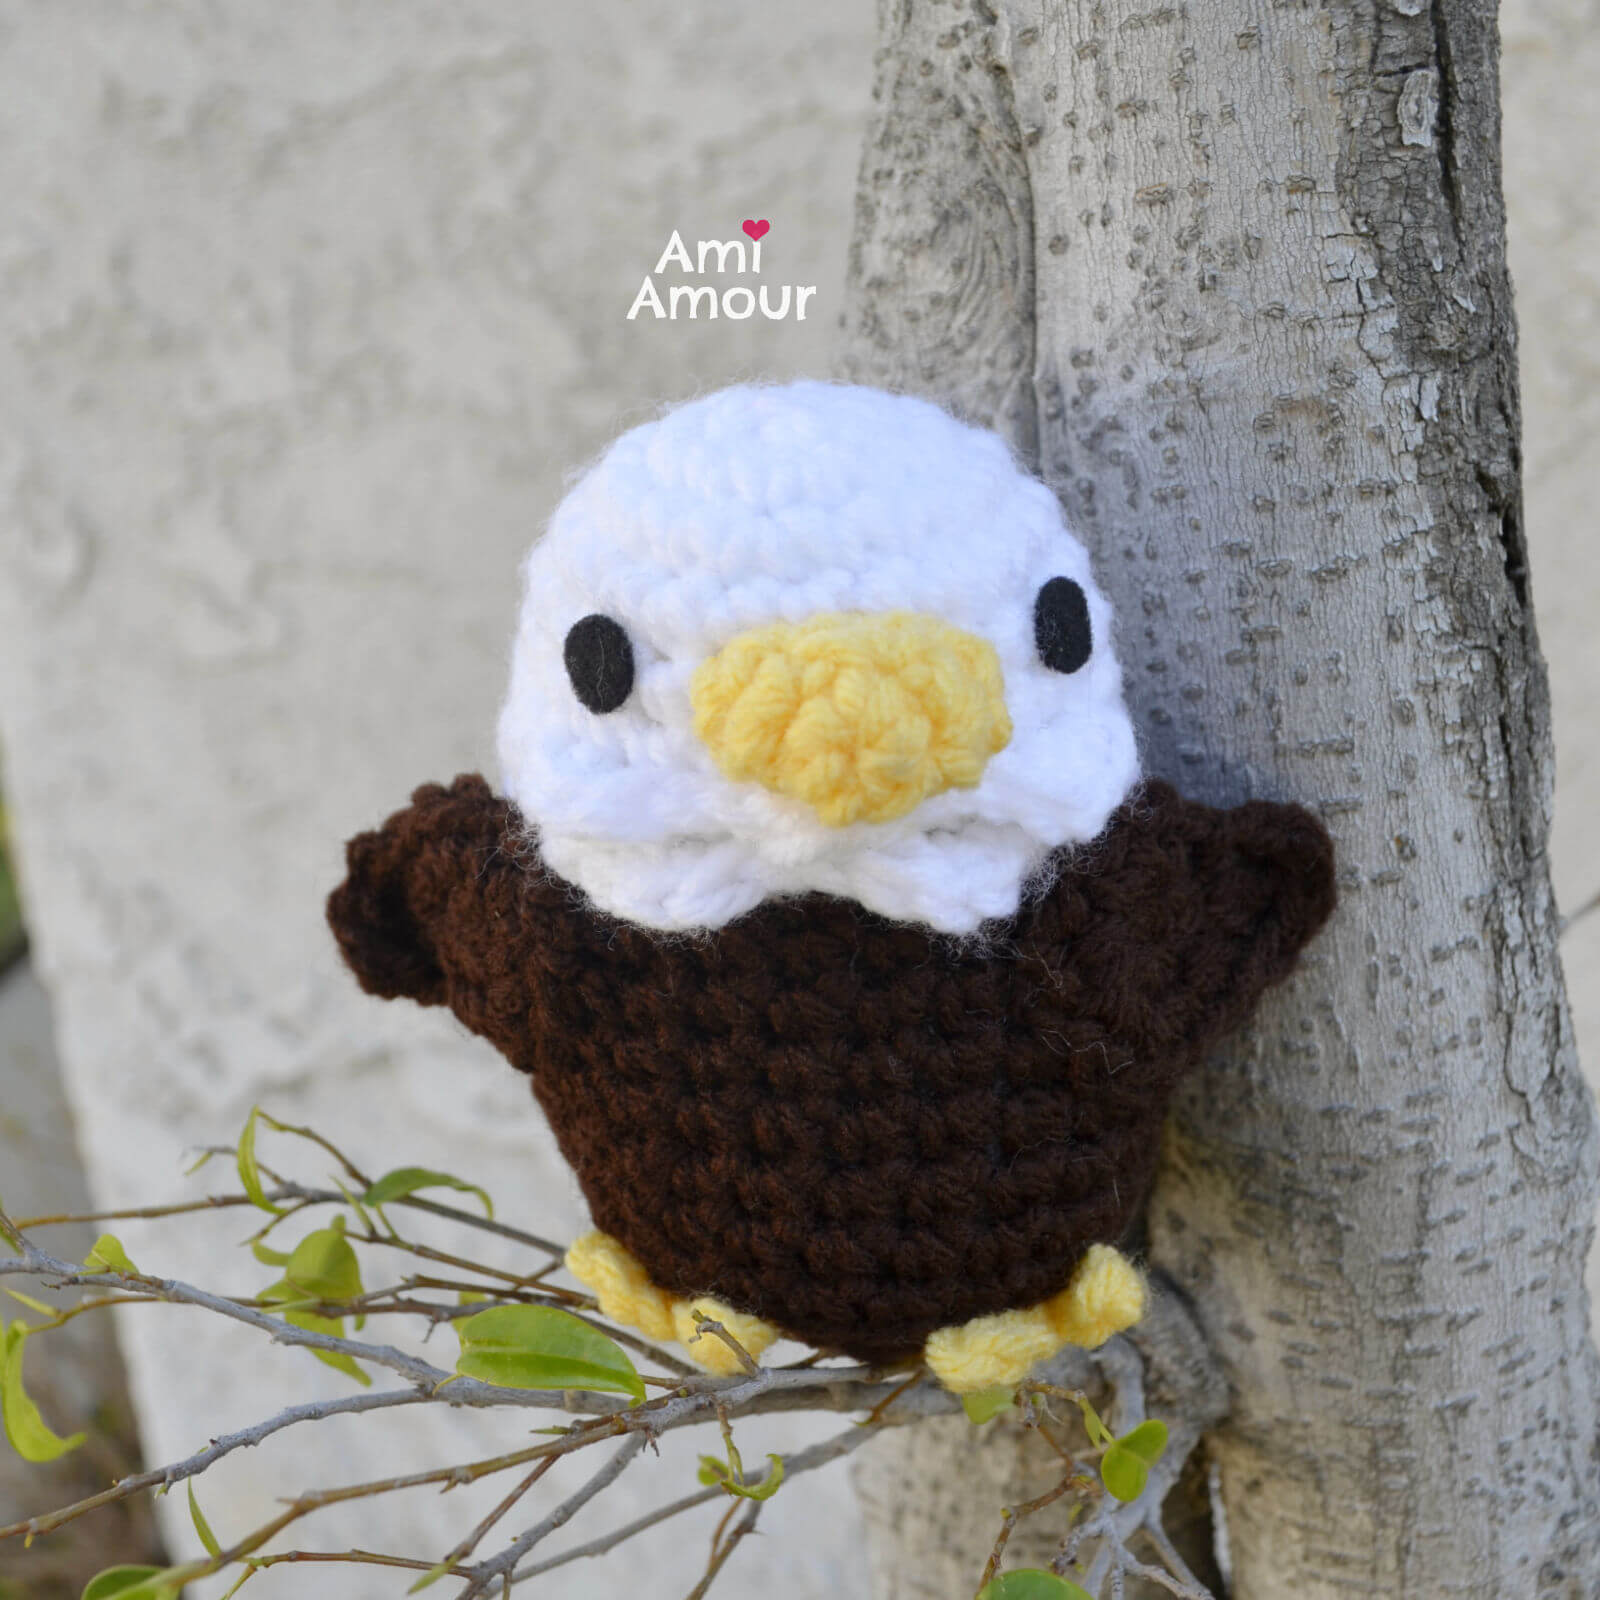
It’s a similar design feature I previously also used on my Owl Amigurumi pattern. It’s made by crocheting ruffles in the Front Loop and then continuing to crochet around later in the Back Loops.
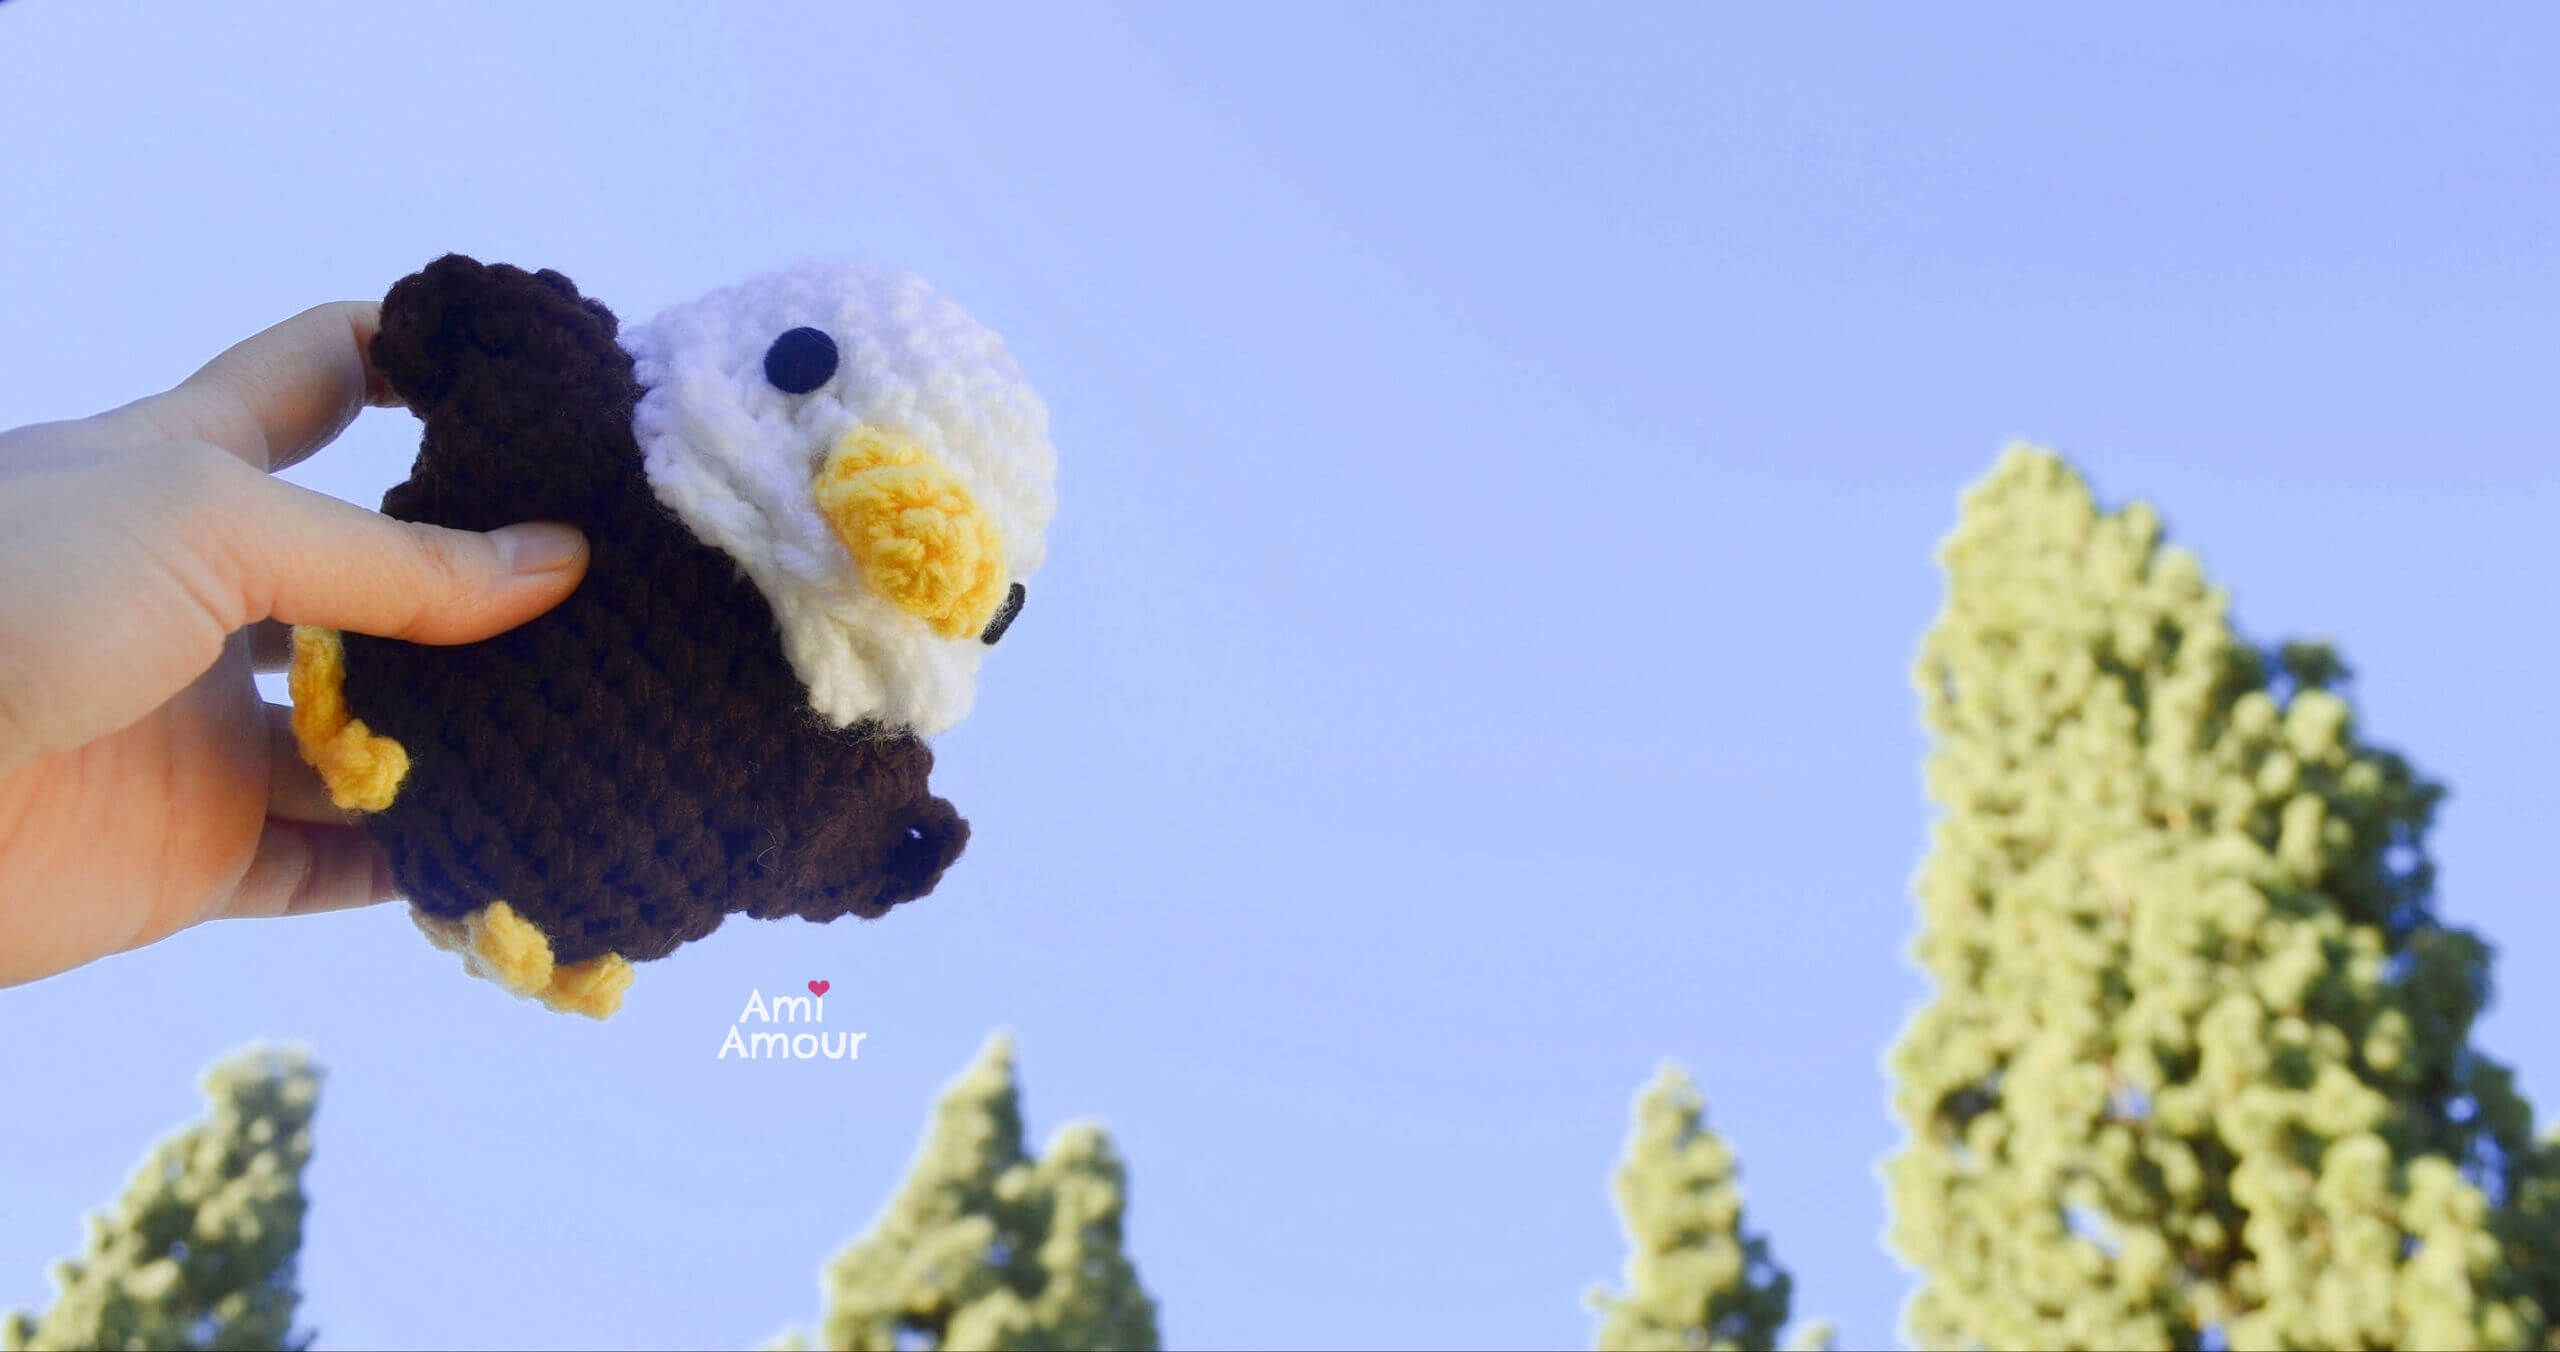
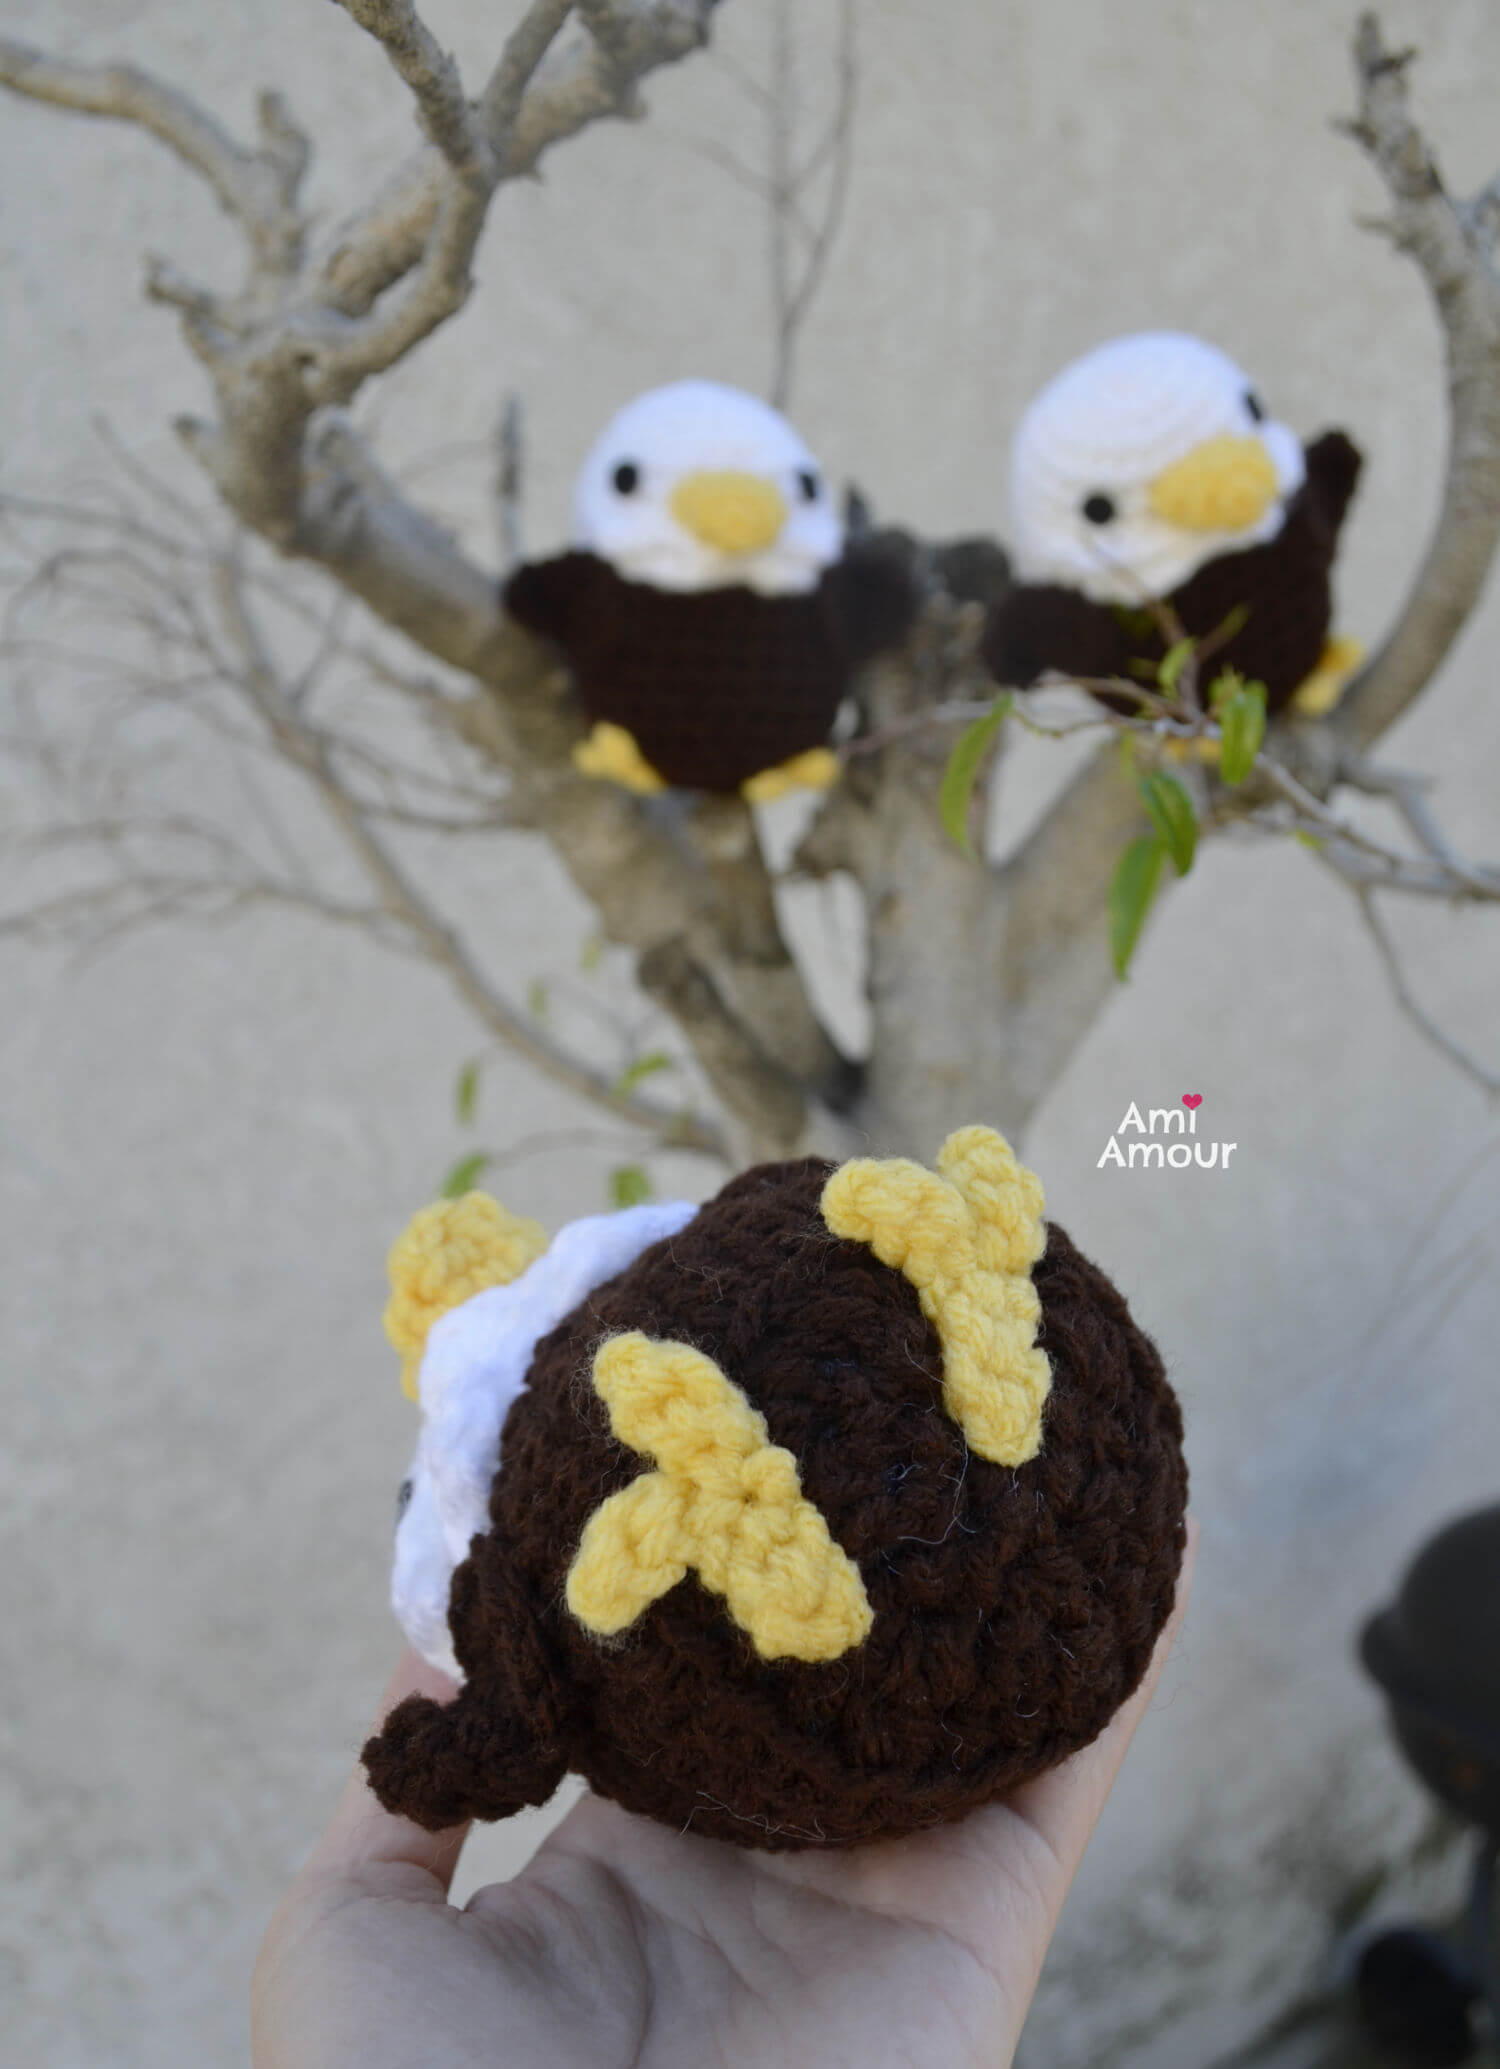
The bald eagle amigurumi also has yellow talons, perfect for hunting fish in the lake! Here it is, soaring across the sky.
I have a soft spot for Bald Eagles because I used to work at a place where the mascot was a Bald Eagle and when I left, I crocheted a Bald Eagle amigurumi as a keepsake for everyone. And this design was the result!
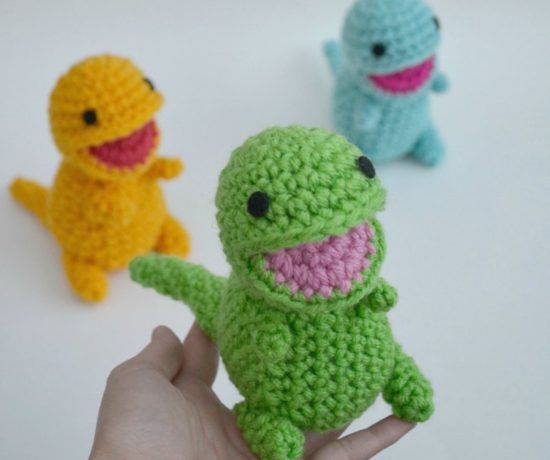
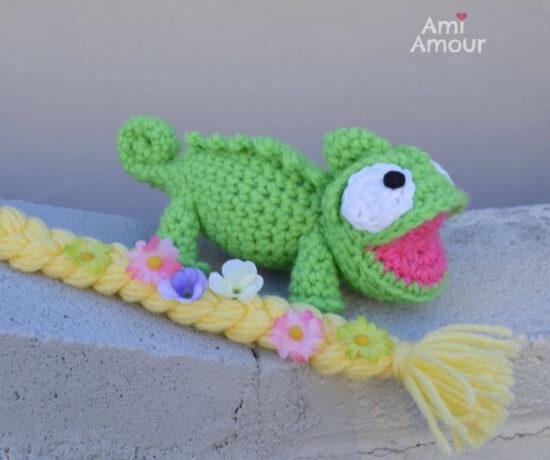
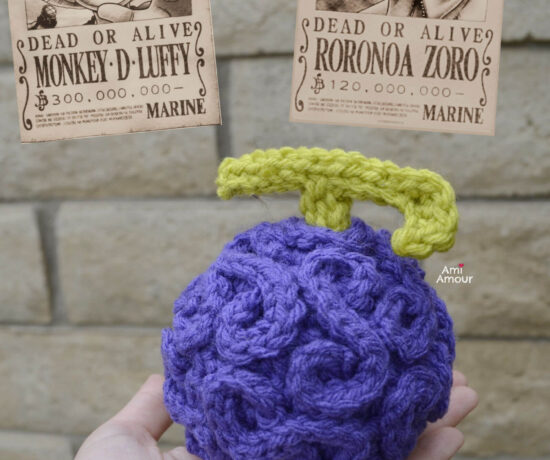
Well I hope you enjoy crocheting these magnificent creatures and be sure to check out my other bird amigurumi patterns! The free written pattern as well as the video tutorial are available below. Please be sure to tag me with your projects on Instagram @ami_amour.
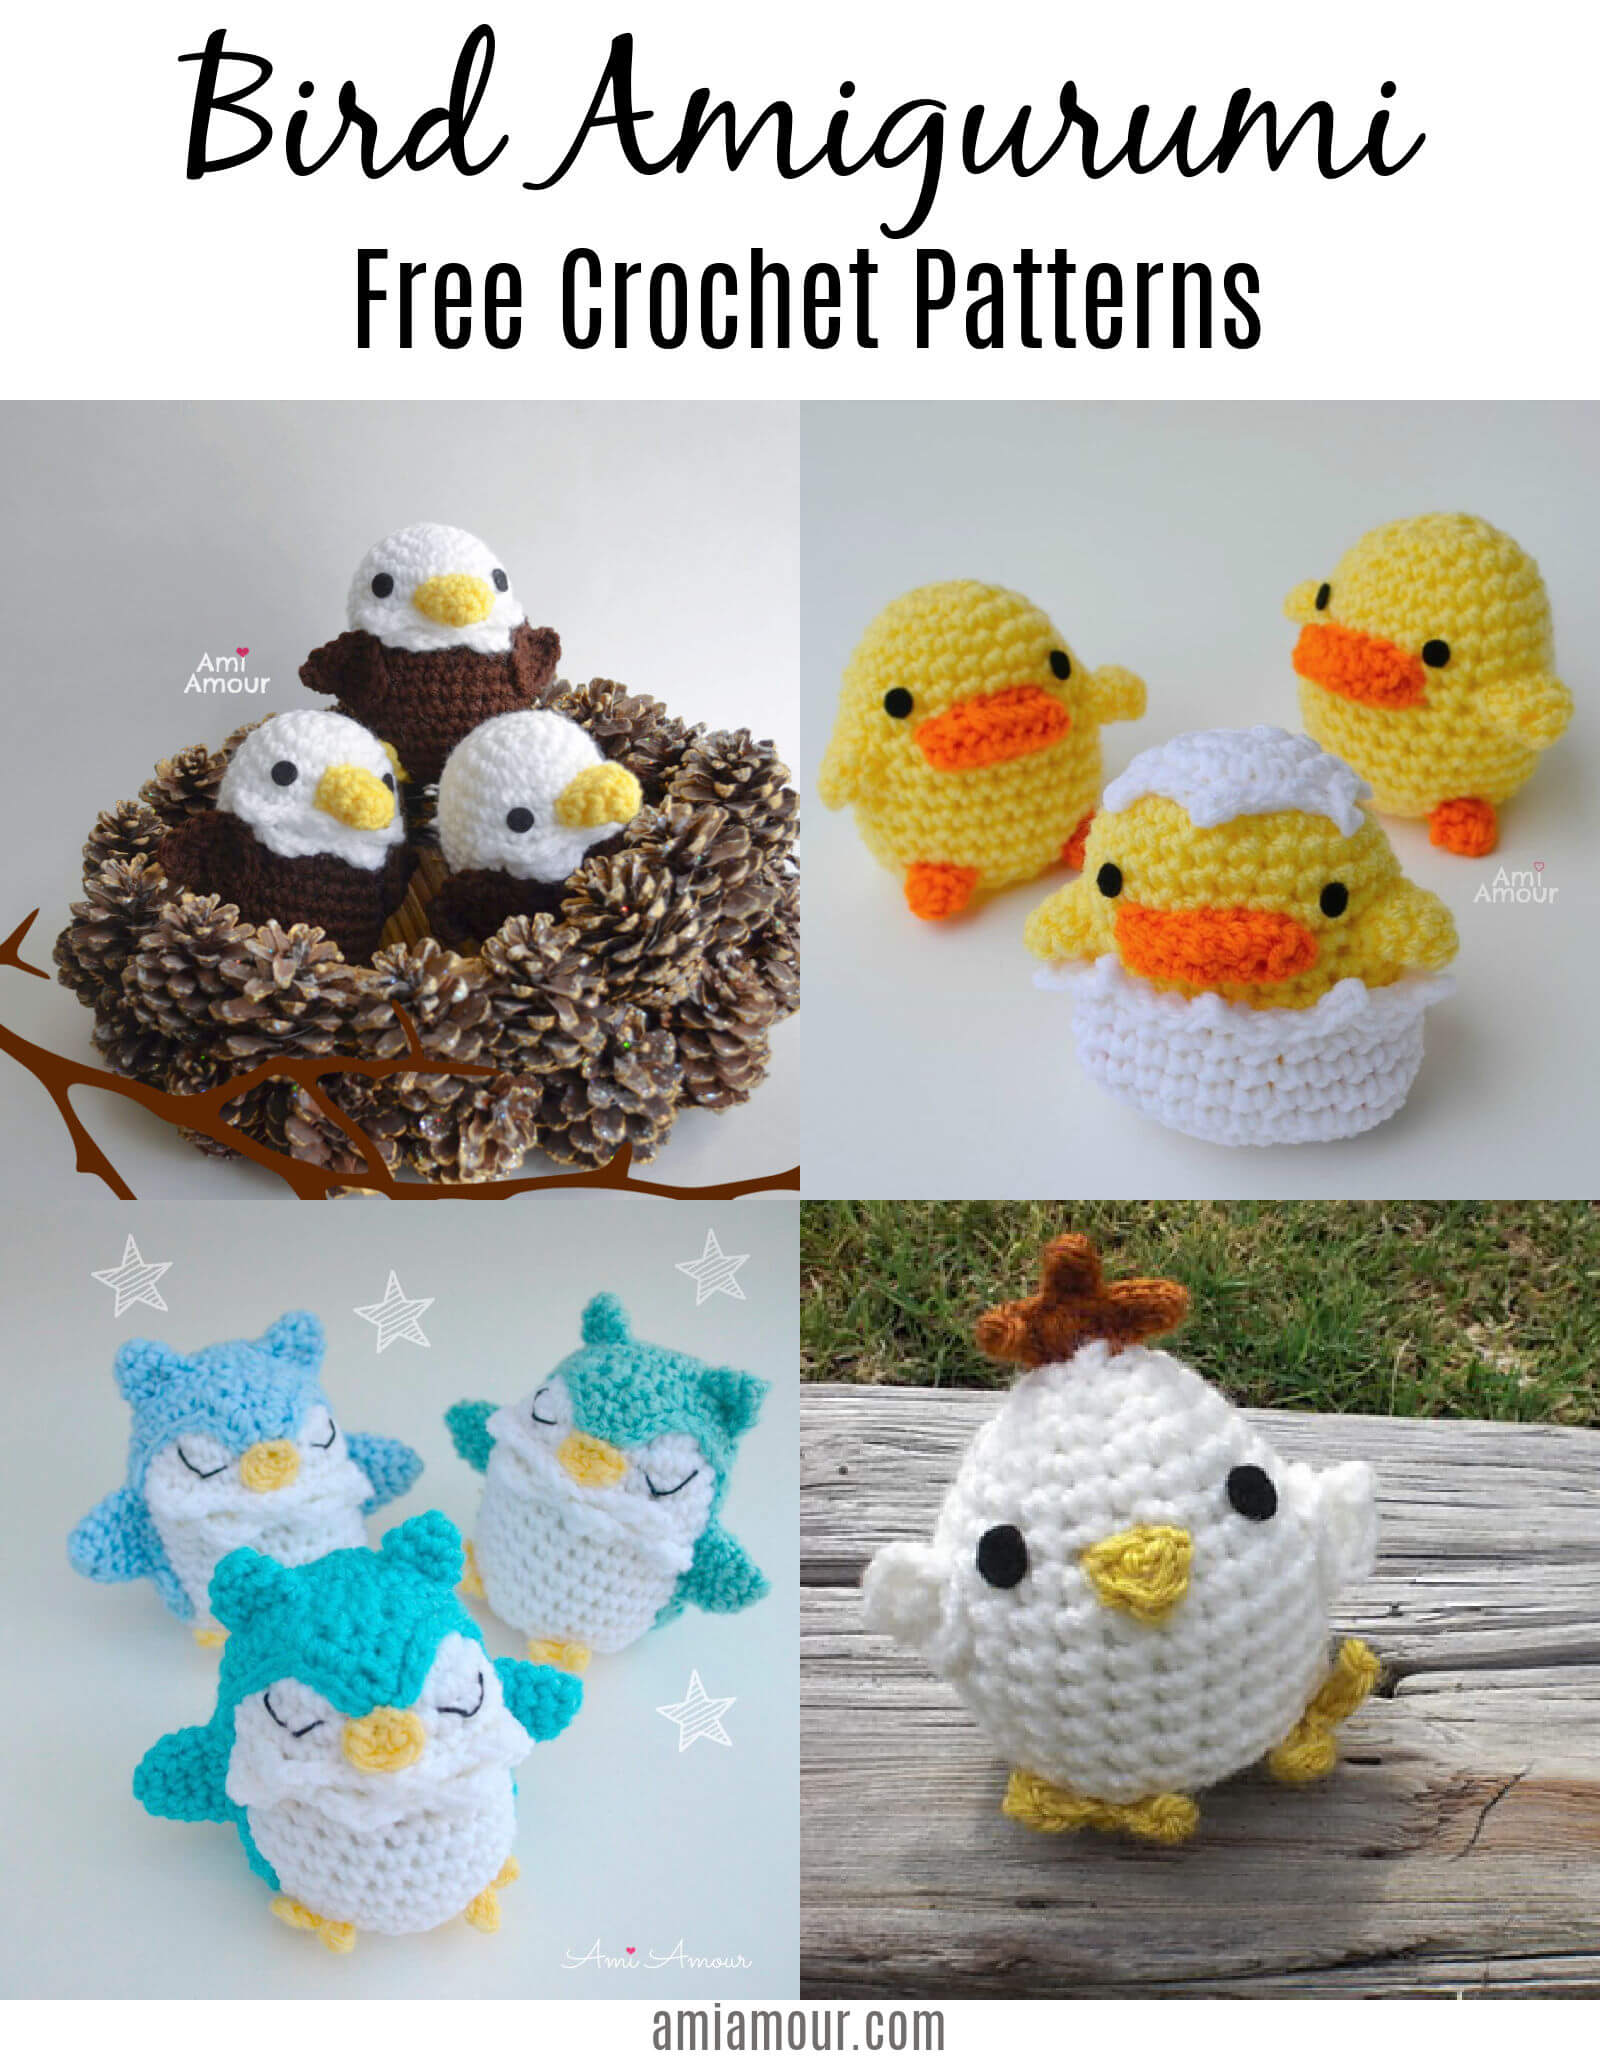
Here are the crochet patterns shown above:
1. Bald Eagle Amigurumi
2. Duck Amigurumi
3. Owl Amigutumi
4. Eggy the Chick Amigurumi
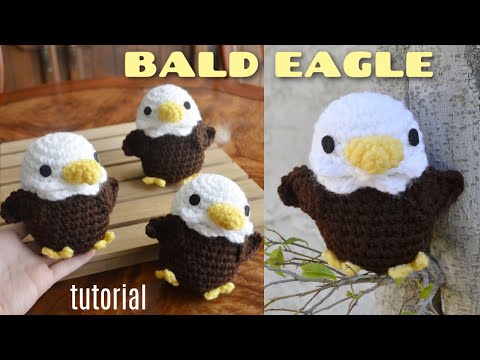
Bald Eagle Amigurumi – Video Crochet Tutorial
See the Bald Eagle in action and crochet along with me!
Disclosure: This post contains affiliate links. This means I may receive a small commission if you decide to purchase anything by clicking on one of these links.
Bald Eagle Amigurumi Pattern
LEVEL: Easy Intermediate
CROCHET HOOK: 4.0mm hook
YARN:
Red Heart Super Saver Yarn (worsted weight, acrylic)
– Coffee
– White
– Yellow
NOTIONS:
– Scissors
– Black Felt or safety eyes
ABBREVIATIONS: (standard American English terms)
ch – chain
dc – double crochet
hdc – half double crochet
sc – single crochet
sl st – slip stitch
sc2tog – single crochet 2 stitches together (sc dec)
st – stitch
APPROXIMATE SIZE: 4 inches tall (10 cm tall)
BODY
Round 1: With white yarn, 6 sc into magic ring
Round 2: 2 sc in each st around – 12 sc
Round 3: [2 sc in next st, sc in next st] around – 18 sc
Round 4: [2 sc in next st, sc in next 2 st] around – 24 sc
Round 5-7: Sc in each st around – 24 sc.
Round 8: In Front Loop only, [(sl st, hdc) in next st, (hdc, sl st) in next st, sl st in next st] 3 times. Through both loops, sc in next 15 sc. (Note: You should have 3 ruffles. See photos below for reference or see this video tutorial.)
Round 9: Sc in next 24 st.
Note: The first 9 sts will be through the back loop (and not through the ruffles), and the rest of the 15 sts will be through both loops. See photos below for reference.
Sc in next 2 st only. (Move stitch marker to last stitch made. This will mark the end of the round now.)
Round 10: In Front Loop only, [(sl st ,hdc) in next st, (hdc, sl st) in next st, sl st in next st] 2 times. With brown yarn, through both loops, sc in next 18 st.
Round 11: Sc in next 24 st.
Note: the first 6 sts will be through the back loop, and the rest of the 18 sts will be through both loops.)
Round 12-17: Sc in each st around – 24 sc.
Sc in next 12 st only. Move stitch marker to the last st made. This will now mark the end of the round.
Round 18: In Back Loop only, [sc2tog, sc in next 2 st] around – 18 sc.
Round 19: [Sc2tog, sc in next st] around – 12 sc.
Begin stuffing amigurumi.
Round 20: Sc2tog around- 6 sc.
Fasten off, leaving a long tail. Finish stuffing and sew closed.
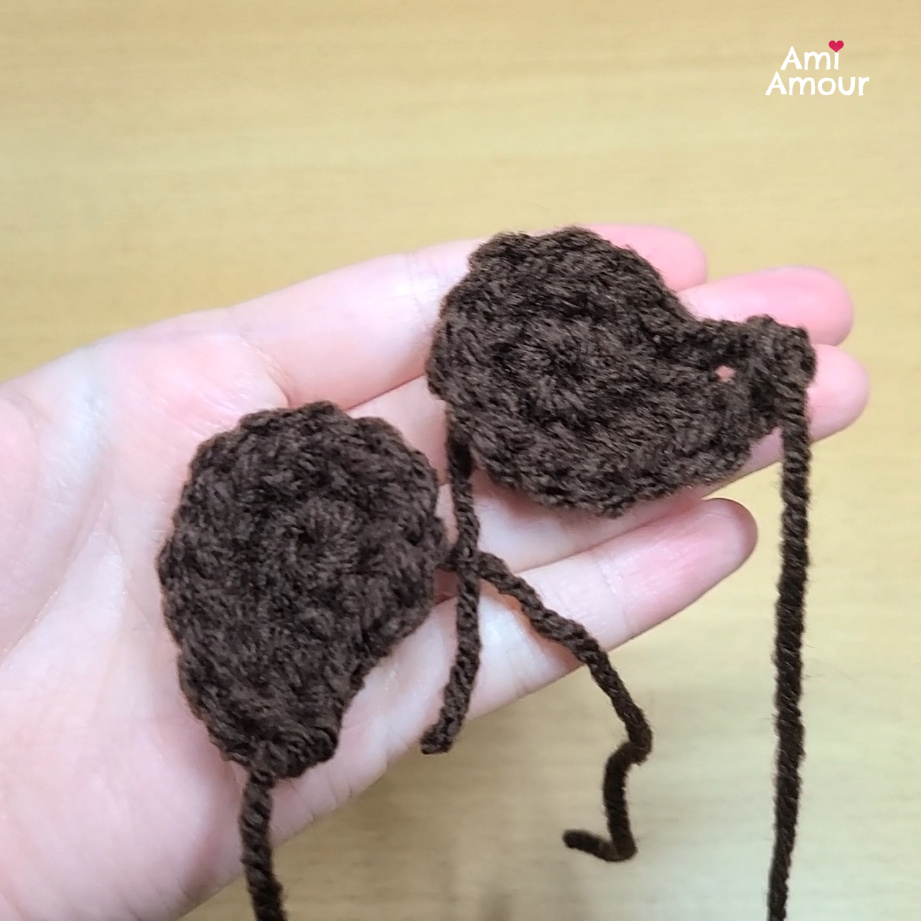
WING (make 2)
With brown yarn
Round 1: 6 sc into magic ring – 6 sc
Round 2: 2 sc in each st around – 12 sc
Round 3: 2 dc in next st, 1 dc in next st.
Fasten off, leaving a long tail.
BEAK
With yellow yarn
Round 1: 4 sc into magic ring – 4 sc
Round 2: 2 sc in each st around – 8 sc
Round 3: Hdc in next 4 st, sc in next 4 st – 8 st
Sl st in next st.
Fasten off, leaving a long tail.
Don’t stuff.
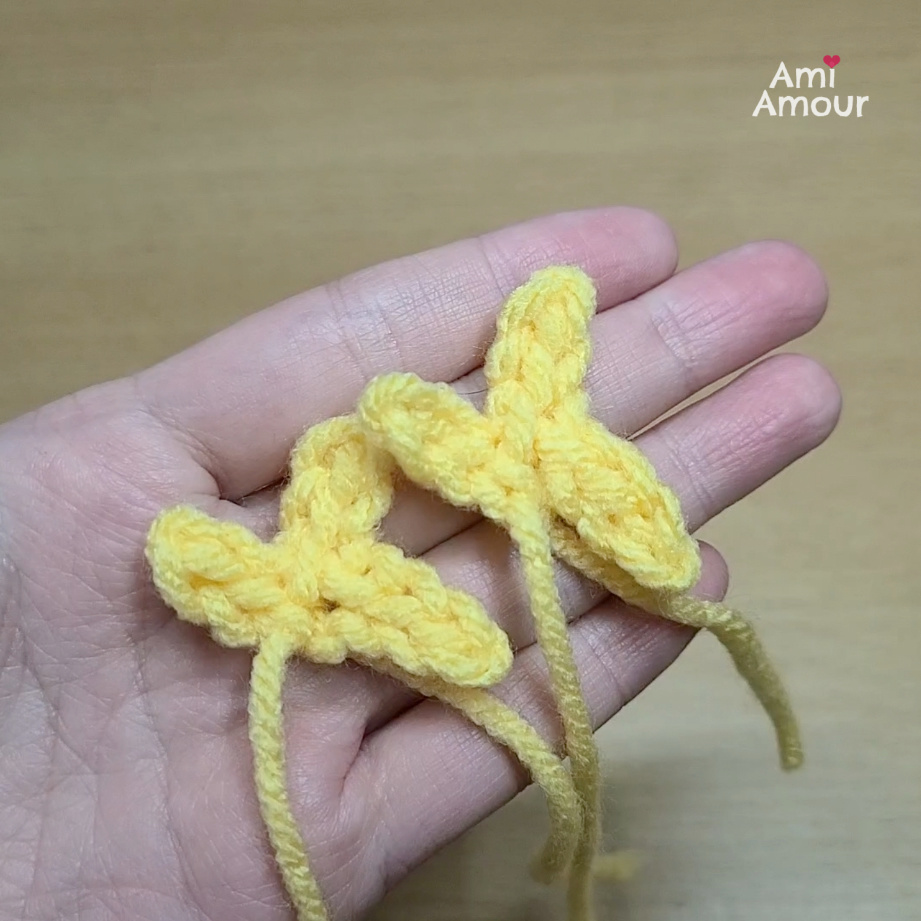
FOOT (make 2)
With yellow yarn
Ch 4, sl st back 3 st, ch 3, sl st back 3 st, ch 3, sl st back 3 st.
Fasten off, leaving a long tail.
BALD EAGLE AMIGURUMI ASSEMBLY
There is also a video tutorial for the assembly.
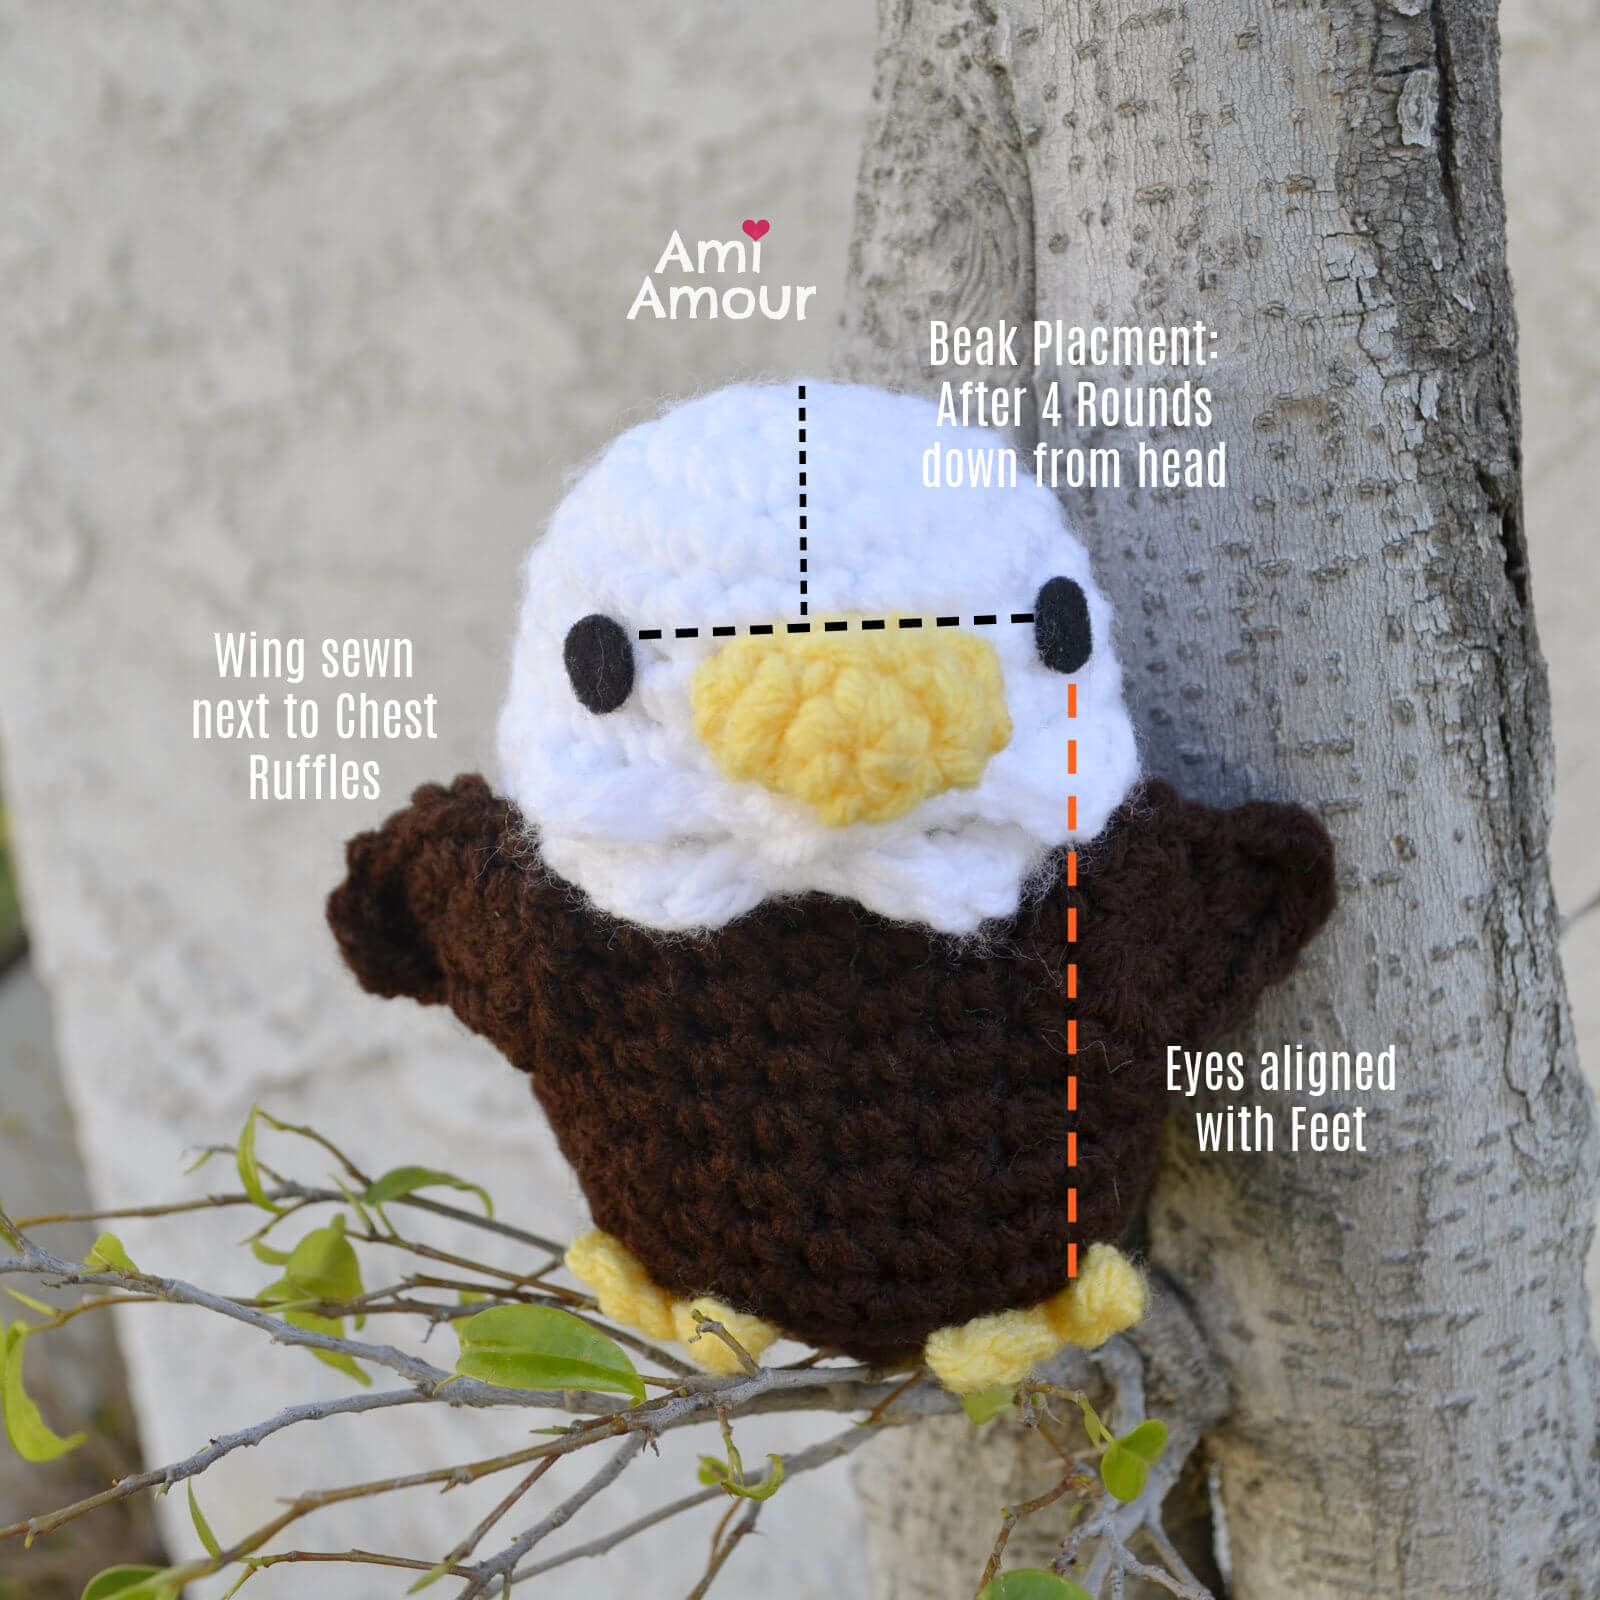
1. Sew Beak 4 Rounds down from top of head. It should be right above the first set of chest ruffles.
2. Cut 2 small circles from black felt. Glue on with Fabri-tac to the Head. See photos for placement reference.
3. Sew Wings to the side of the bird. Placement will be on each side right next to the chest ruffles.
4. Sew Feet on the bottom side of the eagle. The Feet should be sewed down along one row only, while the other rows stick out from underneath the eagle like 2 talons.
5. Cut and hide all ends.
6. Don’t forget to tag me with your projects on Instagram @ami_amour
Bald Eagle Amigurumi Pattern
Materials
- YARN (worsted weight, acrylic yarn)
- 1 skein of Red Heart Super Saver Yarn in White
- 1 skein of Red Heart Super Saver Yarn in Coffee
- 1 skein of Red Heart Super Saver Yarn in Lemon
Tools
- Crochet Hook 4.0mm size
- Yarn Needle
- Stitch Marker
- Scissors
- Fabri-tac Glue
- Black Felt (for Eyes)
- Polyfill Stuffing
Instructions
BODY
Round 1: With white yarn, 6 sc into magic ring
Round 2: 2 sc in each st around - 12 sc
Round 3: [2 sc in next st, sc in next st] around - 18 sc
Round 4: [2 sc in next st, sc in next 2 st] around - 24 sc
Round 5-7: Sc in each st around - 24 sc.
Round 8: In Front Loop only, [(sl st, hdc) in next st, (hdc, sl st) in next st, sl st in next st] 3 times. Through both loops, sc in next 15 sc. (Note: You should have 3 ruffles. See photos for reference or video tutorial. )
Round 9: Sc in next 24 st. (Note: The first 9 sts will be through the back loop, and the rest of the 15 sts will be through both loops).
Sc in next 2 st only. (Move stitch marker to last stitch made. This will mark the end of the round now.)
Round 10: In Front Loop only, [(sl st ,hdc) in next st, (hdc, sl st) in next st, sl st in next st] 2 times. With BROWN YARN, through both loops, sc in next 18 st.
Round 11: Sc in next 24 st. (Note: the first 9 sts will be through the back loop, and the rest of the 15 sts will be through both loops.)
Round 12-17: Sc in each st around - 24 sc.
Sc in next 12 st only. Move stitch marker to the last st made. This will now mark the end of the round.
Round 18: In Back Loop only, [sc2tog, sc in next 2 st] around - 18 sc.
Round 19: [Sc2tog, sc in next st] around - 12 sc.
Begin stuffing amigurumi.
Round 20: Sc2tog around- 6 sc.
Fasten off, leaving a long tail. Finish stuffing and sew closed.
WING (make 2)
With brown yarn
Round 1: 6 sc into magic ring - 6 sc
Round 2: 2 sc in each st around - 12 sc
Round 3: 2 dc in next st, 1 dc in next st.
Fasten off, leaving a long tail.
BEAK
With yellow yarn
Round 1: 4 sc into magic ring - 4 sc
Round 2: 2 sc in each st around - 8 sc
Round 3: Hdc in next 4 st, sc in next 4 st - 8 st
Sl st in next st. Fasten off, leaving a long tail.
FOOT (make 2)
With yellow yarn
Ch 4, sl st back 3 st, ch 3, sl st back 3 st, ch 3, sl st back 3 st.
Fasten off, leaving a long tail.
BALD EAGLE AMIGURUMI ASSEMBLY
There is also a video tutorial for the assembly.
1. Sew Beak 4 Rounds down from top of head. It should be right above the first set of chest ruffles.
2. Cut 2 small circles from black felt. Glue on with Fabri-tac to the Head. See photos for placement reference.
3. Sew Wings to the side of the bird. Placement will be on each side right next to the chest ruffles.
4. Sew Feet on the bottom side of the eagle. The Feet should be sewed down along one row only, while the other rows stick out from underneath the eagle like 2 talons.
5. Cut and hide all ends.
6. Don't forget to tag me with your projects on Instagram @ami_amour or TikTok @_amiamour_
No Comments