
This free crochet Warawara pattern, inspired from Studio Ghibli, is a no sew amigurumi project that’s super fun and quick to do. It takes me about 15 min to complete (although your time may vary depending on your crochet pace).
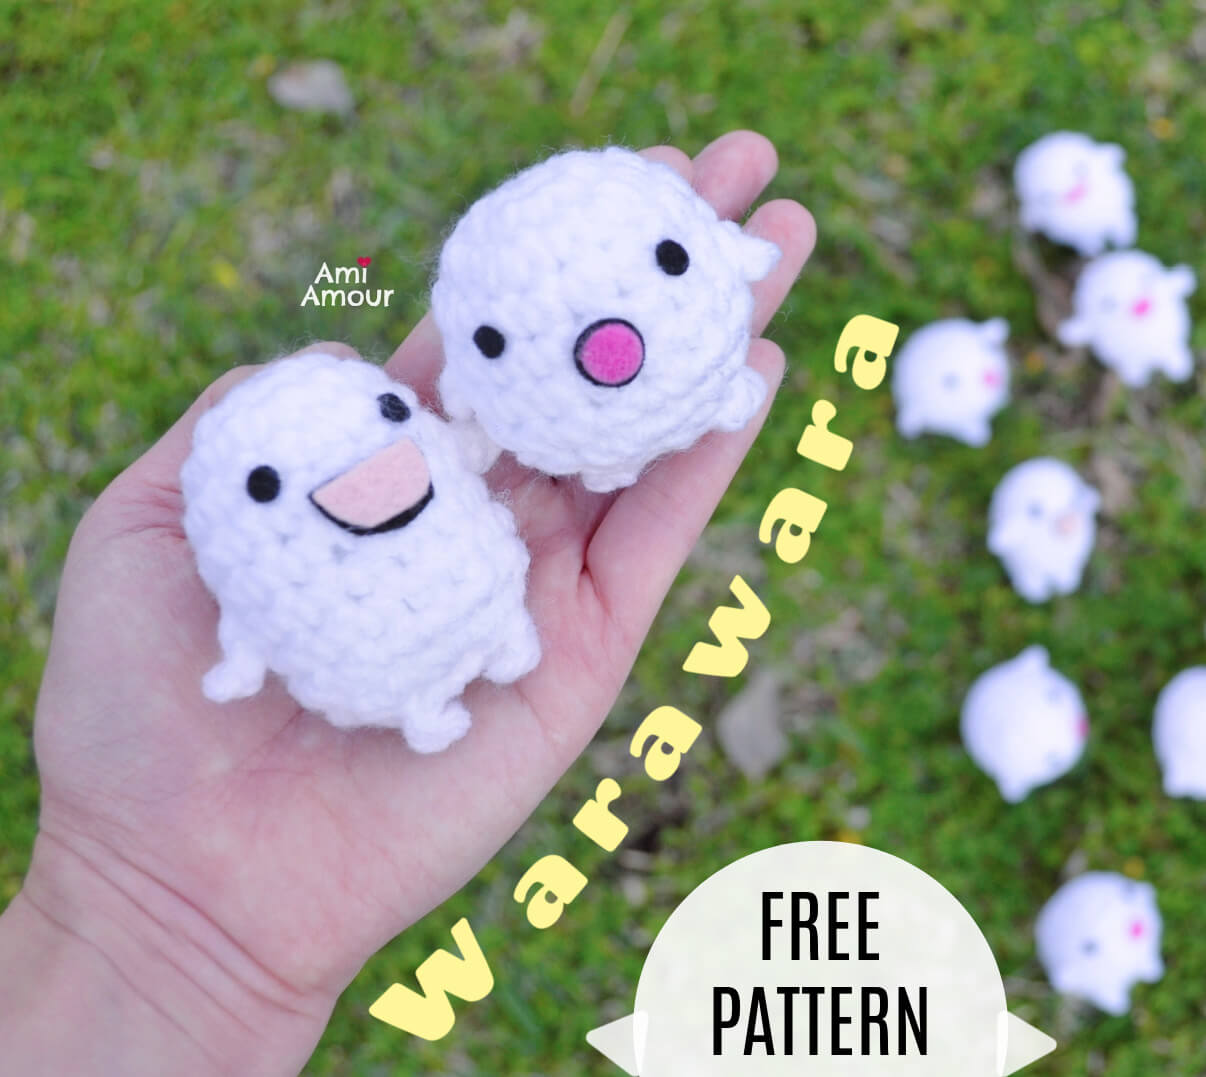
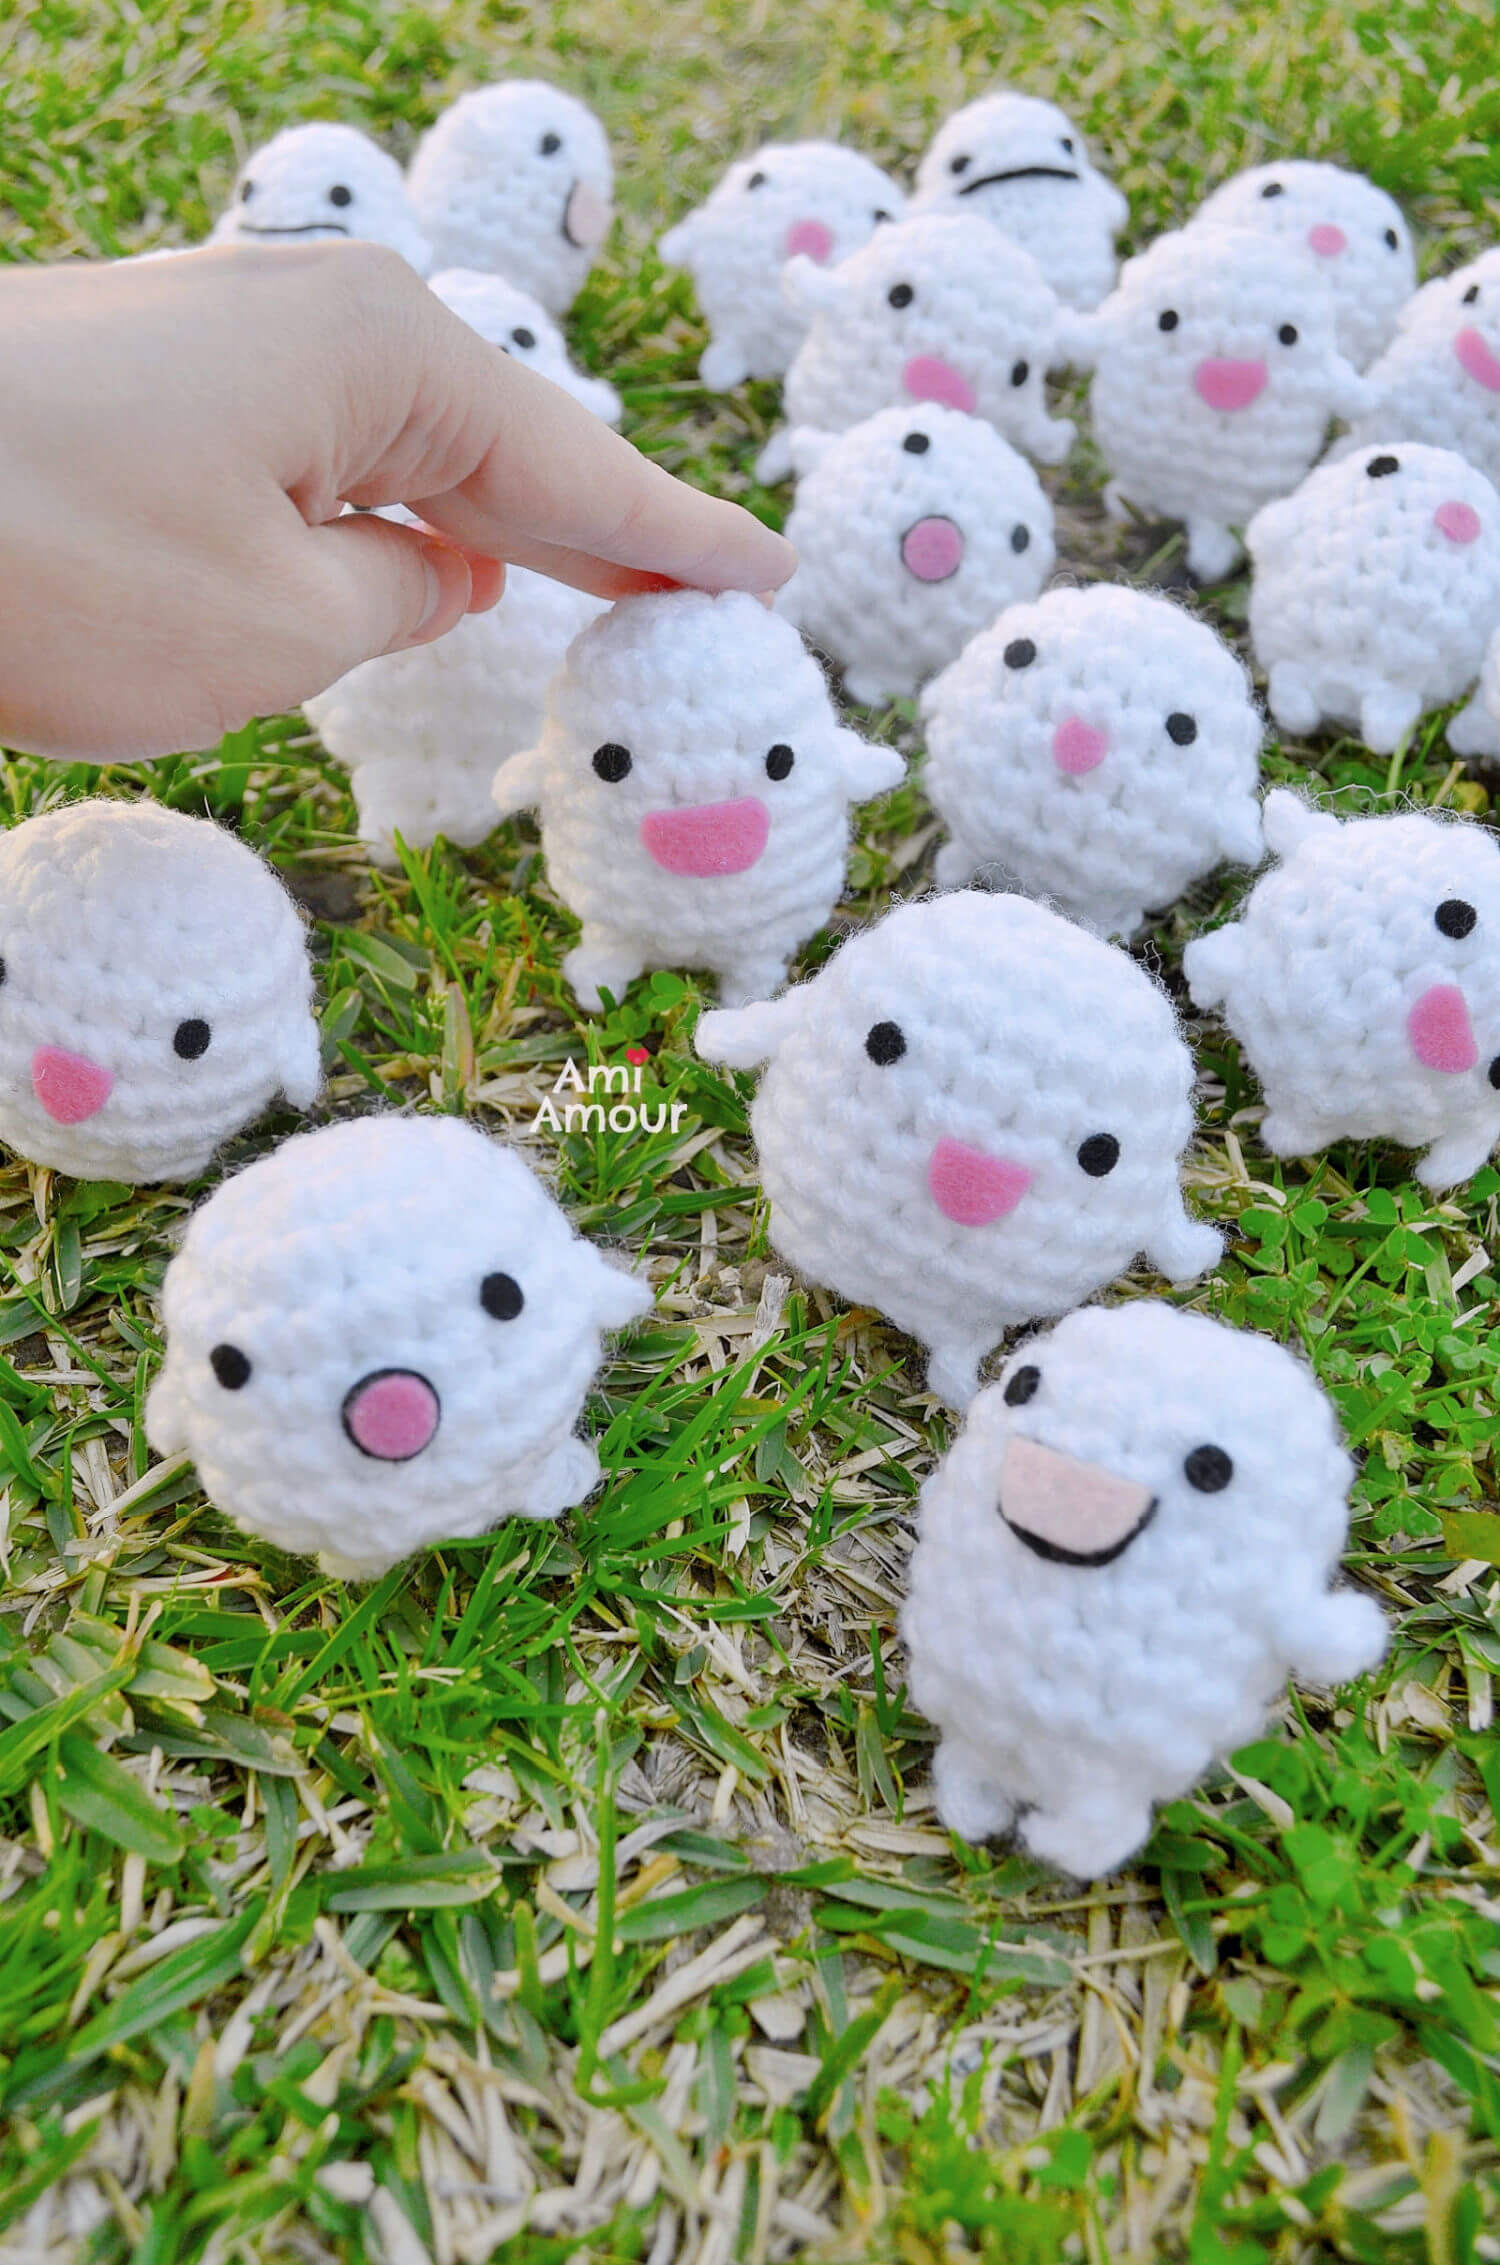
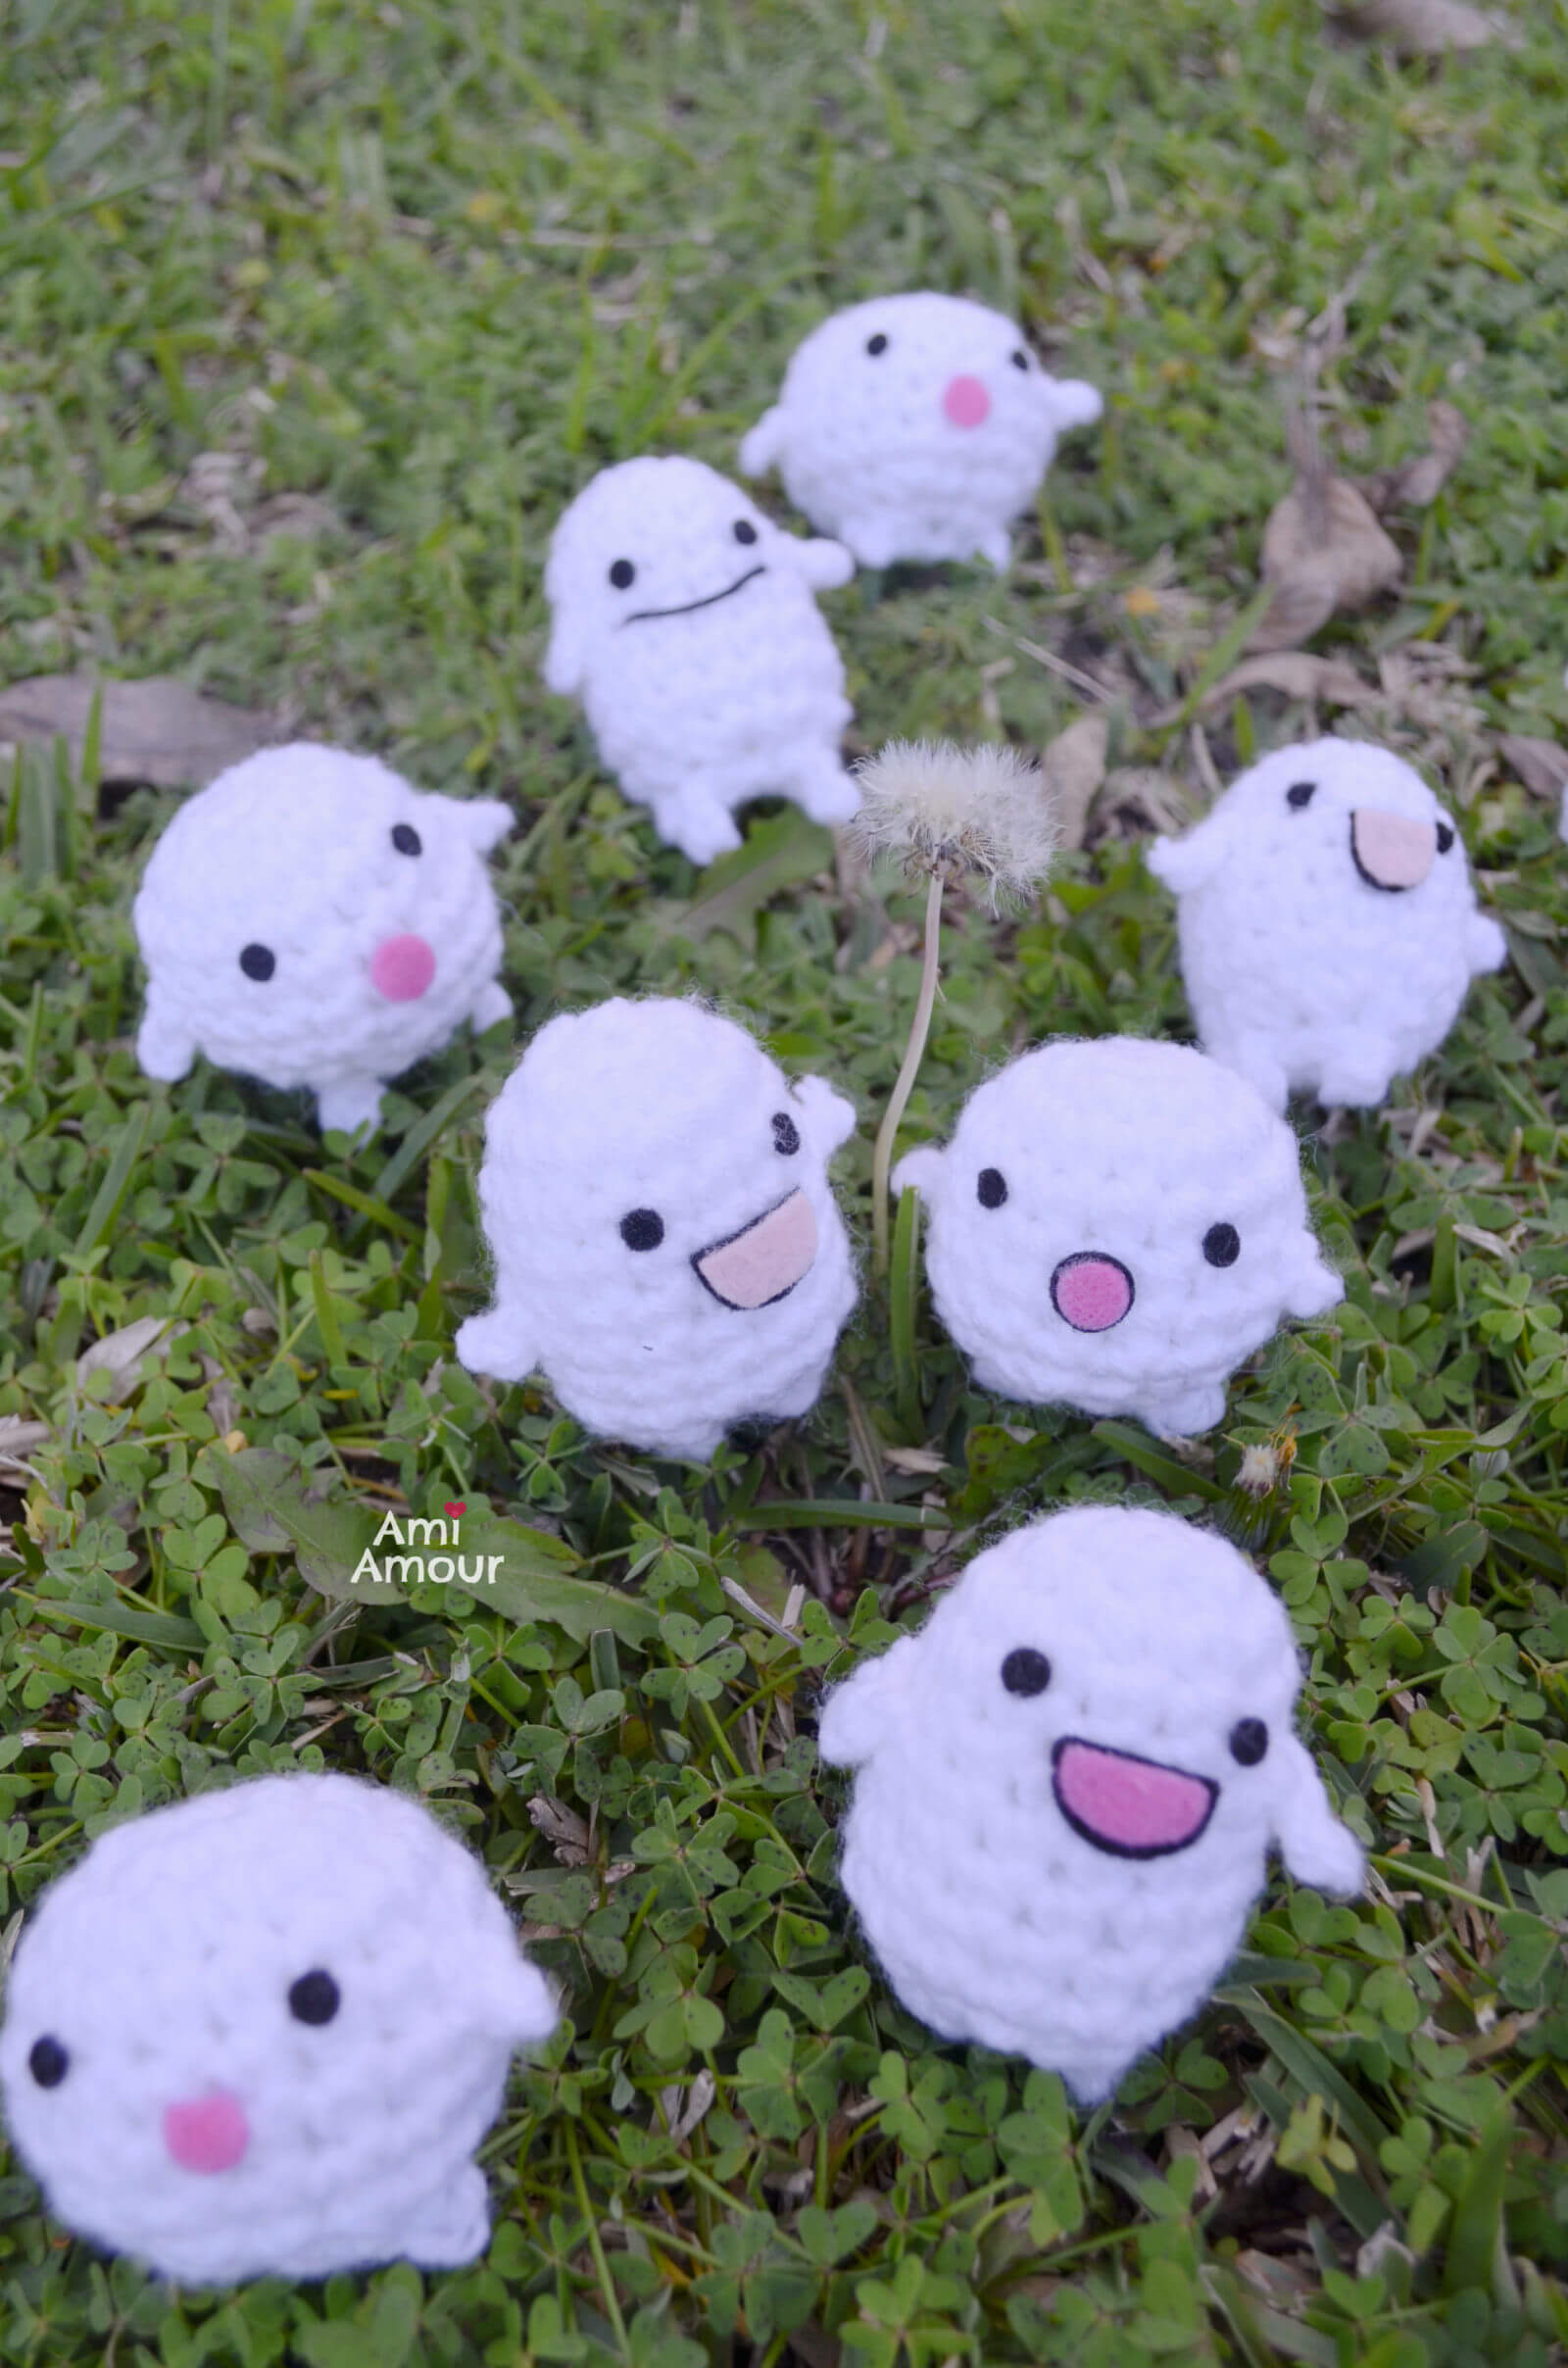
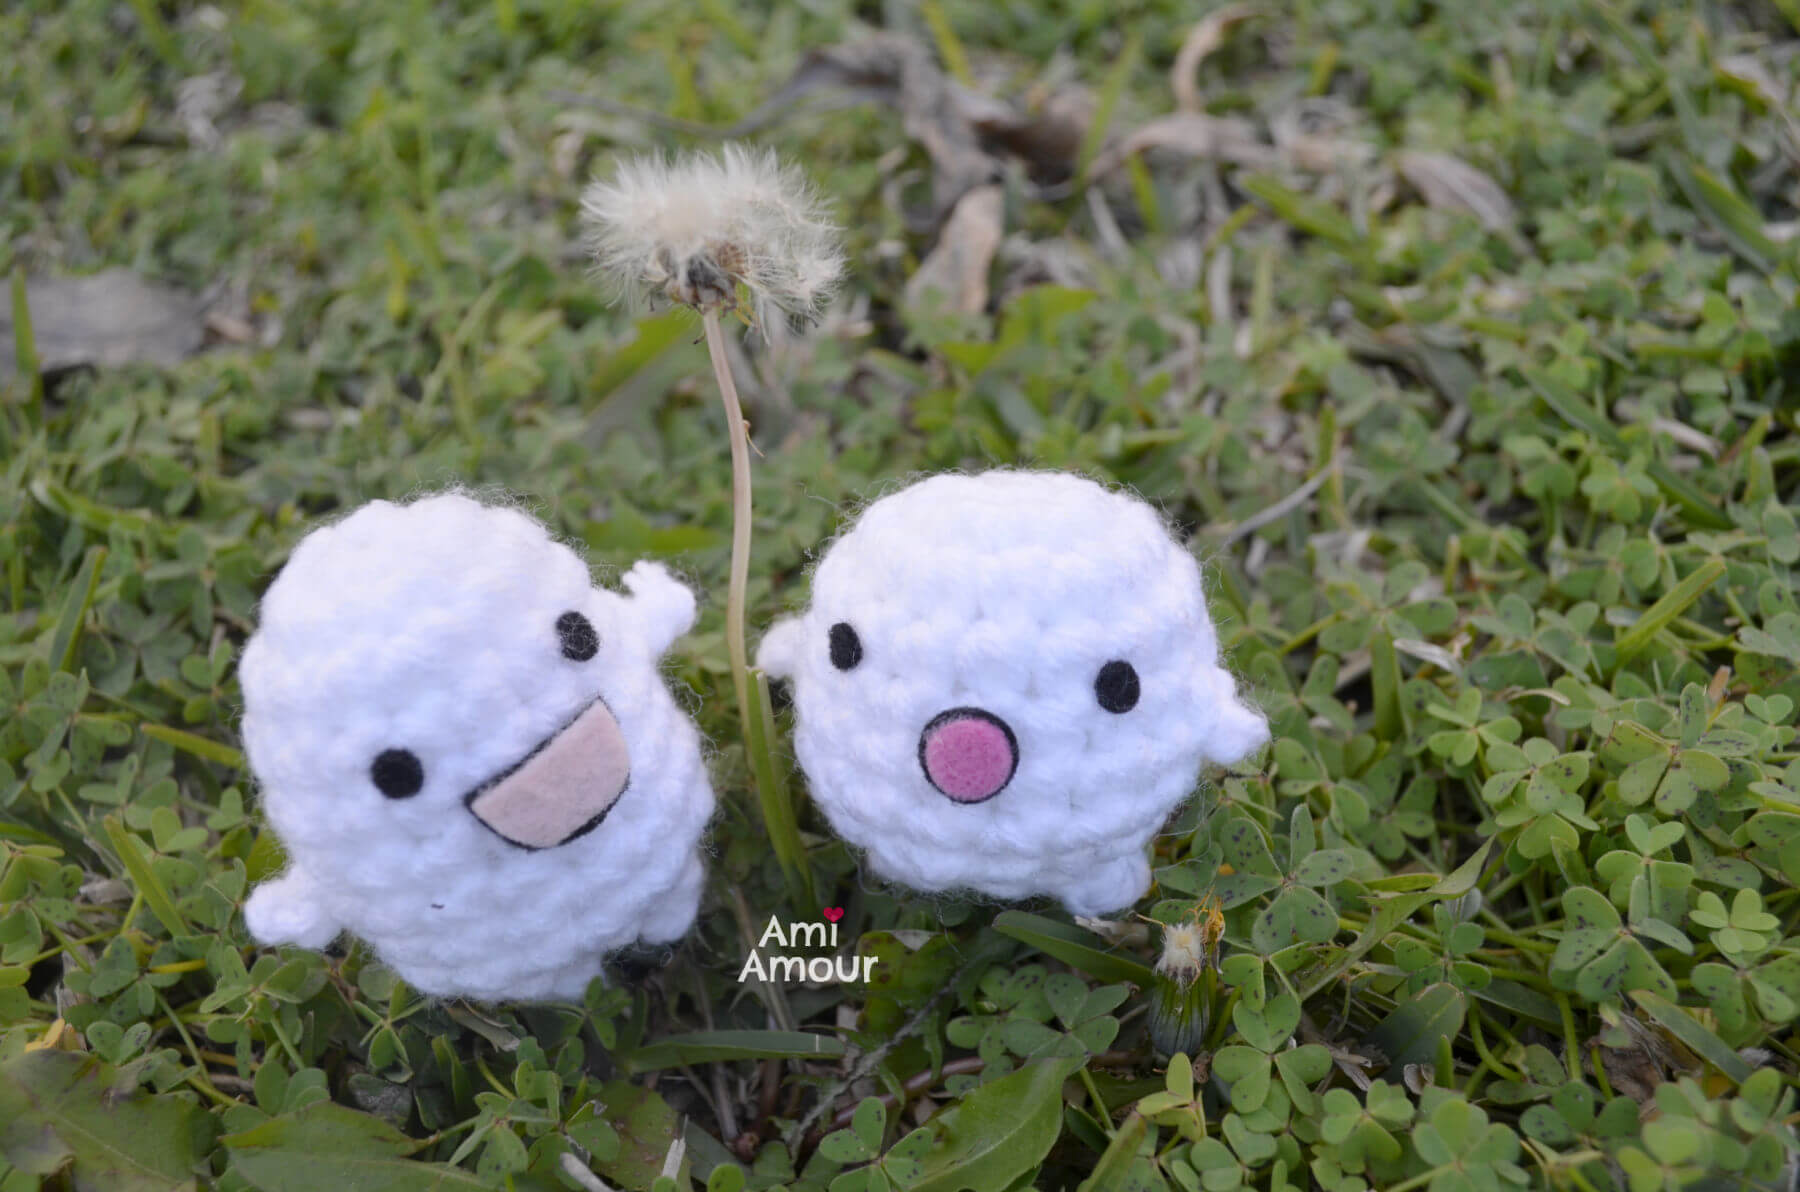
The Warawara can be seen in Hayao Miyazaki’s latest animated film, The Boy and the Heron. They are little cute white spirits that can be reborn as humans. They remind me a lot of the Kodama from Princess Mononoke, although perhaps a bit less creepy cute and more kawaii cute.
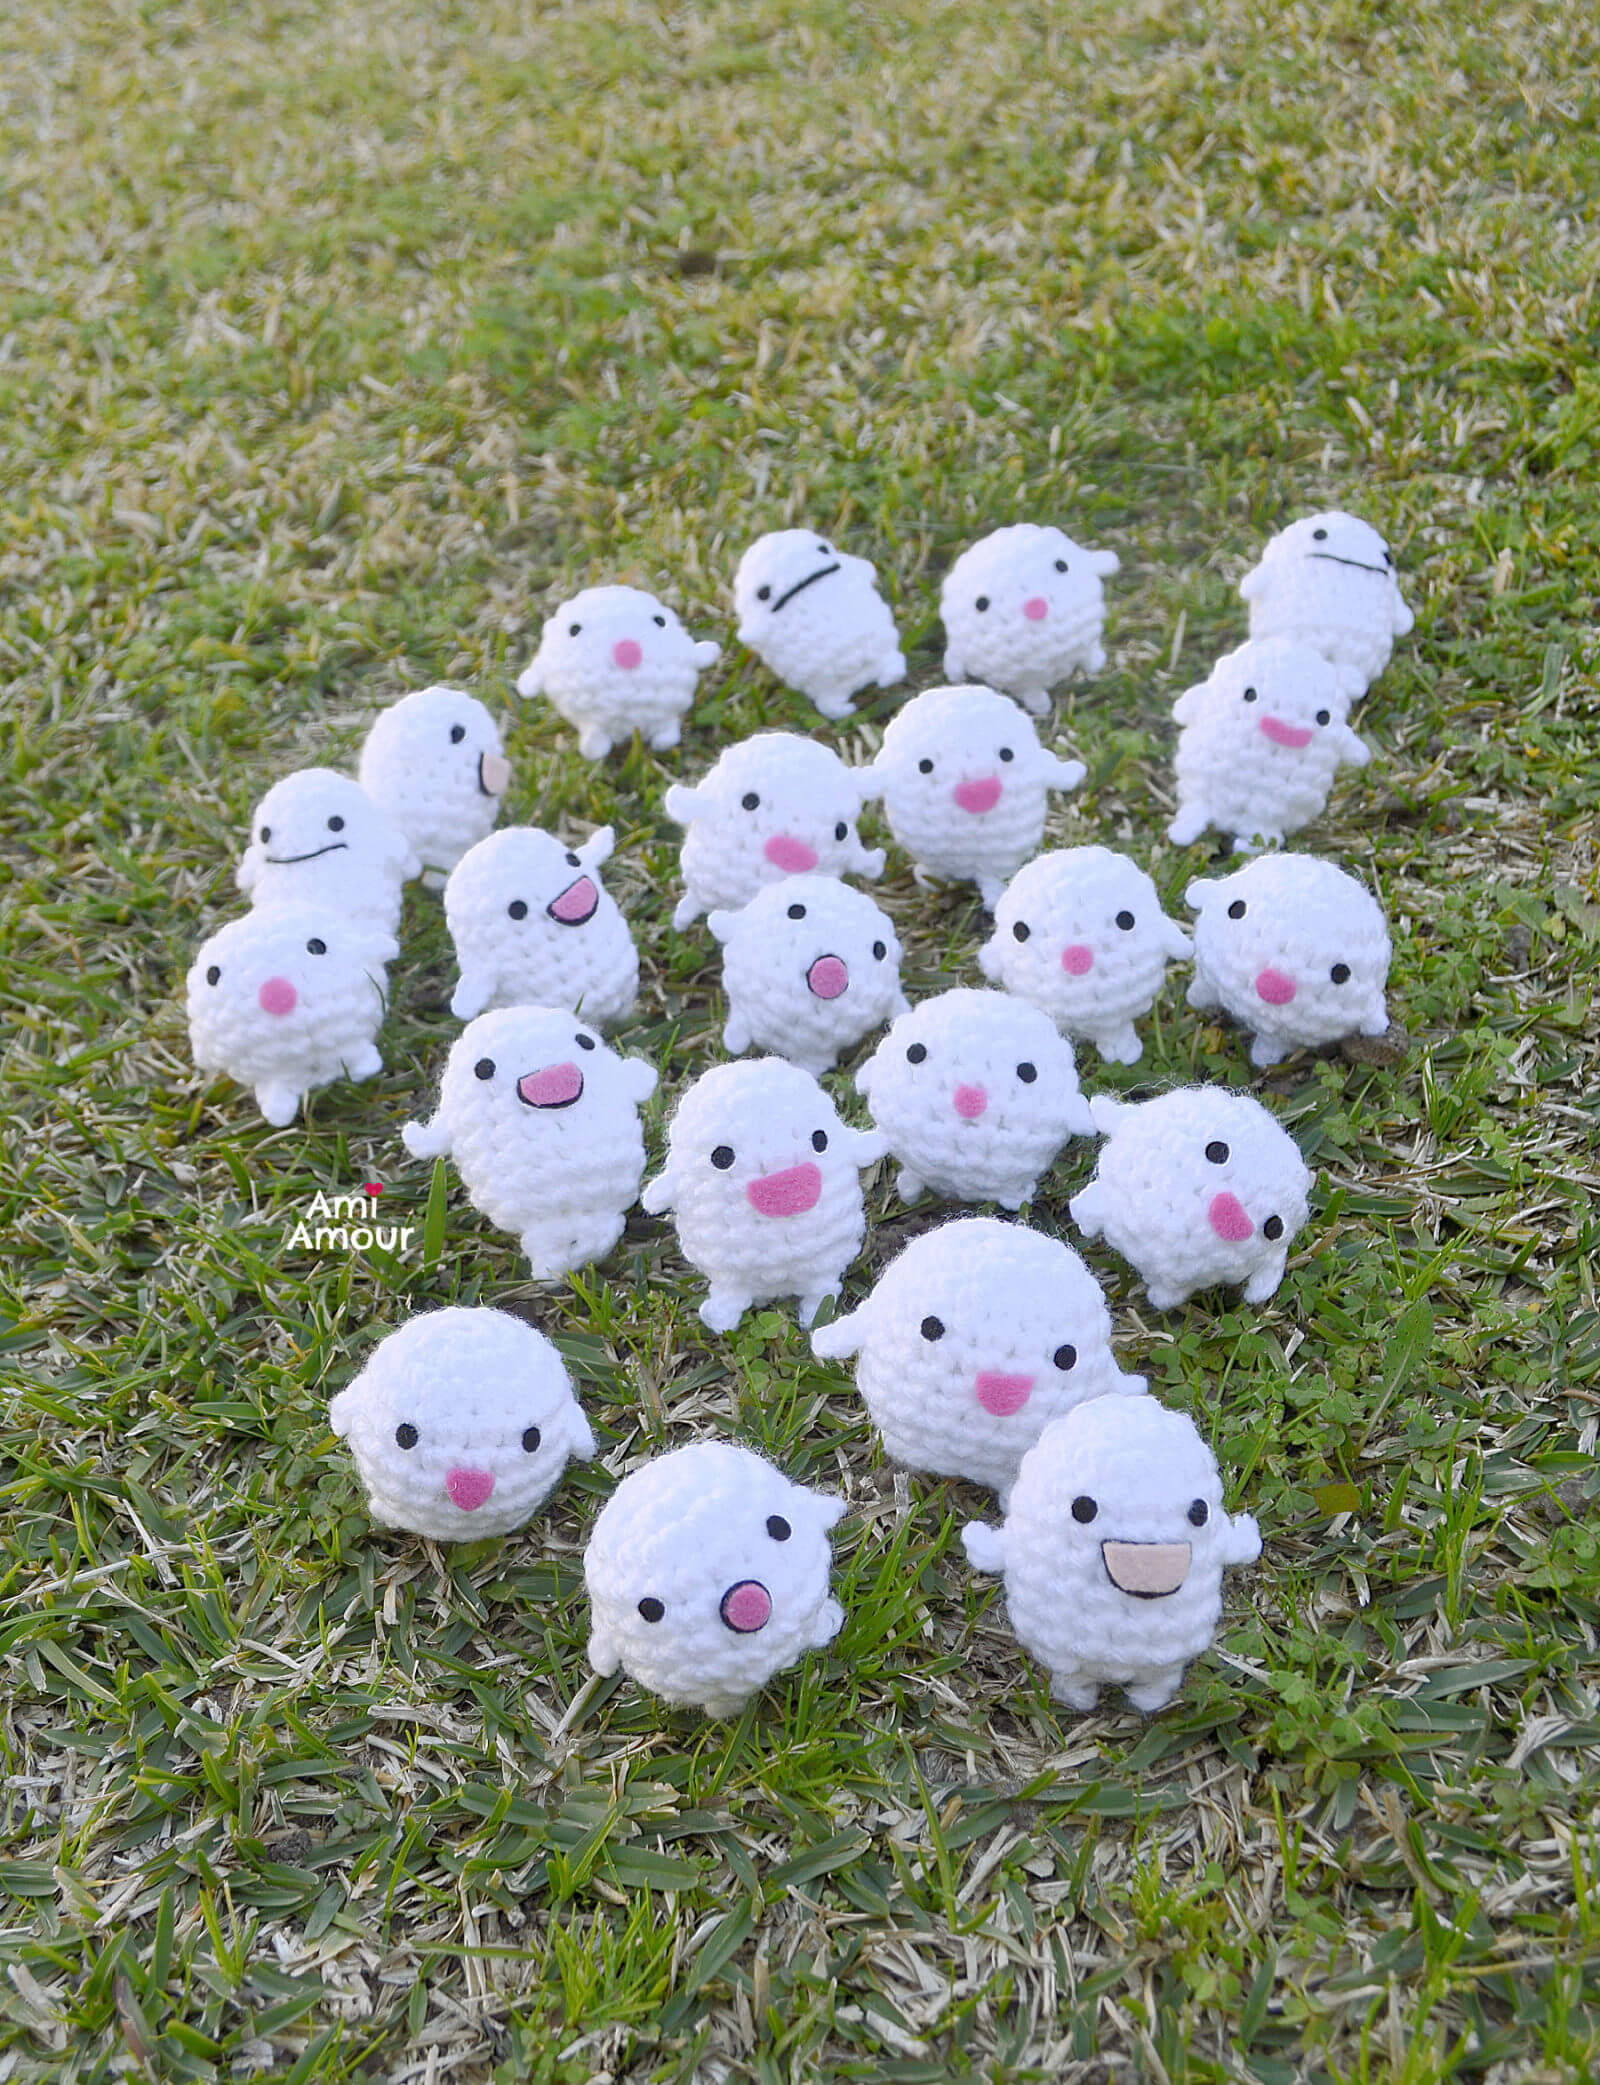
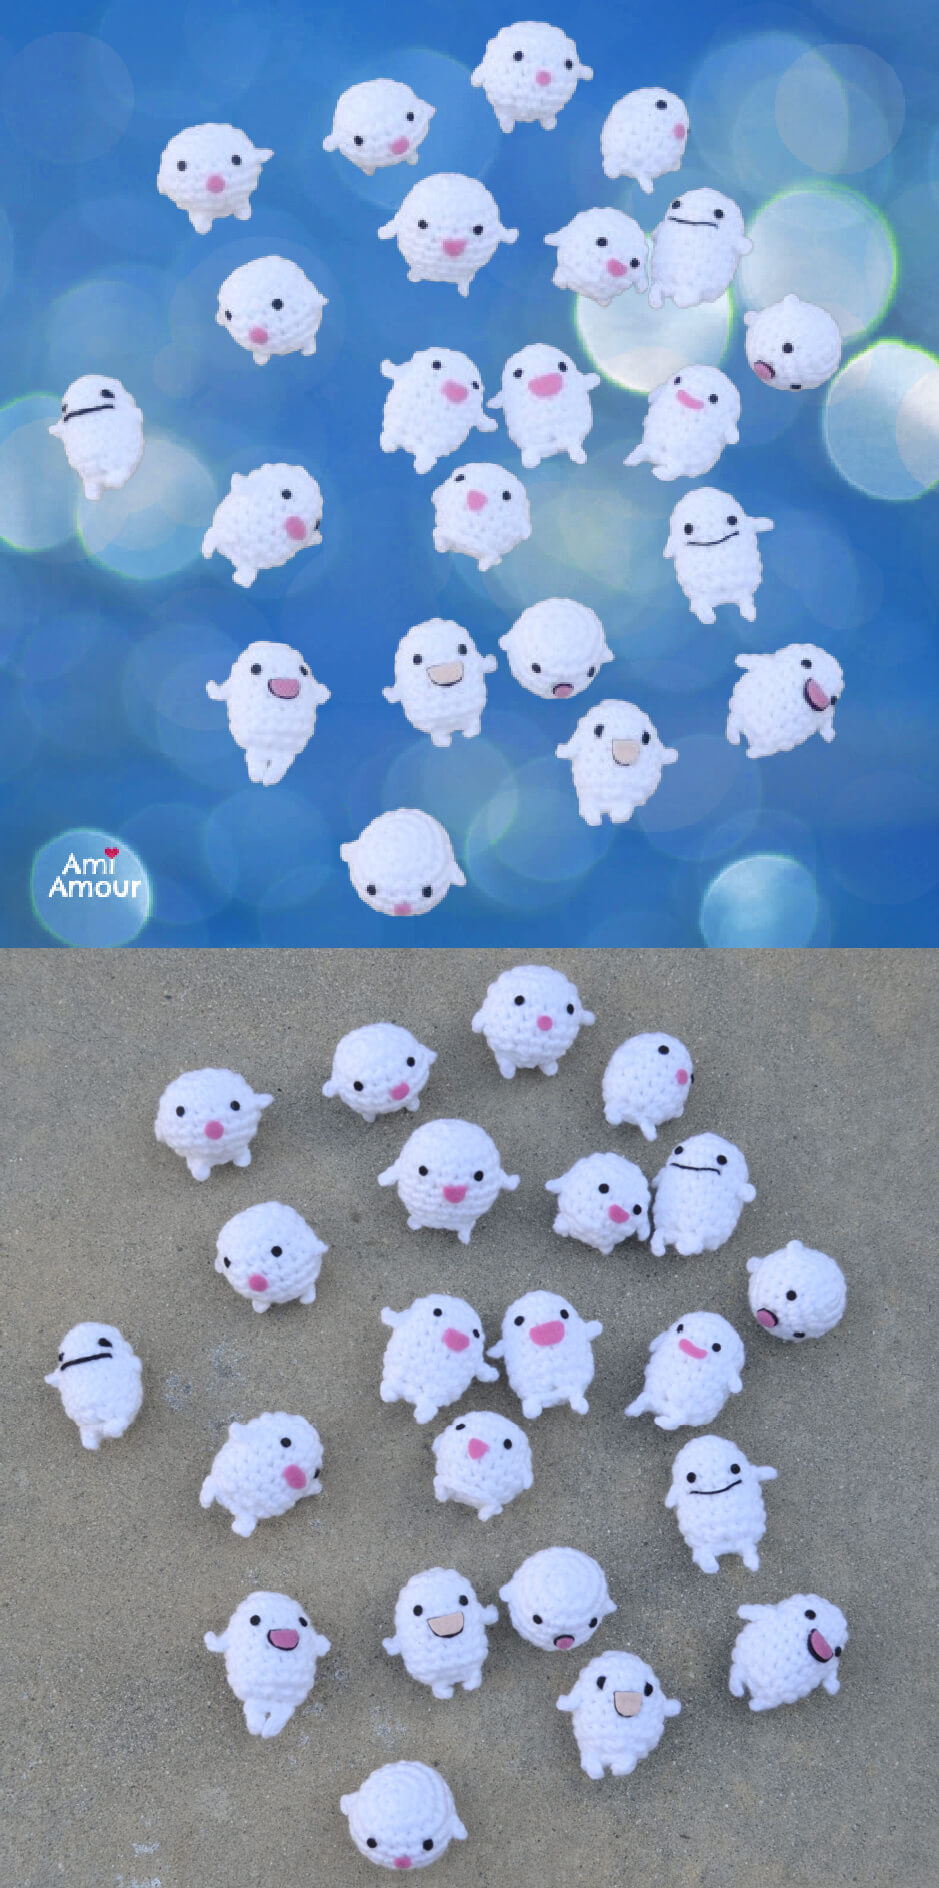
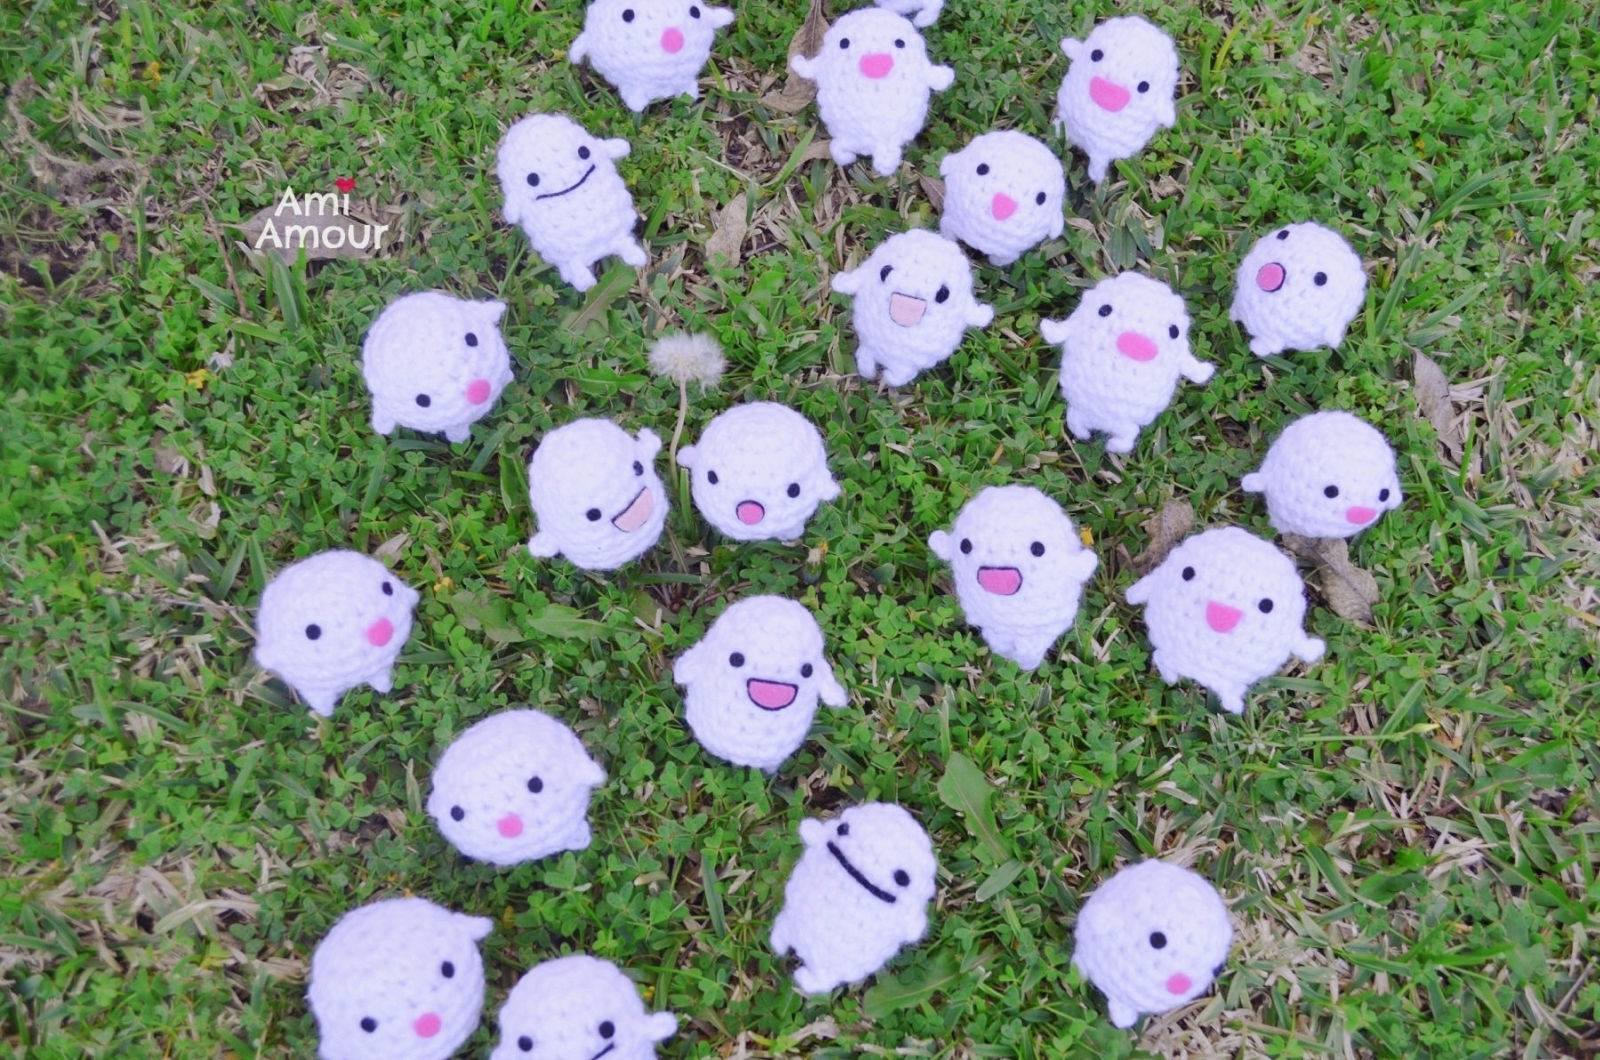
Here they are floating up to the sky.
What is a no sew amigurumi? Well, it’s basically an amigurumi that’s made mostly in one piece by crocheting. It requires very little assembly in terms of sewing together of parts.
It’s great for people who hate sewing things together, because, honestly well, most of us love to crochet, but hate dealing with the other aspects of putting together an amigurumi.
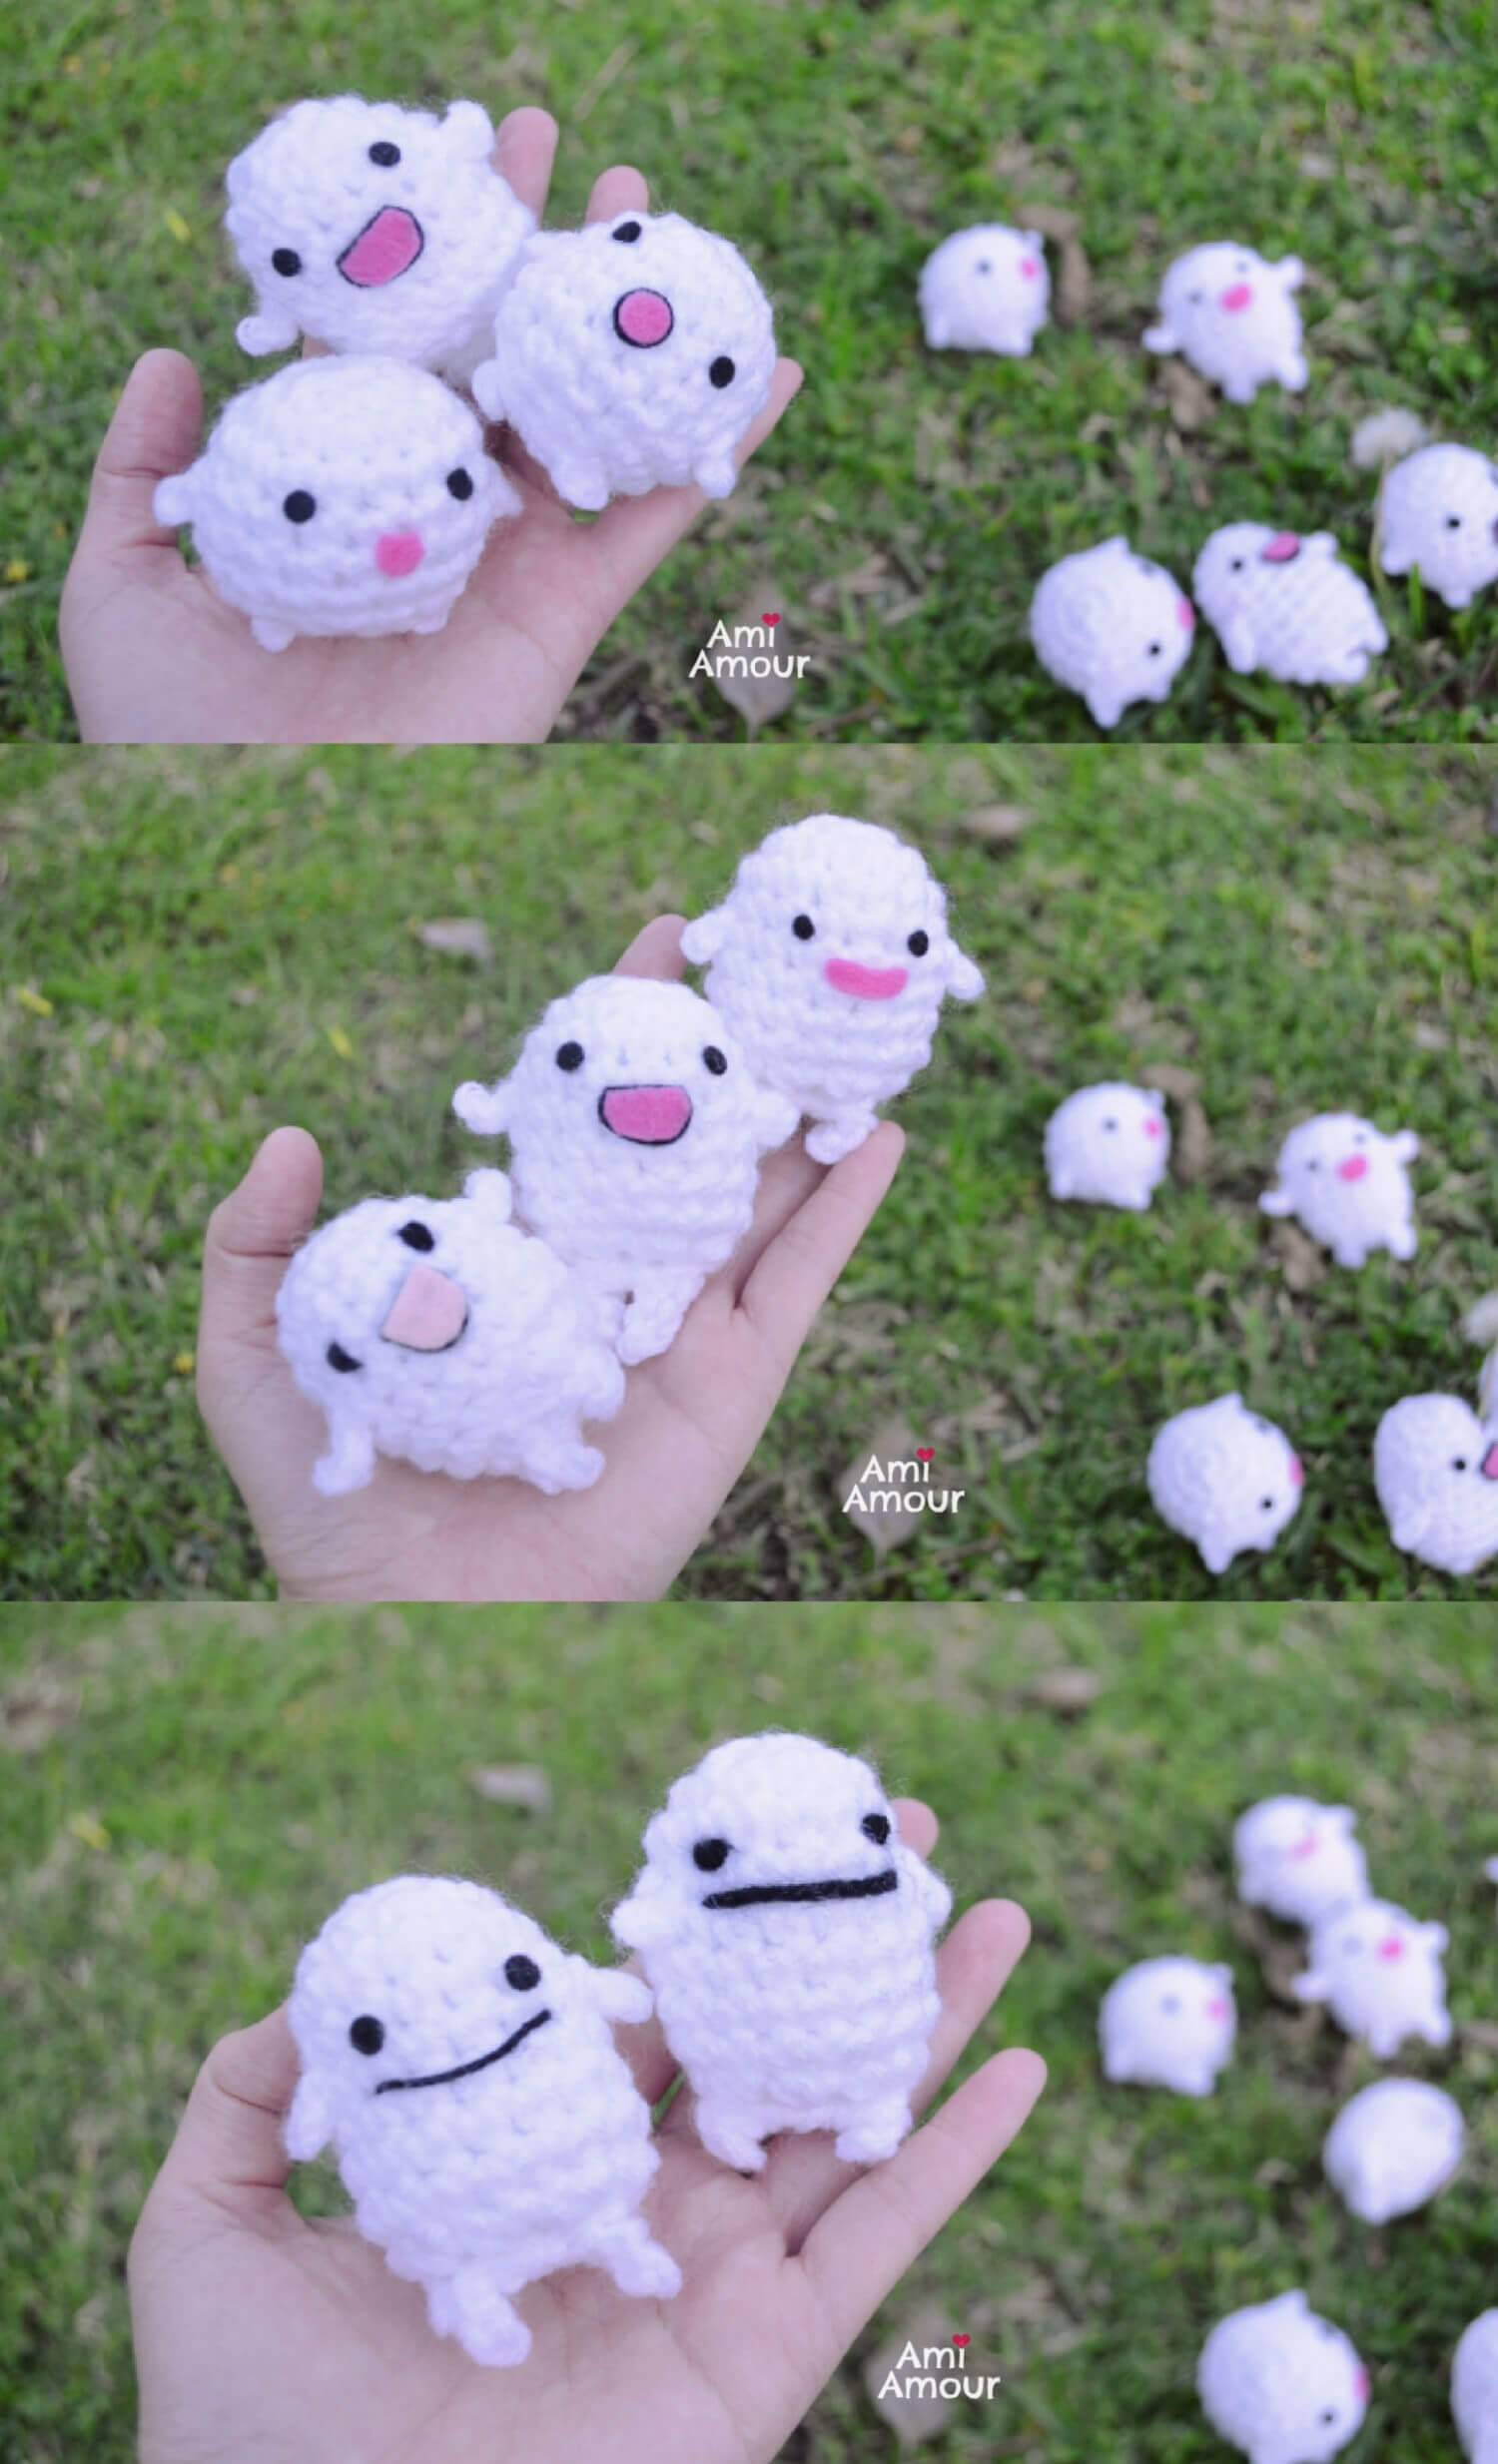
So for this mini Warawara amigurumi, all the little hands and feet are crocheted at the same time as the rounds so you don’t have to worry about fiddling with little parts or trying to get the placement of the limbs just right.
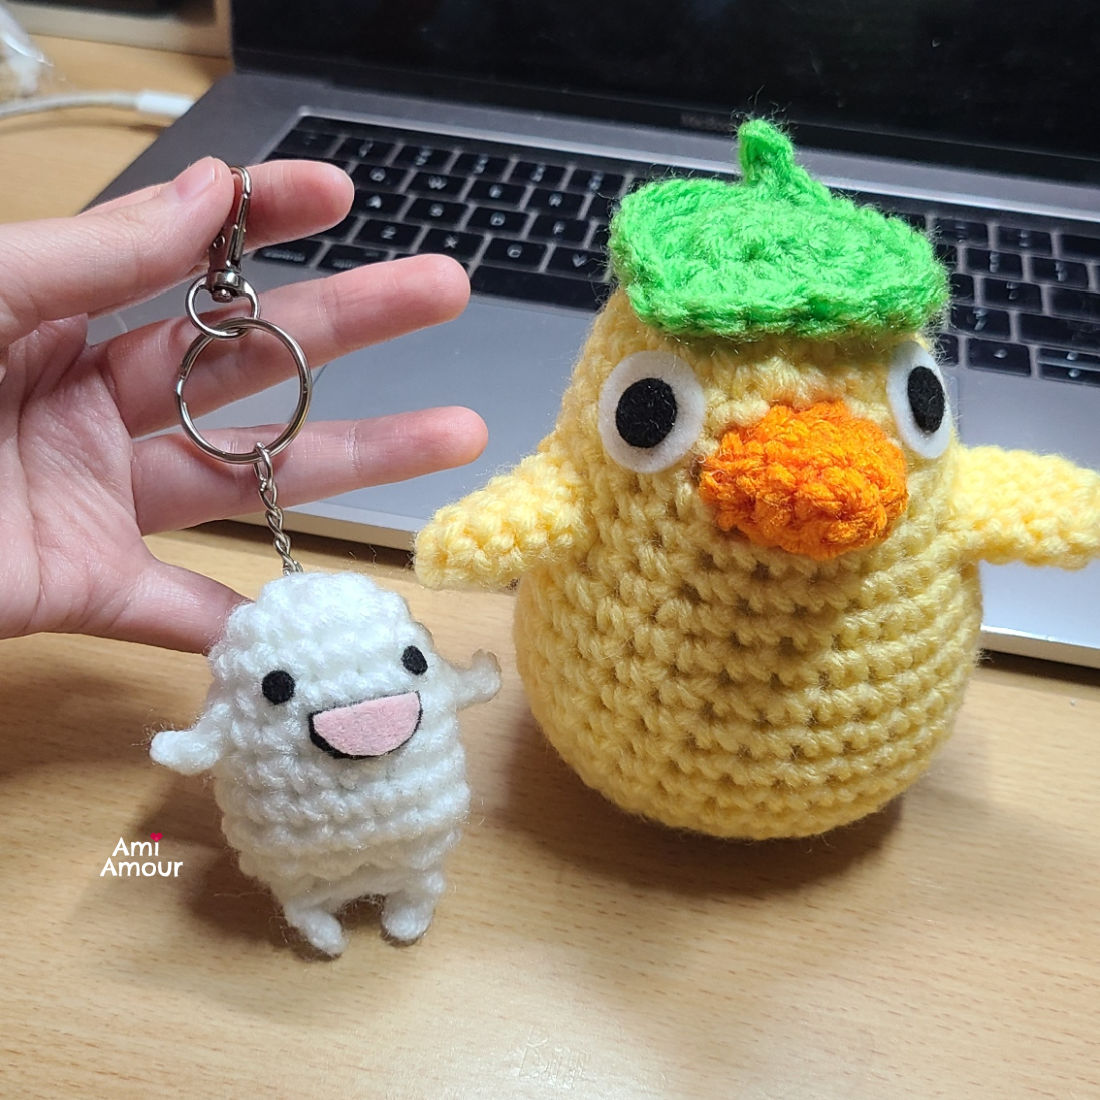
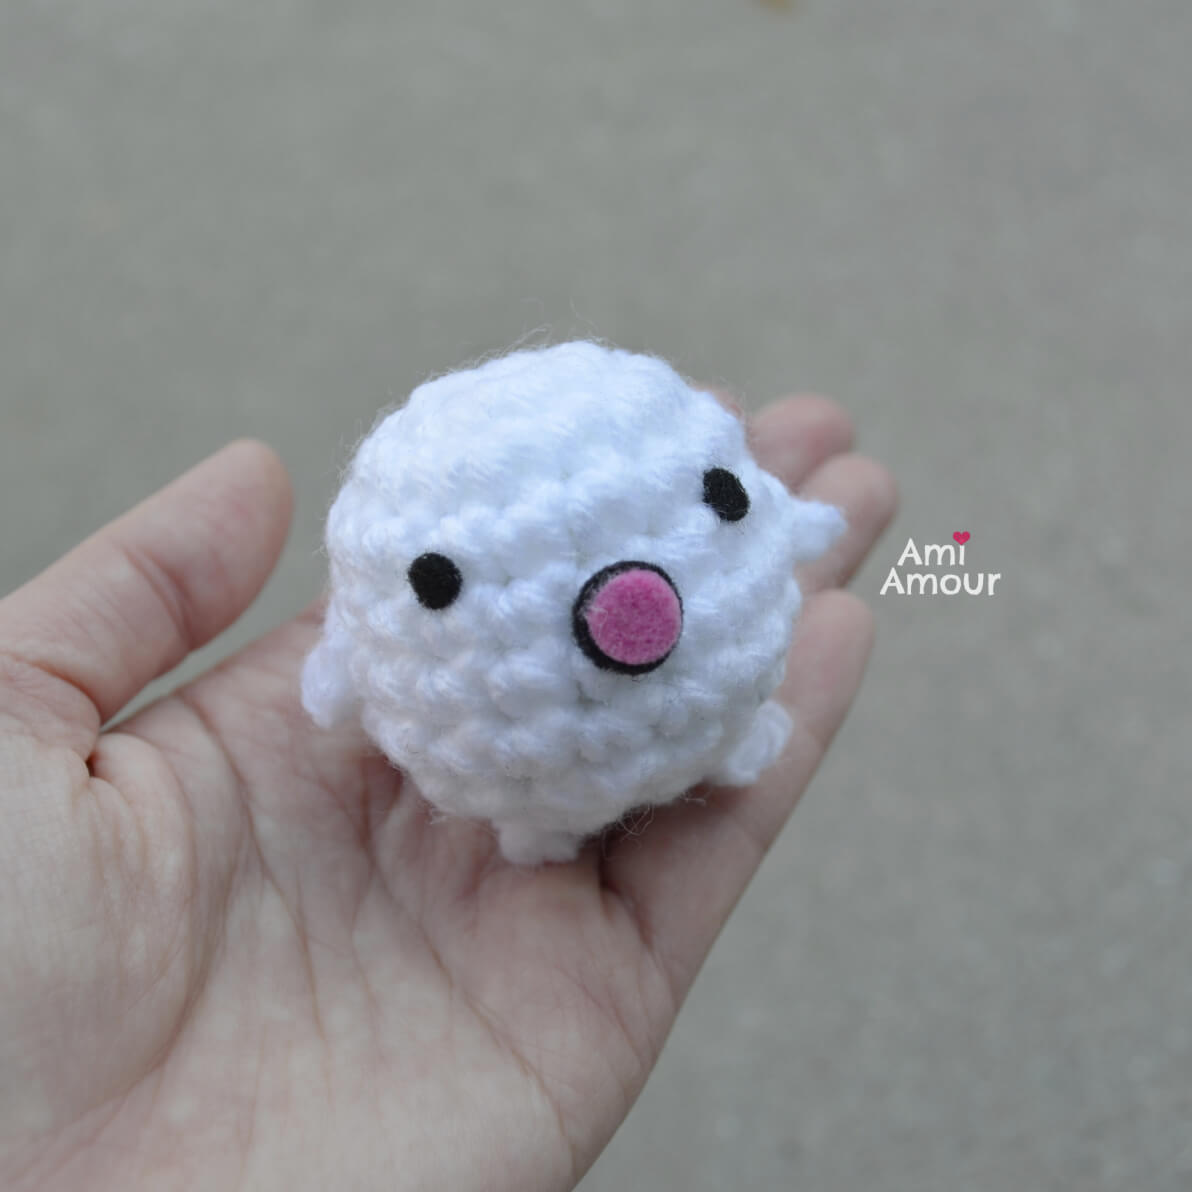
It’s also the perfect size to make a cute keychain accessory!
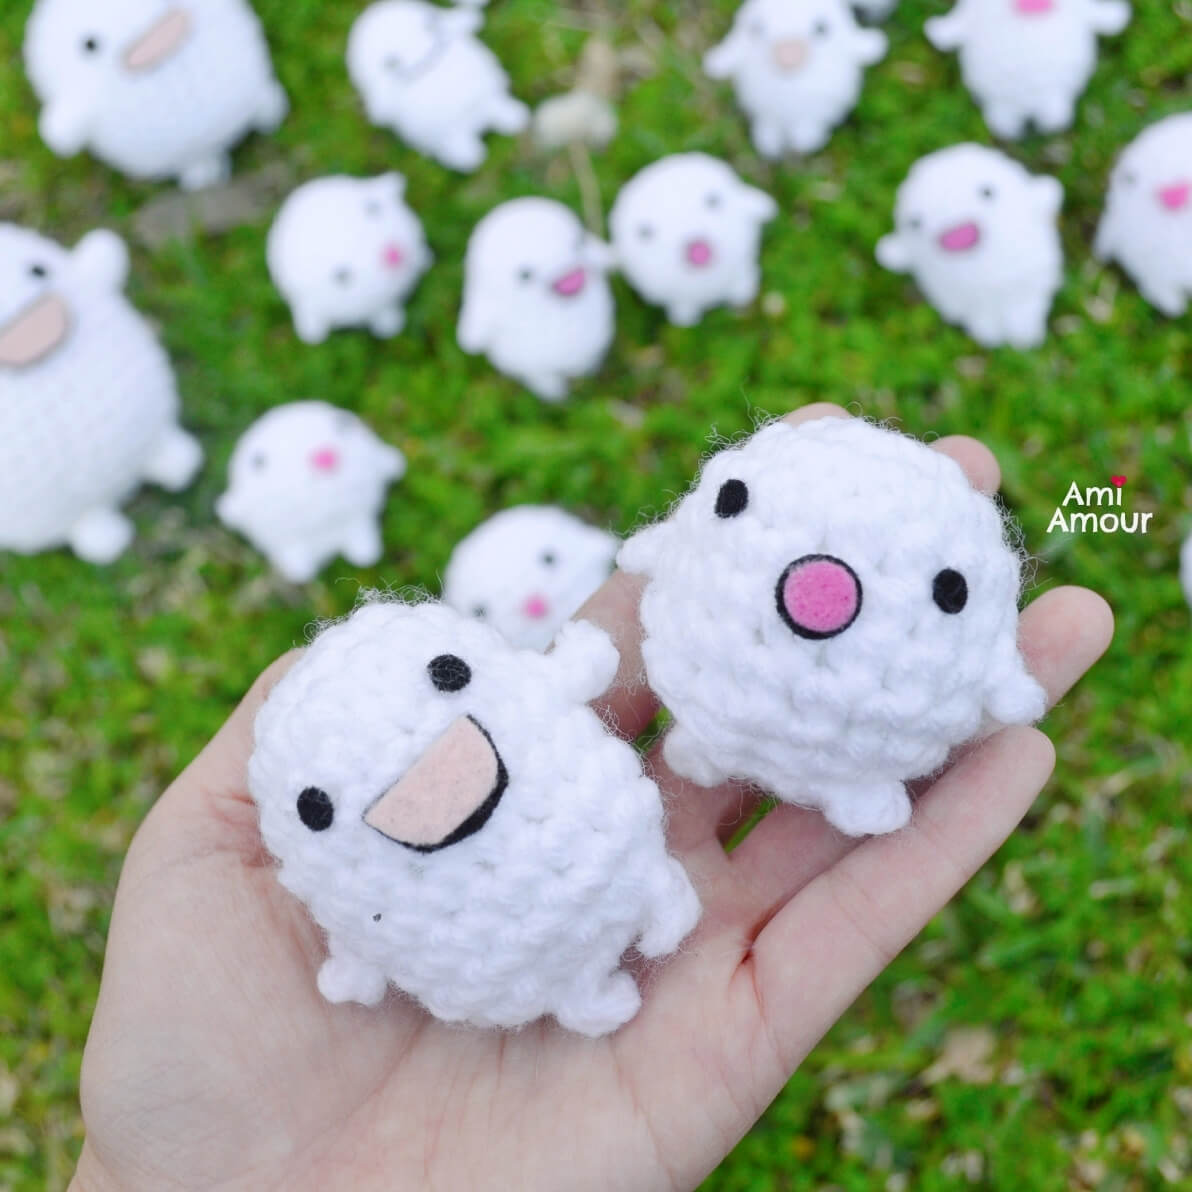
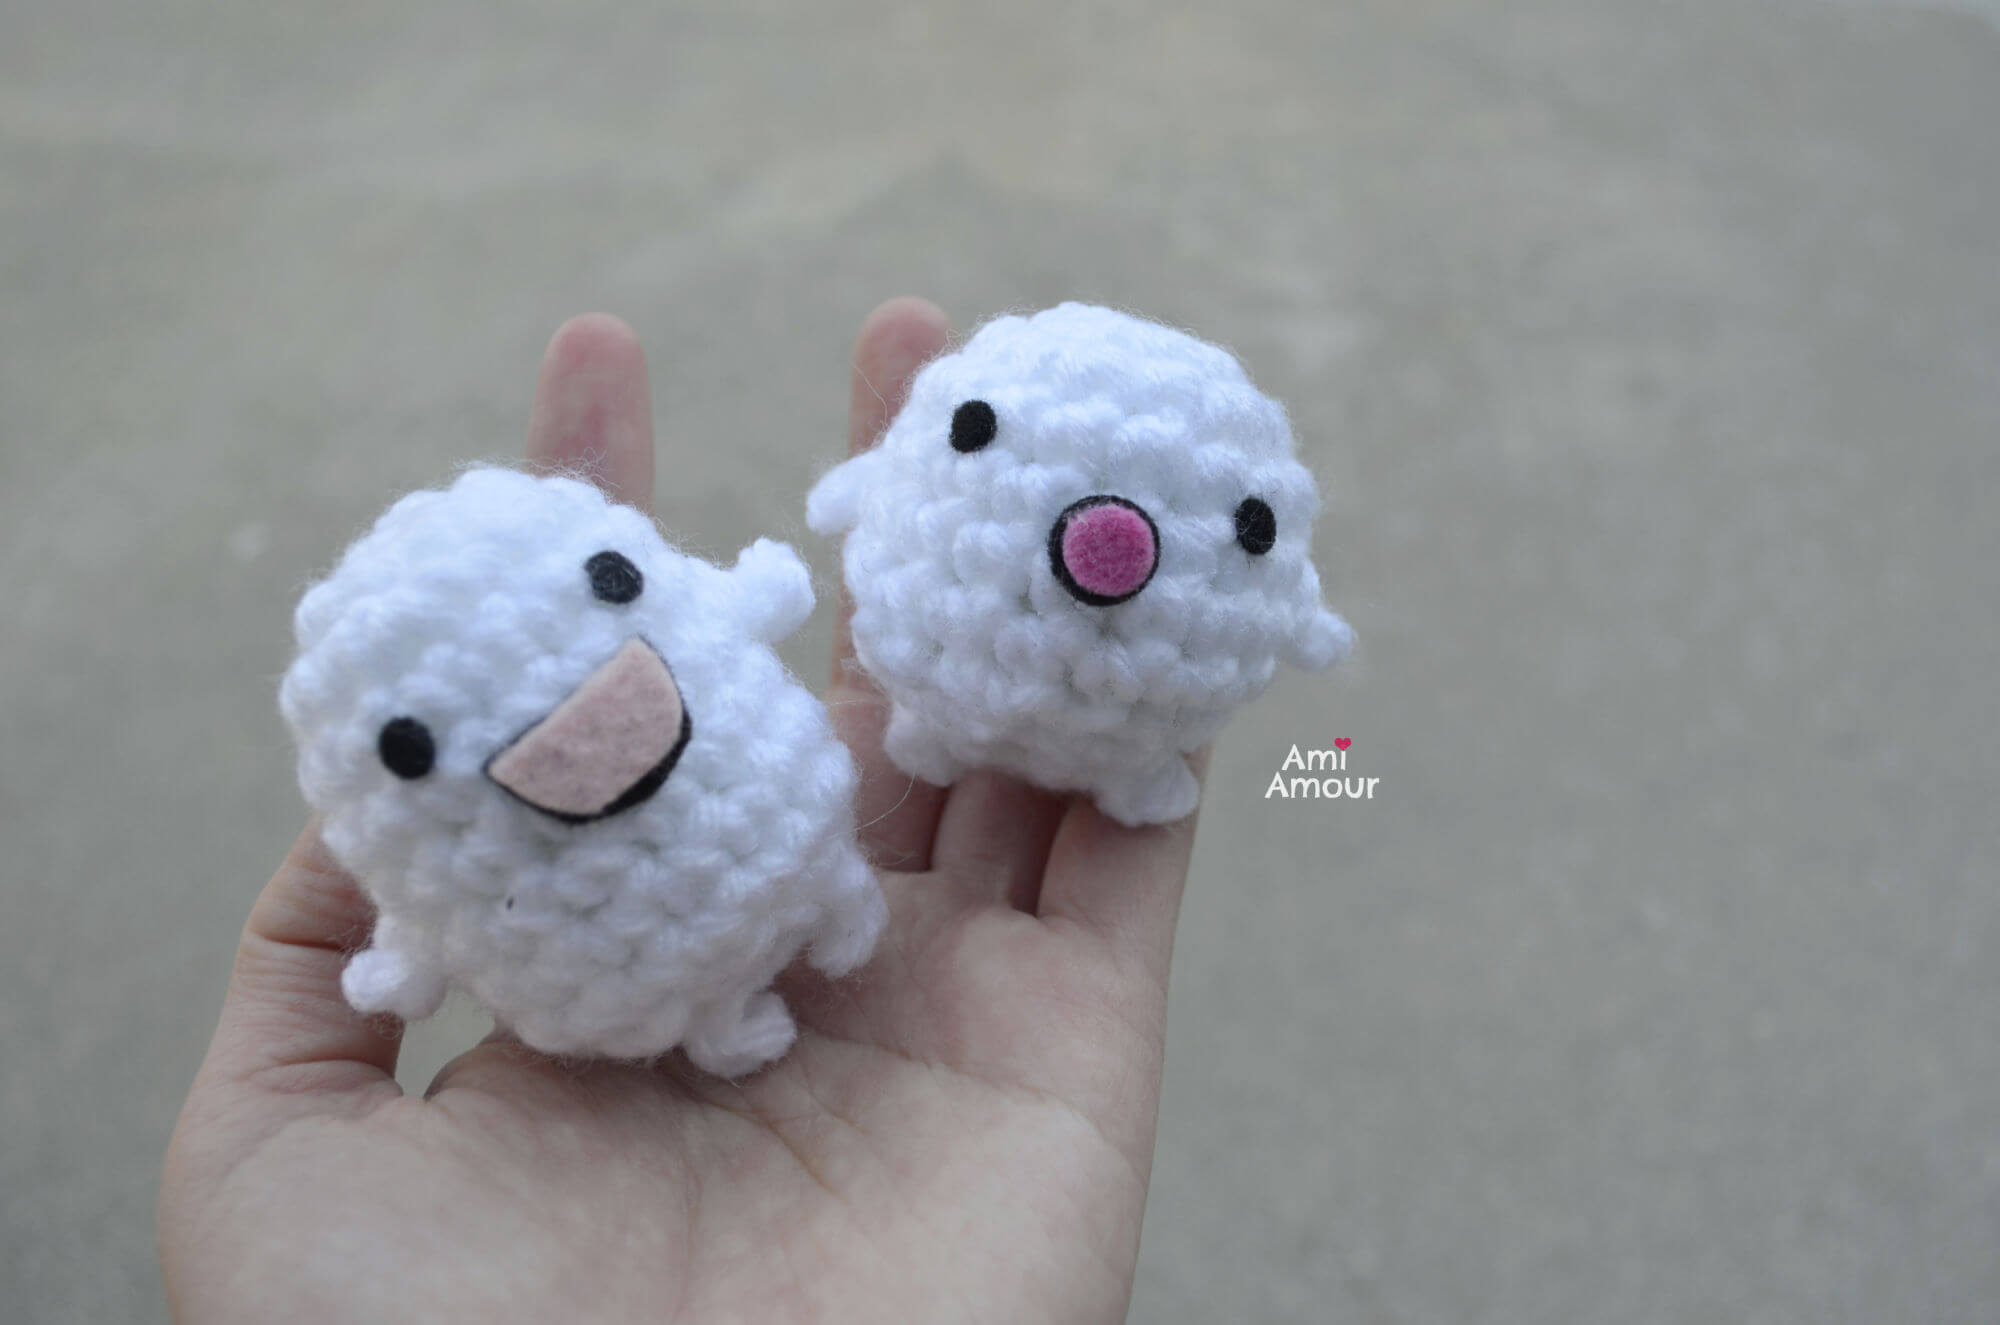
I’ve created 2 different shapes for the crochet Warawara. One is the round one with a perpetual surprised face and the other shape is a longer oblong. You can create the faces that you want for them, whether it’s a grin, a smile, or a surprised look.
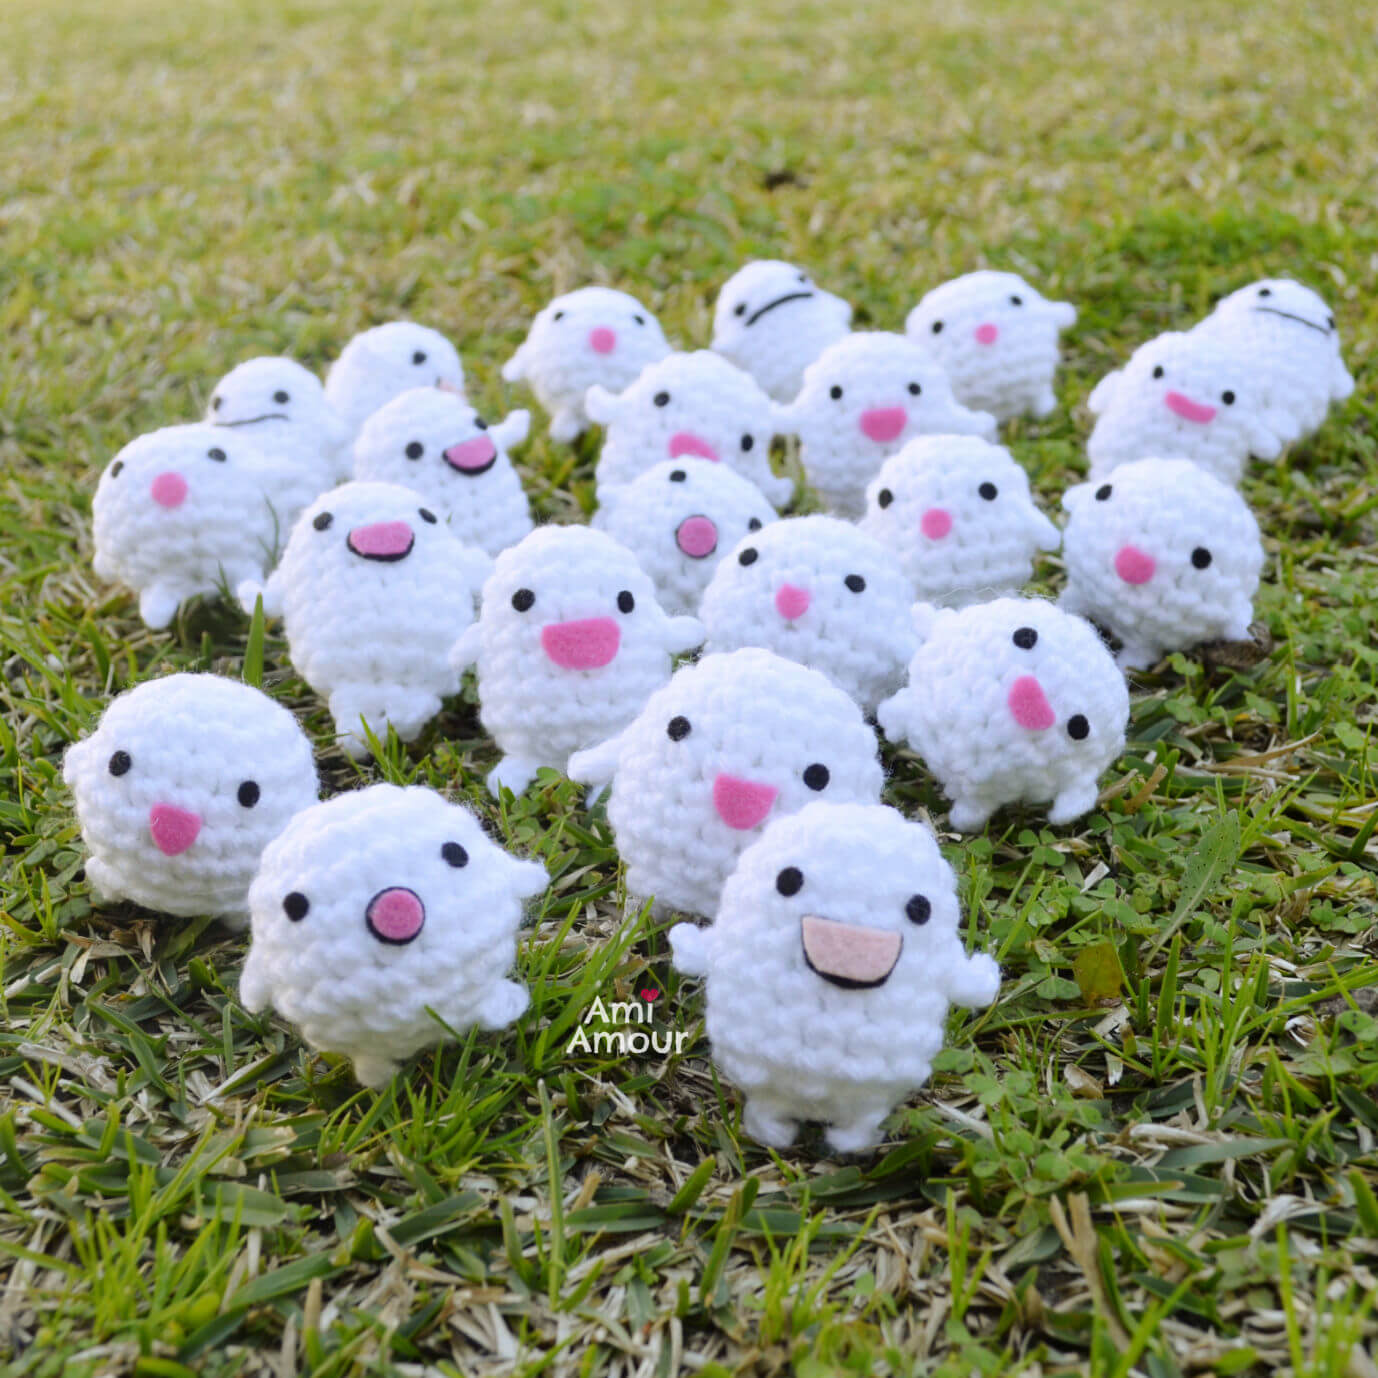
Here are some looks I came up with below. Please feel free to experiment with your own Warawara amigurumi faces.
For the pink felt mouth, I sometimes double layer it with black felt underneath so that a black outline shows. It makes the mouth pop more, but a simple pink felt mouth works just as well.
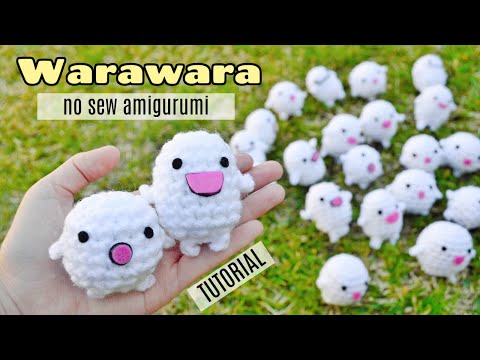
The Warawara free crochet pattern is available below and I’ve also created a video tutorial for it too. Tag me with your projects on Instagram @ami_amour as I’d love to see!
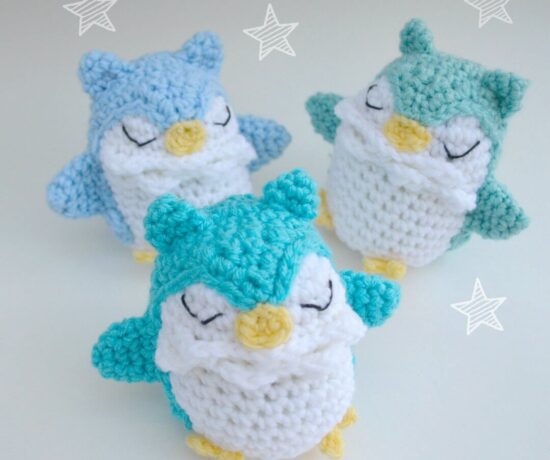
Here are some of my other Studio Ghibli crochet patterns you may enjoy.
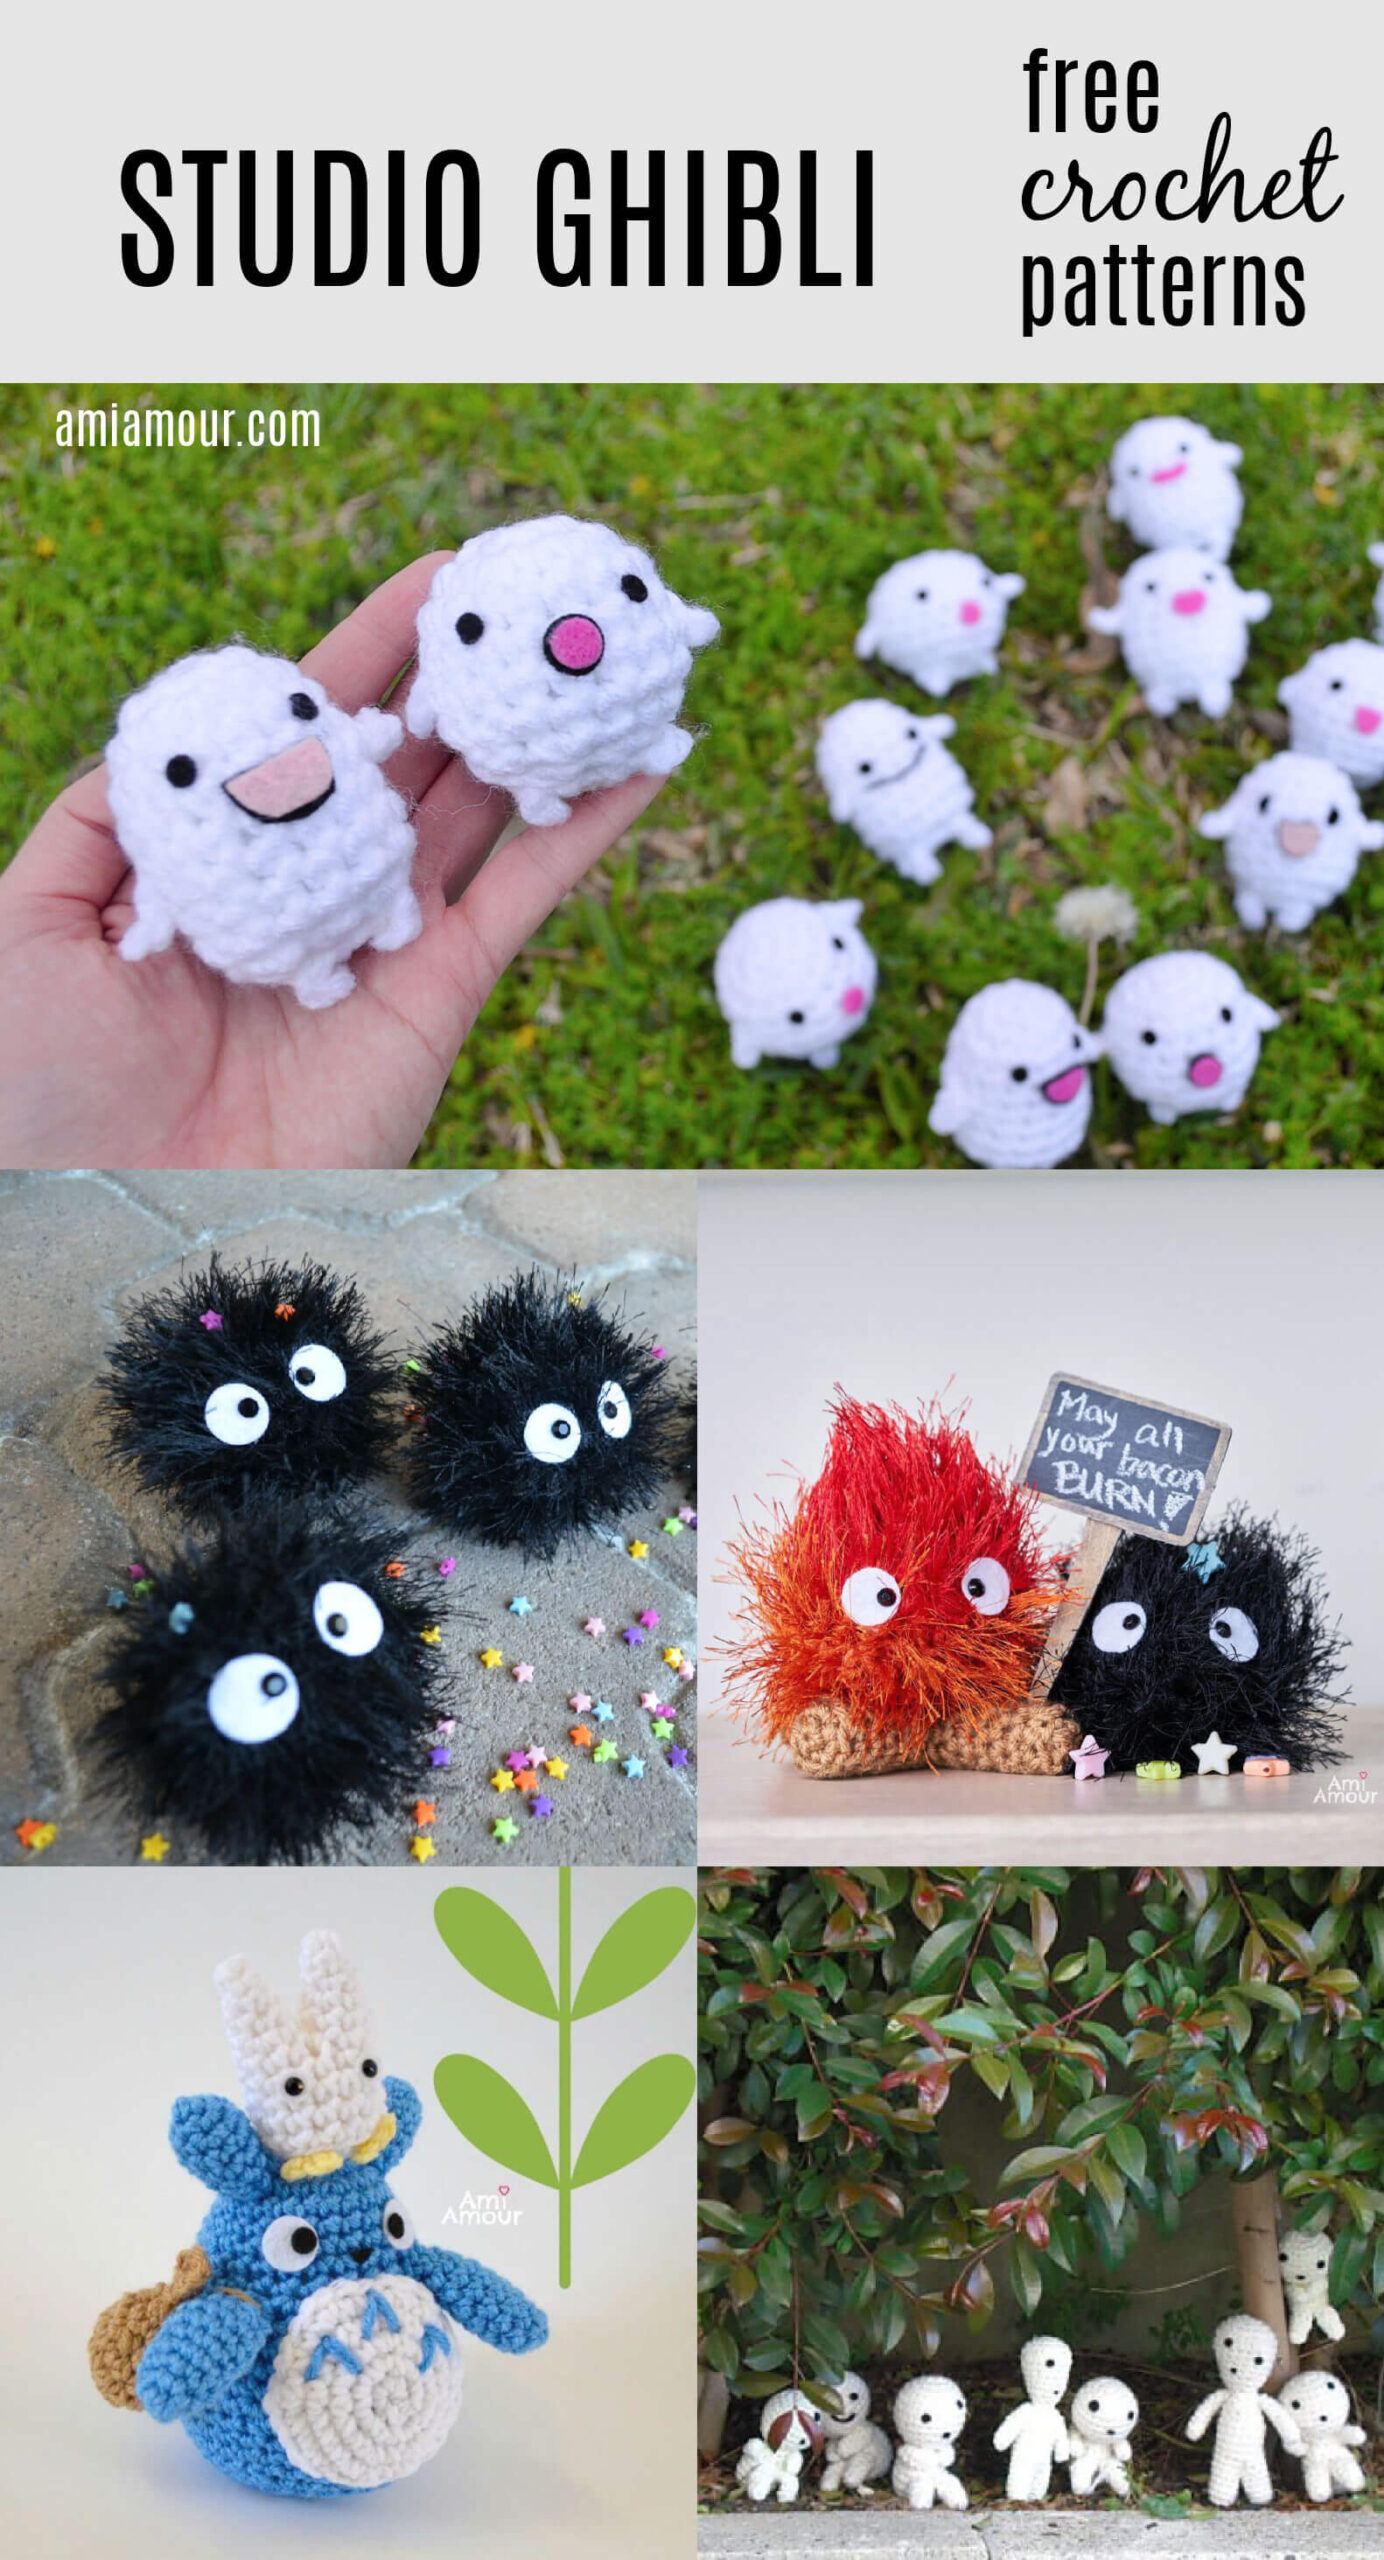
1. Soot Sprite Amigurumi
2. Calcifer Amigurumi
3. Totoro Amigurumi
4. Glow in the Dark Kodama Amigurumi
And don’t forget to subscribe to my newsletter so you don’t miss any of my patterns!
Warawara Crochet Video Tutorial – No Sew Amigurumi
See the warawara in action and crochet along with me!
Disclosure: This post contains affiliate links. This means I may receive a small commission if you decide to purchase anything by clicking on one of these links.
Warawara Amigurumi – Free Crochet Pattern
LEVEL: Easy
CROCHET HOOK: 4.0mm size
YARN:
Red Heart Super Saver, acrylic worsted weight yarn
– White
NOTIONS:
Polyfil Stuffing
Yarn Needle
Scissors
Stitch Marker
Black Felt and Pink Felt (for the eyes and mouth)
ABBREVIATIONS:
ch – chain
sc – single crochet
sl st – slip stitch
sc2tog – single crochet 2 together (sc dec)
st – stitch
APPROXIMATE SIZE:
Round Warawara – 2in tall x 2in wide (5cm tall x 5cm wide)
Oblong Warawara – 2.5in tall x 2in wide (6cm tall x 5cm wide)
MINI WARAWARA AMIGURUMI #1 – ROUND
With white yarn
Round 1: 6 sc into magic ring – 6 sc.
Round 2: 2 sc in each st around – 12 sc.
Round 3: [2 sc in next st, sc in next st] around – 18 sc.
Round 4: Sc in each st around – 18 sc.
Round 5: [In Front Loop only (sl st, ch 2, sl st back 1 ch, sl st) in next st. Through Both Loops (sc in next 8 st)] 2 times. (You can also see the video tutorial for this part.)
Note: You should have 2 tiny arms.
Sc in next st. Move stitch to marker to last st made. This will now mark the end of the round.
Round 6: (Skip arm st, sc in next 9 st) 2 times – 18 sc.
Note: When skipping arm stitch make sure to flip the arm away from the round so that it doesn’t get stuck inside the round.
Round 7: Sc in each st around – 18 sc.
Round 8: [Sc2tog, sc in next st] around – 12 sc.
Round 9: [In Front Loop only (sl st, ch 2, sl st back 1 ch, sl st) in next st. Through Both Loops (sc2tog 2 times, sc in next st)] 2 times.
You should have 2 small legs created.
Round 10: Sc in next st, skip leg stitch, sc2tog 2 times, skip leg stitch, sl st in next st.
Note: When skipping leg stitch, make sure to flip the leg away from the round so that it doesn’t get stuck inside the round.
Fasten off, leaving a long tail.
Stuff and sew closed.
EYES AND MOUTH
1. Cut small circles from black felt for the eyes. You can also embroider the eyes with black yarn if you prefer.
2. Cut a oval shape for the mouth from pink felt. If you want the mouth to stand out more, you can cut out an outline from black felt for the mouth to put behind the pink mouth.
3. Glue on the eyes and mouth to the face with Fabri-tac Glue
MINI WARAWARA AMIGURUMI #2 – OBLONG

Round 1: 6 sc into magic ring – 6 sc.
Round 2: 2 sc in each st around – 12 sc.
Round 3: [2 sc in next st, sc in next 3 st] around – 15 sc.
Round 4: Sc in each st around – 15 sc.
Round 5: In Front Loop only, (Sl st, ch 2, sl st back 1 ch, sl st) in next st. Through both loops, sc in next 6 st. In Front loop only, (sl st, ch 2, sl st back 1 ch, sl st) in next st. Through both loops, sc in next 7 st.
Sc in next st.
Move stitch marker – this will mark the end of the round now.
Round 6: Skip arm stitch, sc in next 7 st, skip arm stitch, sc in next 8 st – 15 sc.
Note: Push arm back so it doesn’t get stuck underneath the round.
Round 7-9: Sc in each st around – 15 sc.
Round 10: Sc2tog 7 times, sc in next st – 8 sc.
Round 11 – In Front Loop only, (sl st, ch 2, sl st back 1 ch, sl st) in next st. Through both loops, sl st in next 3 st. In Front Loop only, (sl st, ch 2, sl st back 1 ch, sl st) in next st. Through both loops, sl st in next 3 st.
Note: You should now have 2 legs.
Fasten off, leaving a long tail.
Stuff and sew bottom closed in between the legs.
EYES AND MOUTH
1. Cut small circles from black felt for the eyes. You can also embroider the eyes with black yarn if you prefer.
2. Cut a D shape for the mouth from pink felt. If you want the mouth to stand out more, cut out a black outline from black felt for the mouth to put behind the pink mouth.
3.Glue on the eyes and mouth to the face with Fabri-tac Glue.
4. Tag me with your projects on Instagram @ami_amour. I’d love to see!

Warawara Amigurumi Pattern - Boy and the Heron
These cute Warawara spirits are just waiting to float to the sky to be reborn. This free crochet pattern includes 2 shapes: Round Warawara and Oblong Warawara.
By Ami Amour
Materials
YARN
- 1 skein of Red Heart Super Saver (worsted weight, acrylic yarn) in the color WHITE
NOTIONS
- Polyfill Stuffing
- Black and Pink Felt (for the eyes and ears)
Tools
- Crochet Hook - 4.0mm size
- Yarn Needle
- Scissors
- Stitch Marker
Instructions
MINI WARAWARA #1 - ROUND
With white yarn
Round 1: 6 sc into magic ring - 6 sc.
Round 2: 2 sc in each st around - 12 sc.
Round 3: [2 sc in next st, sc in next st] around - 18 sc.
Round 4: Sc in each st around - 18 sc.
Round 5: [In Front Loop only (sl st, ch 2, sl st back 1 ch, sl st) in next st. Through Both Loops (sc in next 8 st)] 2 times. (You can also see the video tutorial for this part.)
Note: You should have 2 tiny arms.
Sc in next st. Move stitch to marker to last st made. This will now mark the end of the round.
Round 6: (Skip arm st, sc in next 9 st) 2 times - 18 sc.
Note: When skipping arm stitch make sure to flip the arm away from the round so that it doesn't get stuck inside the round.
Round 7: Sc in each st around - 18 sc.
Round 8: [Sc2tog, sc in next st] around - 12 sc.
Round 9: [In Front Loop only (sl st, ch 2, sl st back 1 ch, sl st) in next st. Through Both Loops (sc2tog 2 times, sc in next st)] 2 times.
You should have 2 small legs created.
Round 10: Sc in next st, skip leg stitch, sc2tog 2 times, skip leg stitch, sl st in next st.
Note: When skipping leg stitch, make sure to flip the leg away from the round so that it doesn't get stuck inside the round.
Fasten off, leaving a long tail.
Stuff and sew closed.
EYES AND MOUTH
Cut small circles from black felt for the eyes. You can also embroider the eyes with black yarn if you prefer.
Cut a oval shape for the mouth from pink felt. If you want the mouth to stand out more, you can also cut out a black outline from black felt for the mouth as well to put behind the pink mouth.
Glue on the eyes and mouth to the face with Fabri-tac.
MINI WARAWARA #2 - OBLONG
Round 1: 6 sc into magic ring - 6 sc.
Round 2: 2 sc in each st around - 12 sc.
Round 3: [2 sc in next st, sc in next 3 st] around - 15 sc.
Round 4: Sc in each st around - 15 sc.
Round 5: In Front Loop only, (Sl st, ch 2, sl st back 1 ch, sl st) in next st. Through both loops, sc in next 6 st. In Front loop only, (sl st, ch 2, sl st back 1 ch, sl st) in next st. Through both loops, sc in next 7 st.
Sc in next st.
Move stitch marker - this will mark the end of the round now.
Round 6: Skip arm stitch, sc in next 7 st, skip arm stitch, sc in next 8 st - 15 sc.
Note: Push arm back so it doesn't get stuck underneath the round.
Round 7-9: Sc in each st around - 15 sc.
Round 10: Sc2tog 7 times, sc in next st - 8 sc.
Round 11 - In Front Loop only, (sl st, ch 2, sl st back 1 ch, sl st) in next st. Through both loops, sl st in next 3 st. In Front Loop only, (sl st, ch 2, sl st back 1 ch, sl st) in next st. Through both loops, sl st in next 3 st.
Note: You should now have 2 legs.
Fasten off, leaving a long tail.
Stuff and sew bottom closed in between the legs.
EYES AND MOUTH
Cut small circles from black felt for the eyes. You can also embroider the eyes with black yarn if you prefer.
Cut a D shape for the mouth from pink felt. If you want the mouth to stand out more, you can also cut out a black outline from black felt for the mouth as well to put behind the pink mouth.
Glue on the eyes and mouth to the face with Fabri-tac Glue.
Make sure to tag me with your projects on Instagram @ami_amour. I'd love to see!

No Comments