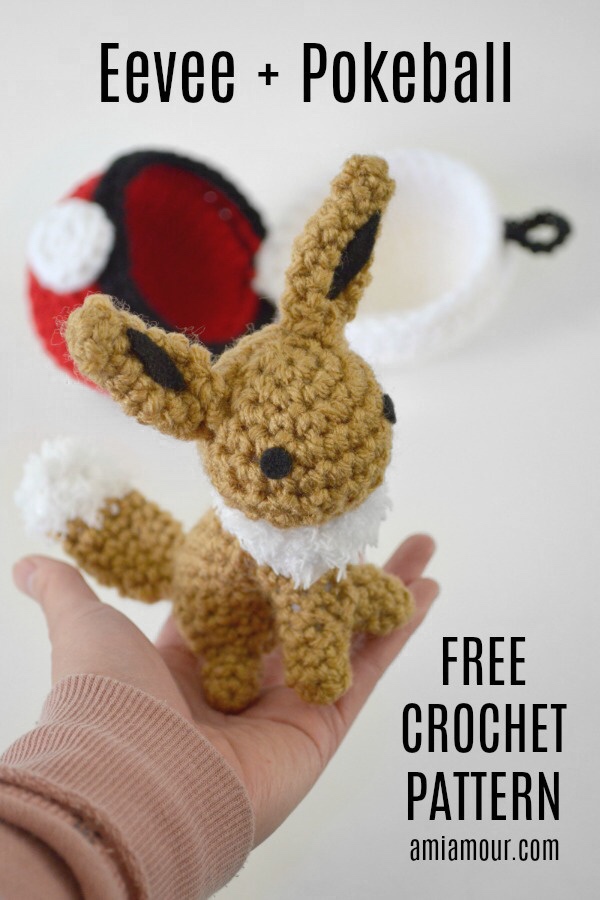
Here’s a chibi Eevee amigurumi so foxy and cute! You guys have been asking me for this Pokemon crochet pattern so I finally got a chance to write it up.
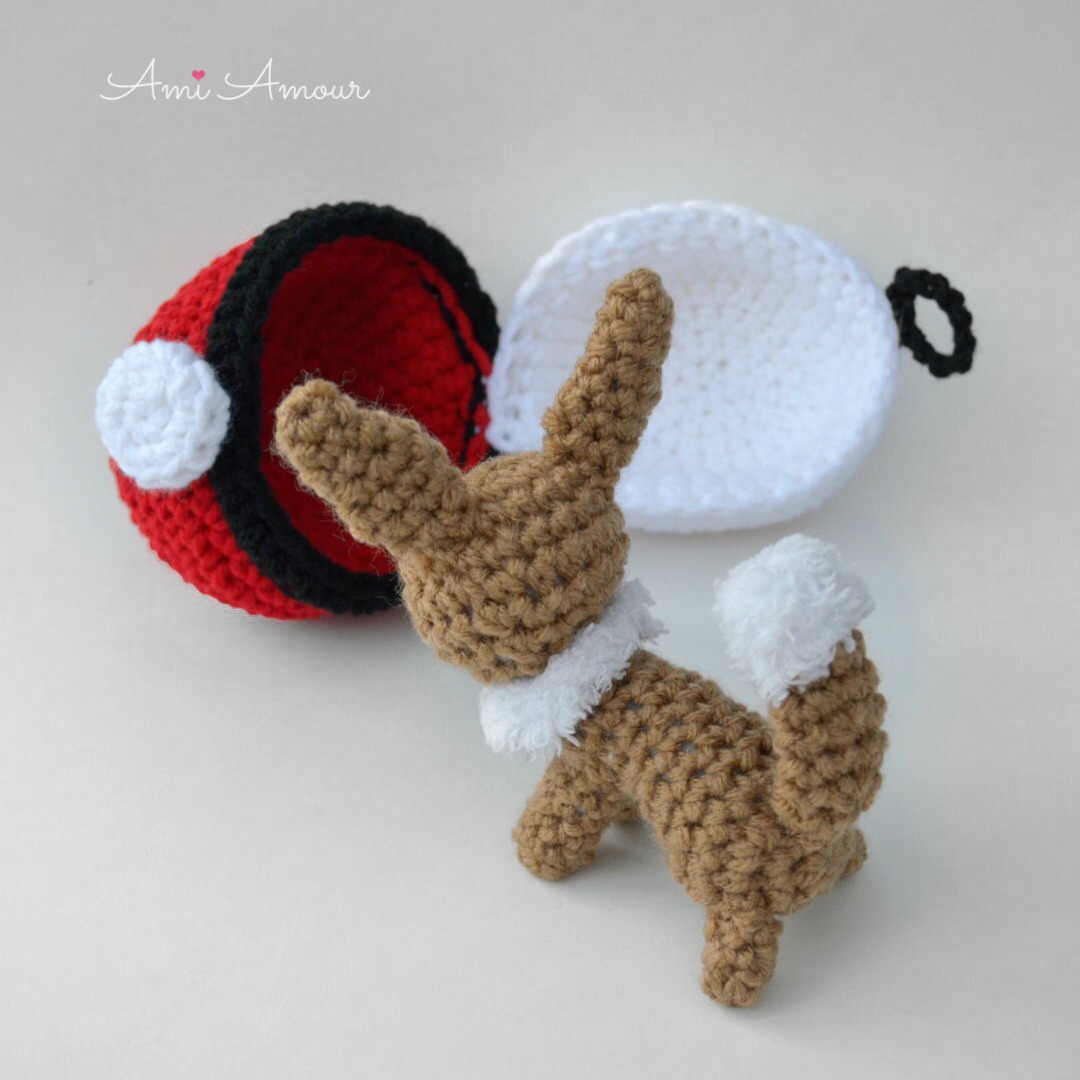
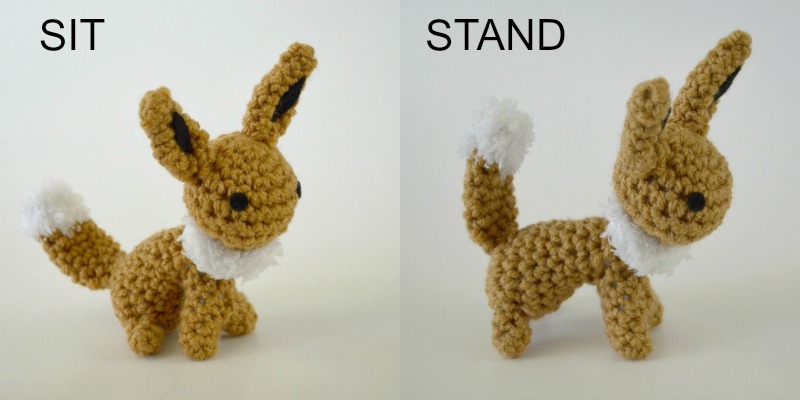
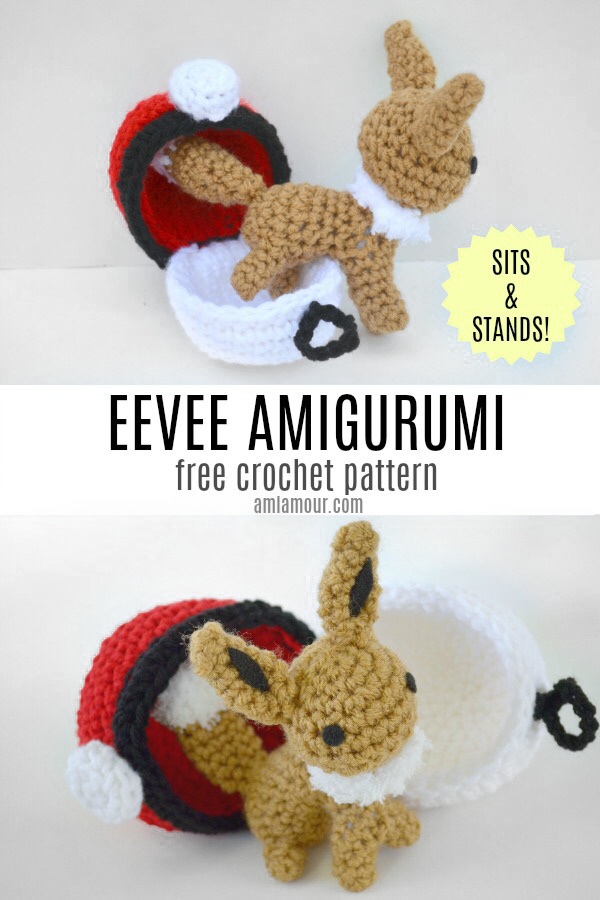
What’s unique about the design of Eevee Amigurumi is that she has the ability to both sit or stand! She can sit on her behind or stand on all fours. It makes for some fun posing for pictures. And of course you can also crochet a Pokeball Pod for her as well.
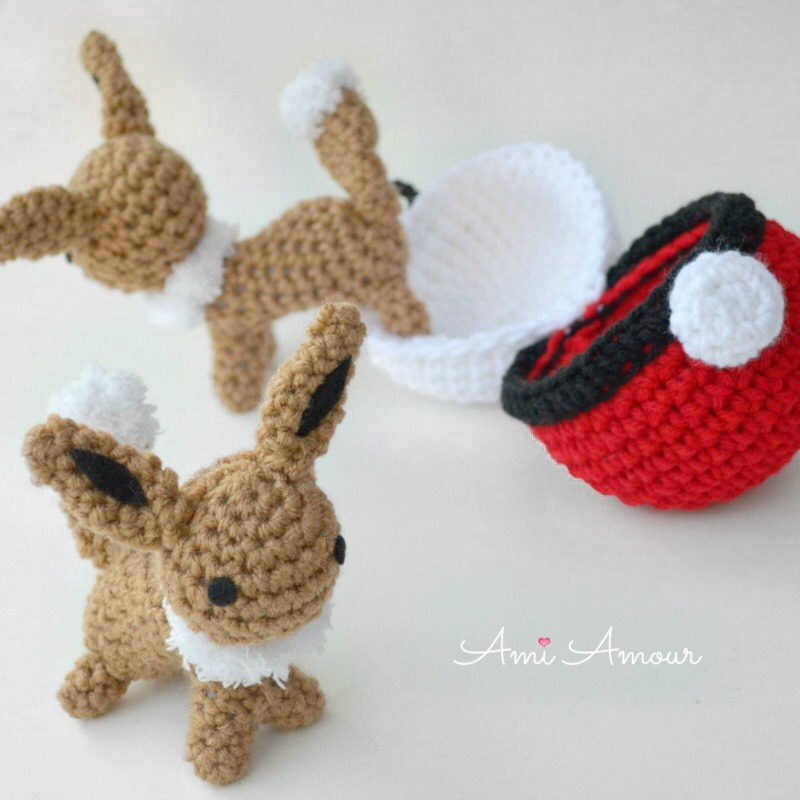
She’s created from a warm brown acrylic worsted weight yarn and fluffy white yarn. Her features include her pointy ears, a fluffy mane and tail.
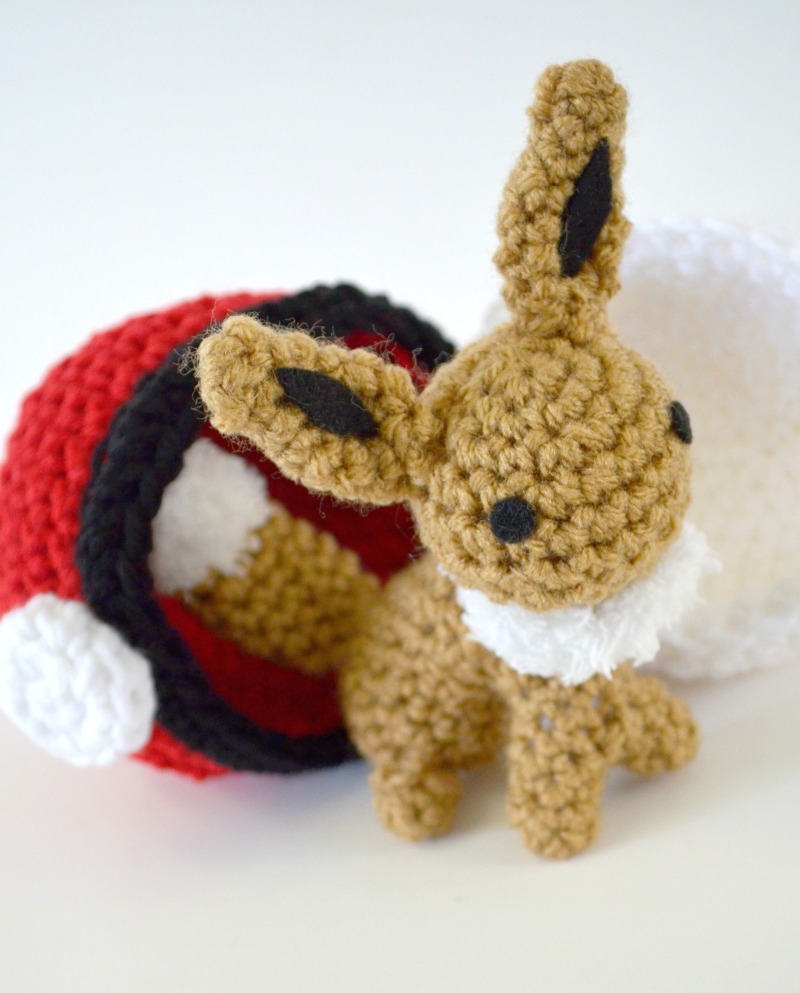
One day I think it’d be nice to try and crochet the whole crew of Eeveelution, but for now I hope you guys enjoy this cute Eevee! I have both the written pattern and the video tutorial below.
It’s part of my ongoing Gotta crochet ’em all! Pokemon amigurumi series. Be sure to catch them all!
My Pokemon Amigurumi Collection
And here’s a look at many of the other Pokemon Amigurumi projects I’ve made! I’ve designed quite a few chibi Pokemon amigurumi to fit inside their Pokeball home along with some other larger sized Pokemon.
I’m in the process of writing up more Pokemon patterns, so be sure to subscribe to my blog to catch all my pattern updates!
If you like Eevee, you may also enjoy my other free Pokemon crochet patterns:
1. Psyduck Amigurumi Pattern / 2. Pikachu and Pokeball Crochet Pattern
Eevee Crochet Tutorial Video
See Eevee Amigurumi in action and crochet along with me.
Disclosure: This post contains affiliate links. This means I may receive a small commission if you decide to purchase anything by clicking on one of these links.
Eevee Amigurumi Crochet Pattern
SIZE: Approximately 6 in/15 cm tall
HOOK SIZE: 5.0mm
YARN:
Red Heart Super Saver – Warm Brown
Bernat Pipsqueak – Whitey White
NOTIONS:
Polyfill Stuffing
Black Felt
Scissors
Stitch Marker
Fabri-tac Glue
EAR
Round 1: 5 sc into magic ring.
Round 2-3: Sc in each st around – 5 sc.
Round 4: 2 sc in next st, sc in next 4 st – 6 sc.
Round 5: [2 sc in next st, sc in next 2 st] around – 8 sc.
Round 6-8: Sc in each st around – 8 sc.
Fasten off, leaving a long tail.
Pinch ends closed on top of one another and sew closed.
You should now have tapered ends on top of ear and bottom of ear (like a leaf).
Cut a small leaf shape from black felt.
Glue to middle of ear.
HEAD
Round 1: 6 sc into magic ring.
Round 2: 2 sc in each st around – 12 sc.
Round 3: [2 sc in next st, sc in next st] around – 18 sc.
Round 4: [2 sc in next st, sc in next 8 st] around – 20 sc.
Round 5-6: Sc in each st around – 20 sc.
Round 7: [Sc2tog, sc in next 8 st] around – 18 sc.
Round 8: [Sc2tog, sc in next st] around – 12 sc.
Round 9: [Sc2tog, sc in next st] around – 8 sc.
Round 10: With fluffy white yarn, in front loop only, 2 sc in each st around – 16 sc.
Sl st to join to first st and fasten off. Cut also the warm brown yarn, leaving a long tail. You will use this yarn tail to sew onto BODY.
FRONT LEG PAIR
Round 1: 6 sc into magic ring.
Round 2-4: Sc in each st around.
Fasten off. You have just created Front Leg A.
Repeat Rounds 1-4 once more to create Front Leg B.
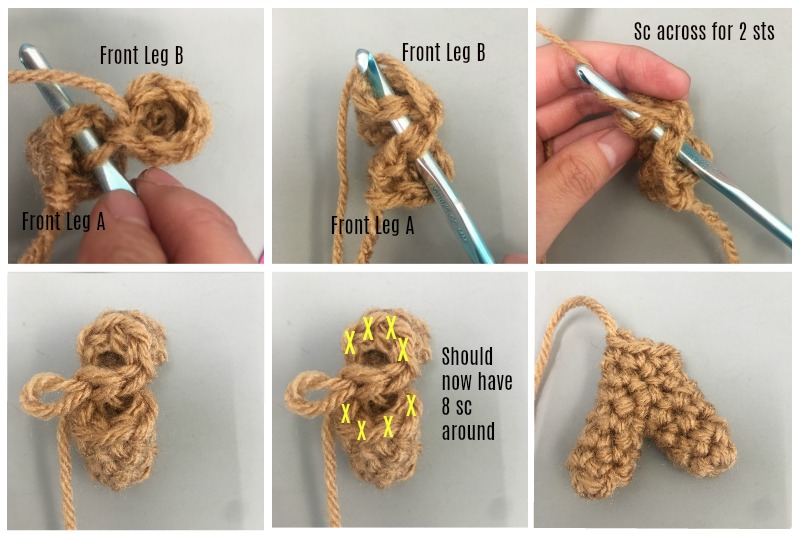
Do not fasten off! Join Front Leg A and Front Leg B together across 2 stitches by using sc. See photo tutorial below. You can also watch the video tutorial.
Round 5-6: Sc in each st around – 8 sc. [Note: See last photo from Front Leg Pair Photo Tutorial]
Round 7: Sc in next 2 st, fasten off.
BODY [Make sure you’ve created the Front Leg Pair first]
Round 1: 6 sc into magic ring.
Round 2: 2 sc in each st around – 12 sc.
Round 3: [2 sc in next st, sc in next st] around – 18 sc.
Round 4: Sc in each st around – 18 sc.
Round 5: [Sc2tog, sc in next st] 3 times, sc in next 9 st – 15 sc.
Round 6: [Sc2tog, sc in next st] 2 times, sc in next 9 st – 13 sc.
Round 7: Sc2tog 2 times, sc in next 9 st – 11 sc.
Round 8: Sc2tog, sc in next 9 st – 10 sc.
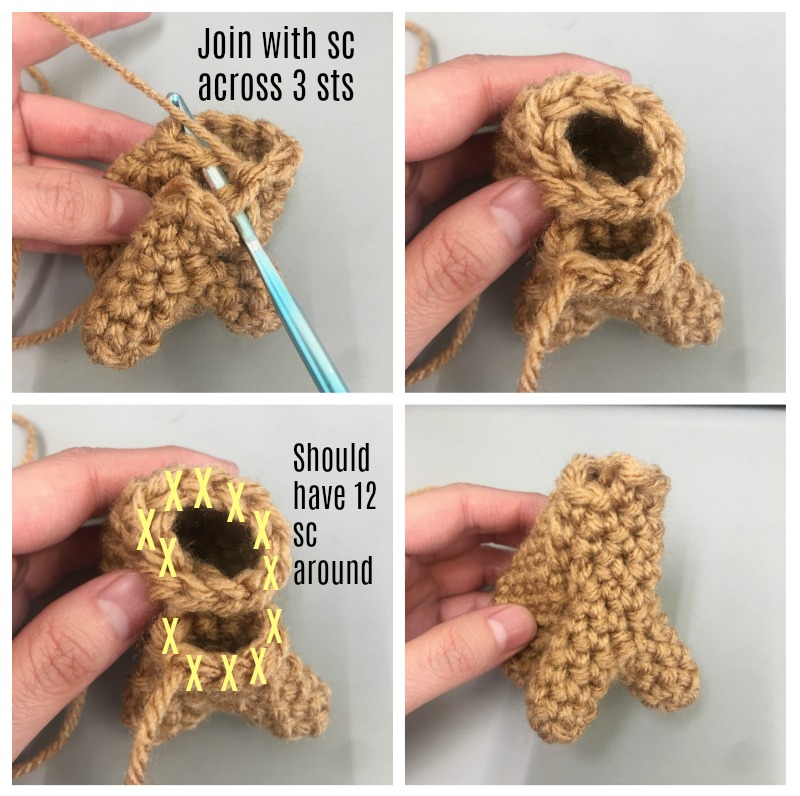
Attach BODY to FRONT LEG PAIR by joining across 3 sts. It is the same method as joining the front legs together. Place the parts side by side. (You can also watch the video tutorial for it)
There should now be 28 sts around the BODY and FRONT LEG PAIR, not counting the joined stitches (see last photo). You will continue to work in the round of the BODY and FRONT LEG PAIR.
Round 9: Sc in each st around – 12 sc.
Round 10: [Sc2tog, sc in next 4 st] around – 10 sc.
Round 11: [Sc2tog, sc in next 3 st] around – 8 sc.
Round 12: Sc in each st around – 8 sc.
Fasten off.
HIND LEGS (make 2)
Round 1: 5 sc into magic ring.
Round 2-4: Sc in each st around – 5 sc.
Fasten off, leaving a long tail.
You do not need to stuff.
TAIL
Round 1: With fluffy white yarn, Ch 2, 4 sc into first ch – 4 sc.
Round 2: [2 sc in next st, sc in next st] around – 6 sc.
Round 3: With warm brown yarn, [2 sc in next st, sc in next 2 st] around – 8 sc.
Round 4: [2 sc in next st, sc in next 3 st] around – 10 sc.
Round 5: Sc in each st around.
Round 6: Sc2tog 2 times, sc in next 6 st – 8 sc.
Round 7: Sc in each st around.
Round 8: Sc2tog 2 times, sc in next 4 st – 6 sc.
Round 9: [Sc2tog, sc in next st] around – 4 sc.
Fasten off, leaving a long tail.
ASSEMBLY
1. Stuff the Head and Body.
2. Sew Head onto Body.
3. Sew Hind Legs to Back Bottom of Body.
4. Cut 2 small circles form black felt and glue on with Fabri-tac to the head for the eyes.
5. Sew on Tail to Back of Body.
6. Sew on Ears to Head.
7. Hide and cut all ends.
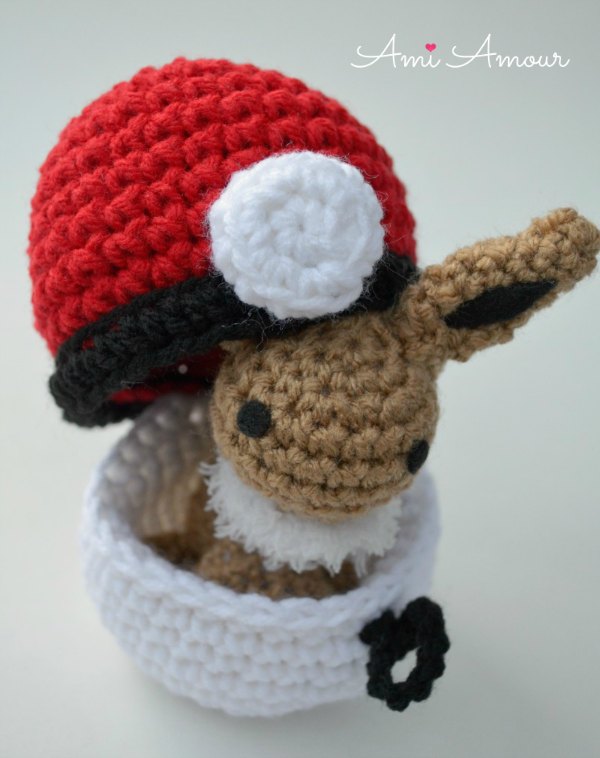
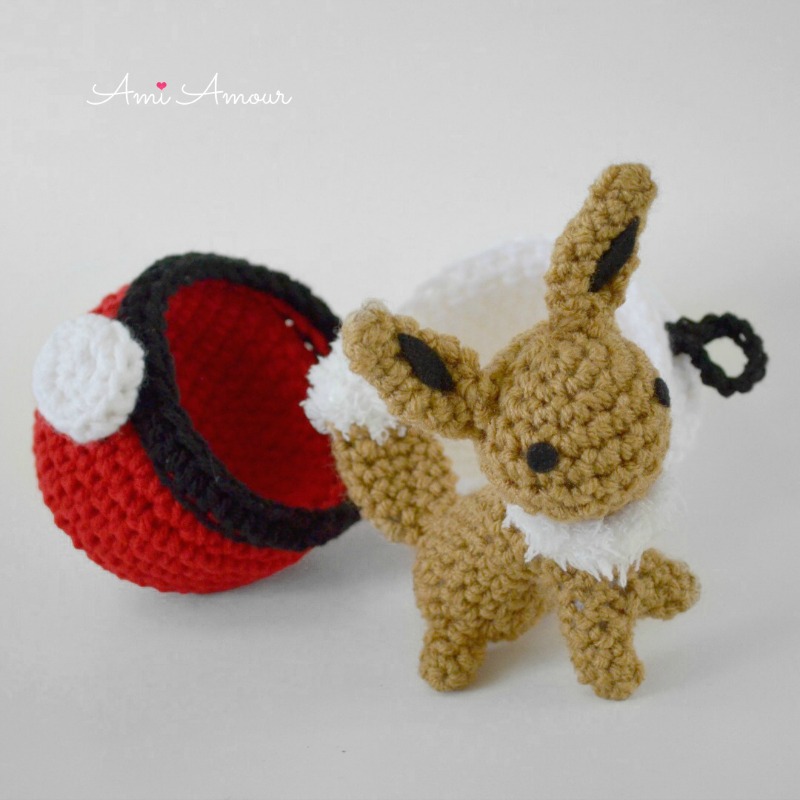
8. Make a Pokeball Pod for your Eevee so it has a nice home to rest in.
9. Tag me with your project on Instagram @ami_amour. I’d love to see!


10 Comments
Sabrina
April 22, 2019 at 8:09 pmSo so cute! You’ve made this very easy to follow as well. Thank you I’m going to make I new right away!
Ami Amour
April 22, 2019 at 9:04 pmHappy crocheting! Love to see how it comes out!
Ramya
May 8, 2019 at 9:48 amThank you so much for sharing…. I love to do all your creations!!
Ami Amour
May 8, 2019 at 9:59 amThank you for your lovely words. That makes me happy to hear!
Christi
April 19, 2020 at 8:36 amThank you so much for the Evee pattern!
I have already made Pikachu and a pokeball. And three Eggy’s!
Love that your patterns are simple and easy to follow.
I have a question before I start this…is there a variation if I don’t have the fuzzy white?
With things like they are right now, having to stay home, we can’t just run to the store to grab some.
Thank you for your time!!!
Ami Amour
April 19, 2020 at 8:24 pmIf you have any eyelash yarn of fun fur, you can try using that as well. Or if you have any wool yarn, you can use that and try brushing out the mane to make it become fuzzy. Or if you have felting wool you can needle felt it in as well. Just experiment I would say!
Christi
April 20, 2020 at 10:14 amI will try the brushing technique. Thanks!
Tahntahn
May 17, 2020 at 12:30 pmThank you so much for the pattern! I am making Pokemon for my nieces and nephews for Christmas (getting a head start) They LOVE Pokemon!
Ami Amour
May 21, 2020 at 4:00 pmYay for head starts! Your nieces and nephews are so lucky to have such a prepared auntie! Happy Crocheting and Gotta Crochet ’em all!
Mary Whitten
May 2, 2023 at 10:58 pmI am allergic to wool. So, I am going to use some white fur material I have from a Christmas Skirt I plan to make Thank you for the pattern. My grandson is a Pokemon fan.