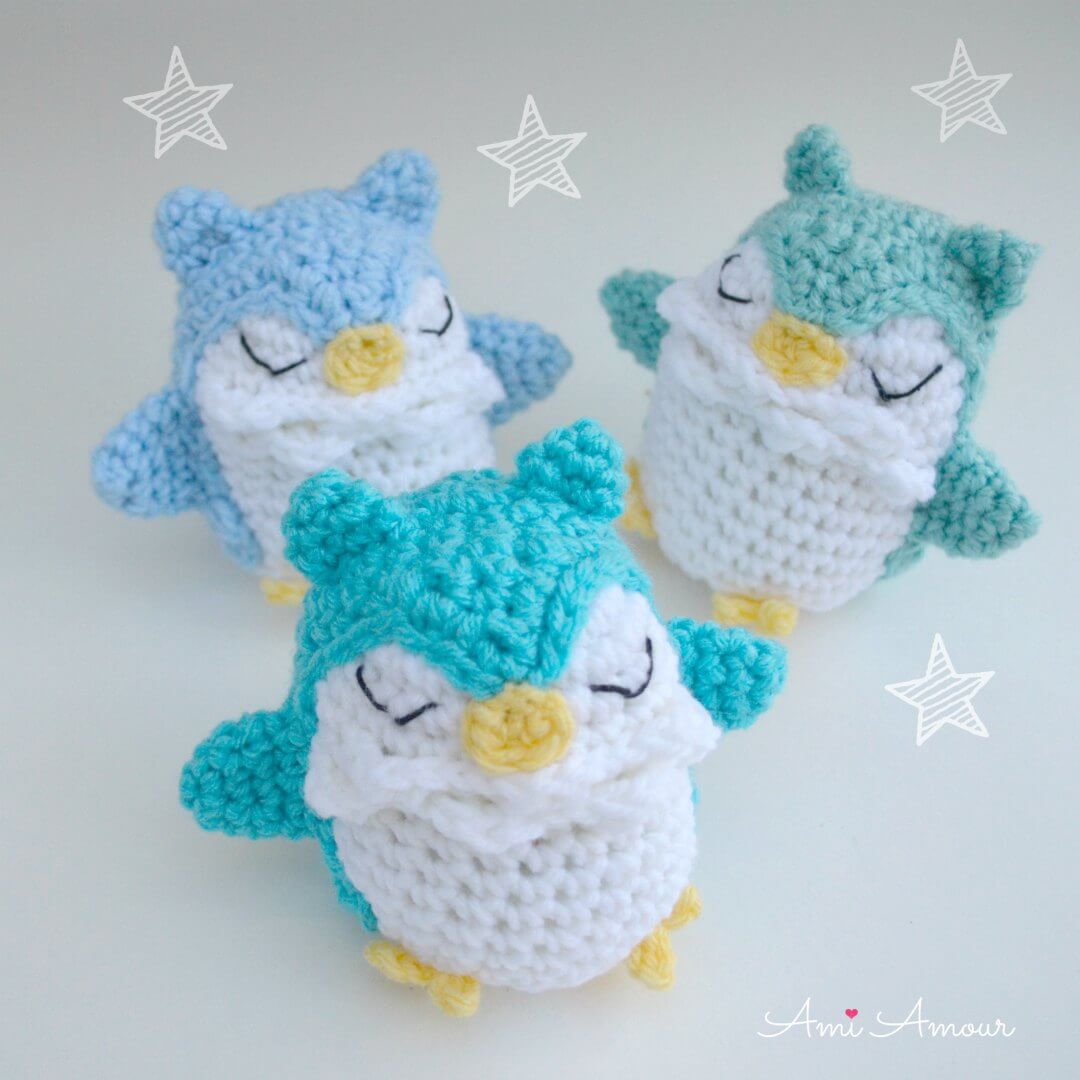
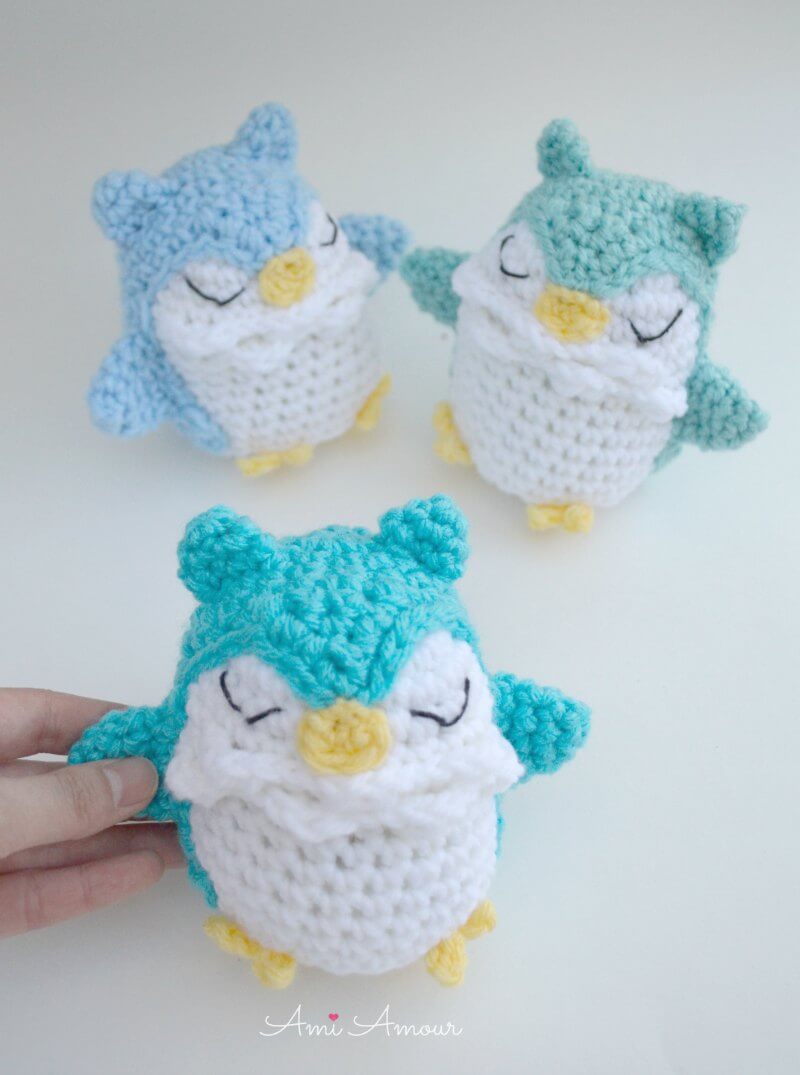
Owl are you? Here’s a sweet Owl Amigurumi pattern I wrote up of these wise creatures.
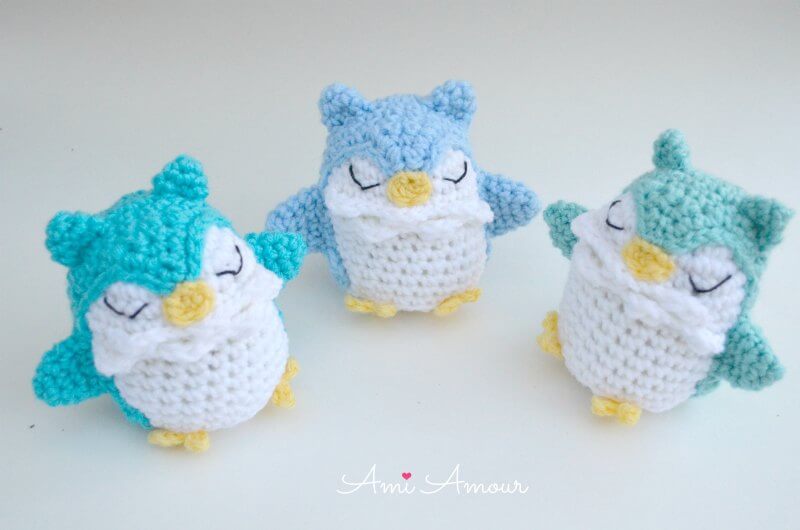
I made these crochet owls in an ombre (or should I say owlmbre? :P) of my favorite color, blue. I call them “Owls in Dreamland” because of their sleepy eyes. But they’re more in a meditative and contemplative state of mind!
Owls in many societies are known to be a symbol for “knowledge, wisdom, and good judgement.”

This Owl Amigurumi features include a ruffly tuft of feathers poking out from its chest area. The body is made first, and then the contrasting mask is created and sewn over the body.
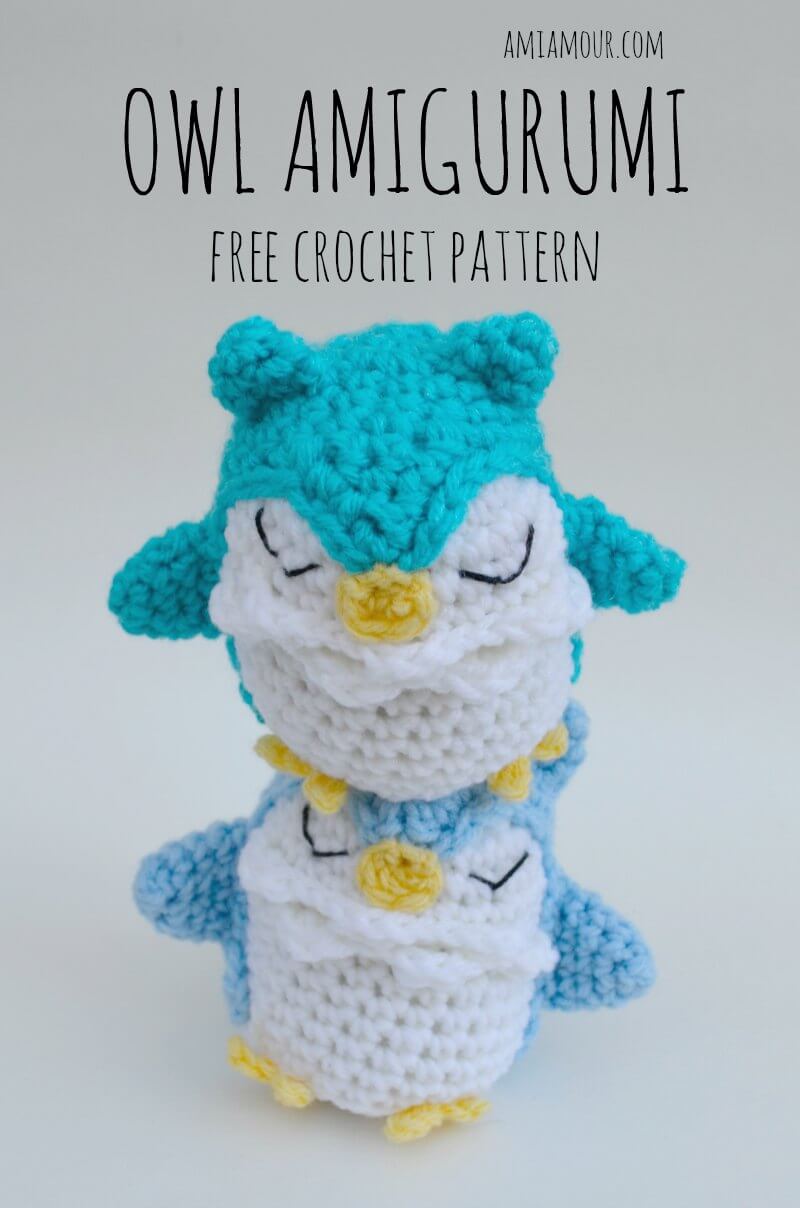
Here they are stacked up on top of each other. They make an Owl Totem Pole!
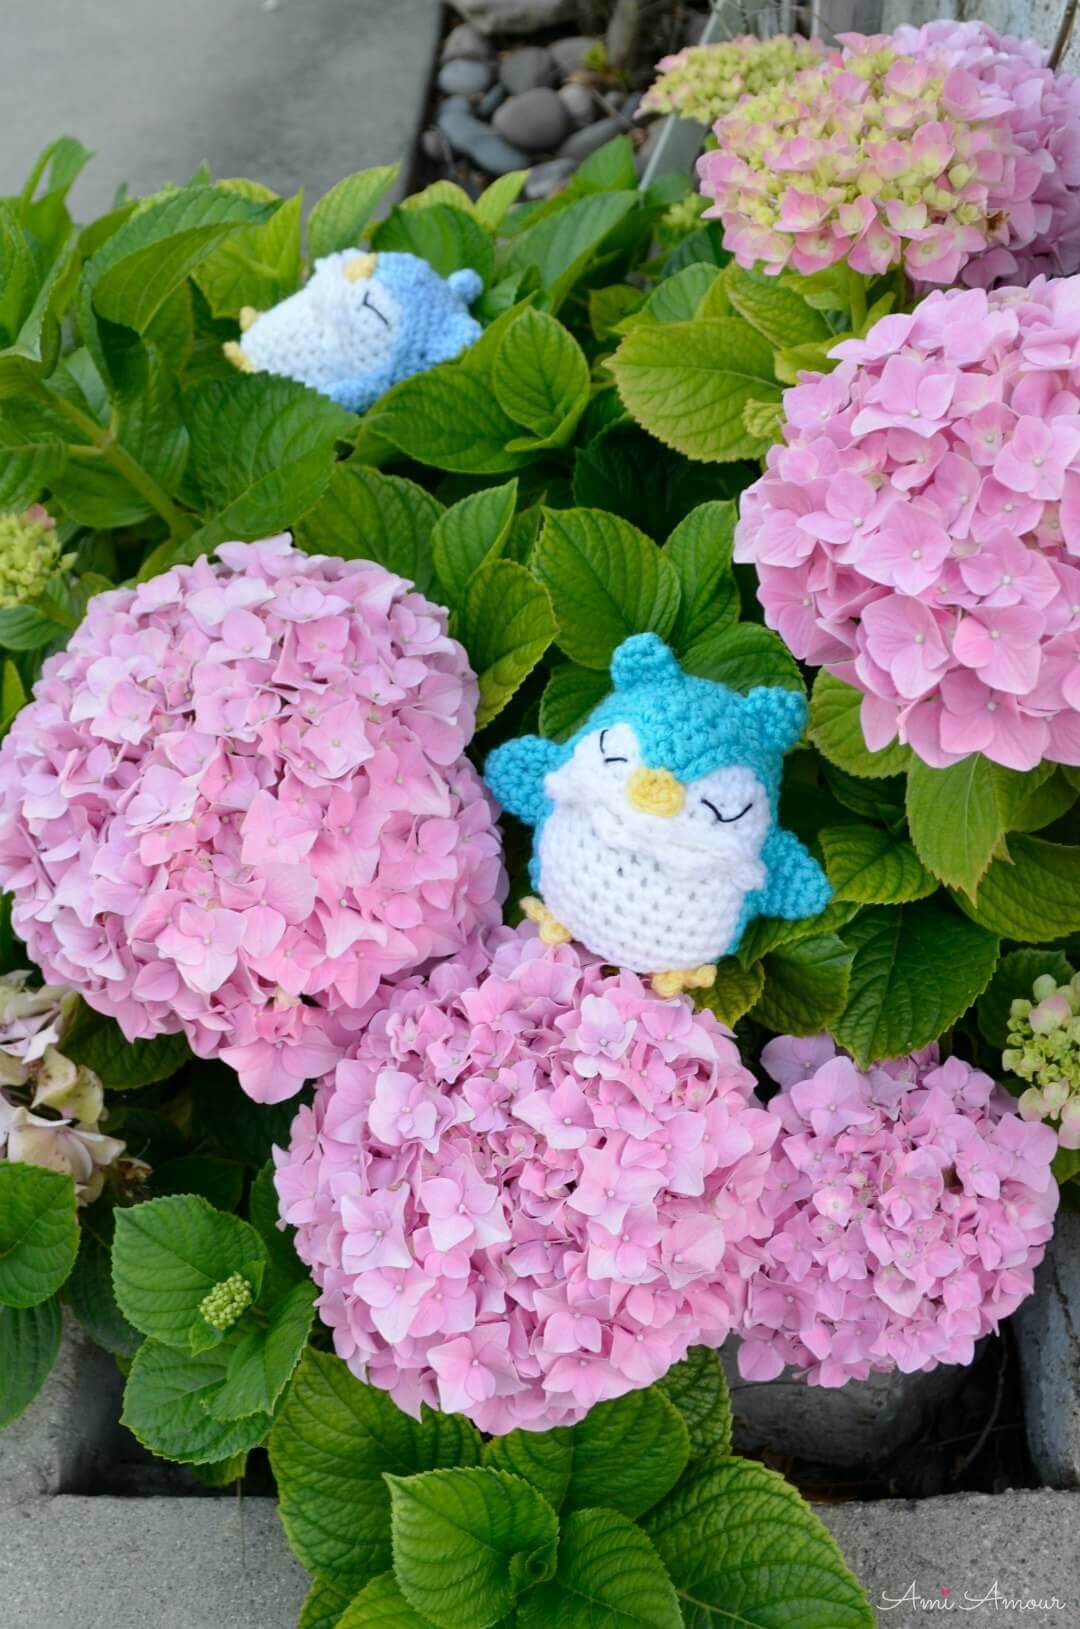
And look! These Dreamland Crochet Owls found a lovely cloud of pink fluffy hydrangeas to rest and dream upon. (I liked how this photo came out so much, it’s currently my new phone wallpaper! :D)
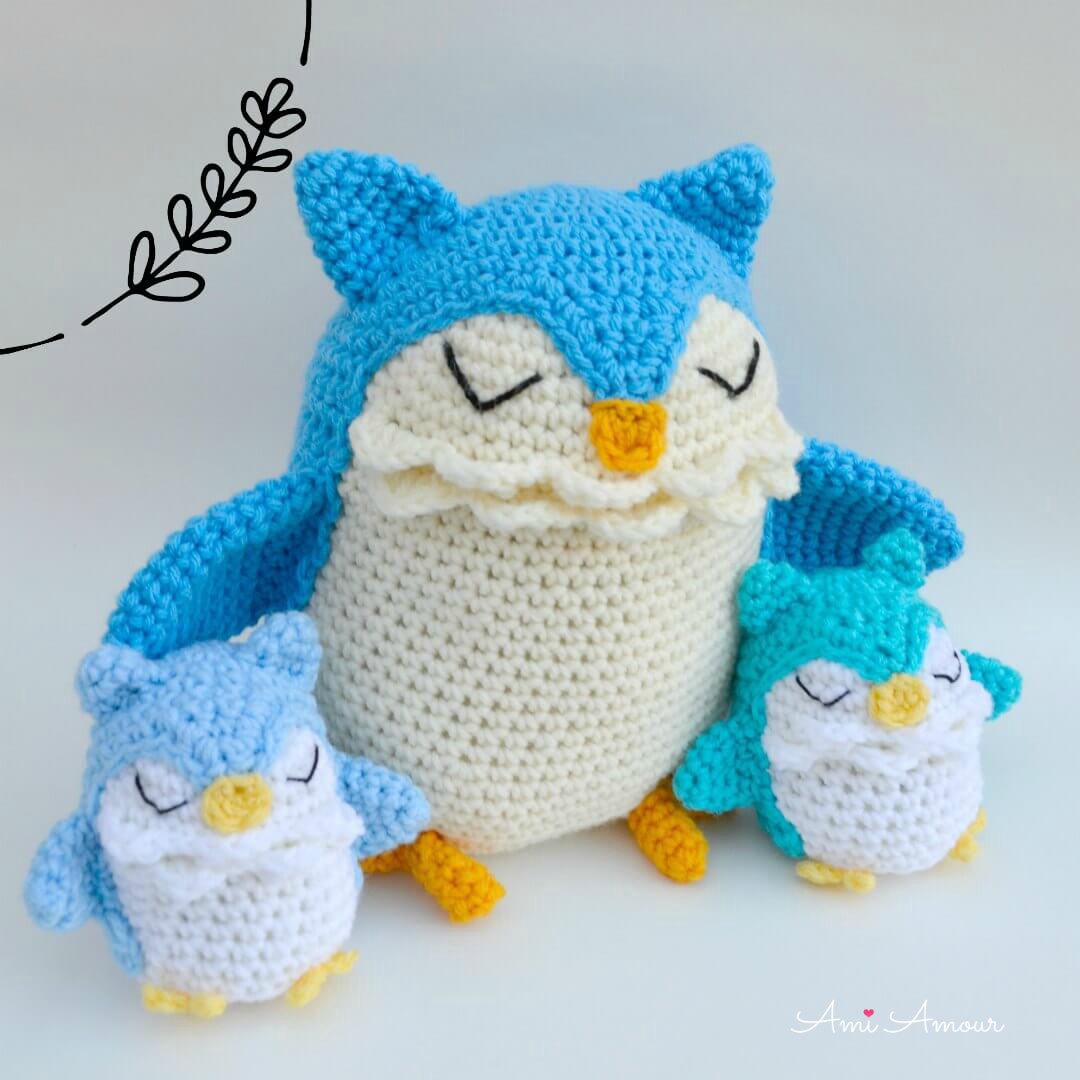
Originally I had actually made a larger Owl amigurumi pattern, but then I came out with these mini guys because I wanted them to be more streamlined with my other bird amigurumis such as my Eggy Chick pattern and my Duck Amigurumi “Fair is Fowl” pattern. They look great as a collection and complement one another! (I need to take a photo of all of them together at one point.)
What a happy crochet Owl Family!
I hope you’ll enjoy these wise avians and I’d love to see how your projects turn out: Tag me with your projects on Instagram @ami_amour or Facebook!
Also be sure to subscribe to my blog, so you don’t miss any of my patterns!
If you enjoyed this little owl, be sure to check out my other free crochet patterns:
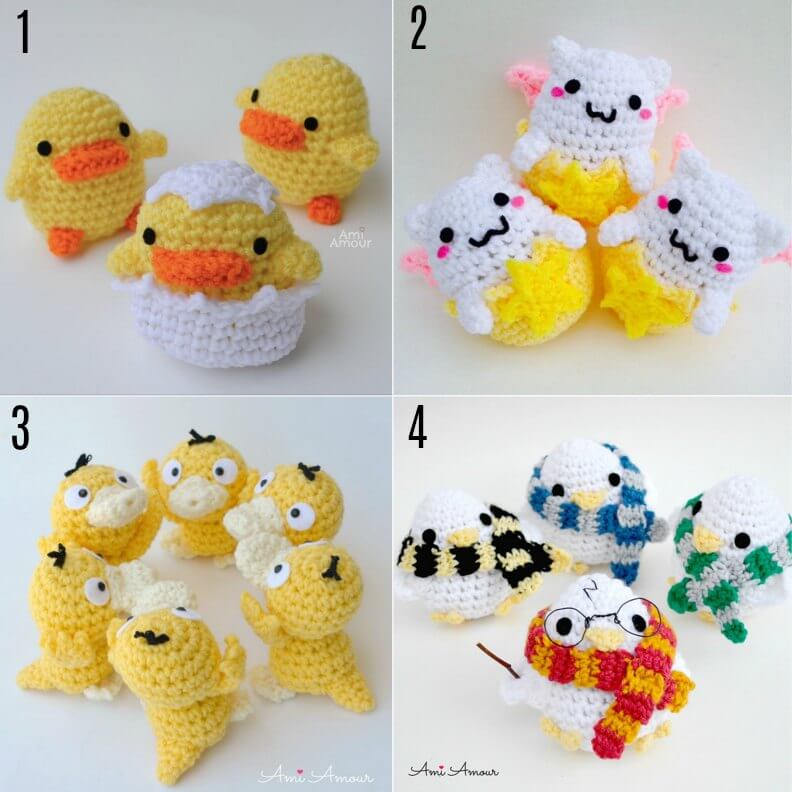
1. Duck Amigurumi // 2. Tamadra Amigurumi // 3. Psyduck Amigurumi // 4. Wizarding Chick
Owl Crochet Video Tutorial
Come see the owls in action and crochet along with me!
*Disclosure: This post contains affiliate links. This means I may receive a small commission if you decide to purchase anything by clicking on one of these links.
Owl Amigurumi – Free Crochet Pattern
LEVEL: Easy Intermediate
CROCHET HOOK: 5.0mm hook
YARN:
Red Heart Super Saver (worsted weight acrylic yarn )
– White
– Light Blue (or any other contrasting color)
– lemon
Aunt Lydia’s crochet cotton thread – size 3 (black)
You just need a tiny amount to embroider the eyes.
NOTIONS:
– Polyester Fiberfill
– Stitch Marker
– Scissors
ABBREVIATIONS: (American English crochet)
ch – chain
hdc – half double crochet
sc – single crochet
sl st – slip stitch
sc2tog – single crochet 2 together (sc dec)
st – stitch
APPROXIMATE SIZE: 4 in/10cm tall
BODY
With white yarn
Round 1: 6 sc into magic ring.
Round 2: 2 sc in each st around – 12 sc.
Round 3: [2 sc in next st, sc in next st] around – 18 sc.
Round 4: [2 sc in next st, sc in next 2 st] around – 24 sc.
Round 5-7: Sc in each st around – 24 sc.
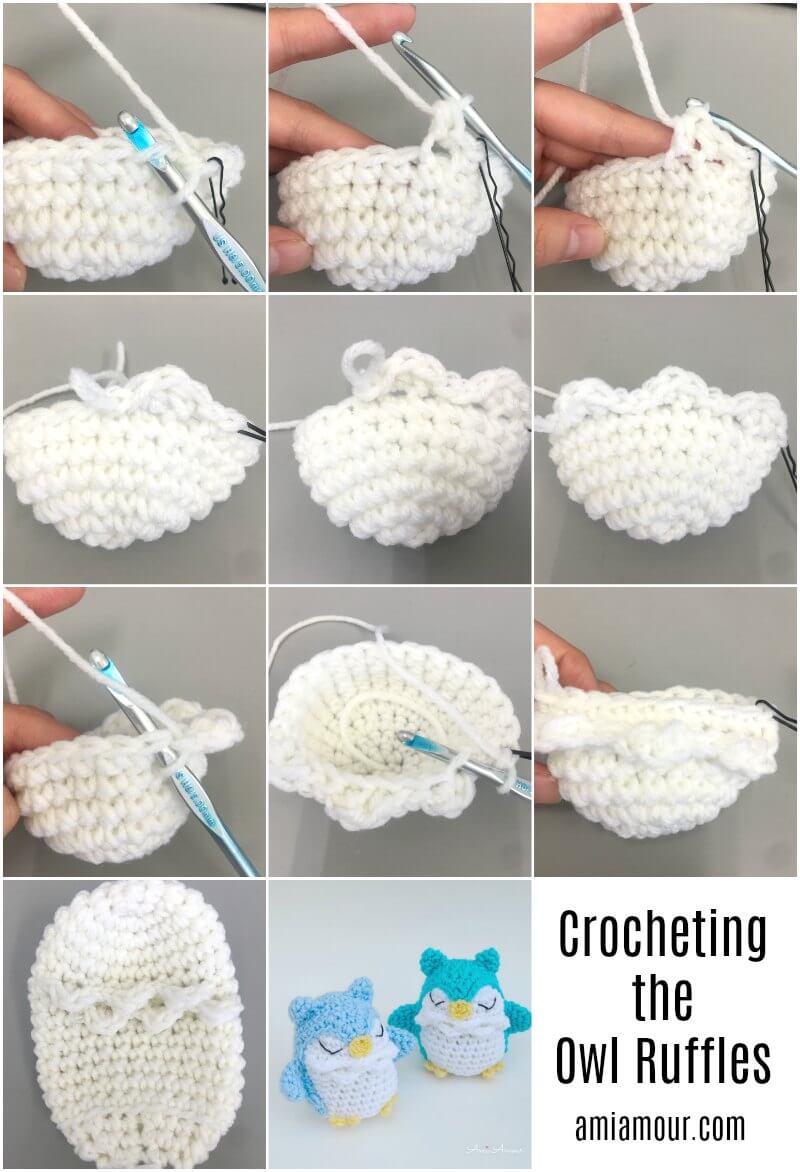
Round 8: In front loop only, [(sl st, hdc) in next st, (hdc, sl st) in next st, sl st in next st] 3 times. Through both loops, sc in next 15 sc. (Note: You should have 3 ruffles. See photos below for reference. You can also check out my video tutorial.)
Round 9: Sc in next 24 st. (Note: the first 9 sts will be through the back loop, and the rest of the 15 sts will be through both loops).
Sc in next 2 st only. (Move stitch marker to last stitch made. This will mark the end of the round now)
Round 10: In front loop only, [(sl st, hdc) in next st, (hdc, sl st) in next st, sl st in next st] 3 times. Through both loops, sc in next 15 st.
Round 11: Sc in next 24 st. (Note: the first 9 sts will be through the back loop, and the rest of the 15 sts will be through both loops).
Round 12-16: Sc in each st around – 24 sc.
Sc in next 12 st only. Move stitch marker to last st made. This will now mark the end of the round.
Round 17: In back loop only, [Sc2tog, sc in next 2 st] around – 18 sc.
Round 18: [Sc2tog, sc in next st] around – 12 sc.
Round 19: Sc2tog all around – 6 sc.
Fasten off, leaving a long tail. Stuff and sew closed.
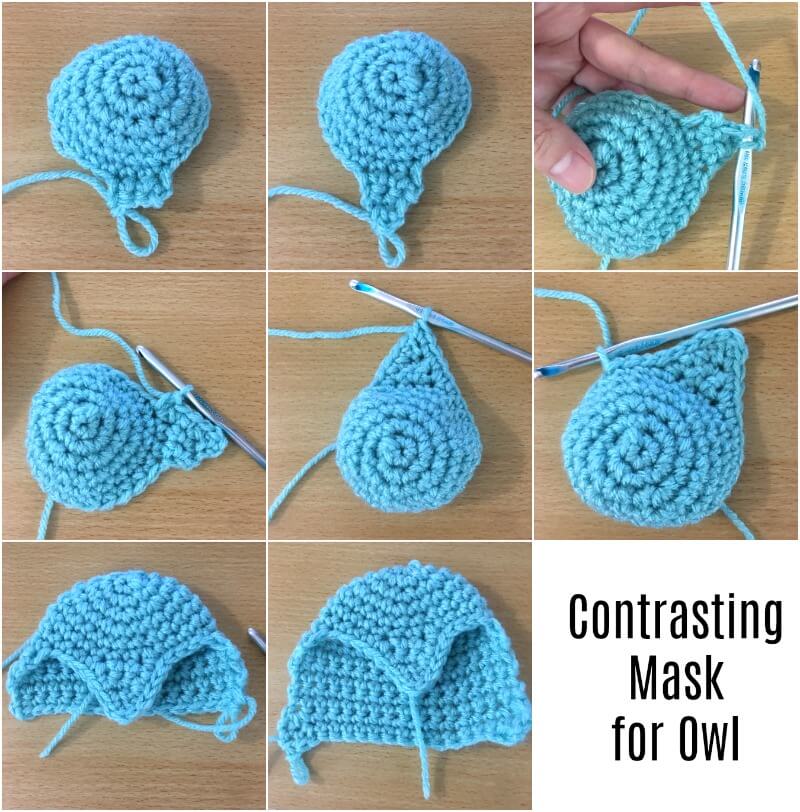
CONTRASTING MASK
With contrasting color (in the photos I chose shades of blue, but you can choose whatever color you like!)
Round 1: 6 sc in magic ring.
Round 2: 2 sc in each st around – 12 sc.
Round 3: [2 sc in next st, sc in next st] around – 18 sc.
Round 4: [2 sc in next st, sc in next 2 st] around – 24 sc.
Round 5-6: Sc in each st around.
We will now begin working in rows
Row 7: Ch 1, turn, sc in next 3 st – 3 sc.
Row 8: Ch 1, turn, skip first st, sc in next 2 st – 2 sc.
Row 9: Ch 1, turn, skip first st, sc in next st – 1 sc.
Round 10: Ch 1, turn, continue to do a sc border around the entire shape.
Once back at the tip of the V, continue to slip stitch up the side. Sl st in next 3 st.
Row 11: Sc in next 16 st – 16 sc.
Row 12-17: Ch 1, turn, sc in next 16 st – 16 sc.
Row 18: Ch 2, turn, 2 hdc in next st, sc in next 14 st, 2 hdc in last st – 18 st.
Row 19: Ch 2, turn, hdc in next 2 st, sc in next 14 st, hdc in next 2 st – 18 st.
Fasten off, leaving a super long tail.
EAR (make 2)
With contrasting color
Round 1: 4 sc into magic ring.
Round 2: 2 sc in each st around – 8 sc.
Round 3: Sc in each st around – 8 sc.
Fasten off, leaving a long tail. Do not stuff.
ARM (make 2)
With contrasting color
Round 1: 4 sc into magic ring.
Round 2: 2 sc in each st around – 8 sc.
Round 3: Sc in each st around – 8 sc.
Round 4: [2 sc in next st, sc in next 3 st] around – 10 sc.
Round 5: Sc in each st around – 10 sc.
Fasten off, leaving a long tail. Do not stuff.
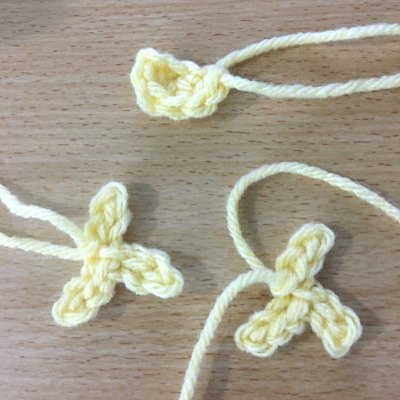
FEET (make 2)
Ch 4, sl st back 3 st, ch 3, sl st back 3 st, ch 3, sl st back 3 st.
BEAK
With yellow yarn
Ch 4, sc in 2nd ch from hook, 2 hdc in next st, (sc, sl st) in last st – 5 st.
AMIGURUMI OWL ASSEMBLY
You can also check out my video tutorial to see how I put together the Owl
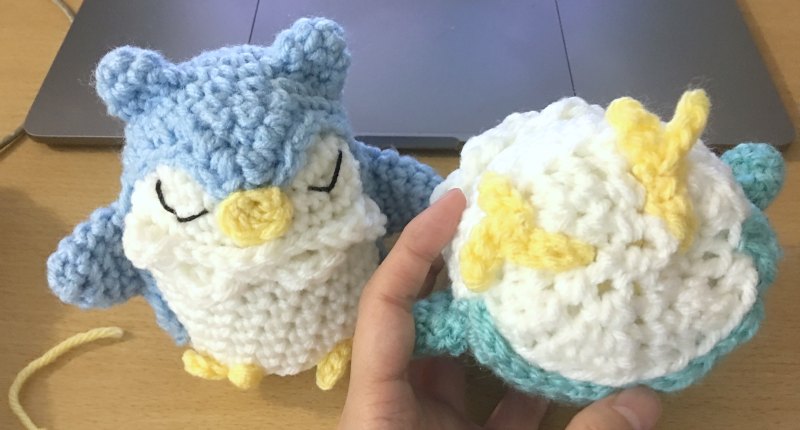
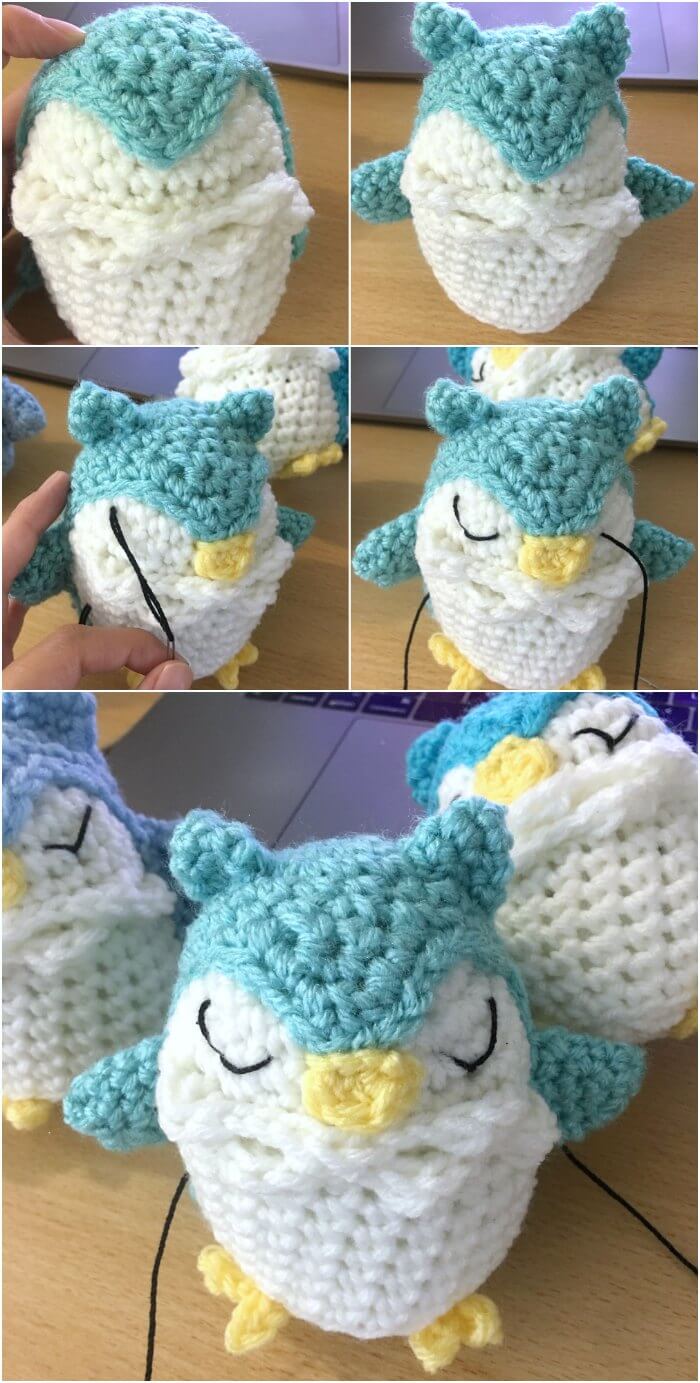
1. Sew Mask onto Body. The V point of the mask should be 2 Rounds up from Ruffles of Body.
2. Sew Beak onto Face. It will slightly overlap on top of the Mask.
3. Sew Wings onto Body. Placement: It should be about 1 Round below the line of where the Ruffles are placed and placed evenly against the edge of the contrasting mask.
4. Sew Ears onto Head.
5. Sew Feet to Bottom. 2 Talons will stick out and the last stem will be used to sew onto bottom of Owl.
5. With Crochet Thread Size 3 in black, embroidery sleepy eyes onto the Face.
6. Cut and hide all ends.
7. Make sure you tag me with your project on my Instagram @ami_amour. I’d love to see!


4 Comments
Pauline
June 16, 2020 at 9:45 amThey are so beautiful, did you make the big one with the same pattern with bigger yarn or is there a pattern?
Thank you for your free patterns
Ami Amour
June 16, 2020 at 10:31 amThank you Pauline! I’m working on writing up the pattern for the larger Owl as well, but that one will probably be available as a premium pattern.
Pauline
June 16, 2020 at 1:39 pmI will gladly pay for the pattern. Thank you
Ami Amour
June 18, 2020 at 11:34 amThanks, Pauline. I’ll let you know when I write up the pattern! ^^