
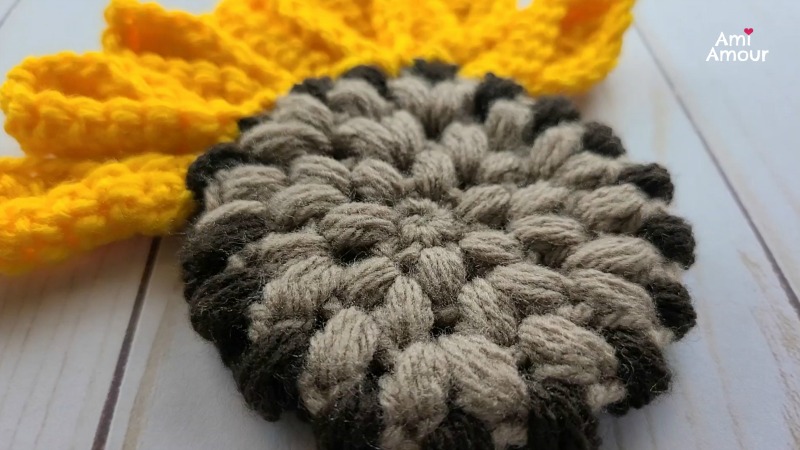
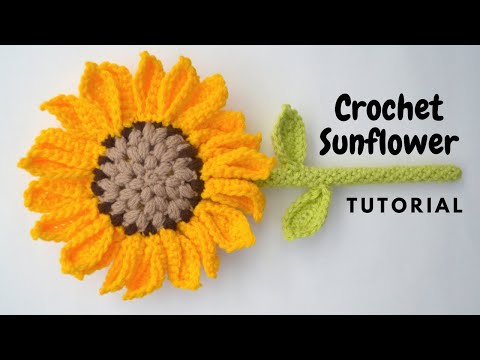
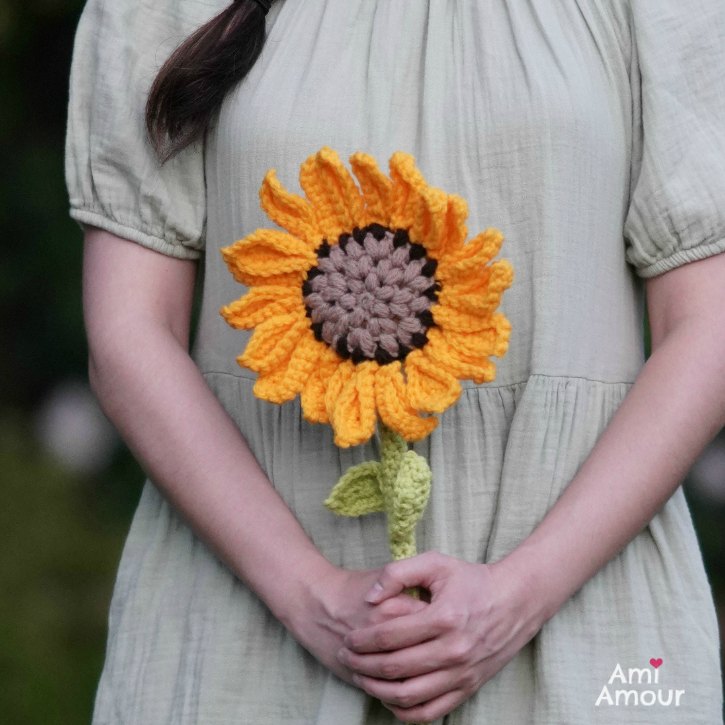
So I decided to make a cheerful Crochet Sunflower Wand and release it as a free crochet pattern! It’s made with Puff Stitches at the Center Head.
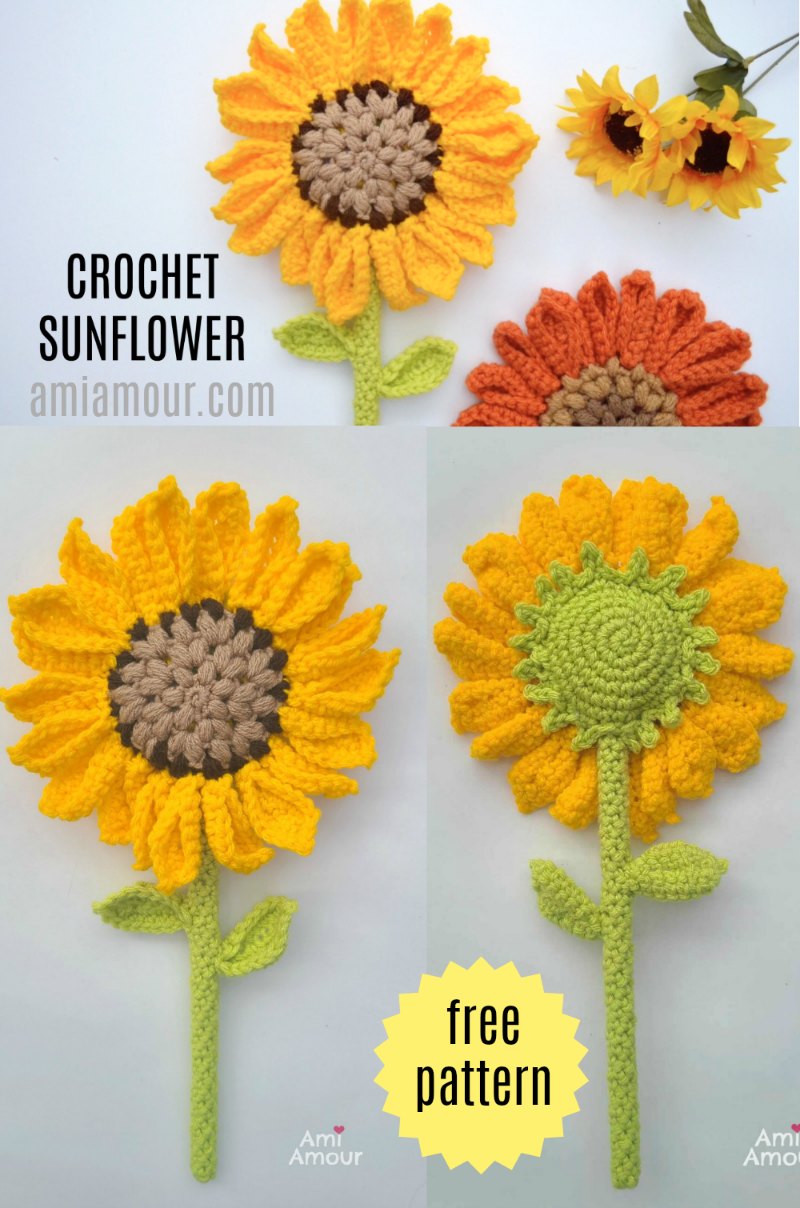
Here are 2 Sunflowers with different color combinations. One is like a golden sunny day and the other is a pretty autumn orange.
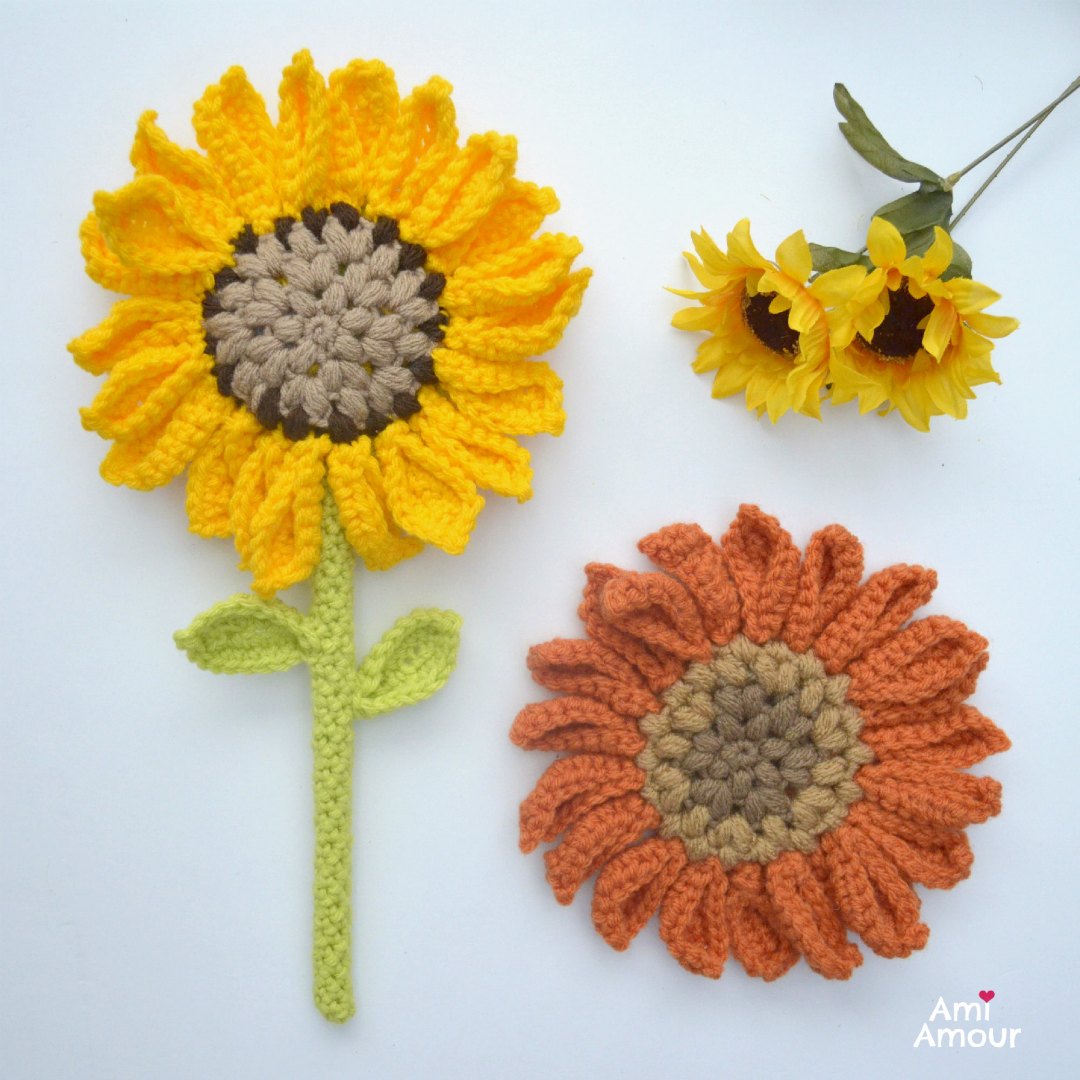
I really liked using this stitch for the crochet sunflower because the texture mimics the sunflower seeds very well.
And don’t worry if you haven’t used the Puff Stitch yet, I also created a video crochet tutorial for the sunflower, so you can easily follow along as well!
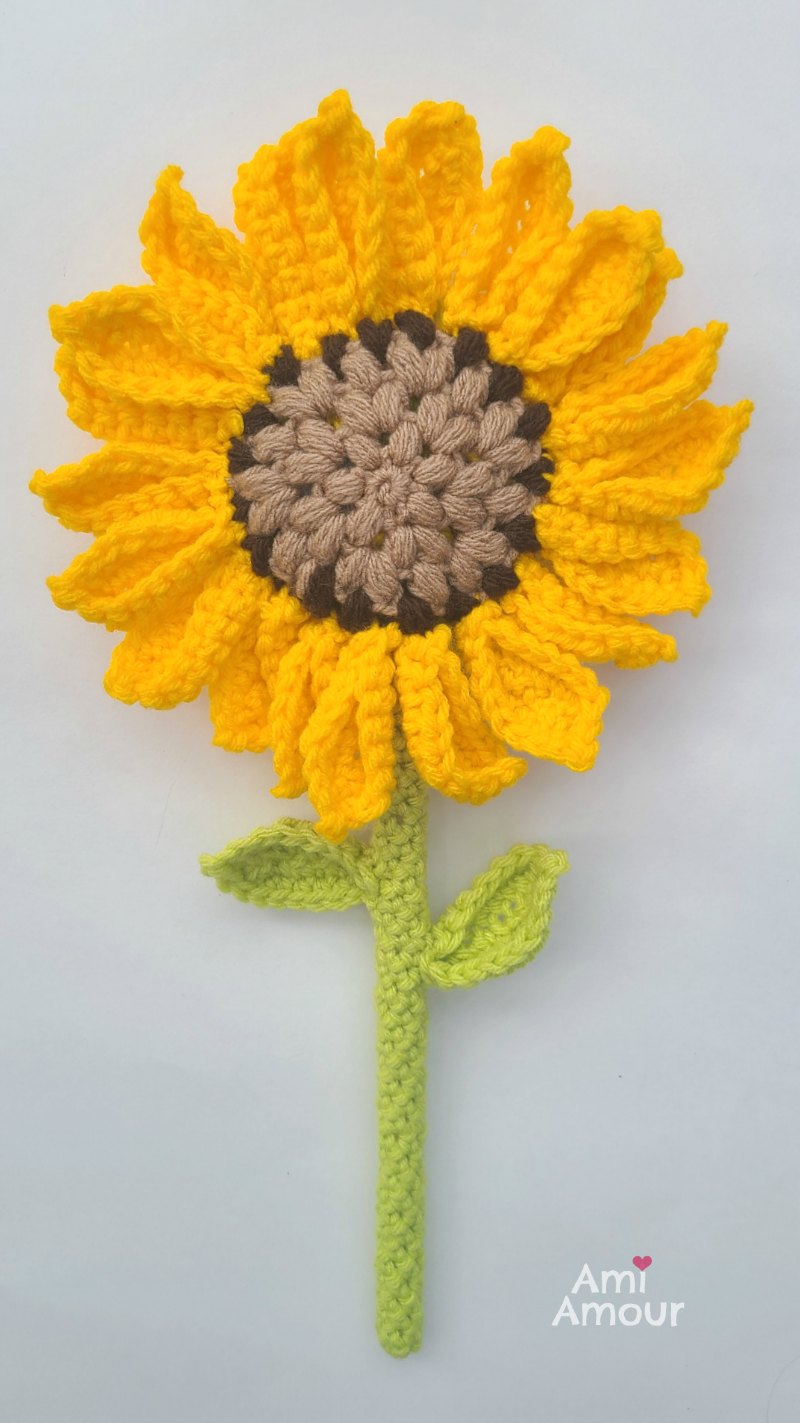
So really, this Sunflower Amigurumi Wand has about 5 parts to it. (Let’s go through the anatomy of a flower!). We have, of course, first the Sunflower Head with the Puff stitches.
I then created 21 Petals. But you can create more or less petals depending how full you want your Sunflower to look. 21 Petals sound like a lot, but the crochet goes by pretty fast because it’s only 2 rounds for each petal.
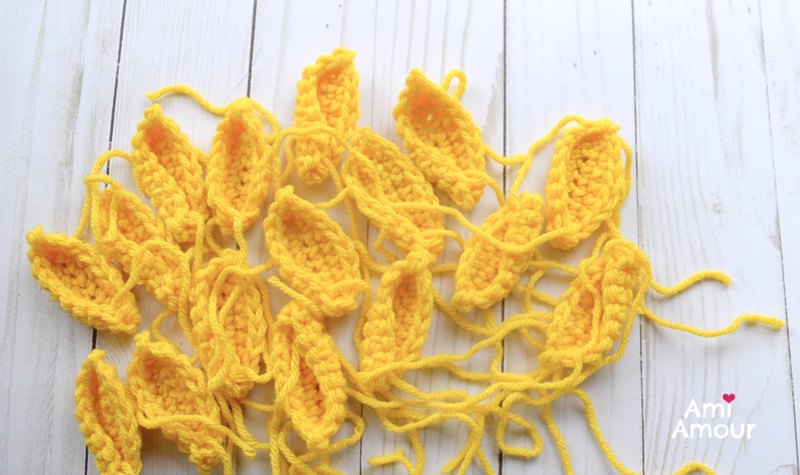
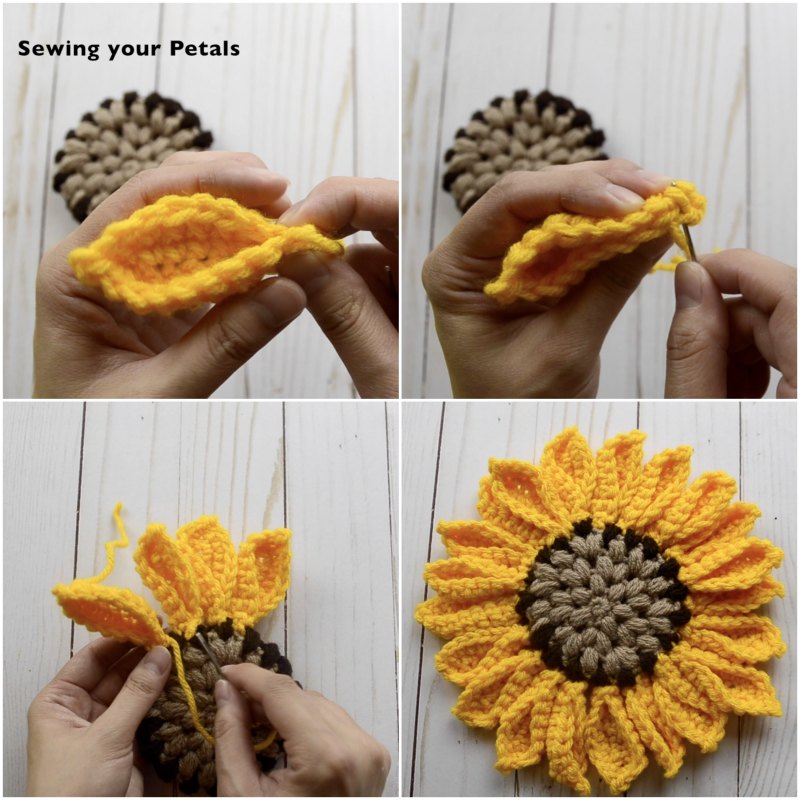
The more tedious part is when you have to sew all the petals to the Sunflower Head, but the end result is very much worth the effort! Also best of all you don’t need to weave in any of the ends. Thank goodness!
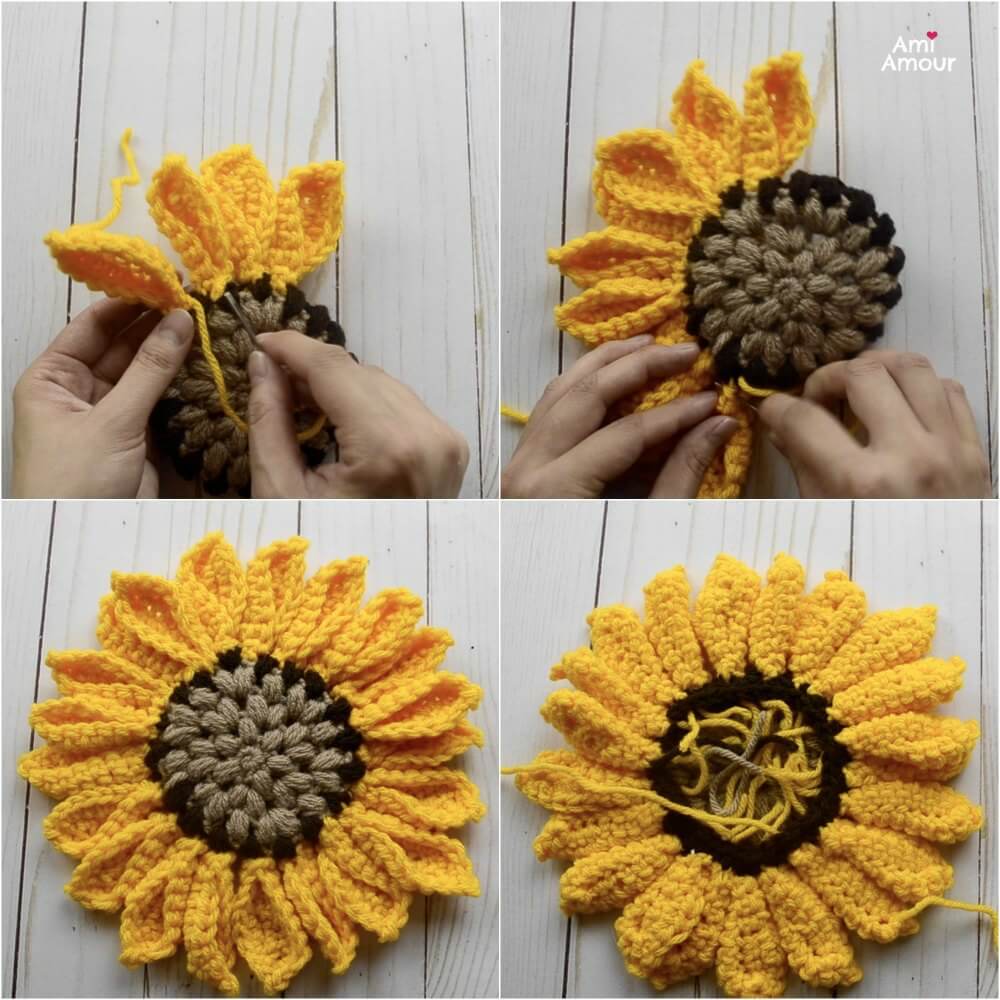
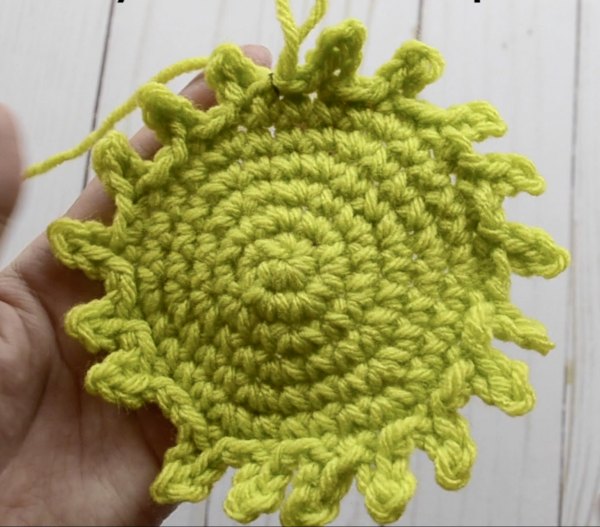
You can use the Receptacle (which is the back cover to the Sunflower Head) and just sew it right over all those yucky ends! Huzzuh!
The front of the crochet sunflower is really lovely to look at, but I think the back is equally impressive!
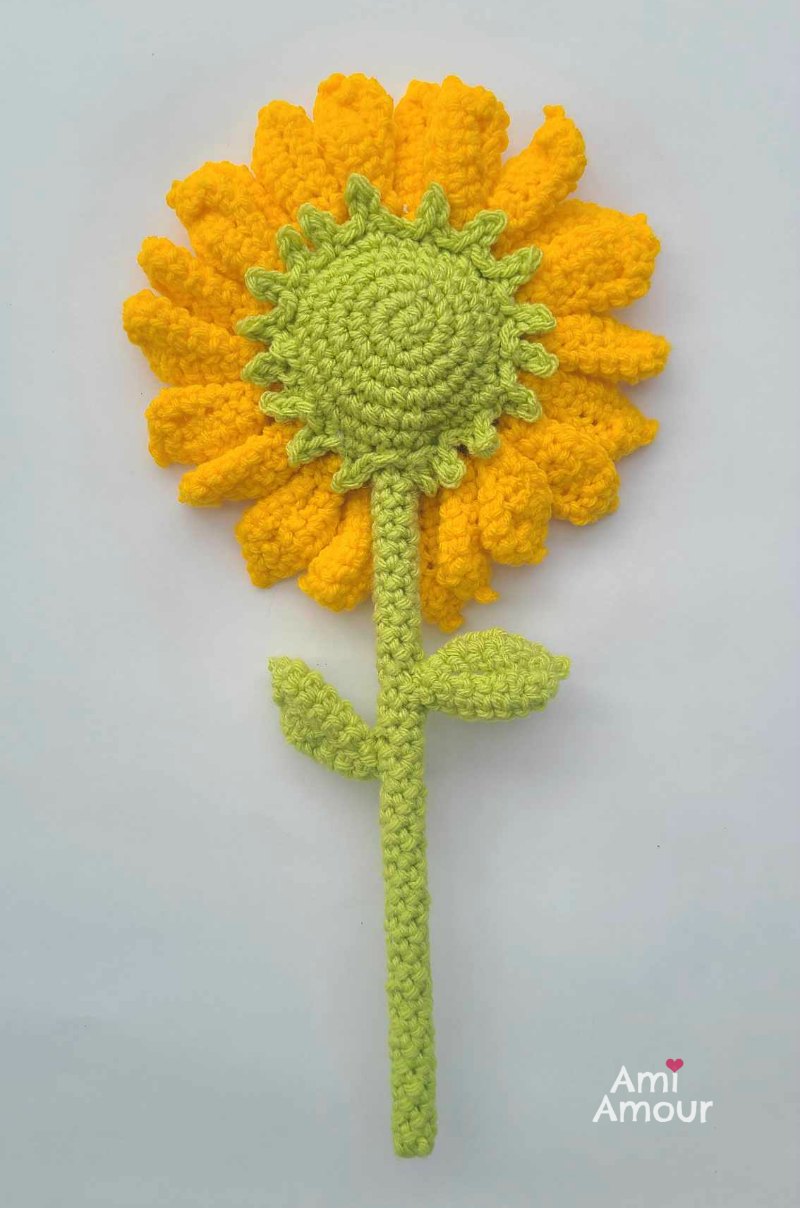
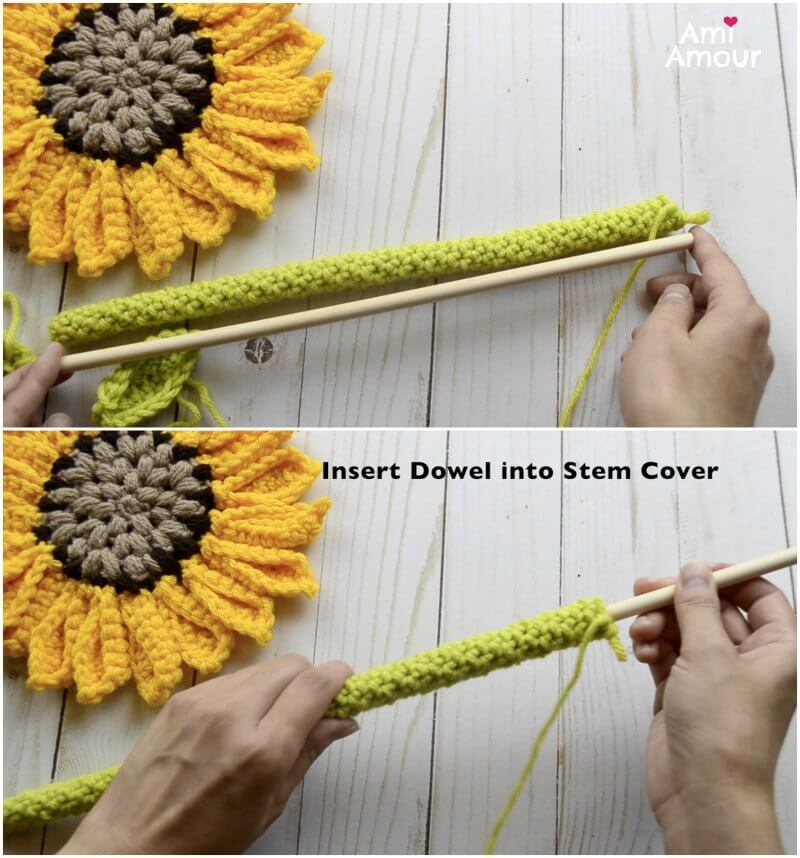
For the stem, I used a 12 inch wooden dowel with a diameter thickness of 5/16 inch. This works really well to give the sunflower its structure. I then, crocheted a stem cover/cozy for it. Also, the leaves are the same pattern as the petals!
So that’s my overview for the design of the sunflower and you can find the full written crochet pattern and tutorial below.
The Sunflower Amigurumi makes a great decorative piece for the summer or fall. It’s a fun play piece too! The pattern is pretty versatile, so you can also just create the Crochet Sunflower (without the stem) and use that as table centerpiece, or you can connect several sunflower heads together to create a beautiful seasonal banner.
Really, what you can do with them is up to you and your imagination and creativity! And I’d really love to see! So please do let me know how they turn out. Don’t forget to tag me with your projects on Instagram @ami_amour.
Let me know if there’s any other flowers you’d like to see me tackle next 🌻
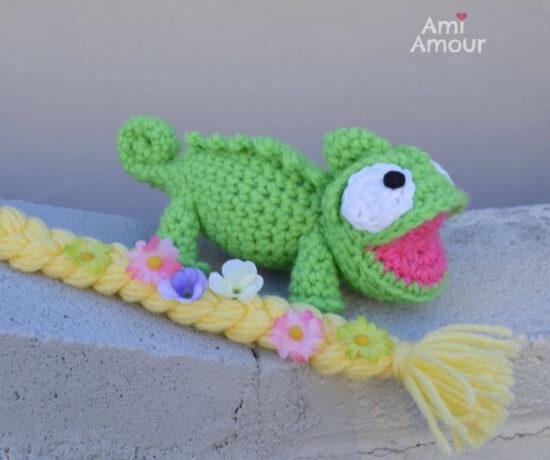
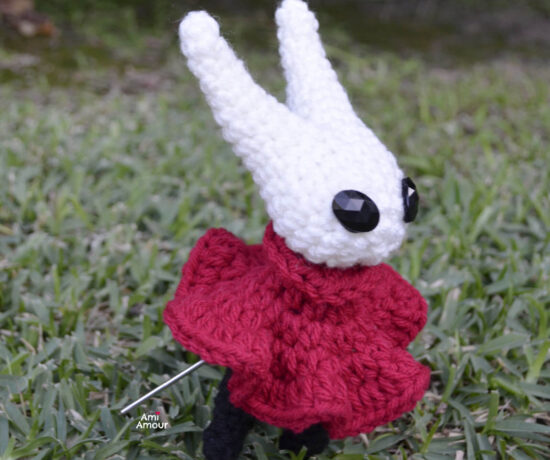
Here are some of my other free crochet patterns you may enjoy!
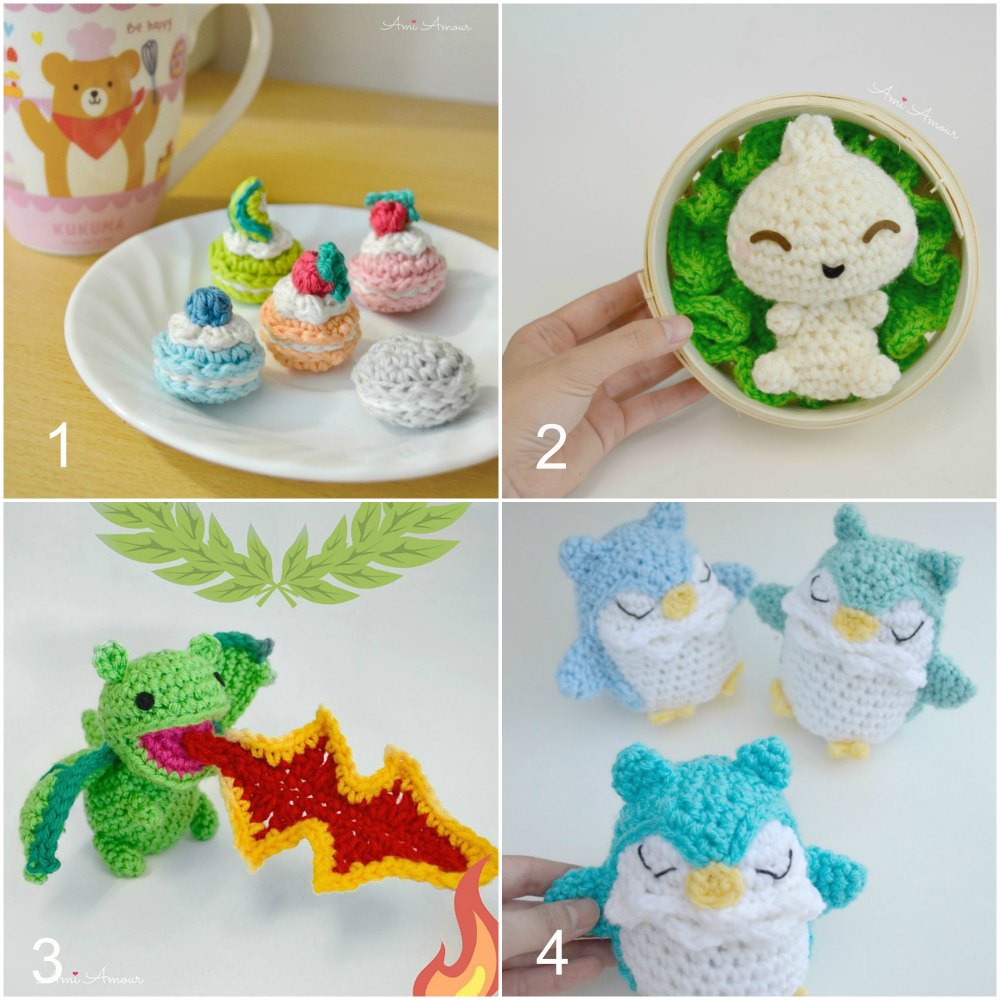
1. Macaron Sweets // 2. Bao Amigurumi // 3. Dragon Amigurumi // 4. Owls in Dreamland
You can also check out another free Sun/Sunflower Combo Crochet Pattern here, but this one requiring no sewing at all!
Video Crochet Tutorial
See the Sunflower in action and crochet along with me!

Crochet Sunflower Pattern – Amigurumi Flower Wand
LEVEL: Intermediate
CROCHET HOOK: 5.0mm size
YARN:
Thanks to Michaels Craft Store for providing me with the yarn and sponsoring this project!
Loops & Threads Impeccable (worsted weight, acrylic yarn)
– Sunny Day
– Citron
– Soft Taupe
– Chocolate
NOTIONS:
12 inch Wooden Dowel Rod (5/16in diameter thick)
Stich Marker
Yarn Needle
Scissors
Polyfill (stuffing)
ABBREVIATIONS:
ch – chain
hdc – half double crochet
PS – Puff Stitch
sc – single crochet
sl st – slip stitch
sc2tog – single crochet 2 together (sc dec)
st – stitch
SPECIAL STITCHES:
Puff Stitch (PS) description: [Yarn over, insert hook into specified stitch, yarn over and pull up a loop] Repeat 3 times. You should have 7 loops on the hook. Yarn over, and pull through all 7 loops. Ch 1 to close the Puff Stitch.
SIZE: 15in/38cm tall and the flower diameter is about 8in/20cm wide
SUNFLOWER HEAD
With Soft Taupe yarn
Round 1: Ch 2, 6 sc into first ch. Sl st to join to first sc.
Round 2: PS in each st around – 6 PS.
Note: You can see how to do a Puff Stitch here.
Round 3: 2 PS in each ch space around – 12 PS.
Round 4: [2 PS in next ch space, PS in next ch space] around – 18 PS.
Round 5: With Chocolate Yarn, PS in each ch space around – 18 PS.
Round 6: 2 sc in each ch space around – 36 sc.
Sl st to fasten off.
PETAL (make 21)
With Sunny Day yarn
Round 1: Ch 9, sc in each ch across. On other side of chain, sc in each ch across – 16 sc.
Round 2: Sc in next 3 st, hdc in next 3 st, sc in next 2 st, ch 2, sl st in previous ch, sc in next 7 st, sl st in next st.
Fasten off, leaving a long tail.
LEAF (make 2)
Same as PETAL except make with Citron Color Yarn (green).
RECEPTACLE
With Citron yarn
Round 1: Ch 2, 6 sc into first ch.
Round 2: 2 sc in each st around – 12 sc.
Round 3: [2 sc in next st, sc in next st] around – 18 sc.
Round 4: [2 sc in next st, sc in next 2 st] around – 24 sc.
Round 5: [2 sc in next st, sc in next 3 st] around – 30 sc.
Round 6: [2 sc in next st, sc in next 4 st] around – 36 sc.
Round 7: [Ch 3, sl st back 2 previous ch, sl st in next 2 st] around. (Note: You should have 18 points at the end)
Fasten off, leaving a super long tail.
STEM COVER
With citron yarn
Round 1: Ch 2, 5 sc into first ch.
Round 2-54: Sc in each st around – 5 sc.
(or do as many rounds as you need to cover your wooden dowel).
Insert the 12in long Wooden Dowel (5/16in diameter thickness) into the Stem cover and sew the top closed.
SUNFLOWER ASSEMBLY
1. Pinch the end of the Petal (the side that will attach to the Sunflower Head) and sew down. Then sew all the Petals onto the Sunflower Head. You can always attach more or less petals as you feel is necessary. Don’t mind all the ends, because they will get covered up by the receptacle!
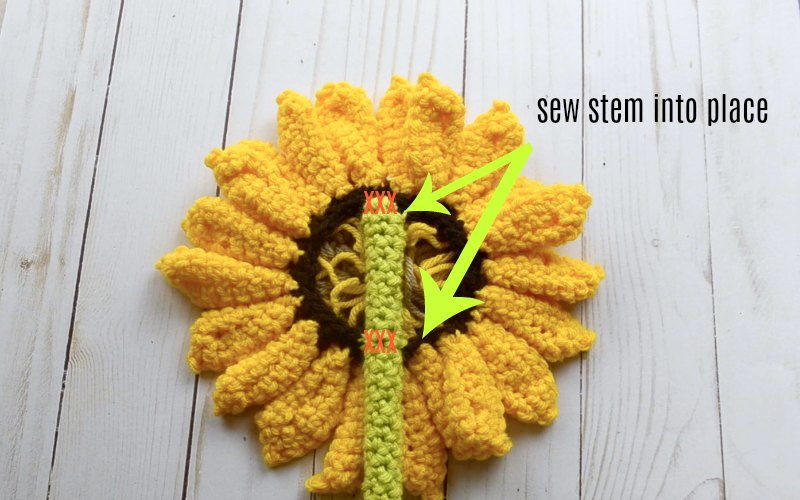
2. Sew Stem to back of Sunflower HEAD. You don’t need to sew all of the stem down, but you will want to sew the top part of the stem to the sunflower head, as well as the part of the stem that meets up again at the dark brown part of the sunflower head. See photo.
3. Sew Receptacle to the Back of the Sunflower. Before you completely finish sewing it down, stuff lightly with polyfill to give it some padding, and then you can sew the rest of it into place.
4. Sew Leaves to Stem. To keep leaves from moving freely on stem, you’ll want to sew the leaves to the stem cover, and then on the inside part, try to feel and wrap some of the yarn around the wooden dowel several times, so the leaves are secured into place.
5. Cut and Hide all ends.
6. Wave your cheerful Sunflower Wand around! And don’t forget to tag me on Instagram @ami_amour with your project! I’d love to see!
3 Comments
Kathy Zampieri
September 16, 2020 at 10:24 amIts so beautiful, Sharon
Thanks
I will try to make one soon
xx
Ami Amour
September 16, 2020 at 11:10 amThanks, Kathy! Can’t wait to see! 😀
Wendy
April 23, 2023 at 12:20 pmThank You. So much fun to make and beautiful.