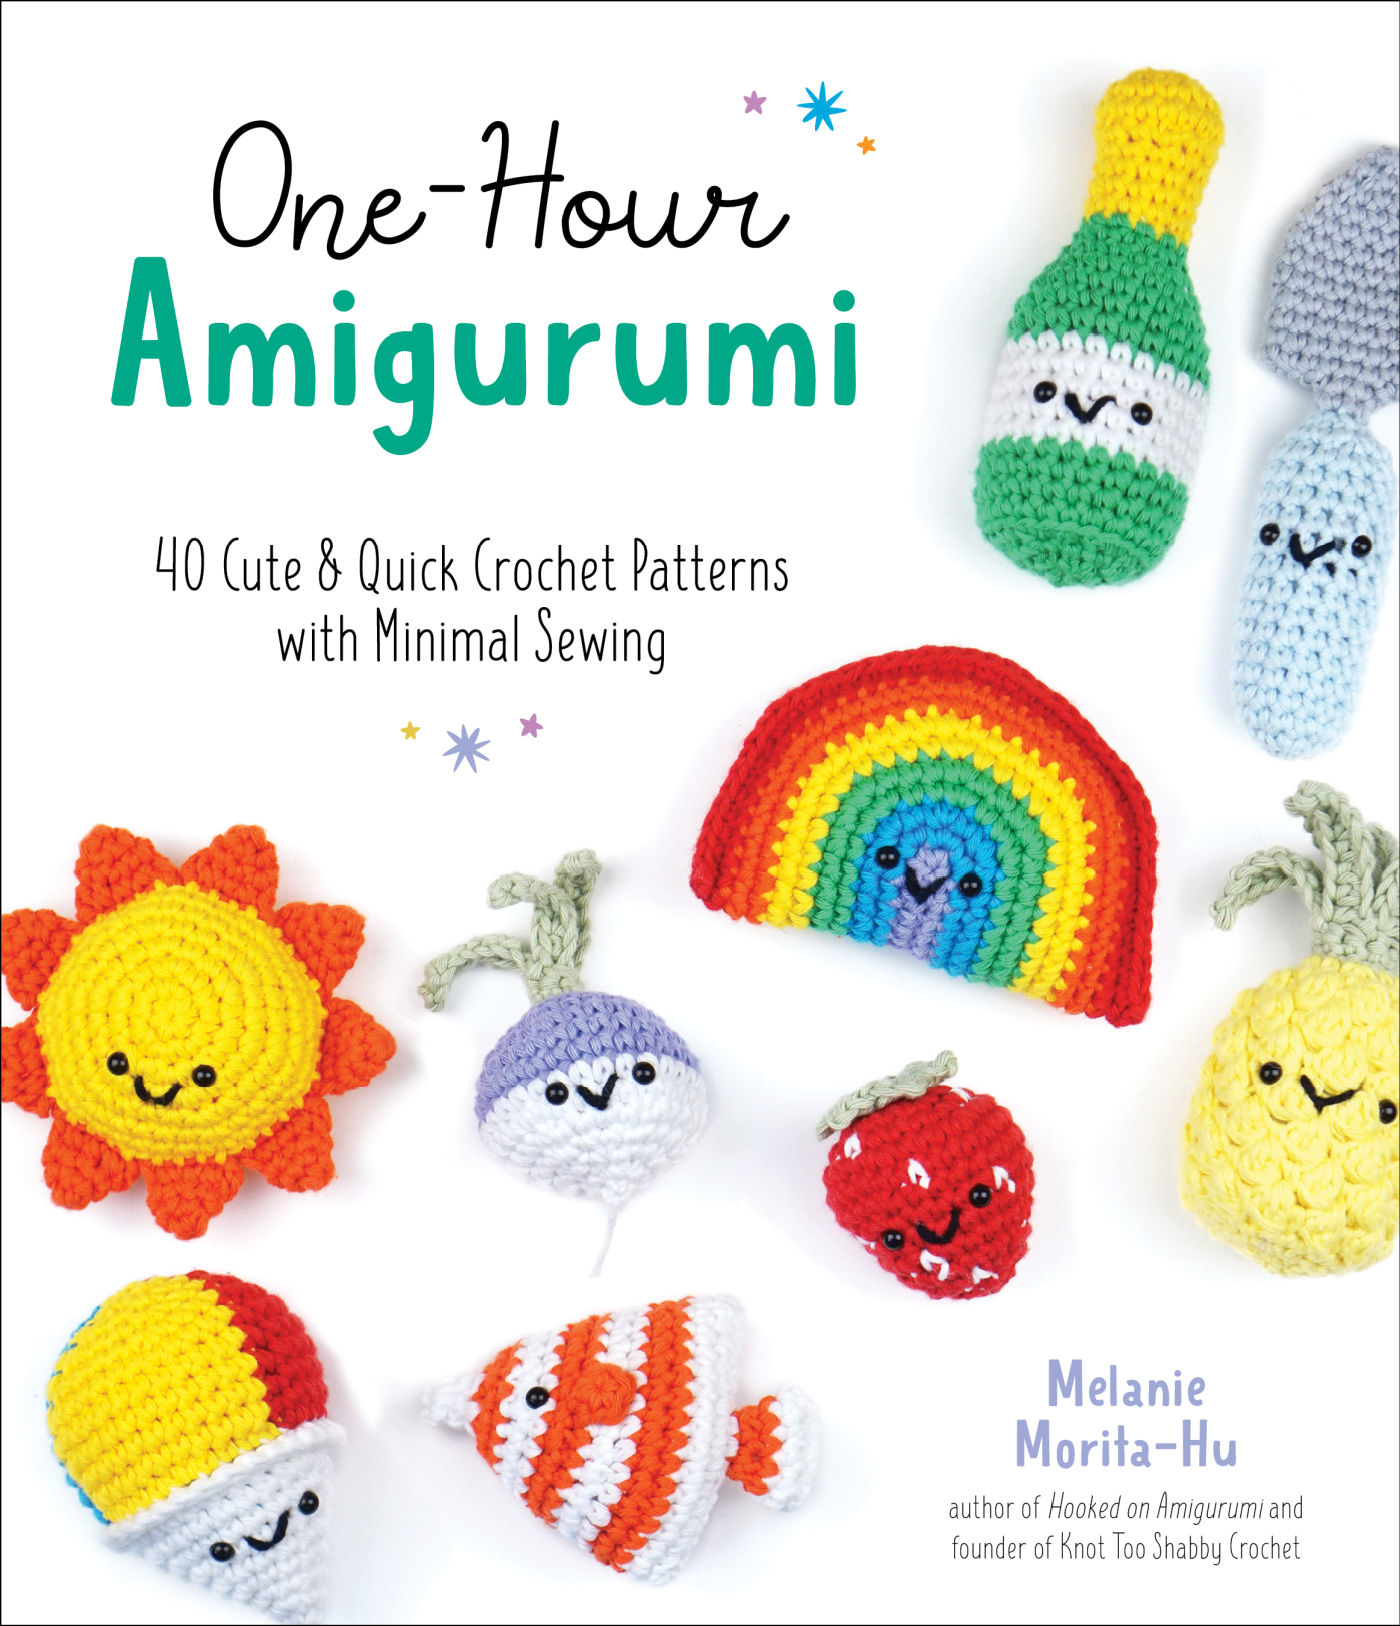
Hey guys, today I’m doing double duty and I’m featuring this free crochet pattern of this cute sun amigurumi and also doing a mini review of the crochet book One-Hour Amigurumi. I was gifted this book by Page Street Publishing, but all opinions are my own.
Both the author Melanie Morita-Hu and Page Street Publishing were so kind enough to allow me to feature one free pattern from the book to share with you guys and I chose the cheerful Sun Amigurumi because well you can never have too much sunshine in your life!
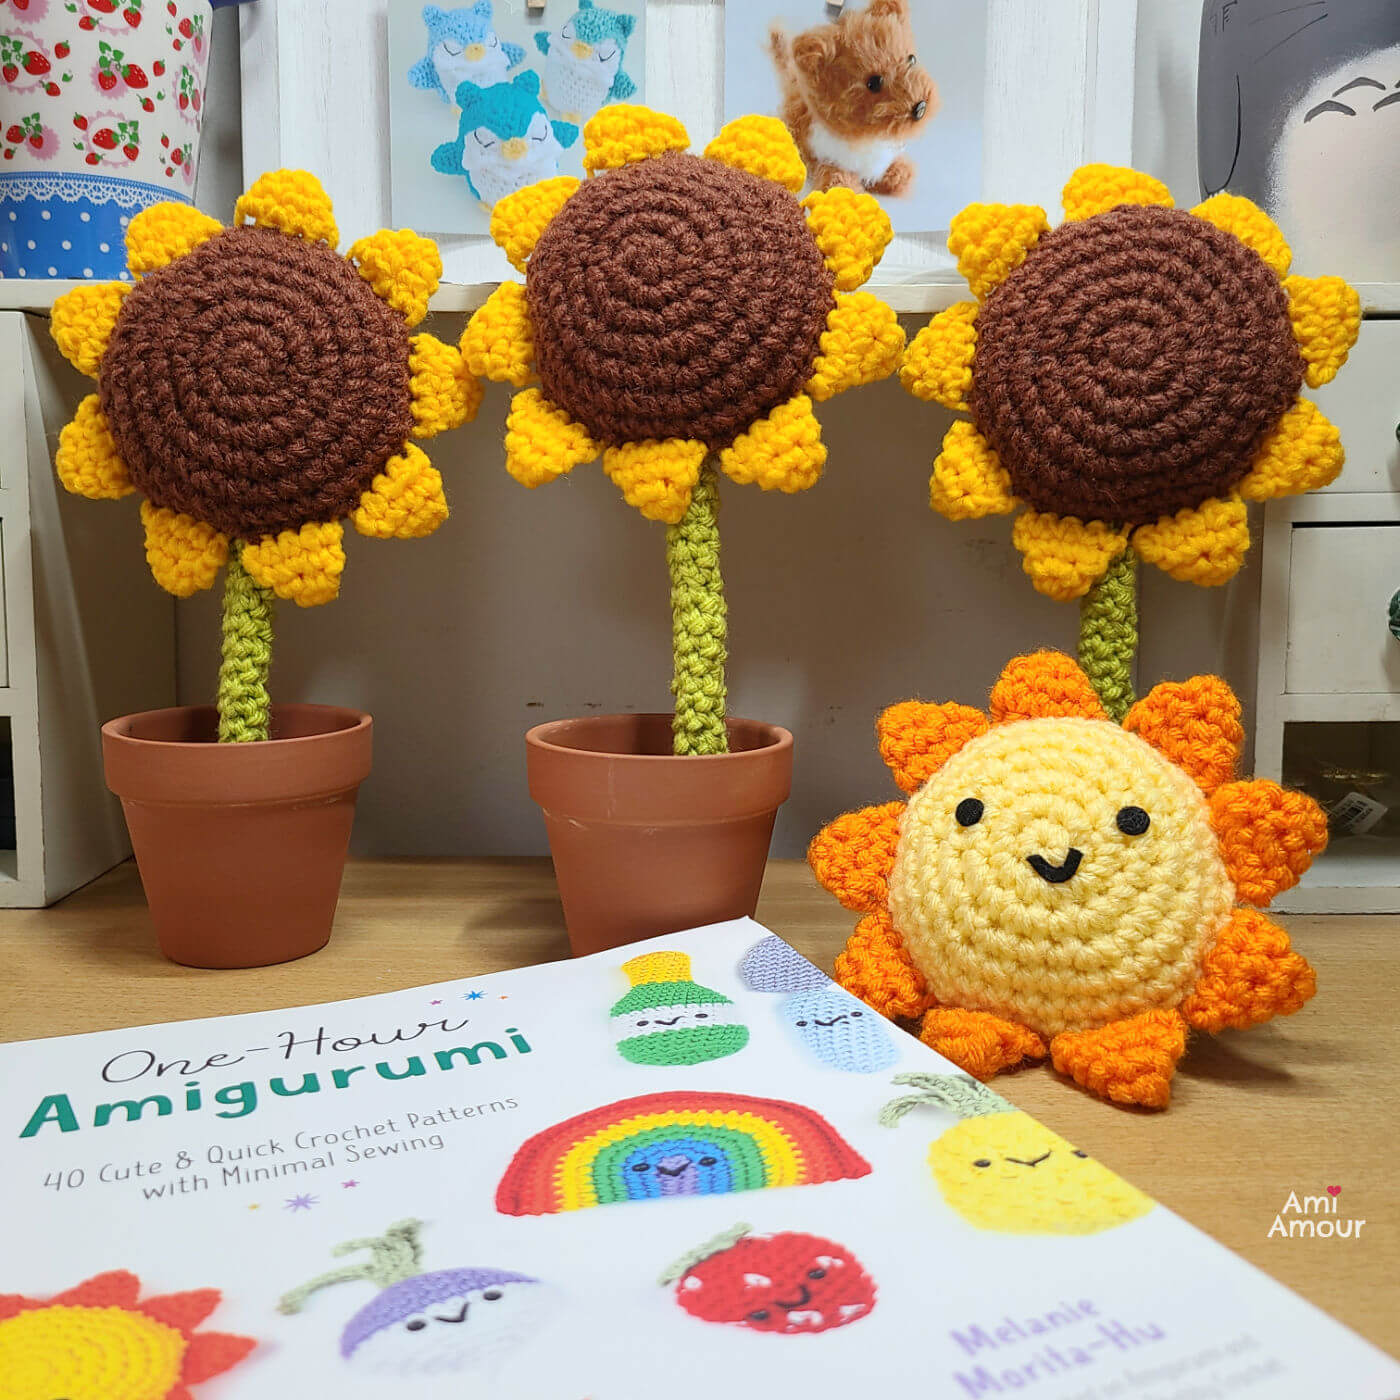
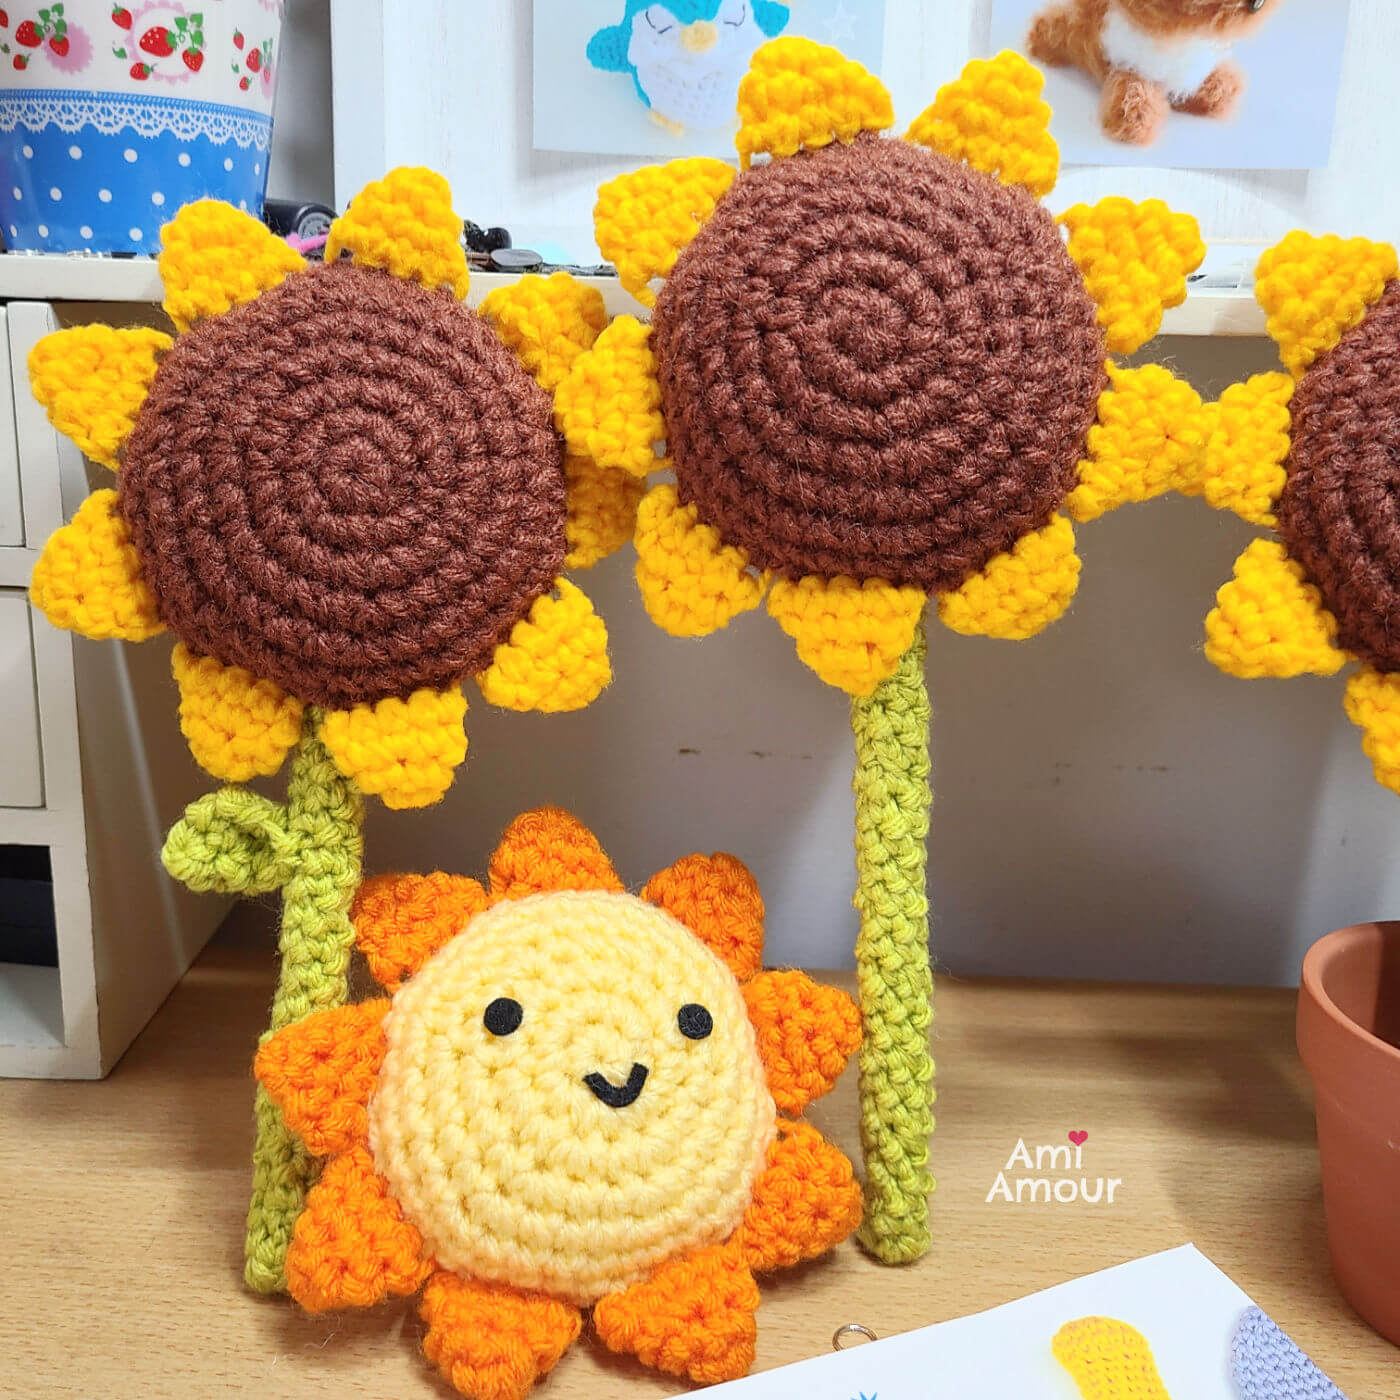
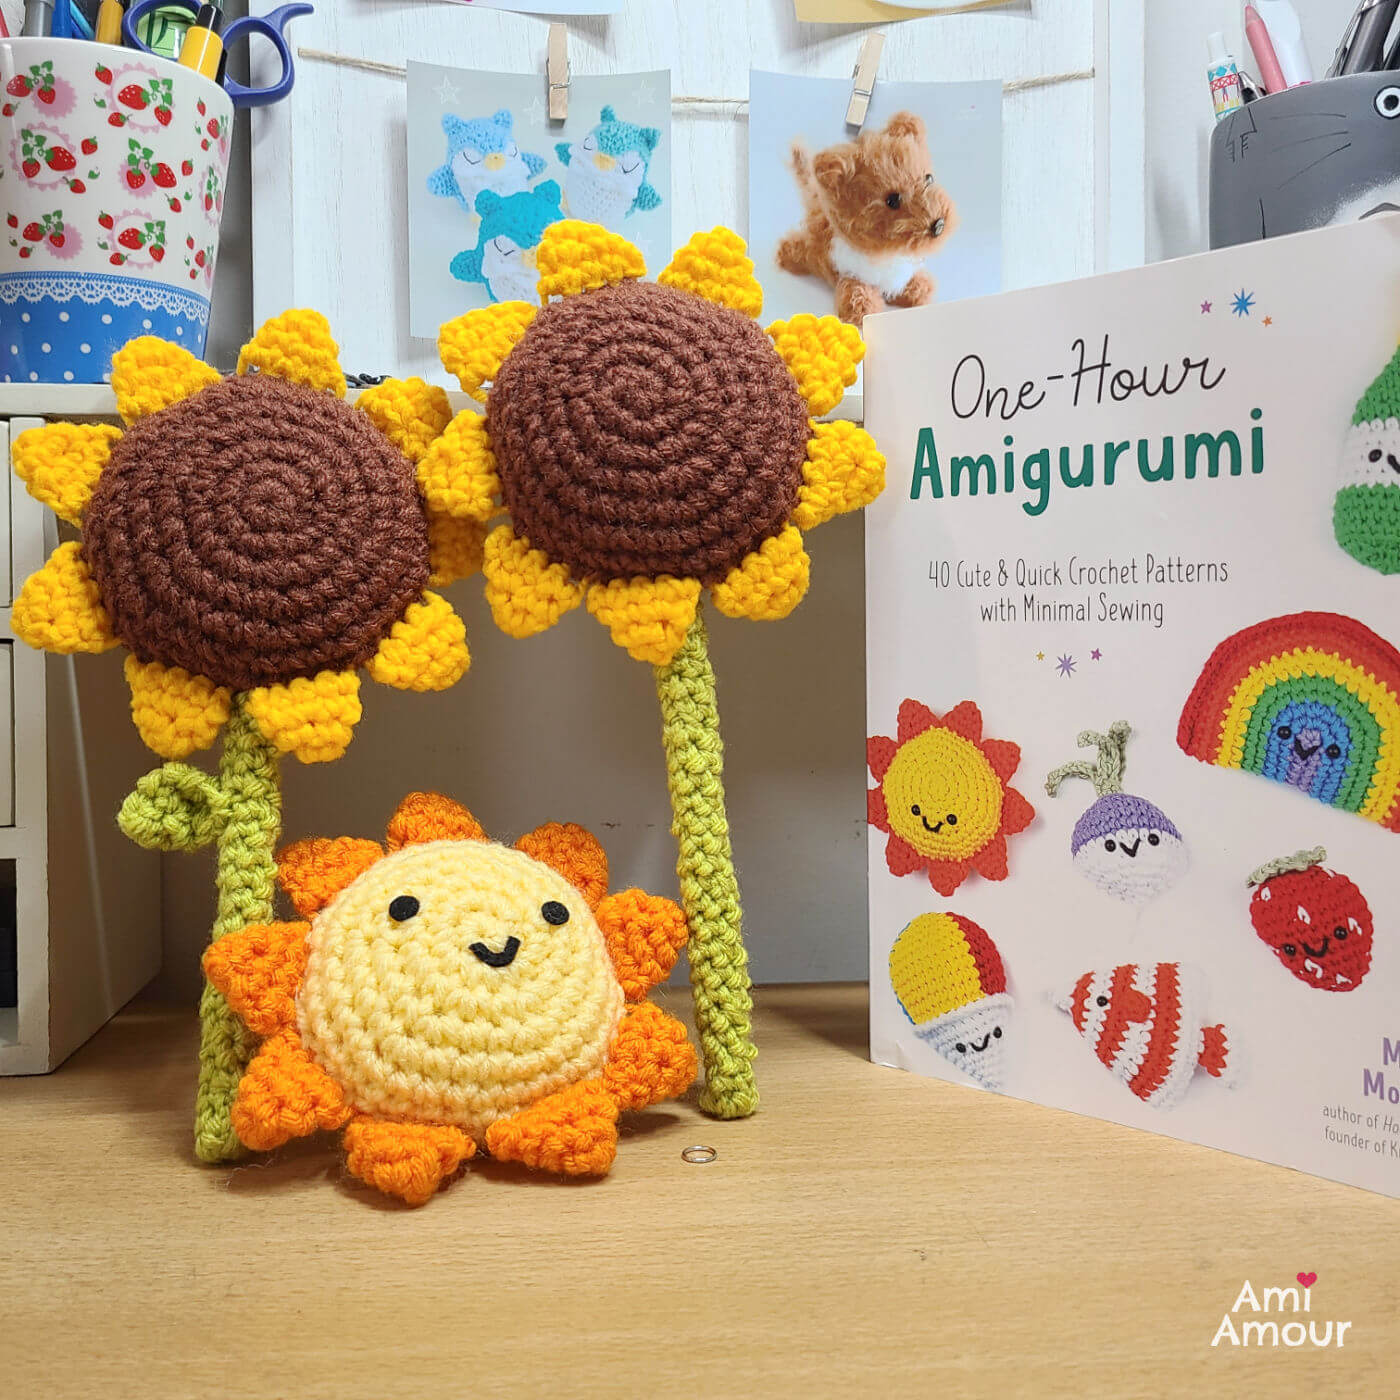
Here’s how my crochet sun amigurumi project came out! I also thought it would be super fun to have some sunflower friends to go along with the sun. So guess what? The sun crochet pattern can also work as a sunflower pattern as well just by changing up the colors. It’s like 2 patterns in one! Look at what a cute scene it creates.
Disclaimer: This post contains affiliate links. This means I may receive a small commission if you decide to purchase anything by clicking on one of these links.
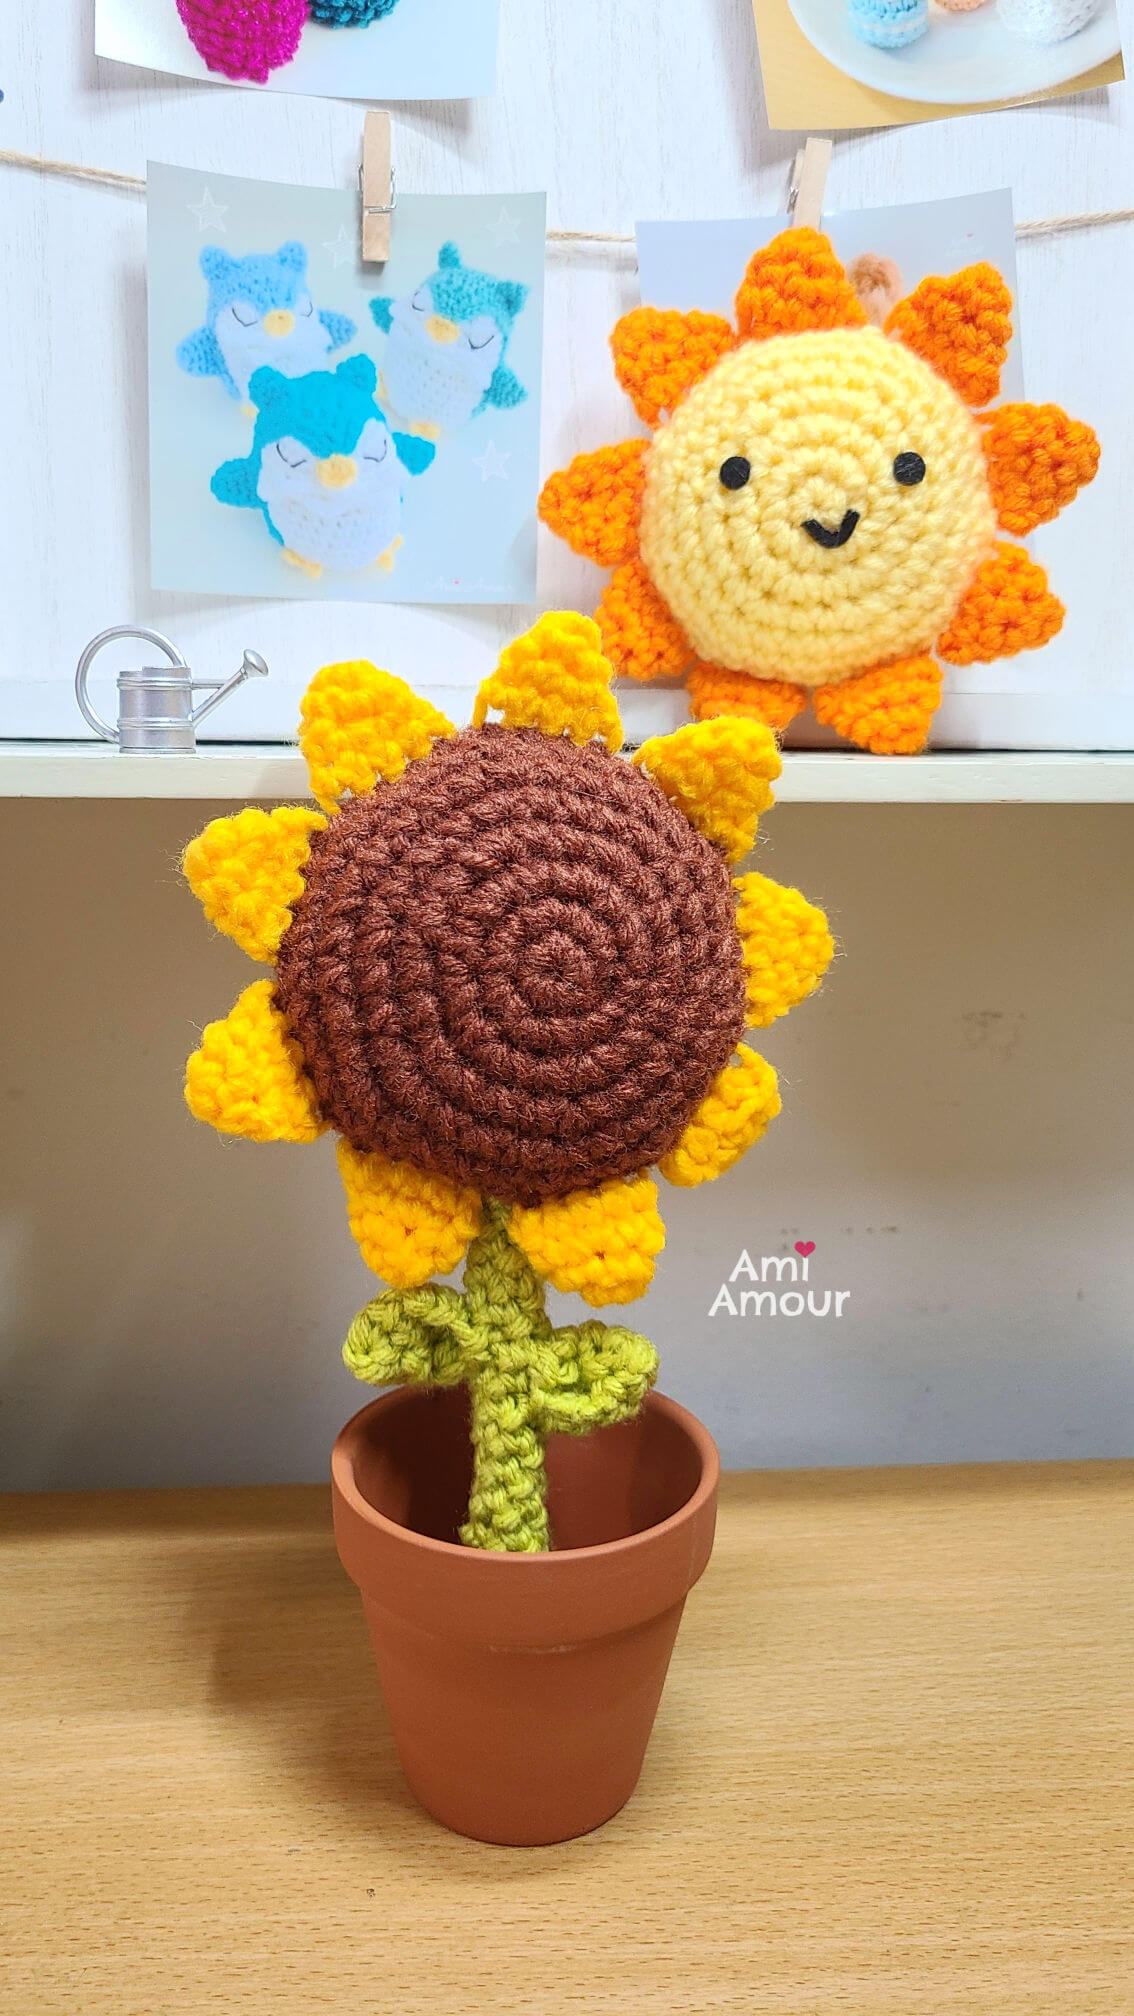
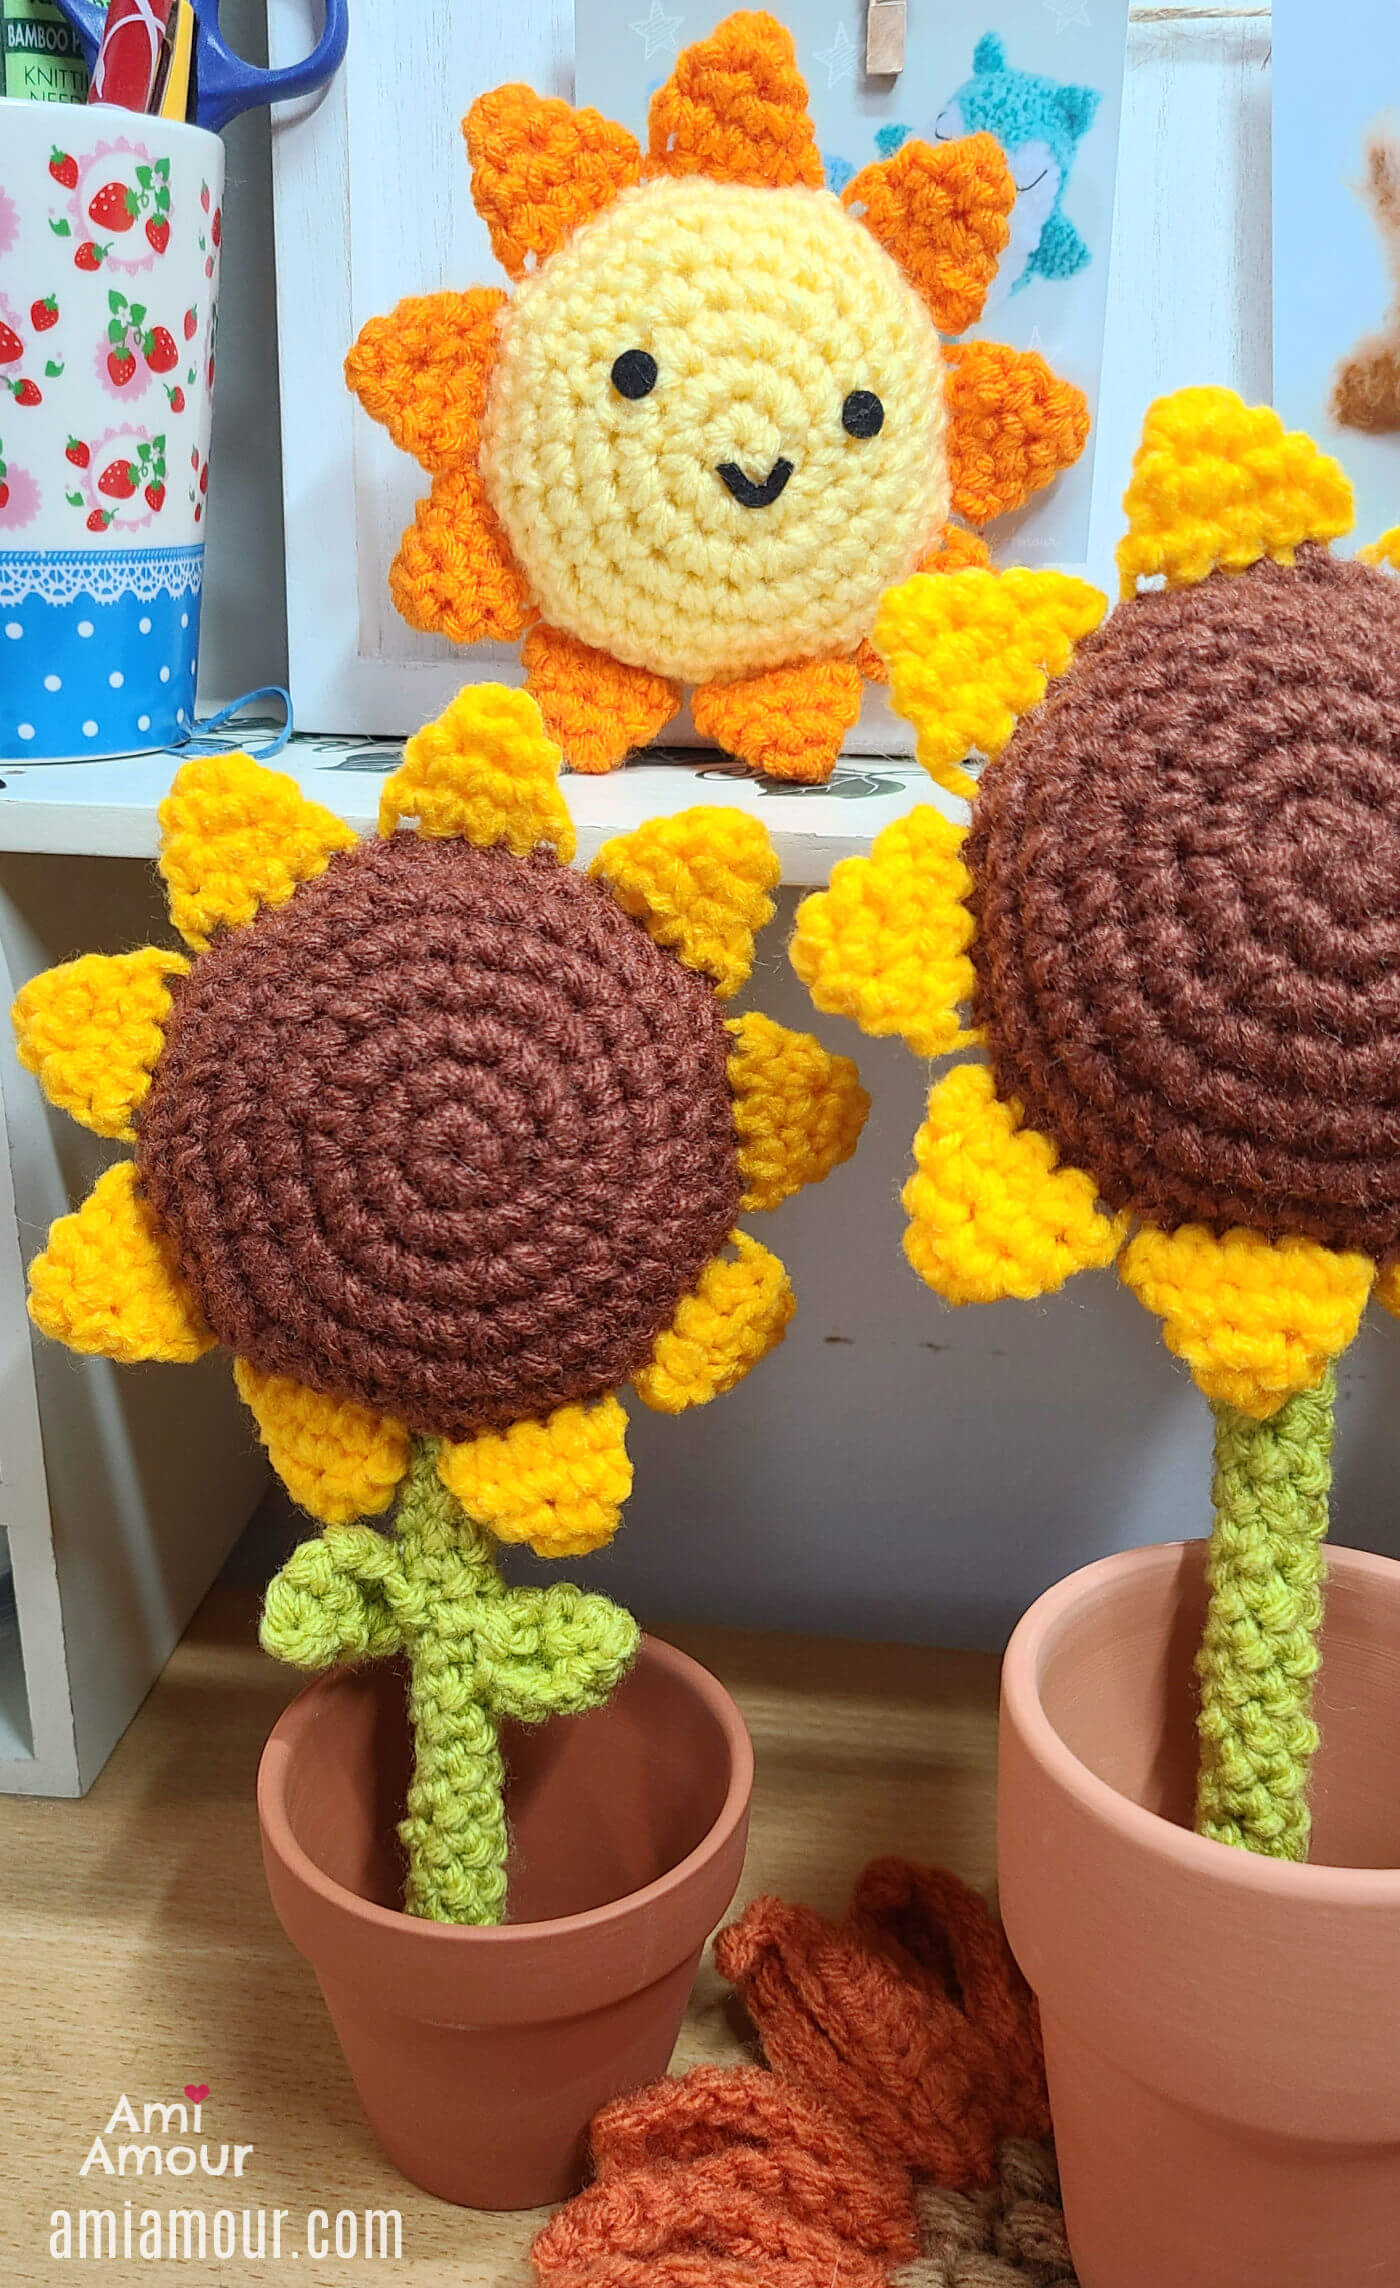
And did you know that the sun crochet pattern is a No Sew Pattern? Yes, all the pieces that you see, including the sun rays, are all crocheted into place so there is no sewing involved at all. It’s actually one of the perks of the One Hour Amigurumi Book. The description for the book reads “40 Cute and Quick Crochet Patterns with Minimal Sewing.” So if you hate the part of sewing on parts for amigurumi (which is most of us), well there is nothing to fear here!
Also, I did put the title of the crochet book to the test since it is named One-Hour Amigurumi. Was I able to finish the sun amigurumi project within the time slot? Well, I timed myself and I finished the project in under half an hour (even after having to crochet 9 separate crochet sun rays!). In fact, I kept going on to complete 4 amigurumis in total, just because I was having so much fun and I wanted to complete the scene I had in my head of a cheery sun amigurumi looking over a trio of crochet sunflowers.
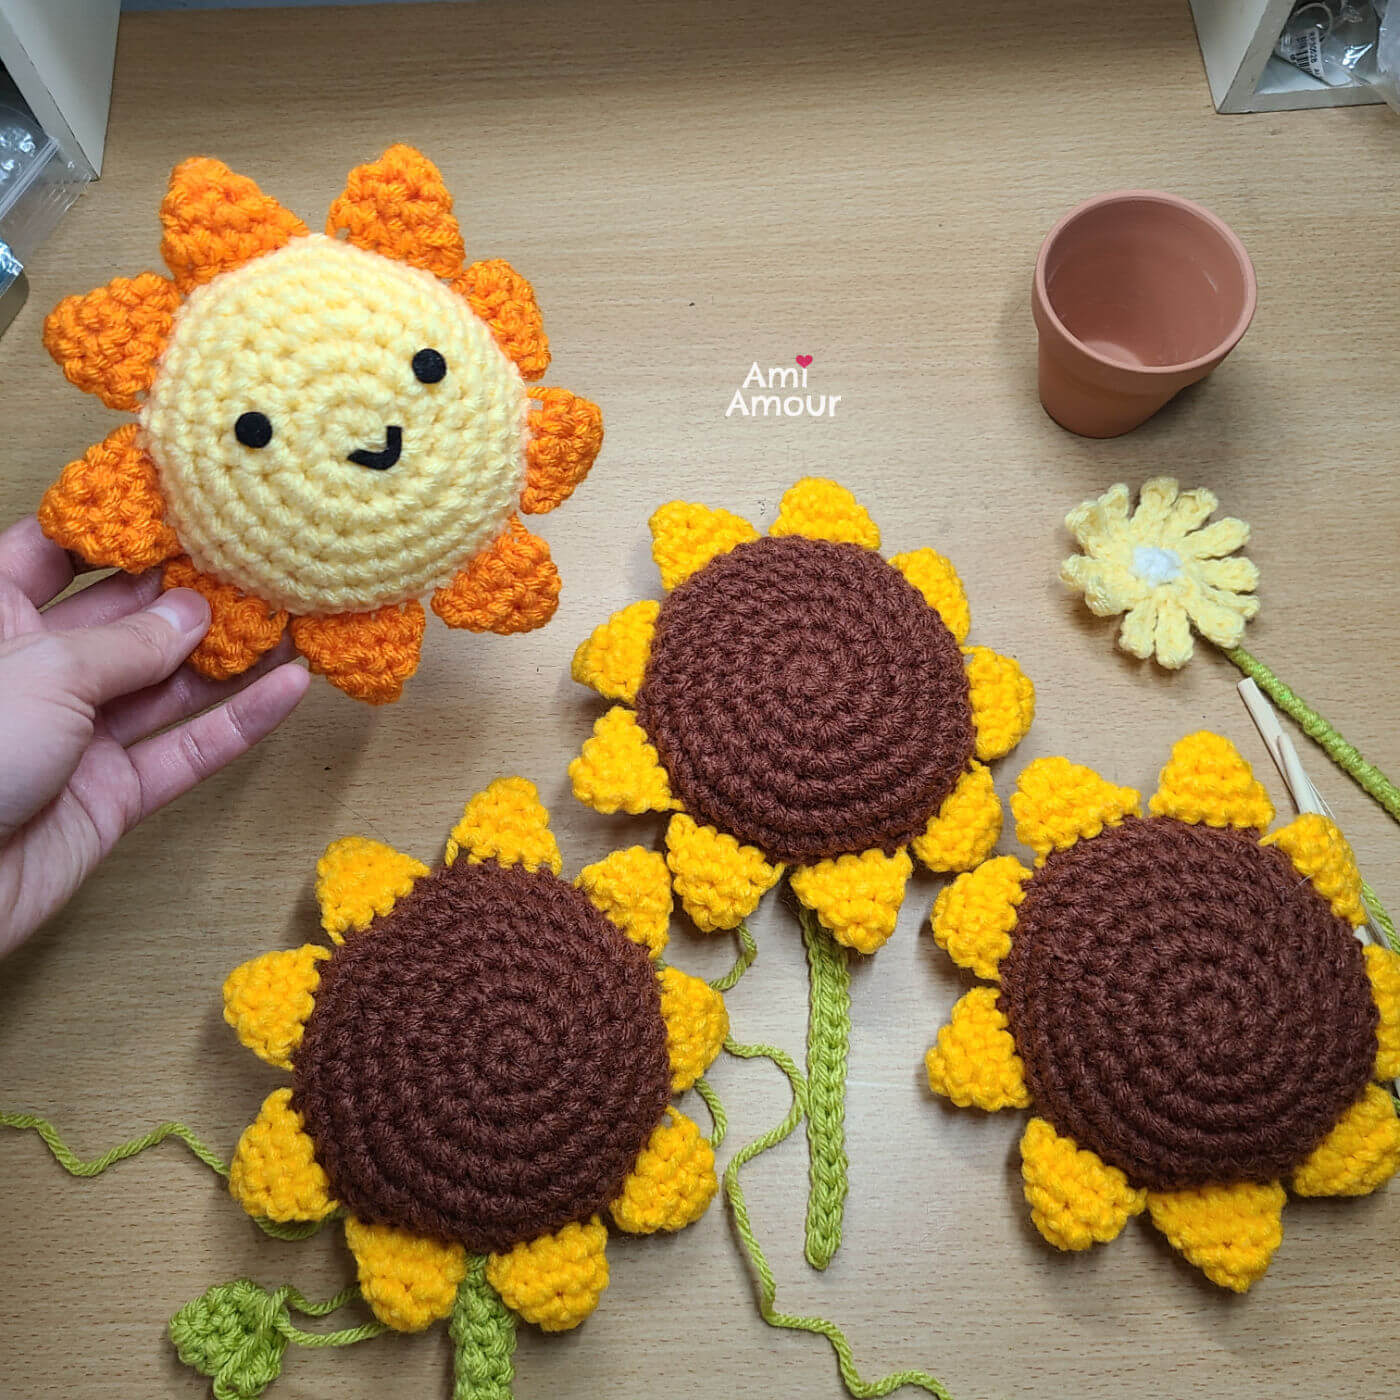
Overall, One-Hour Amigurumi is very suitable for crochet beginners so it would definitely make a great gift. If someone is a complete crochet beginner, you can also show them my tutorial video “How to Crochet for Beginners” to help them get started as well.
One-Hour Amigurumi also has clever no-sew techniques that one can use to take them further on their crochet journey. Tapestry needle, away with you! Ok, wait we might still need it to embroider faces, but no more struggling awkwardly with pins to get the amigurumi parts into the right place, at least not with these patterns here!
All the projects are fast and cute to make and they make for great yarn stash busters! There’s a variety of items that can be used throughout the year from the New Year (champagne I’m looking at you!), the spring, summer, fall, and winter. I can also think of other functions to use the amigurumi for such as adorable keychains or hanging ornaments.
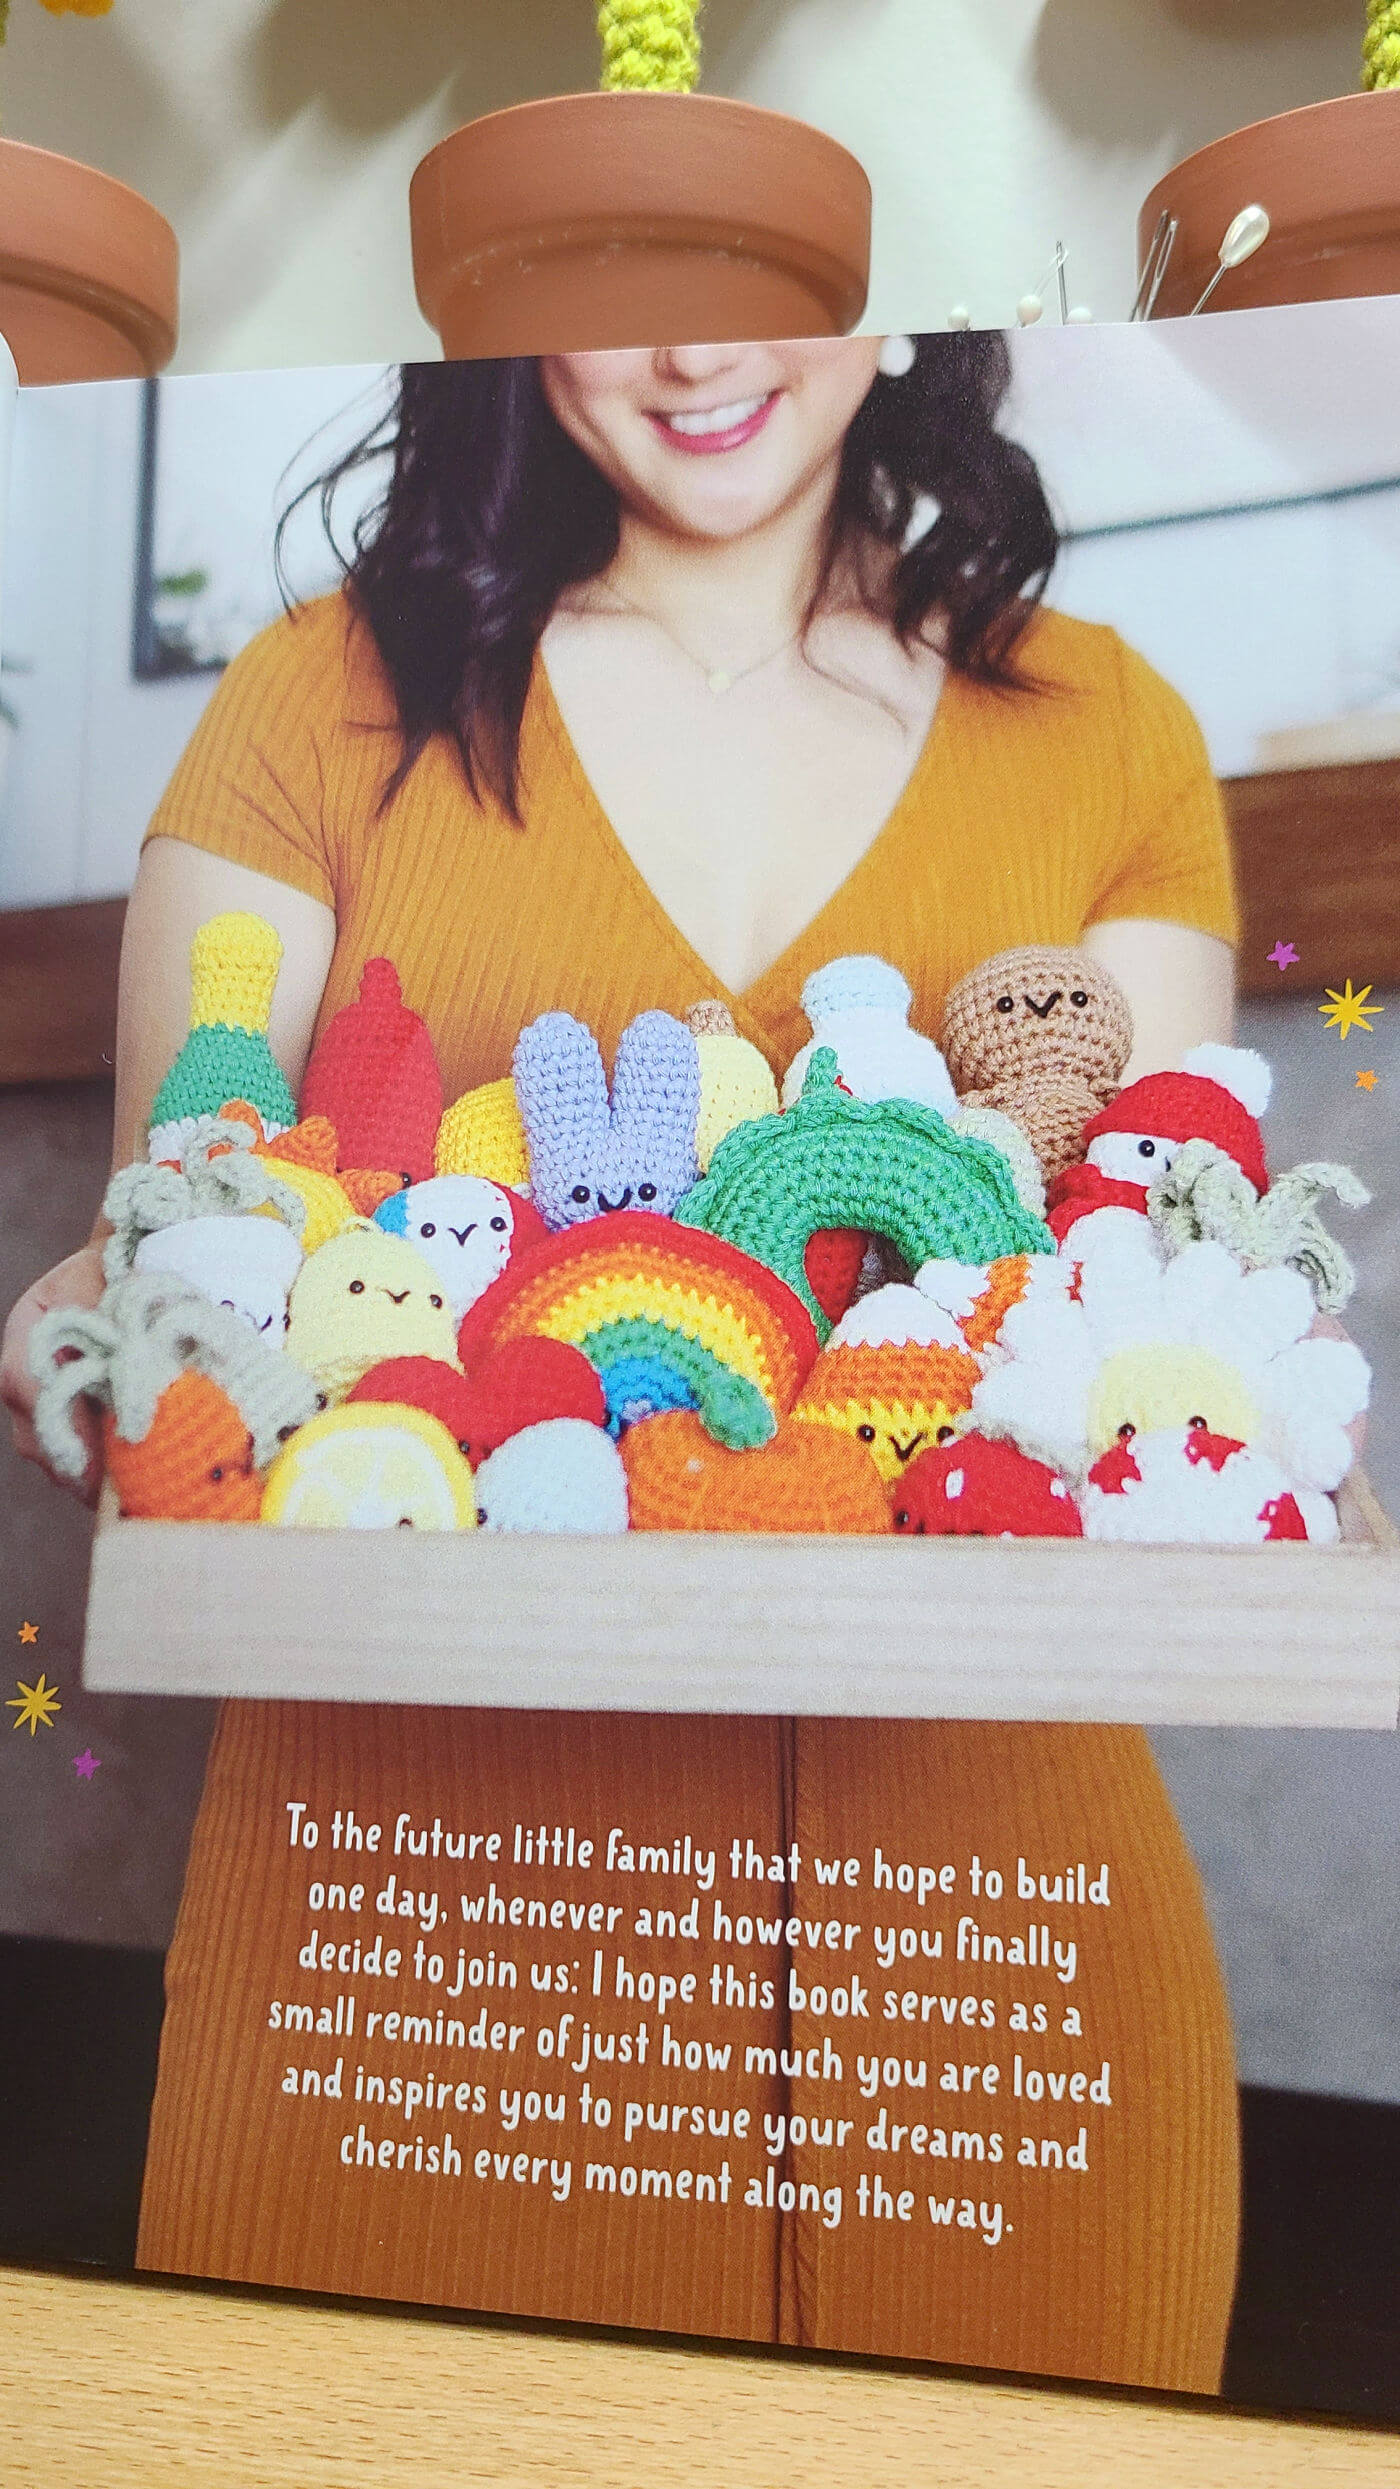
If all of this sounds awesome to you, you can purchase the One Hour Amigurumi Book here.
Now before we get to the Free Sun Crochet Pattern, here’s a quick overview of the book and the other crochet patterns it holds.
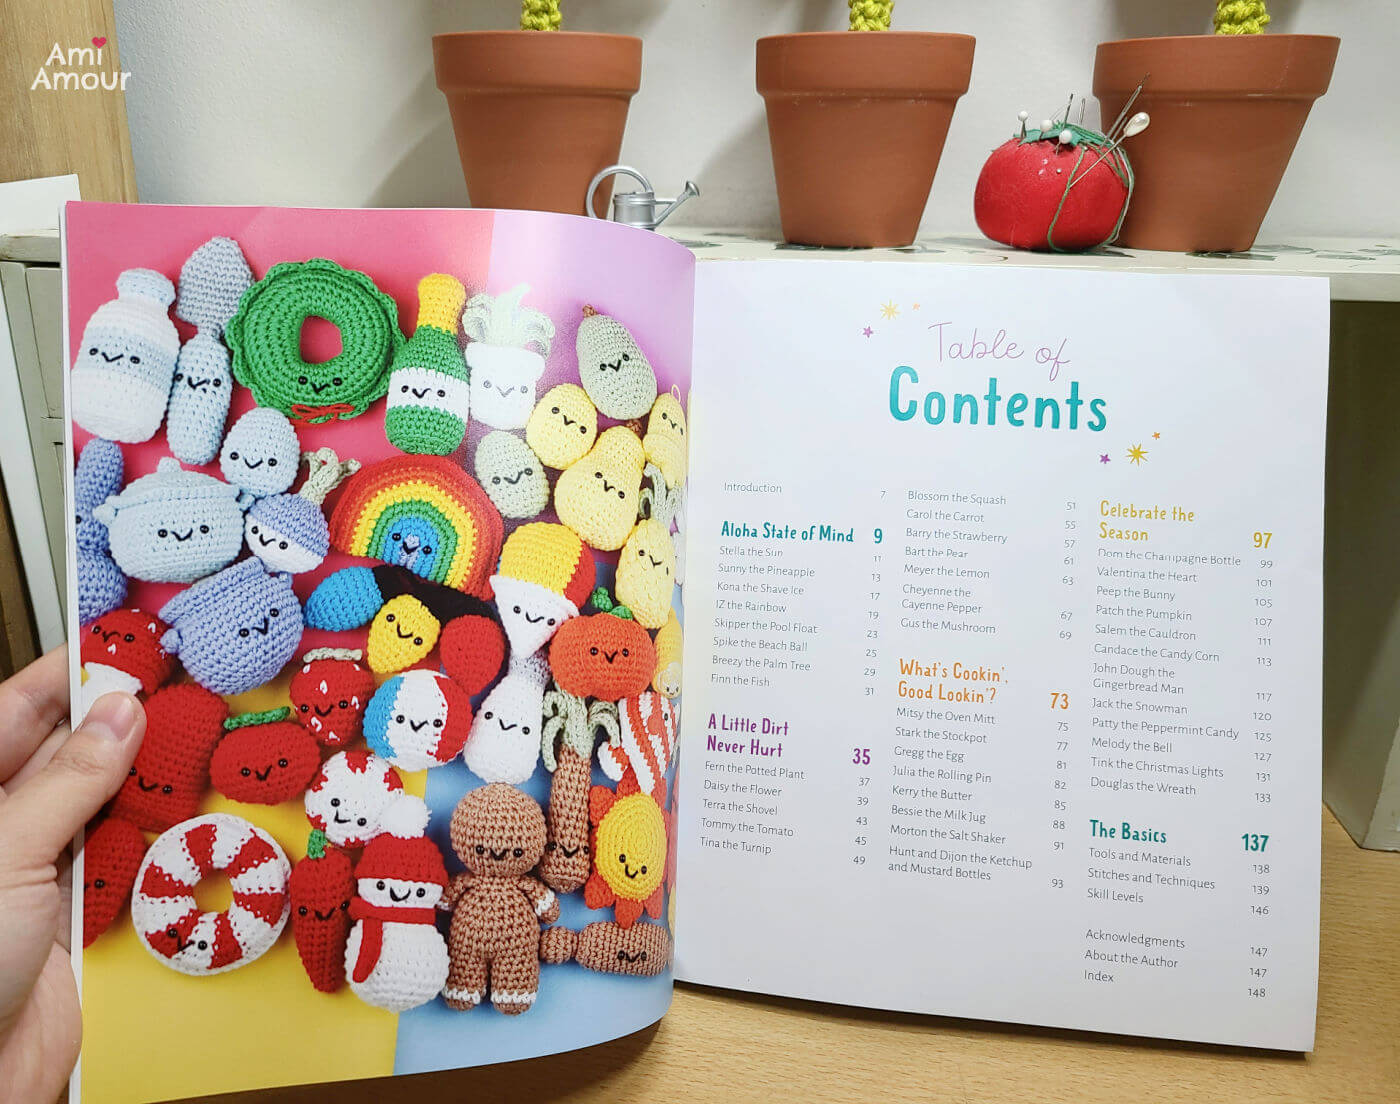
The crochet book is separated into 4 different sections:
First is the “Aloha State of Mind”. These are all the crochet patterns inspired from the author Melanie’s memories of Hawaii.
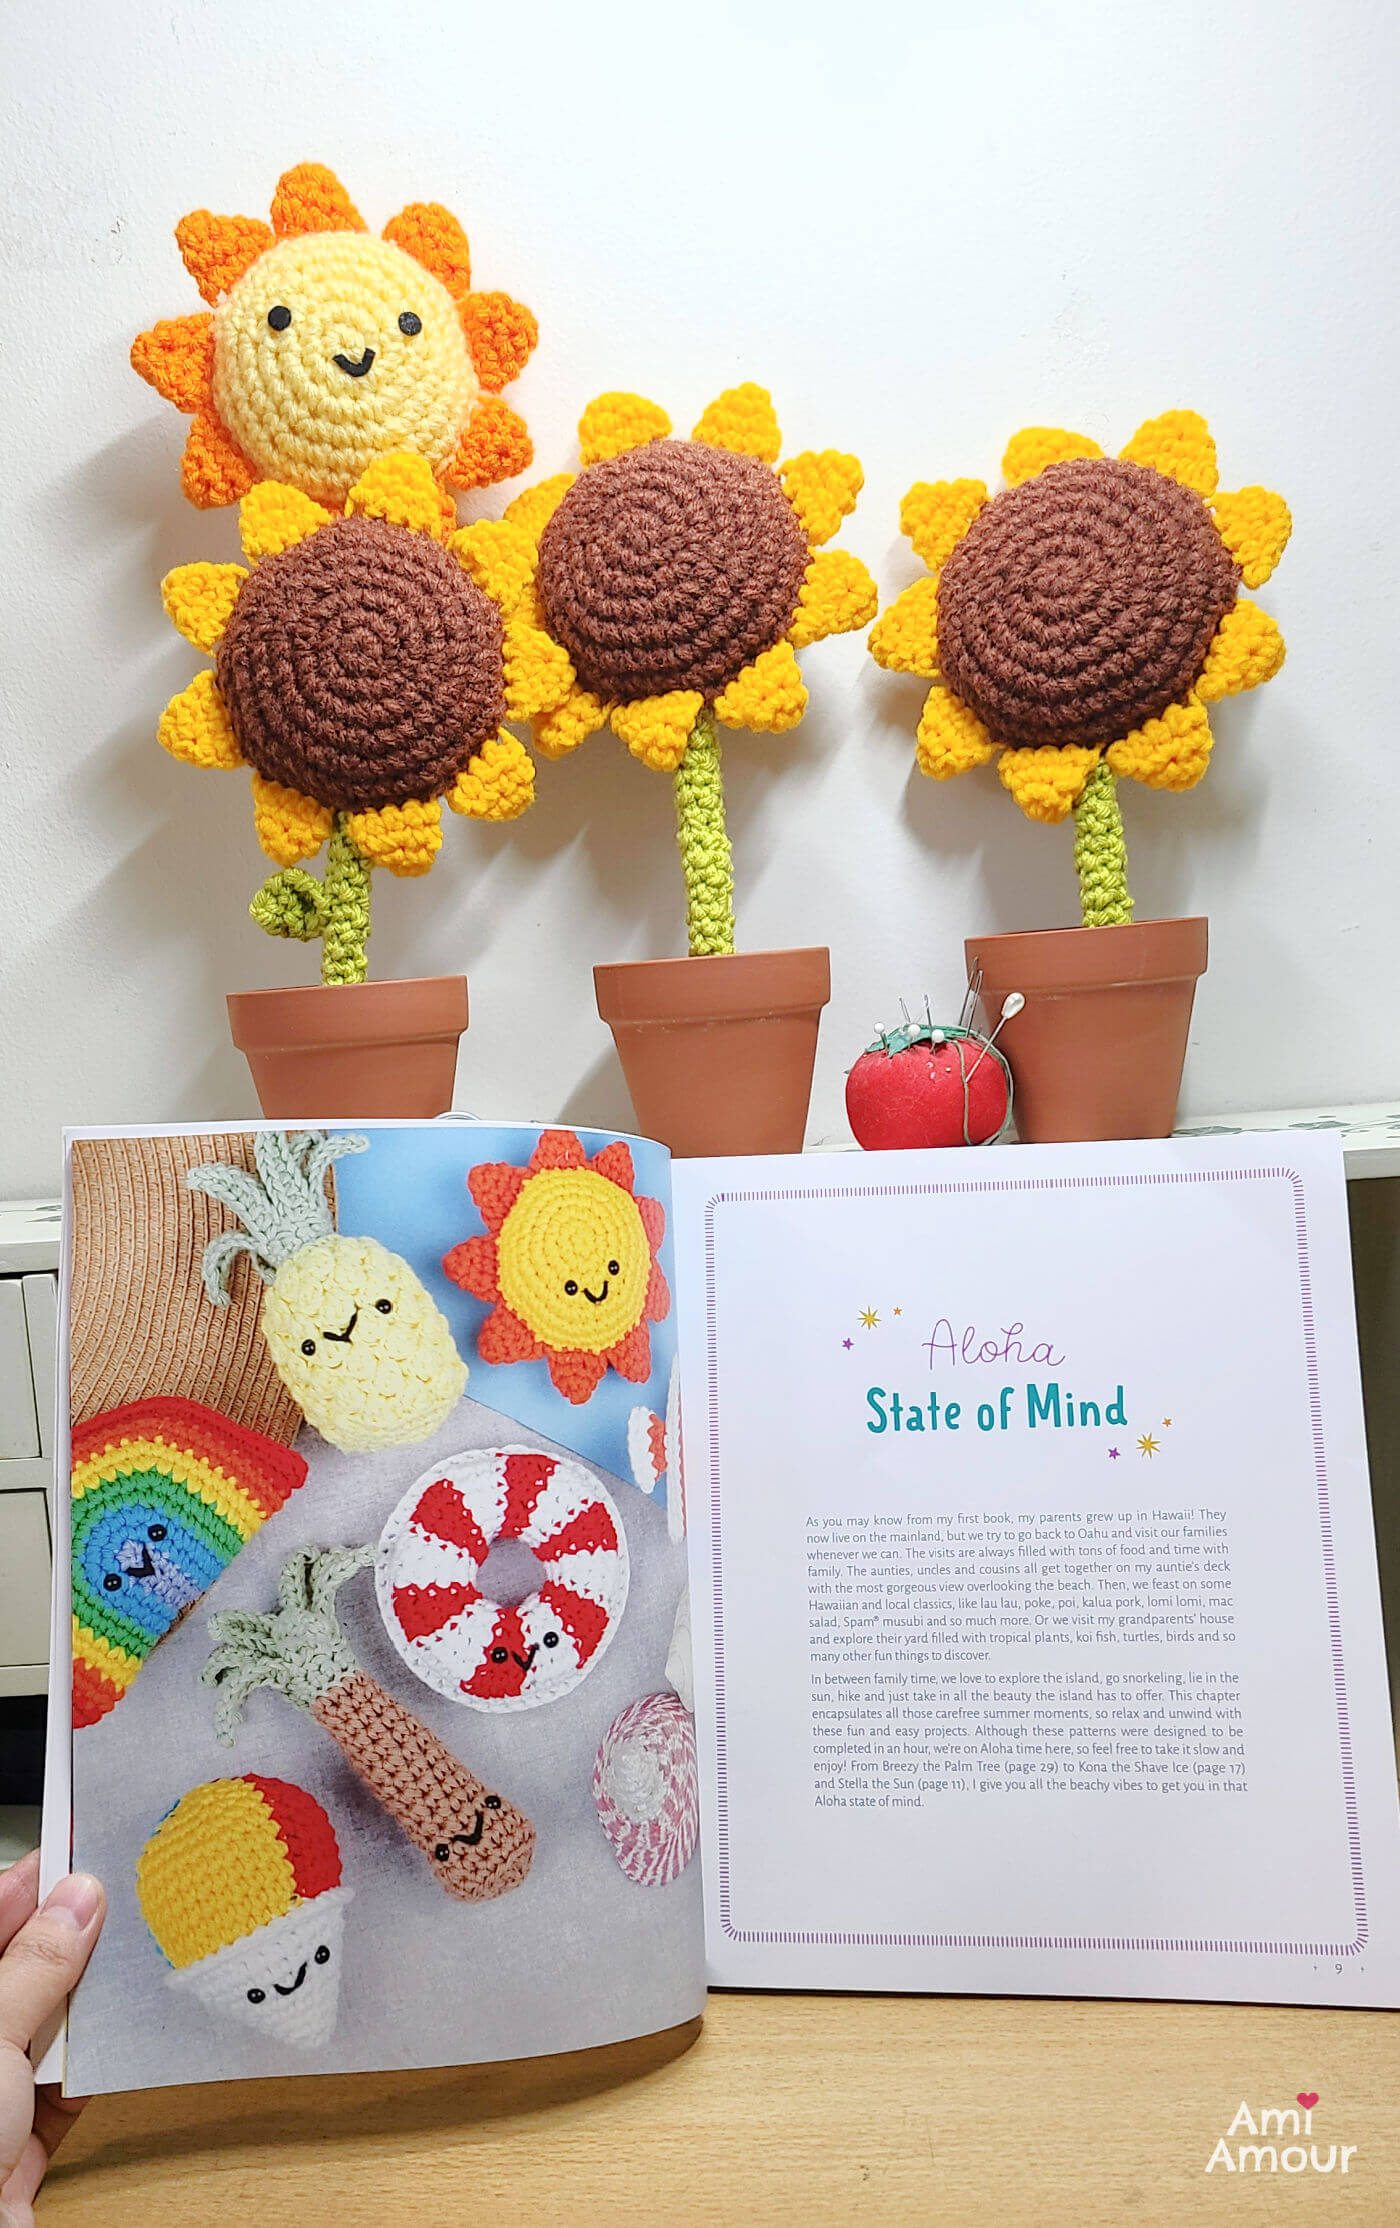
The sun project I made came from this section. I also used the same pattern to create a mini sunflower that would pair really well with my larger Sunflower Amigurumi Wand pattern.
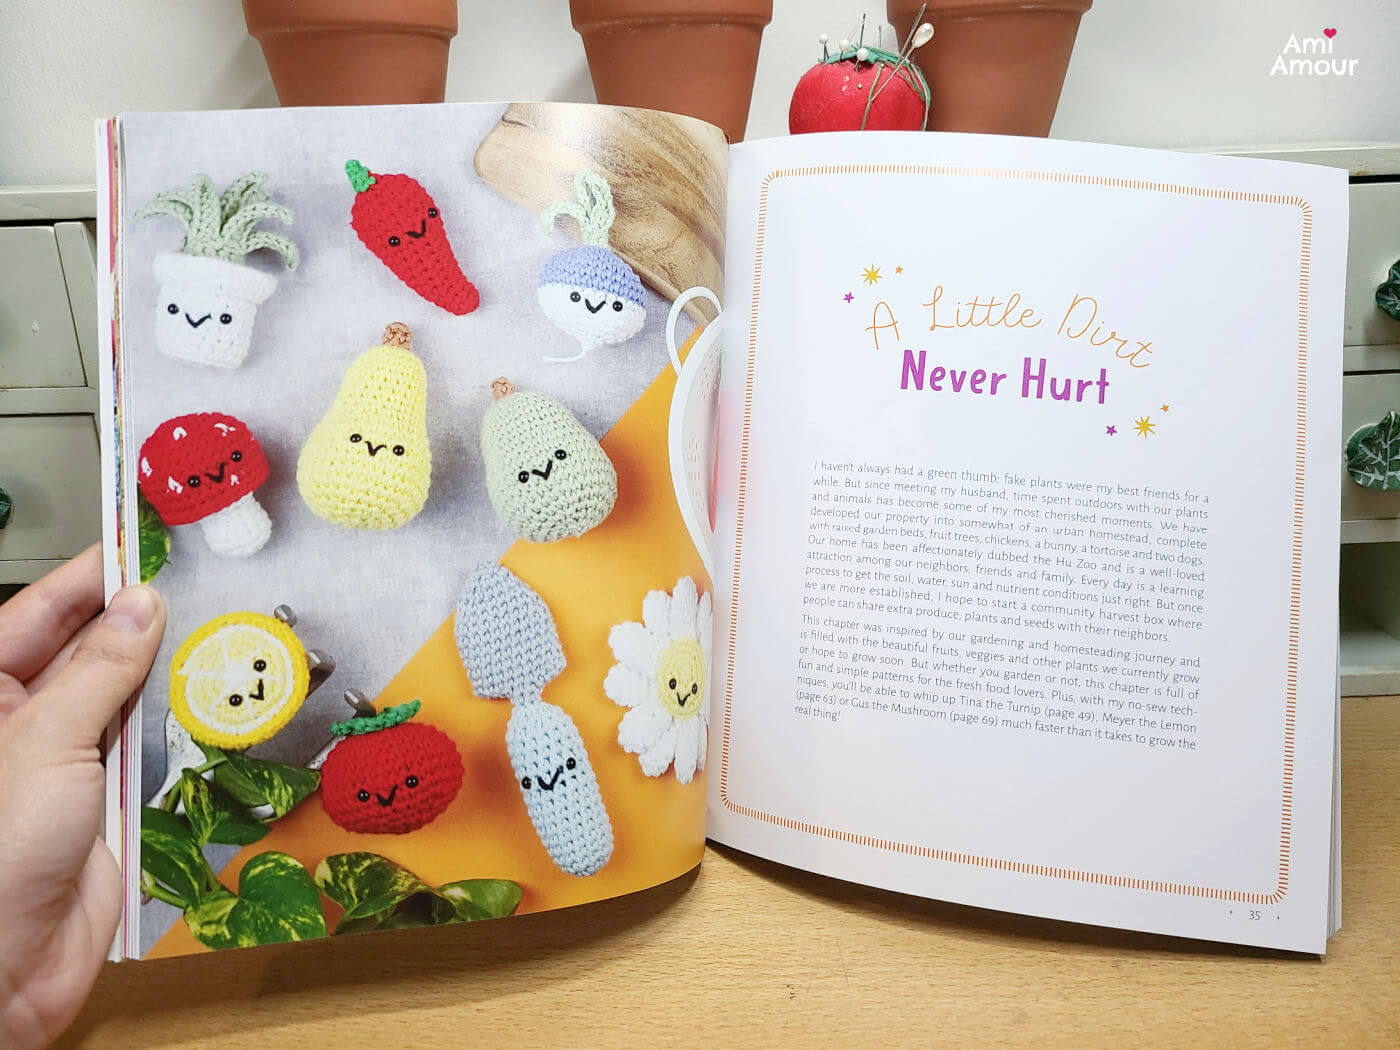
Second is “A Little Dirt Never Hurt”. It has cute fruits, veggies, and flowers to create a perfect harvest garden!
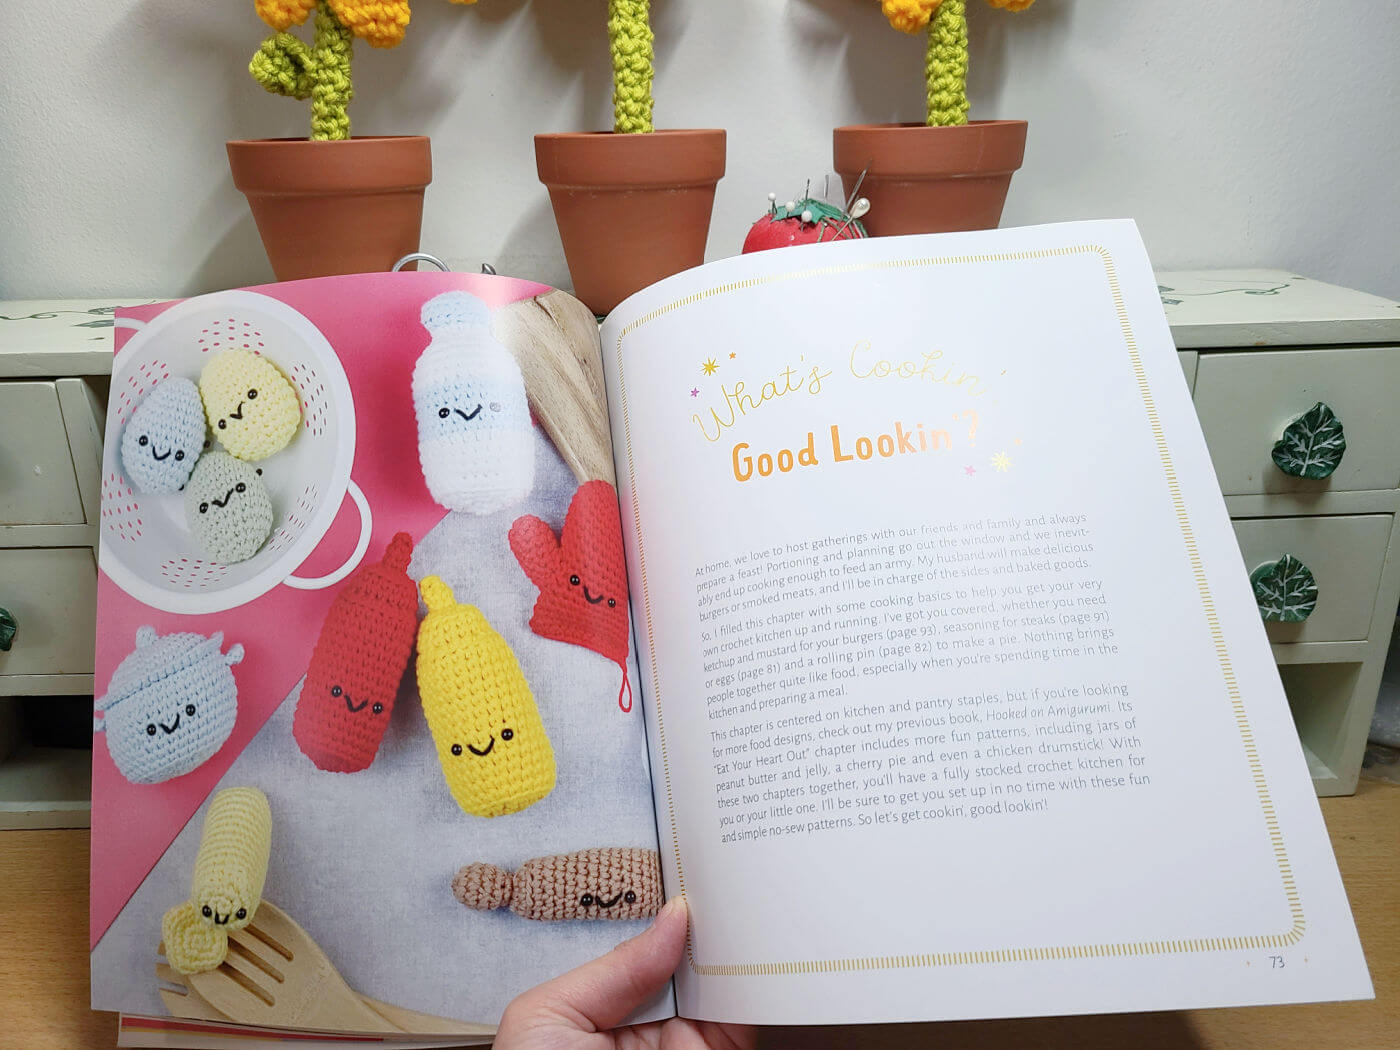
Third, is the section titled “What’s Cookin’ Good Lookin’?” These items will do super well in your pantry!
And finally. there is the “Celebrate the Season” section. It’s festive celebrations all year round, beginning with the New Year Champagne and ending with quite a few Christmas holiday projects!
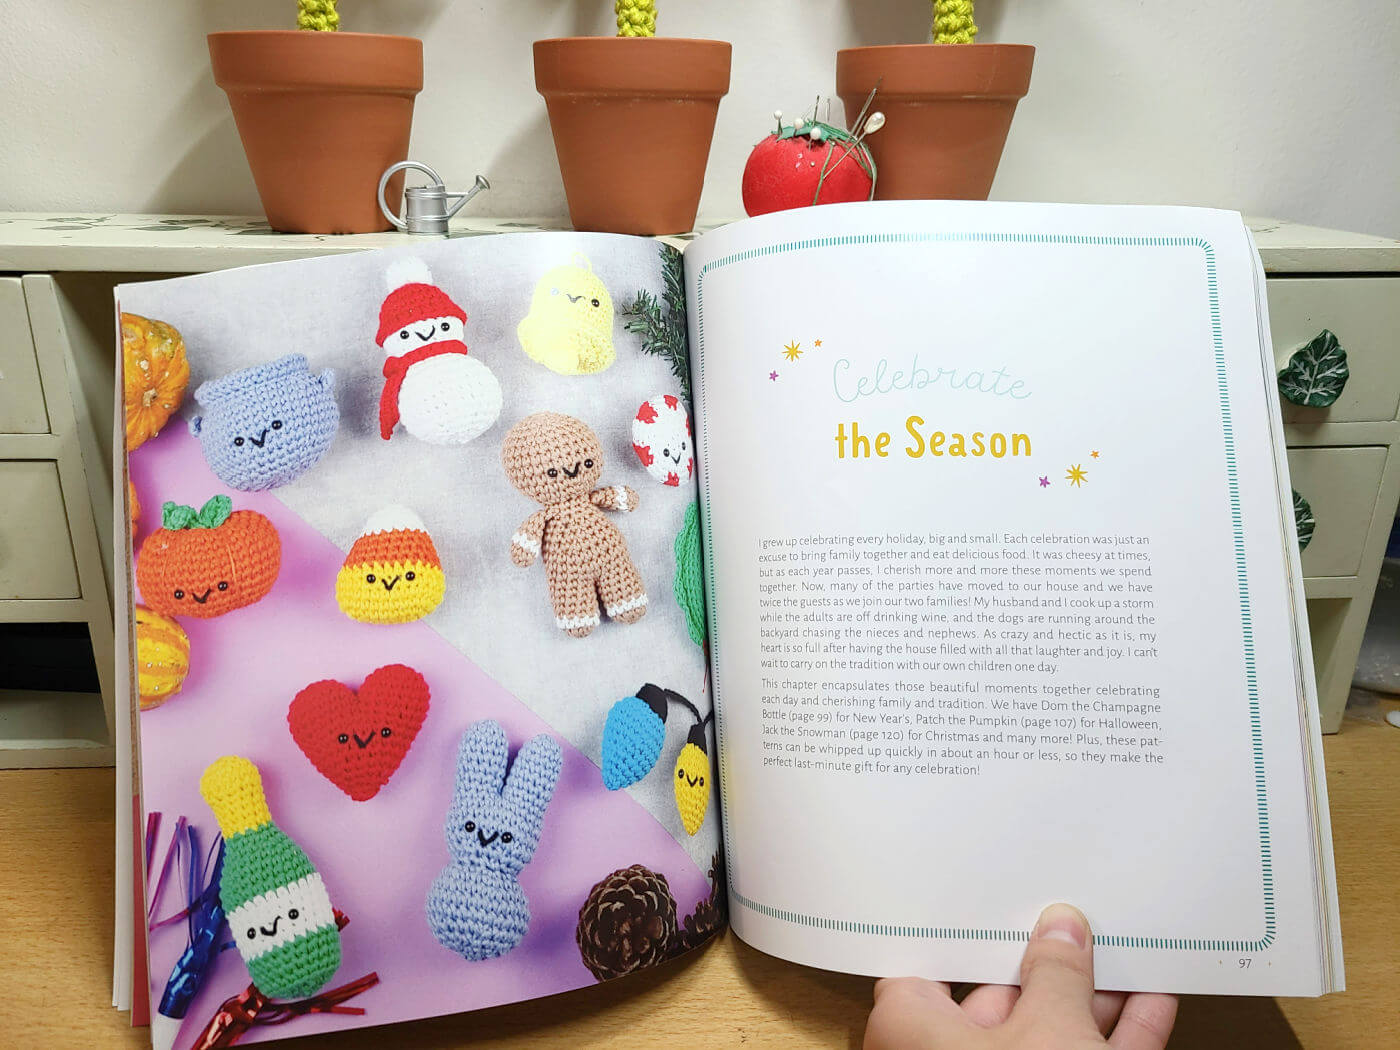
I really enjoyed that all of these are cleverly constructed to have no sewing of parts. If you like what you see, you can purchase the book One-Hour Amigurumi here.
It is now my pleasure to present to you this free crochet pattern courtesy of the author Melanie Morita-Hu and Page Street Publishing. Please enjoy this excerpt!
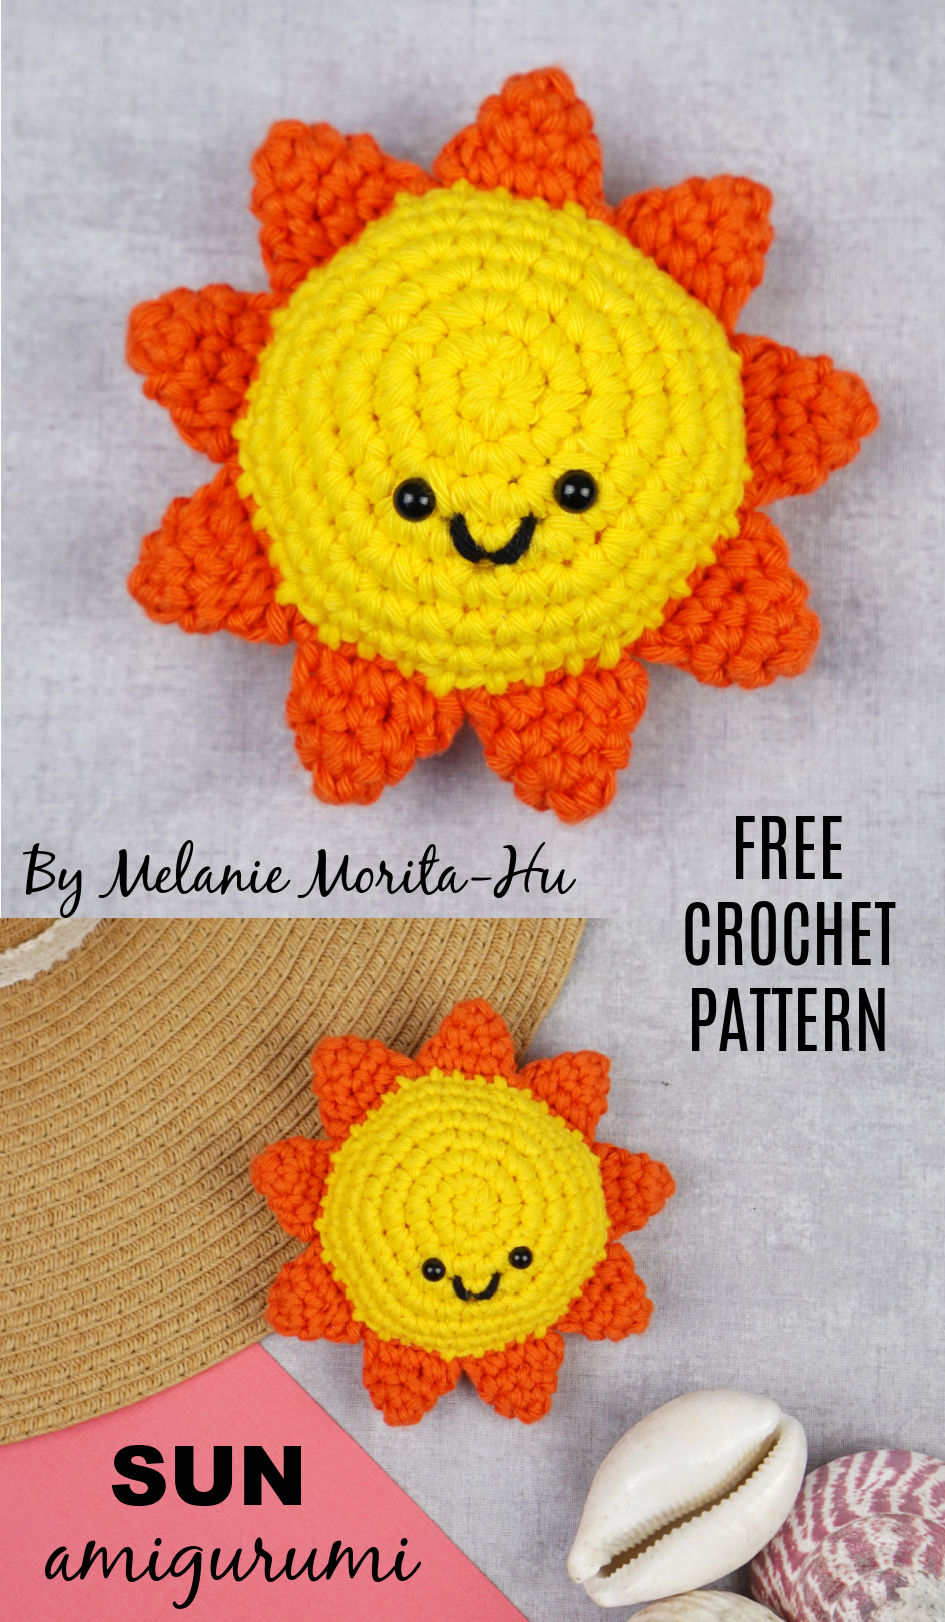
Stella the Sun – Free Crochet Pattern
By Melanie Morita-Hu
On warm summer days, my pups love to take long naps in the sun. They are crazy maniacs 83 percent of the time, but when they’re sunbathing and their sleepy little eyes can hardly stay open, they are my little rays of sunshine. Stella the Sun is uniquely designed to cut down on time and work up quickly while you relax and lounge under the warm sun. The sun rays are made first, then they are worked into the center of the sun with no sewing necessary. Stella’s finished size is approximately 4 inches (10 cm) in diameter and 1 1/2 inches (4 cm) thick.
MATERIALS
0.5 oz Paintbox Yarns Cotton Aran in Blood Orange (or similar worsted weight/aran yarn)
0.5 oz Paintbox Yarns Cotton Aran in Buttercup Yellow (or similar worsted weight/ aran yarn)
Size E-4 (3.5mm) crochet hook
Stitch marker for marking the first st
2 (1/4″ [6-mm]) black plastic safety eyes
Scrap piece of black yarn for embroidery
Polyester fiberfill
TERMINOLOGY
R1: row 1 or Round 1
st(s): stitch(es)
ch: chain
sc: single crochet
inc: single crochet increase
dec: invisible decrease
MR: magic ring
SUN RAY (x9)
This piece starts at the tip of each sunray, using Blood Orange yarn.
R1: 4 sc in MR (4)
R2: [1 sc, 1 inc] x2 (6)
R3: [2 sc, 1 inc]x2 (8)
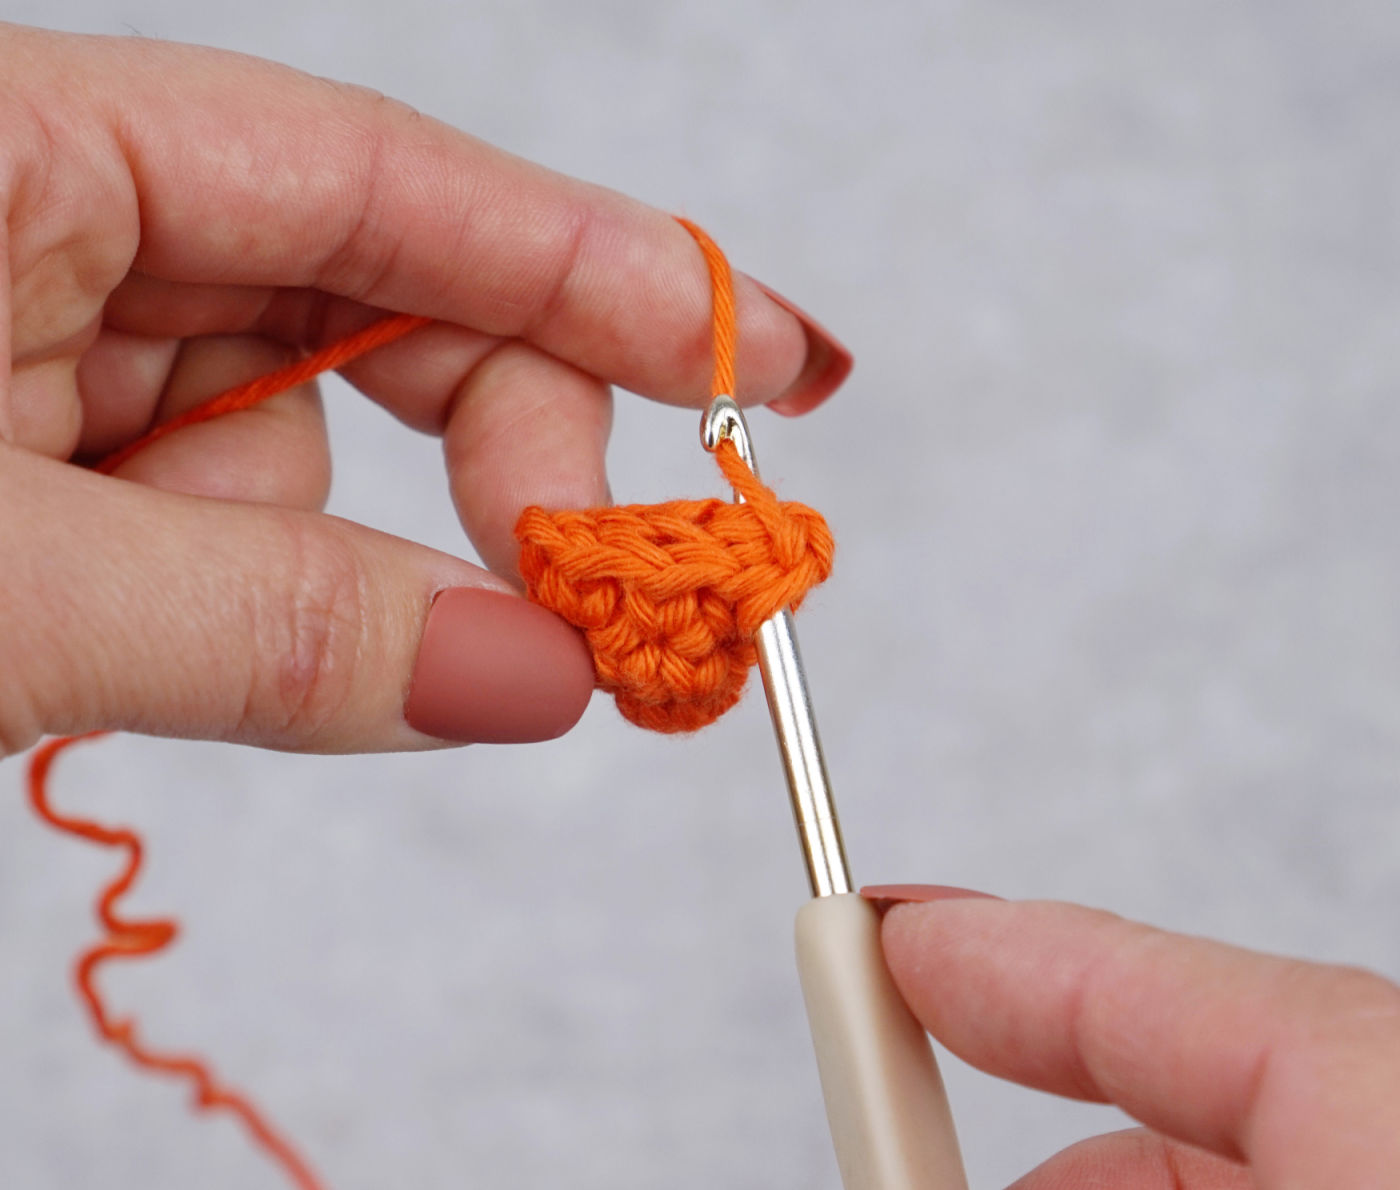
R4: Ch 1, flatten the piece, then working through the front and backstitches together, 4 sc (4)
Ch 1 and fasten off. There is no need to weave in the ends; the yarn will end up inside the piece.
SUN
This piece starts at the center of the sun, using Buttercup Yellow yarn.
R1: 6 sc in MR (6)
R2: 1 inc in each st (12)
R3: [1 sc, 1 inc] x6 (18)
R4: [2 sc, 1 inc] x6 (24)
R5: [3 sc, 1 inc] x6 (30)
R6: [4 sc, 1 inc] x6 (36)
R7: 1 sc in each st (36)
R8: [working through each sun ray and the sun together, sc 4] x9 (36)
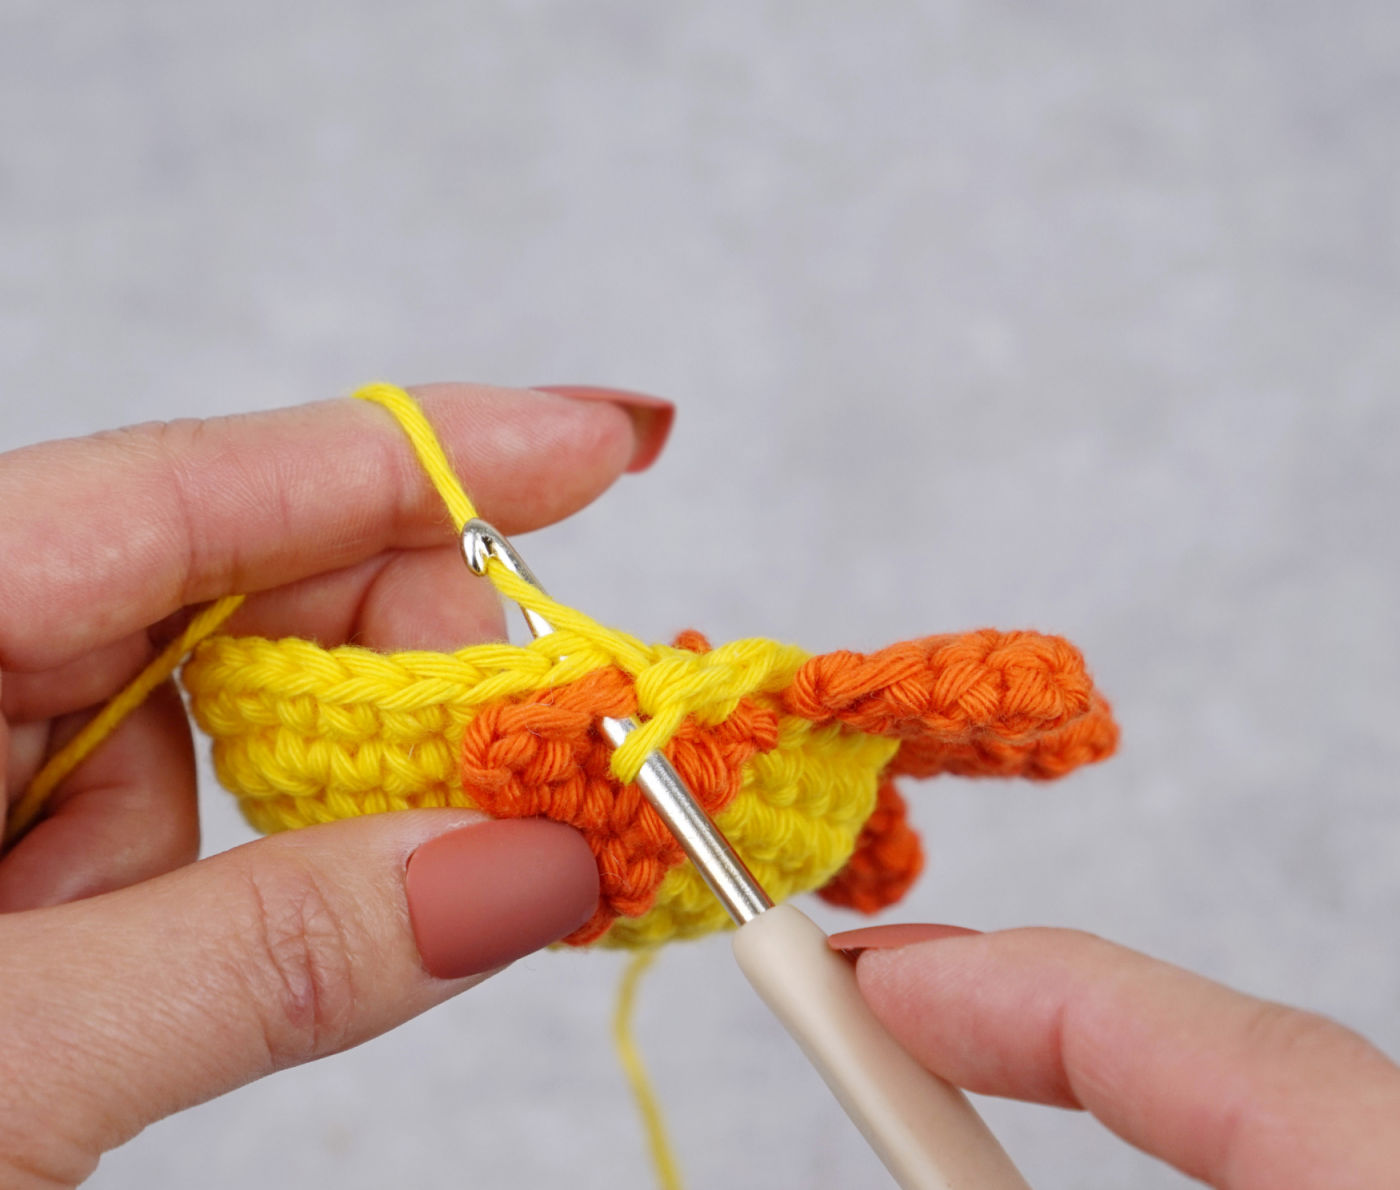
R9: 1 sc in each st (36)
Place the eyes between R3 and R4, about 4 stitches apart. Using black yarn, embroider the mouth onto the front of the face, just below the eyes, using tapestry needle.
R10: [4 sc, 1 dec] x6 (30)
R11: [3 sc, 1 dec] x6 (24)
R12: [2 sc, 1 dec] x6 (18)
R13: [1 sc. 1 dec] x6 (12)
Stuff the piece with polyester fiberfill.
R14: 6 dec (6)
Close off, and then hide the yarn end with a tapestry needle.
Credit:
Reprinted with permission from One-Hour Amigurumi by Melanie Morita-Hu. Page Street Publishing Co. 2022. Photo credit: Melanie Morita-Hu.
If you enjoyed this pattern, check out One Hour Amigurumi Book. It’s great for using up your yarn scraps and for super quick and easy projects with minimal fussing! Let me know what else you create from the book, I’d definitely love to see!

No Comments