Bye Bye Butterfree has always been one of my favorite episodes from the Pokemon TV show. And so, I finally took the time to write up the free crochet pattern for Butterfree Amigurumi and he’s the latest addition to my continuing pattern series of “Gotta Crochet ’em All” Pokemon Amigurumi!
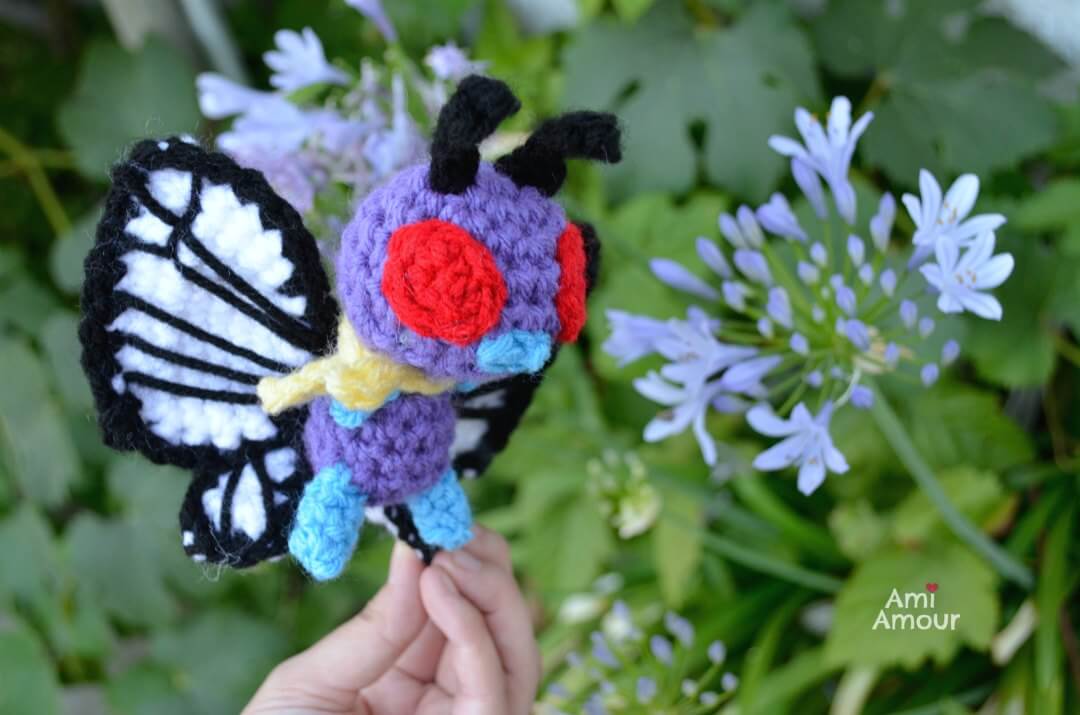
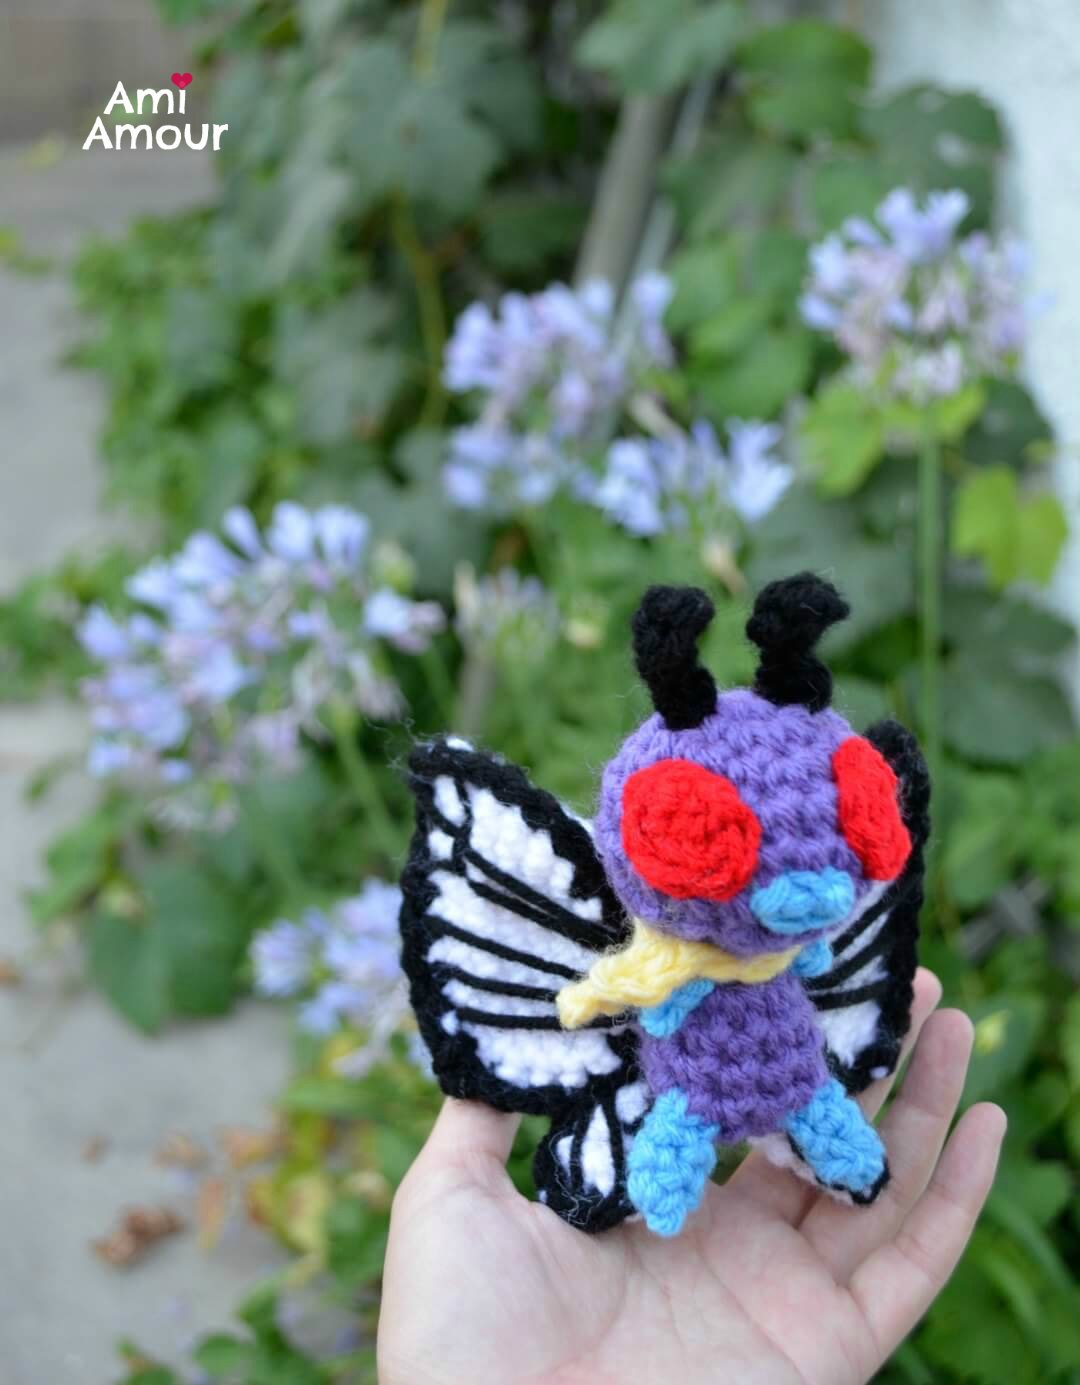
Butterfree Amigurumi definitely takes after a butterfly! His features include a purple body, oval red eyes, black antennas, and my favorite part, his beautiful wings!
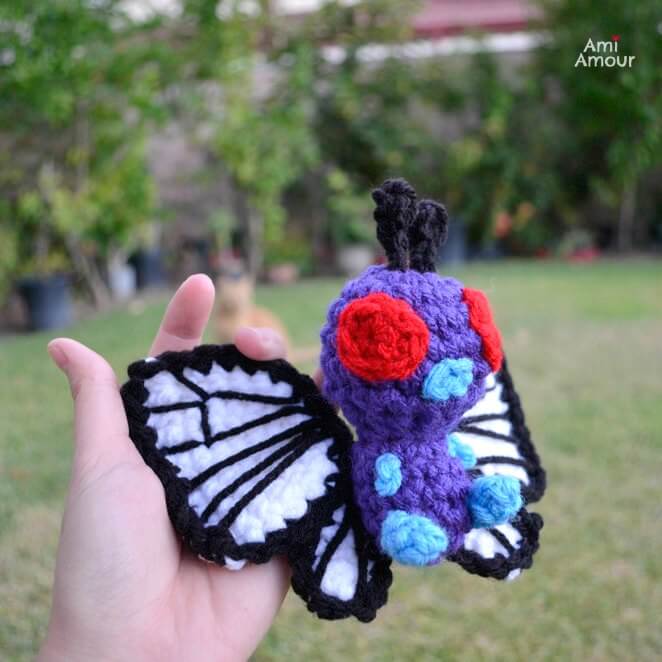
He also sports a yellow scarf to make him look spiffier! The better for him to catch the eyes of the lady butterfrees 😉
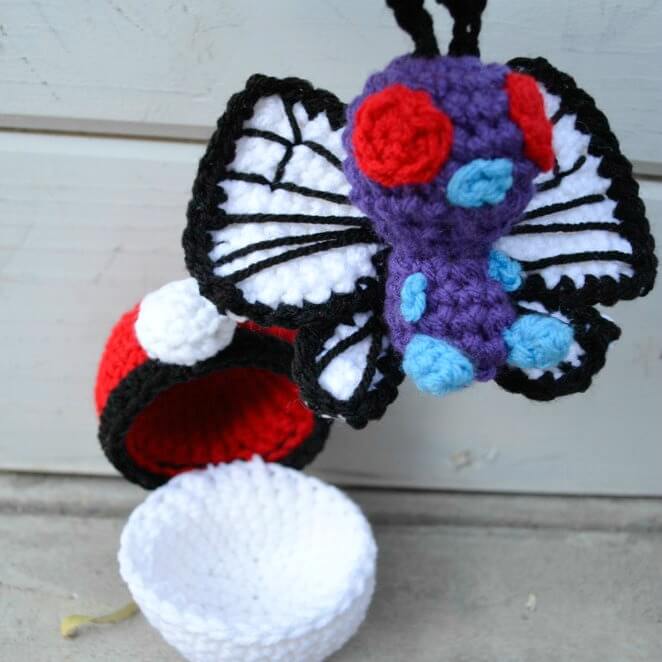
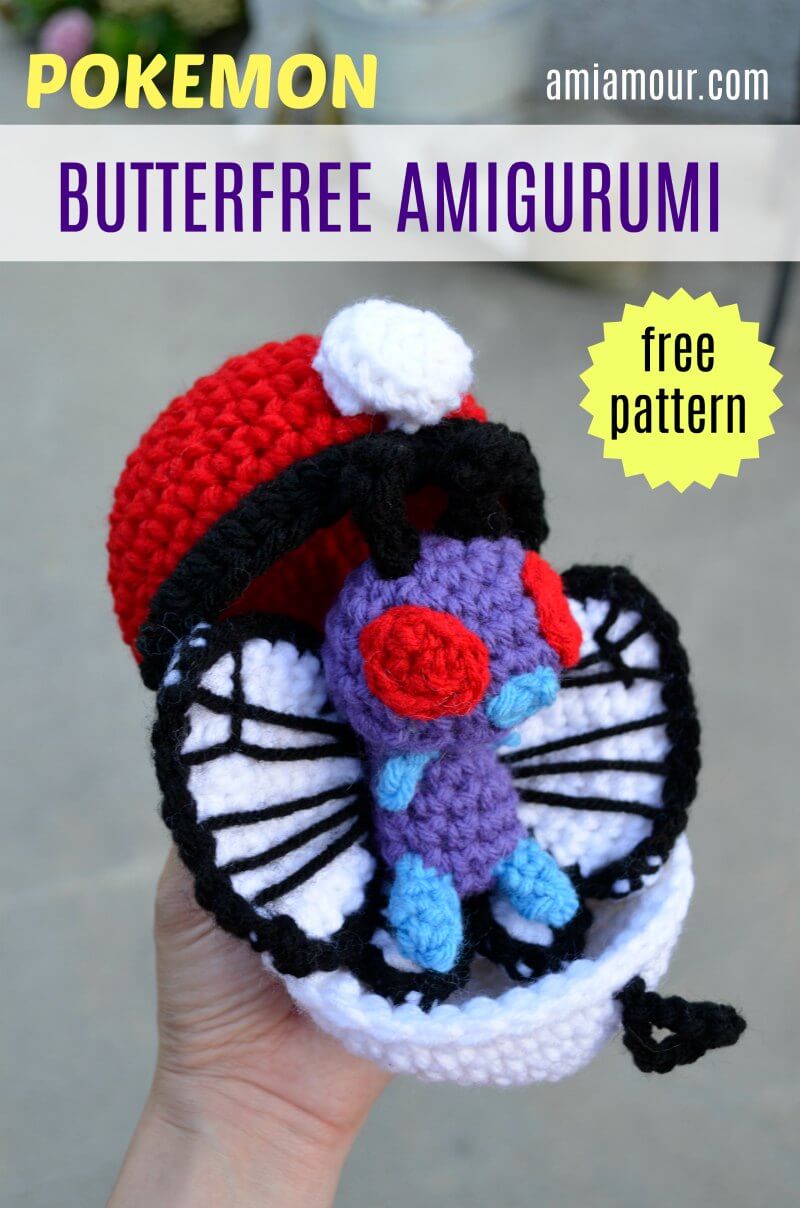
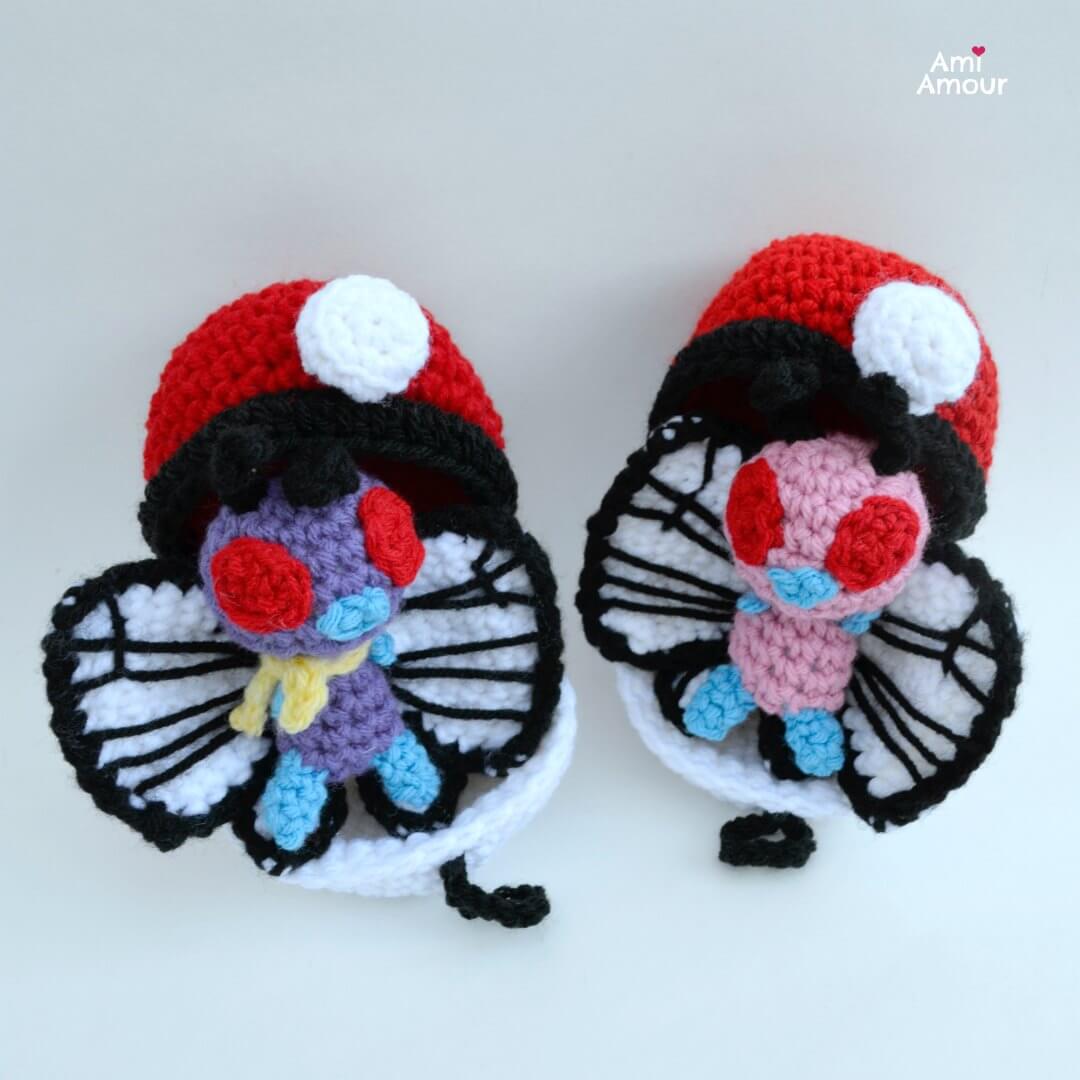
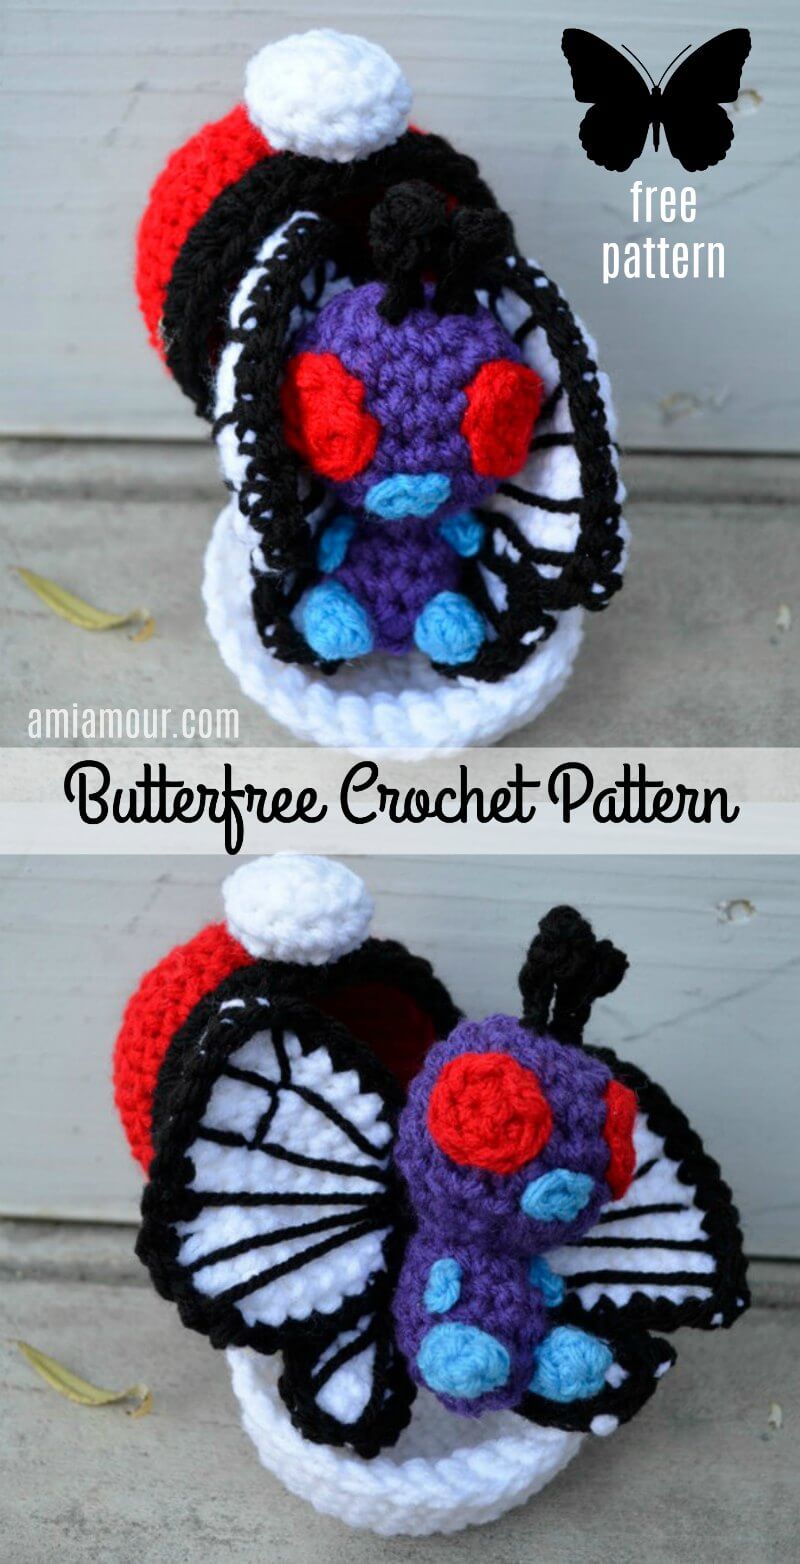
You can, of course, make him with the Pokeball Pod set (also a free pattern on my blog). His wings enclose around him and you can think of his pod as his chrysalis. Here is Butterfree Amigurumi emerging from his Pokeball cocoon. Bye Bye Butterfree!
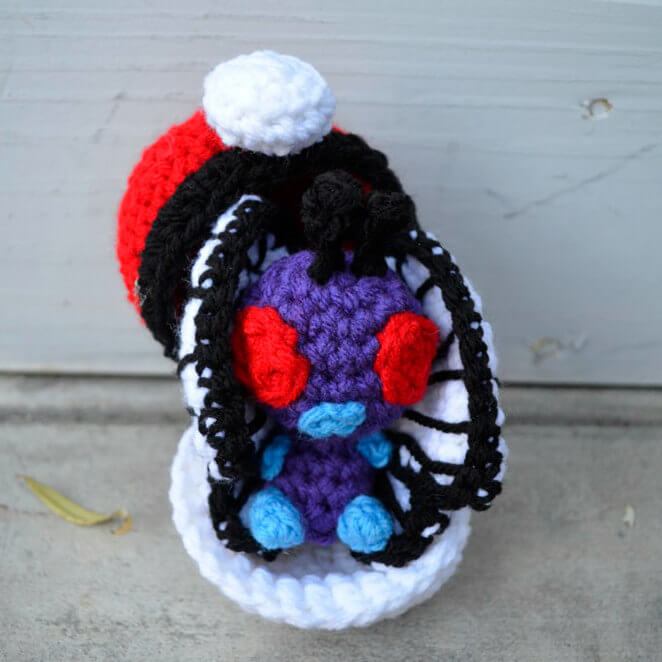
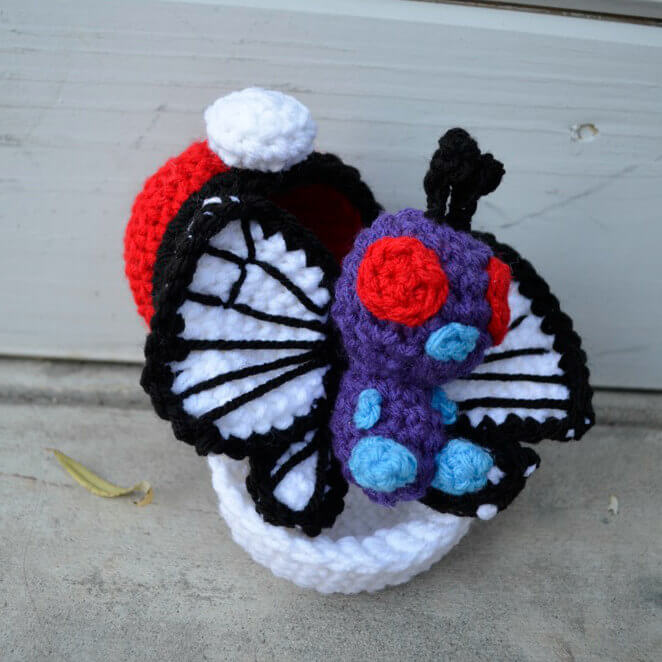
You can also make him with his partner the Pink Butterfree Amigurumi.
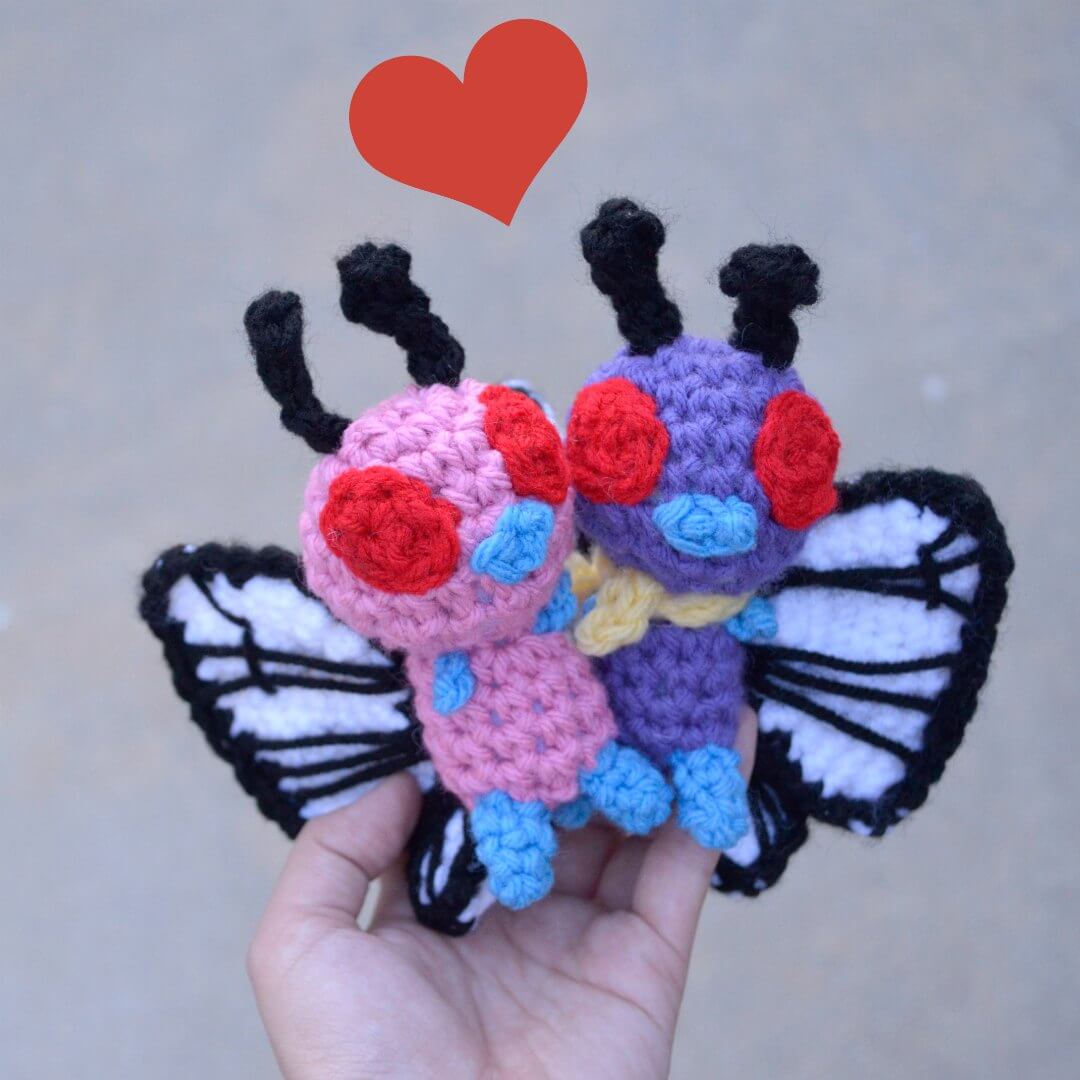
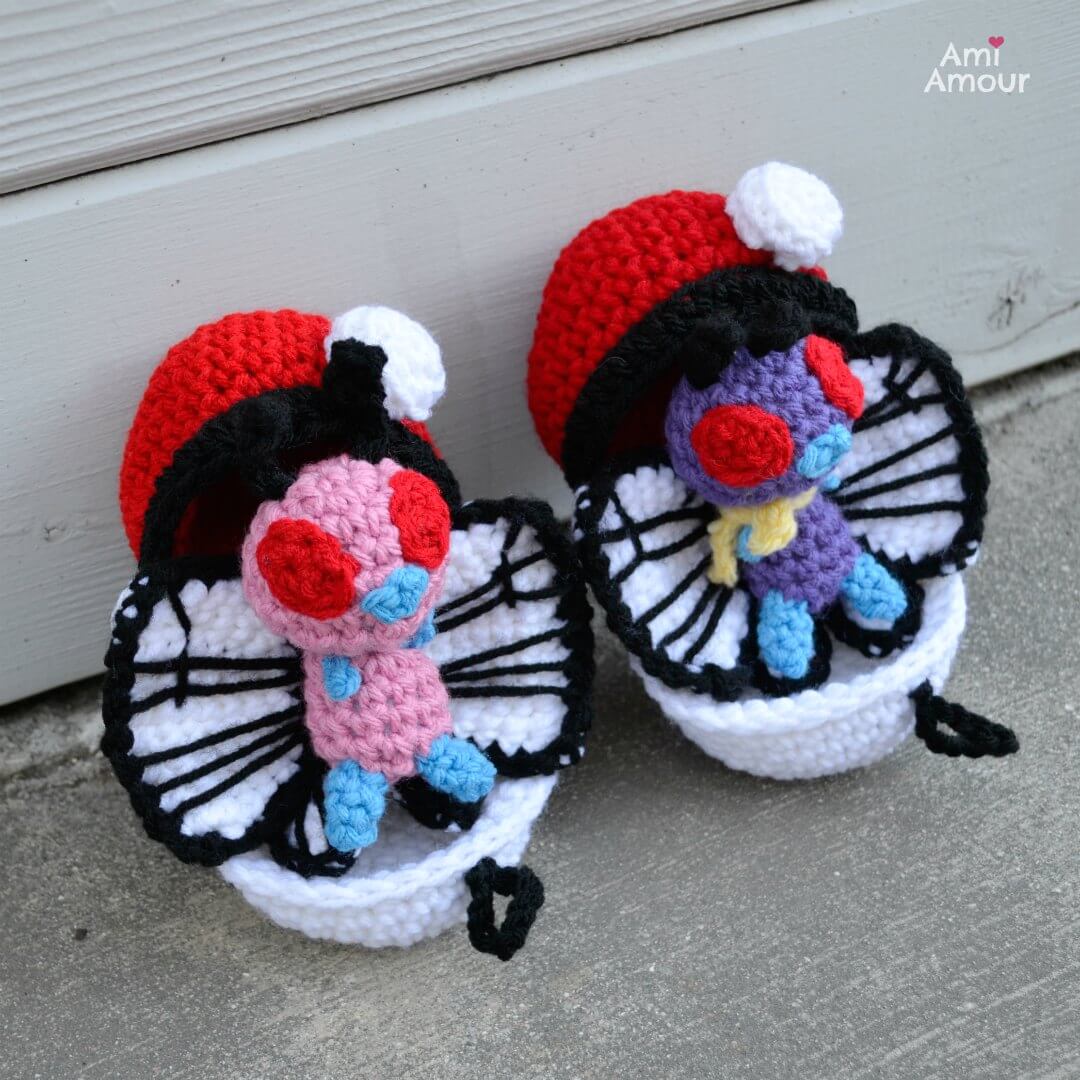
They make a good couple together! And my cat quite agrees!
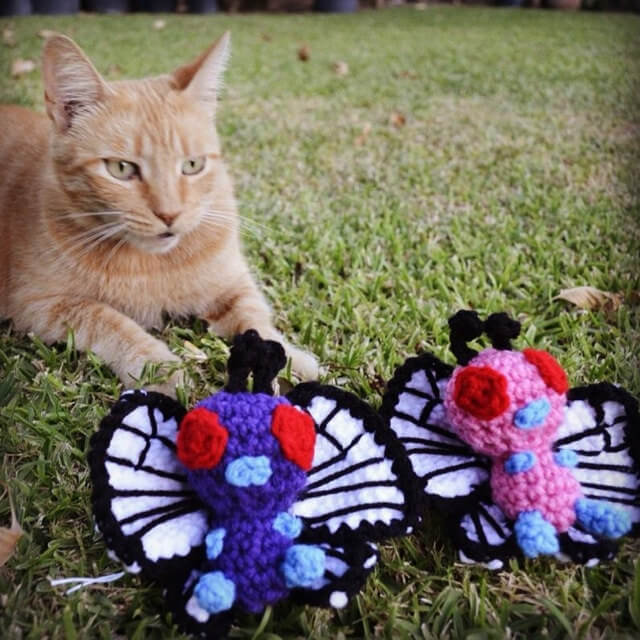
Hope you’ll enjoy making this lovely pair! I’d love to see how they come out so please do tag me on Instagram @ami_amour with your projects.
Don’t forget to subscribe to my blog so you don’t miss any of my patterns!
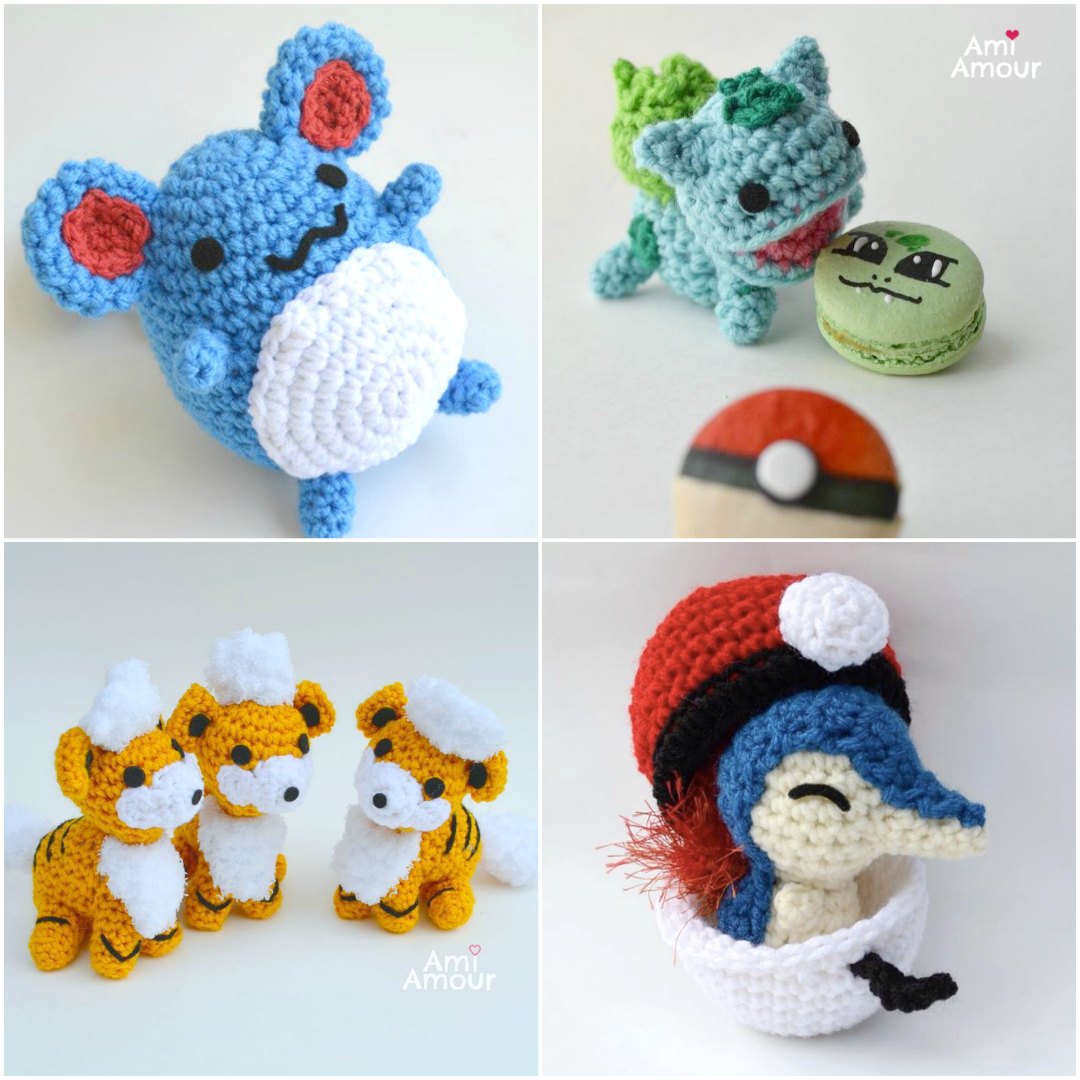
If you enjoyed this free amigurumi pattern, you may also enjoy these other free Pokemon crochet patterns.
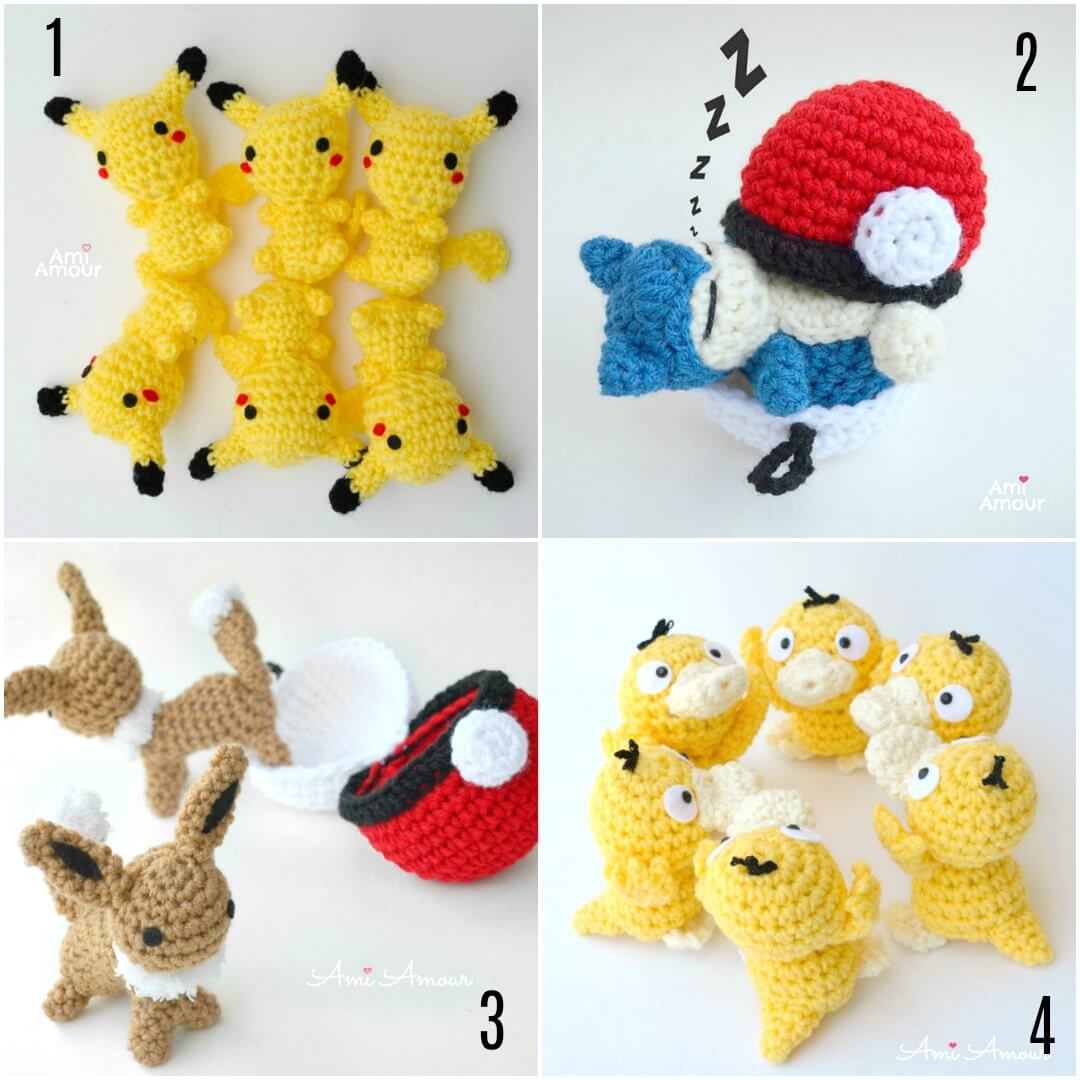
1. Pikachu Amigurumi // 2. Snorlax Amigurumi // 3. Eevee Amigurumi // 4. Psyduck Amigurumi
Also check out some of my premium Pokemon Patterns if you want to further expand your Pokemon collection!
BUTTERFREE CROCHET TUTORIAL VIDEO
Crochet along with me and see Butterfree in action! Just press play!
*Disclosure: This post contains affiliate links. This means I may receive a small commission if you decide to purchase anything by clicking on one of these links.
Butterfree Amigurumi Pattern
LEVEL: Easy Intermediate
CROCHET HOOK: 5.0mm hook
YARN:
Red Heart Super Saver (worsted weight, acrylic yarn)
– Amethyst
– Delft Blue
– Cherry Red
– Black
– Lemon (optional)
NOTIONS:
Stitch Marker
Scissors
ABBREVIATIONS (American English crochet)
ch – chain
hdc – half double crochet
sc – single crochet
sl st – slip stitch
sc2tog – single crochet 2 together (sc dec)
st – stitch
APPROXIMATE SIZE: 4.5in / 11 cm tall
BODY
With purple yarn
Round 1: 6 sc into magic ring.
Round 2: 2 sc in each st around – 12 sc.
Round 3: [2 sc in next st, sc in next st] around – 18 sc.
Round 4-6: Sc in each st around – 18 sc.
Round 7: [Sc2tog, sc in next st] st around – 12 sc.
Round 8: Sc2tog around – 6 sc.
Round 9: [2 sc in next st, sc in next 2 st] around – 8 sc.
Round 10: [2 sc in next st, sc in next st] around – 12 sc.
Round 11-13: Sc in each st around.
Round 14: Sc2tog around – 6 sc.
Fasten off, leaving a long tail.
Stuff and sew closed.
LEG (make 2)
With blue yarn
Round 1: 4 sc into magic ring.
Round 2-3: Sc in each st around – 4 sc.
Fasten off, leaving a long tail.
Do not stuff.
ARM (make 2)
With blue yarn
Ch 2, sl st into first ch.
Fasten off, leaving a long tail.
NOSE
With blue yarn
Ch 3, sl st in 2nd ch from hook and in next ch – 2 sl st.
EYE (make 2)
With red yarn
Round 1: 6 sc in magic ring.
Round 2: 2 sc in next st, sl st in next st.
Fasten off, leaving a long tail.
ANTENNA (make 2)
With black yarn
Round 1: 4 sc into magic ring.
Sl st into first sc. Ch 3, sl st back 2 ch. Sl st to join back to circle.
Fasten off, leaving a long tail.
WING #1 (make 2)
With white yarn
Round 1: 6 sc into magic ring.
Round 2: 2 sc in next st – 12 sc.
Round 3: [2 sc in next st, sc in next st] around – 18 sc.
Round 4-7: Sc in each st around- 18 sc.
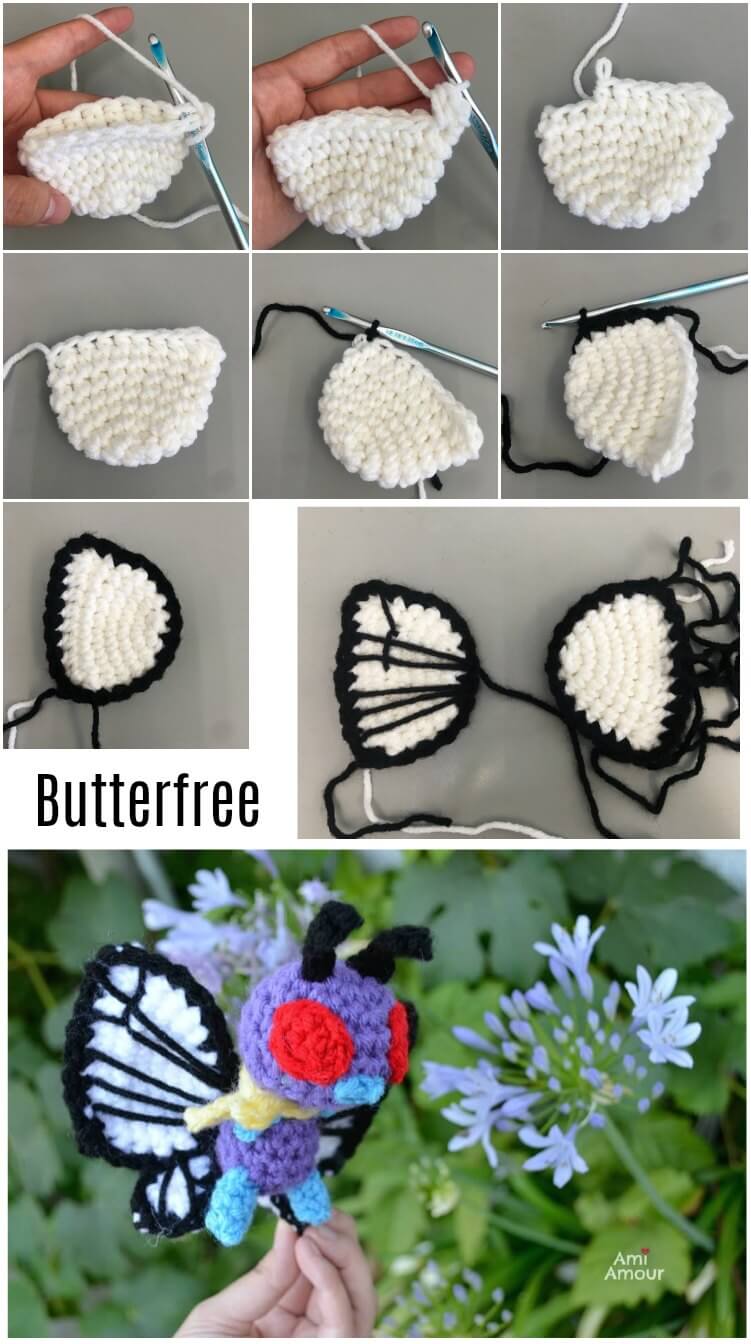
Do not fasten off, we are going to sew the the top closed. (see photos below)
Row 8: 2 hdc in first st, hdc in next 6 st, sl st in next st.
Switch to black yarn. Sc around for a border.
Fasten off, leaving a very super long tail. (The length should be about your arm span width from one arm to the other arm.)
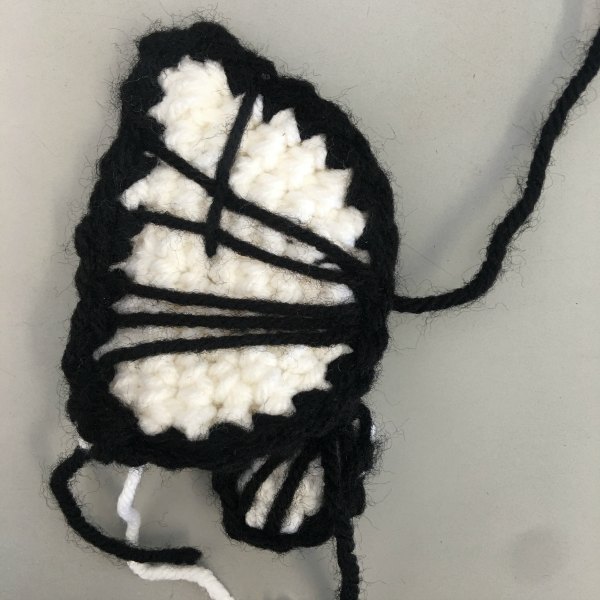
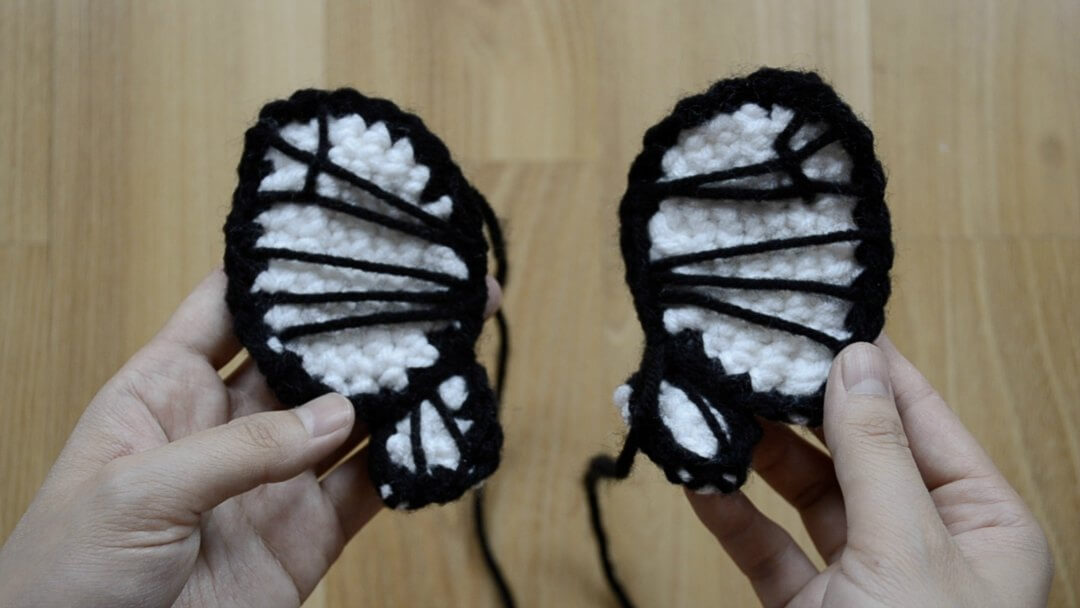
You will now embroider the lines for the wing. Make sure to have the same pattern in front of the wing as well as the back of the wing. You can see how I do it in my video tutorial here or see my photos below for reference. When you embroider the other wing, you’ll want to embroider the pattern to look as a mirror image (or reverse image) of the other wing.
WING #2 (make 2)
With white yarn
Round 1: 6 sc into magic ring.
Round 2-4: Sc in each st around – 6 sc.
Switch to black yarn. Flatten wing.
With black yarn, sc around for a border.
Fasten off, leaving a super long tail.
Embroider 2 lines in the wings for the front and the back of the wing.
See photo below for reference.
WING ASSEMBLY
Sew the Wing #2 under Wing #1. See photos for reference.
SCARF (optional)
With yellow
Ch 21, sl st back 20 ch.
Fasten off, leaving a long tail. Weave in ends.
You can tie around Butterfree’s neck for a cute accessory.
AMIGURUMI ASSEMBLY
1. Sew Eyes to Head. Placement: The bottom of the eyes should match with the same line underneath Round 5. Eyes are placed 2 sts apart. See photos below for reference.
2. Sew Nose 5 Rounds down from Head. Placement should be in the middle and right below the line where the Eyes line up.
3. Sew Legs to bottom of the Body.
4. Sew Arms to Body.
5. Sew Antennas to top of Head.
6. Sew Wings to Back of Body.
7. Tag me with your projects on Instagram @ami_amour or Facebook!

3 Comments
Joyce
November 11, 2020 at 8:54 amThank you! I don’t know anything about pokemon, however that’s what my great nephew likes so just needed to find a couple patterns that would work up fast for a last minute gift! I hope he like these! I don’t have any other family into Pokemon! Joyce
Barbora
June 29, 2021 at 4:07 pmThank you for sharing thispattern, my son loves it🥰
Ami Amour
July 3, 2021 at 2:31 pmI’m so glad to hear that!