
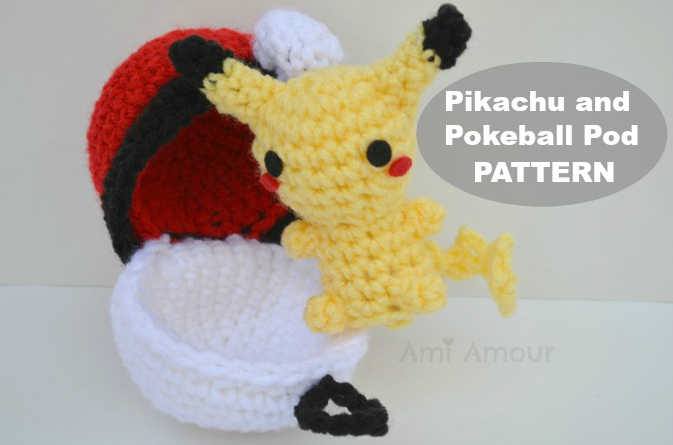
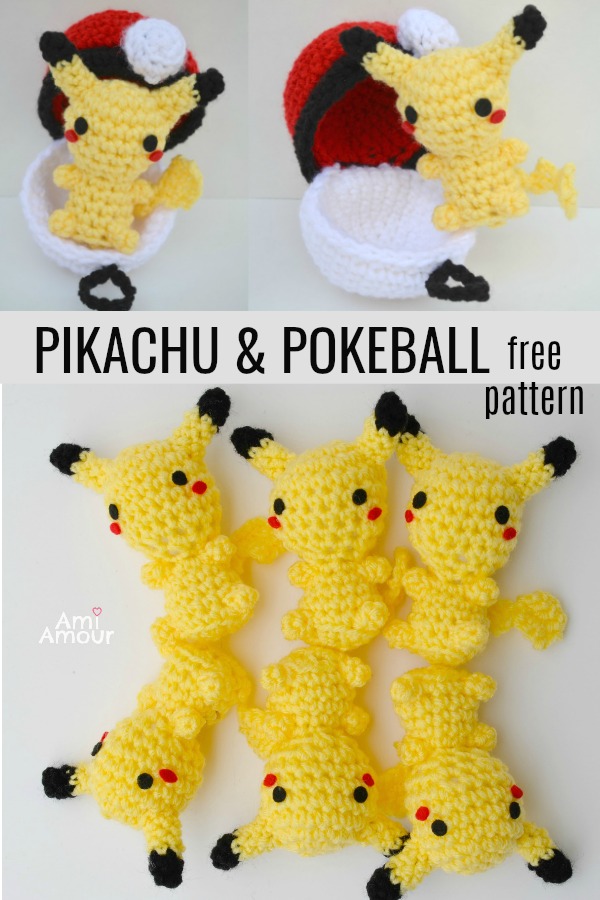
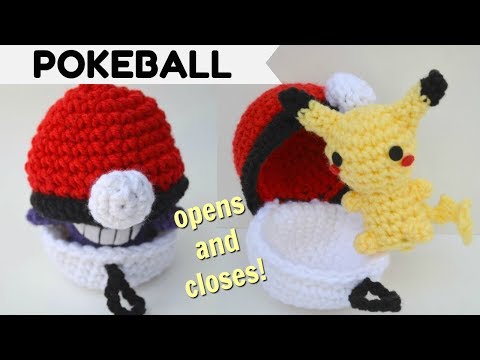
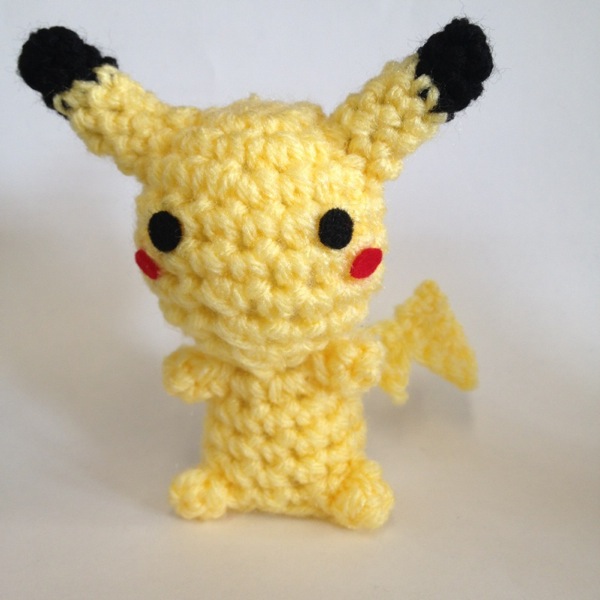
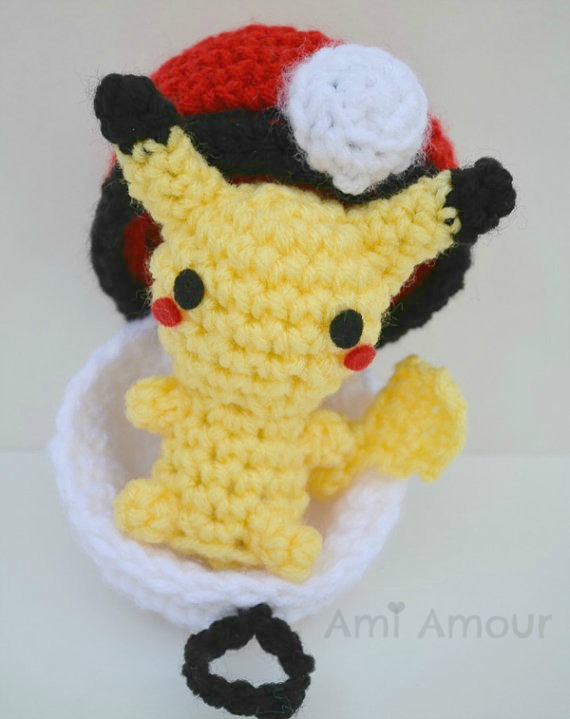
What better way to catch a Pikachu, but with a functional Pokeball!
The origin of this Pokeball amigurumi pattern began when one day my friend, Tina, asked me regarding another crochet Pokeball I had made, “Does it open?” And that one, at the time, did not.
BUT… that question got the gears rolling in my head, and I thought to myself, “Wouldn’t it be crazy if I did make a Pokeball that opened and closed and could capture whatever Pokemon was out there to be found?!”
And thus was born, the amigurumi Pokeball Pod, quite the magical form. It’s a tool that every Pokemon trainer must carry, and also functions as quite a lovely and comfy home for your Pokemon.
I only know how to create the crochet Pokeball, but alas, the actual mechanics of how a Pokeball works is beyond me!
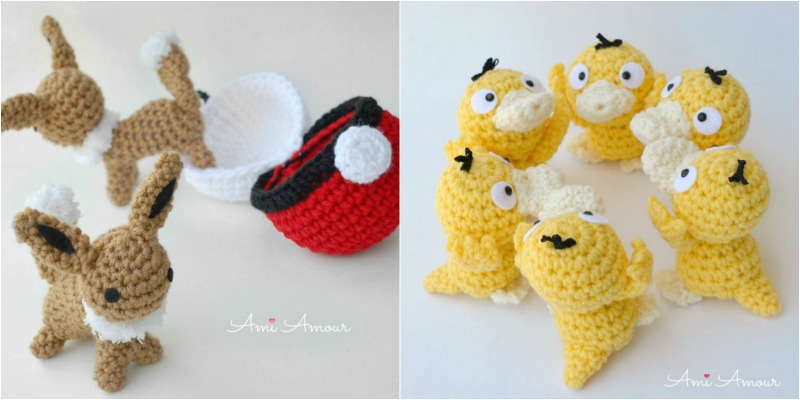
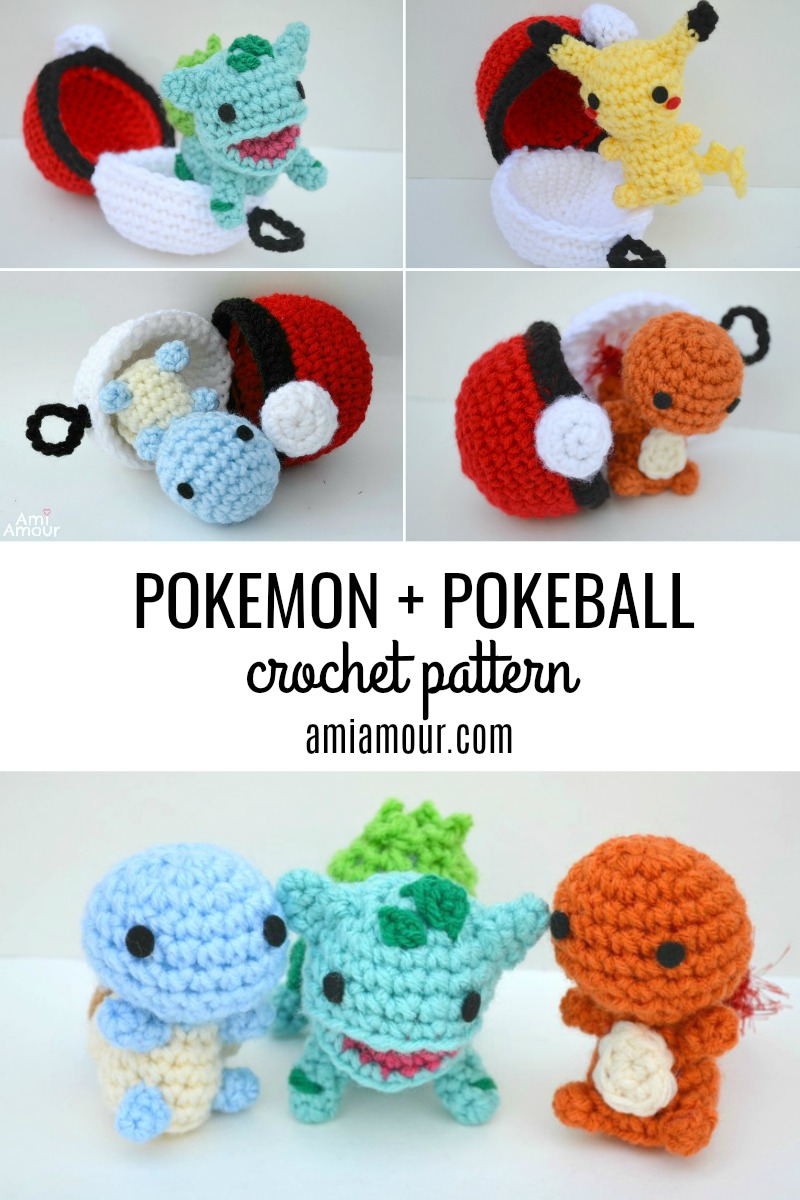
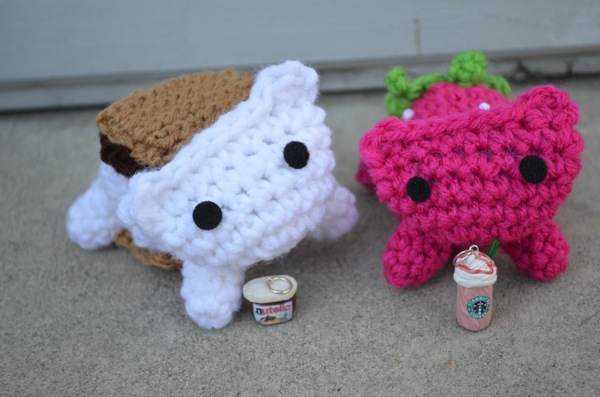
Here is a collection of all the Pokemon projects I’ve made so far. As you can see, the crochet Pokeball can house quite a few different Pokemon amigurumi critters!
So anyways, let’s get to the pattern so you can continue to collect and train your Pokemon!
Please enjoy and do let me know how your crochet and Pokemon adventure turns out. Don’t forget to share with me on my Facebook and Instagram!
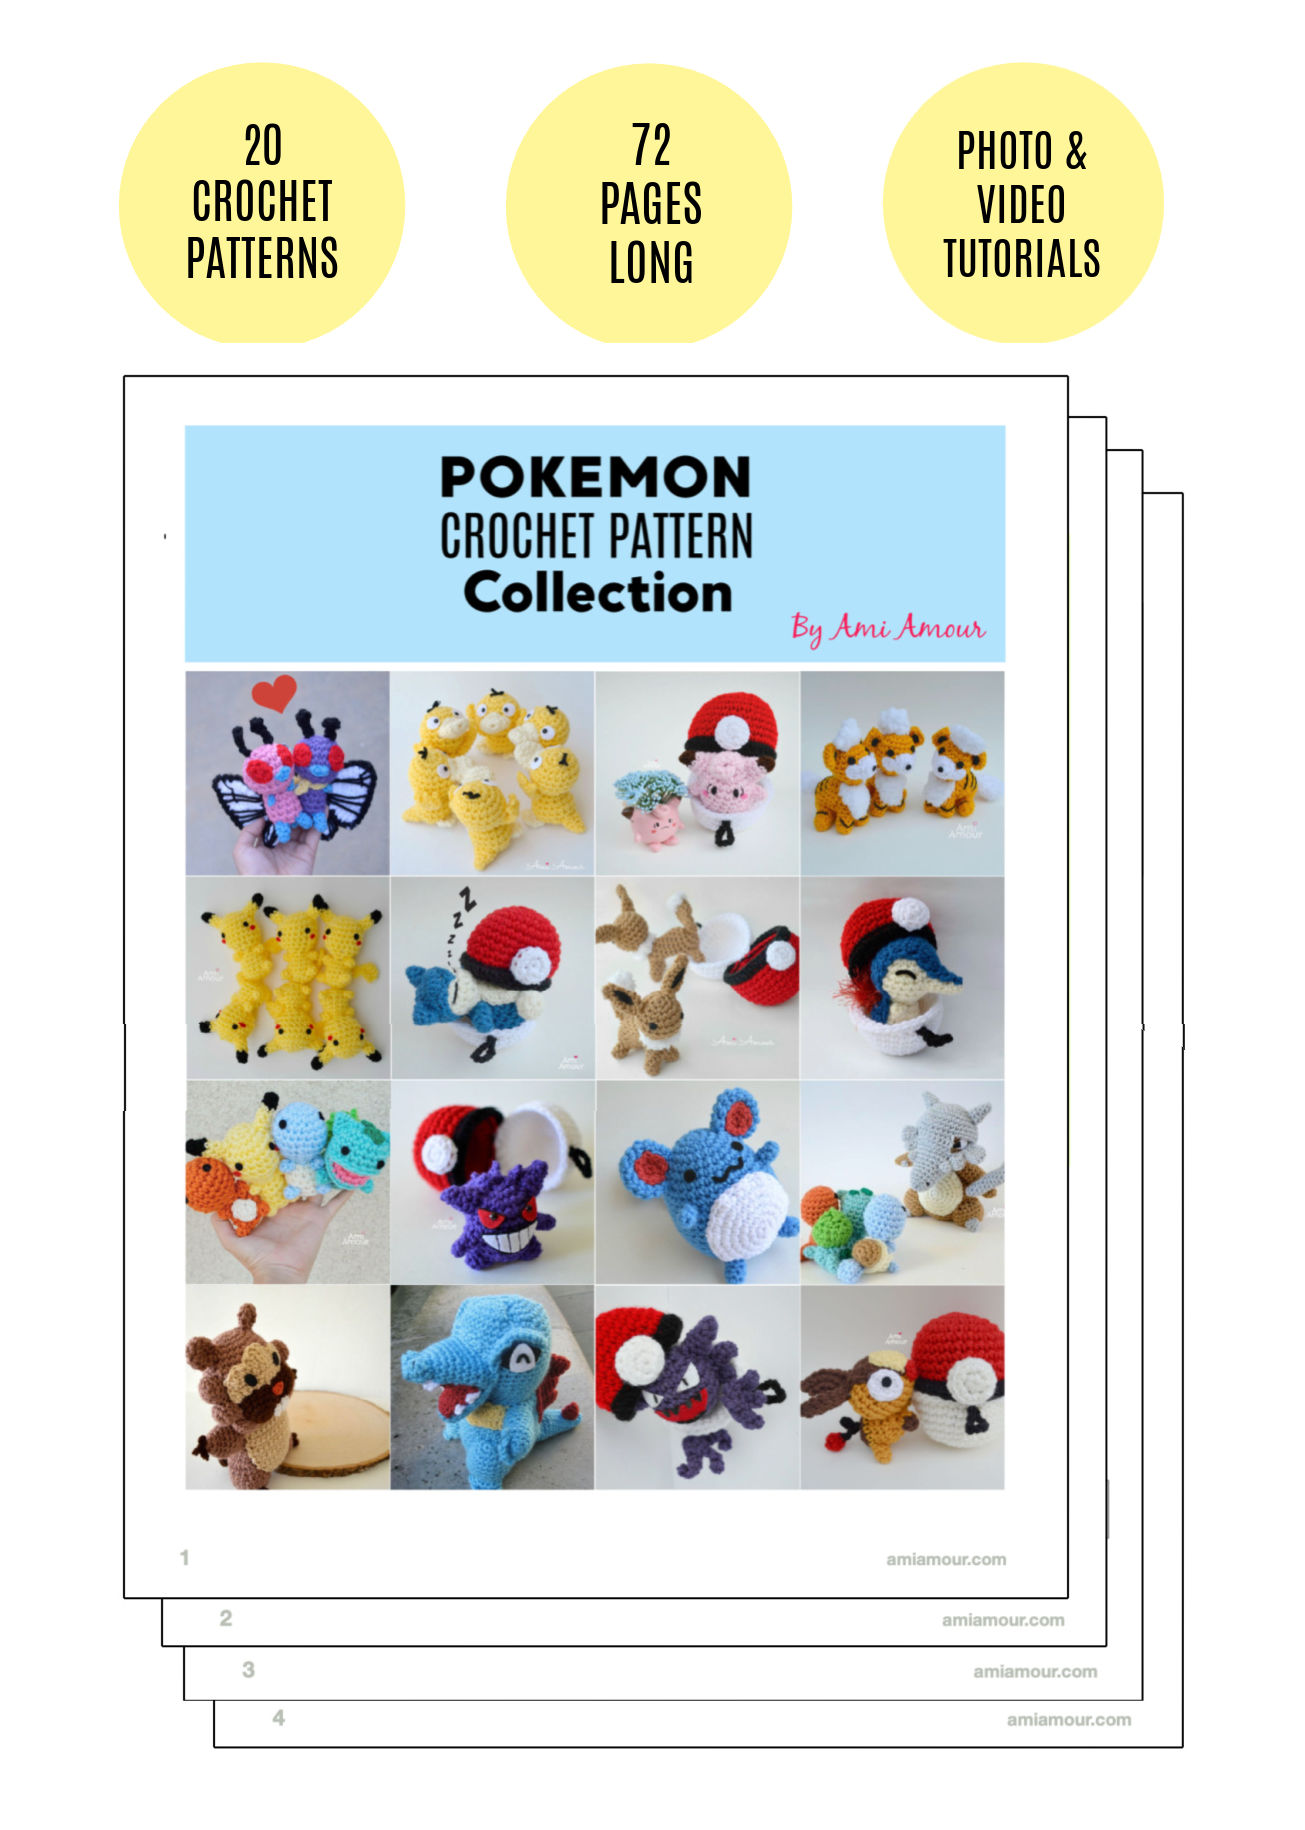
This Pikachu and Pokeball pattern is free and the pattern is available below, but I’ve also finally compiled ALL my Pokemon Crochet patterns into a beautifully formatted and convenient e-book PDF collection.
It includes 20 different Pokemon patterns and is 72 pages long! You can check it out here in my Etsy shop. Thank you for supporting my work!
Be sure to subscribe to my blog to catch all my FREE PATTERNS!
If you enjoyed Pikachu, you may also enjoy these other FREE Pokemon patterns:
“Gotta Crochet ‘Em All” Pokemon Amigurumi Series
1. Eevee Amigurumi
2. Psyduck Amigurumi
3. Cyndaquil Amigurumi
4. Gengar Amigurumi
5. Tepig Amigurumi
*Disclosure: This post contains some affiliate links. This means if you decide to make a purchase after clicking a link, I may earn a small commission, at no extra cost to you.
Pikachu and Pokeball Pod Crochet Pattern
SKILL LEVEL: Easy
CROCHET HOOK: Size H-8 (5 mm)
YARN:
Red Heart Super Saver – worsted weight, acrylic yarn
#319 Cherry Red
#311 White
#312 Black
#336 Warm Brown (very small amount)
#235 Lemon
NOTIONS:
Polyester Fiberfill
Black Felt (or safety eyes)
Red Felt (for cheeks)
22mm Button
Yarn Needle
Stitch Marker
Fabri-tac Glue
ABBREVIATIONS:
ch – chain
hdc – half double crochet
sc – single crochet
sl st – slip stitch
sc2tog – single crochet 2 together (sc dec)
st – stitch
APPROXIMATE SIZE:
Pokeball – 4in/10cm wide, 4in/10cm tall
Pikachu – 4in/10cm tall
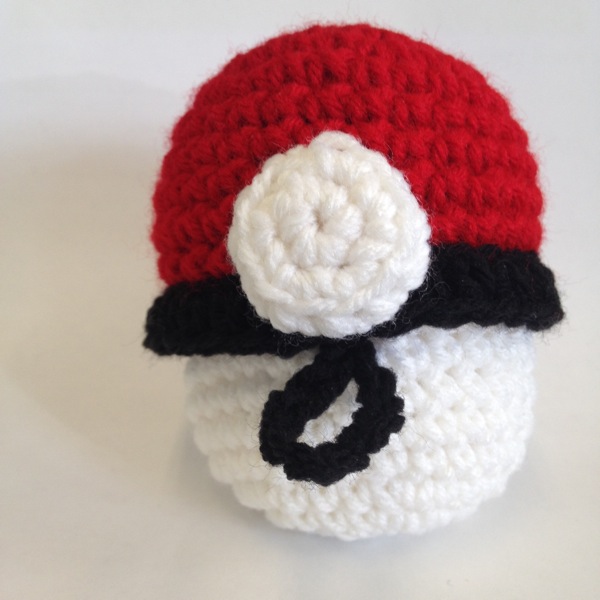
Pokeball Amigurumi Tutorial video
See the Pokeball in action in the video below!
POKEBALL TOP
Round 1: With red, 6 sc into adjustable ring.
Round 2: 2 sc in each st around – 12 sc.
Round 3: [2 sc in next st, sc in next st] around – 18 sc.
Round 4: [2 sc in next st, sc in next 2 st] around – 24 sc.
Round 5: [2 sc in next st, sc in next 3 st] around – 30 sc.
Round 6-9: Sc in each st around.
Fasten off and cut.
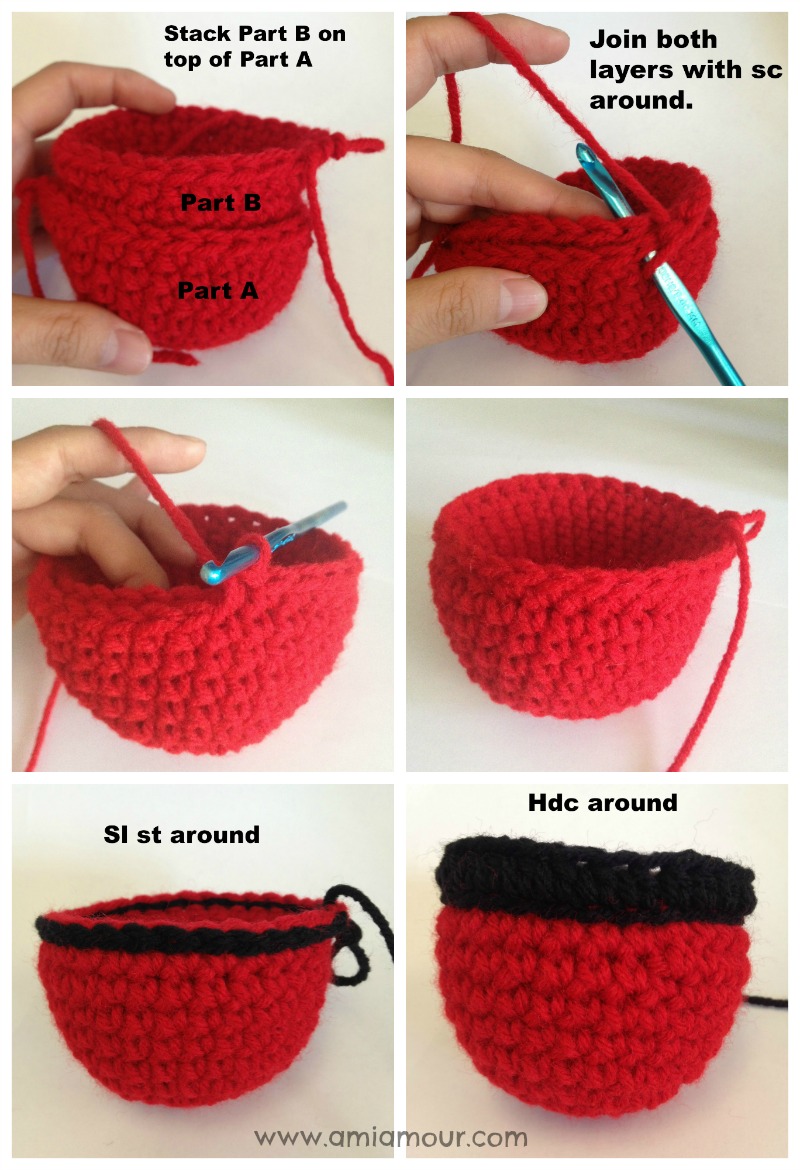
You have just created Part A. Repeat Rounds 1-8 only to create Part B. (The Part B will be one round less than Part A) Do not fasten or cut off yarn on Part B. Now, stack Part B on top of Part A (see photo below).
Round 10: Join the two layers with sc around (to get started, insert hook though sts of both Part A and Part B) – 30 sc. (See photo below)
Round 11: With black, sl st around.
Round 12: Hdc in each ch around. Sl st to join to first hdc made. Fasten off, leaving a long tail.
POKEBALL BOTTOM
Round 1: With white, 6 sc into adjustable ring.
Round 2: 2 sc in each st around – 12 sc.
Round 3: [2 sc in next st, sc in next st] around – 18 sc.
Round 4: [2 sc in next st, sc in next 2 st] around – 24 sc.
Round 5: [2 sc in next st, sc in next 3 st] around – 30 sc.
Round 6-9: Sc in each st around.
Fasten off and cut.
You have just created Part A. Repeat Rounds 1-8 only to create Part B. (The Part B will be one round less than Part A). Do not fasten or cut off yarn. Stack Part B on top of Part A.
Round 10: Join the two layers with sc around – 30 sc. Sl st to first sc made.
Fasten off, leaving a long tail.
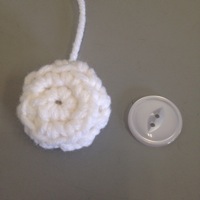
CIRCLE BUTTON
Round 1: With white, 6 sc into adjustable ring.
Round 2: 2 sc in each st around – 12 sc.
Round 3: (In back loop only) Sc in each st around.
Round 4: Sc2tog around – 6 sc.
Fasten off, leaving a long tail.
Insert 22mm Button inside circle and sew closed.
LATCH
With black, ch 12, sl st to first ch. Fasten off, leaving a long tail.
ASSEMBLY
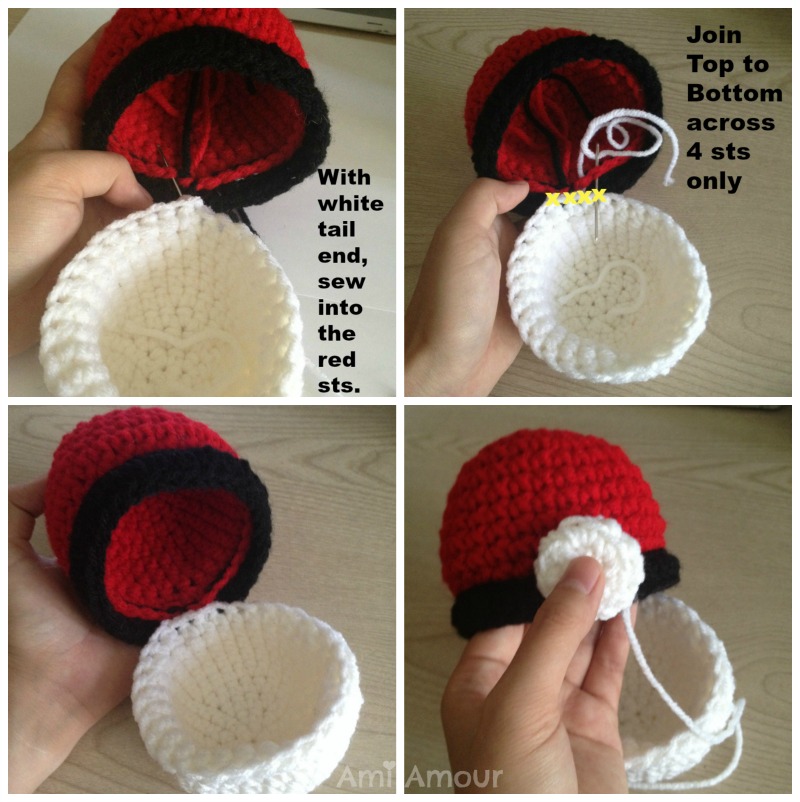
1. Use the white tail end of the Pokeball Bottom to sew to the Pokeball top. Sew into the red stitches and back into the white stitches. You will only need to sew across 4 sts. See photos below.
2. Hide and cut all ends.
3. Sew Circle Button to Pokeball Top. Placement: In between the red and black band in center of Pokeball.
4. Sew Latch onto Pokeball bottom. Placement: One row down from top.
5. Hide and cut all ends.
6. Now you’ve finished your Pokeball. You can use the latch to hook around the circle button to close the Pokeball. Give it a try!
PIKACHU AMIGURUMI PATTERN
Round 1: With yellow, 6 sc into adjustable ring.
Round 2: 2 sc in each st around – 12 sc.
Round 3: [2 sc in next st, sc in next st] around – 18 sc.
Round 4: [2 sc in next st, sc in next 8 st] around – 20 sc.
Round 5-6: Sc in each st around.
Round 7: [Sc2tog, sc in next 8 st] around – 18 sc. Note: If you use safety eyes, place them now in between the 6th and the 7th round. There should be spaced 4 sts apart.
Round 8: [Sc2tog, sc in next st] around – 12 sc.
Round 9: [Sc2tog, sc in next st] around – 8 sc.
Round 10: [Sc2tog, sc in next 2 st] around – 6 sc.
Round 11: 2 sc in each st around – 12 sc.
Round 12: Sc in each st around.
Round 13: [2 sc in next st, sc in next 5 st] around – 14 sc.
Round 14-15: Sc in each st around.
Round 16: (In back loop only) Sc2tog around – 7 sc.
Fasten off, leaving a long tail. Stuff and sew closed.
EAR (make 2)
Round 1: With black, 4 sc into adjustable ring.
Round 2: Sc in each st around.
Round 3: With yellow, 2 sc in next st, sc in next 3 st – 5 sc.
Round 4-5: Sc in each st around.
Round 6: 2 sc in next st, sc in next 4 st – 6 sc.
Fasten off, leaving a long tail.
LIMB (make 4)
Round 1: With yellow, 4 sc into adjustable ring.
Round 2: Sc in each st around.
Fasten off, leaving a long tail.
TAIL
Row 1: With yellow, ch 5, sc into 2nd ch from hook and in each remaining ch across – 4 sc.
Row 2-3: Ch 1, turn, sc in each st across – 4 sc.
Row 4: Ch 3, sc in 2nd ch from hook, sc in next 2 st – 3 sc.
Row 5: Ch 1, turn, sl st in next 3 st – 3 sl st.
Row 6-7: Ch 1, turn, sc into next st – 1 sc.
Row 8: Ch 3, turn, sc into 2nd ch from hook and in each st across – 3 sc. Fasten off, leaving a long tail.
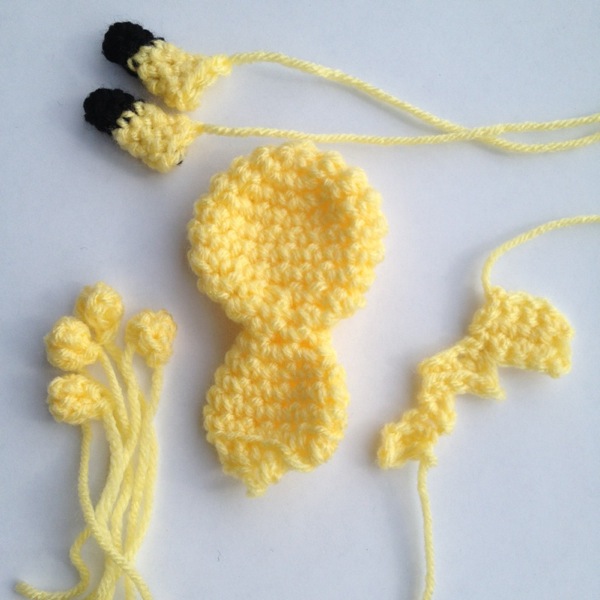
PIKACHU ASSEMBLY
1. Stuff Body and sew closed. Other parts are not stuffed.
2. Sew ears to head
3. Sew limbs to body
4. Sew Tail to back of body
5. Use brown yarn to embroider 2 lines on the back.
6. For felt eyes, you can cut 2 small circles. Eye Placement: Between 6th and 7th round from top down. Eyes should be placed about 4 sts apart. Stitch or glue on with Fabri-tac.
7. Cut 2 small red ovals for the blush for Pikachu’s cheek. Stitch or glue on.
8. Cut and hide all ends.
Check out my other Pokemon Patterns in my Ravelry Shop!

36 Comments
Natalie
July 12, 2015 at 6:05 pmThank you for an awesome pattern!
Dana
July 12, 2015 at 11:23 pmGreat pattern thank you for the share
Tutje
July 13, 2015 at 8:57 pmWhauw super nice
Thx i will visit your site more
eva
July 19, 2015 at 11:58 amĎakujem za krásny vzor, verím, že vnúčik bude rád.
Doris
October 29, 2015 at 1:43 pmHermosooo gracias por el patrón!!!
My favourite amigurumis | dianasamigurumis
December 21, 2015 at 8:06 pm[…] the Pokéball right and to get the measurements right so that Pikachu would fit in there. I used Ami Amour her pattern for this Pikachu […]
Love
February 12, 2016 at 12:27 amI don’t really understand it a lot I’m trying to make it for my boyfriend!?!?????
Julie Robertson
March 14, 2016 at 8:41 amThis ie EXACTLY what my 11 year-old soon asked me to make him for his birthday! Thank you, thank you thank you! Have you made any other Pokémon amigurumi patterns that fit into the pod? I would love to see them.
BJM
July 20, 2016 at 8:51 pmThanks
mar
July 26, 2016 at 5:51 pmPatroon van de pokeball klopt niet.
Linda Colello
August 10, 2016 at 10:07 pmThank you for this awesome pokeman pattern. I just found out my youngest grandsons love pokeman. They are going this this toy! I just have to sew the Pikachus together. It was a great learning experience for me. I have never made anything this small and with these shapes. One Pikachus done. Love how they turned out. Can’t wait to make another pokeman character! !
Ami Amour
August 12, 2016 at 4:23 pmHi Linda, thanks for sharing with me. I’m so glad that your Pikachu came out great! I’d love to see how they turn out. You can share with me on my Instagram or Facebook.
Sarah
August 13, 2016 at 7:00 pmWhat size safety eyes should be used?
Ami Amour
August 14, 2016 at 7:27 pmI don’t recommend using safety eyes if you are making the dolls for kids as there is always a risk it might be a choking hazard, but if it’s for adults, 8mm size eyes should work well. Hope that helps!
Suzan
September 1, 2016 at 7:43 amDear Linda thank you very much for charing this pattern. Because of you I can make a little boy happy???
Kristi Conner
October 1, 2016 at 7:49 pmI am almost finished with my project. It turned out super cute. All my kids want one. I used black yarn for the eyes though and they want me to just stitch on the cheeks too. I was thinking red nailpolish would work or red sharpy. Just dont like gluing on yarn
Hilda Edge
November 7, 2016 at 2:38 pmThank you for your free pattern ,my great grandson is into pokemon and loves it Hilda
Emilie J
March 19, 2017 at 3:12 pmplease can you show us some more chibi pokemon patterns! i really like making them
Ami Amour
May 4, 2017 at 6:14 pmSorry for the late reply, but I have more chibi pokemon patterns available for purchase in my Etsy and Ravelry shops and I hope to come out with more designs later. Thanks for the interest!
Janessa
May 4, 2017 at 6:01 pmFor Rounds 6-9 of the pokeball top, how many sc is it just for one round? I tend to get a little lost with my counting when I crochet round things ?
Ami Amour
May 4, 2017 at 6:10 pmIt’s 30 sc (same as the previous 5th round). Hope that helps!
Claudia
December 13, 2017 at 7:50 amWhat a great idea and pattern! Thank you very much!
Nonarae
September 6, 2018 at 5:26 pmTHIS. IS. SO. COOL!!!!!! i cannot wait to make this for my friends!!!!! Thank you! ❤❤❤
Ami Amour
September 6, 2018 at 5:29 pmThanks, Nonarae. Happy crocheting!! Hope your friends enjoy ^^
Debra
January 30, 2019 at 9:02 pmThis pattern is amazing! Thanks for sharing. My kids will be so surprised for Easter.
Ami Amour
January 31, 2019 at 9:46 pmHow fun! Well, the Pokeball does look a bit like an egg =P
Jozie
October 27, 2019 at 10:27 pmthank you for this awesome pattern, I plan to make a few of these for my girls! I was just wondering for the pokeball when you say sc into adjustable ring is that the same as “magic circle/ring”?
Ami Amour
November 19, 2019 at 2:50 pmYes, it is the same as magic ring!
Teressa
March 15, 2020 at 6:52 amMy little 3 year old granddaughter loves Licktung. Any chance you have a pattern? I’m pretty new to crochet and greatly appreciate your instructions. I’ve just finished three Pokeball Pods for three grandchildren
Ami Amour
March 15, 2020 at 8:49 amI haven’t created a Licktung pattern yet, but you can use my Open Mouth tutorial to help you create the Head part of the Pokemon! Good luck!
Sheila Dupuis
May 28, 2020 at 5:25 pmGreat pattern. When joining is it a slip stitch then chain one before the next row?
Ami Amour
June 16, 2020 at 10:37 amThere’s no slip stitch to join. You just keep going!
Beth
August 11, 2020 at 4:41 pmThank you so much for this awesome pattern! I have a question though: the hdc final round on the pokeball top, does that go into the sl st or into the st the sl st went into?
Ami Amour
August 29, 2020 at 6:28 pmIt goes in through the sl st. You can also check out my video tutorial to see how I did it!
Abigail Hall
October 14, 2020 at 9:07 amThank you so much for this free and easy pattern to follow! I’m looking forward to starting this project for a friend of mine who loves Pokemon and crafted gifts! Such a talented pattern-maker and crocheter! So grateful!
Ami Amour
October 15, 2020 at 10:56 amThank you for your beautiful words! That’s wonderful to hear you’re making it for your friend. I’m sure she’ll appreciate it very much!