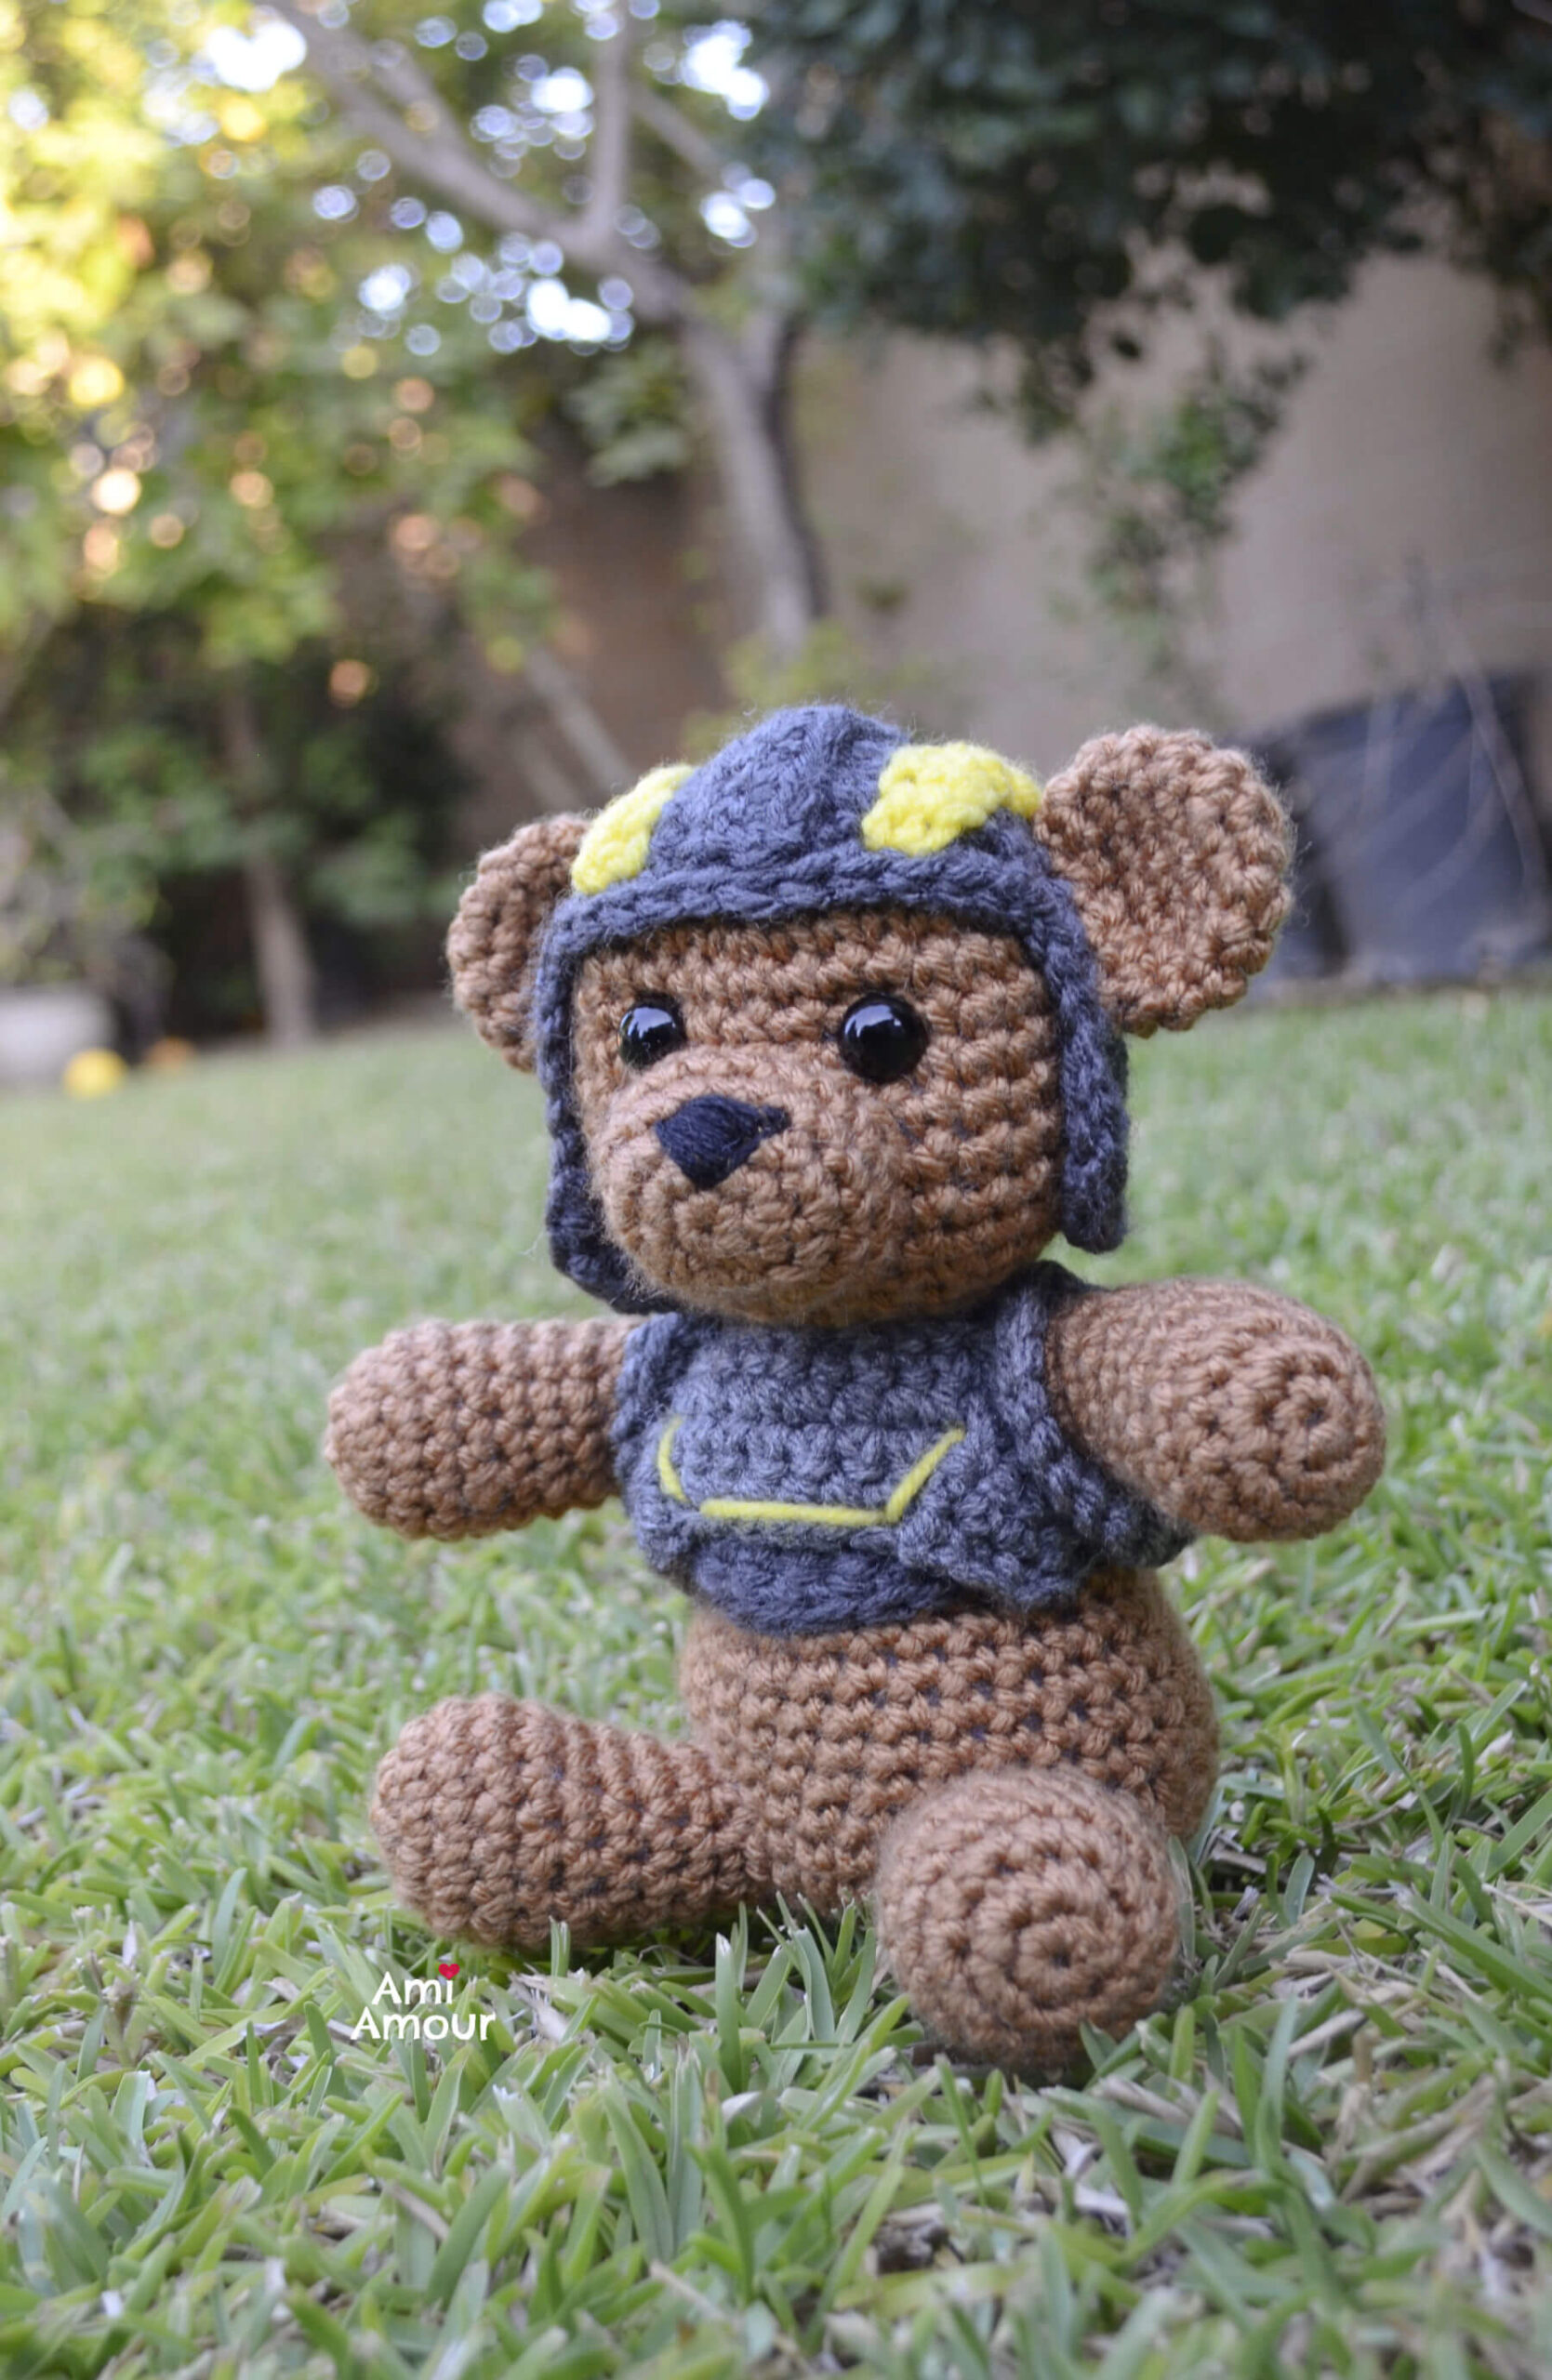
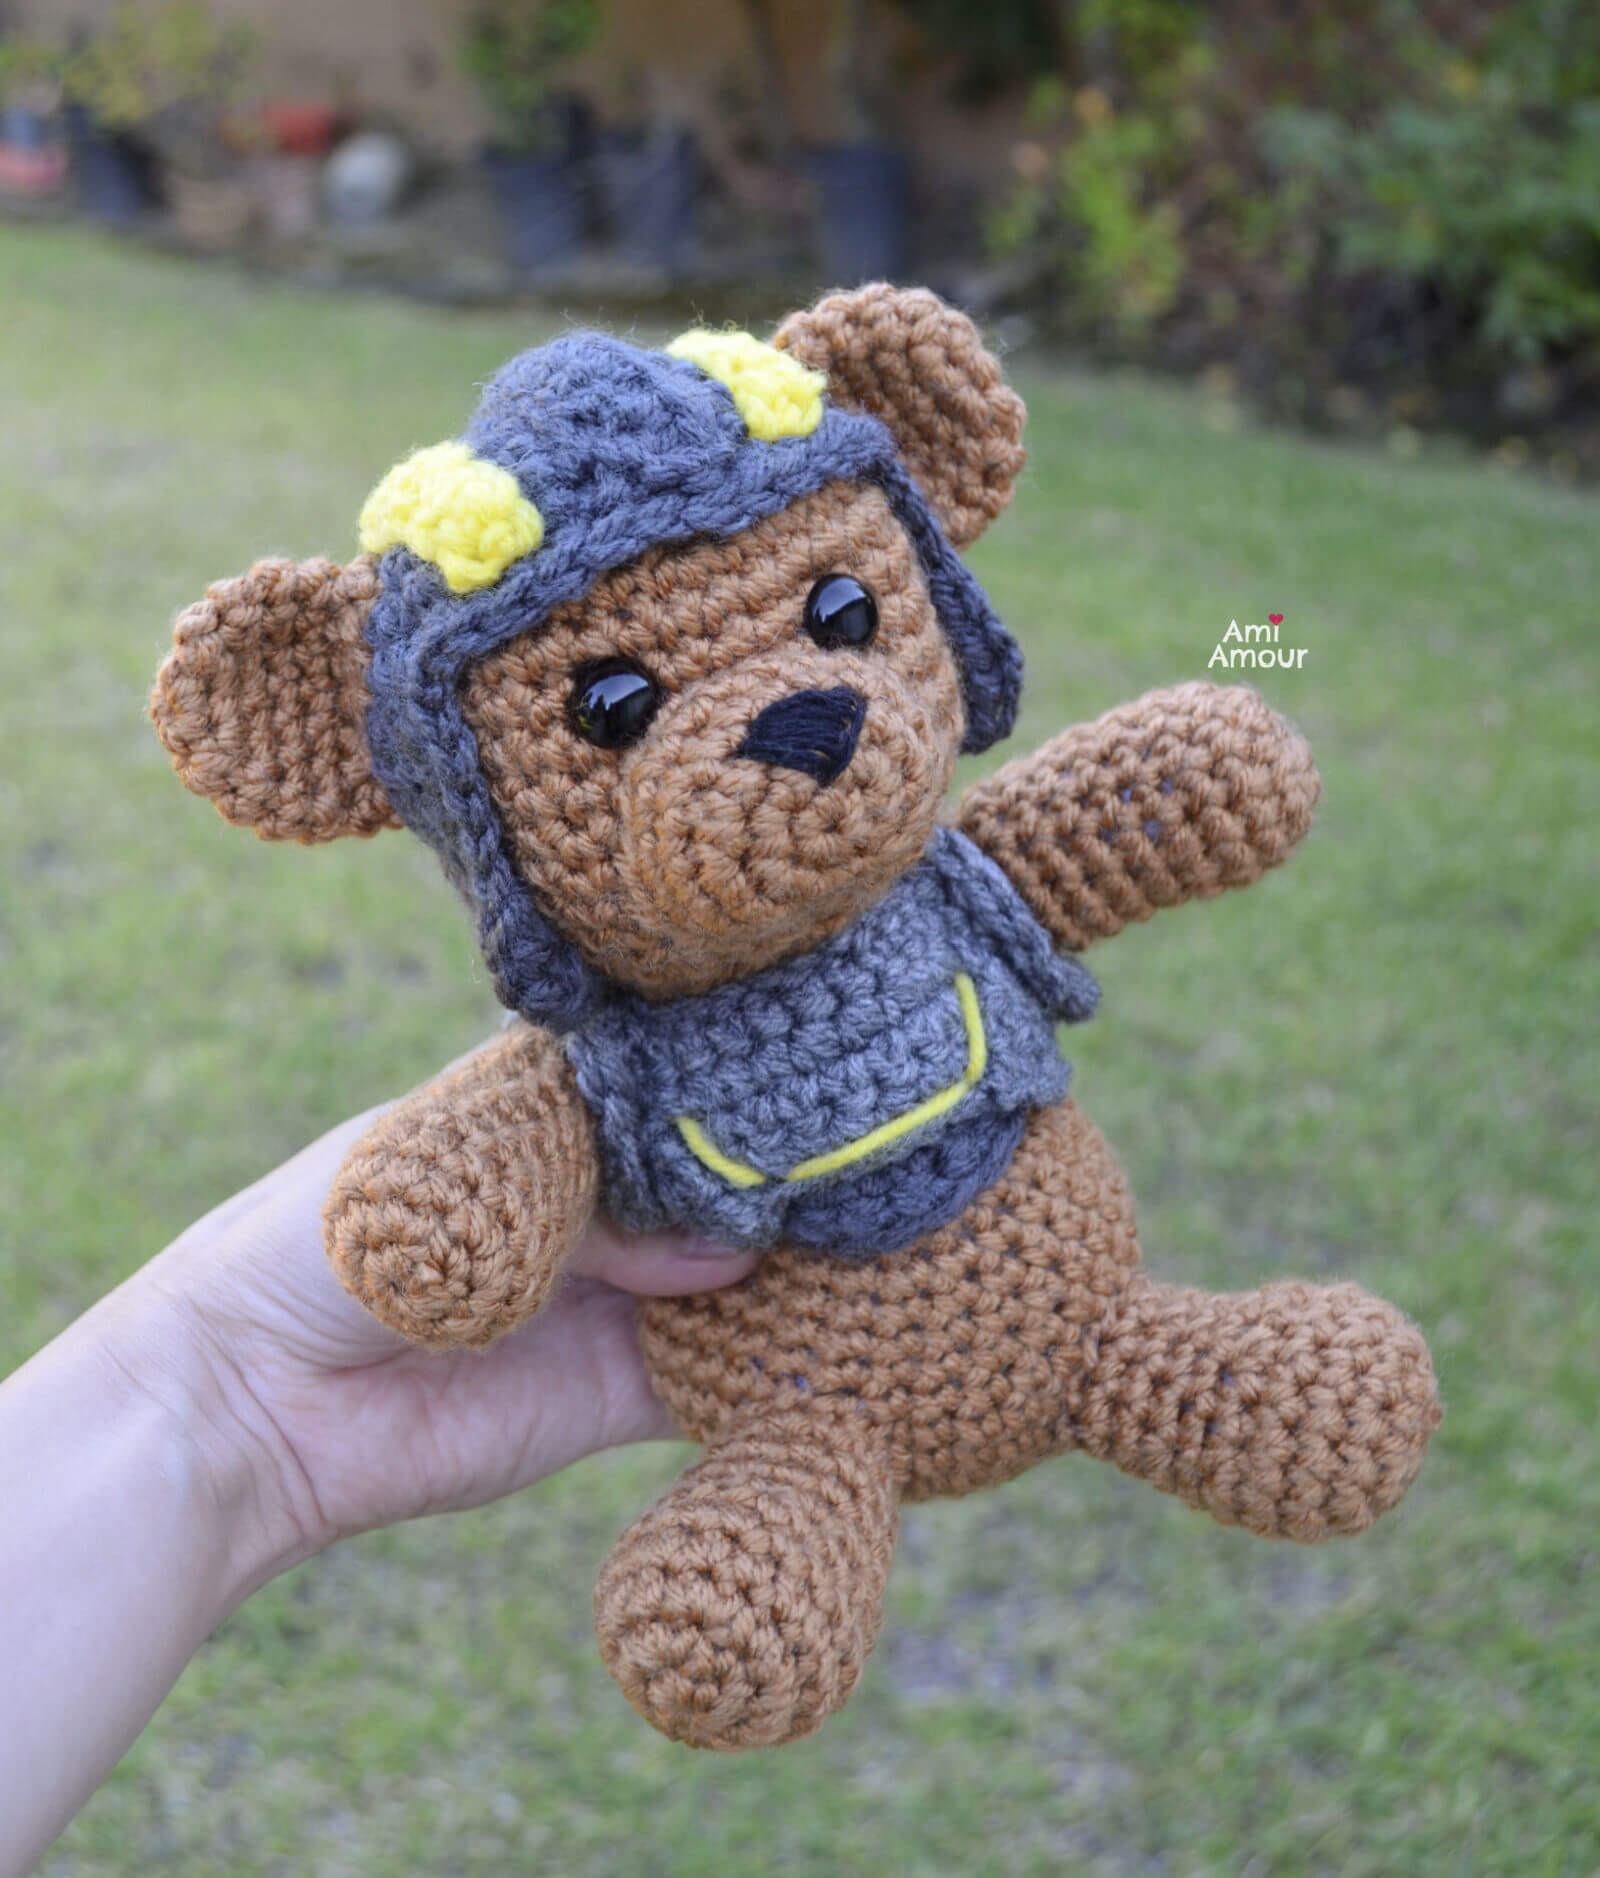
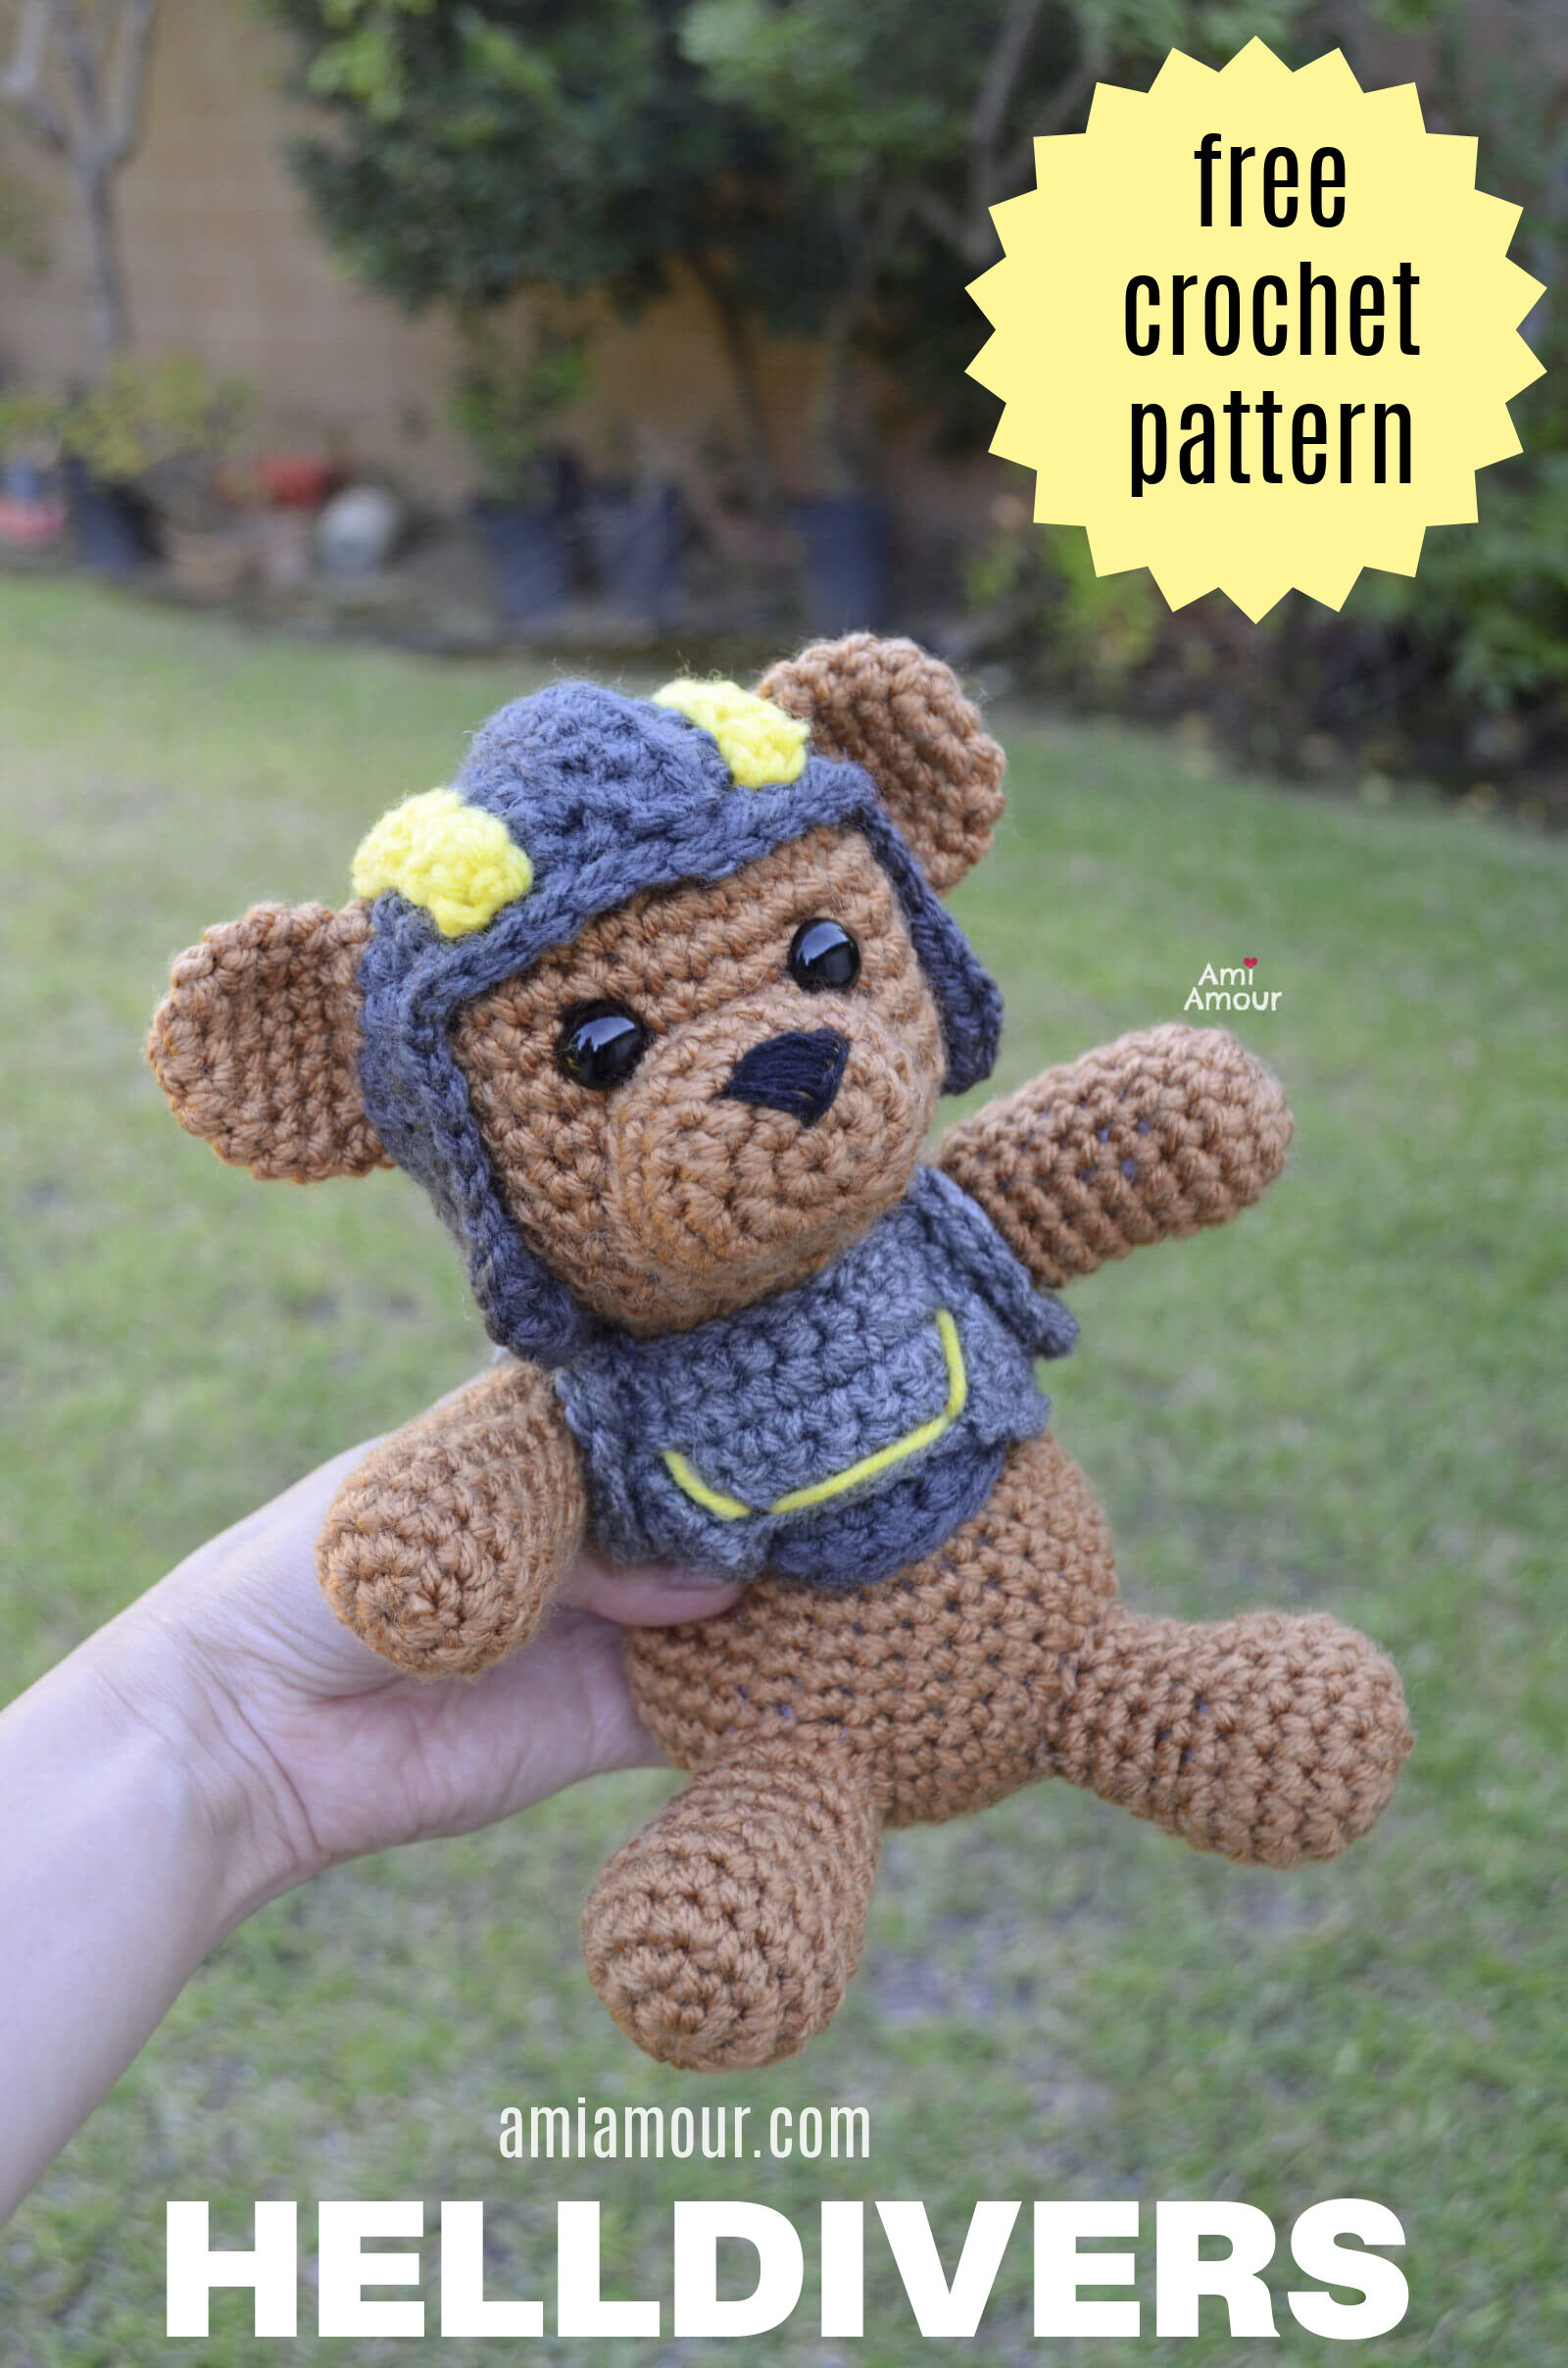
Here’s Private Teddy Snuggles in an amigurumi version inspired from the game Helldivers 2 . This crochet Helldivers Teddy bear is ready to fight for Managed Democracy! Your mission is to crochet him in all his cute and patriotic glory and rescue him from the VOID!
Let’s take a look at his managed democracy features. He has a protective helmet with the neon yellow stripes as well as an armored vest. It was quite fun to figure out the construction.
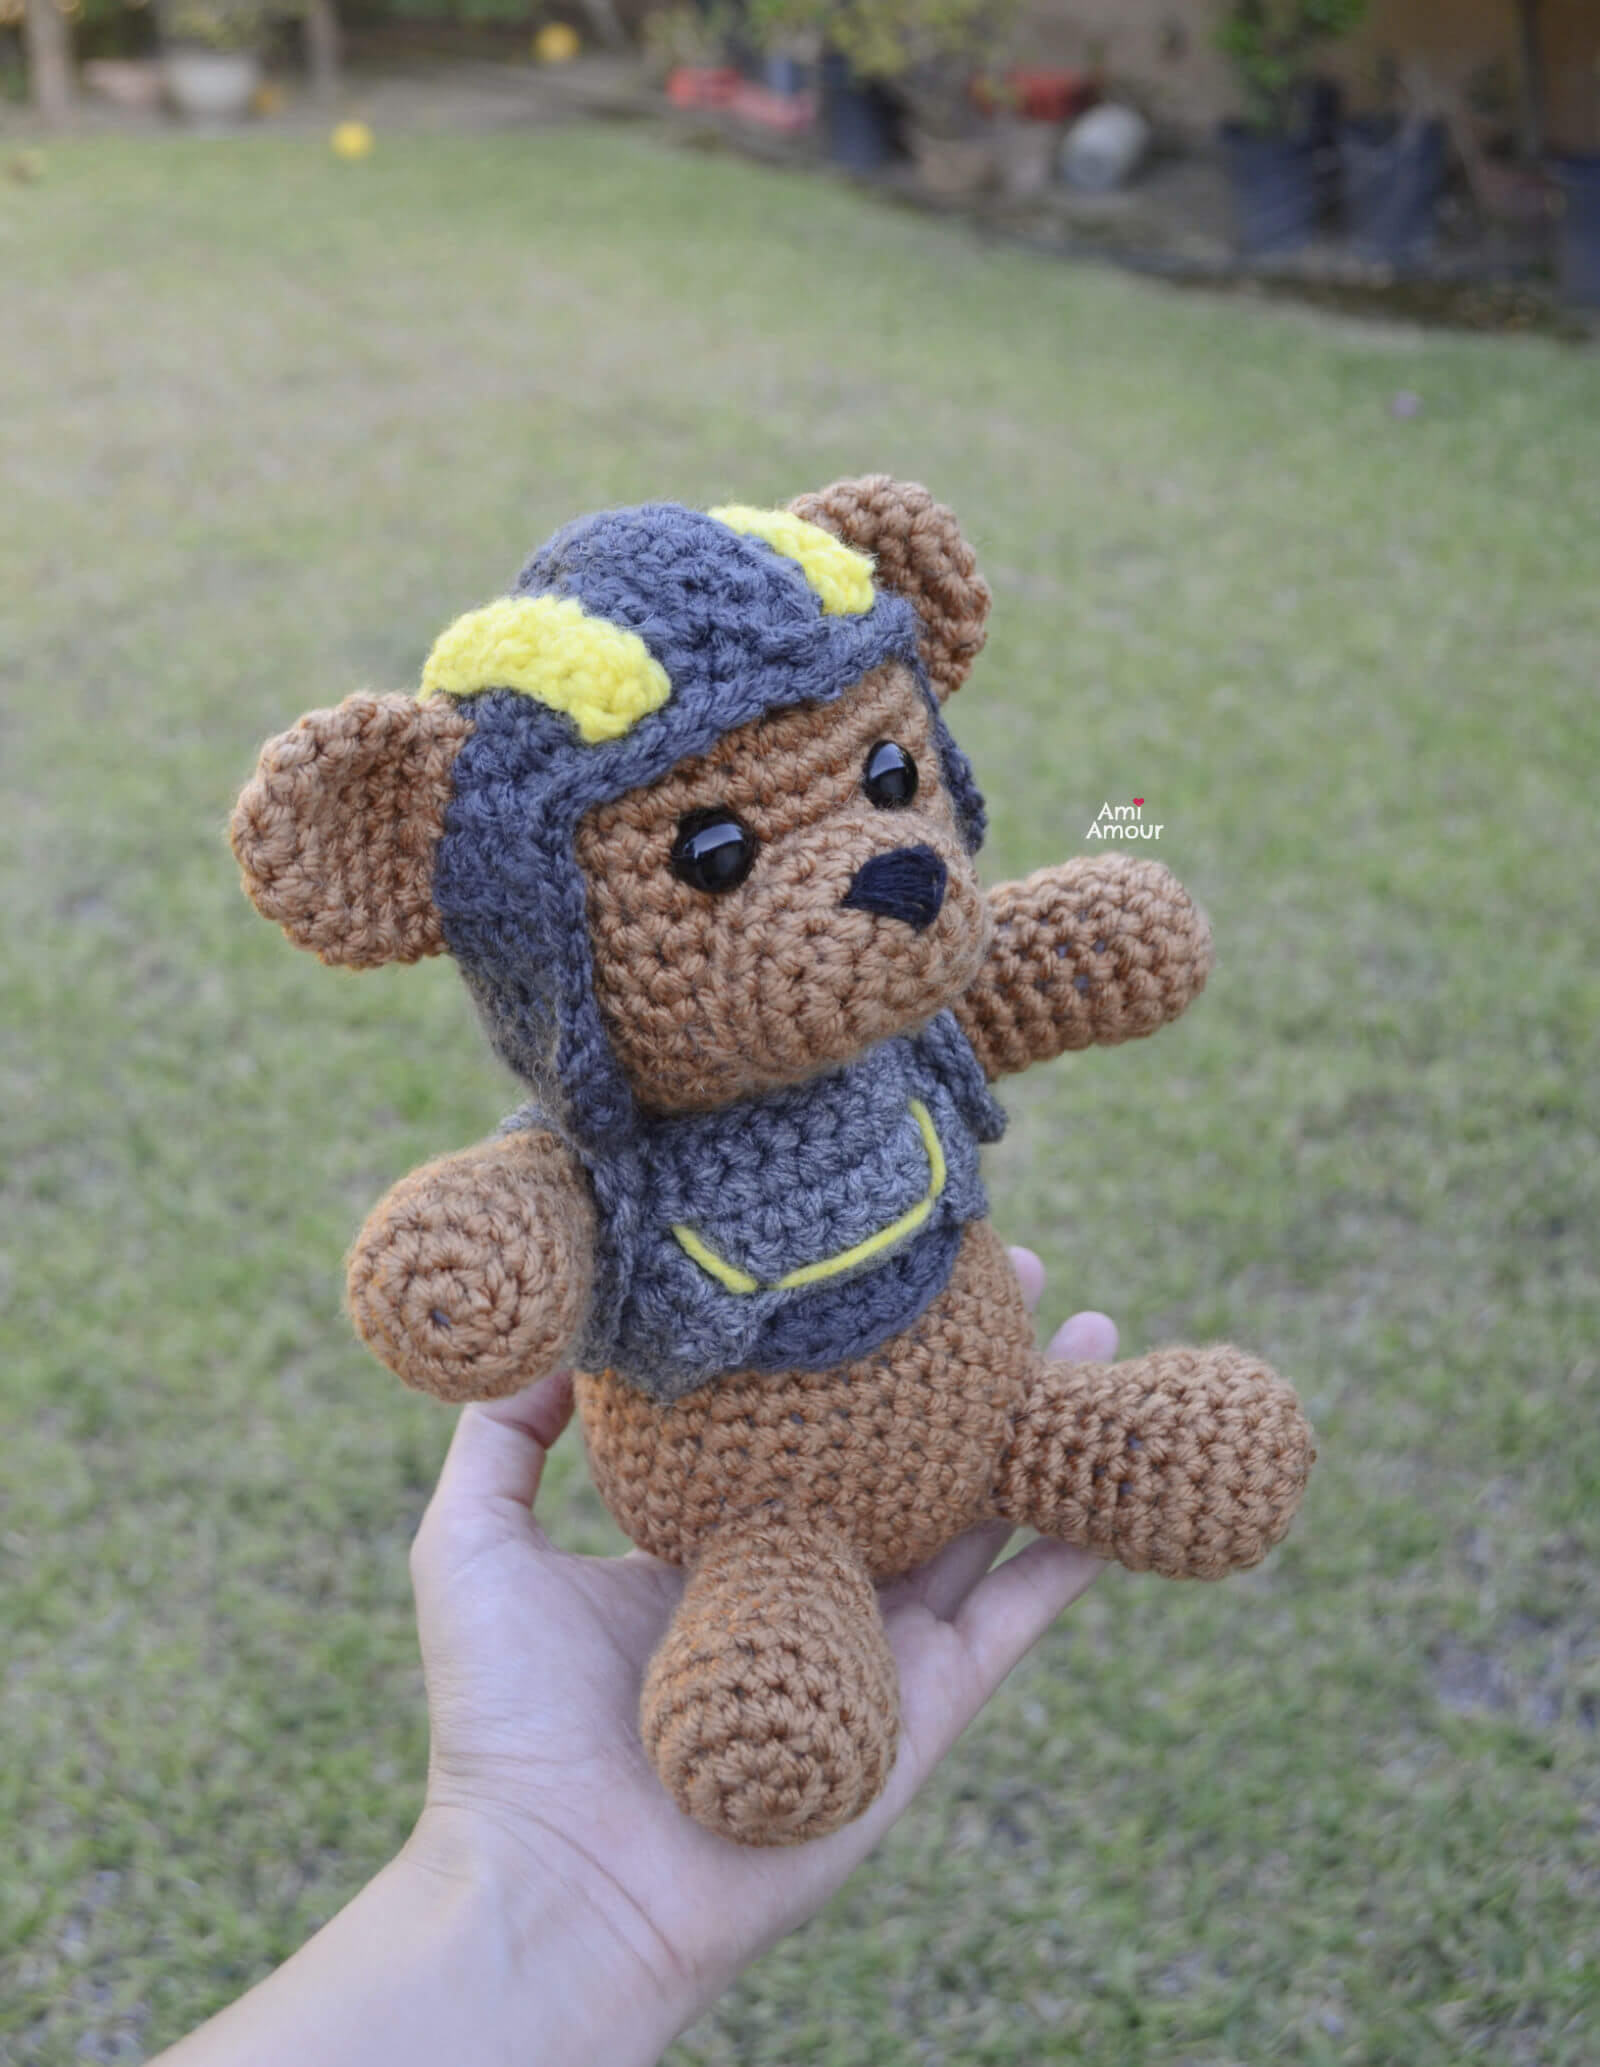
Eventually I landed on giving the armor two tones to give the armor more dimension and also to have some contrast with the different panels.
He has an underamor, and armor plates and sleeves that all combine together to create his armored suit.
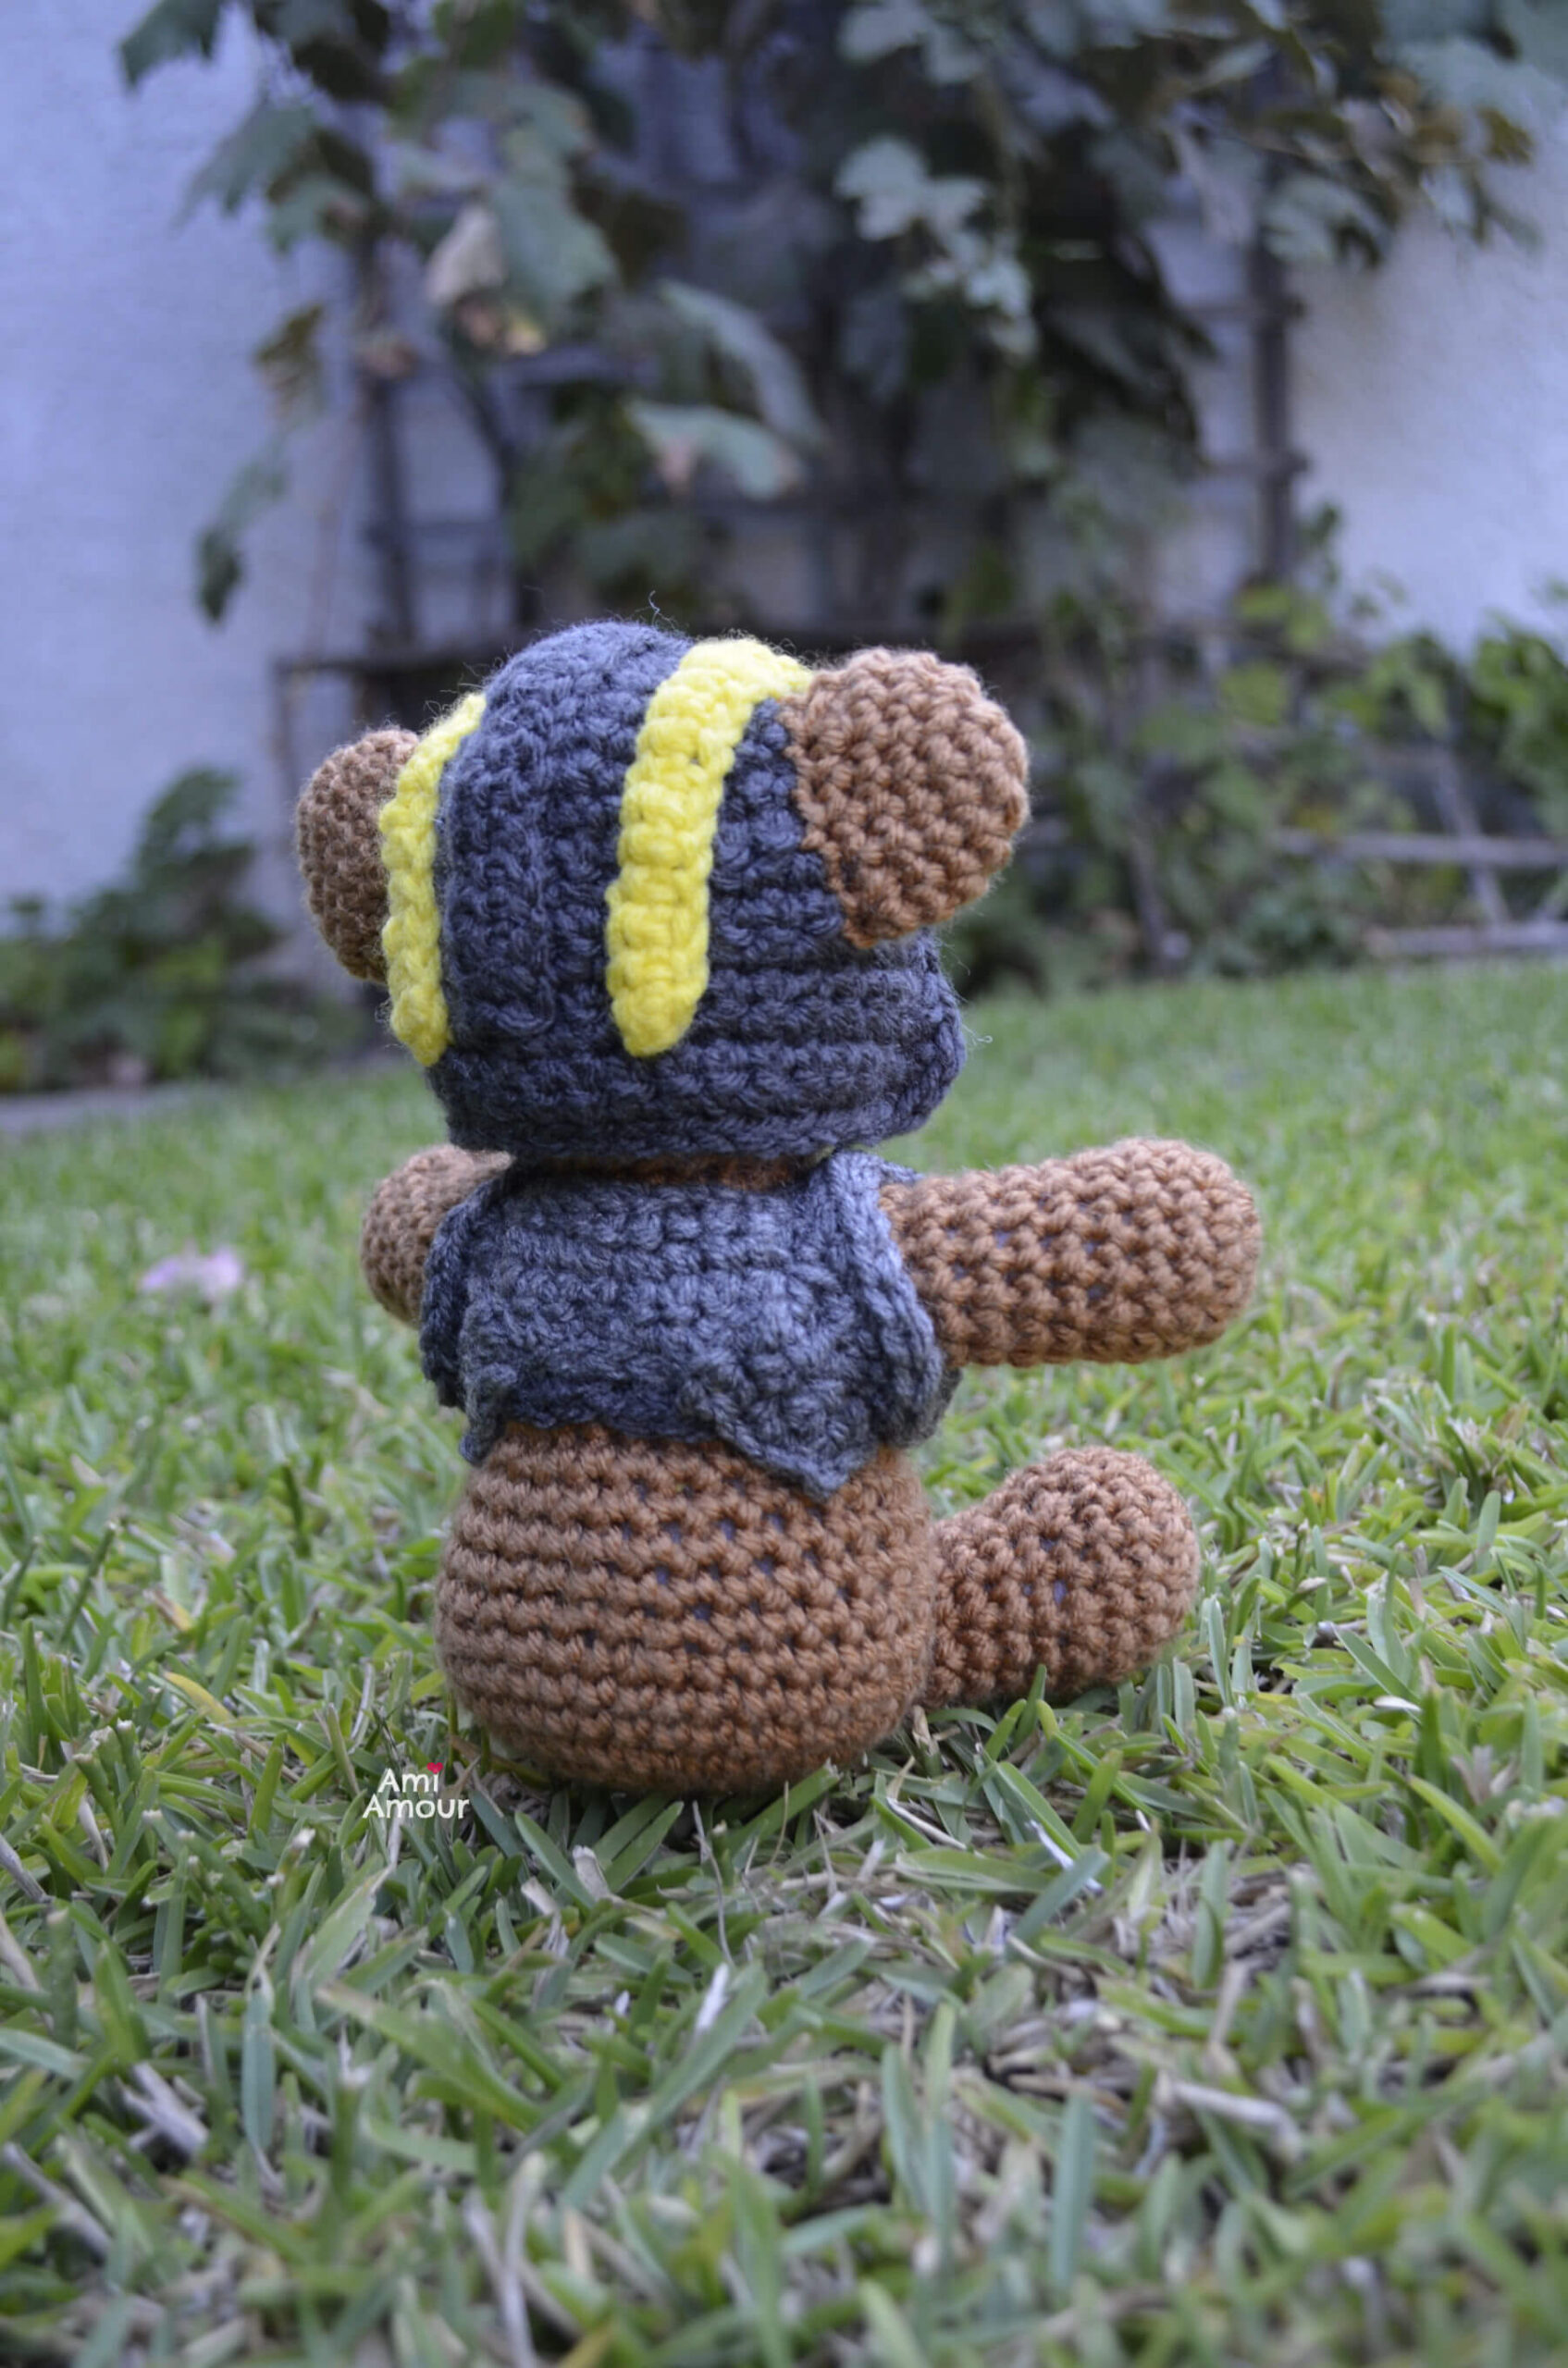
His nose is also embroidered to give a more classic teddy bear look. I also gave him black Button Eyes.
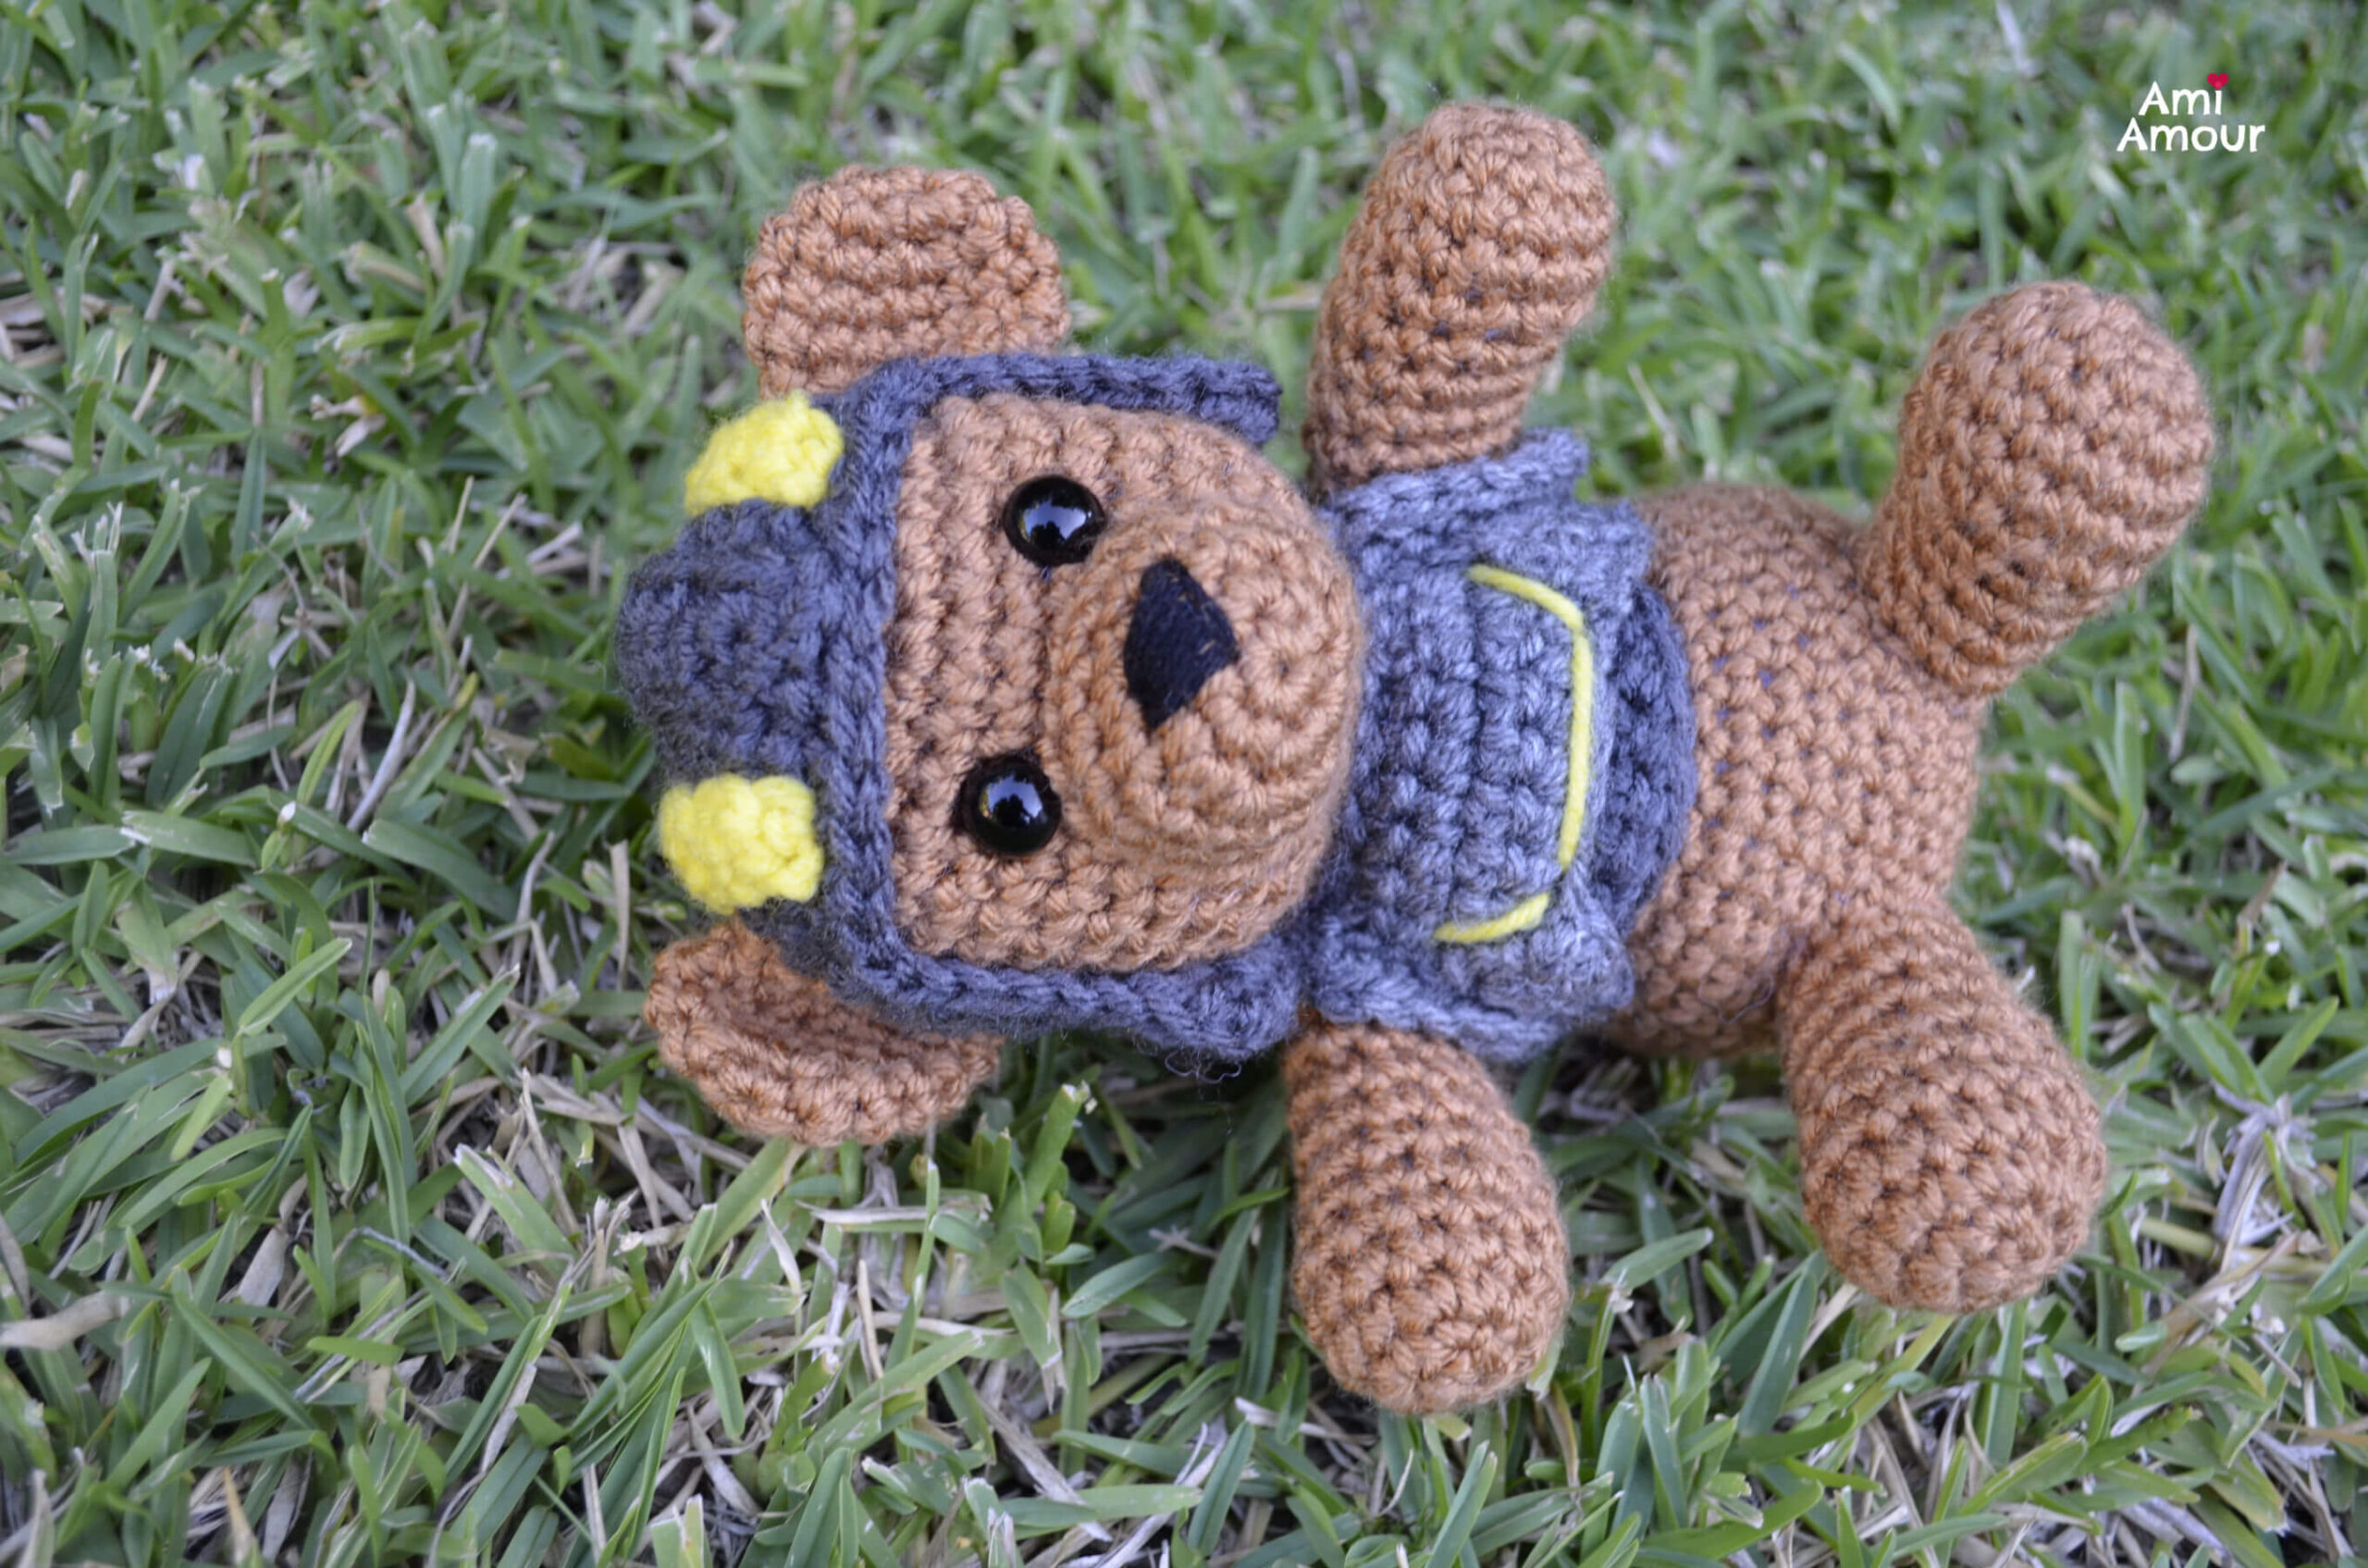
Helldivers Private Teddy Snuggles is a proud citizen of Super Earth and enjoys a nice cup of Liber-tea!
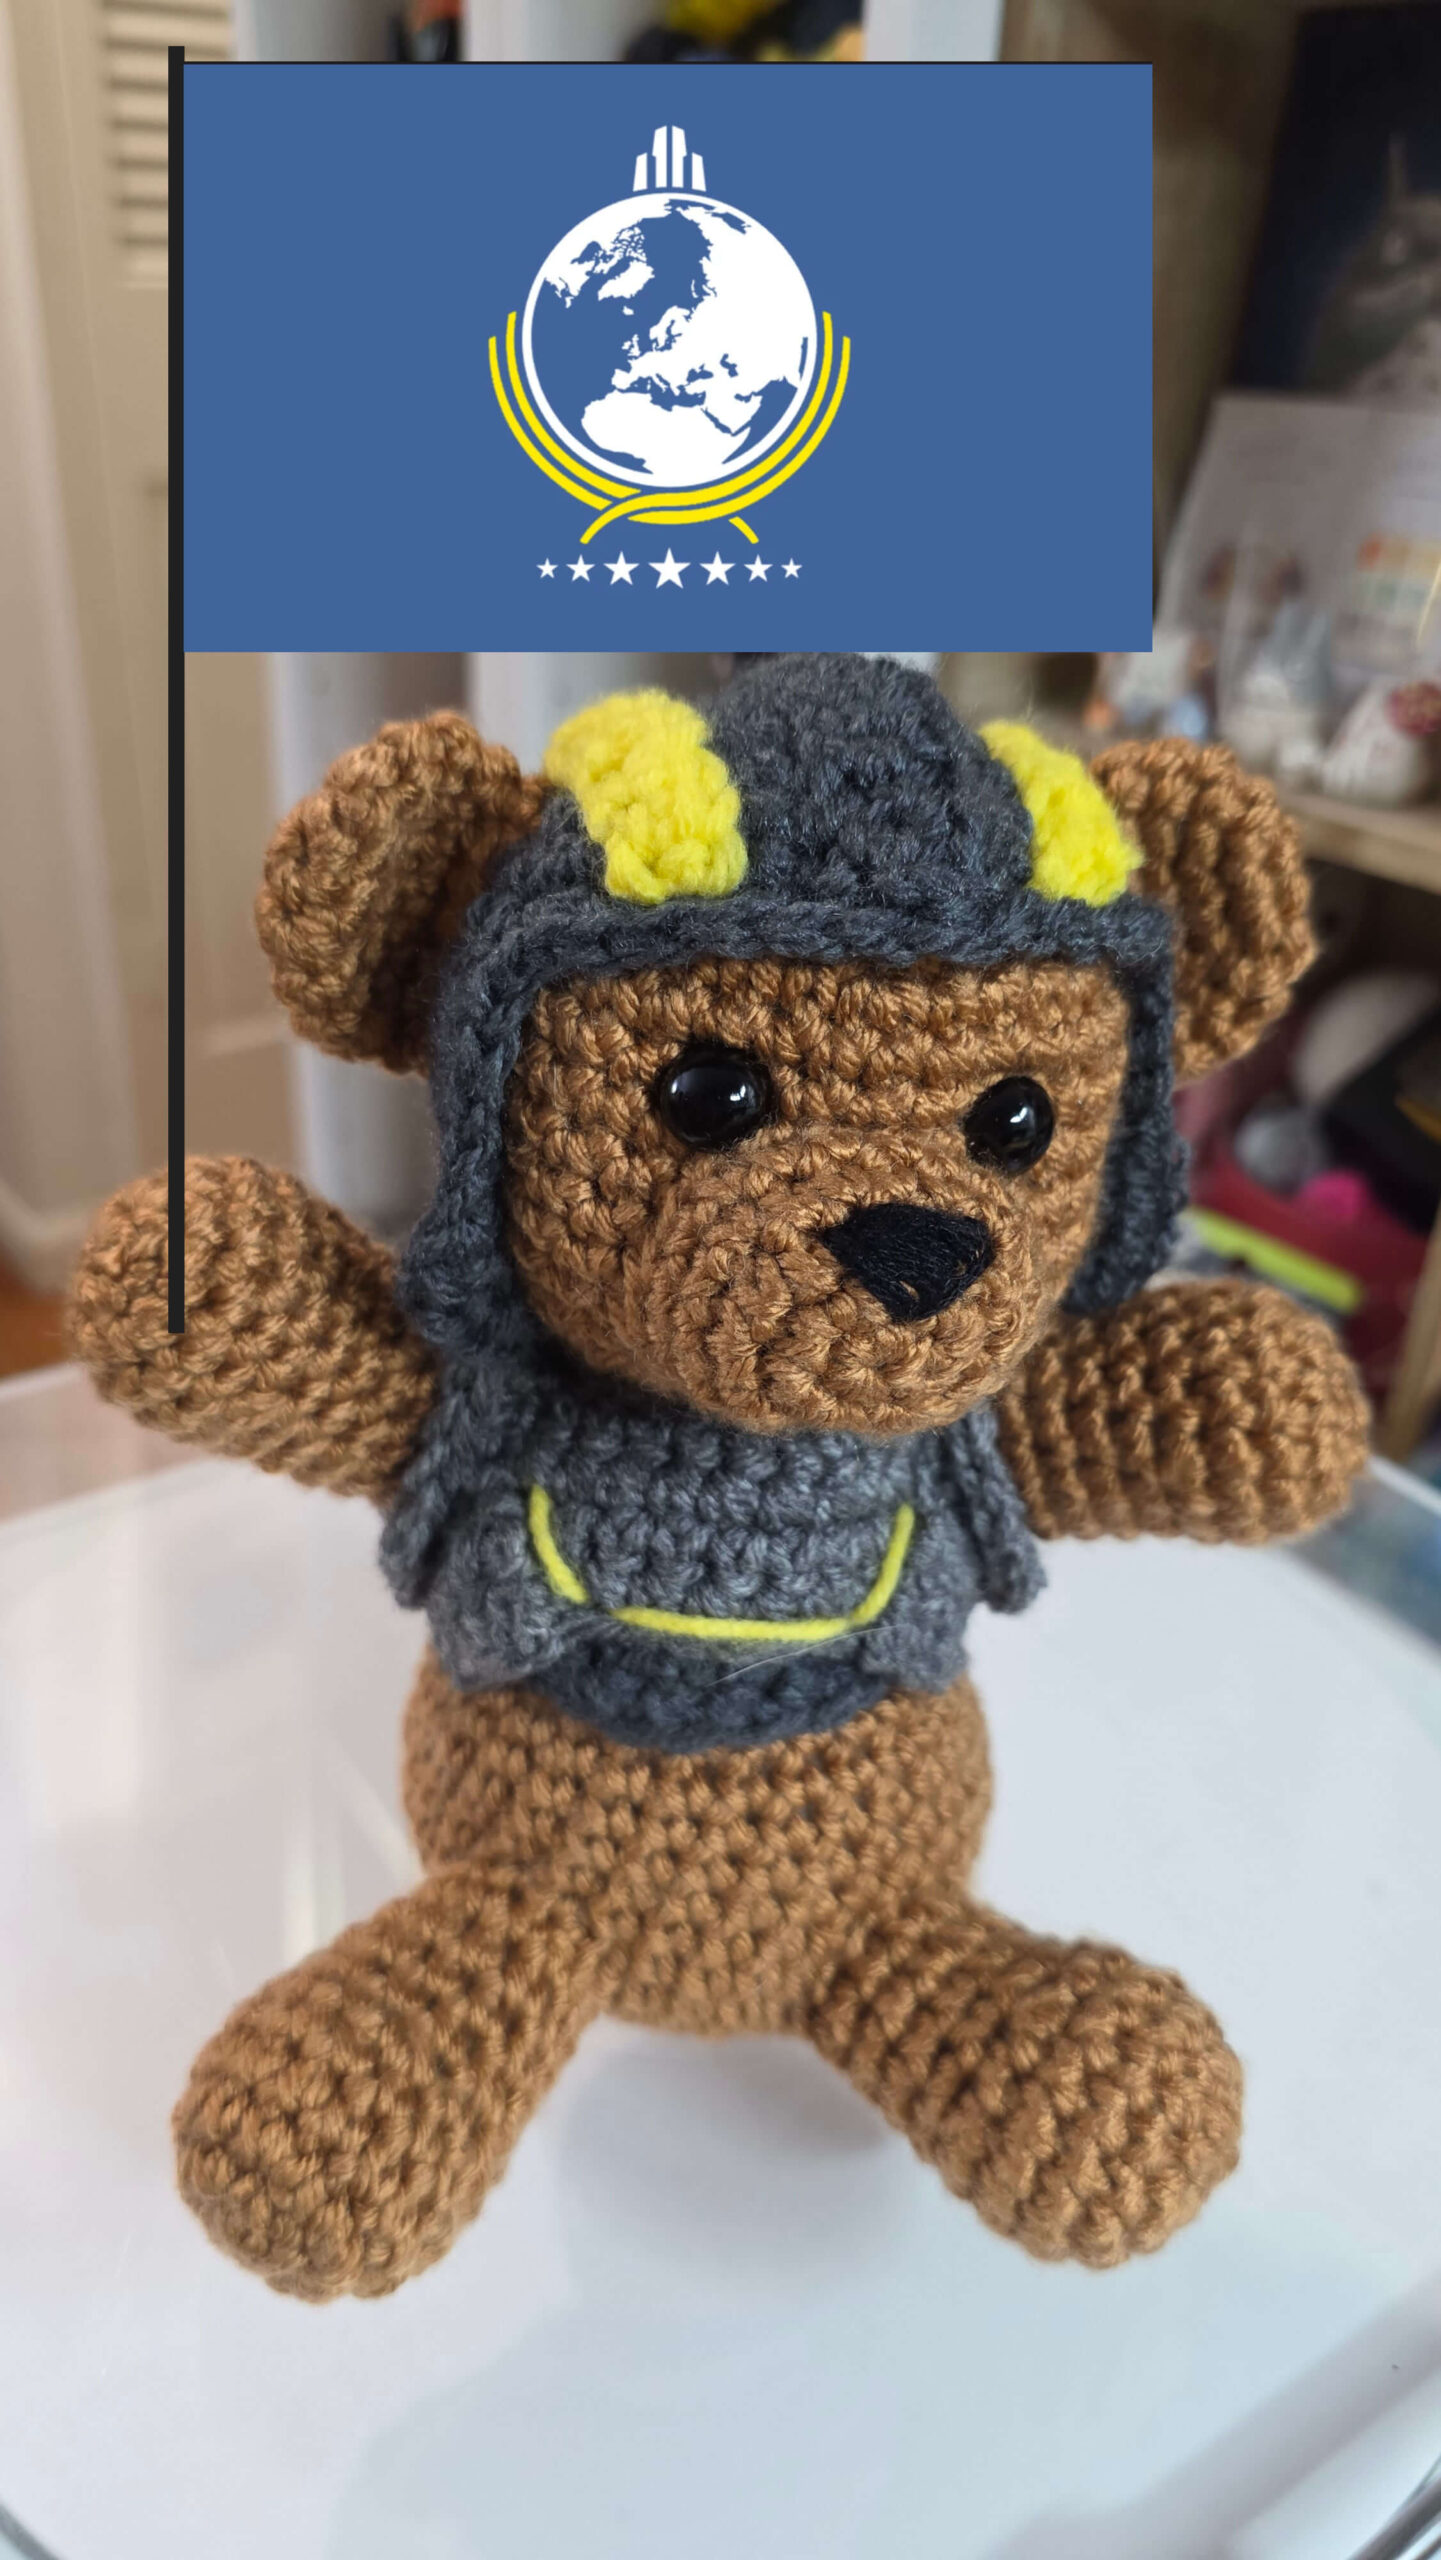
Anyways Helldivers, Private Teddy Snuggles is sure to be your best and fluffiest fighter alongside you! Be sure to tag me with your projects on Instagram @ami_amour. I’d love to see! Continue on to see the free written pattern and video tutorial below.
If you enjoy this gaming crochet pattern, you may enjoy these other free crochet patterns as well:
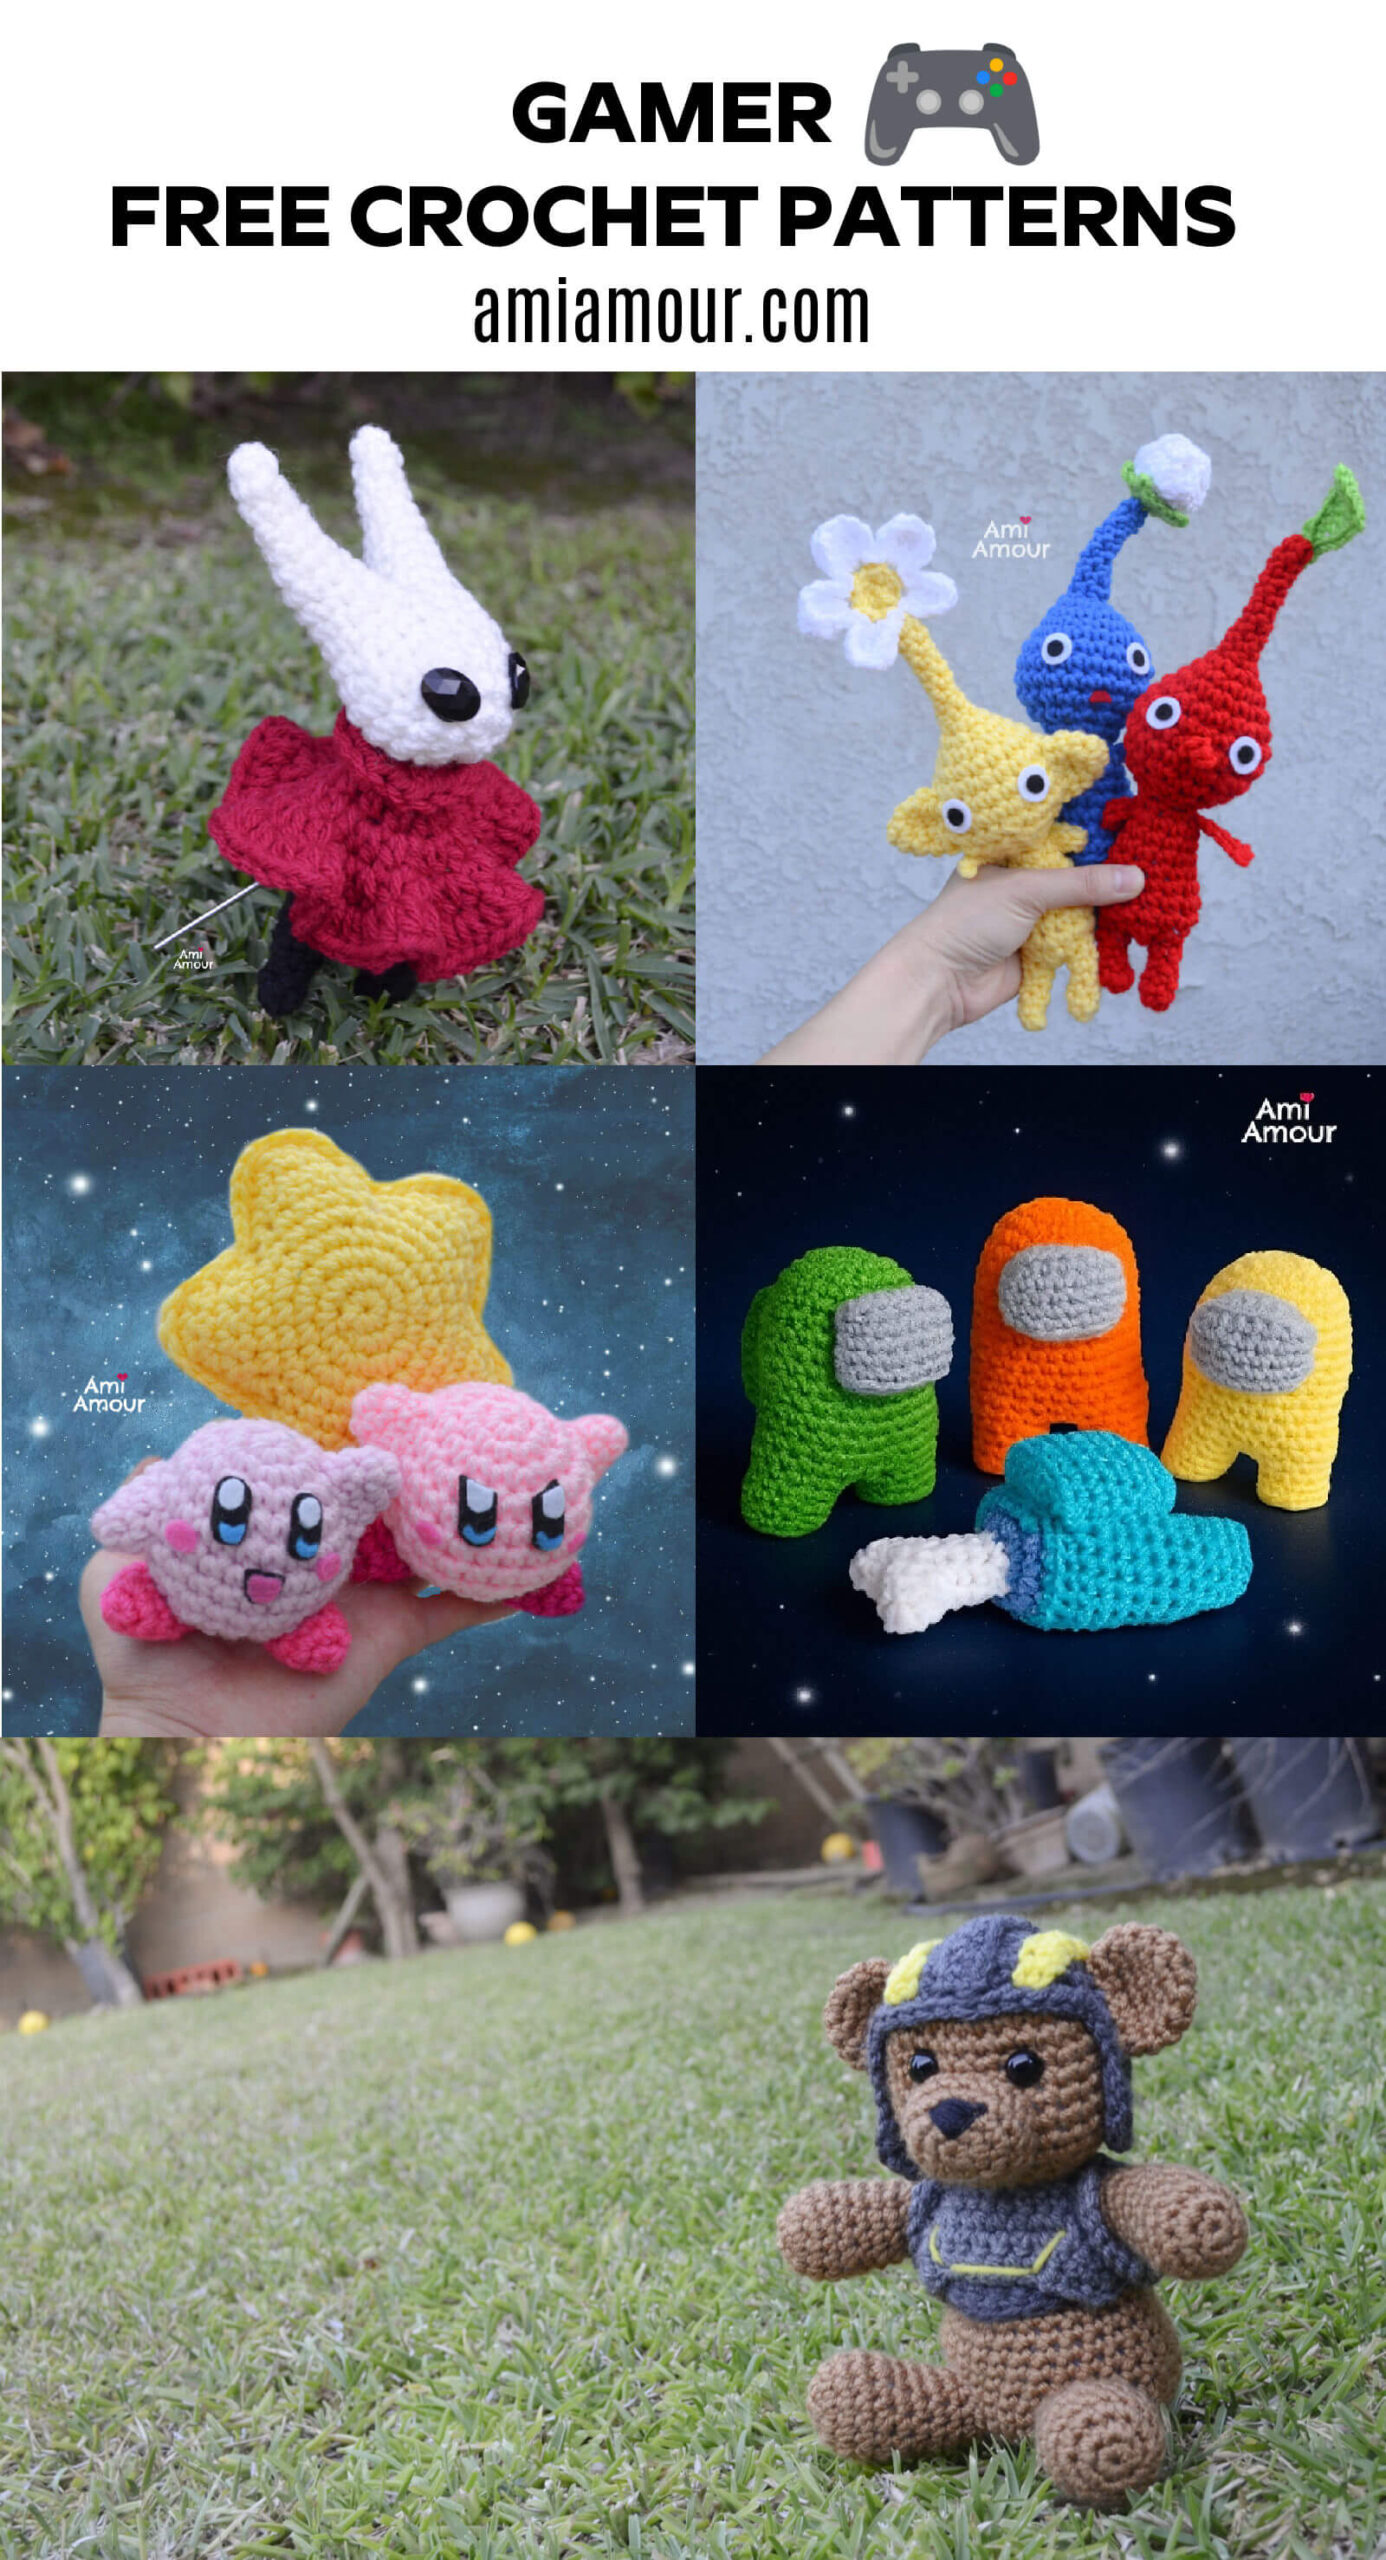
1) Silksong – Hornet
2) Pikmin Amigurumi
2) Kirby
3) Among Us
Helldivers Teddy Bear Crochet Tutorial Video
See Helldiver Teddy in action and crochet along with me!

*Disclosure: This post contains affiliate links. This means I may receive a small commission if you decide to purchase anything by clicking on one of these links.
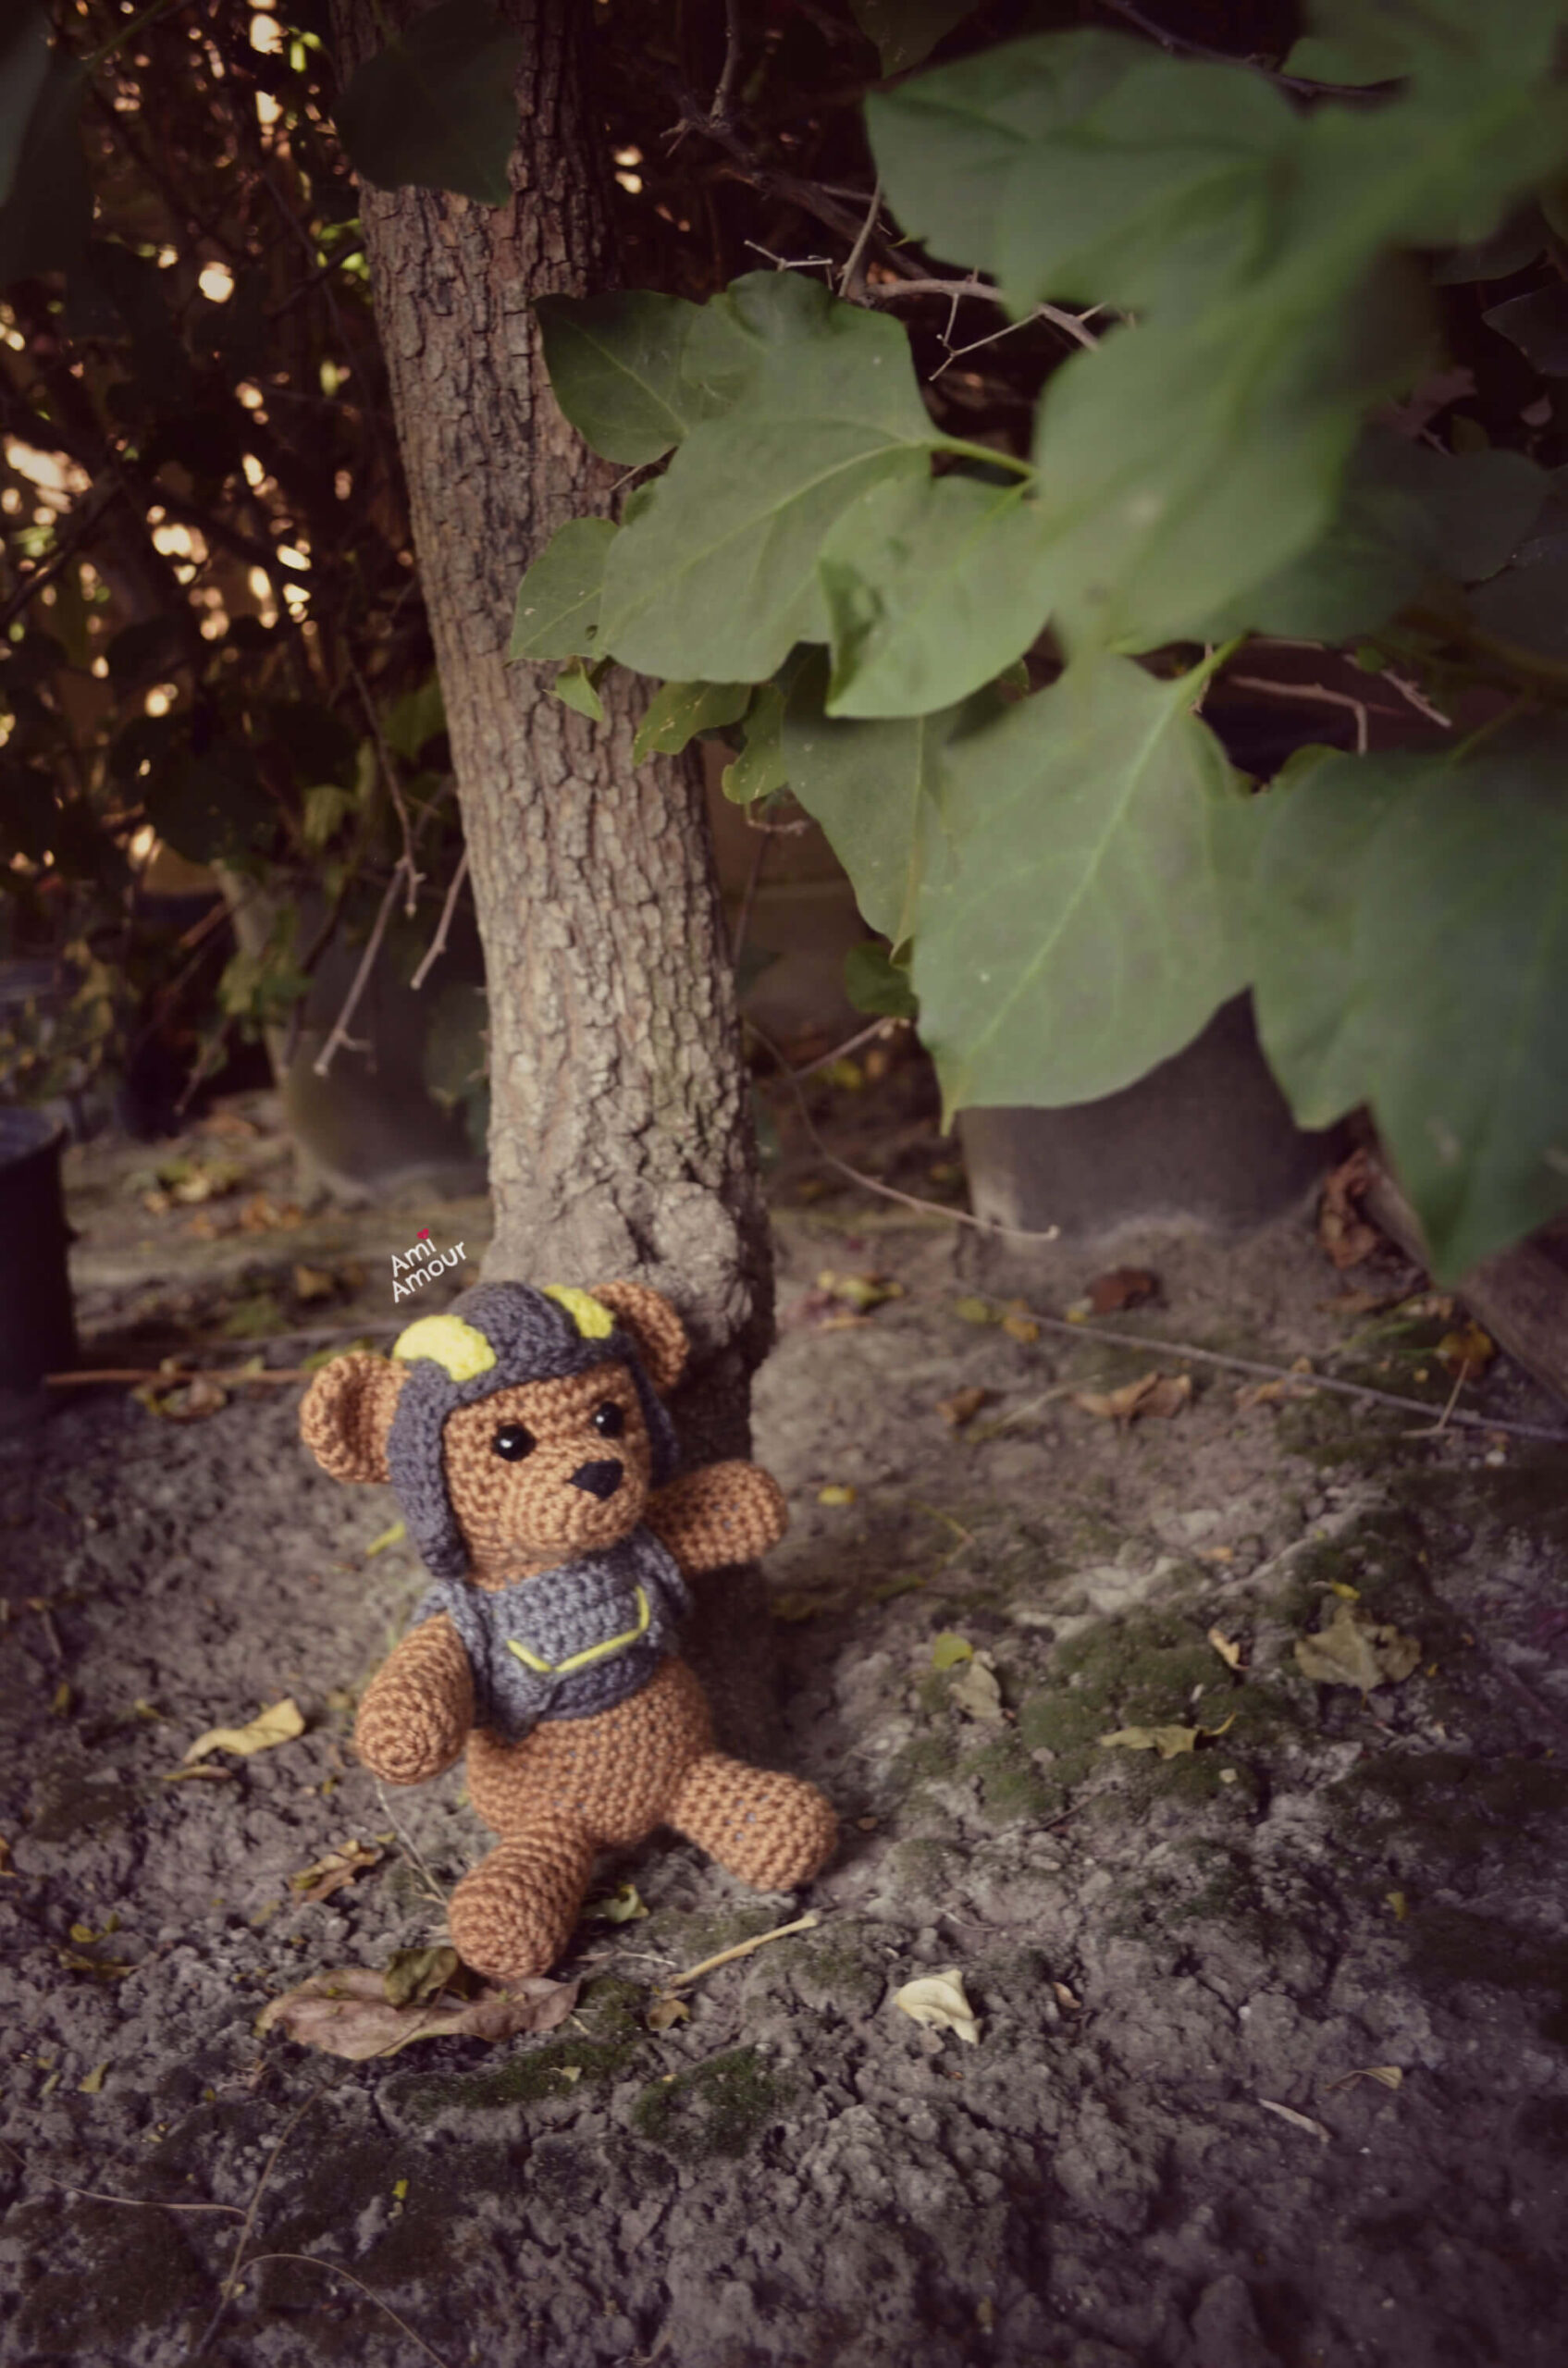
HELLDIVERS TEDDY BEAR CROCHET PATTERN – Private Teddy Snuggles
LEVEL: Intermediate
CROCHET HOOK:
4.0mm size
YARN:
Worsted weight, acrylic yarn
– Big Twist Living Yarn (worsted weight, acrylic yarn)
Meerkat
– Red Heart Super Saver Yarn (worsted weight, acrylic yarn)
Charcoal
Grey Heather
Bright Yellow
NOTIONS
Yarn Needle
Scissors
Stitch Marker
12.5 mm button eyes or safety eyes (2)
ABBREVIATIONS (American English crochet)
ch – chain
hdc – half double crochet
sc – single crochet
sl st – slip stitch
sc2tog – single crochet 2 together (sc dec)
st – stitch
APPROXIMATE SIZE:
Approximately 8 inches long
When sitting, 7 inches tall
HEAD
With golden brown yarn
Round 1: 6 sc into magic ring – 6 sc.
Round 2: 2 sc in each st around – 12 sc.
Round 3: [2 sc in next st, sc in next st] around – 18 sc.
Round 4: [2 sc in next st, sc in next 2 st] around – 24 sc.
Round 5: [2 sc in next st, sc in next 3 st] around – 30 sc.
Round 6-11: Sc in each st around – 30 sc.
Round 12 – [Sc2tog, sc in next 3 st] around – 24 sc.
Round 13: Sc in each st around – 24 sc.
Round 14: [Sc2tog, sc in next 2 st] around – 18 sc.
Round 15: Sc in each st around – 18 sc.
Fasten off, leaving a long tail.
BODY
With golden brown yarn
Round 1: 6 sc into magic ring – 6 sc.
Round 2: 2 sc in each st around – 12 sc.
Round 3: [2 sc in next st, sc in next st] around – 18 sc.
Round 4: [2 sc in next st, sc in next 2 st] around – 24 sc.
Round 5: [2 sc in next st, sc in next 3 st] around – 30 sc.
Round 6: [2 sc in next st, sc in next 4 st] around – 36 sc.
Round 7-8: Sc in each st around – 36 sc.
Round 9: [Sc2tog, sc in next 4 st] around – 30 sc.
Round 10-14: Sc in each st around – 30 sc.
Round 15: [Sc2tog, sc in next 3 st] around – 24 sc.
Round 16-17: Sc in each st around – 24 sc.
Round 18: [Sc2tog, sc in next 2 st] around – 18 sc.
Round 19-20: Sc in each st around – 18 sc.
Fasten off, leaving a long tail.
SNOUT
With golden brown yarn
Round 1: 6 sc into magic ring – 6 sc.
Round 2: 2 sc in each st around – 12 sc.
Round 3: [2 sc in next st, sc in next st] around – 18 sc.
Round 4-5: Sc in each st around – 18 sc.
Fasten off, leaving a long tail.
EAR (make 2)
With golden brown yarn
Round 1: 6 sc into magic ring – 6 sc.
Round 2: 2 sc in each st around – 12 sc.
Round 3: [2 sc in next st, sc in next 3 st] around – 15 sc.
Round 4-5: Sc in each st around – 15 sc.
Round 6: [Sc2tog, sc in next 3 st] around – 12 sc.
Fasten off, leaving a long tail.
LEG (make 2)
With golden brown yarn
Round 1: 6 sc into magic ring – 6 sc.
Round 2: 2 sc in each st around – 12 sc.
Round 3: [2 sc in next st, sc in next st] around – 18 sc.
Round 4-5: Sc in each st around – 18 sc.
Round 6: [Sc2tog, sc in next st] around – 12 sc.
Round 7-11: Sc in each st around – 12 sc.
Fasten off, leaving a long tail.
ARM (make 2)
With golden brown yarn
Round 1: 6 sc into magic ring – 6 sc.
Round 2: 2 sc in each st around – 12 sc.
Round 3: [2 sc in next st, sc in next 3 st] around – 15 sc.
Rouund 4-5: Sc in each st around – 15 sc.
Round 6: [Sc2tog, sc in next 3 st] around – 12 sc.
Round 7-11: Sc in each st around – 12 sc.
Fasten off, leaving a long tail.
HELMET
With dark gray yarn
Round 1: 6 sc into magic ring – 6 sc.
Round 2: 2 sc in each st around – 12 sc.
Round 3: [2 sc in next st, sc in next st] around – 18 sc.
Round 4: [2 sc in next st, sc in next 2 st] around – 24 sc.
Round 5: [2 sc in next st, sc in next 3 st] around – 30 sc.
Round 6: [2 sc in next st, sc in next 14 st] around – 32
Round 7: Sc in each st around.
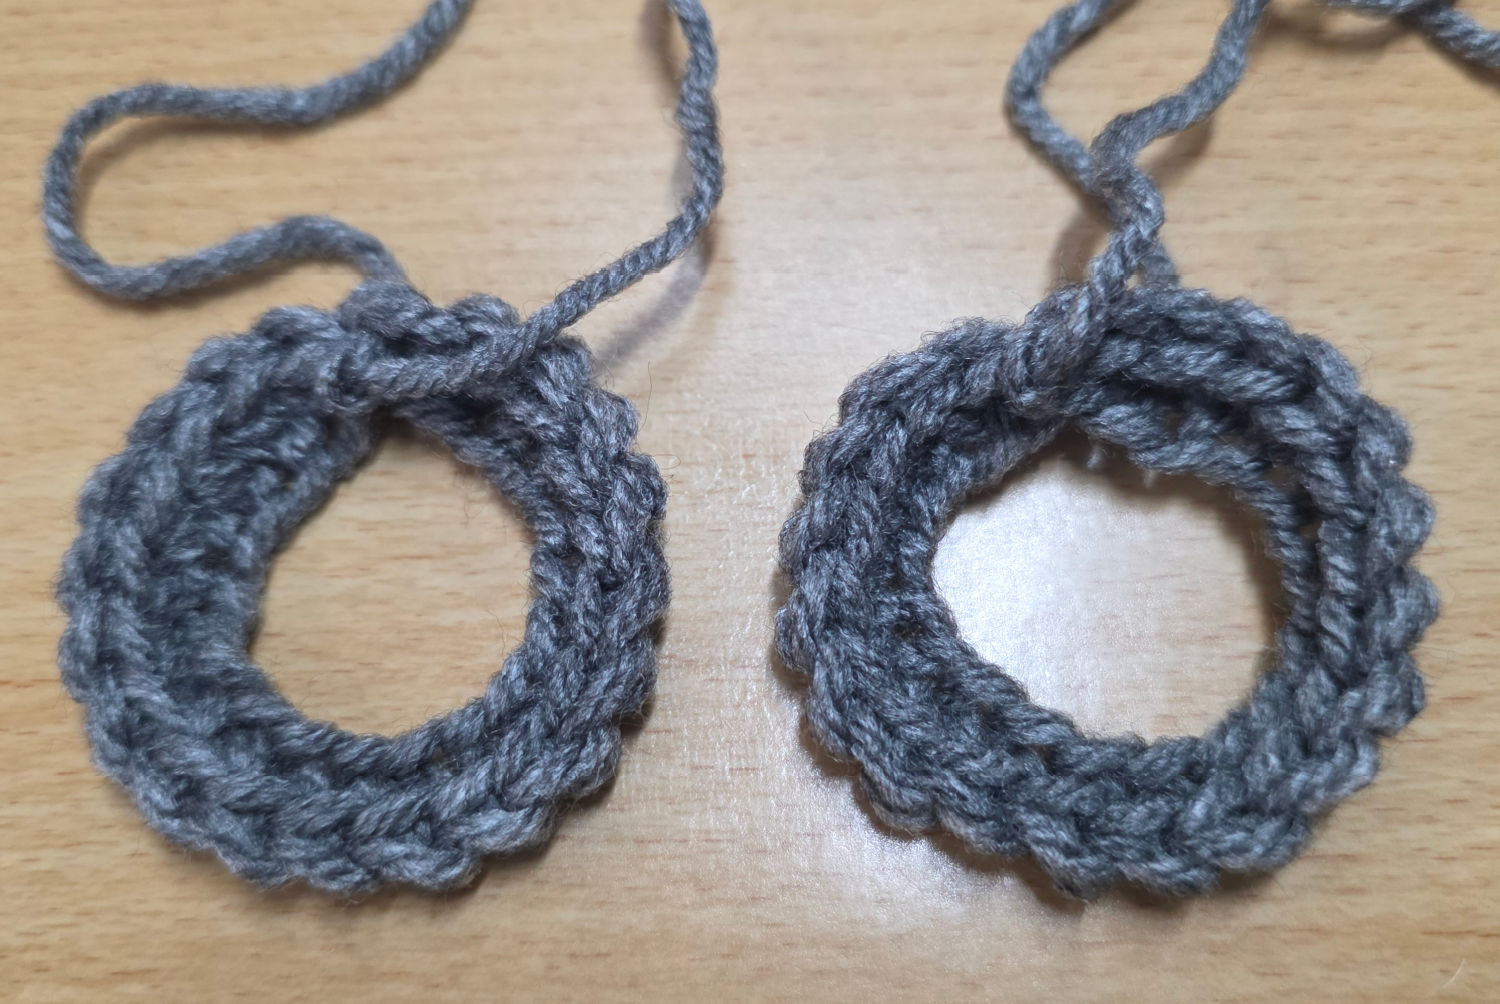
Now we will work in rows
Row 8-13: Ch 1, turn, sc in next 20 st only.
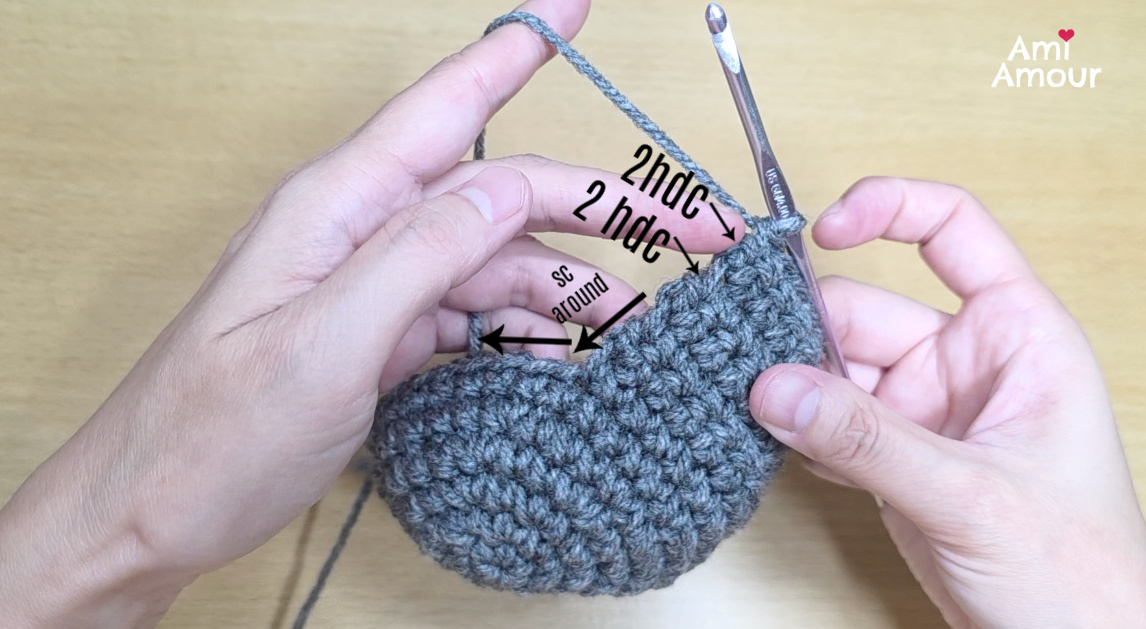
We will now go around the border of the helmet and work in the round again. See video tutorial or photos below.
Round 14: 2 hdc in next 2 st, sc in next 20 st, 2 hdc in next 2 st (this will create the other earflap), sl st into next st.
Fasten off, leaving an extra long tail.
HELMET STRIPE #1
With dark gray yarn
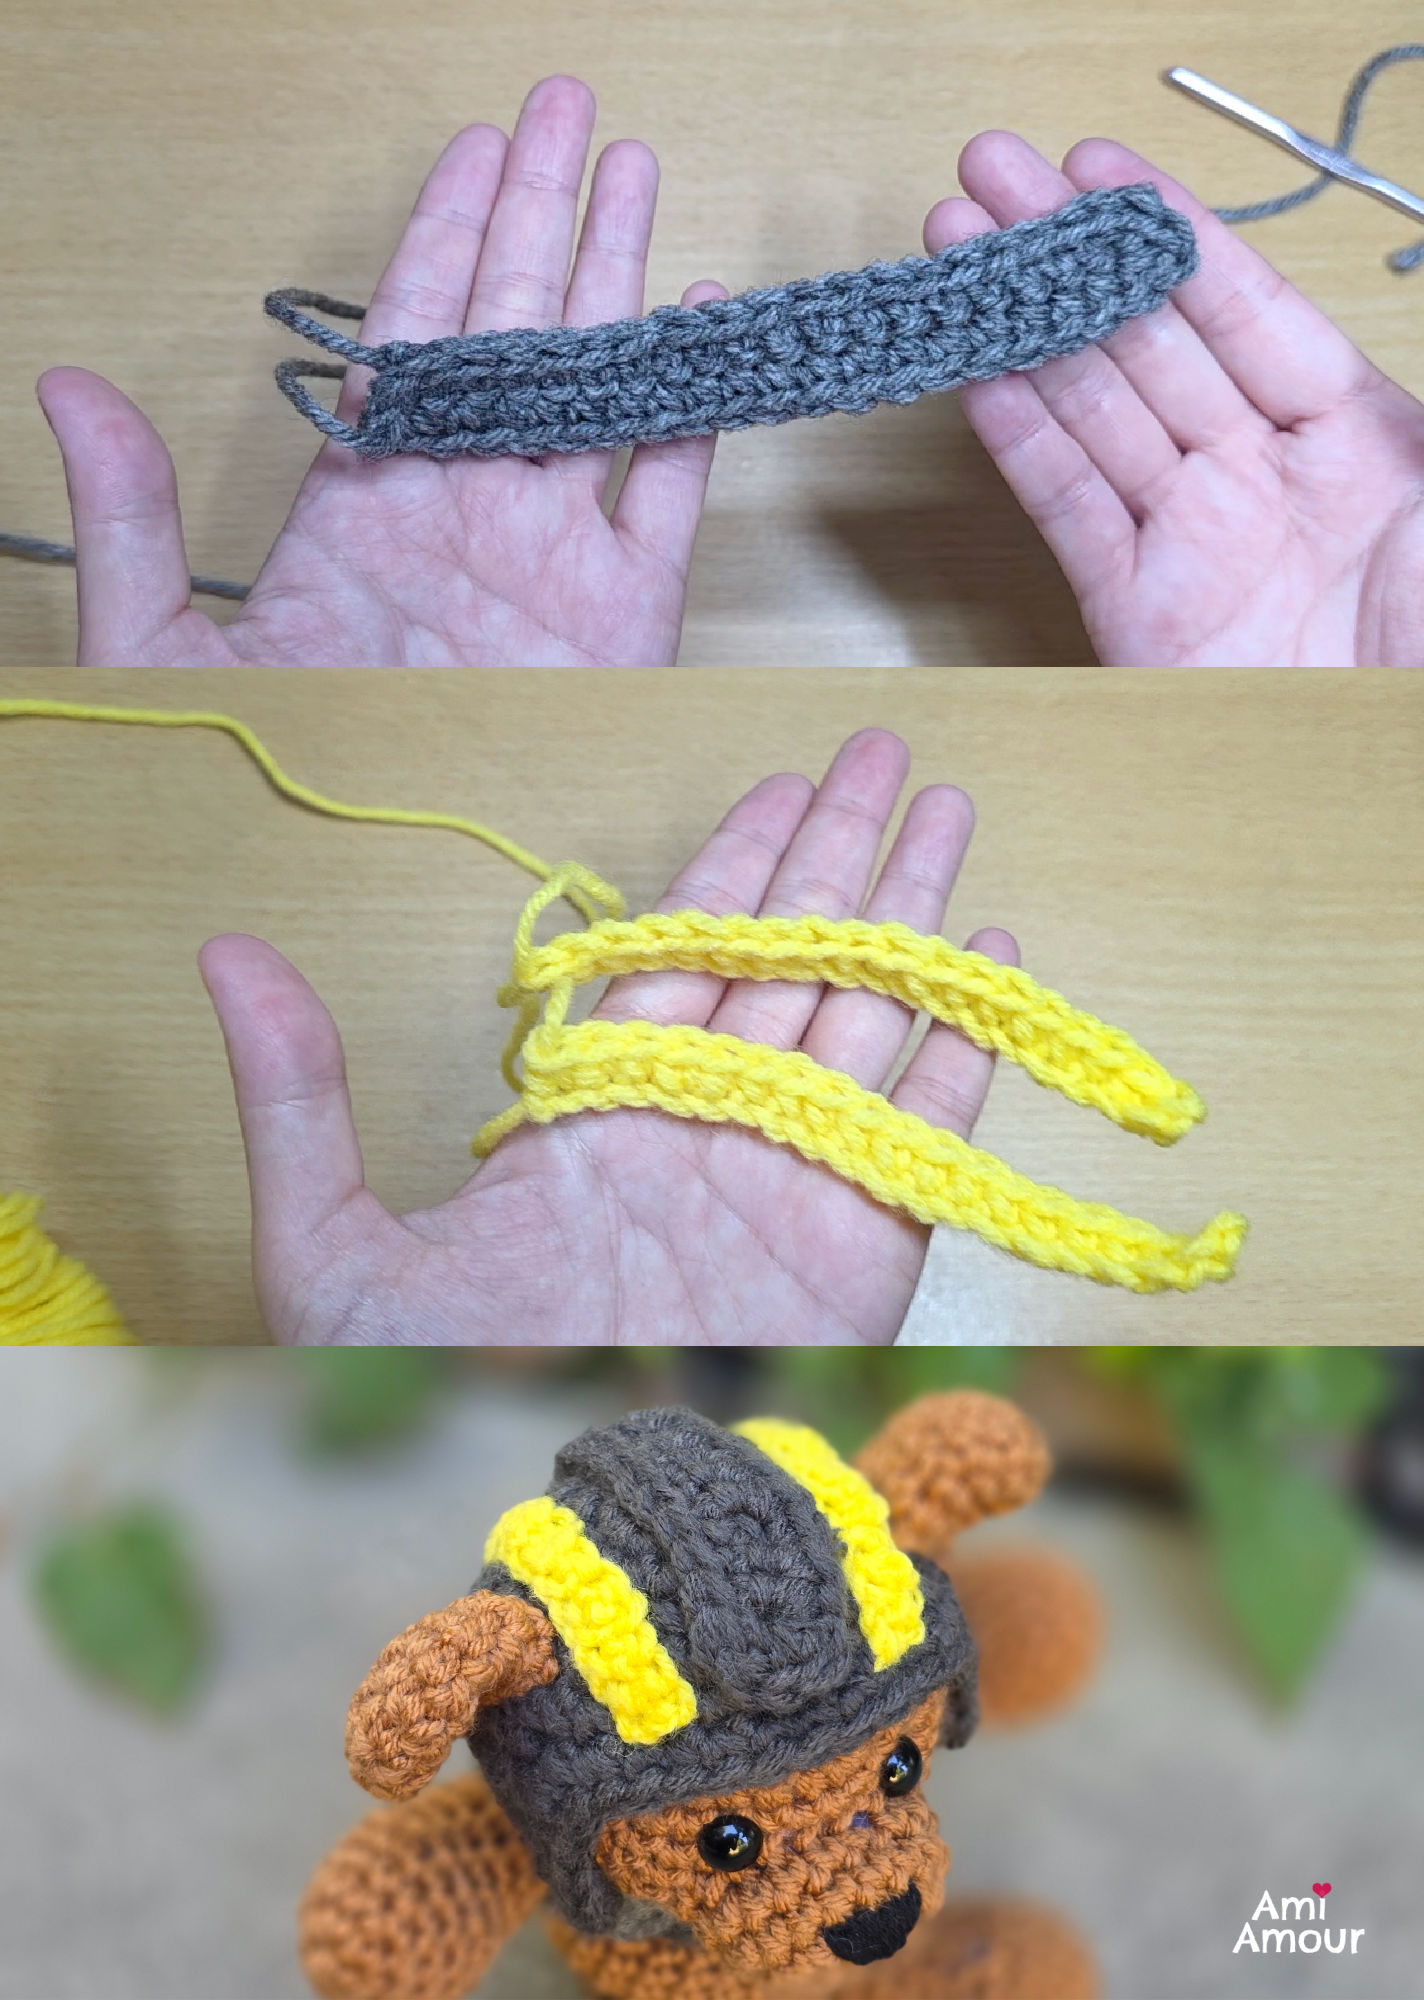
Row 1: Ch 21, sc in 2nd ch from hook and in each ch across – 20 sc.
Row 2: Ch 1, turn, sc in each st across – 20 sc.
Sl st around to the other side of the border.
Fasten off, leaving a long tail.
HELMET STRIPE #2 (make 2)
With neon yellow yarn
Ch 19, sc in 2nd ch from hook and in each ch across – 18 sc.
Fasten off, leaving a long tail.
UNDERARMOR
With dark gray yarn
Row 1: Ch 25, sc into 2nd ch from hook an in each ch across – 24 sc.
Row 2: Ch 1, turn, 2 sc in next st, sc in next 22 st, 2 sc in last st – 26 sc.
Row 3: Ch 1, turn, 2 sc in next st, sc in next 24 st, 2 sc in last st – 28 sc.
Row 4: Ch 1, turn, 2 sc in next sst, sc in next 26 st, 2 sc in last st – 30 sc.
Row 5: Ch 1, turn, sc in each st across – 30 sc.
Fasten off, leaving a long tail.
BODY ARMOR
Main Panel (make 1)
With a lighter gray yarn
Row 1: Ch 11, sc into 2nd ch from hook and in each ch across – 10 sc.
Row 2-4: Ch 1, turn, sc in each st across – 10 sc.
Fasten off leaving a long tail.
Side Panel (make 2)
With a lighter gray yarn
Row 1: Ch 5, sc into 2nd ch from hook and in each ch across – 4 sc.
Row 2-3: Ch 1, turn, sc in each st across – 4 sc.
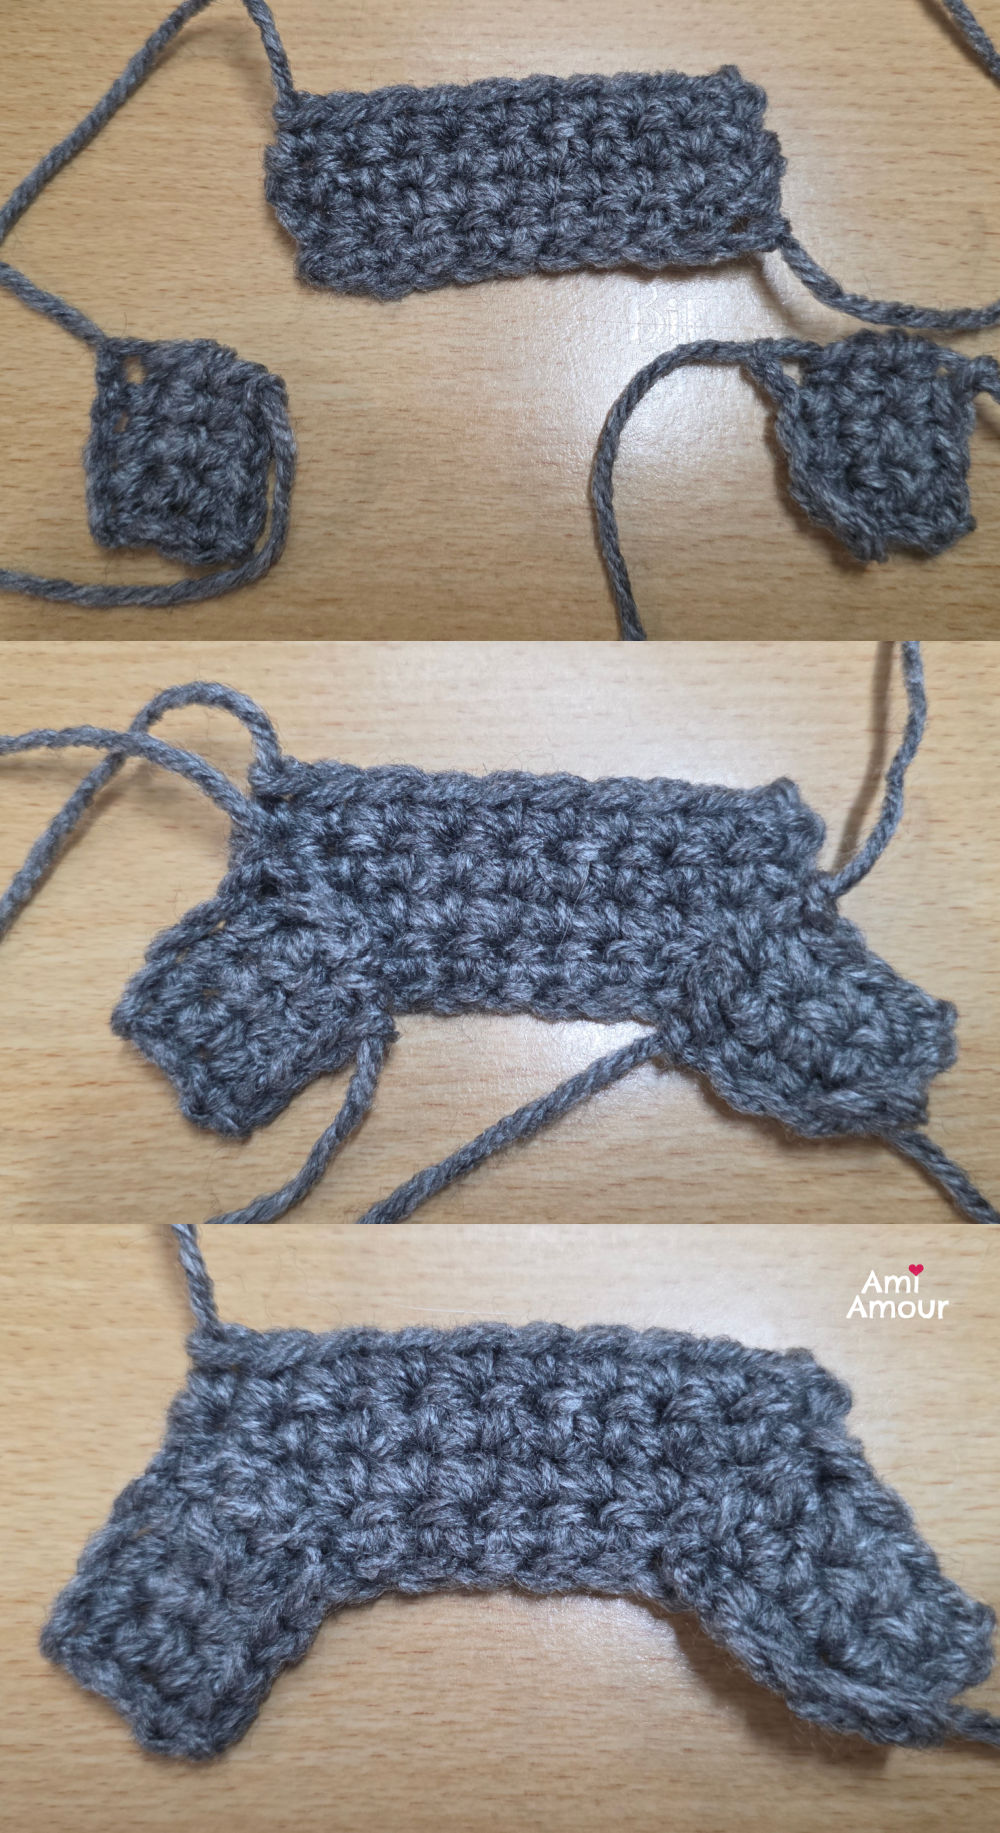
We are going to make the a main panel and sew on the side panels in this configuration as seen below. The side panels will sew on to the bottom corners of the Main Panel. Sew into place. You can also see this video for assembly.
You have just created the Front BODY ARMOR #1. Repeat the pattern again to create the Back BODY ARMOR #2 so that you have 2 sets. One for the front and one for the back.
SLEEVE (make 2)
With a lighter gray yarn
Ch 20, sl st to first ch to make a ring.
Sc in each ch around – 20 sc.
Sl st to join to first sc. Fasten off, leaving a long tail.
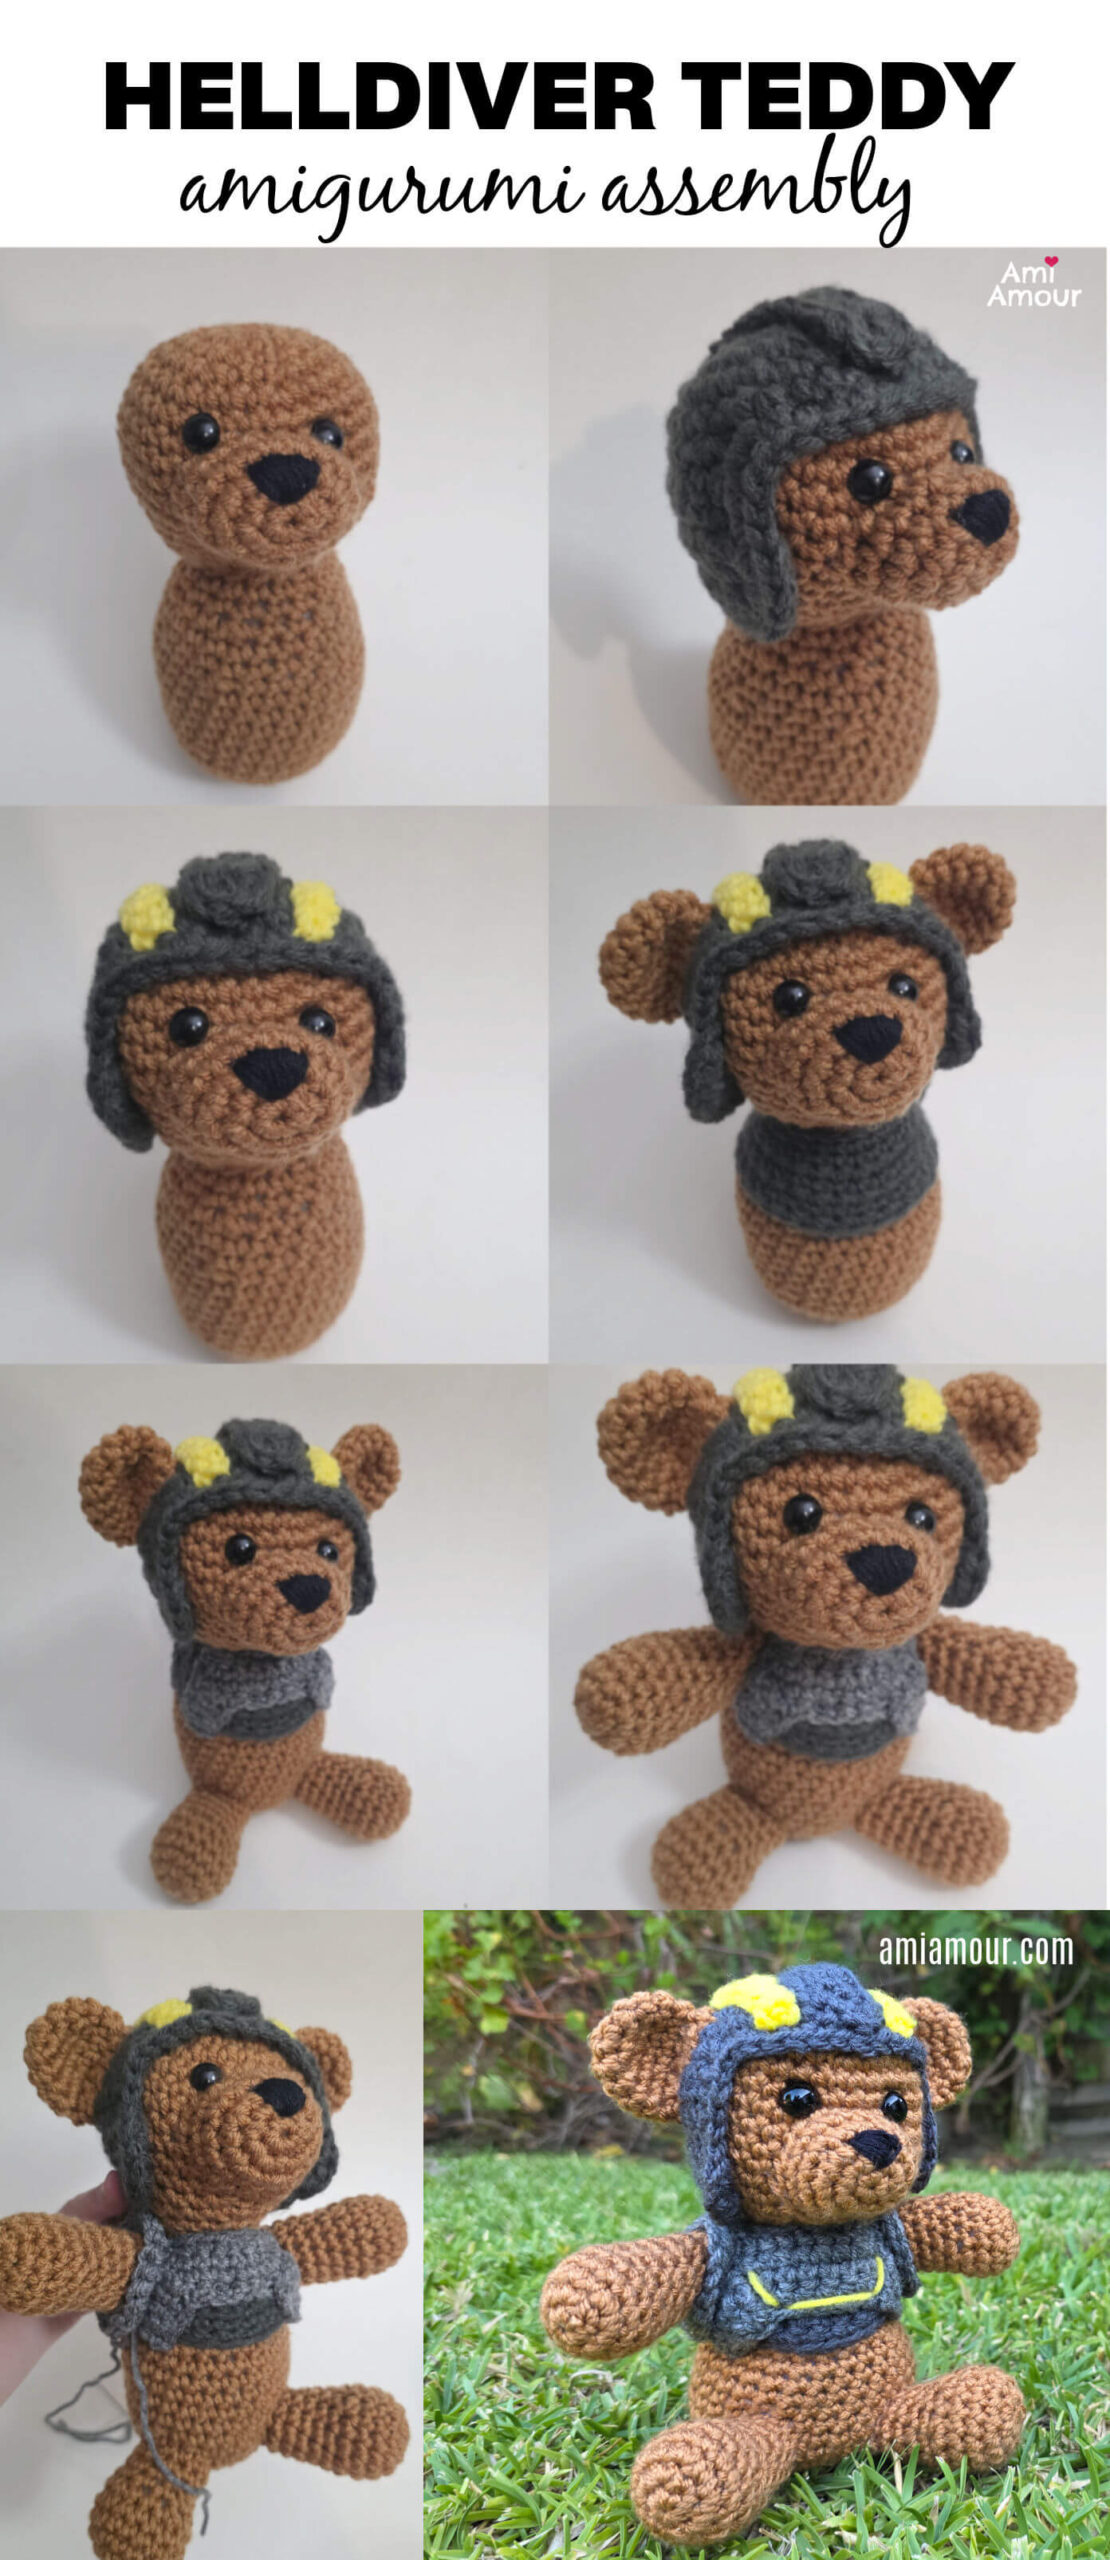
HELLDIVER TEDDY AMIGURUMI ASSEMBLY
1. Stuff Head and Body.
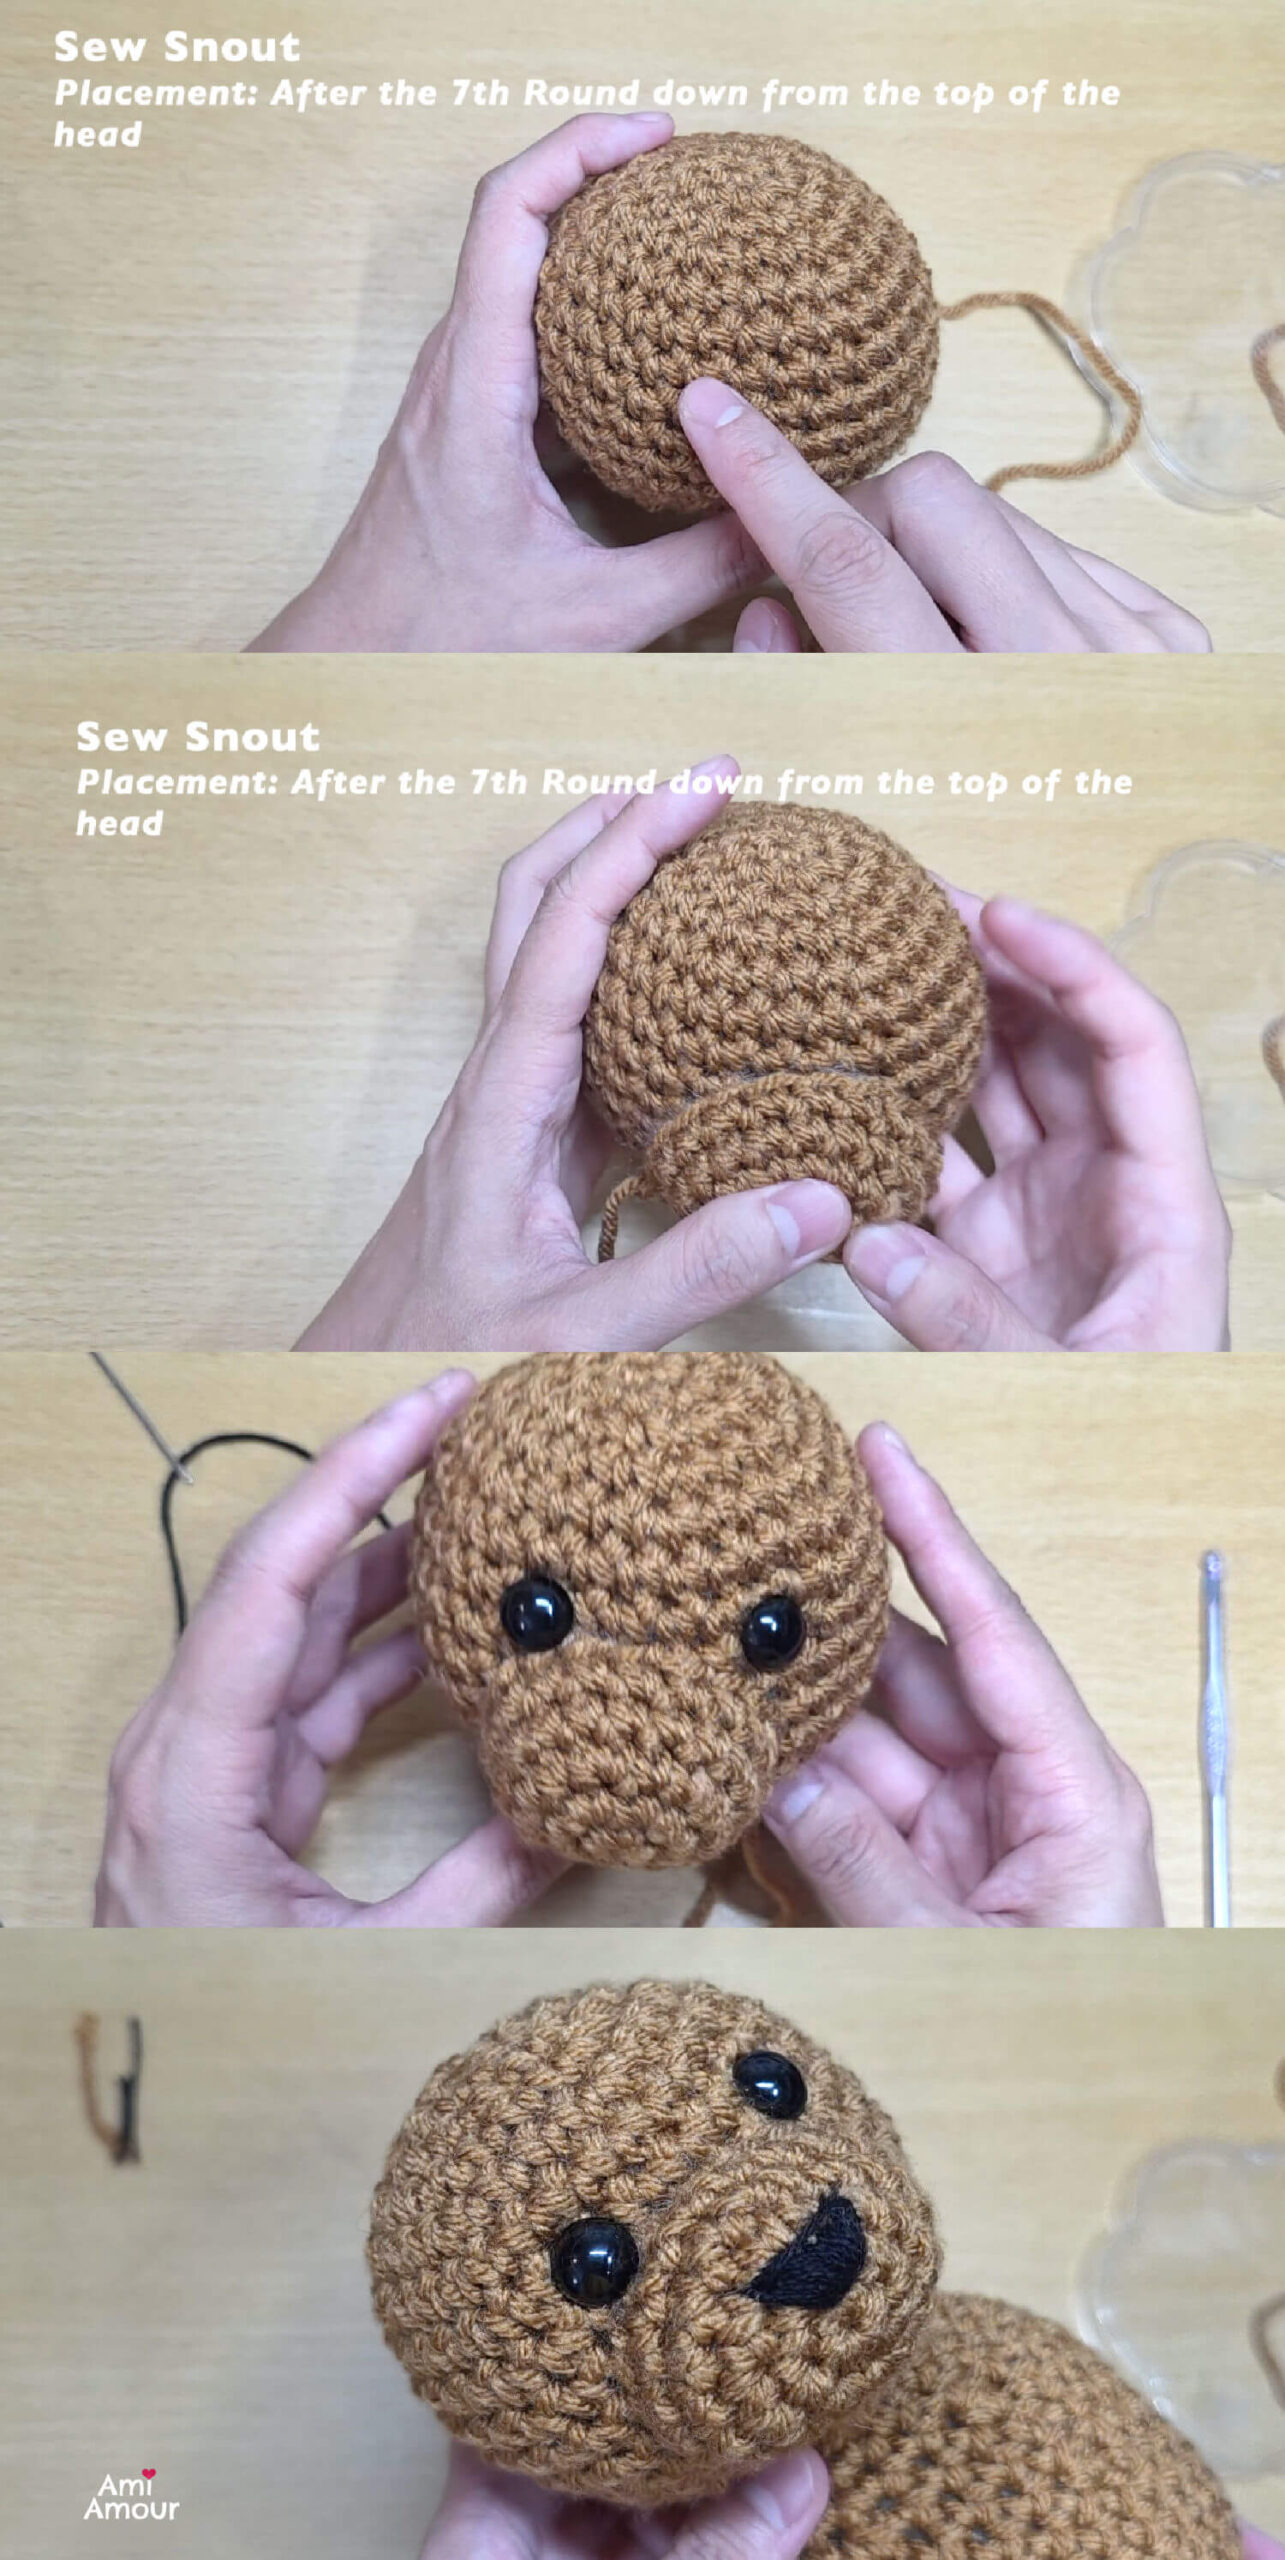
2. Sew Snout to Head. Placement: Sew after 7th Round down from top of Head. See photos below. You can also see the video tutorial.
3. Sew 12.5mm Button Eyes (or safety eyes) to Face. Placement: Right above the snout and 4 sts between the eyes.
4. Sew Head to Body.
5. Embroider nose onto snout with black crochet thread or embroidery floss.
6. Sew Helmet to Head. I like to sew it one round in from the edge of the helmet. You can also see the video tutorial for this portion.
7. Sew Helmet Stripe #1 to middle of the helmet.
8. Sew Helmet Stripes #2 to the sides of the helmet. One to the left side of the gray Helmet Stripe #1 and one to the right side.
9. Sew Ears onto Helmet.
10. Sew Underamor around the Body.
11. Sew Body Armor #1 to the front of the Body. Sew the Body Armor #2 to the back of the Body. There will be a gap at the sides between the armor. This will be the section where the arms will be sewn into place.
12. Sew Legs to the bottom of the Body.
13. Sew Arms to the sides of the Body.
14. Insert the Sleeves through the arms and sew Sleeves to the body on top of the Body Armor.
15. With neon yellow yarn, embroider lines across the Body Armor. It will have this shape \____/ See photos for reference.
16. Fasten off and hide all ends.
17. Tag me with your projects on Instagram @ami_amour. I’d love to see!


No Comments