
Introducing to you guys another cute critter, it’s crochet Brushbuddy from Witch Hat Atelier!
One of my favorite anime to come out this year was Witch Hat Atelier. It’s a bit like Harry Potter in that you have these young apprentices who are learning the skills and knowledge to become a witch under the tutelage of their head mentor.
However instead of wands, their tools are their pen wands and a conjuring ink pot in which they use to draw up their spells and magic.
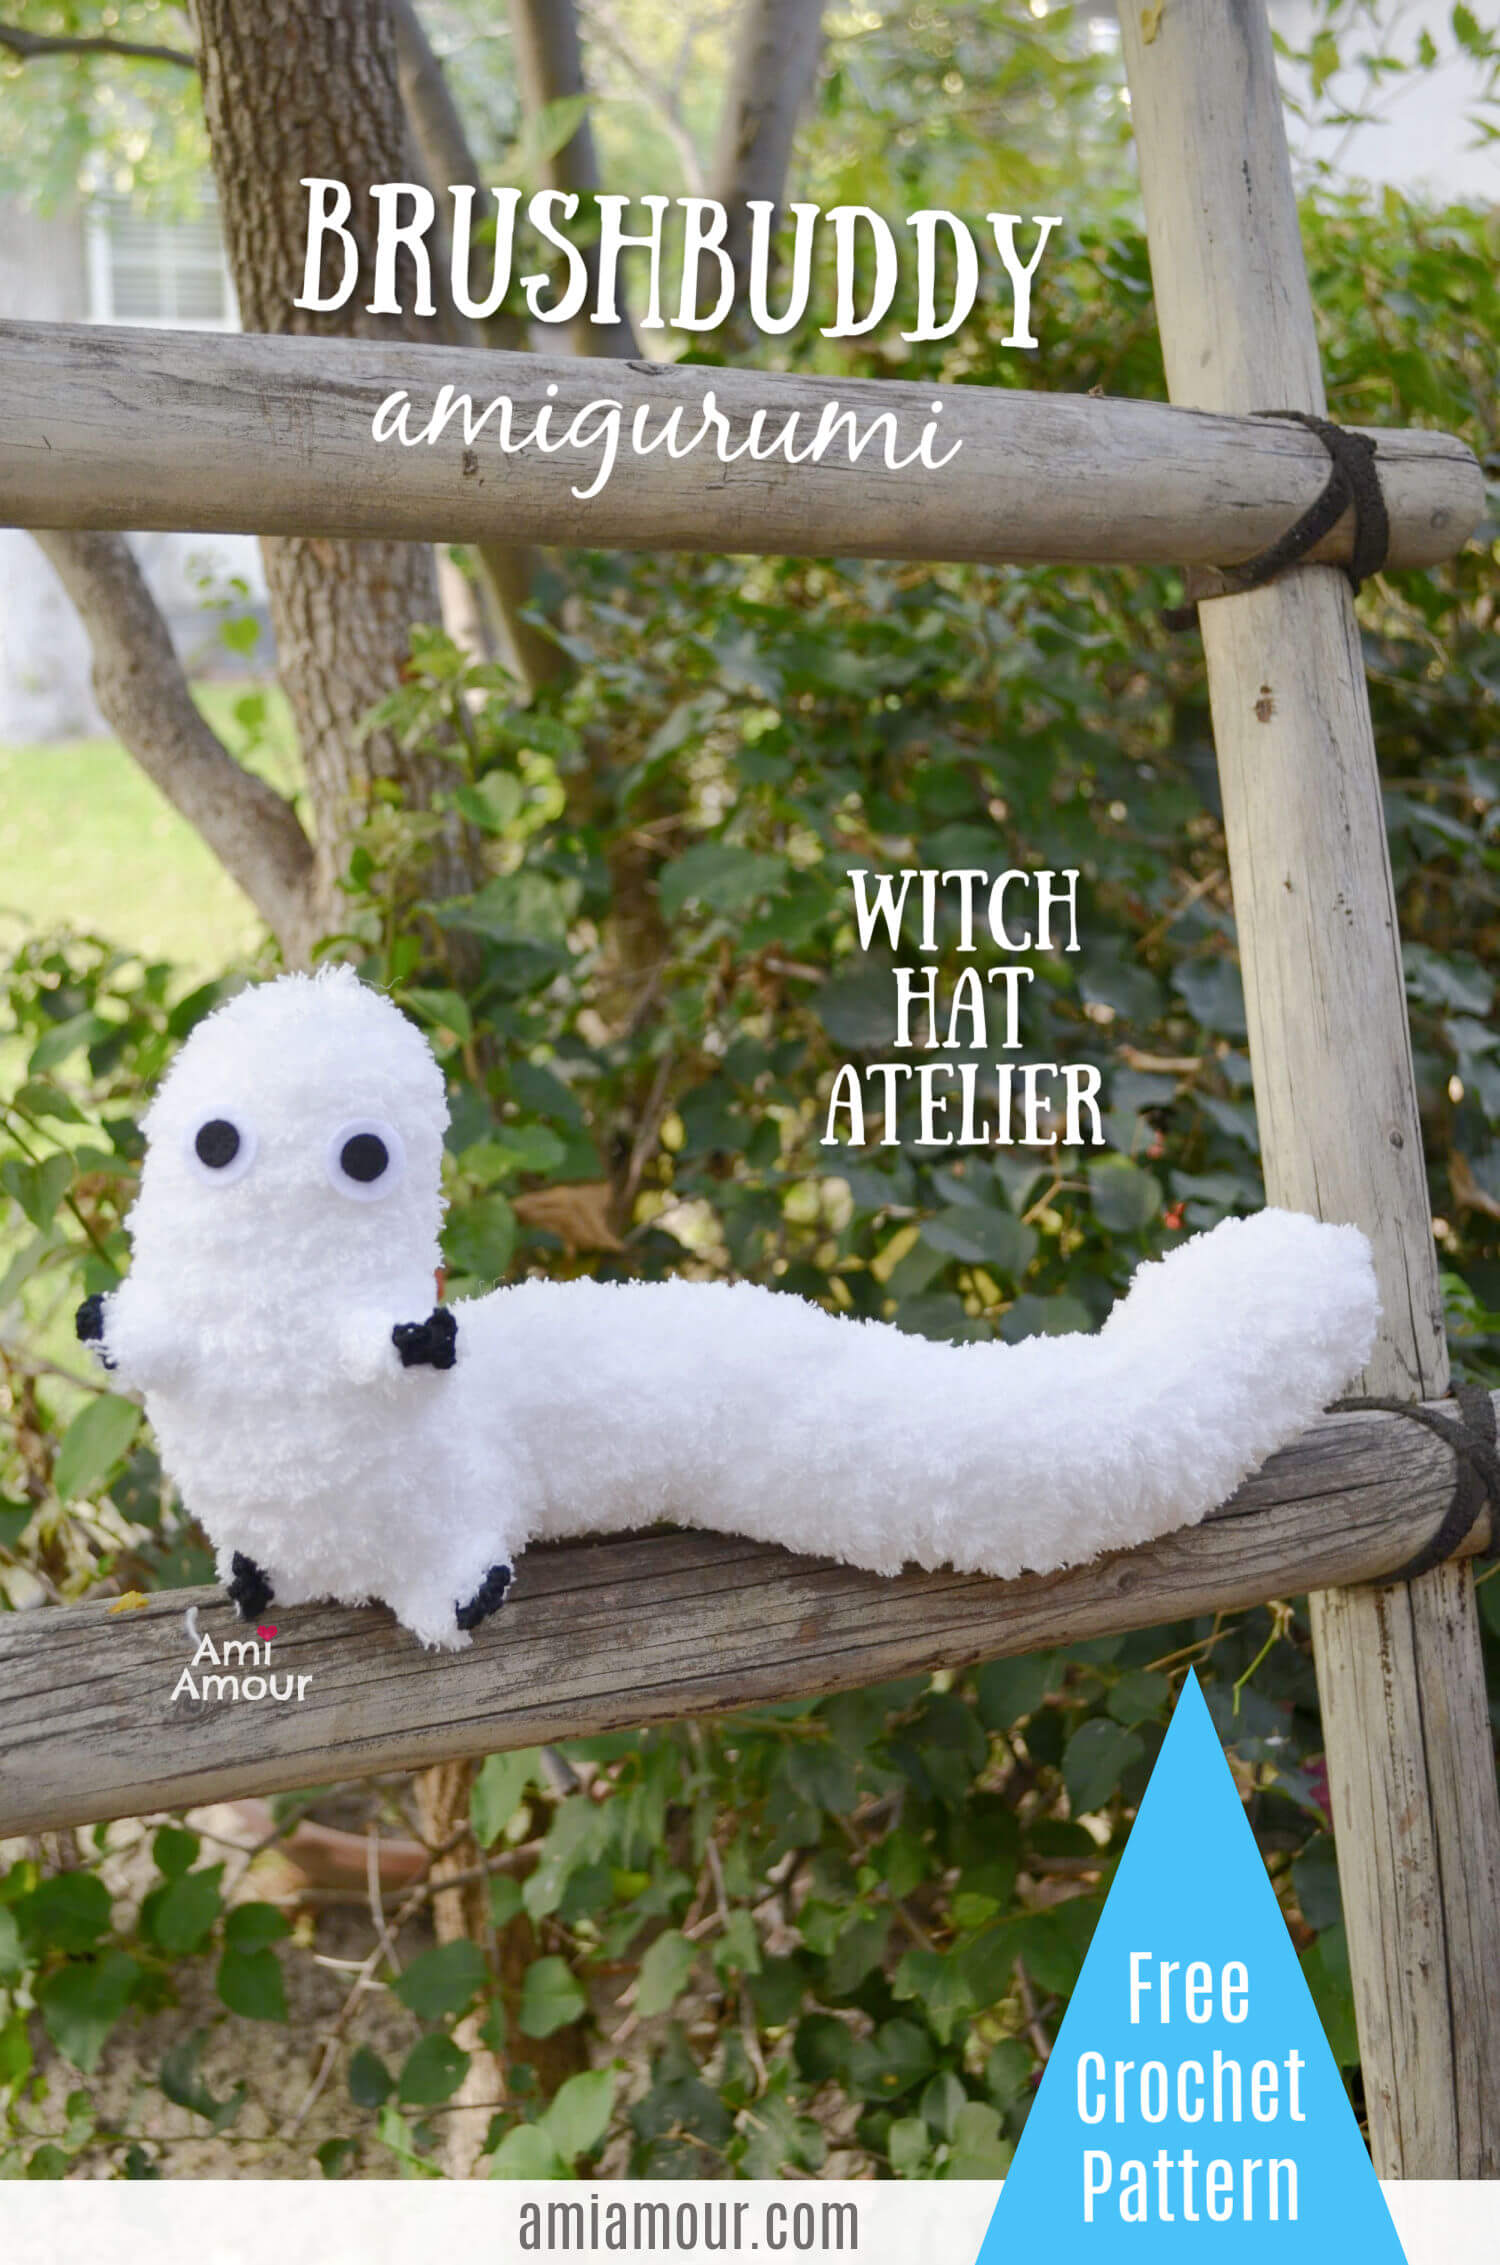
I’m always on the lookout for cute creatures and my “amigurumi sense” immediately started tingling the moment I saw Brushbuddy in Witch Hat Atelier. His cuteness factor reminds me of Studio Ghibli and somehow particularly the white Totoro.
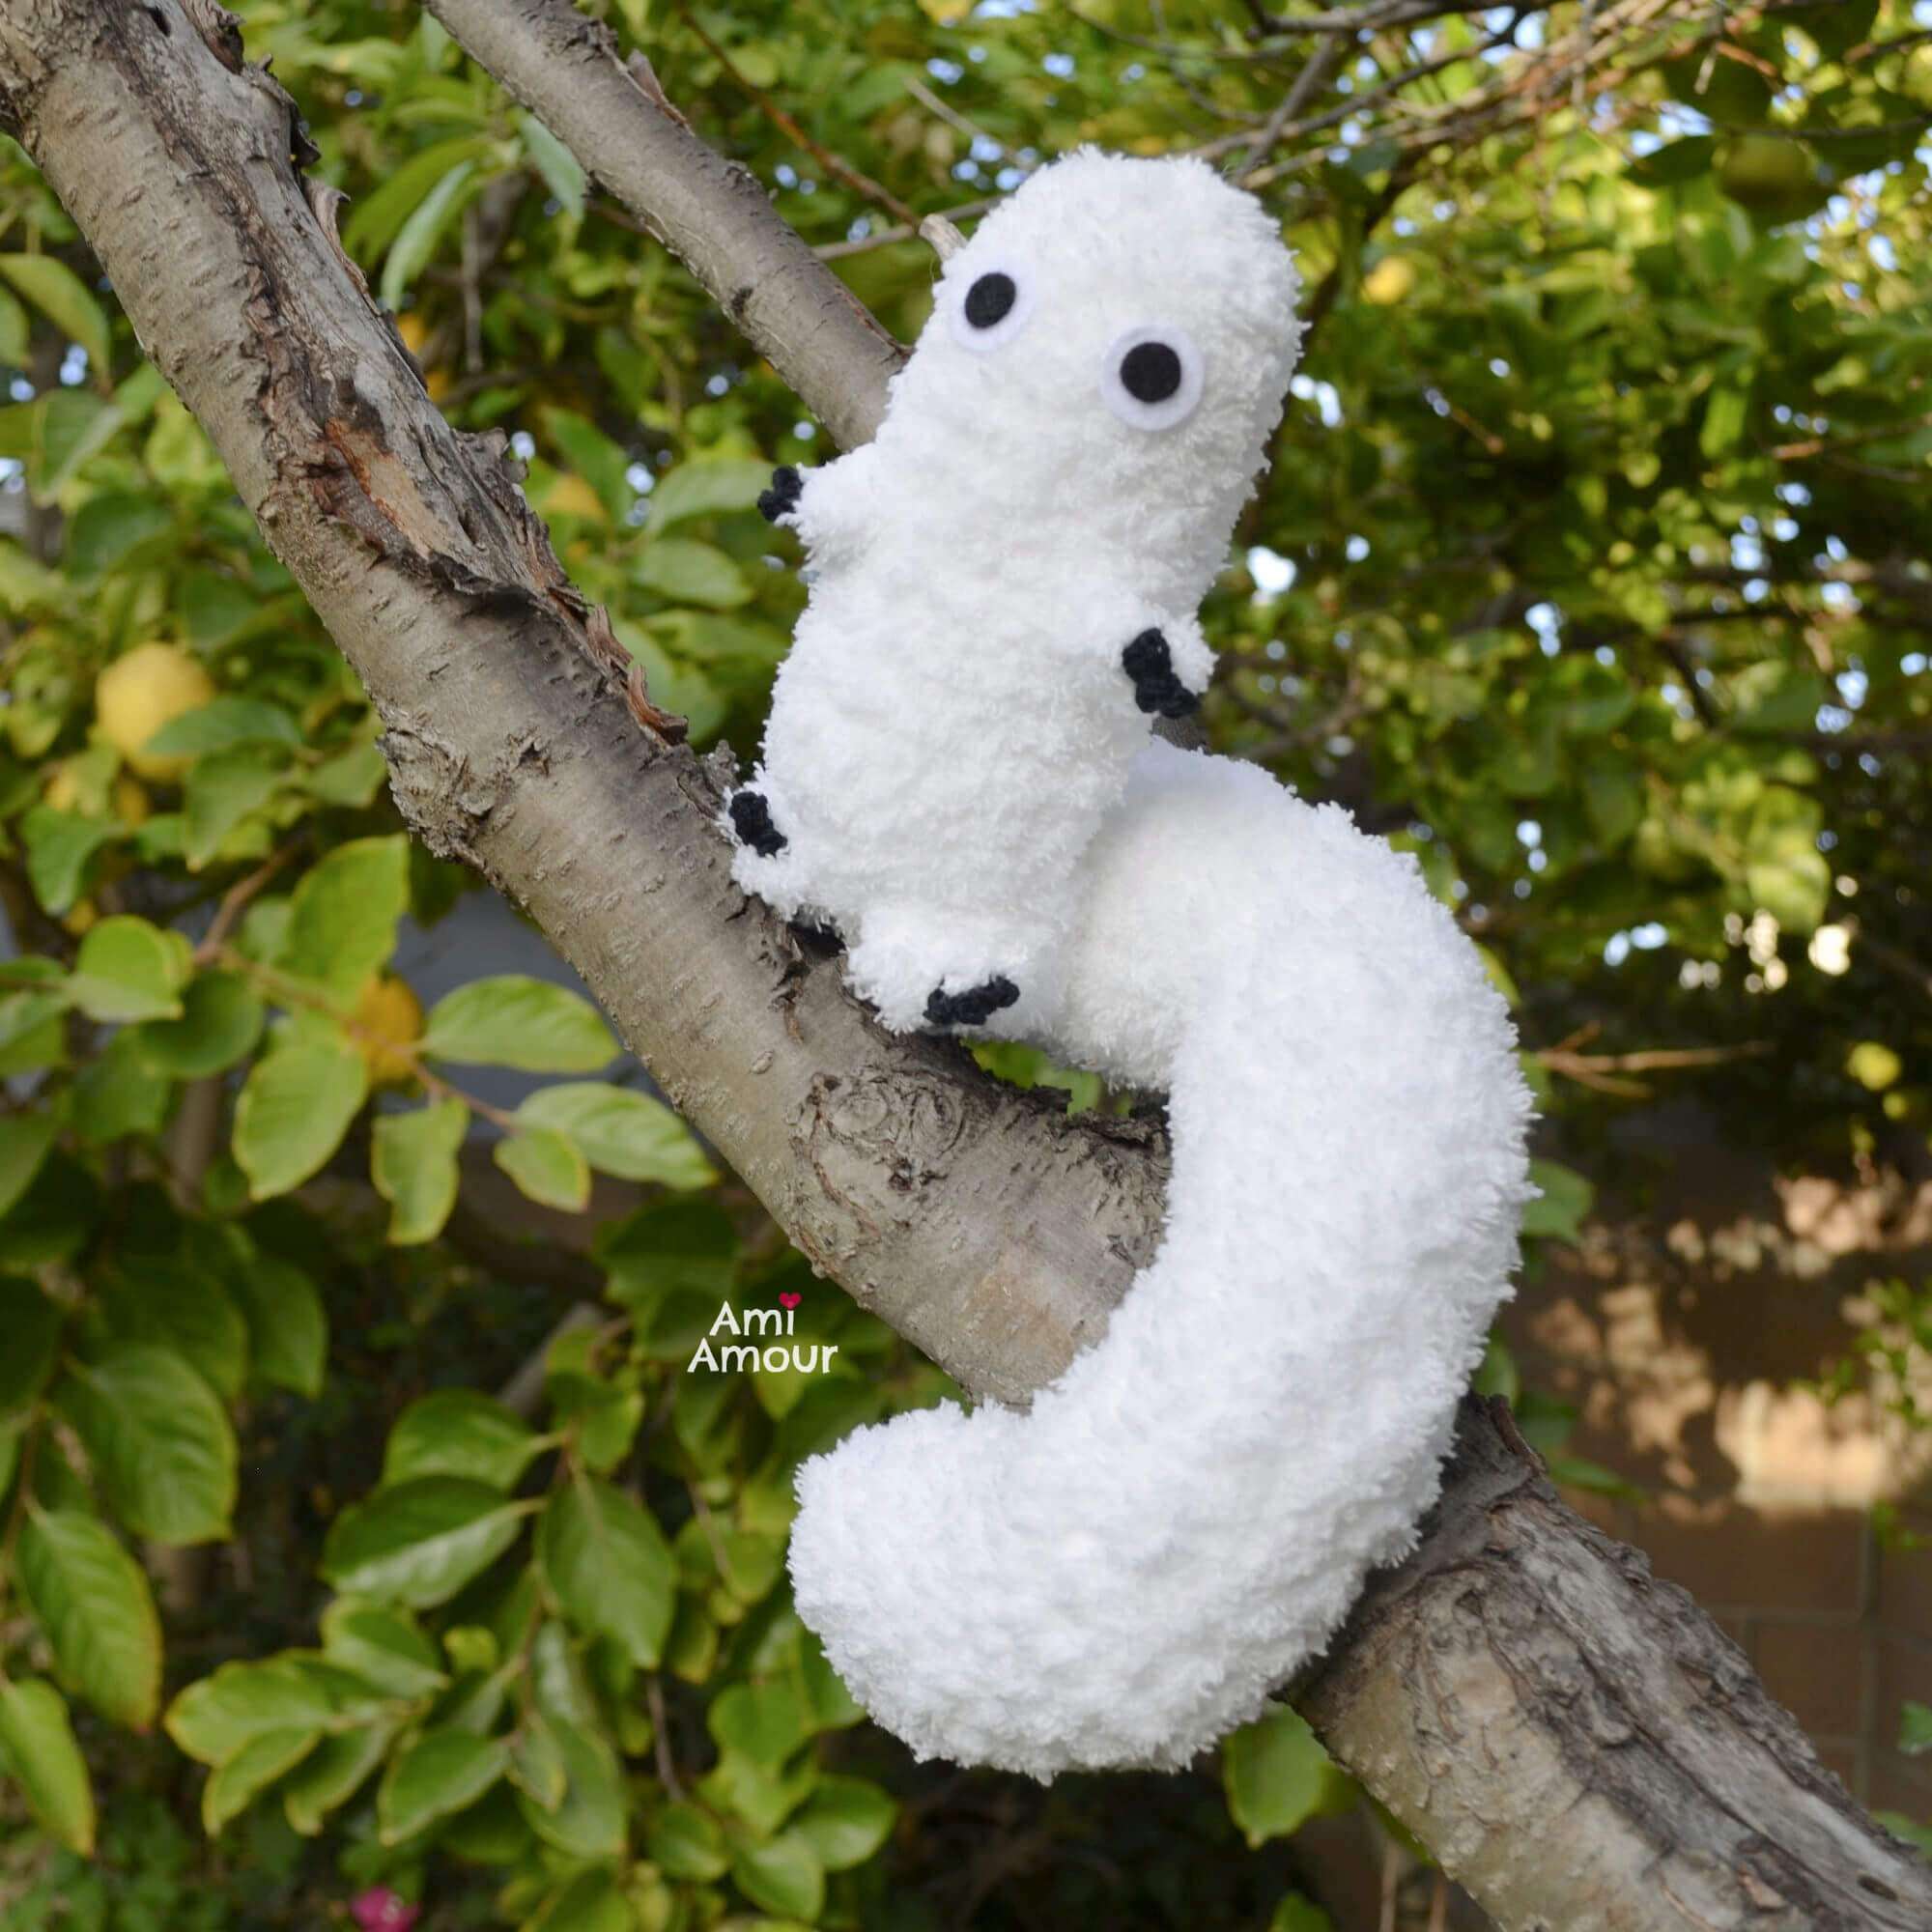
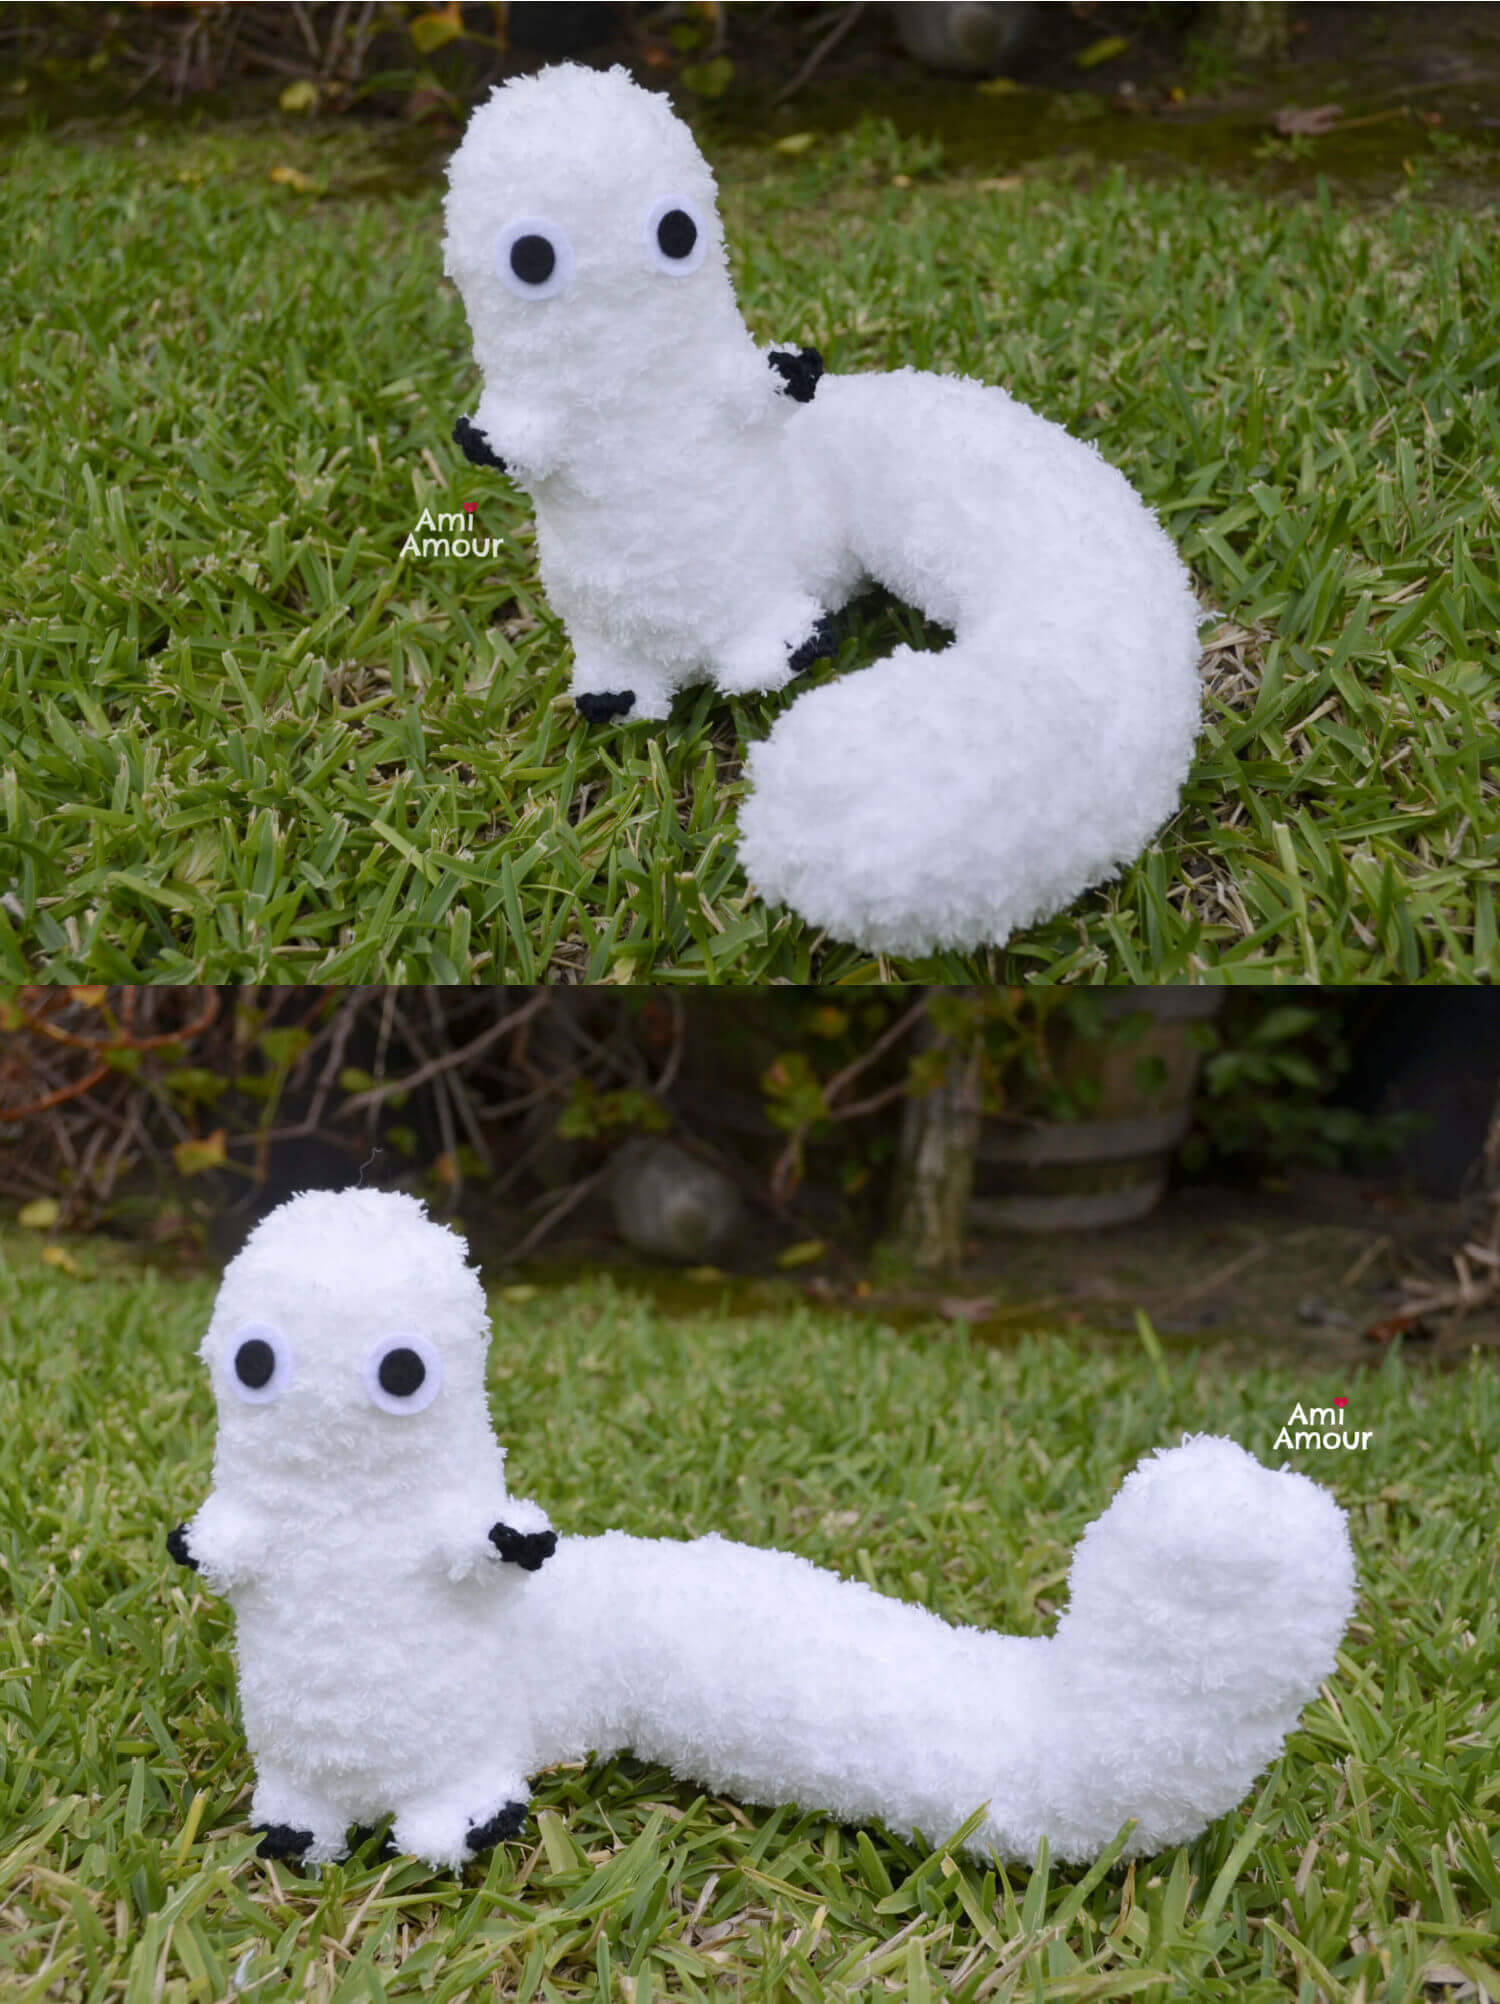
In order to capture his fluffy spirit, I used the Bernat Pipsqueak yarn. This yarn gives a furry texture and hides the crochet stitches.
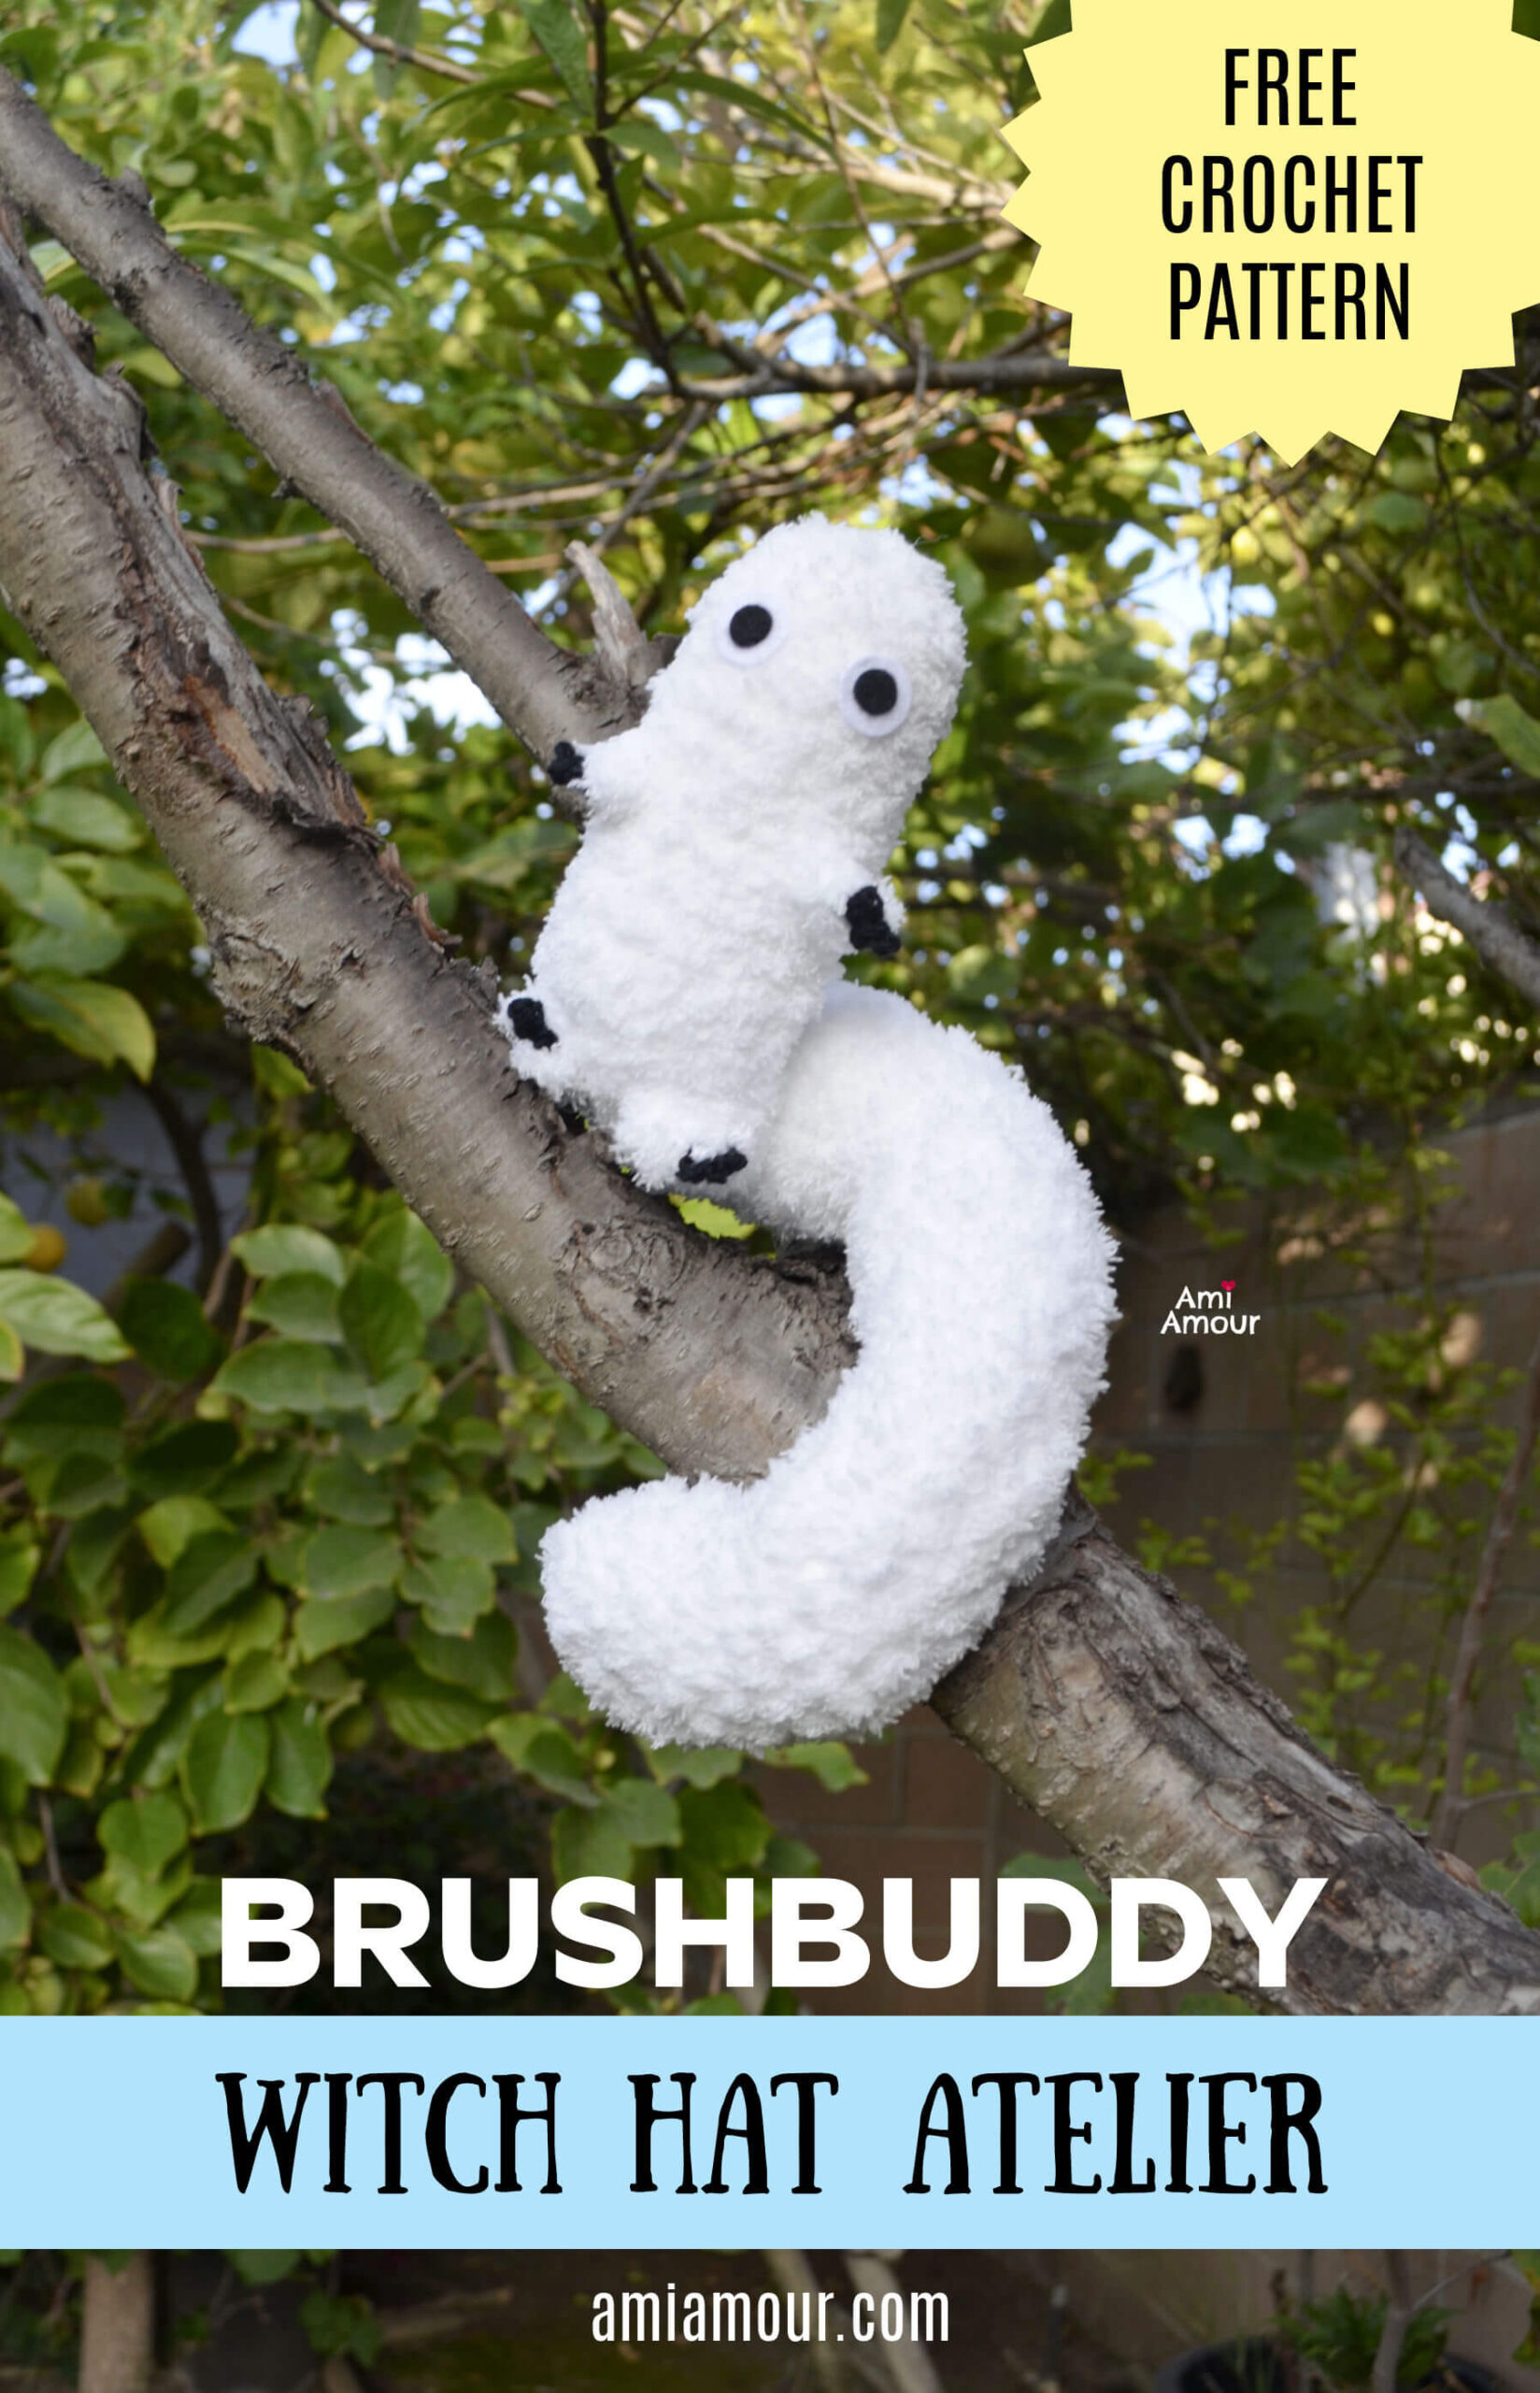
Also because Brushbuddy is like a ferret or long snake in his shape, I thought it’d be fun if he were poseable. I used craft armature wire to insert into this body, so that he can be posed into his various shapes.
You can see my video tutorial to really see how bendable and flexible he can be. But here’s a couple of his poses he likes to do!
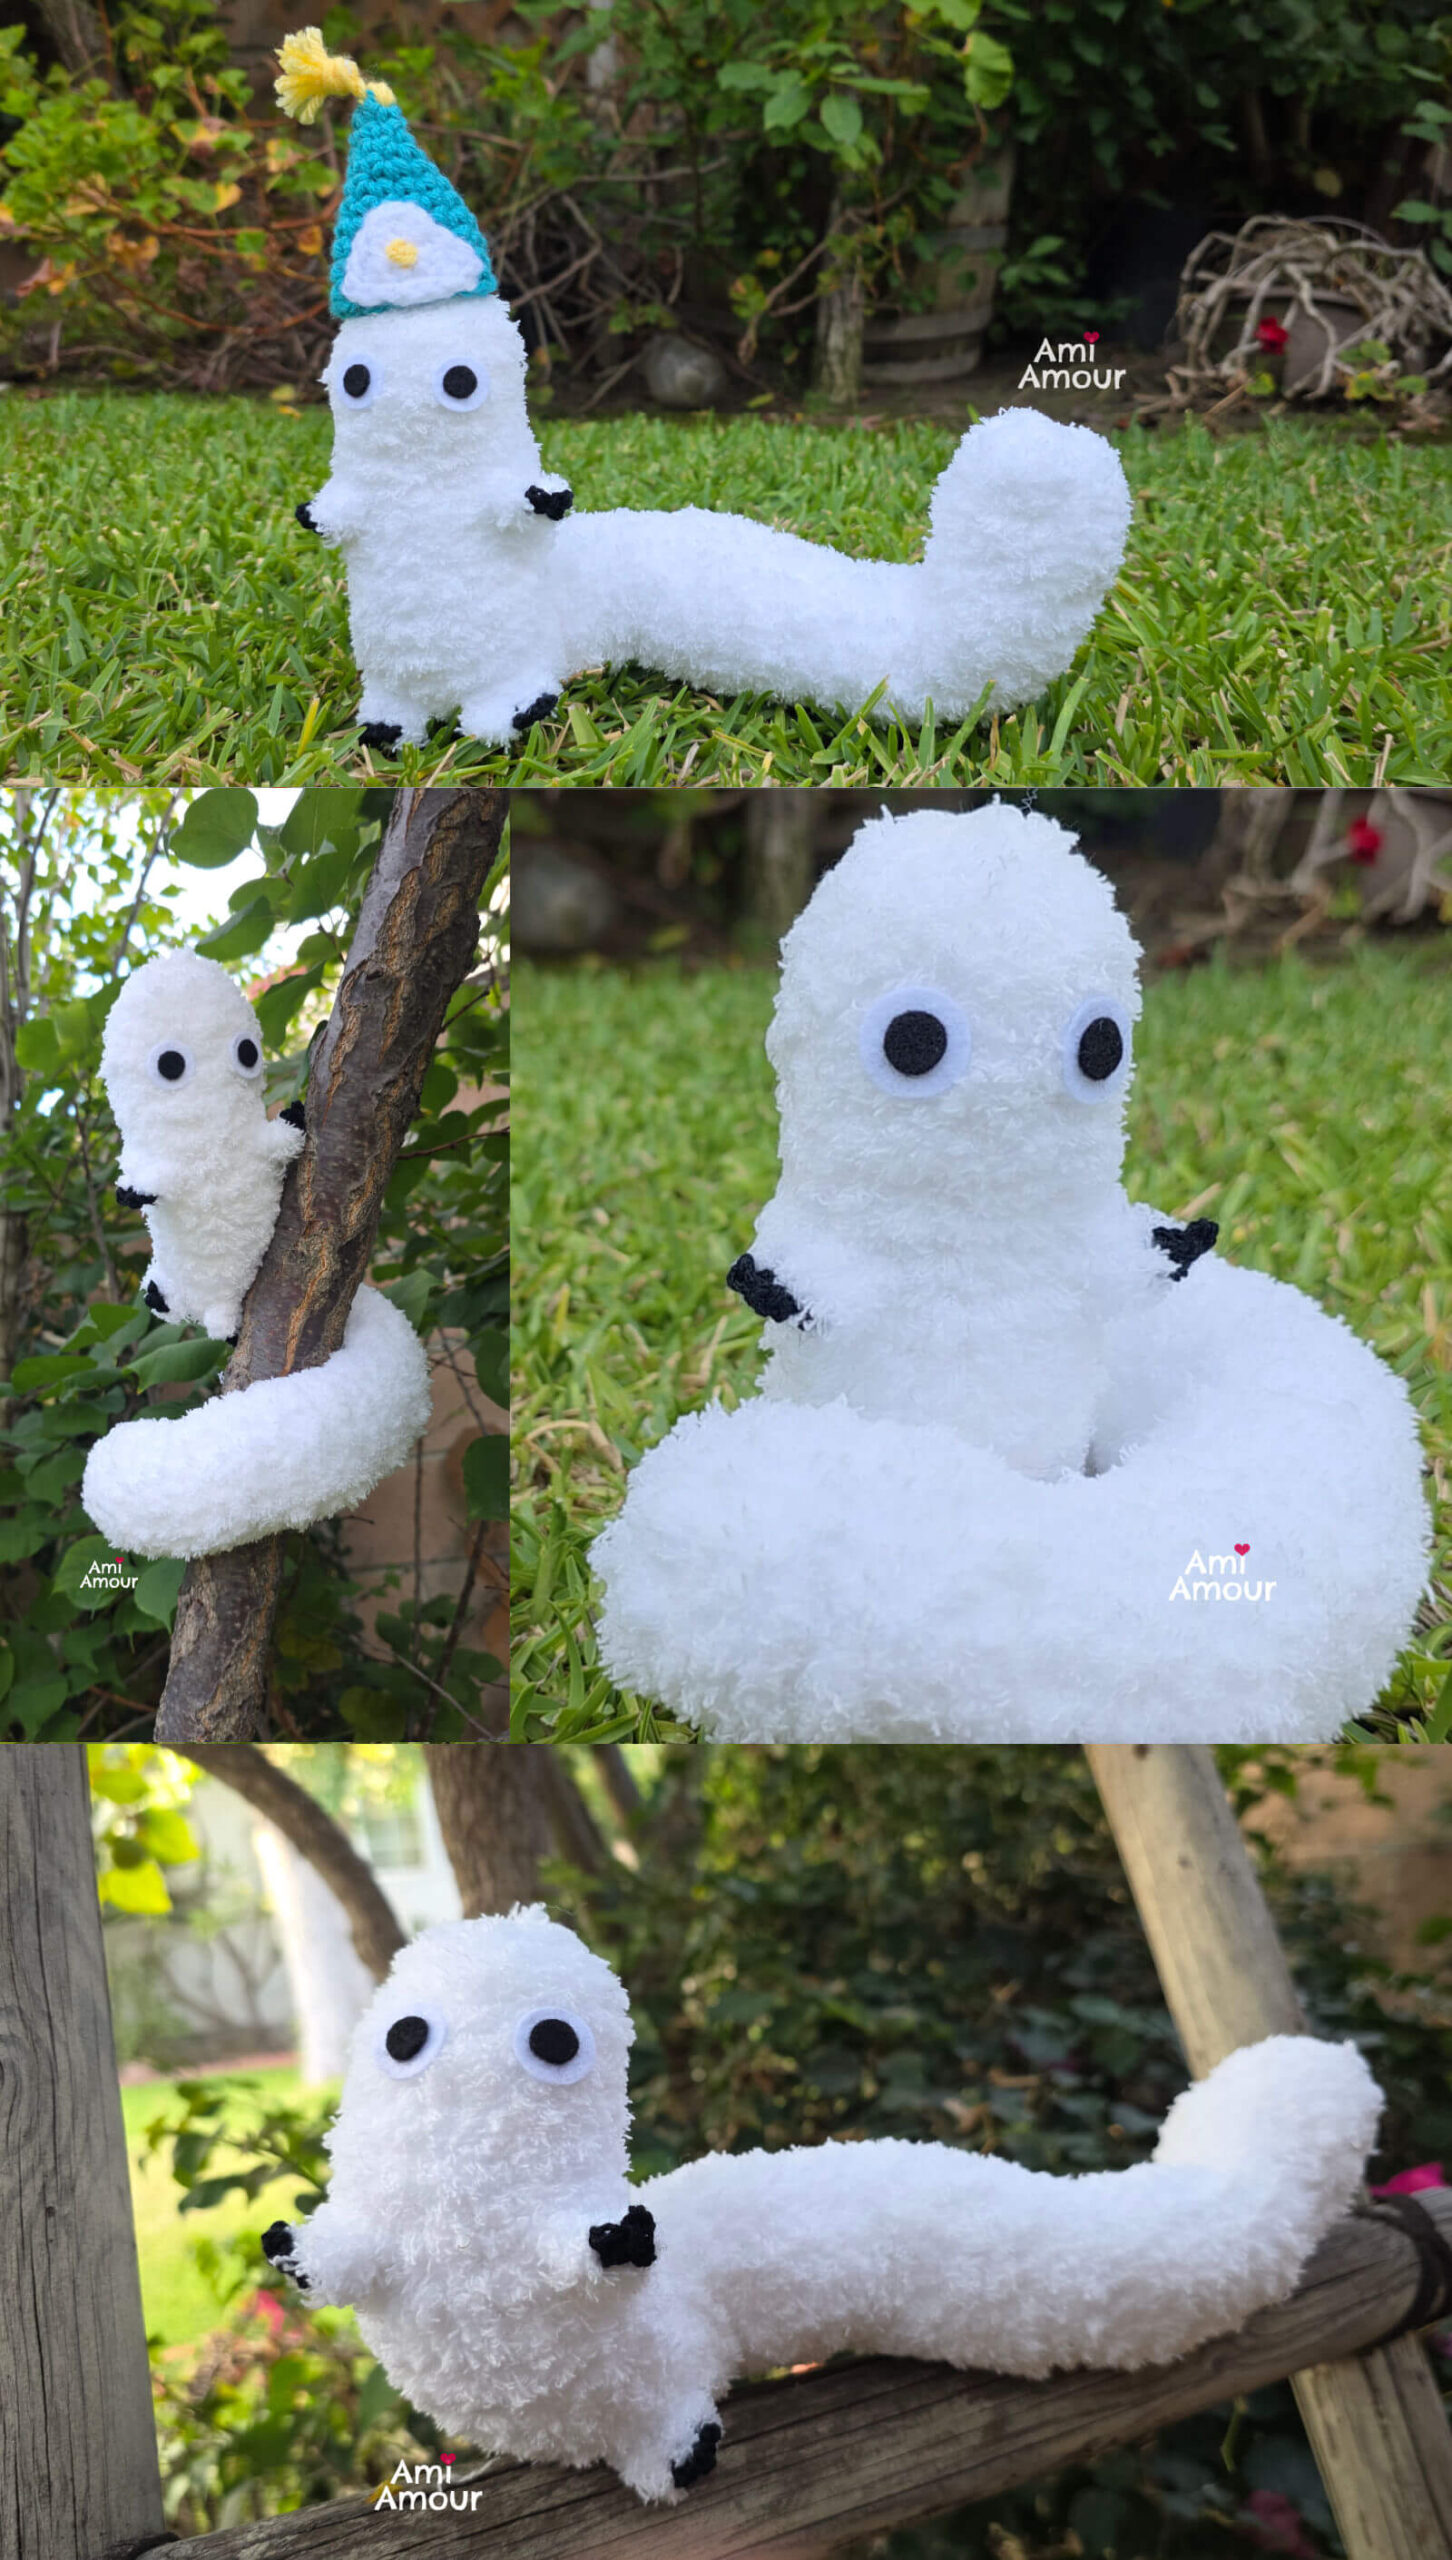
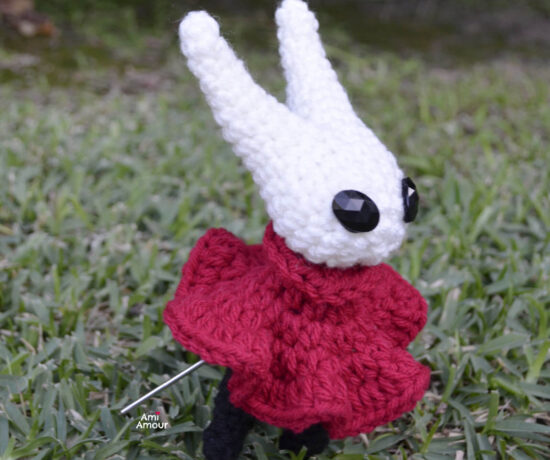
He’s also very cute when he has a witch hat on!
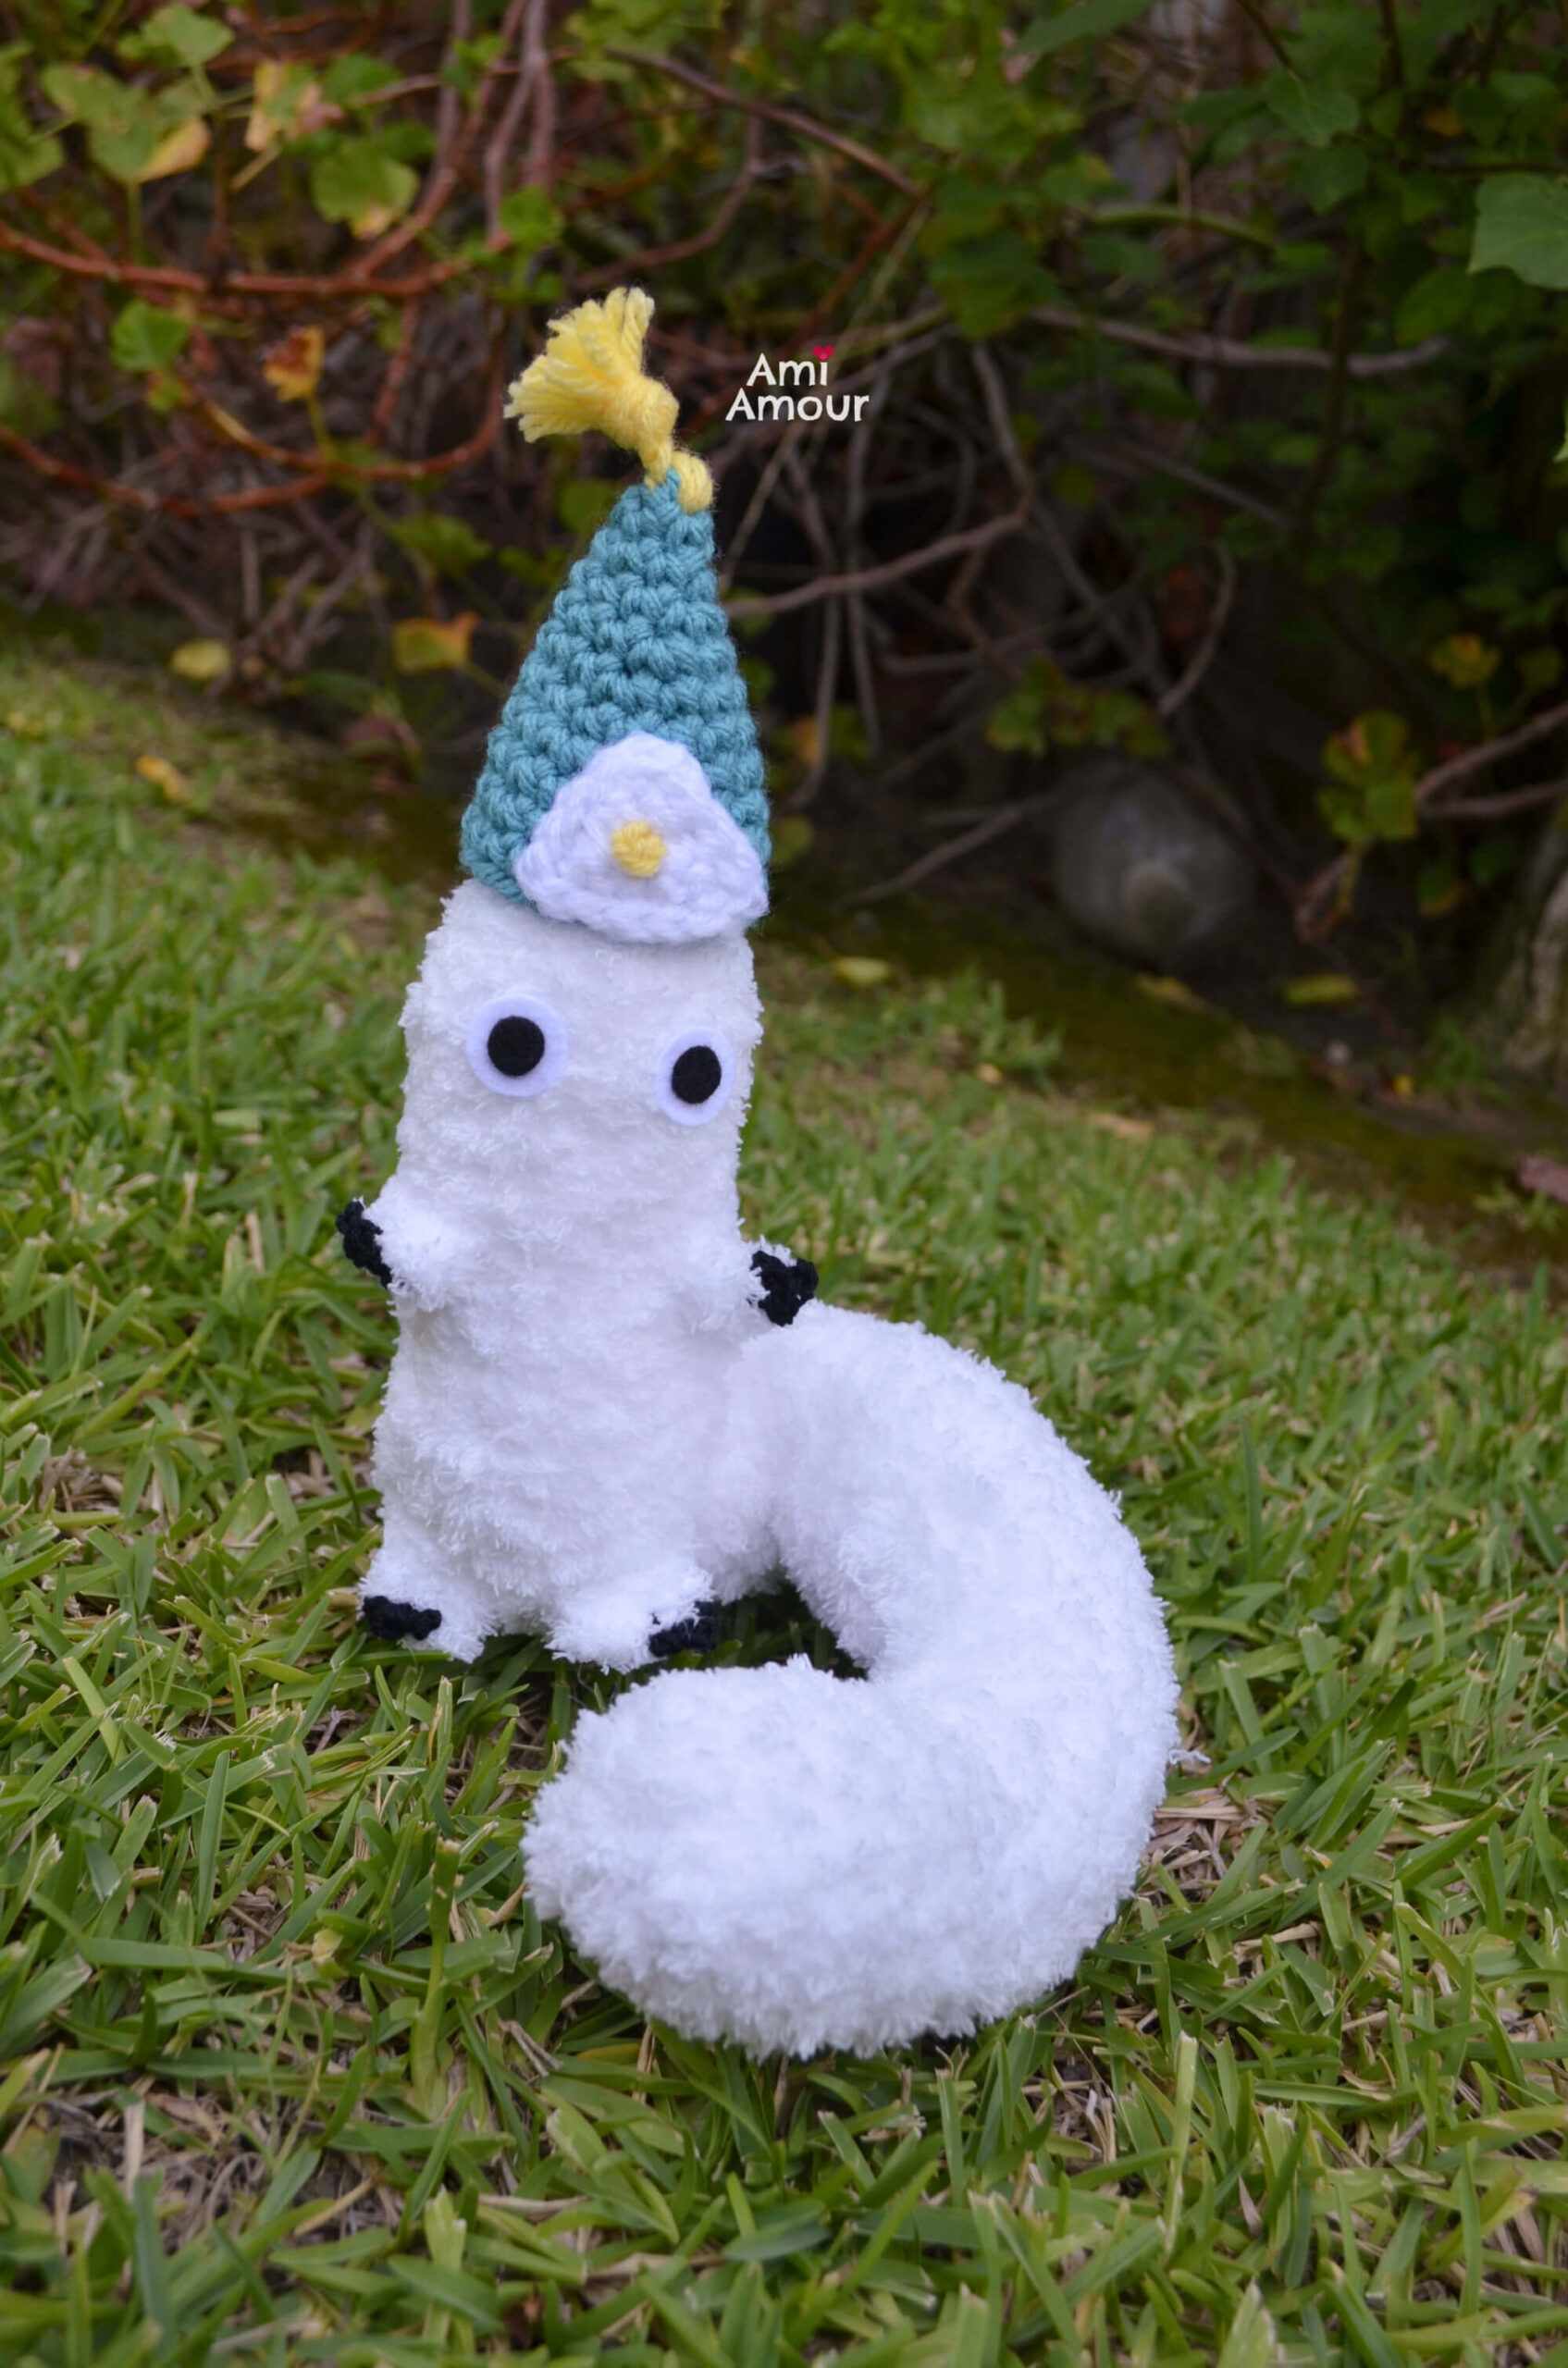
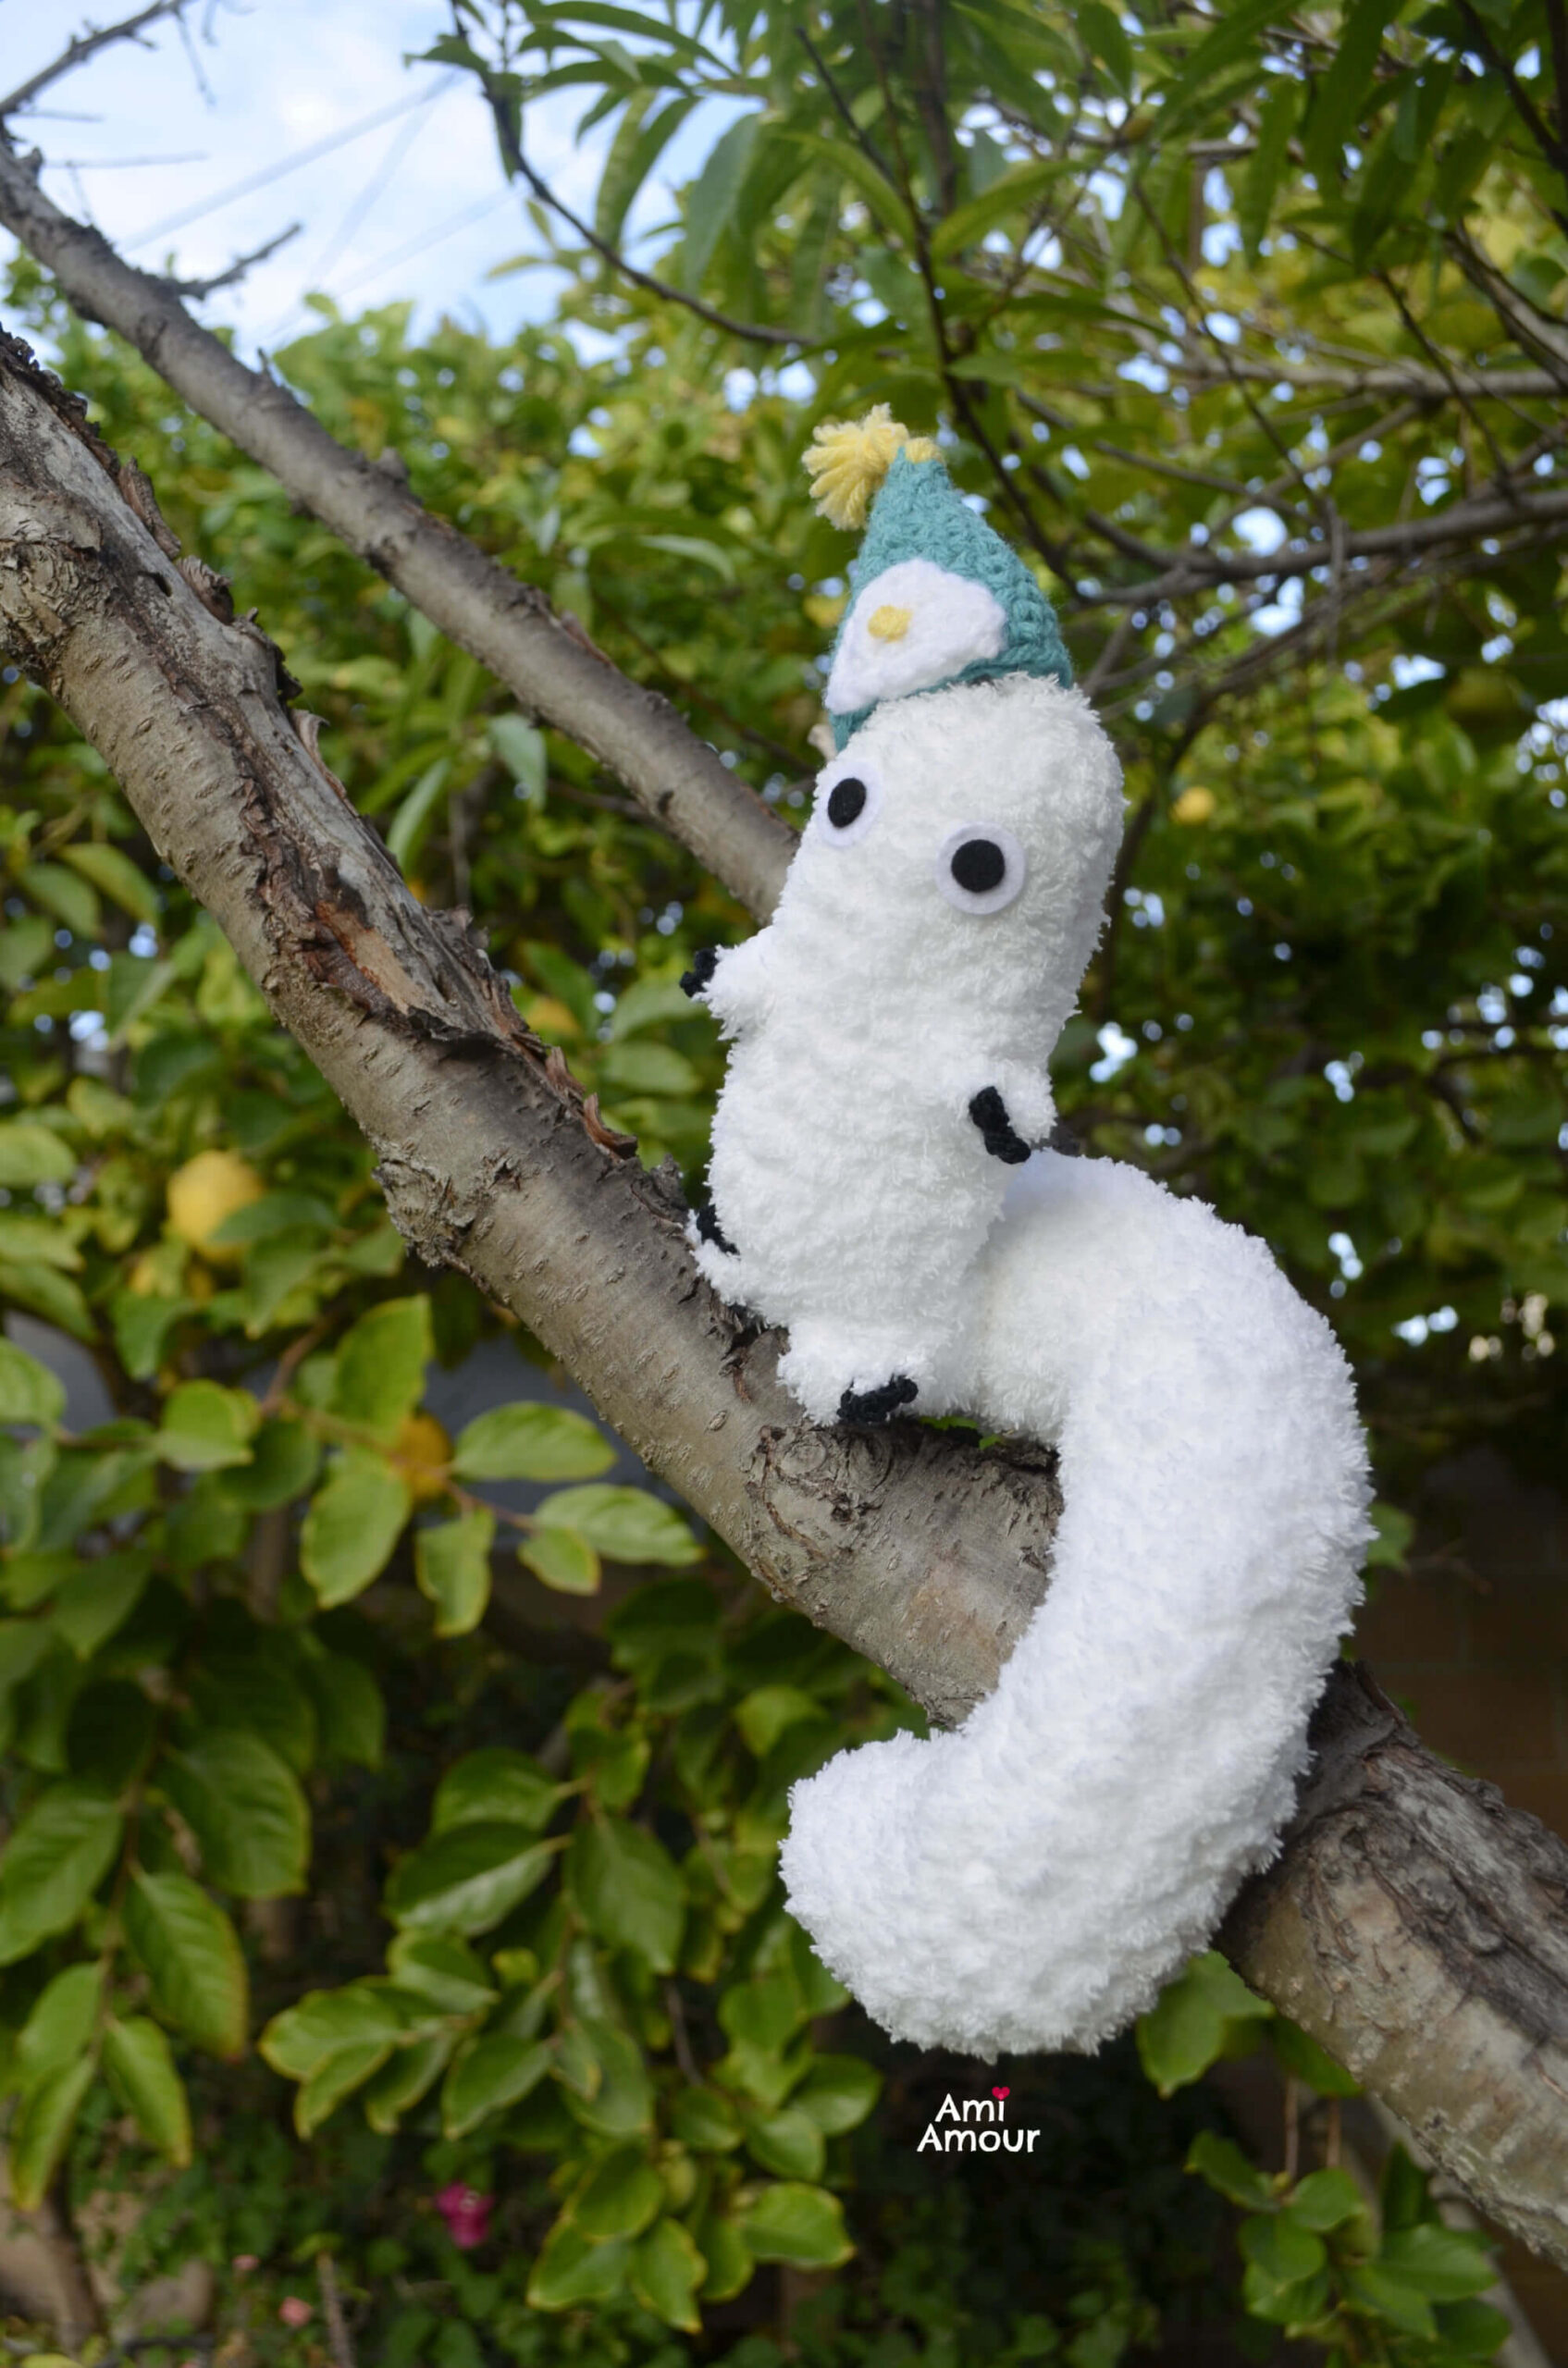
Well I hope you enjoy this crochet Brushbuddy amigurumi. You can find the free crochet pattern and video tutorial below.
If you’ve watched the anime Witch Hat Atelier, let me know what you think! You can be your very own apprentice witch in training and Brushbuddy will be right there with you! Tag me with your projects on Instagram @ami_amour.
If you enjoy this anime crochet pattern, you may also enjoy these other free anime crochet patterns of mine:
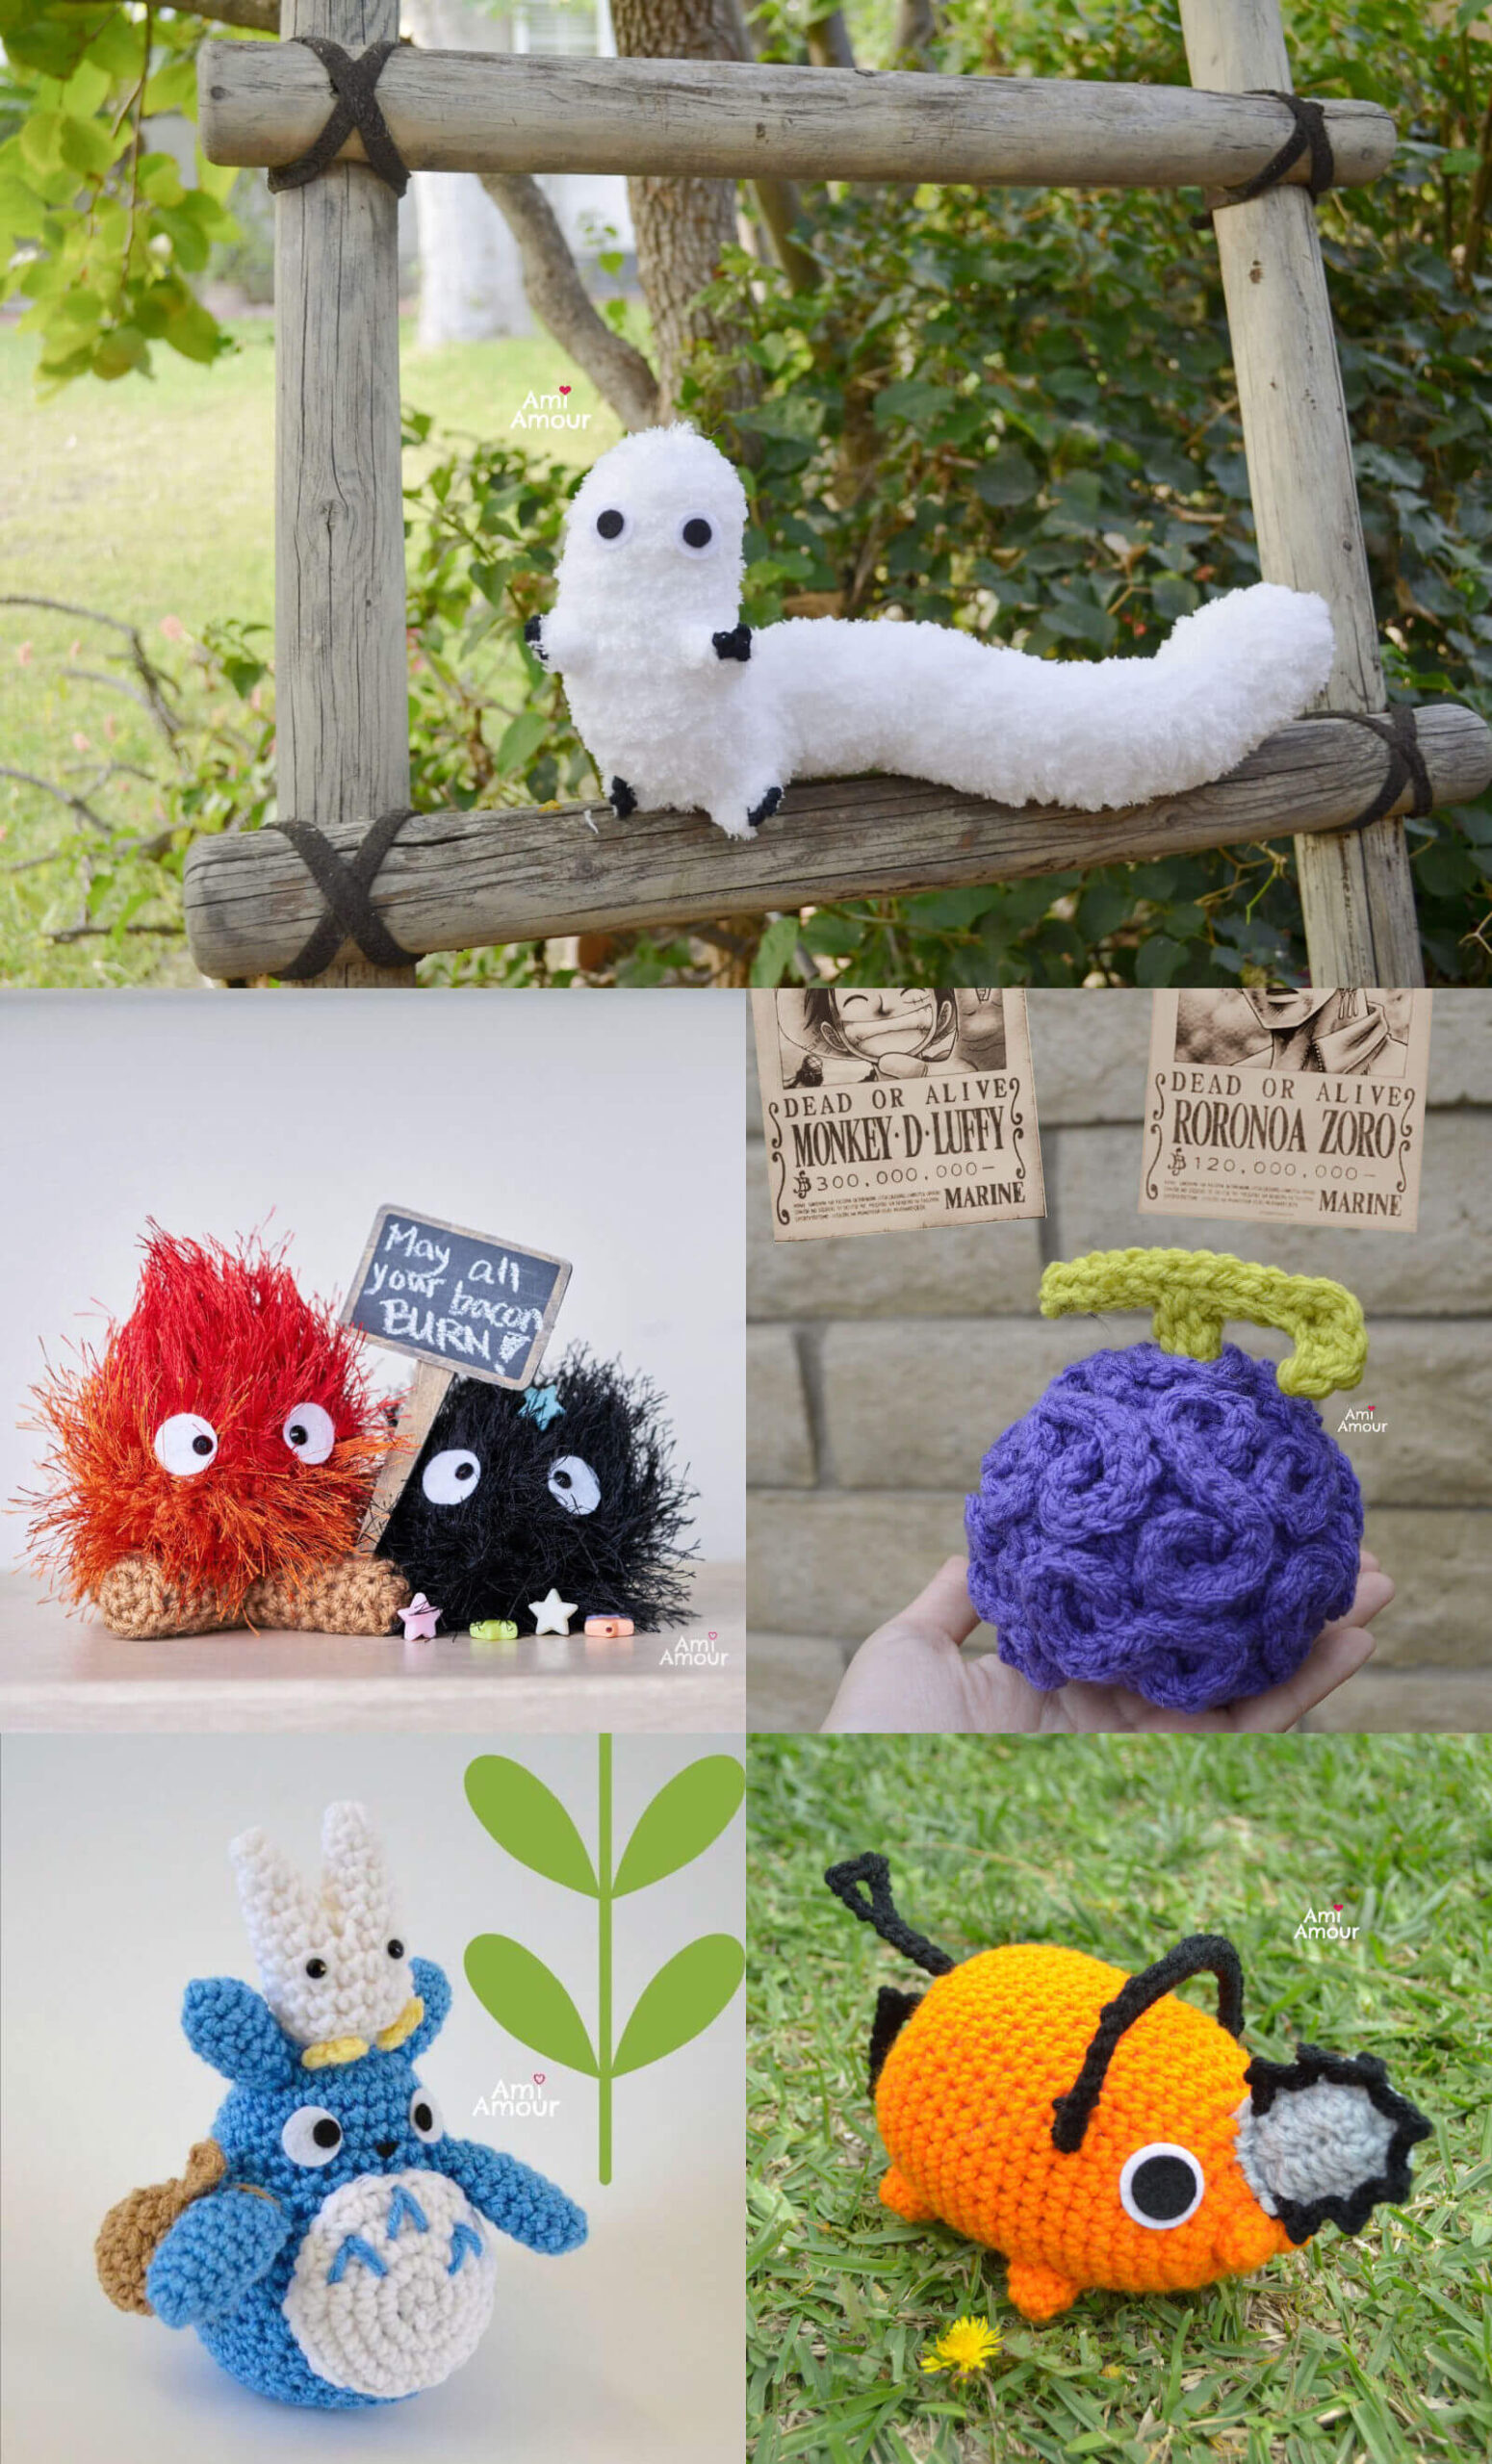
1. Calcifer Amigurumi
2. Devil Fruit One Piece
3. Totoro Amigurumi
4. Pochita Amigurumi
Brushbuddy Crochet Video Tutorial
See the poseable Brushbuddy in action and crochet along with me!

*Disclosure: This post contains affiliate links. This means I may receive a small commission if you decide to purchase anything by clicking on one of these links.
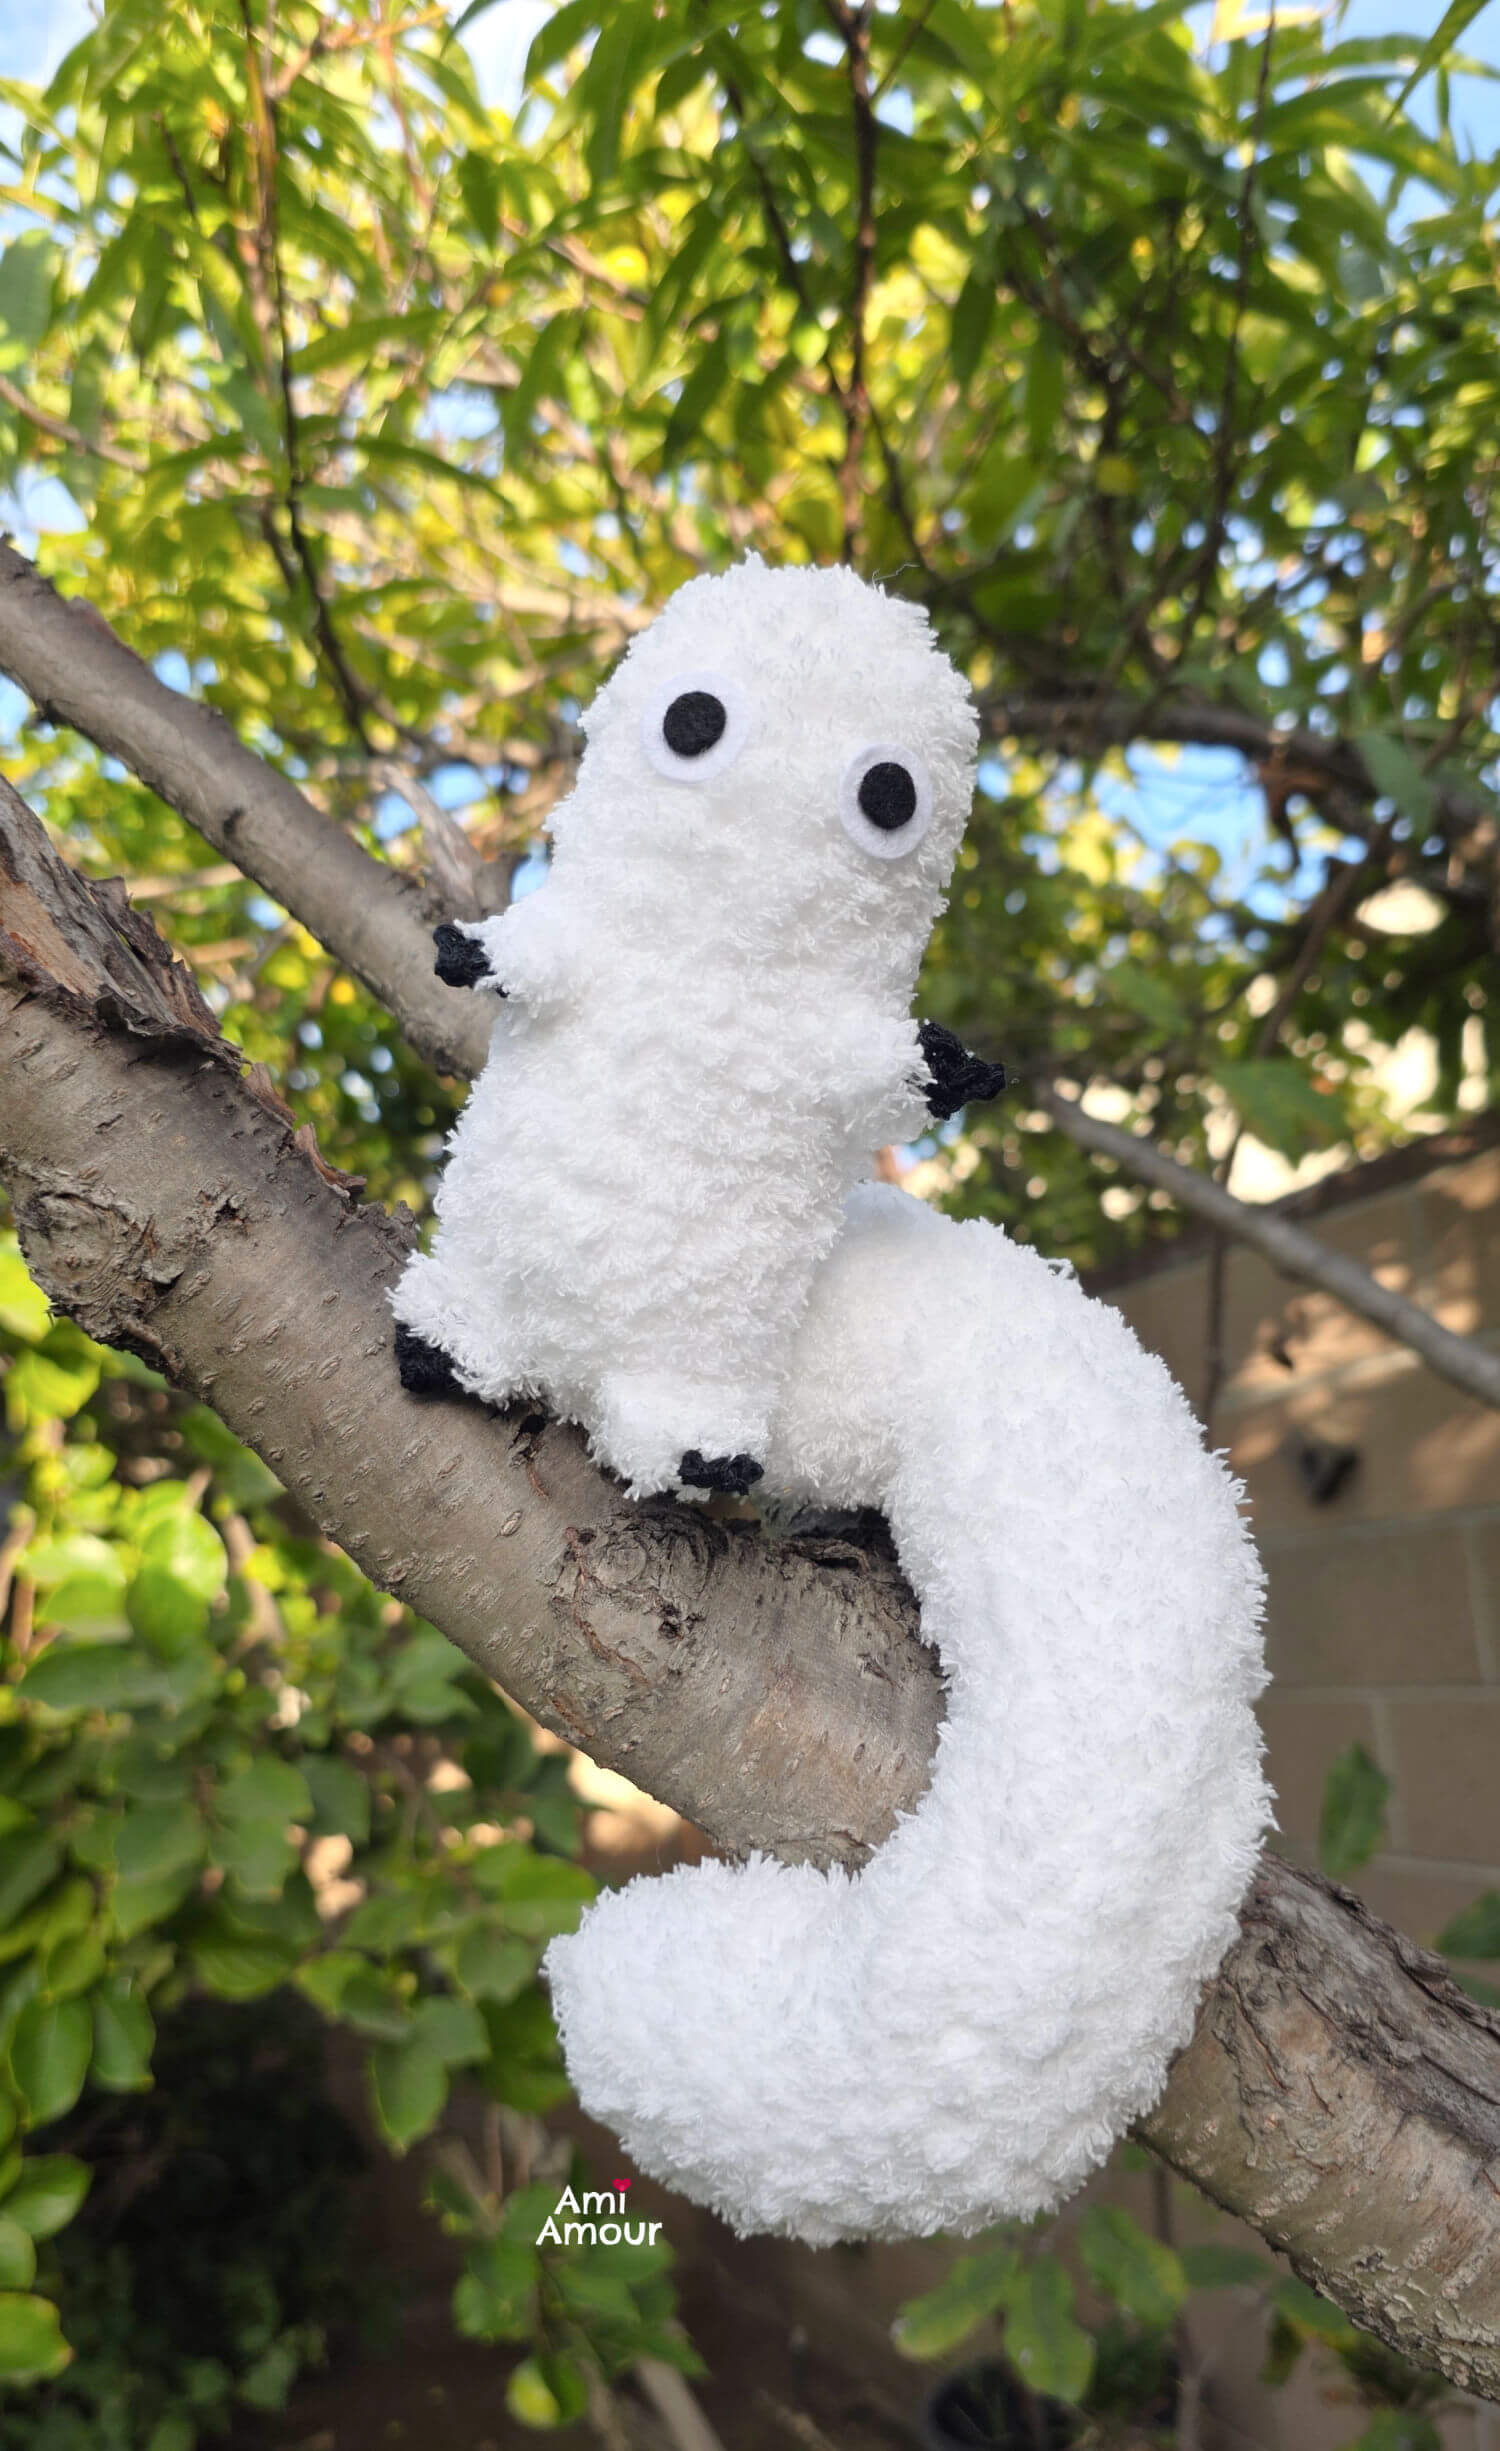
Brushbuddy Crochet Pattern
LEVEL: Easy Intermediate
CROCHET HOOK:
5.0mm size
3.75mm size
YARN:
– Bernat Pipsqueak yarn – Whitey White
– Red Heart Super Saver Yarn (worsted weight, acrylic yarn) – White
– Crochet Thread Size 3 in black
NOTIONS:
Scissors
Stitch Marker
Black and White Felt (for the eyes)
ABBREVIATIONS (American English Crochet)
ch – chain
sc – singl crochet
sl st – slip stitch
sc2tog – single crochet 2 together (sc dec)
st – stitch
APPROXIMATE SIZE:
15 inches in length (31cm)
WIRE CONSTRUCTION
Prepping the wire armature that will go inside our Poseable Brush Buddy amigurumi.
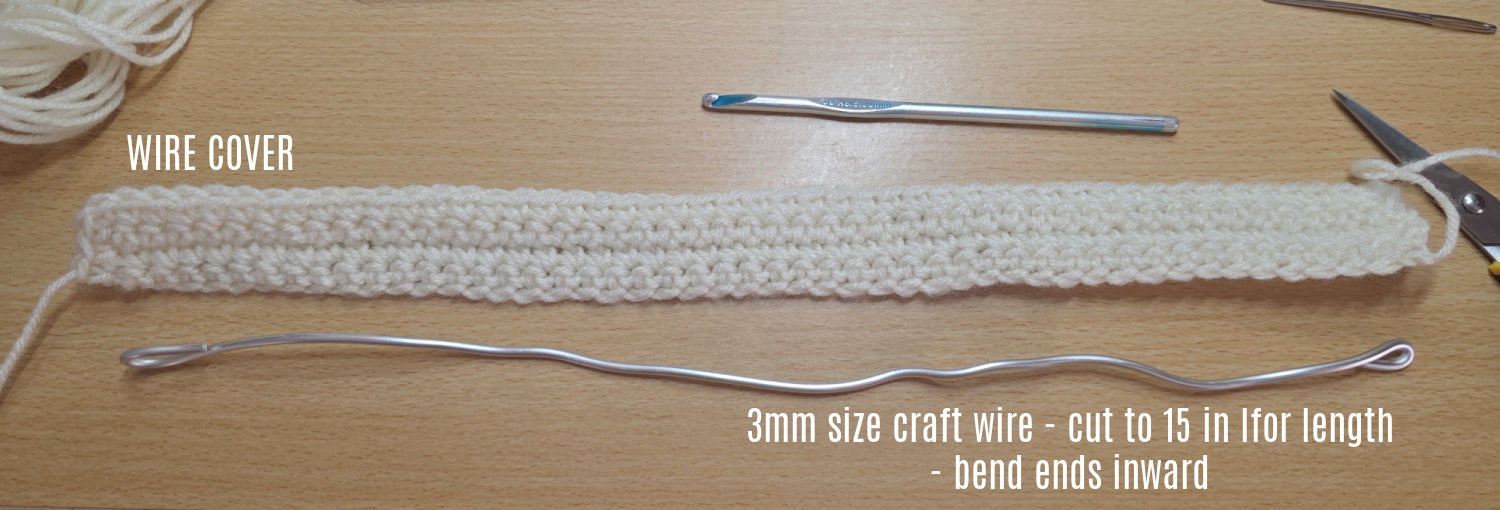
Cut a 15 inch length from a 3mm craft armature wire. Use a craft wire cutter to cut. This is the one I like to use.
Bend the wire end inwards so that there are no sharp points to the wire.
Now we will crochet a wire cover or cozy for our wire. This is so that the wire won’t poke back to the outside of our project.
(Another option you can do is to sew or glue fabric or felt around the wire)
WIRE COVER
With worsted weight, acrylic yarn in white
Ch 51
Note: About the length of your wire (a little longer is better)
Row 1: Sc in each ch across – 50 sc.
Row 2-4: Ch 1, turn, sc in each st across – 50 sc.
Fasten off, leaving a super long tail.
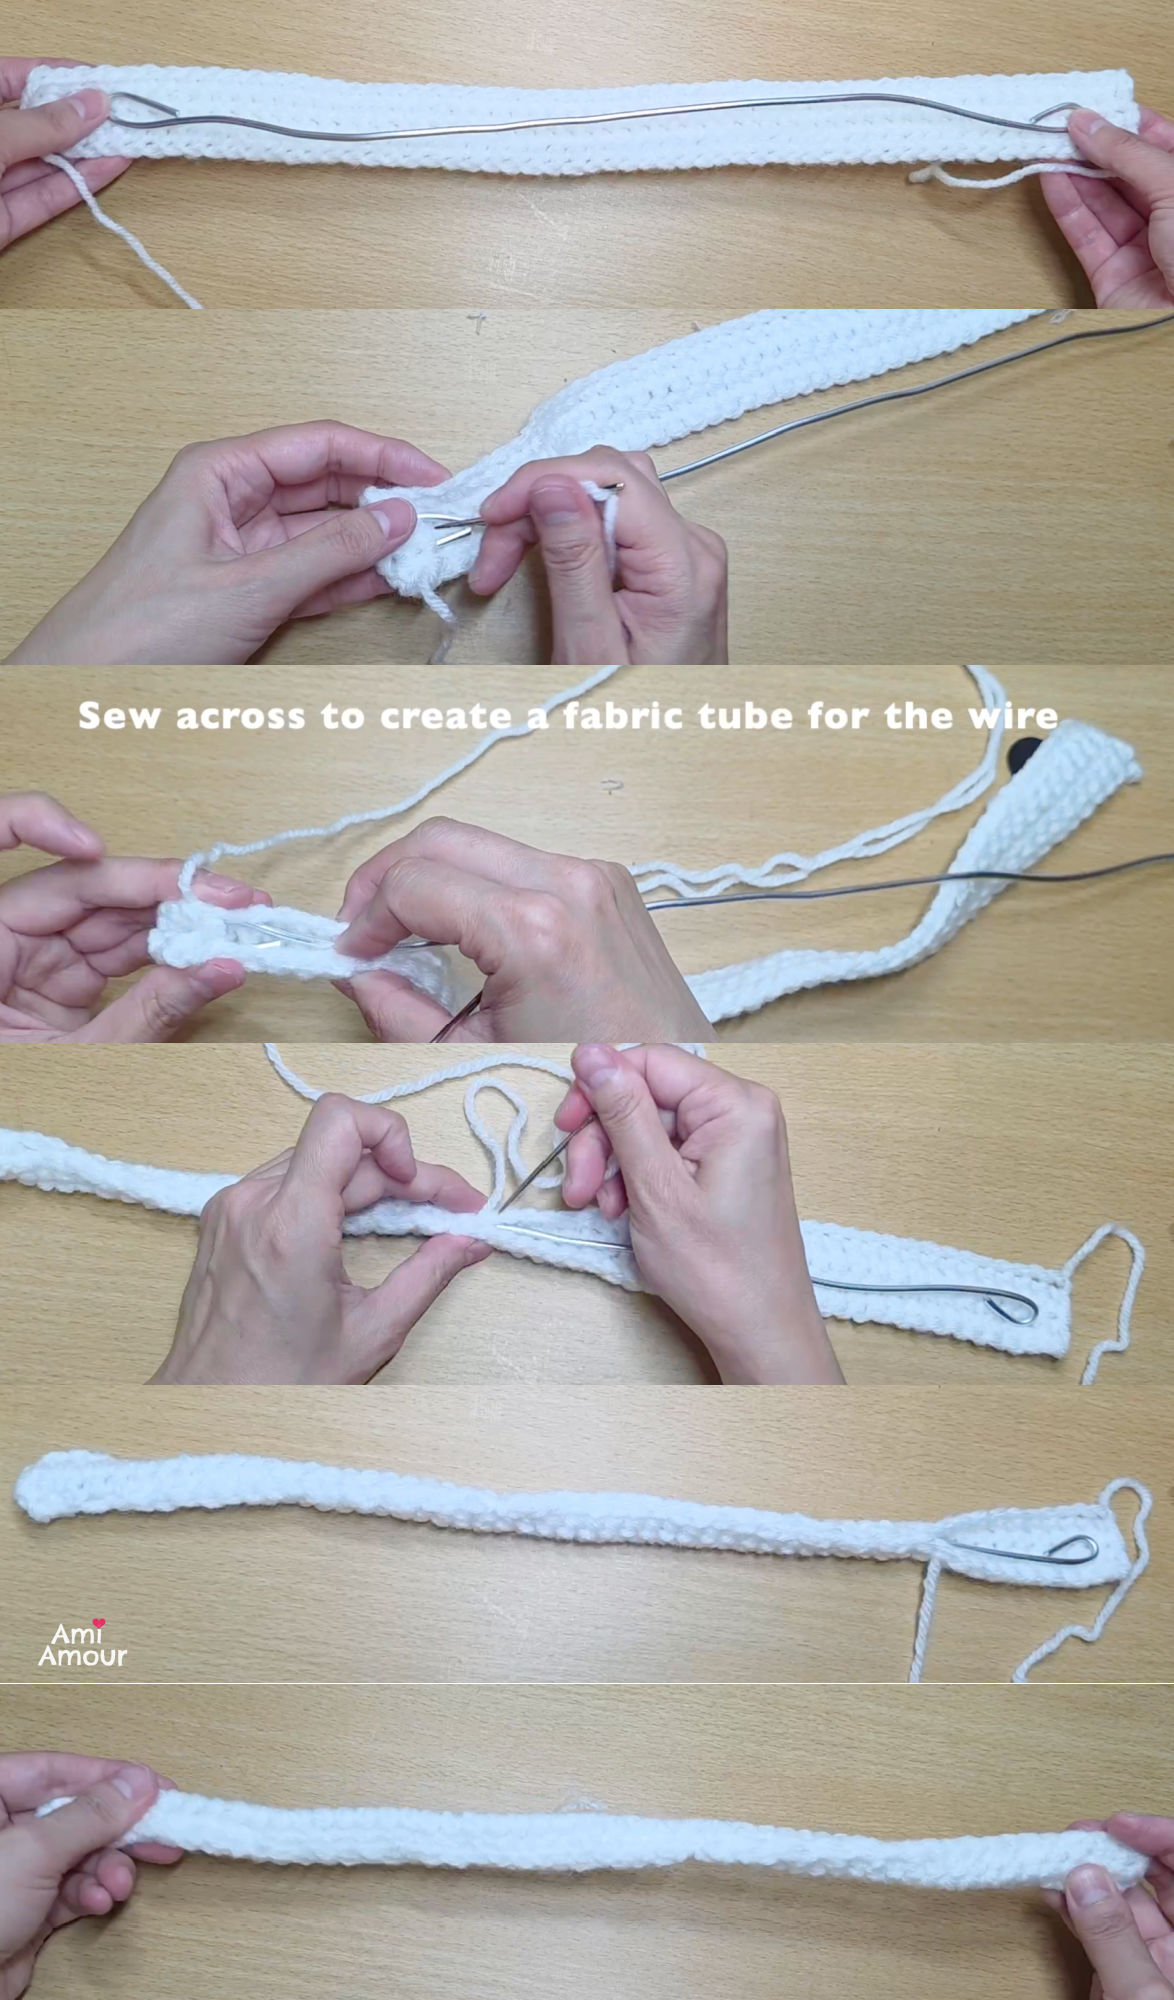
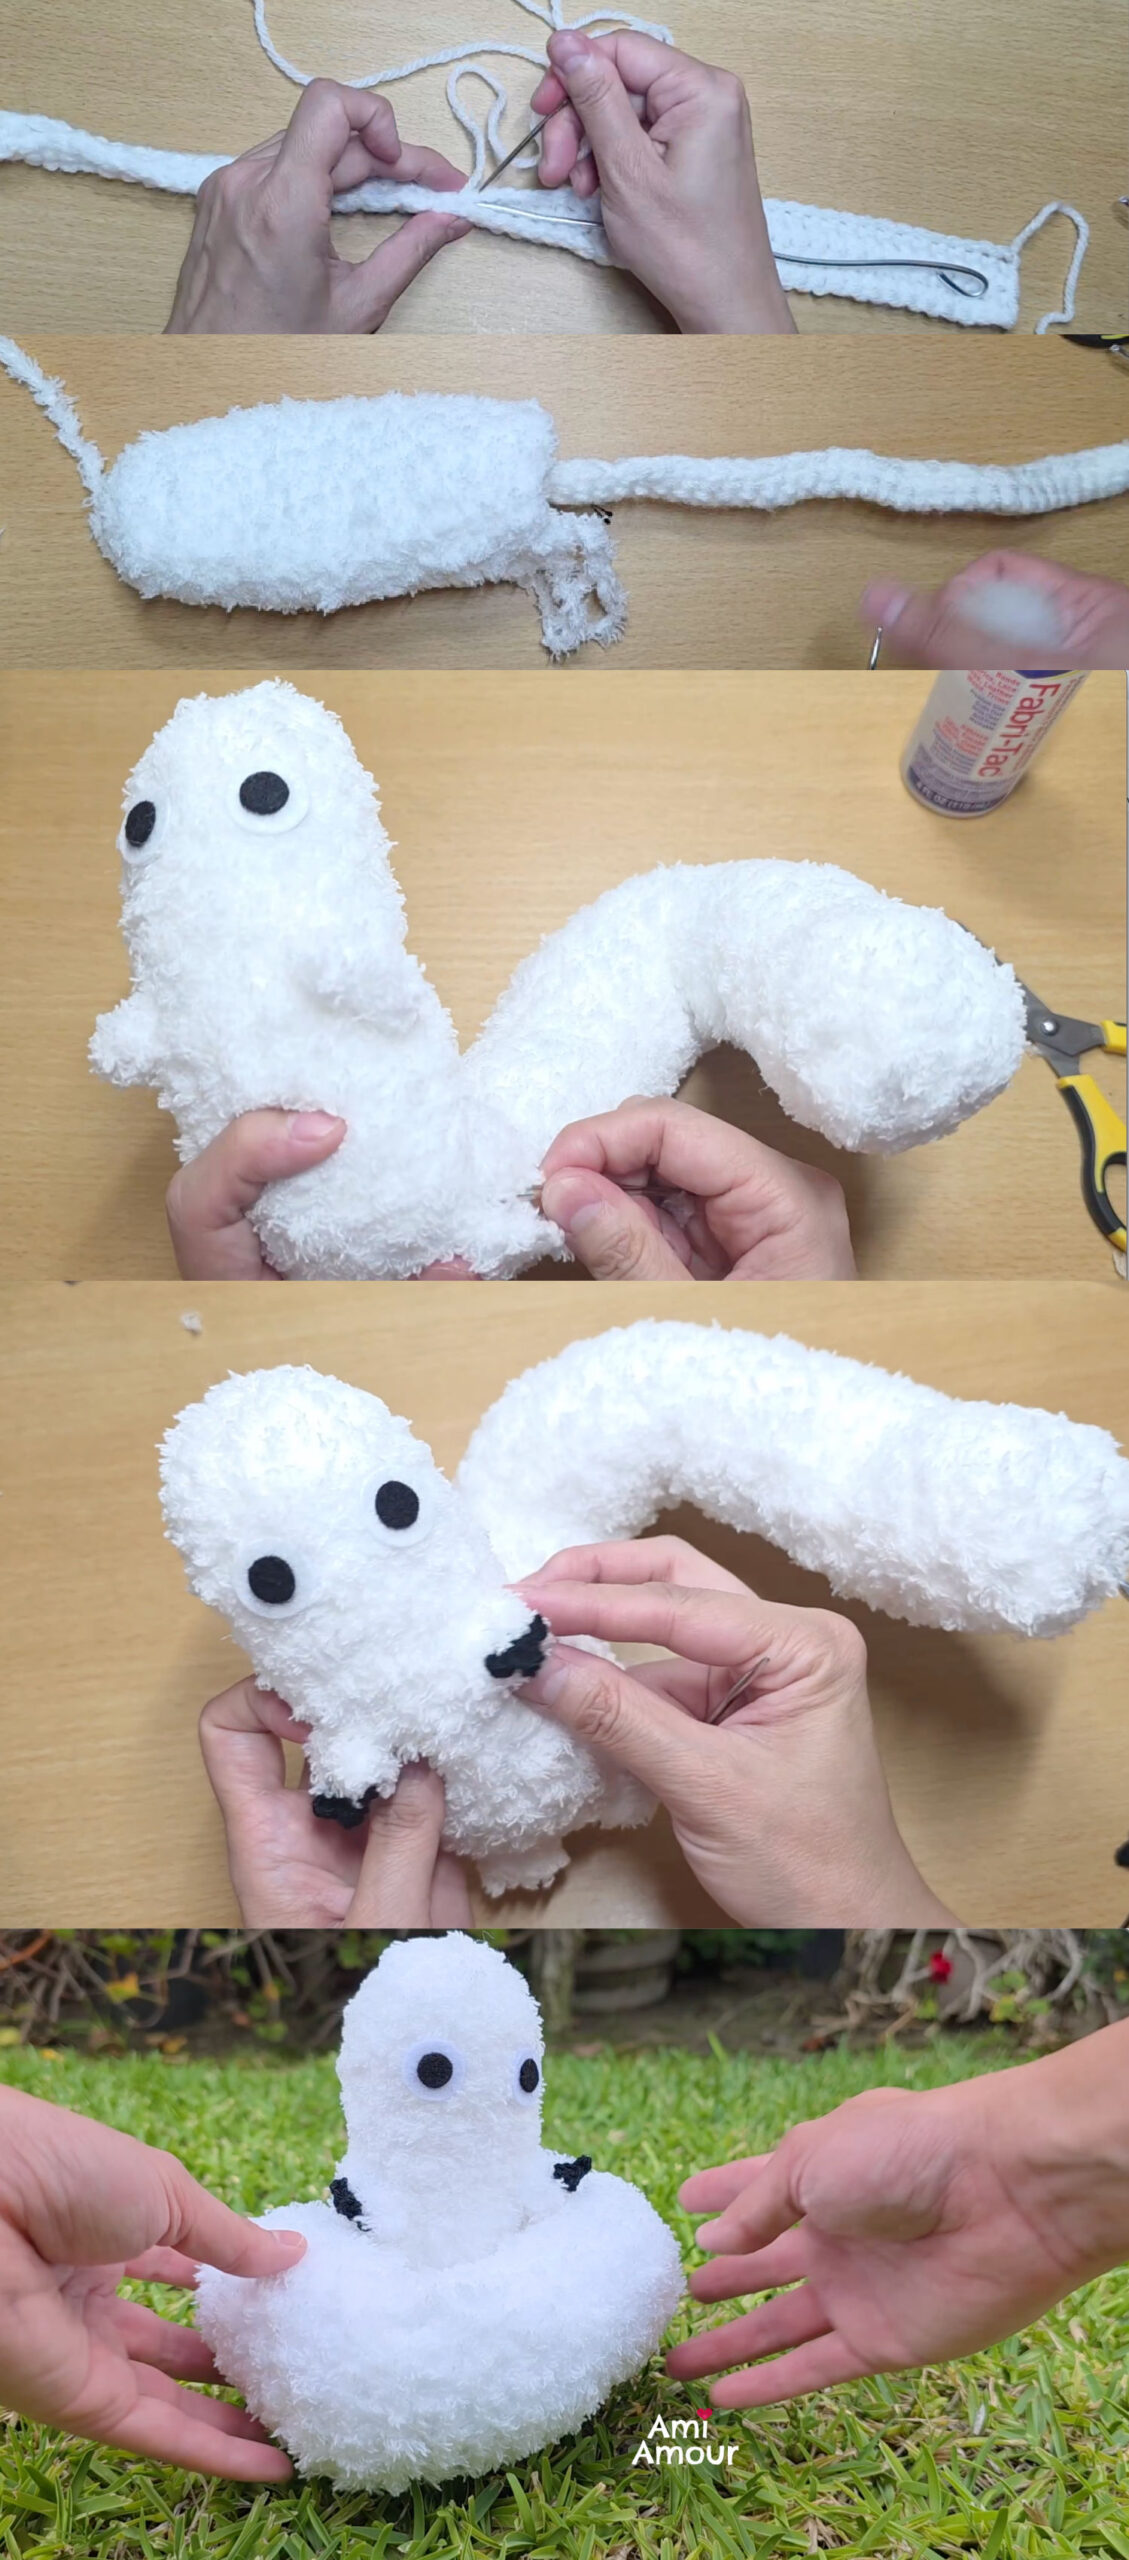
Cover the wire with the crochet fabric and sew closed. I like to sew one end down to the crochet fabric first. And then sew the edges to enwrap the wire and sew the fabric closed. You can see in the video tutorial how I like to do this.
BODY
With Pipsqueak Yarn in White
With Crochet Hook 5.0mm
Round 1: 6 sc into magic ring – 6 sc.
Round 2: 2 sc in each st around – 12 sc.
Round 3: [2 sc in next st, sc in next 3 st] around – 15 sc.
Round 4-45: Sc in each st around – 15 sc.
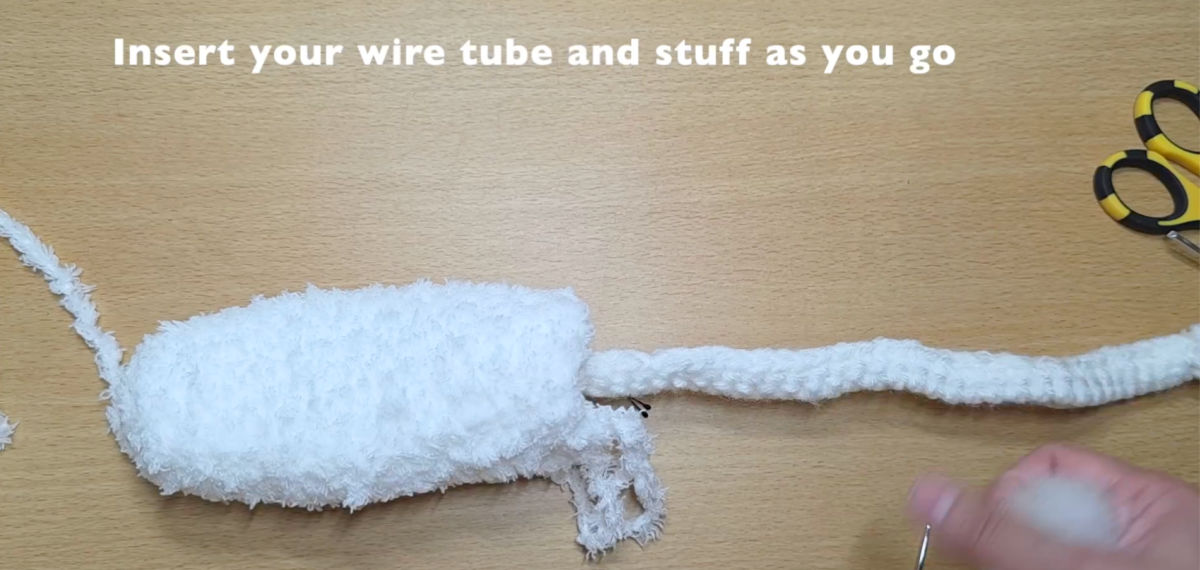
Note: Insert wired armature around 15 and stuff as you go.
Continue crocheting until you get to Round 45 or enough rounds to cover your wire.
Round 46: [Sc2tog, sc in next 3 st] around – 12 sc.
Round 47: Sc2tog around – 6 sc.
Fasten off, leaving a long tail.
Finish stuffing and sew closed.
LIMB (make 4)
With Pipsqueak Yarn in White
Ch 2, 4 sc into first ch.
Fasten off, leaving a long tail.
CLAWS (make 4)
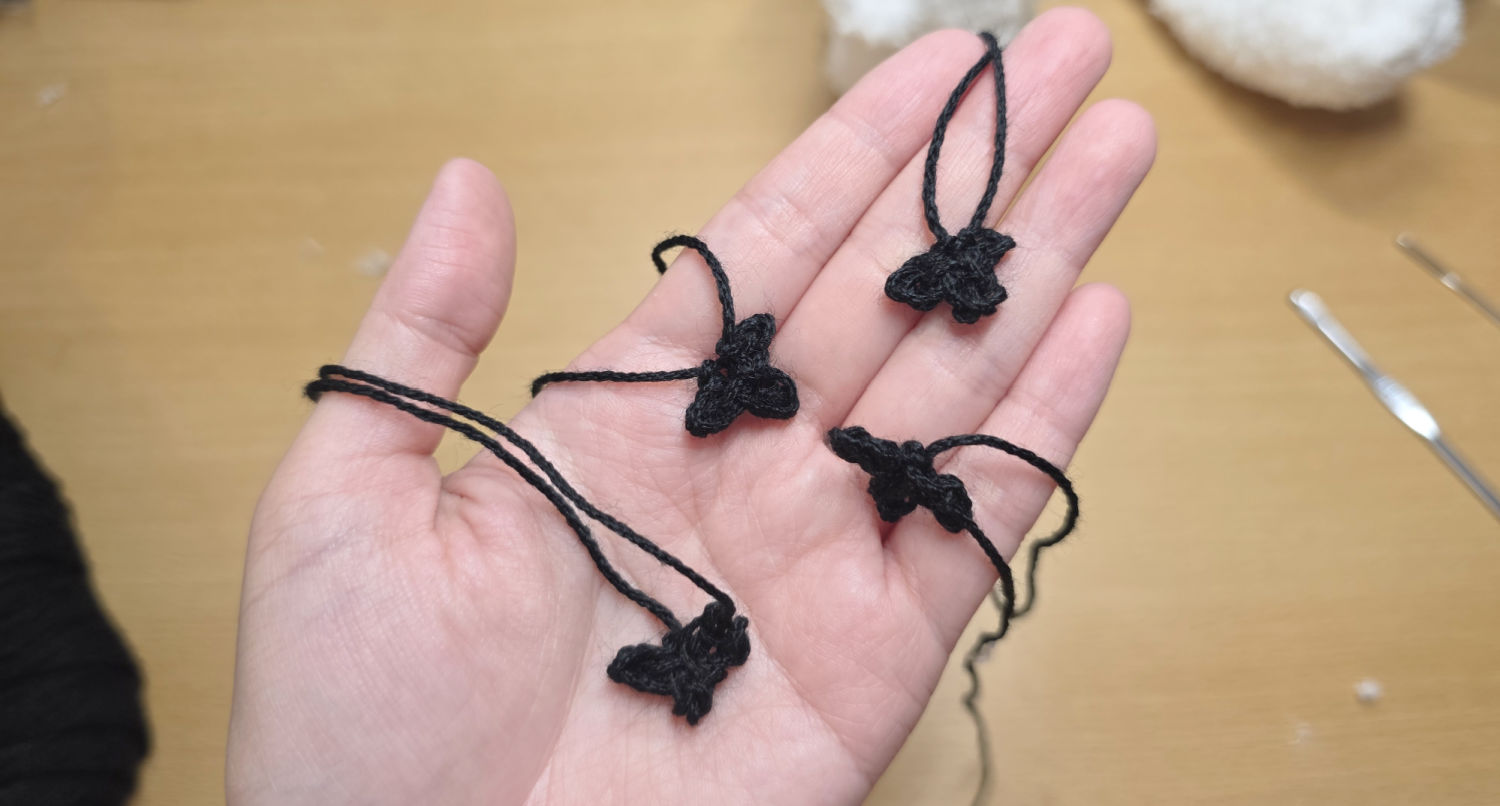
With black crochet thread in size 3
With Crochet Hook 3.75mm
Ch 3, sl st back 2 ch, ch 2, sl st back 2 ch, ch 2, sl st back 2 ch.
Fasten off, leaving a long tail.
BRUSHBUDDY AMIGURUMI ASSEMBLY
You can also see the Video Tutorial for Assembly here.
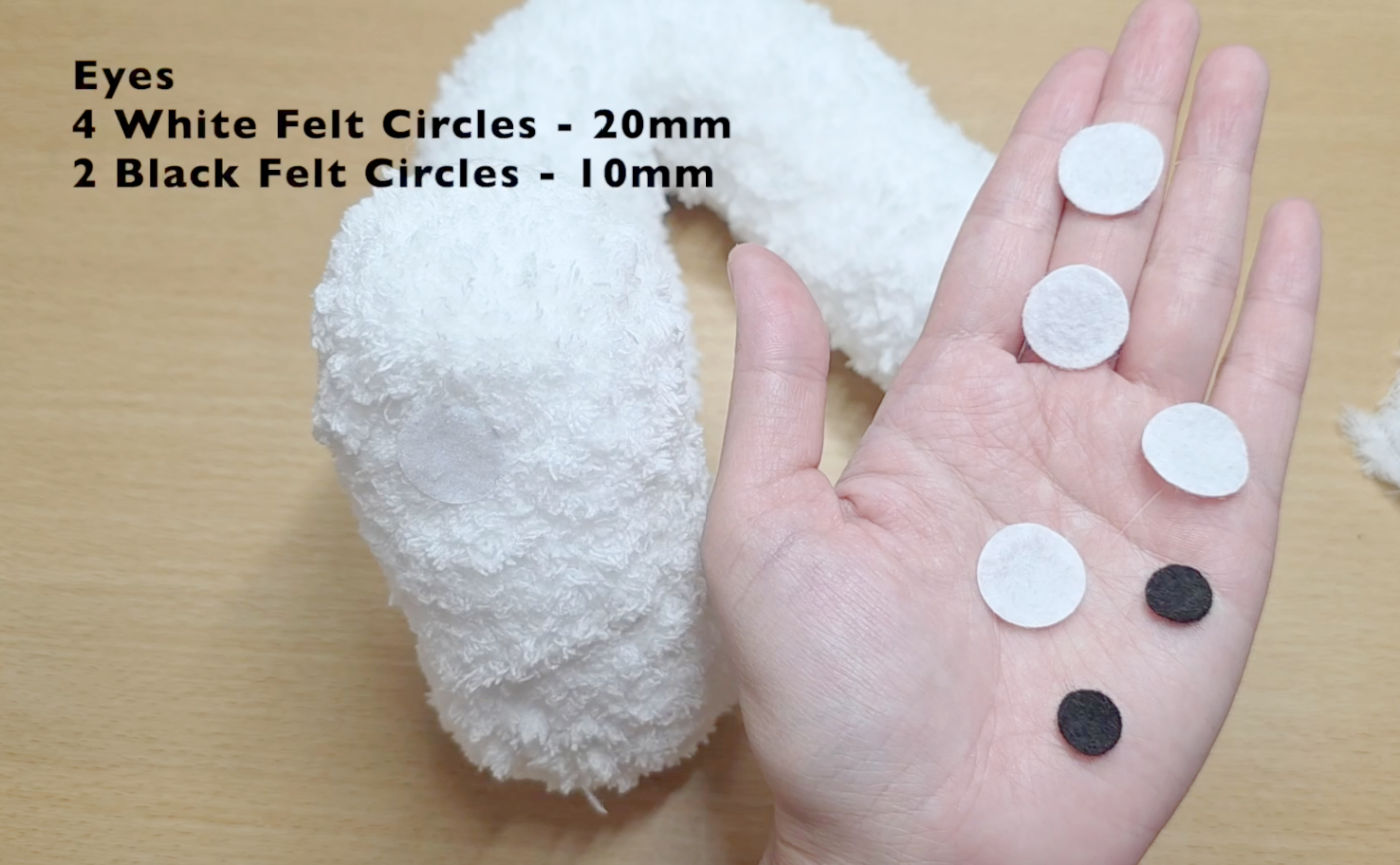
1. Cut White Felt Circles (20mm size) and glue to the Head with Fabri-tac Glue. After glueing on the eyes. I like to stack them with one more layer of the white circles on top of the previous white felt circles. This will give the eyes more dimension and allow them to stand out from the fluffy fabric.
2. Cut black felt circles (10mm size) and glue to the Eyes with Fabri-tac glue. They are the pupils.
3. Sew on the Limbs to the Body.
4. Sew on the Claws to the Limbs.
5. Pose as desired. Have fun bending your brushbuddy into whatever shape you like and have fun with the poses and photos!
6. Tag me with your project on Instagram @ami_amour.

No Comments